This post may contain affiliate sales links. Please read my disclosure policy.
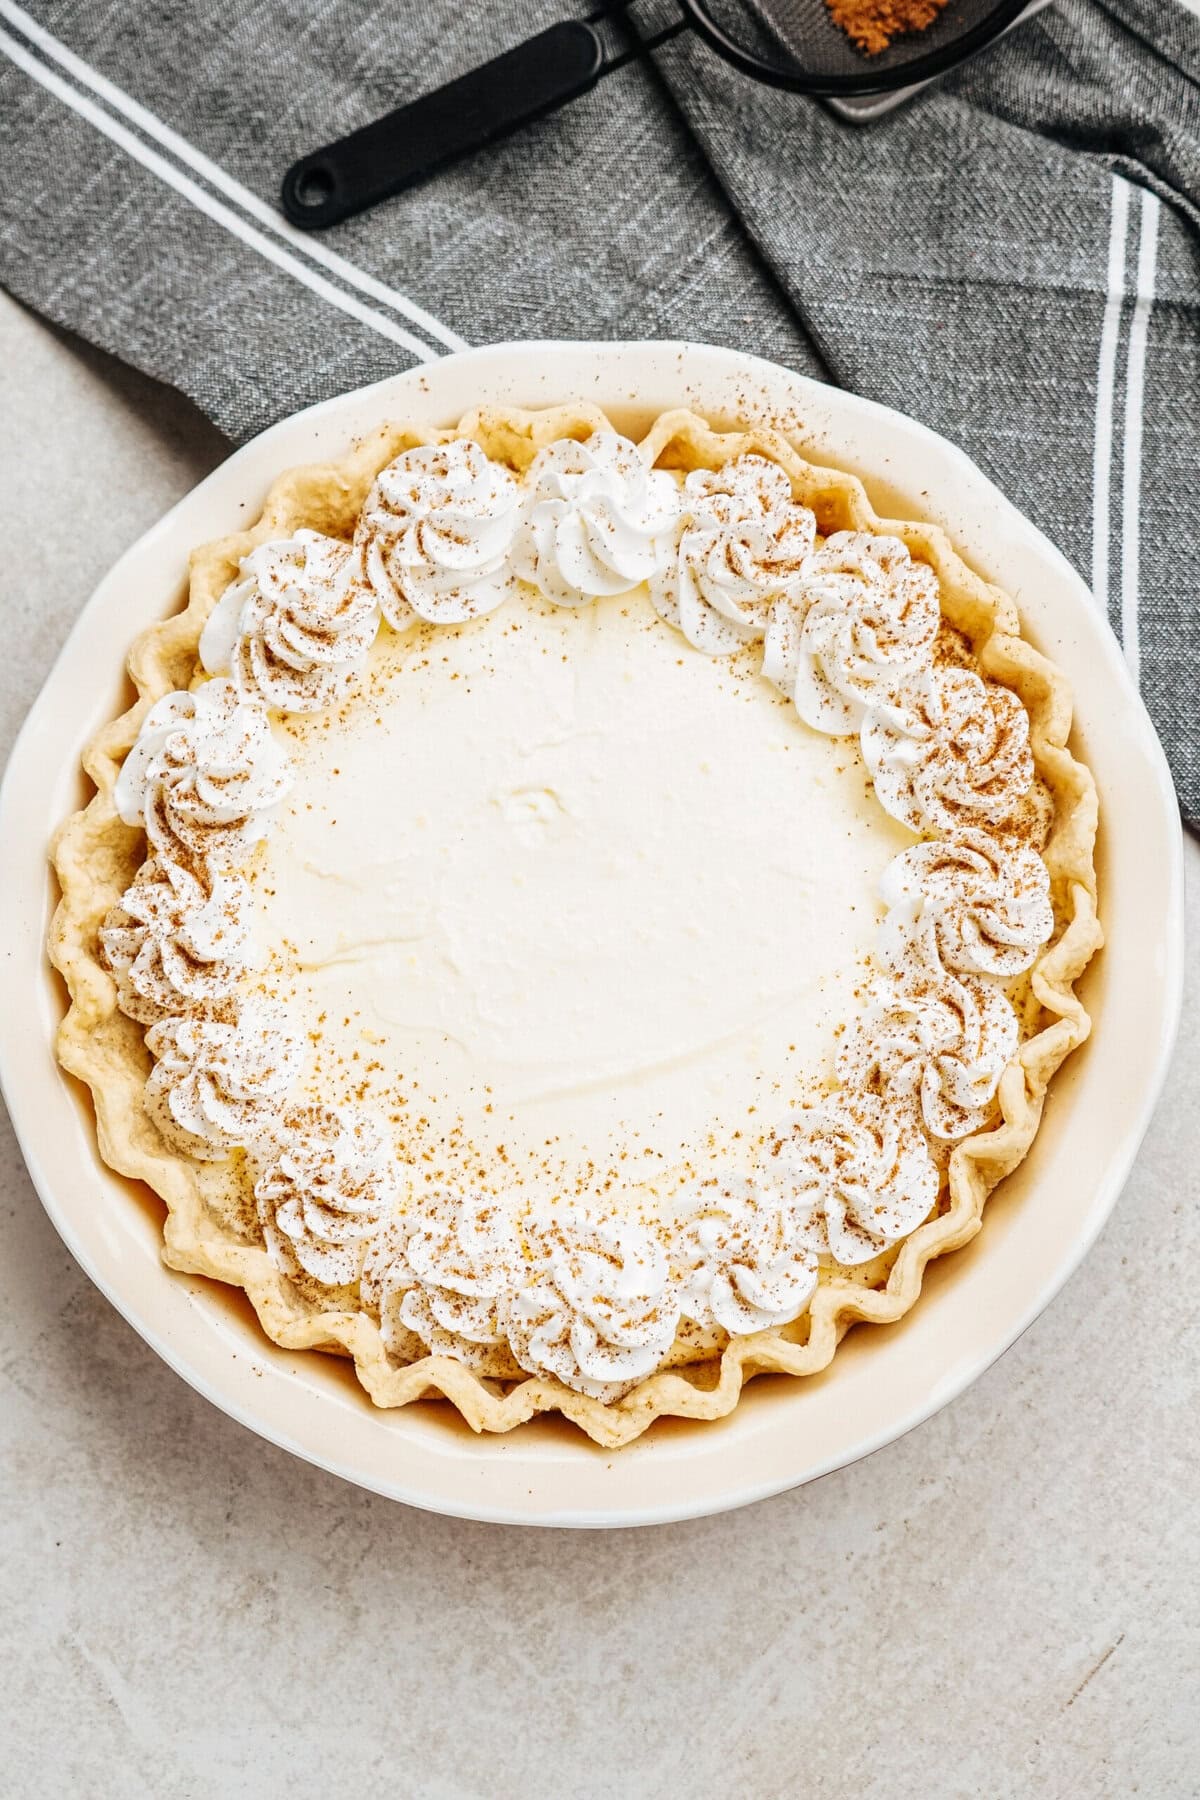
Eggnog Pie is the perfect holiday dessert that combines the rich, creamy flavor of eggnog with a smooth, silky pie filling. Whether you’re a serious eggnog lover or just looking for an easy pie recipe to add to your collection of holiday desserts, this one will not disappoint. With a buttery, flaky crust and a whipped cream topping, this eggnog pie is a family favorite that’s sure to become a new tradition during the holiday season.
Love Eggnog? Try my other eggnog desserts: Eggnog, Dark Chocolate Layer Cake with Eggnog Mousse, Eggnog Eclair Cake, Eggnog Monkey Bread, Eggnog Bread Pudding with Cinnamon Whipped Cream, Eggnog Mousse with Gingersnap Crumbles, Eggnog Rice Krispie Treats
Why You’ll Fall in Love with this Eggnog Pie Recipe
This Eggnog Pie is incredibly simple to make, thanks to easy ingredients like instant pudding mix and heavy cream. It’s a no-fuss recipe that doesn’t require baking the filling, making it perfect for busy holiday dinners or last-minute get-togethers. The creamy texture and holiday flavor make it the ultimate sweet treat for eggnog lovers. Plus, it’s versatile—you can use a pre-made crust, graham cracker pie crust, or even a gingersnap crust for added flair.
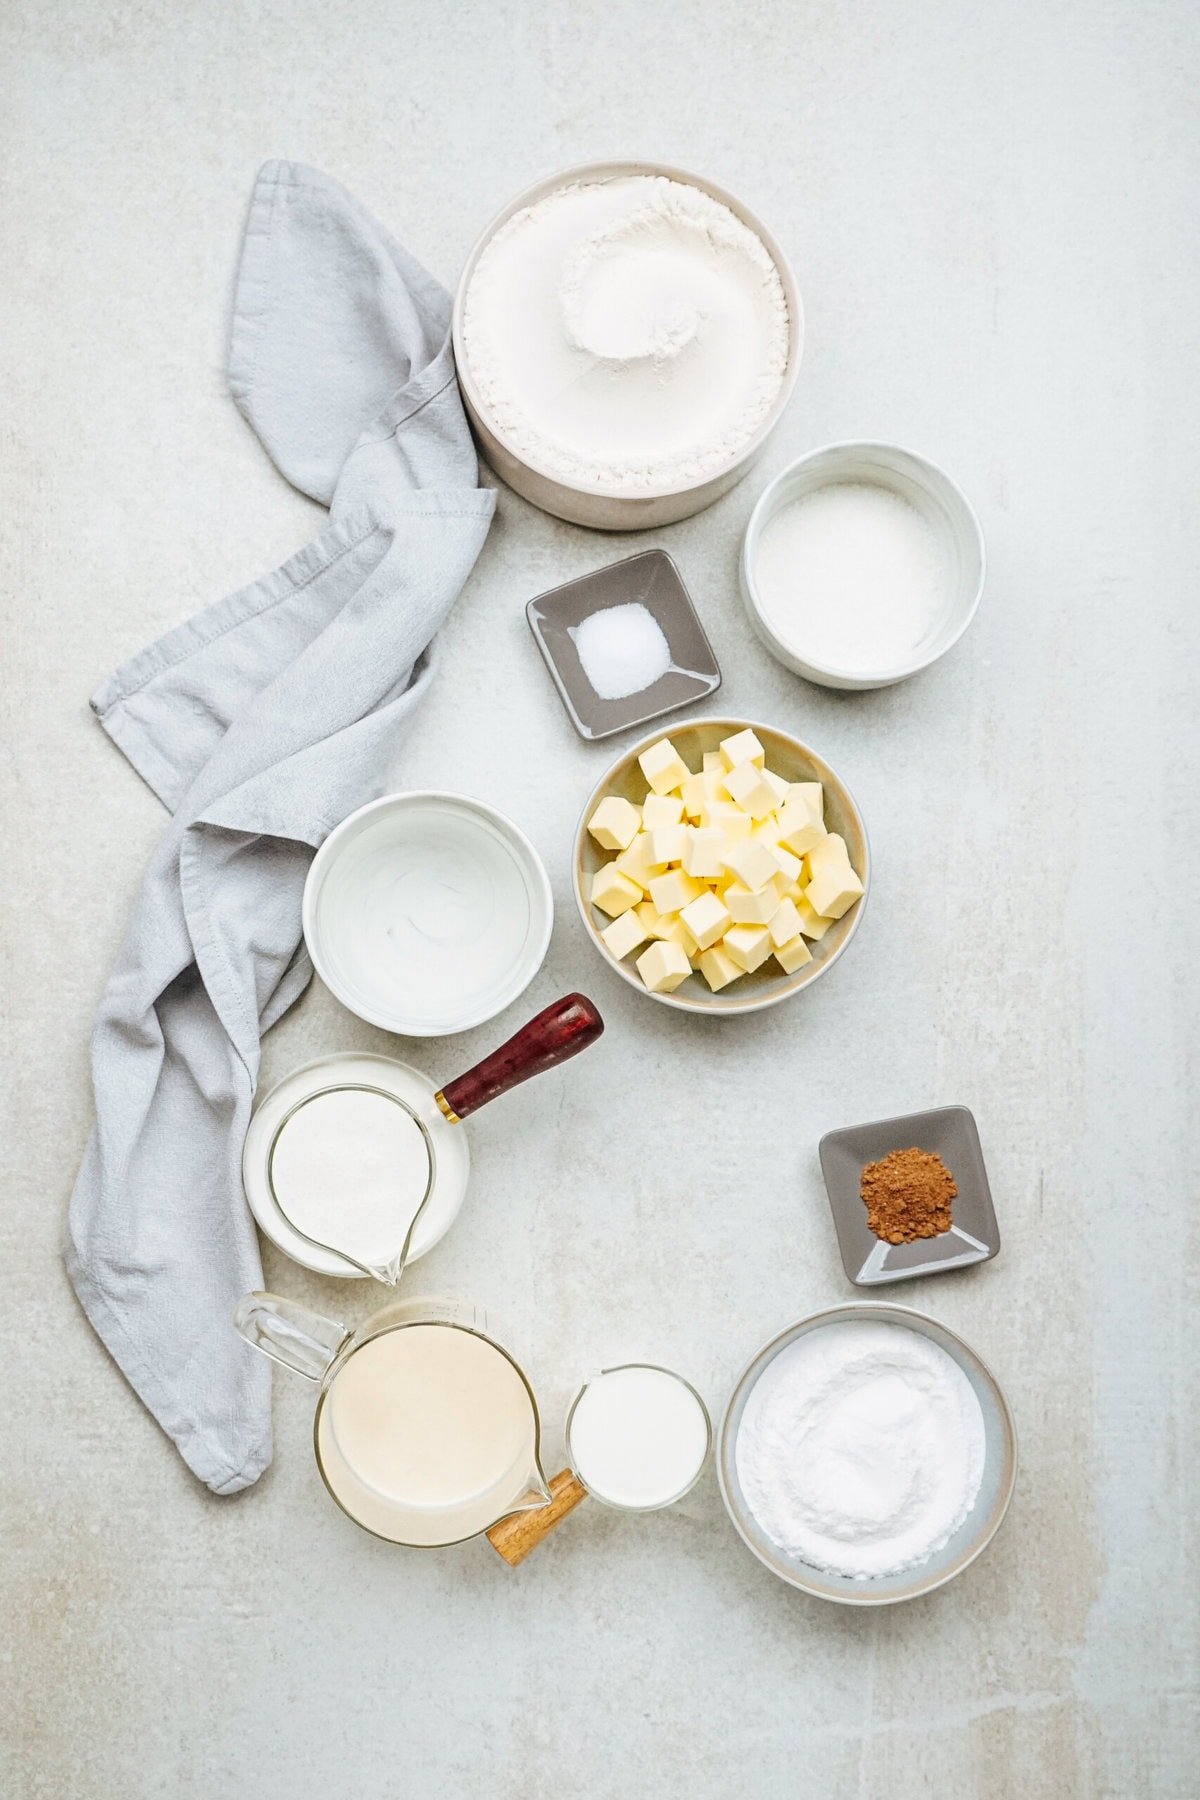
Ingredients Needed for Eggnog Pie
Be sure to check out the variations list to customize your Eggnog Pie. Here’s what you’ll need to make this delicious pie:
- All-purpose flour – For the homemade pie crust.
- Unsalted butter – Ice-cold, for the flakiest crust.
- Eggnog – Store-bought or homemade eggnog works perfectly.
- Instant vanilla pudding mix – Creates a smooth, creamy filling with minimal effort.
- Heavy cream – Whipped to stiff peaks for a light, fluffy texture.
- Milk – Adds extra creaminess to the pie filling.
- Ground nutmeg – Optional, but a sprinkle on top gives that classic eggnog flavor.
Variations
Customize your Eggnog Pie with these variations:
- Use a pre-made graham cracker crust for an even quicker dessert.
- Substitute gingersnap crumbs for a spicy crust option.
- Add a splash of rum extract to enhance the holiday flavor.
- Swap the homemade crust with a premade crust if you’re short on time.
How to Make Eggnog Pie
This recipe is broken down into 2 parts: the crust and the filling. The recipe will make two pie crusts, but you’ll only need one. You can store the other one in the refrigerator for up to 2 days. To Freeze: Wrap the dough tightly in plastic wrap and store in freezer bags for up to 3 months. Allow to thaw overnight in the fridge.
For full recipe details, including ingredient measurements, see the printable recipe card at the bottom of this post. Here are my simple step by step directions for making this easy no bake Eggnog Pie recipe:
1. Prepare + Bake the Crust
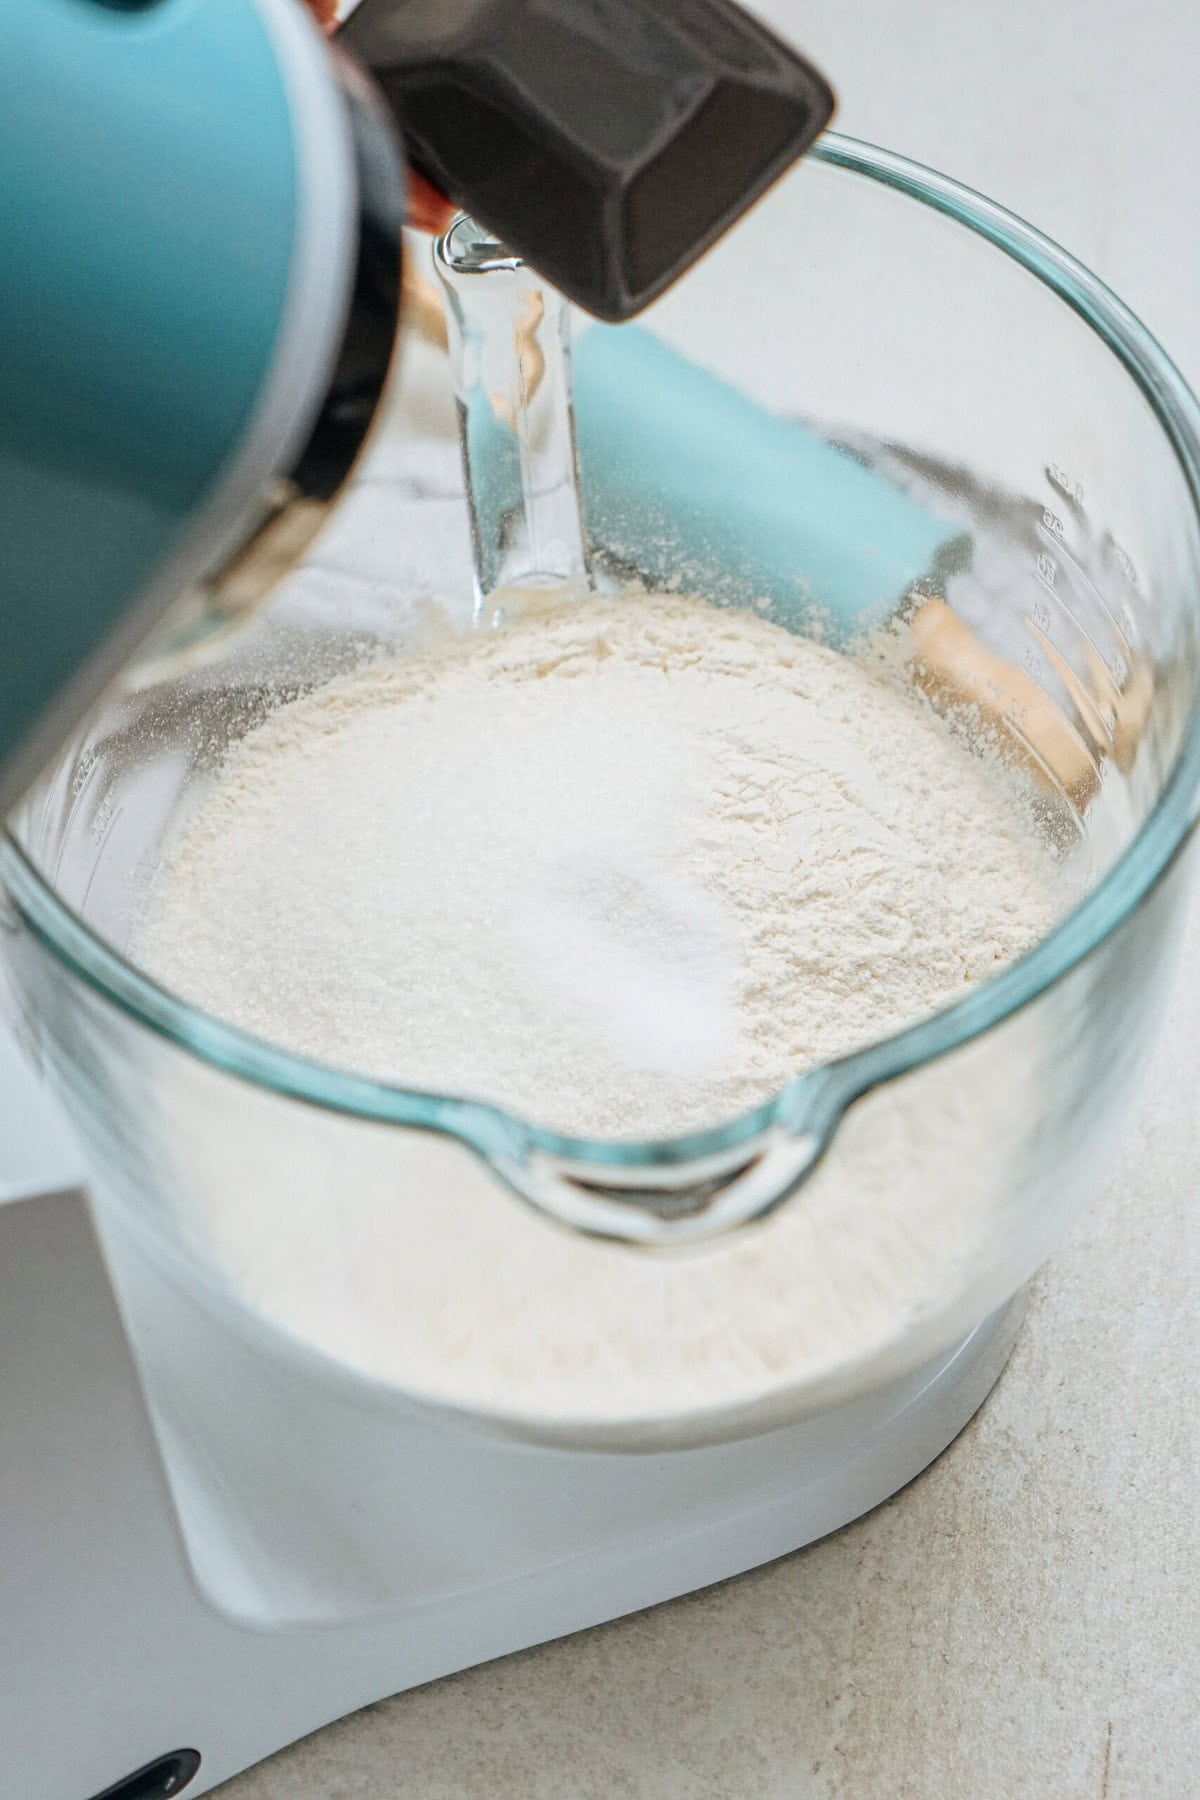
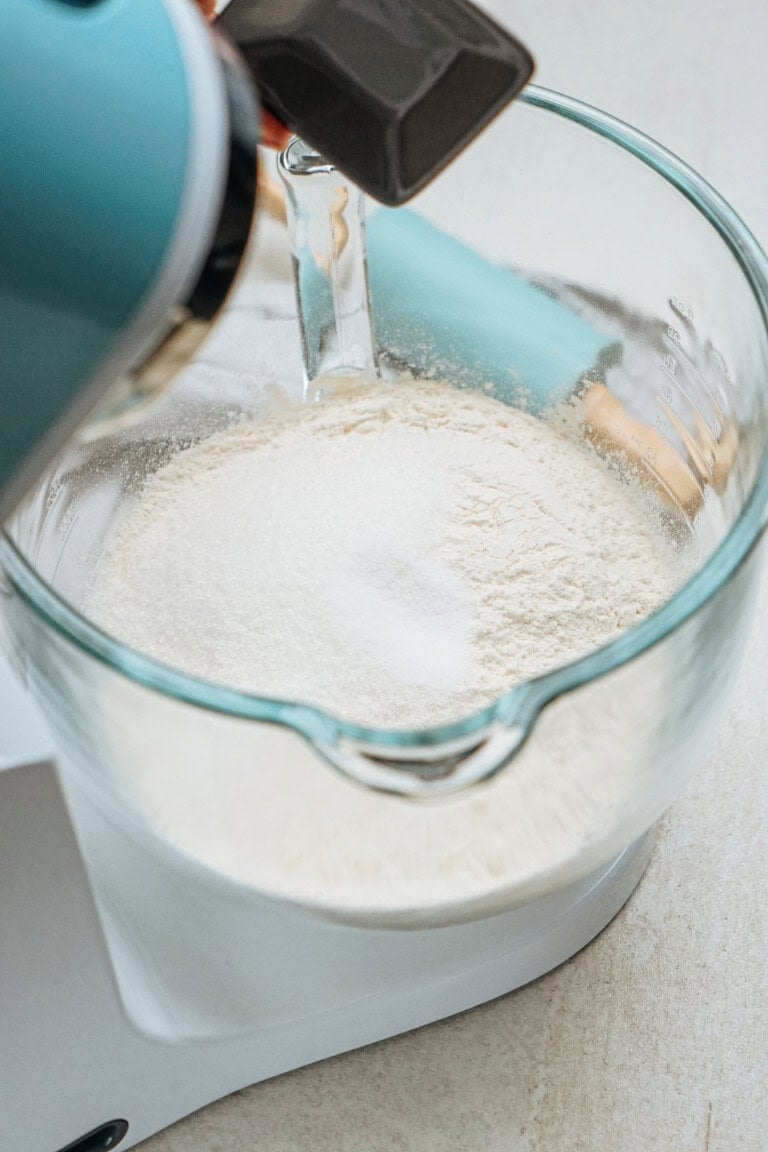
In the bowl of a stand mixer, using the paddle attachment, mix the flour, sugar and salt together until combined.
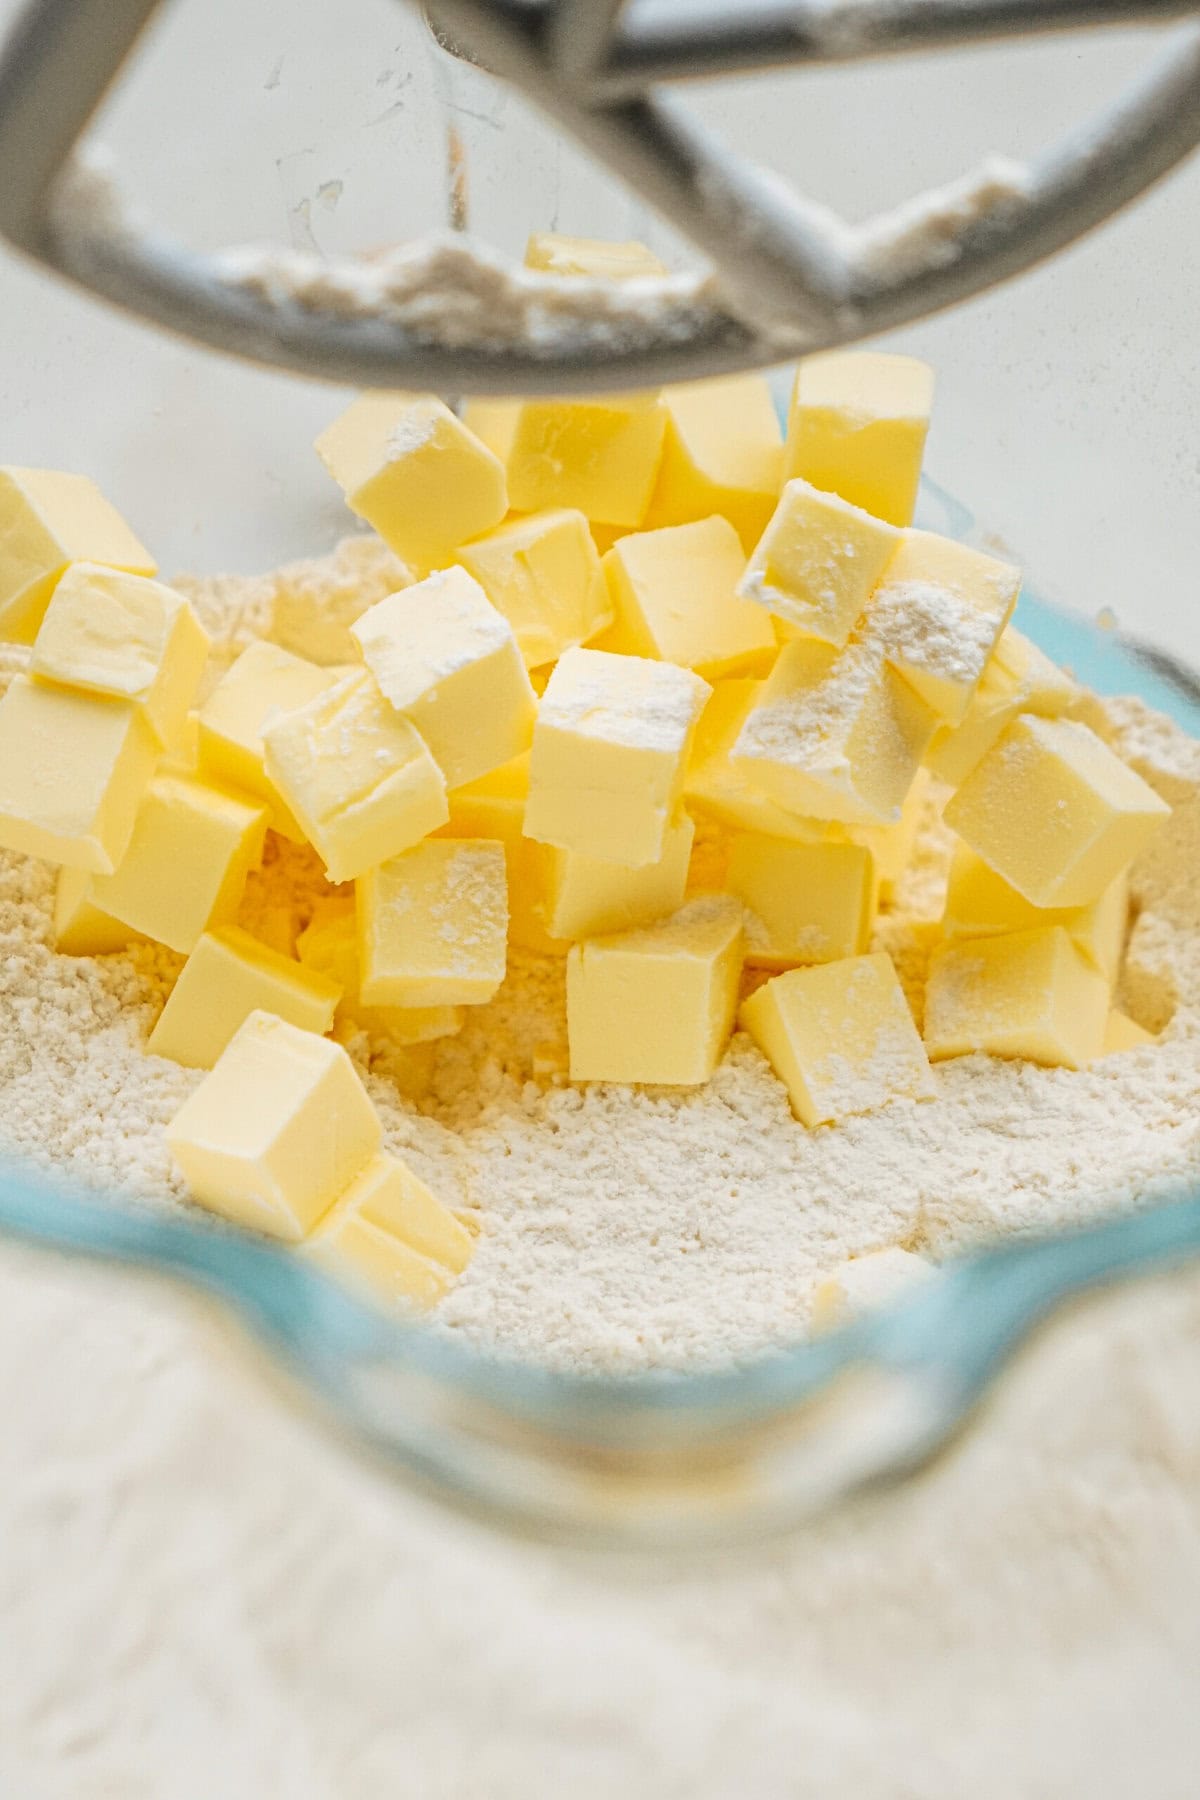
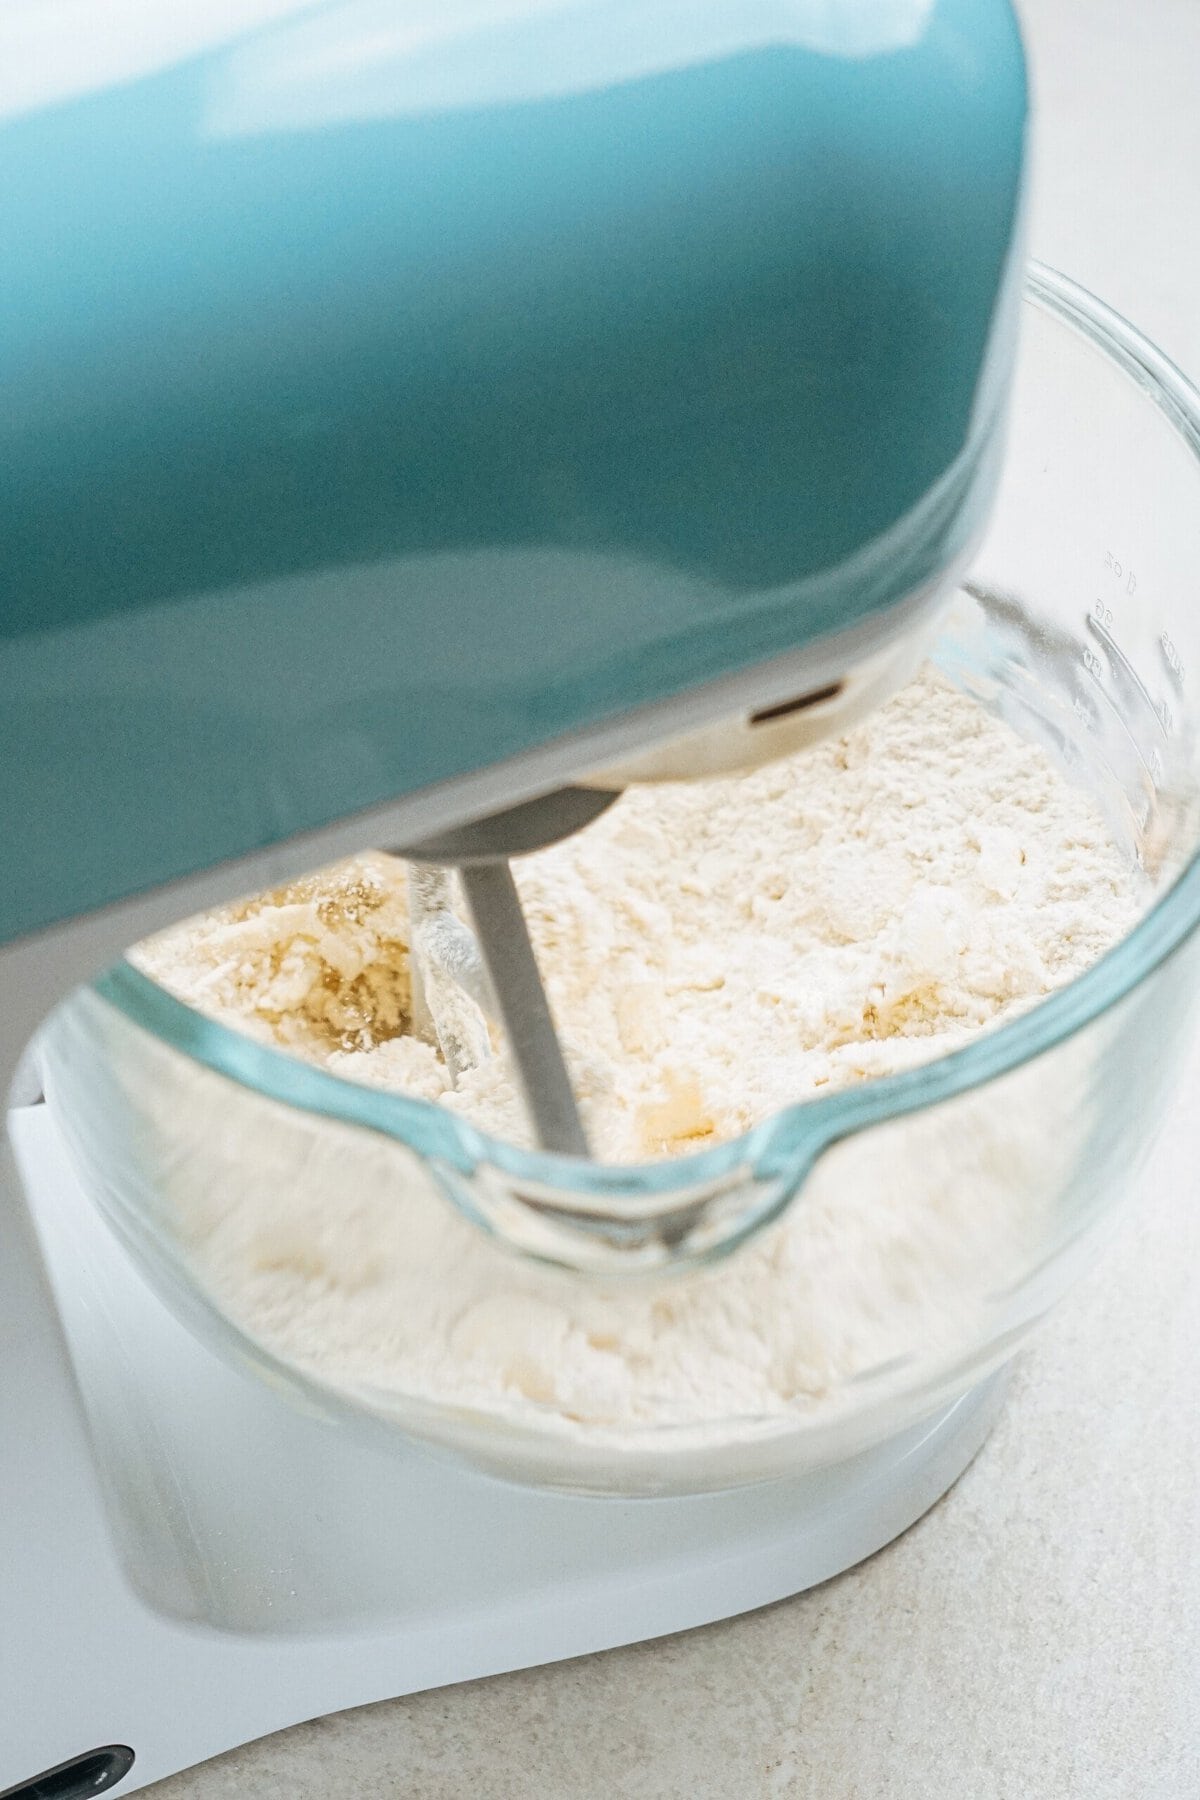
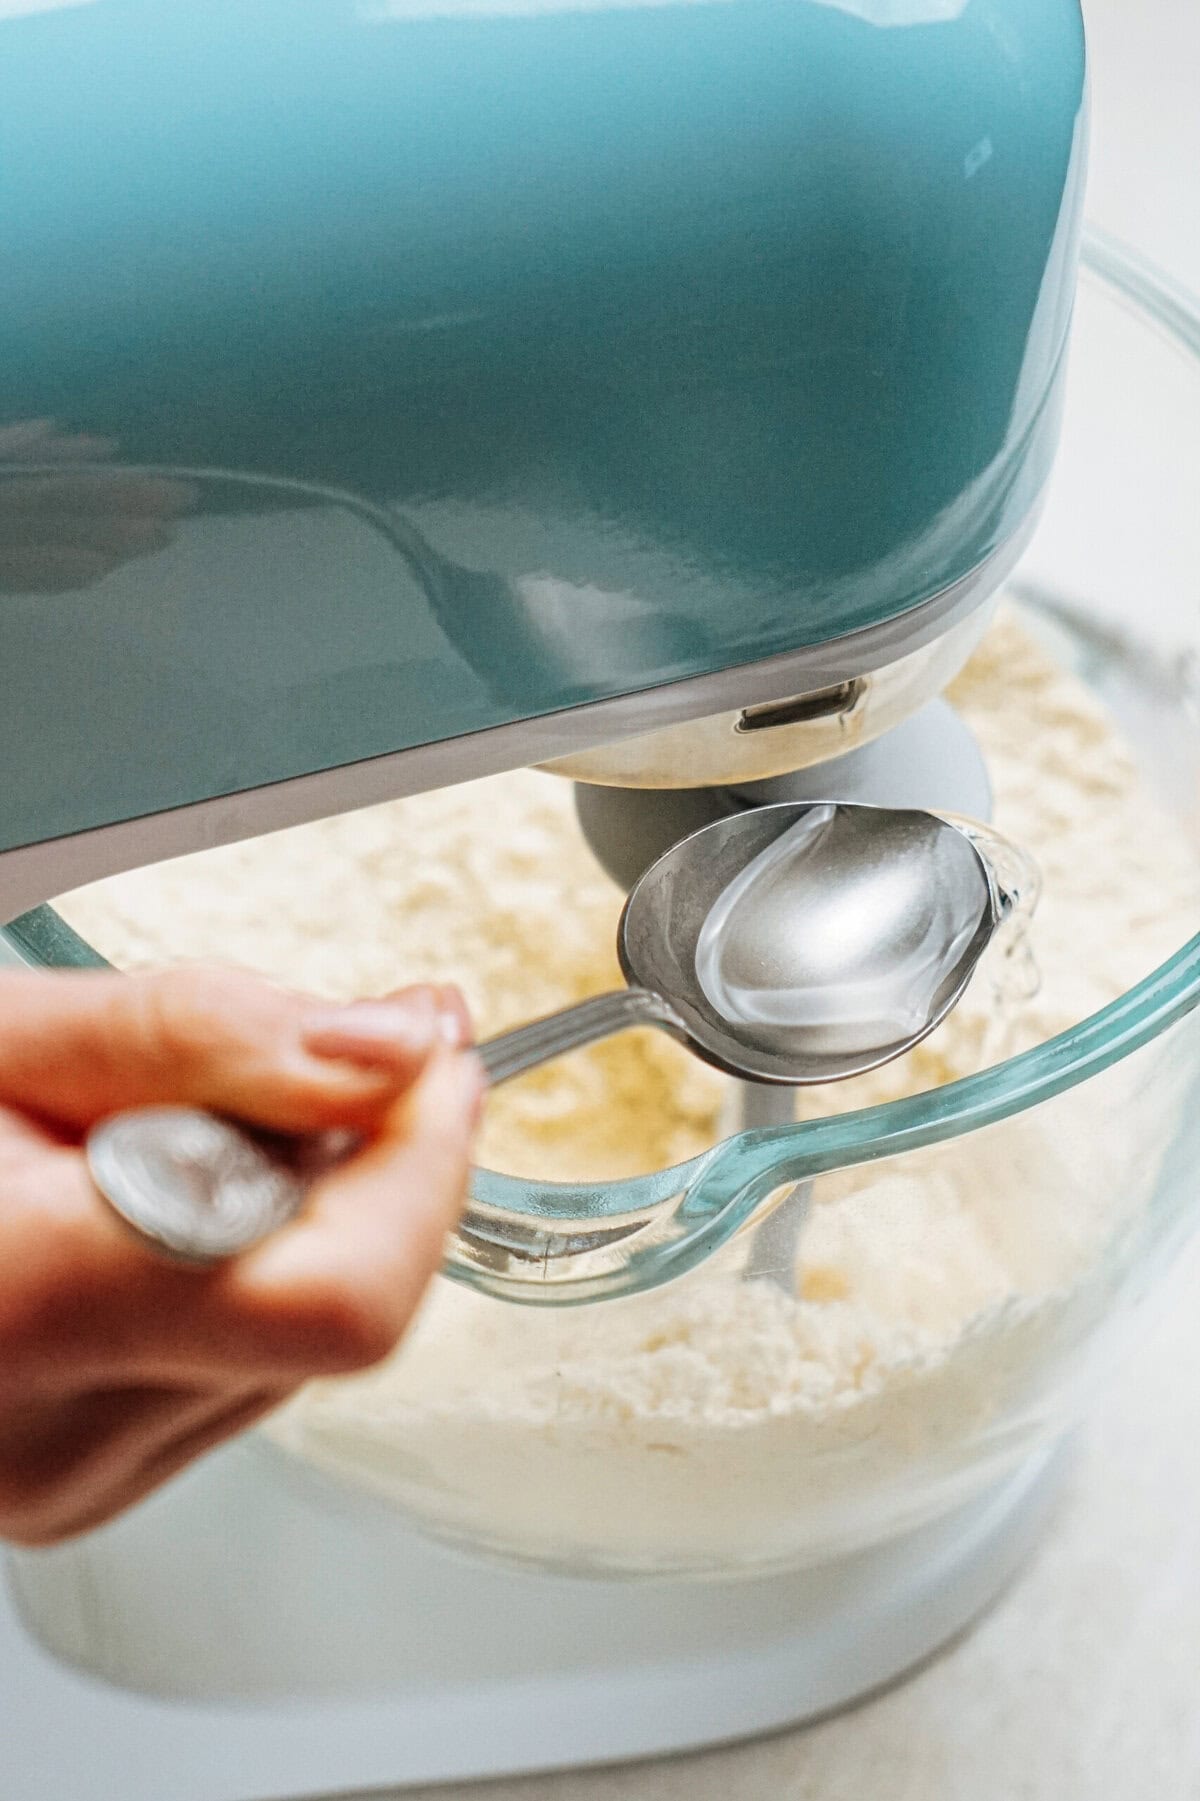
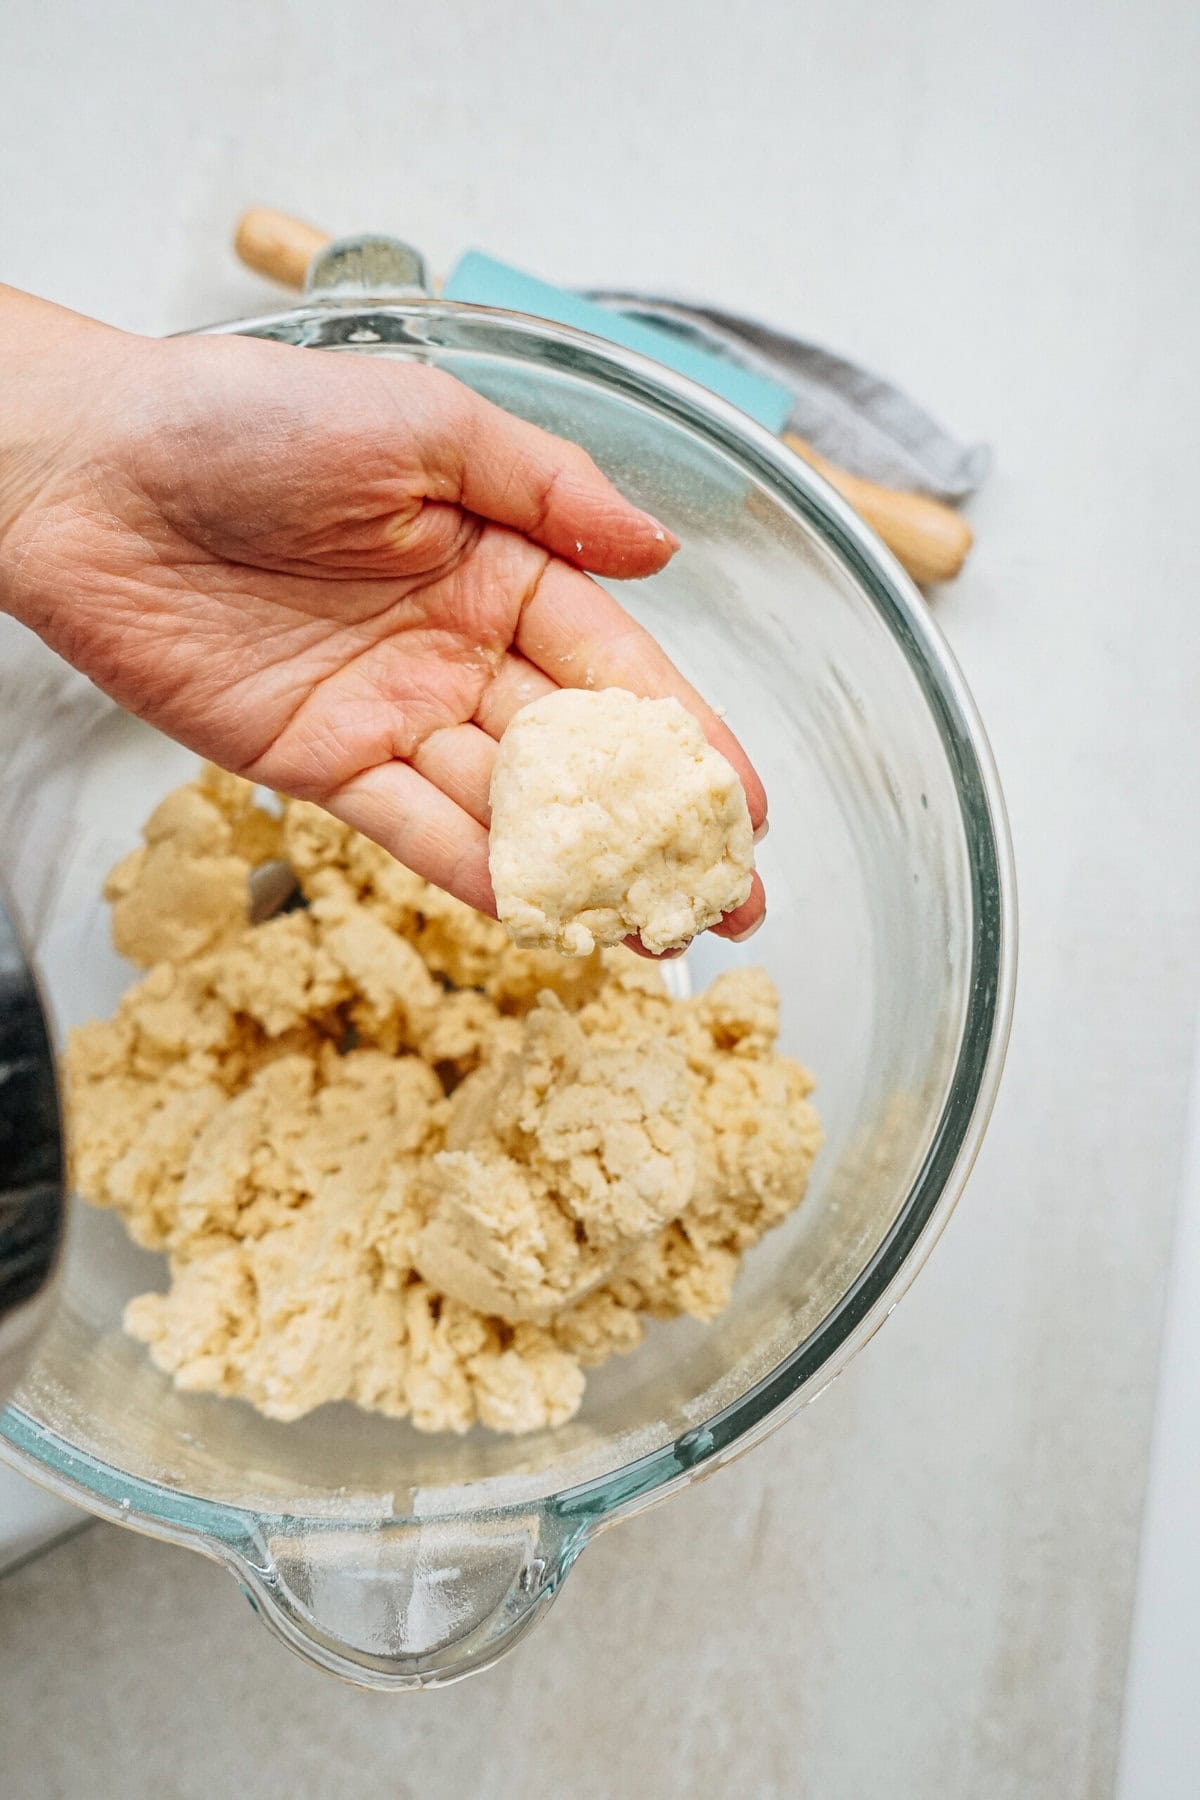
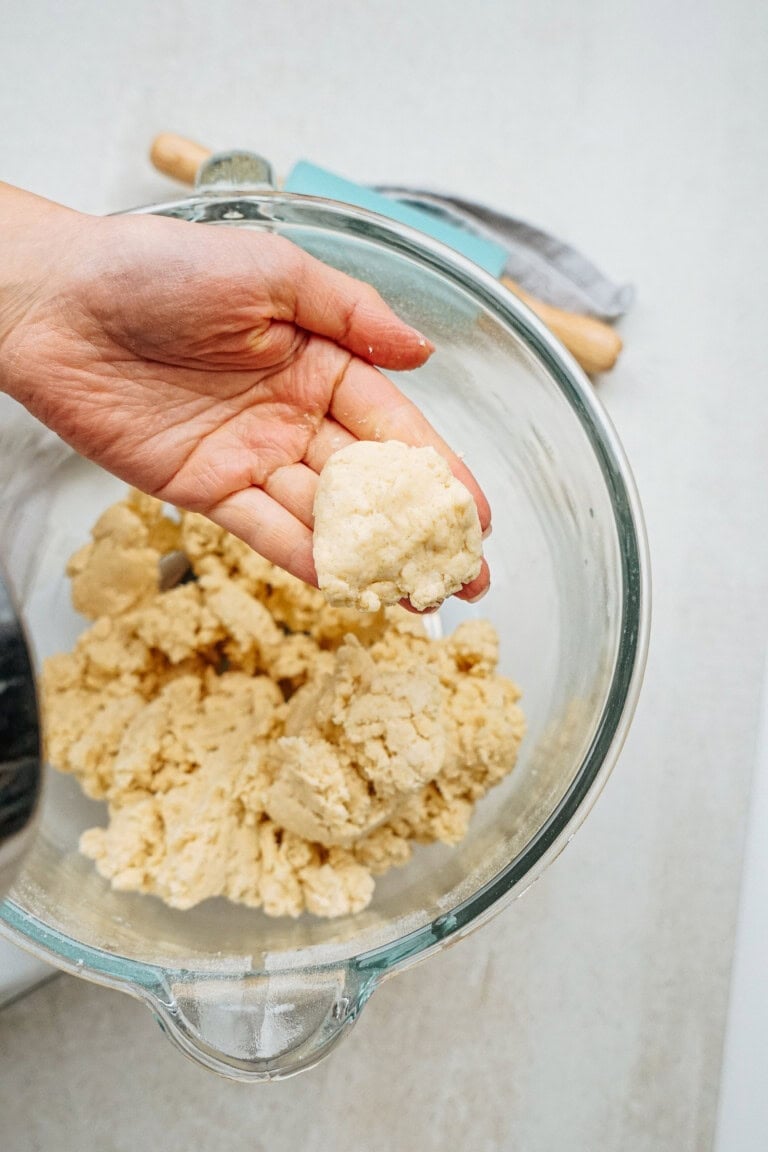
Stir in cold butter cubes until they are the size of peas. With the mixer on low, stream in ice cold water by the tablespoon until the dough starts coming together. It should be moist, but not sticky. If you grab a few pieces and squeeze them together in your hand, they should stick together without leaving a residue on your hands.
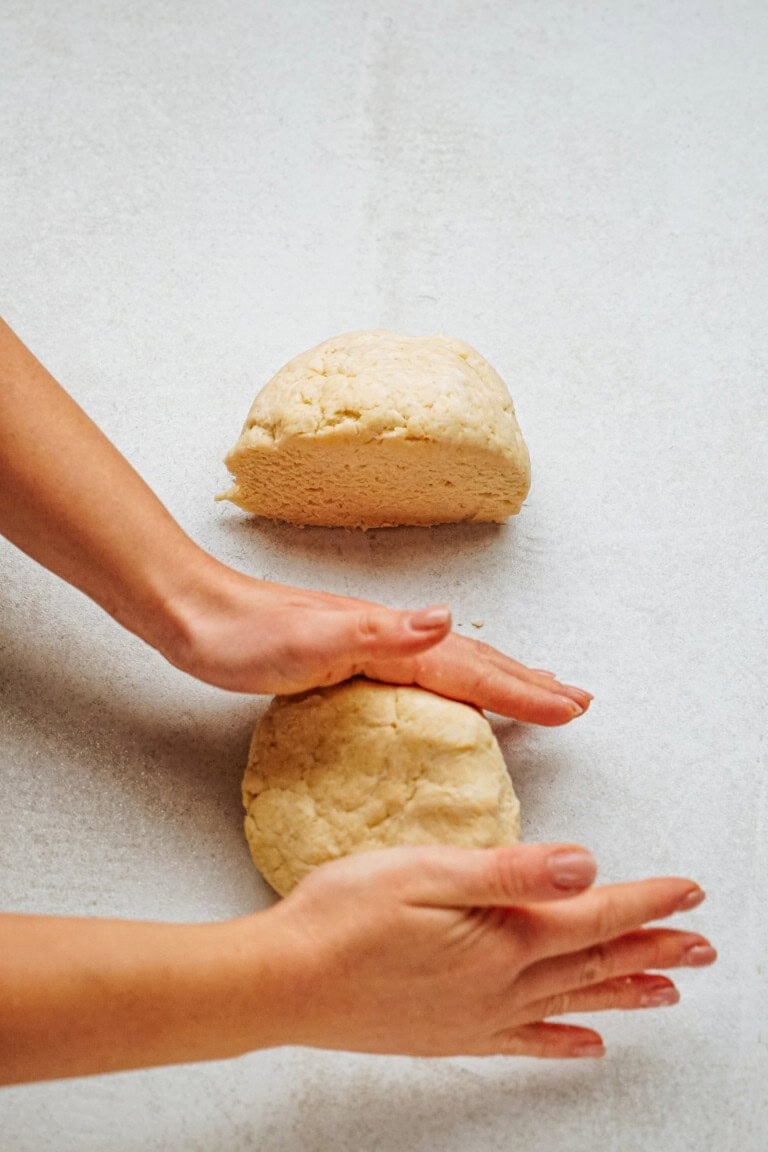
Form dough into two disks, wrap in plastic wrap and refrigerate until ready to use.
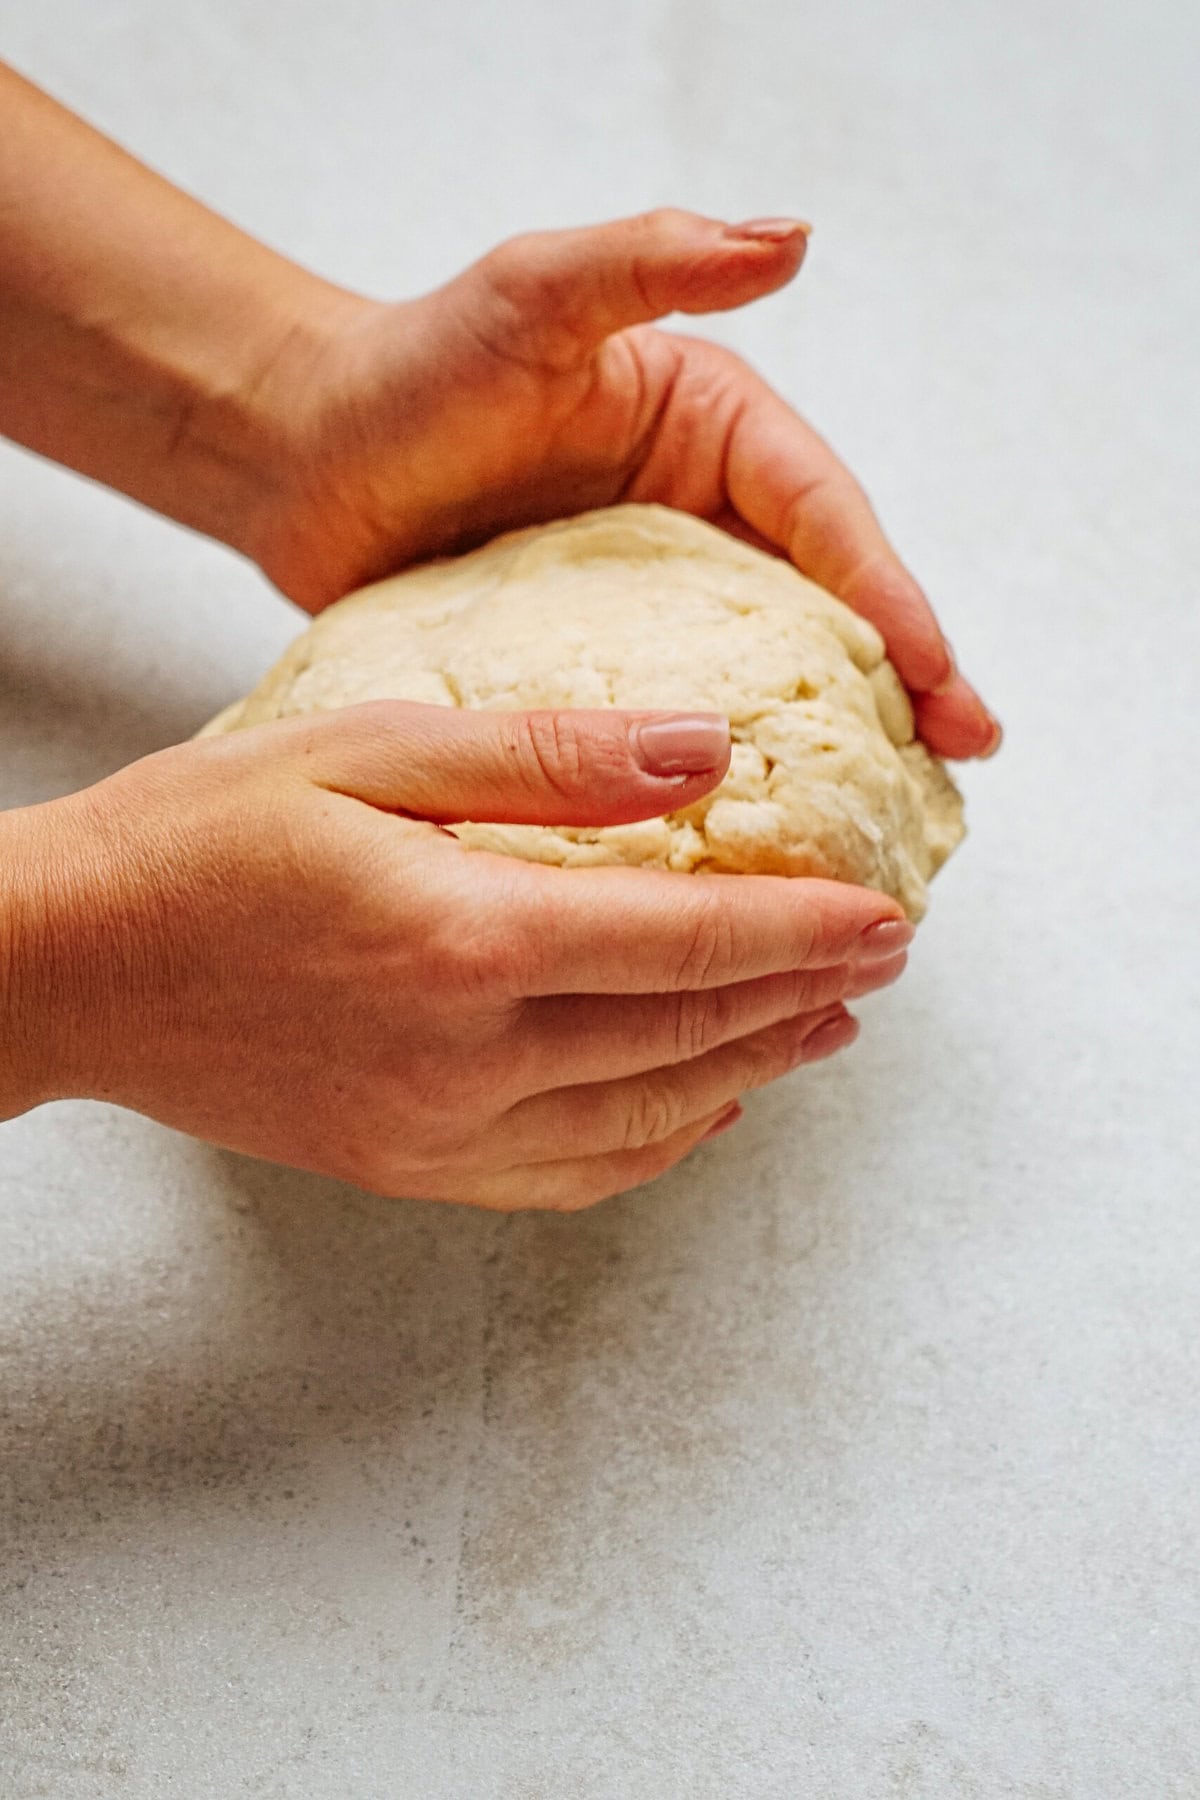
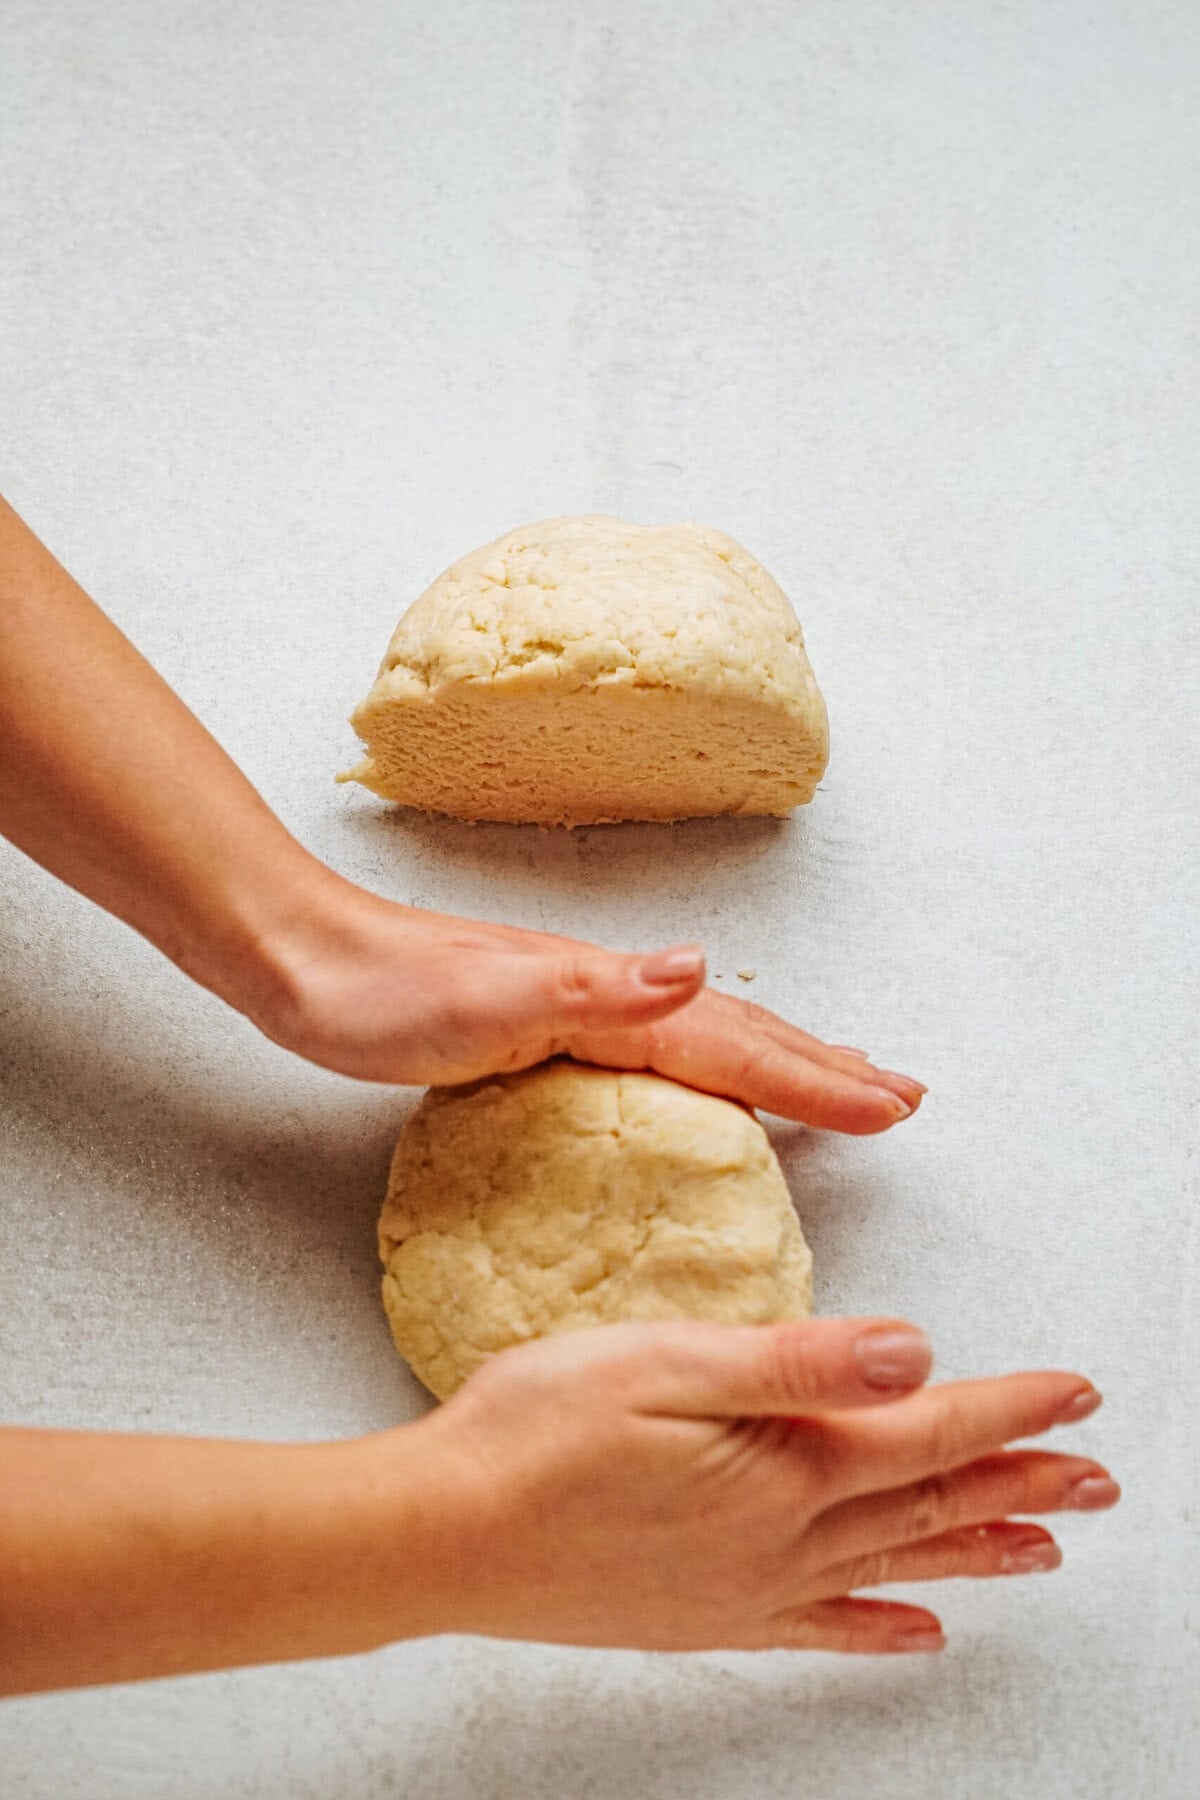
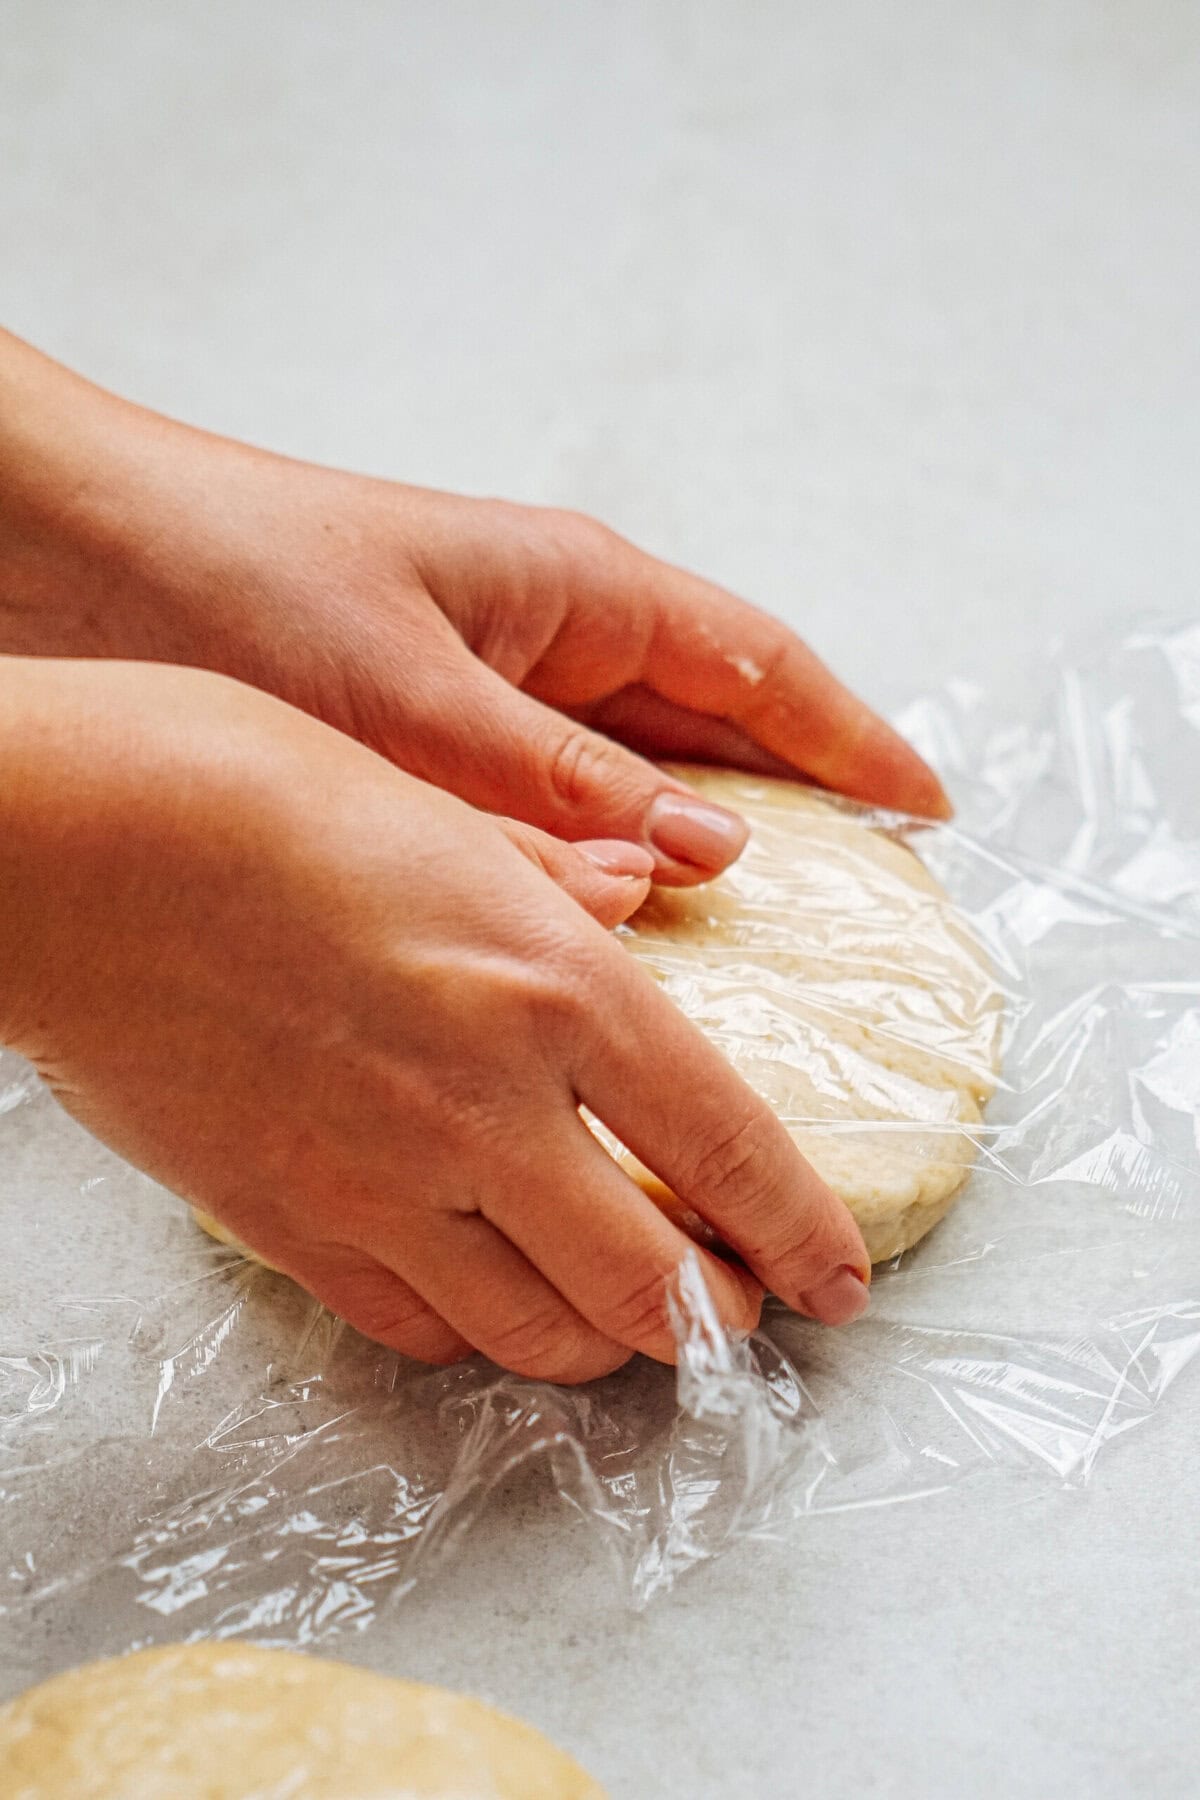
When ready to make the pie crust, remove one disk of dough from refrigerator and sit out for 10-15 minutes to make it easier to roll.
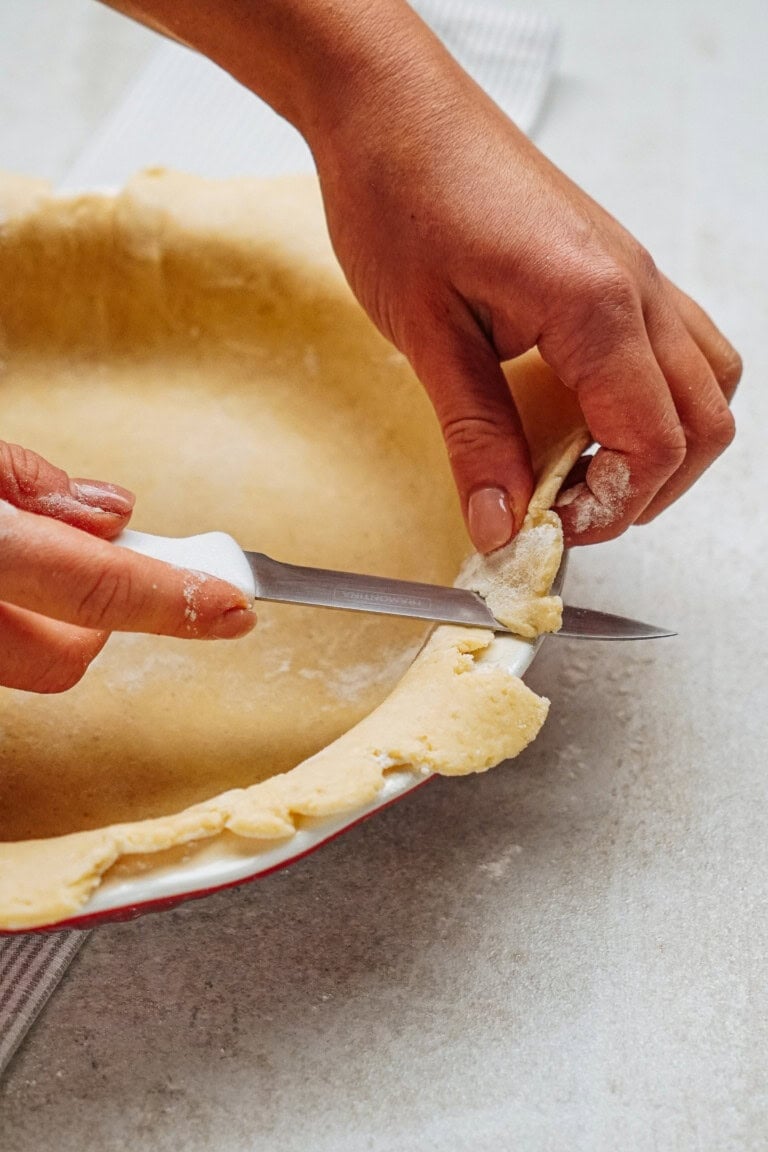
Preheat oven to 400° F. Flour counter top and rolling pin and roll out dough to large circle. Gently place into a pie pan, cut off extra dough and scallop the top edges of crust.
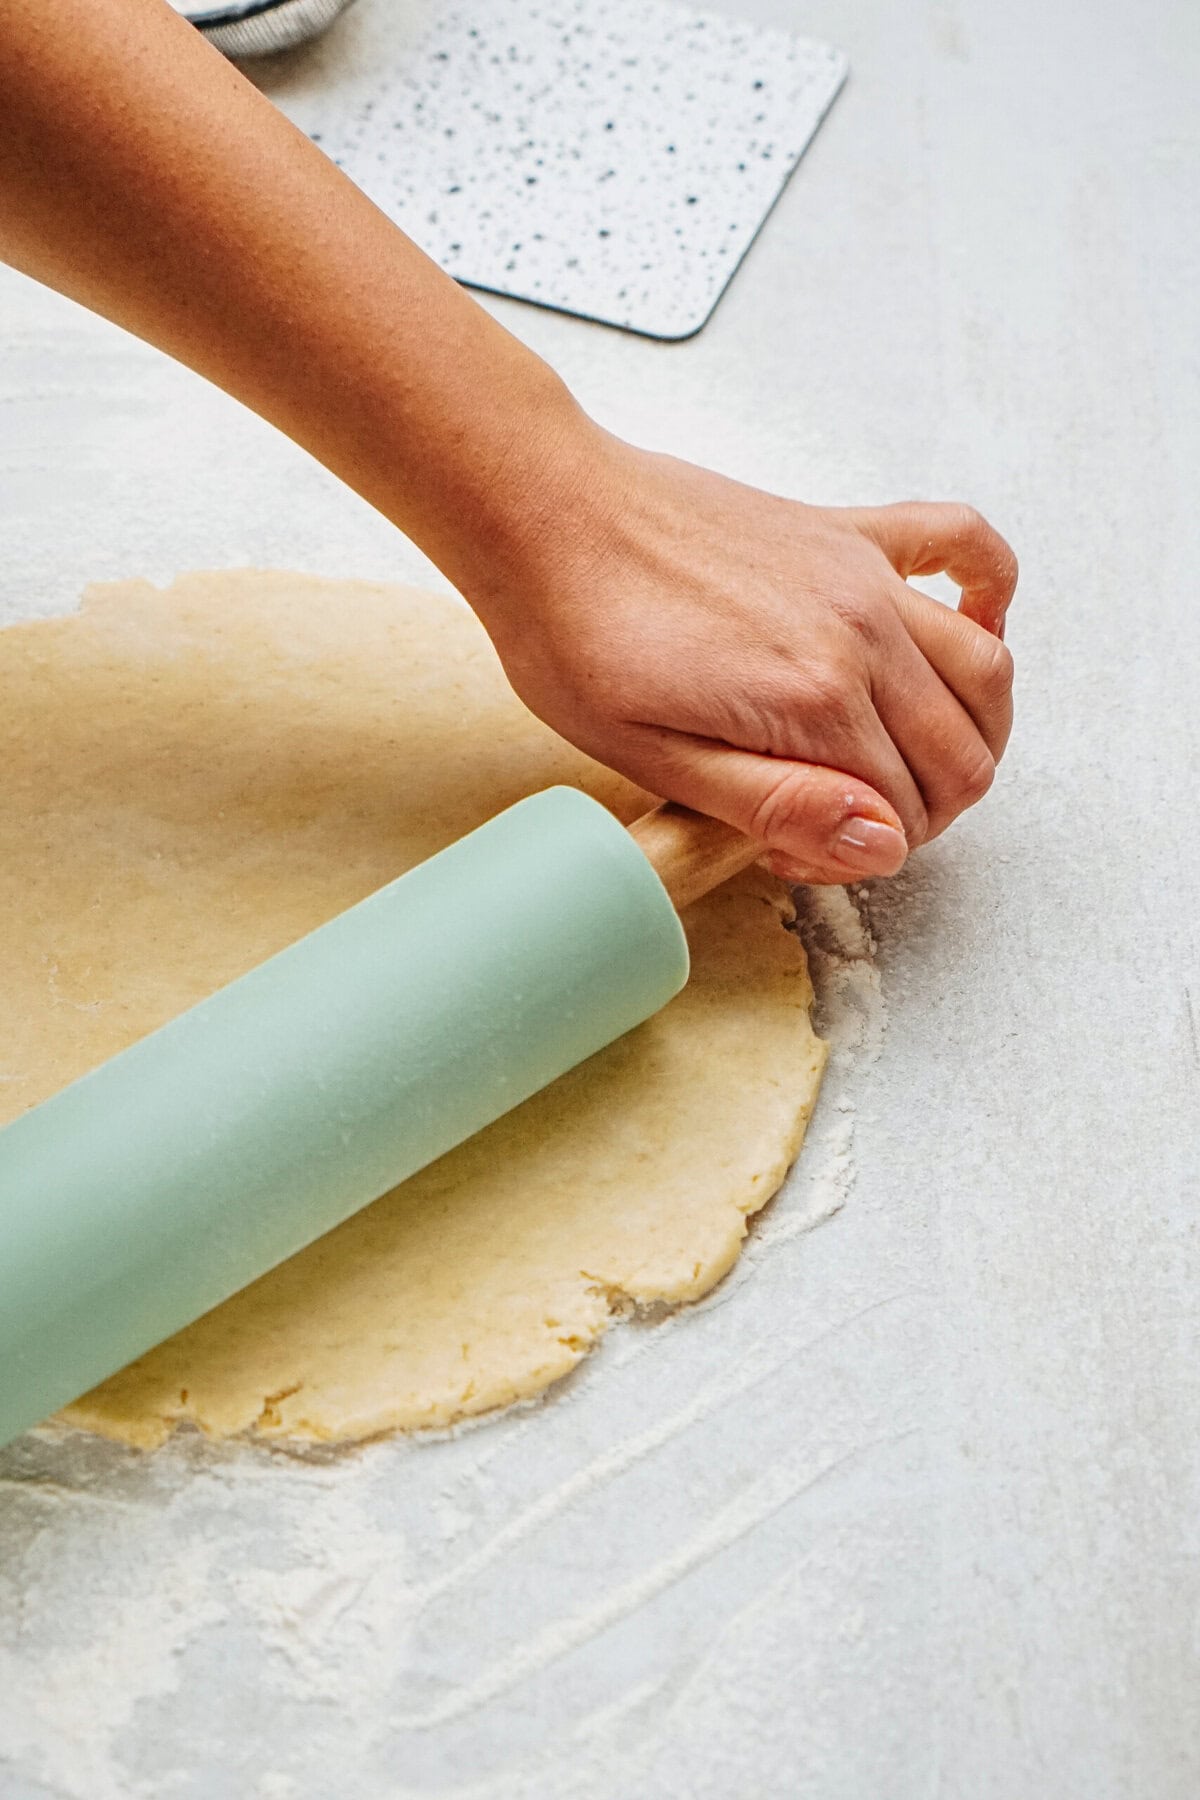
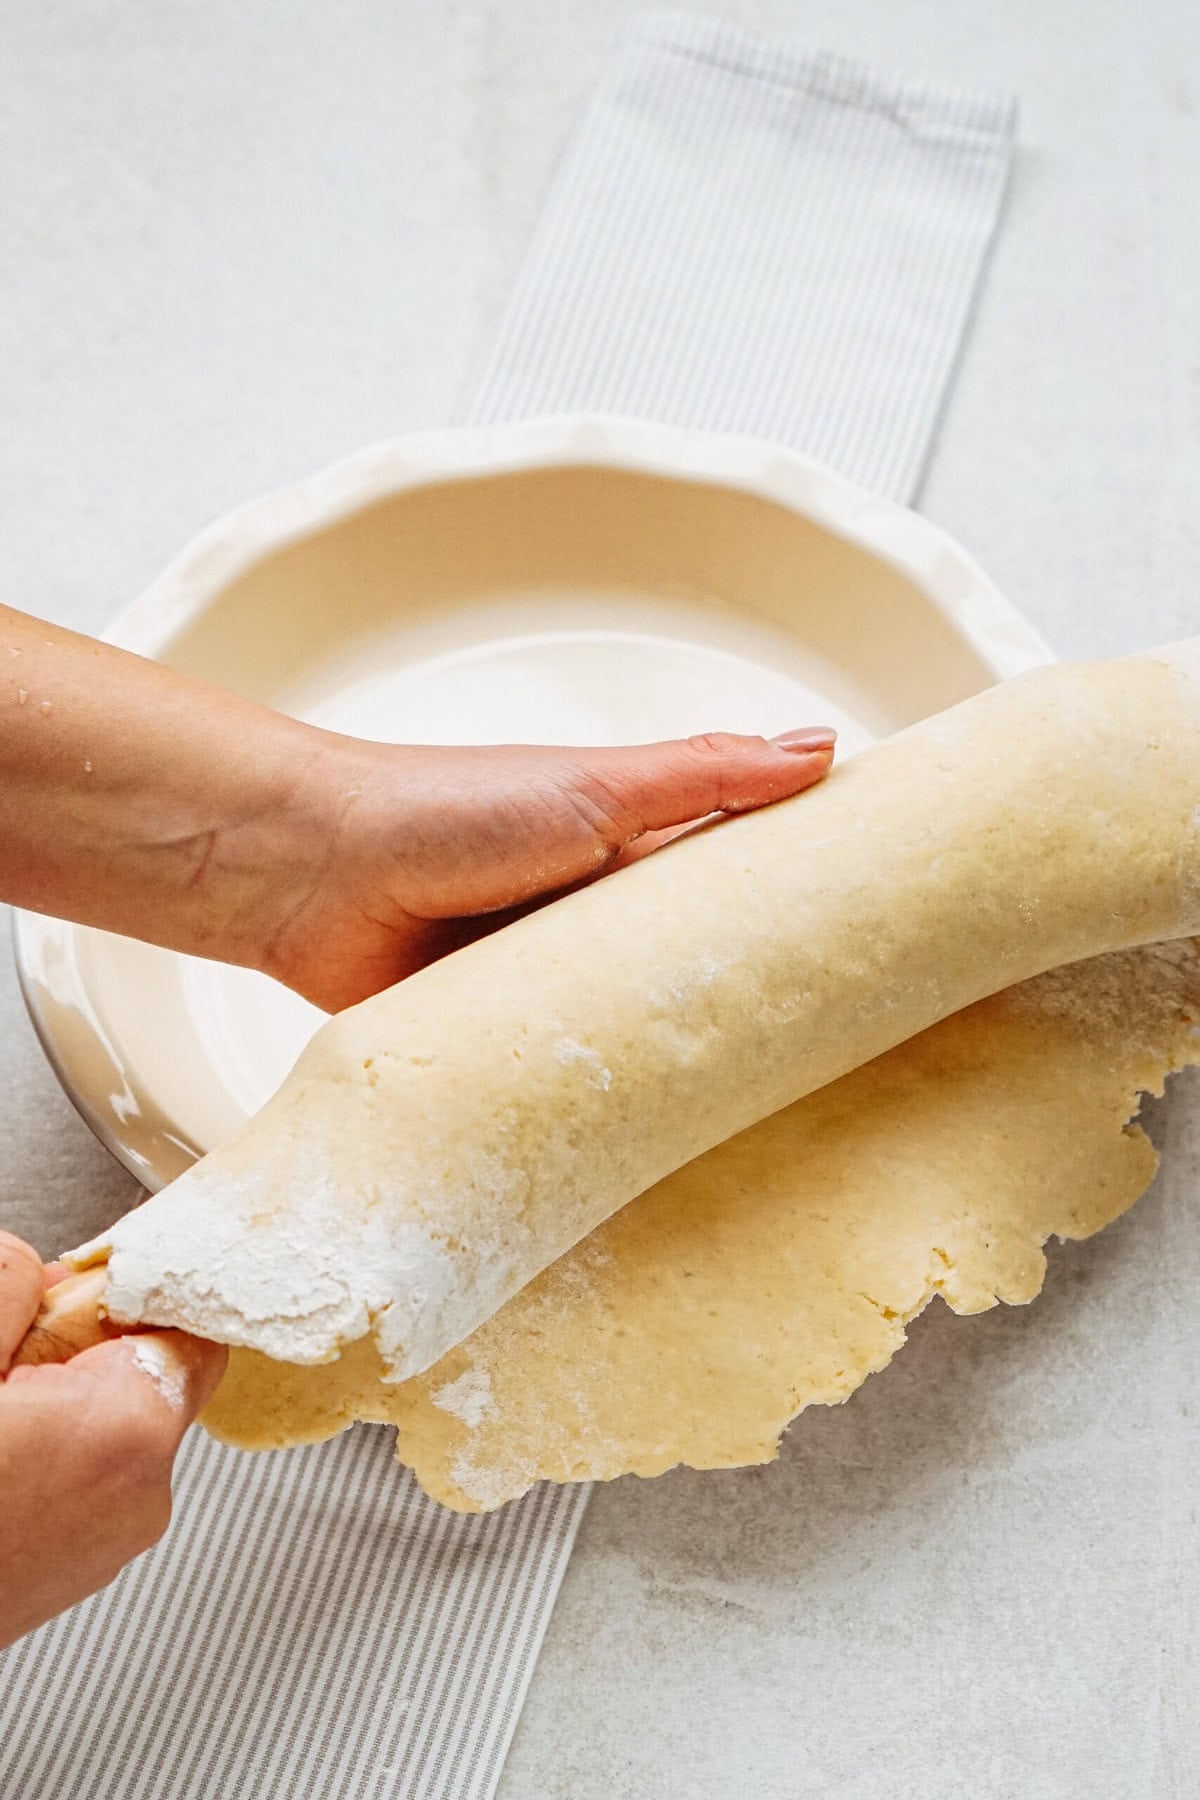
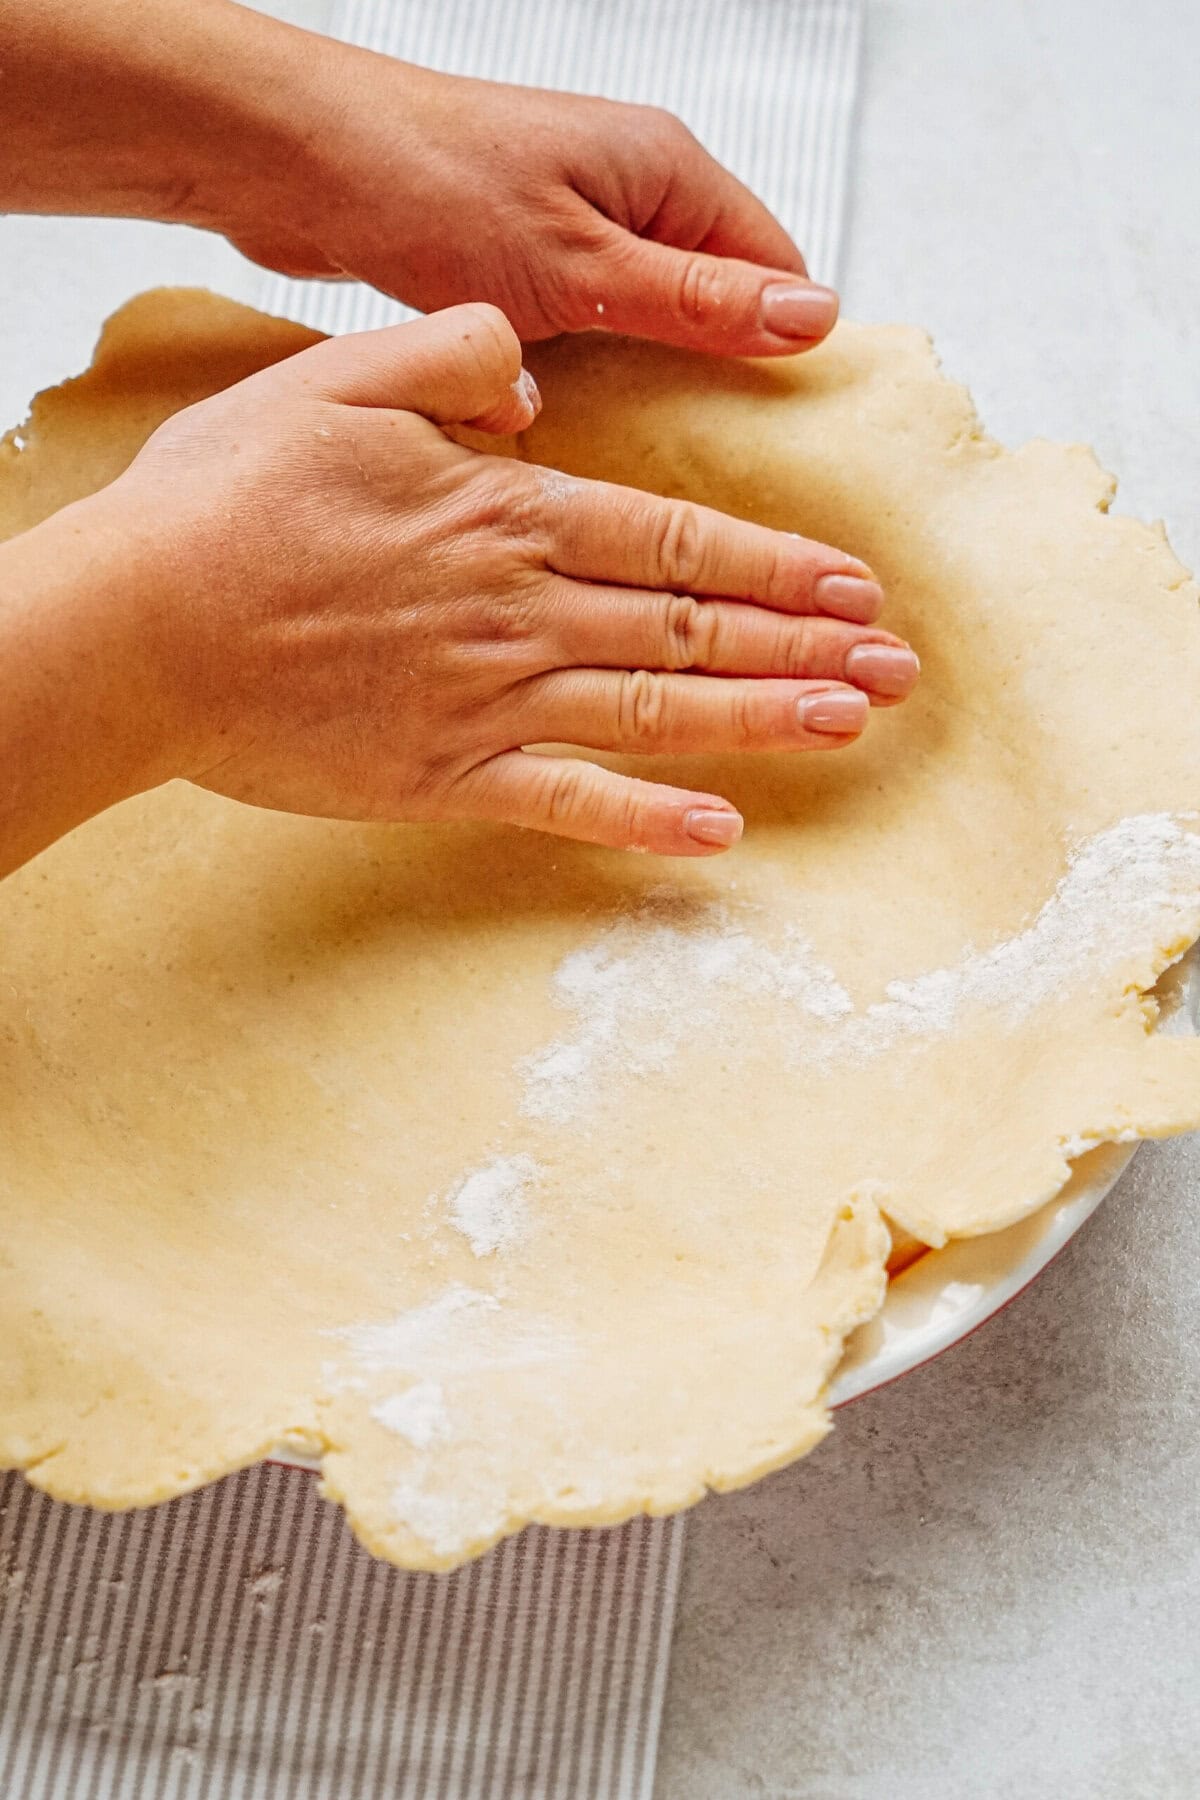
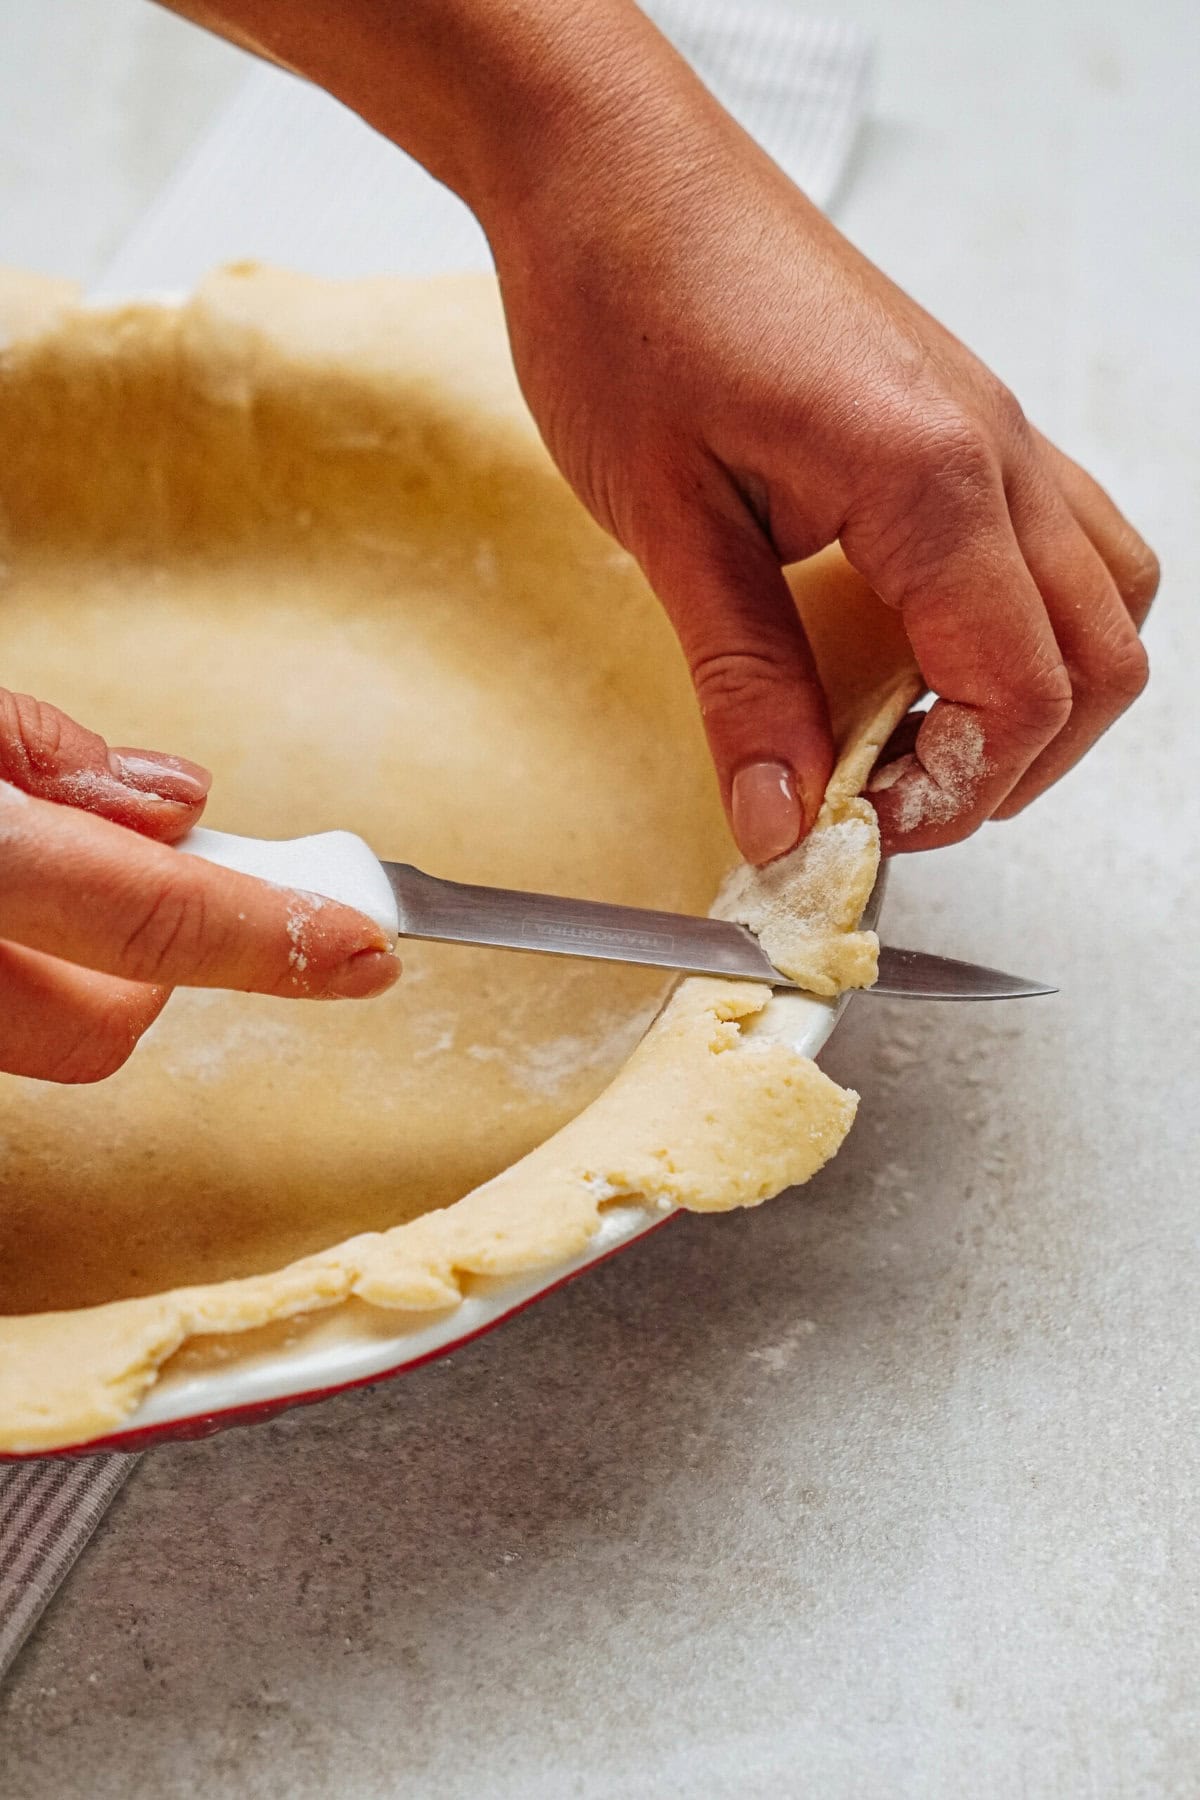
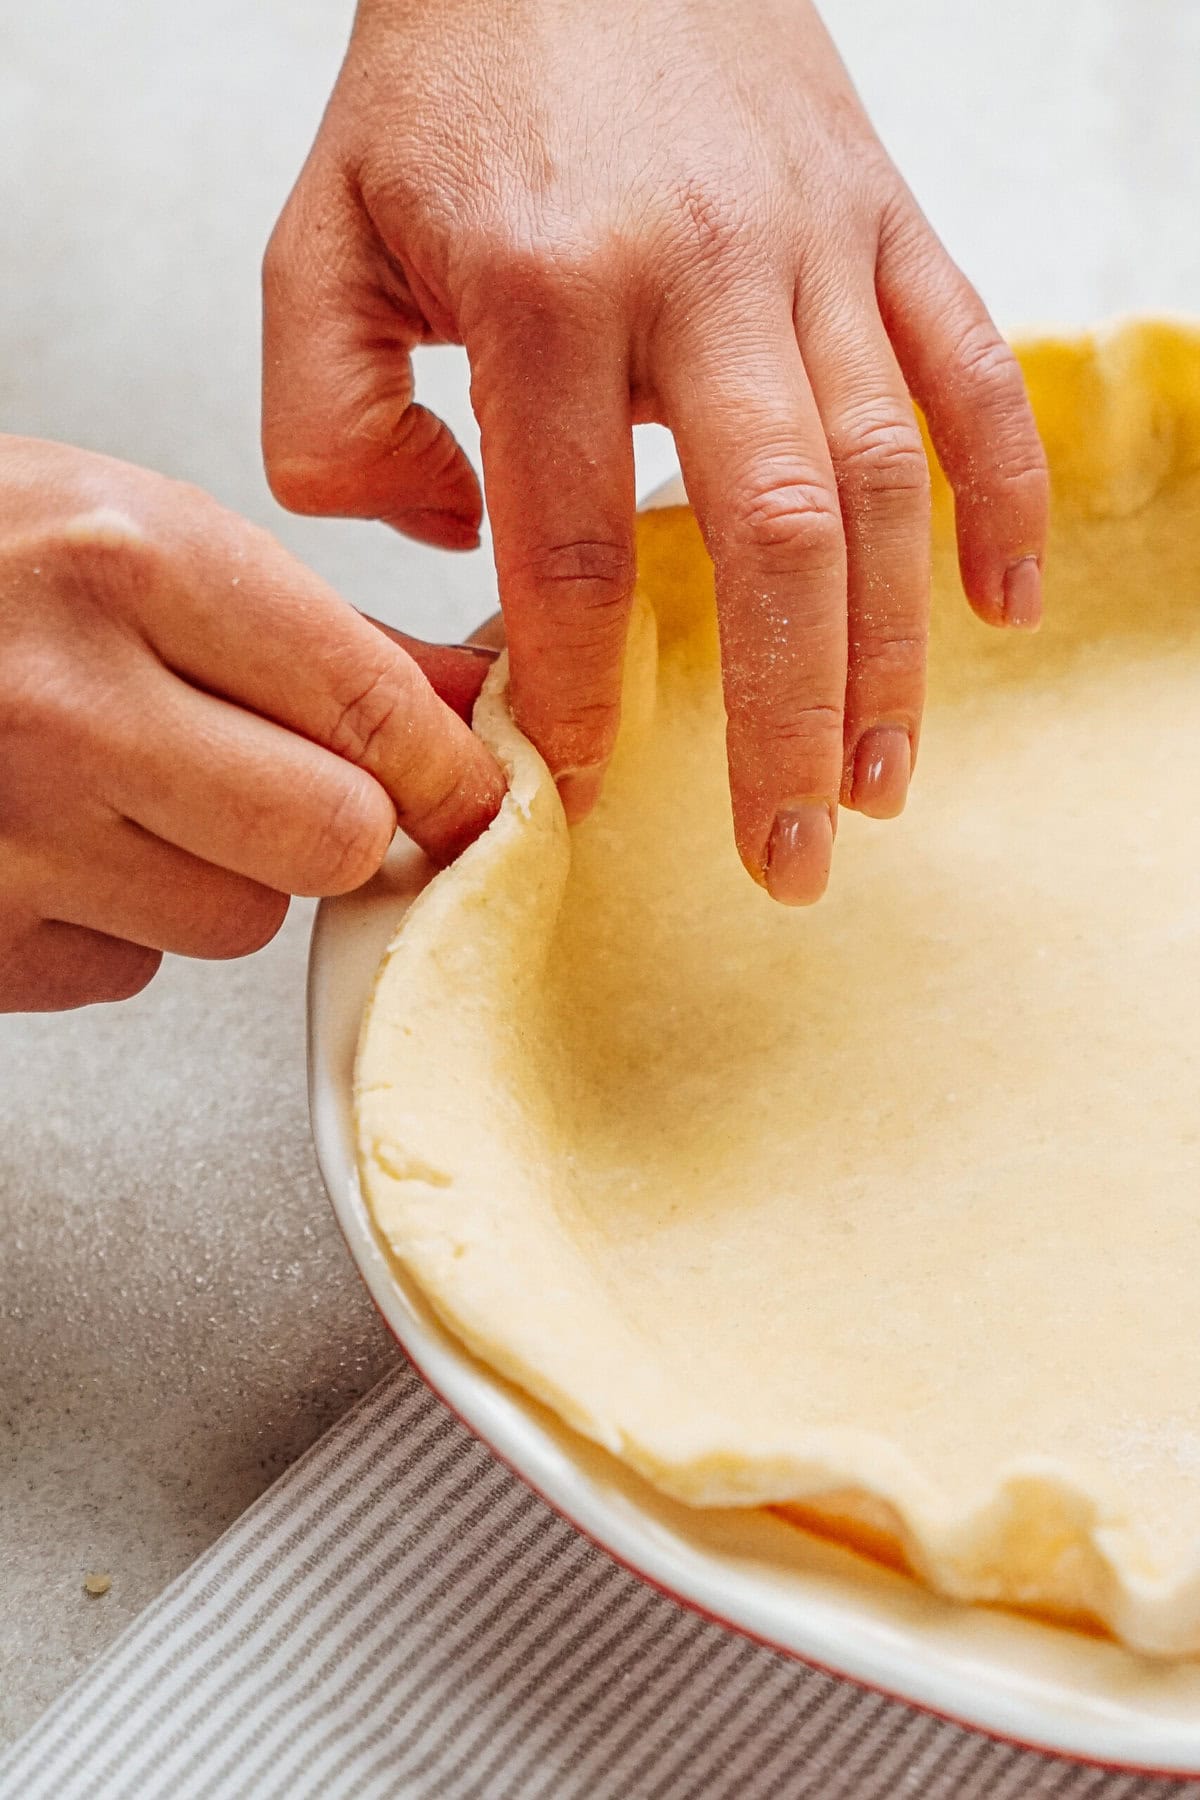
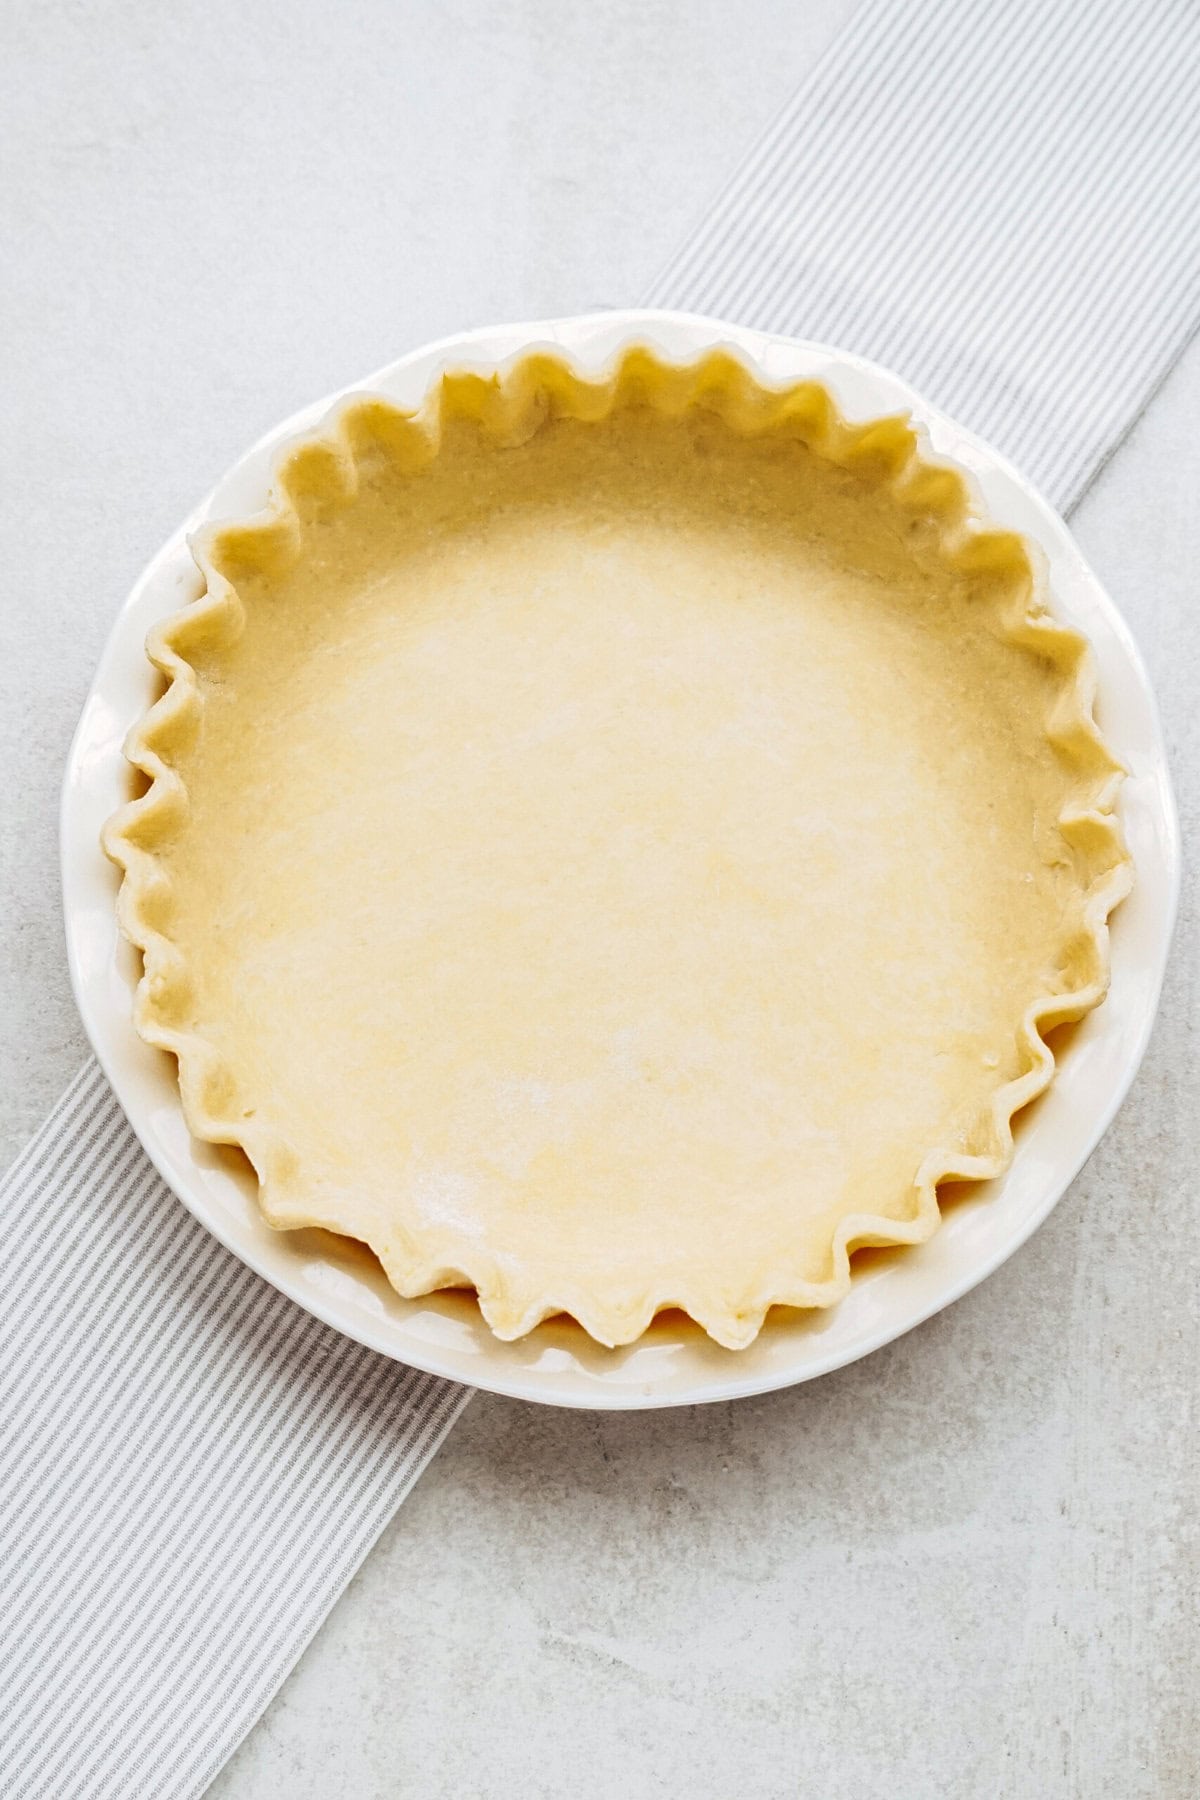
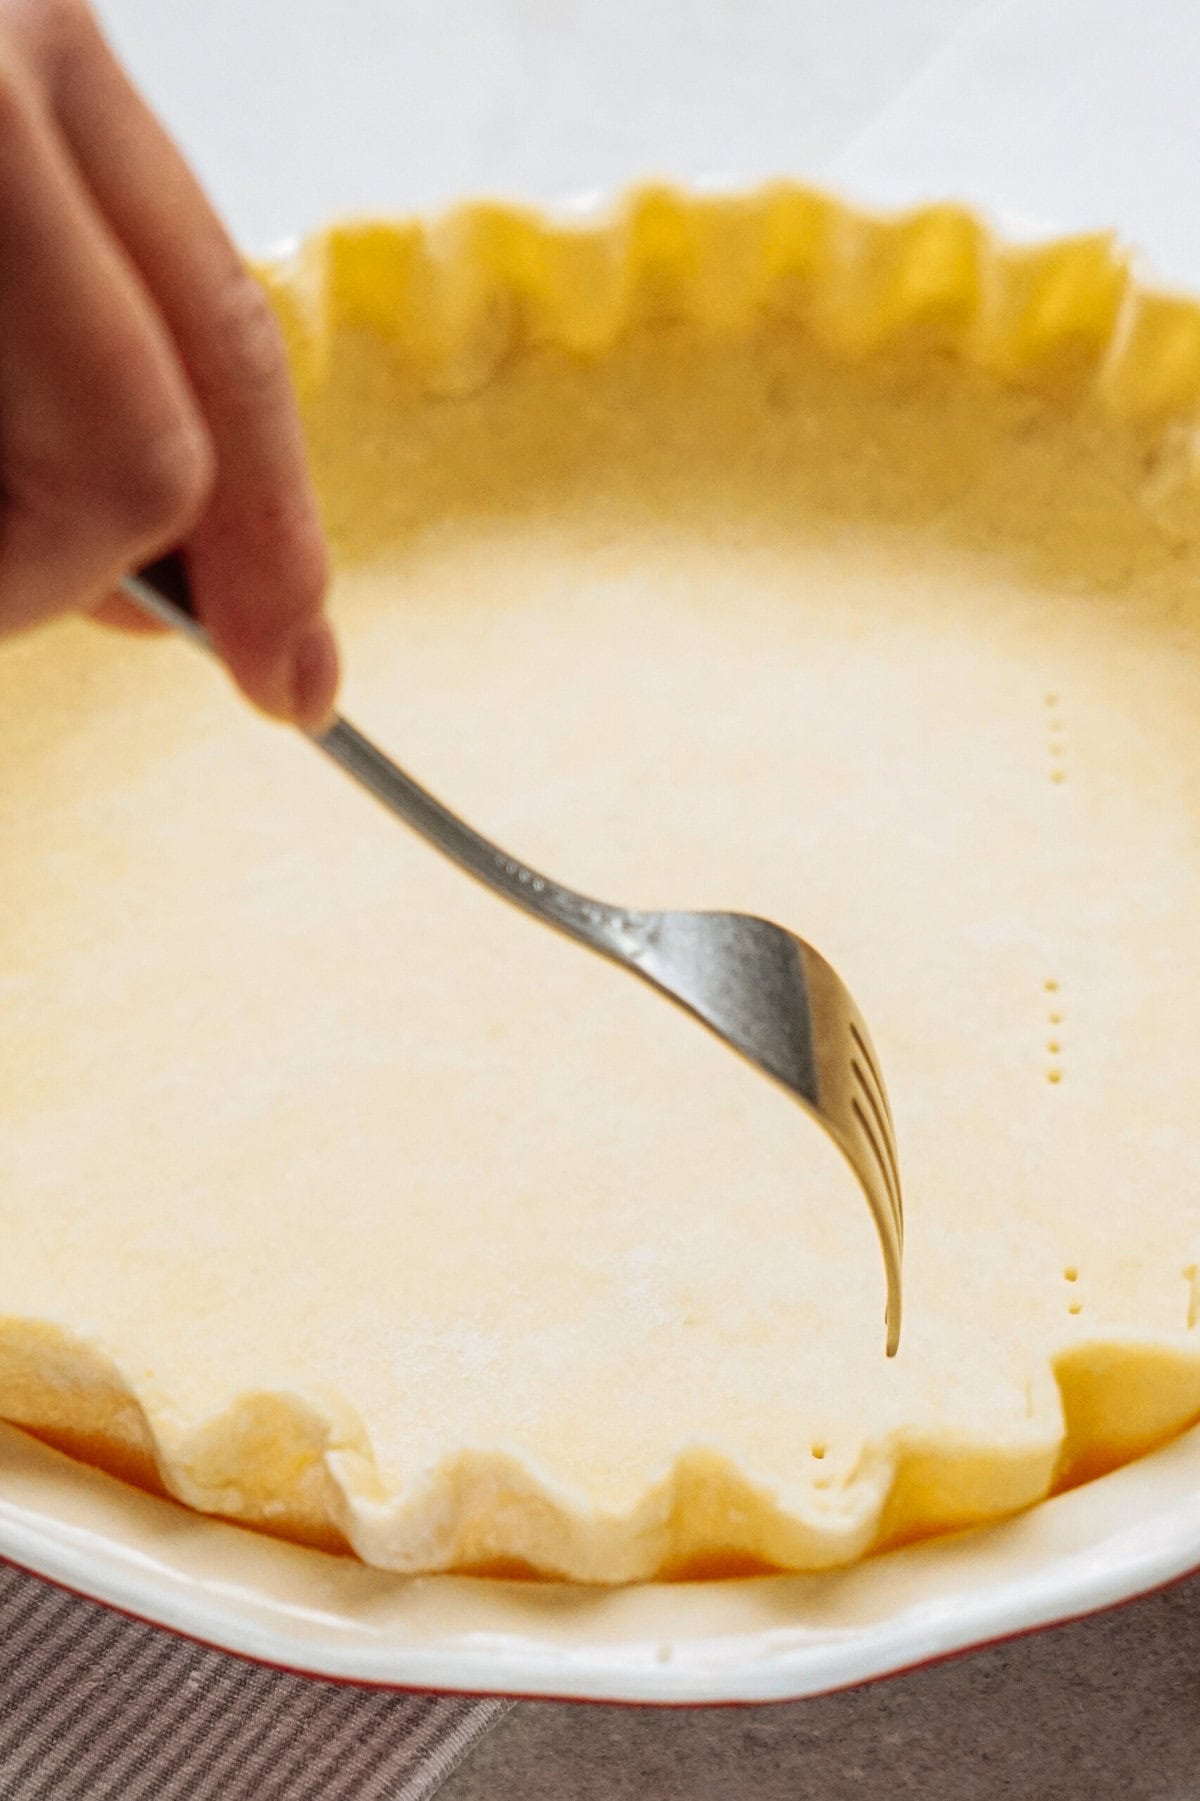
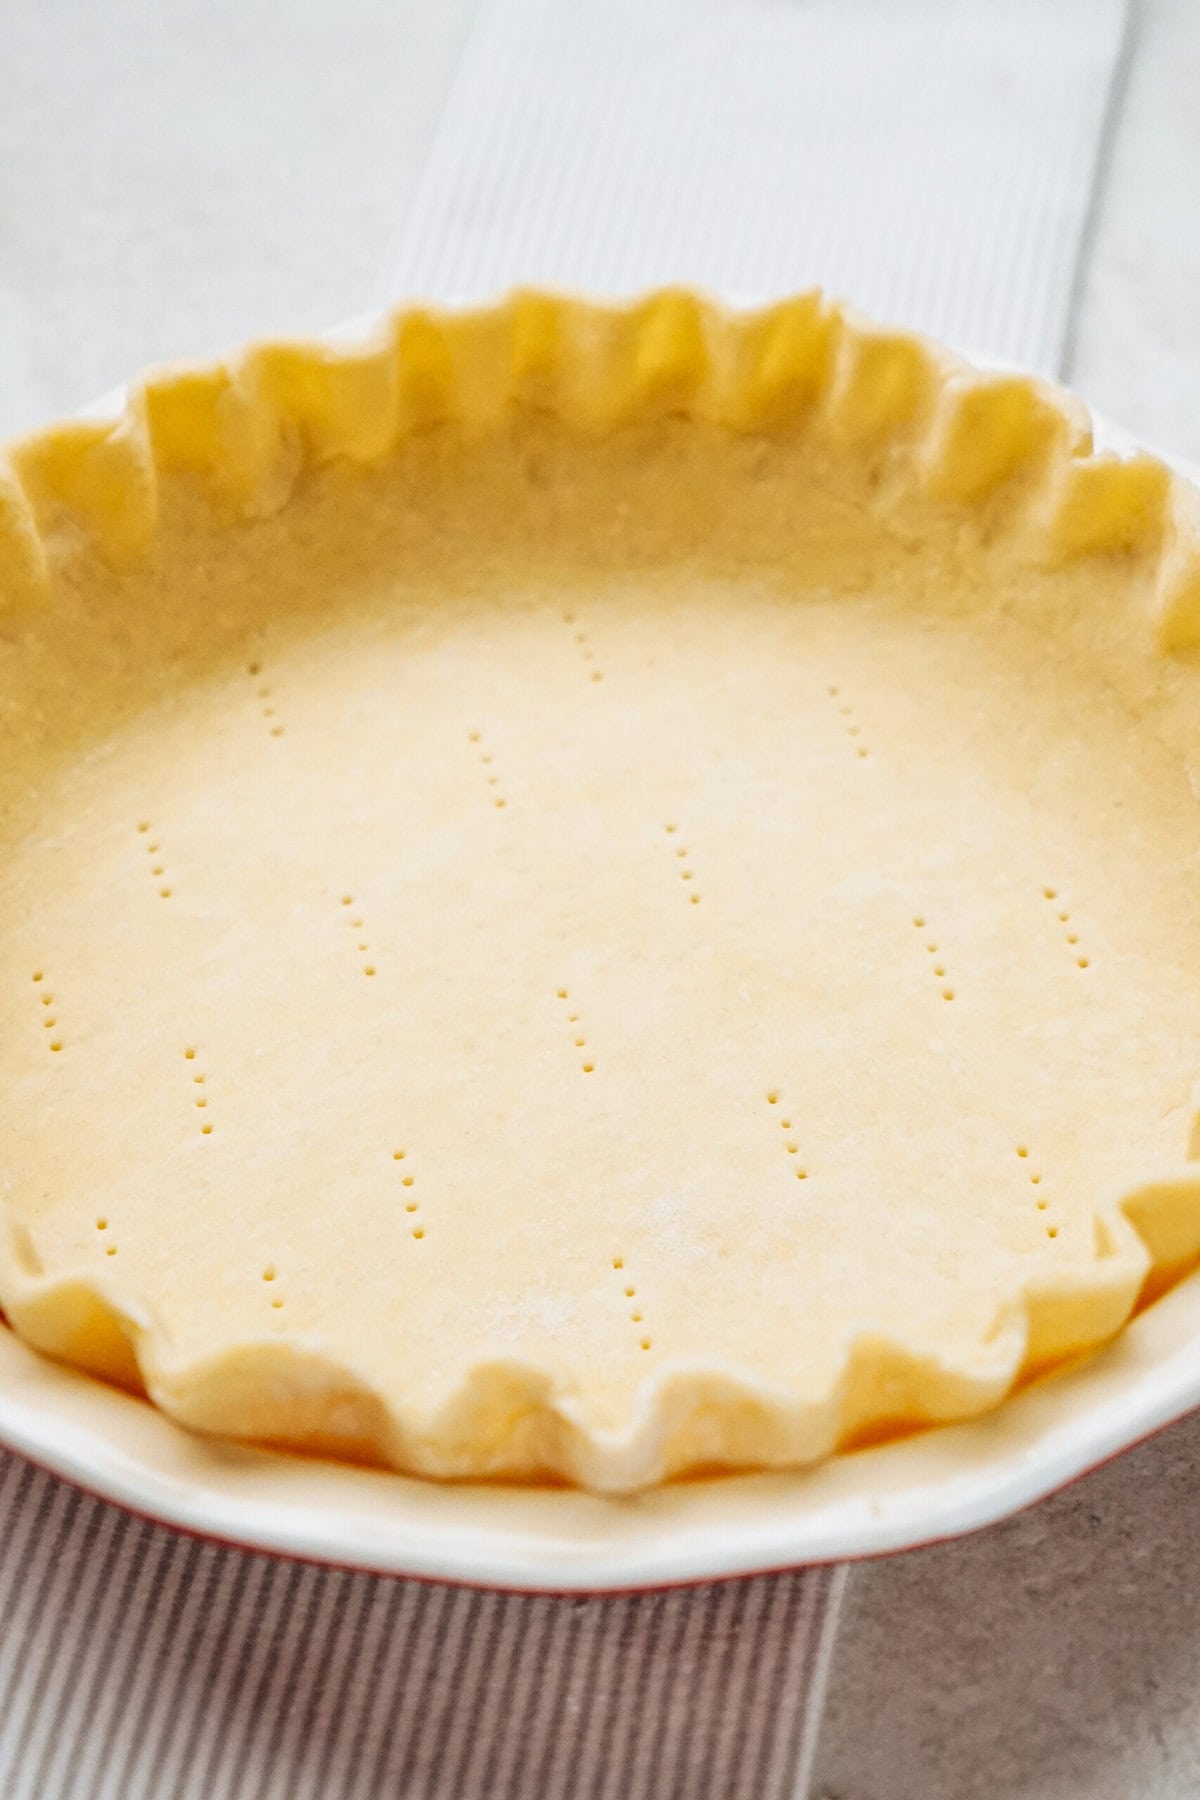
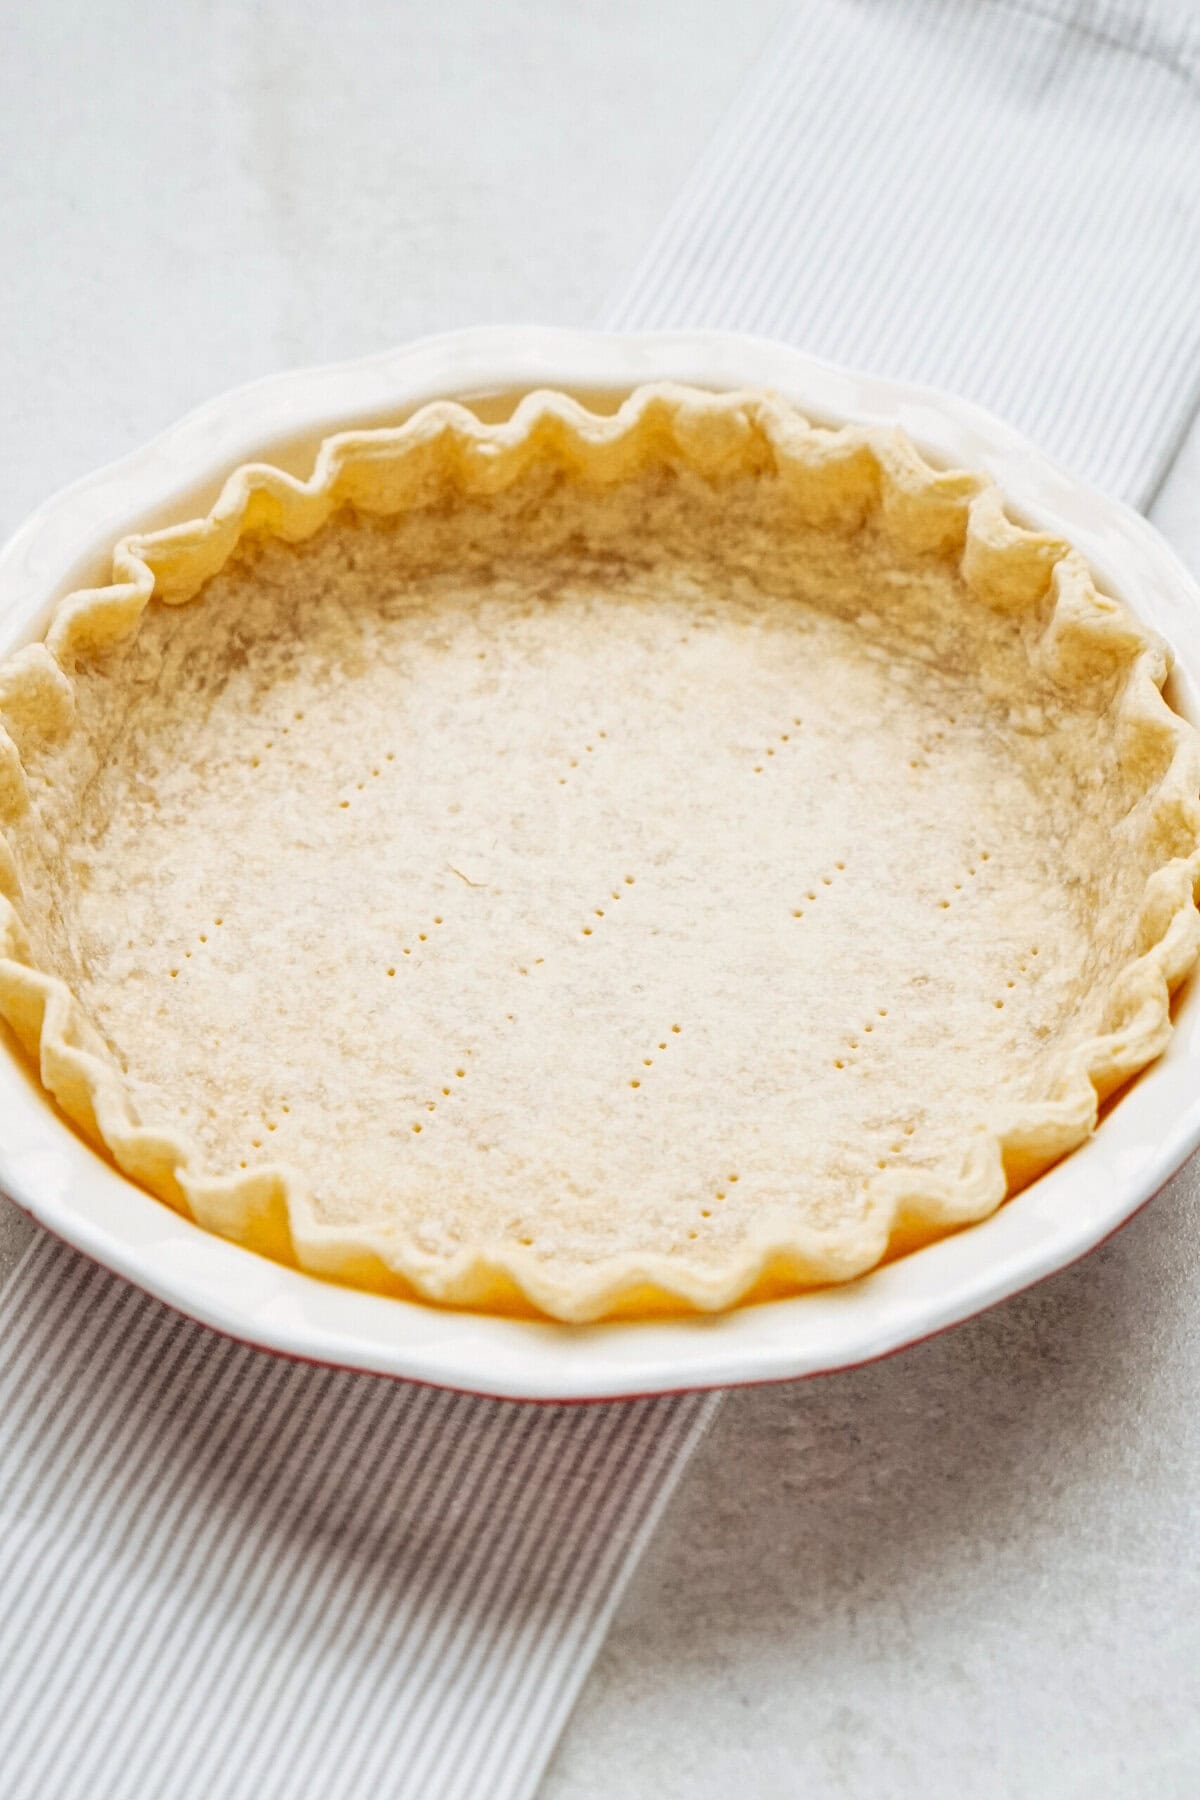
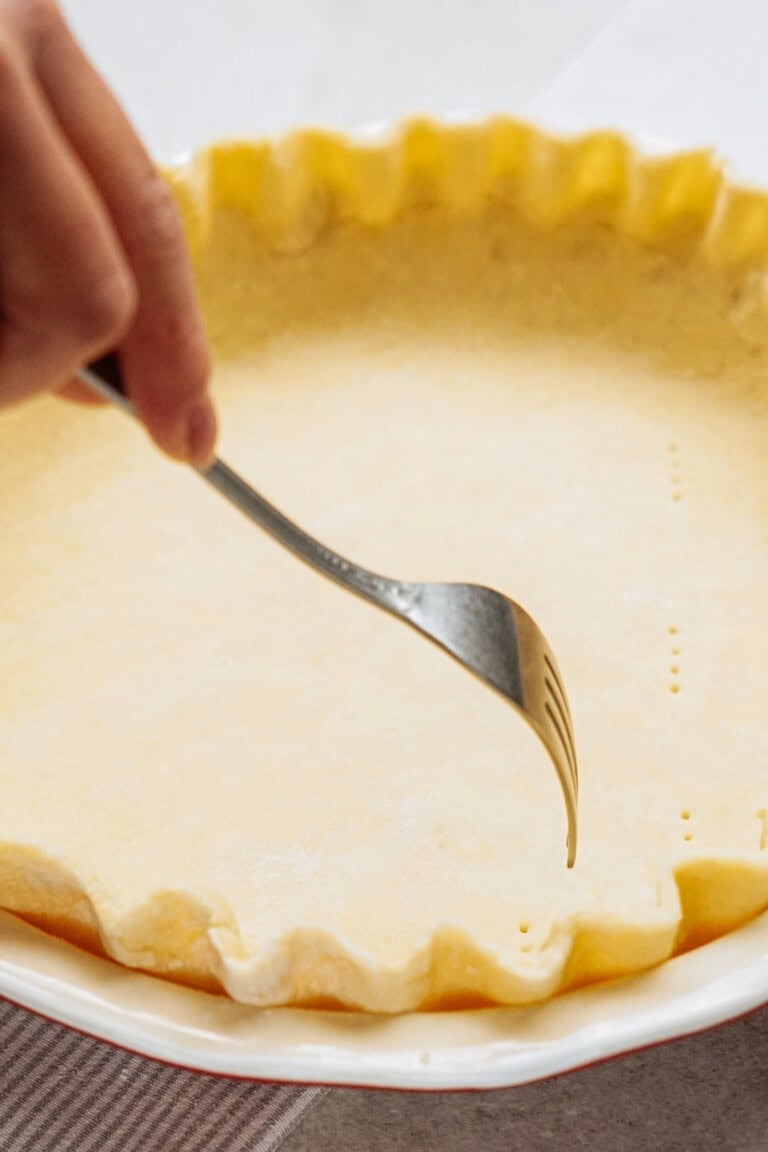
Prick bottom of crust with fork a few times, evenly. Bake for 10-12 minutes or until crust looks dry and top edges are barely golden. Set aside to cool.
2. Whip the Cream
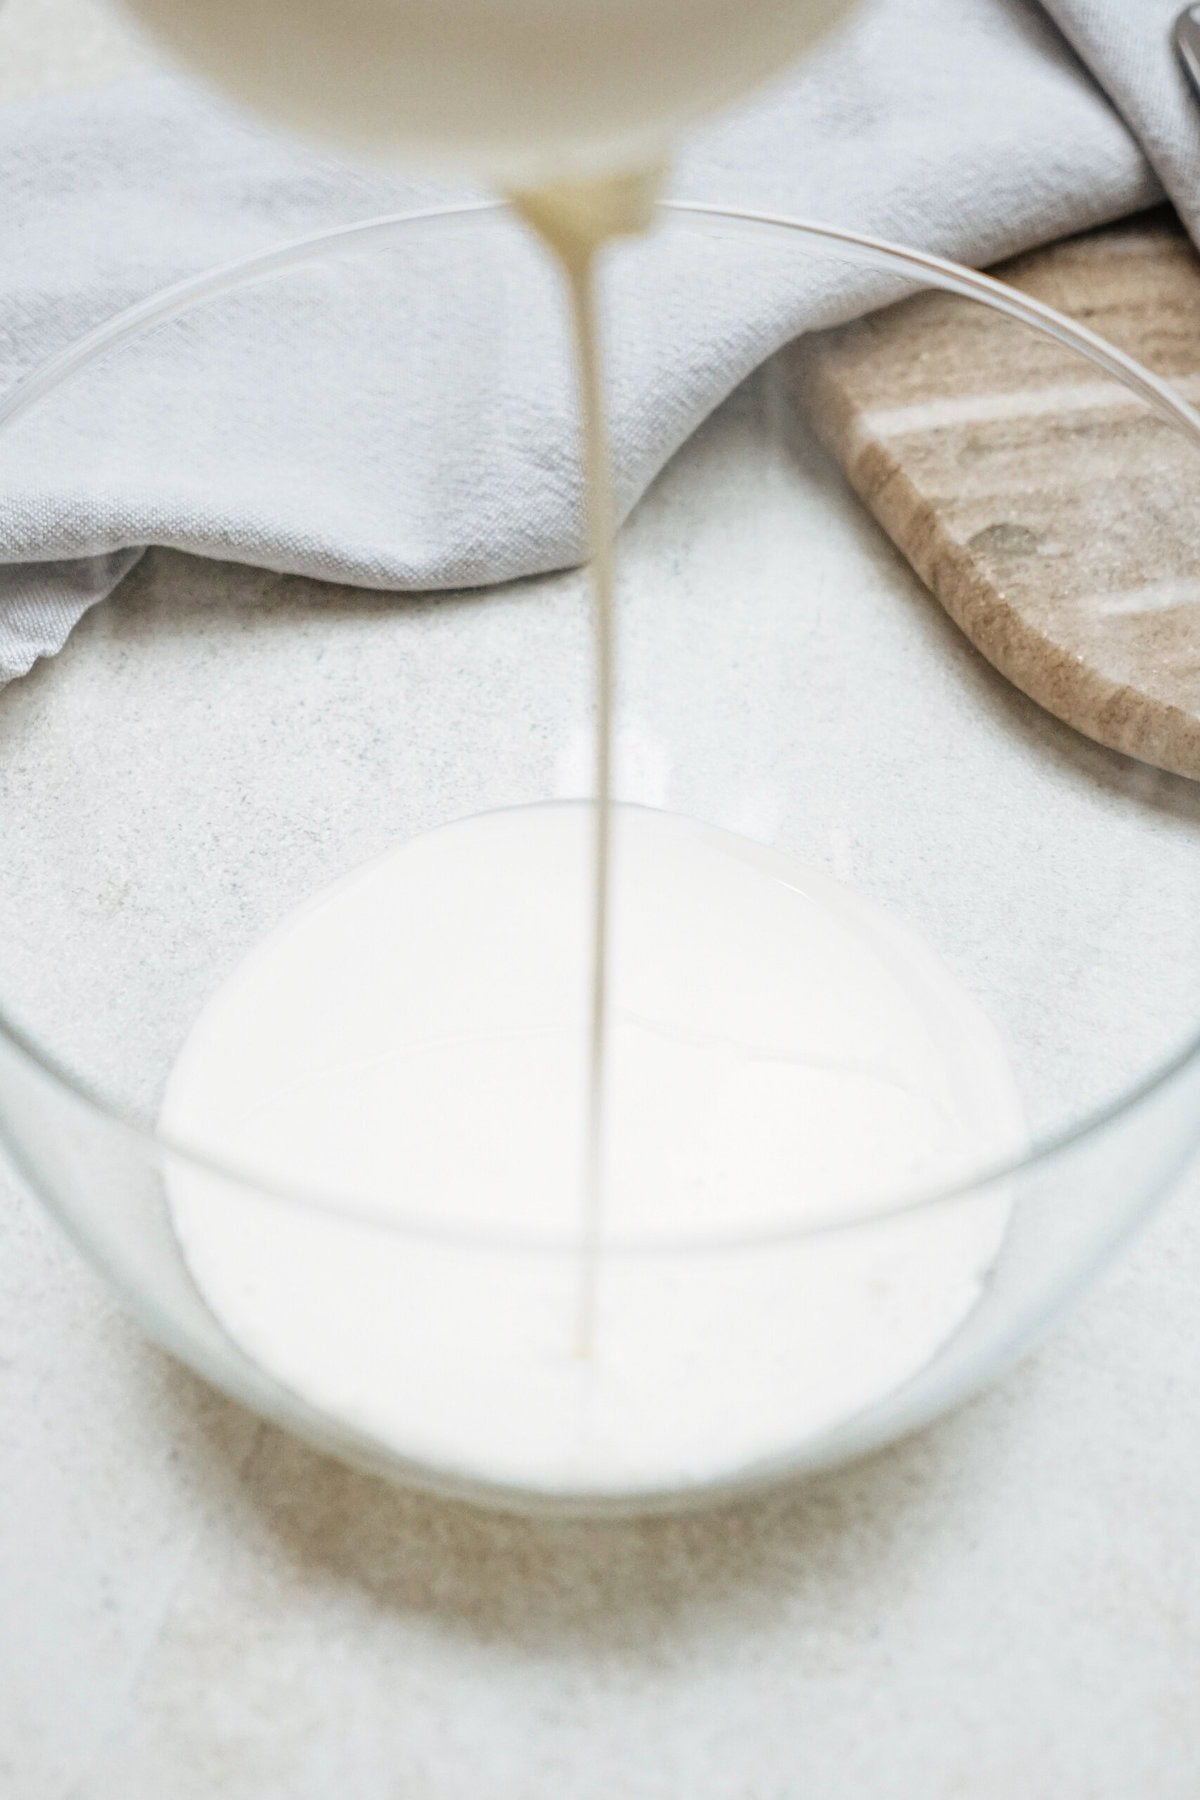
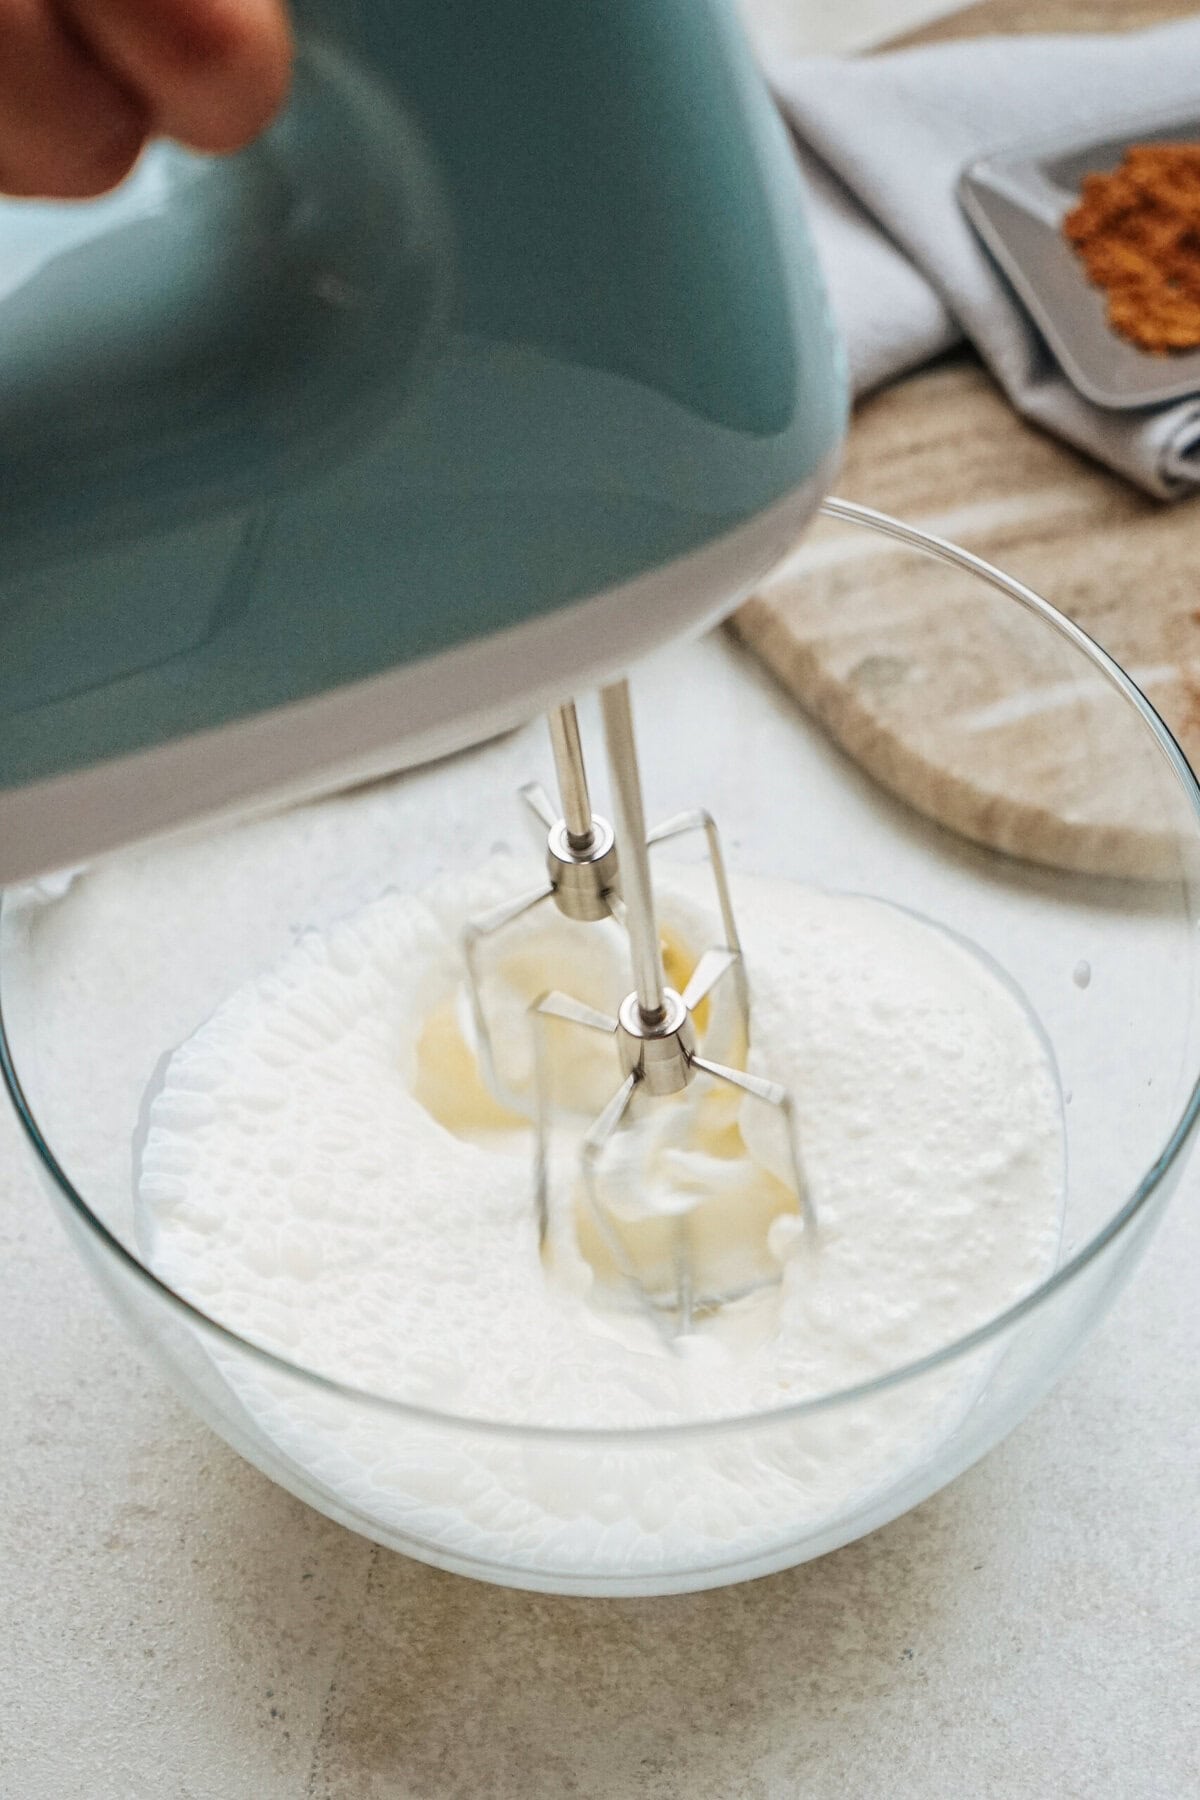
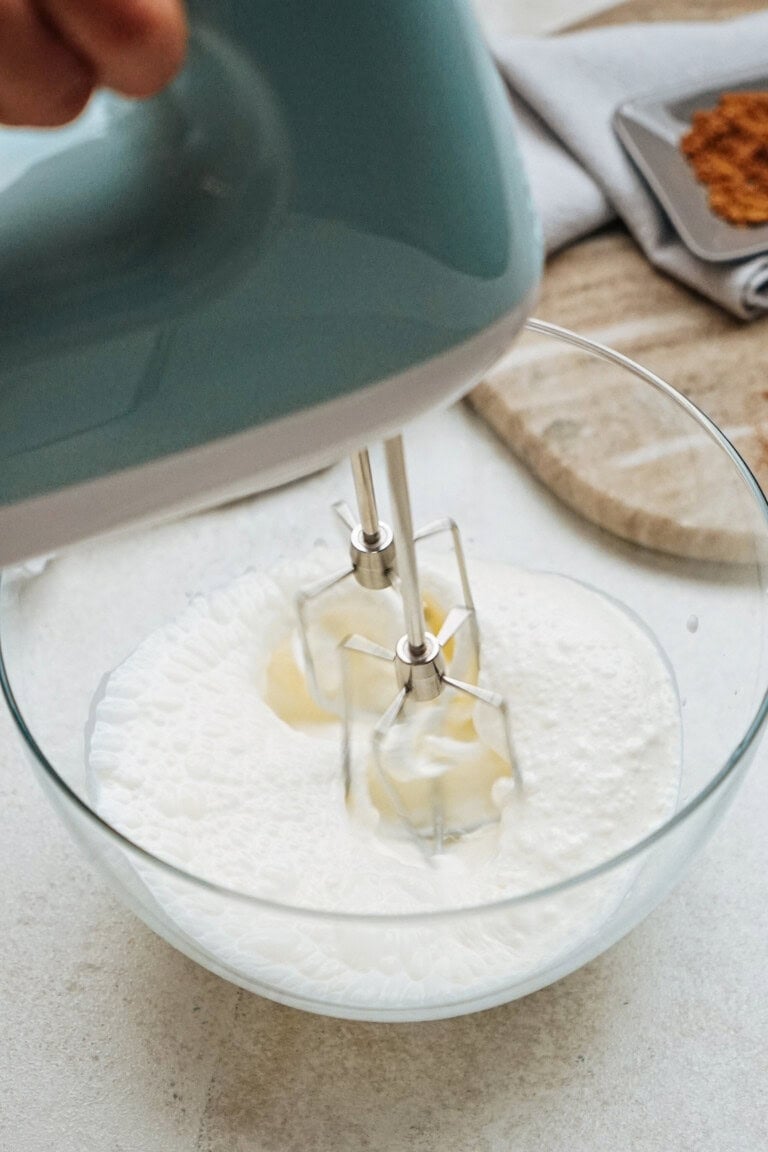
In a medium bowl, using an electric mixer, whip heavy cream to stiff peaks. Refrigerate until ready to use.
3. Make the Filling
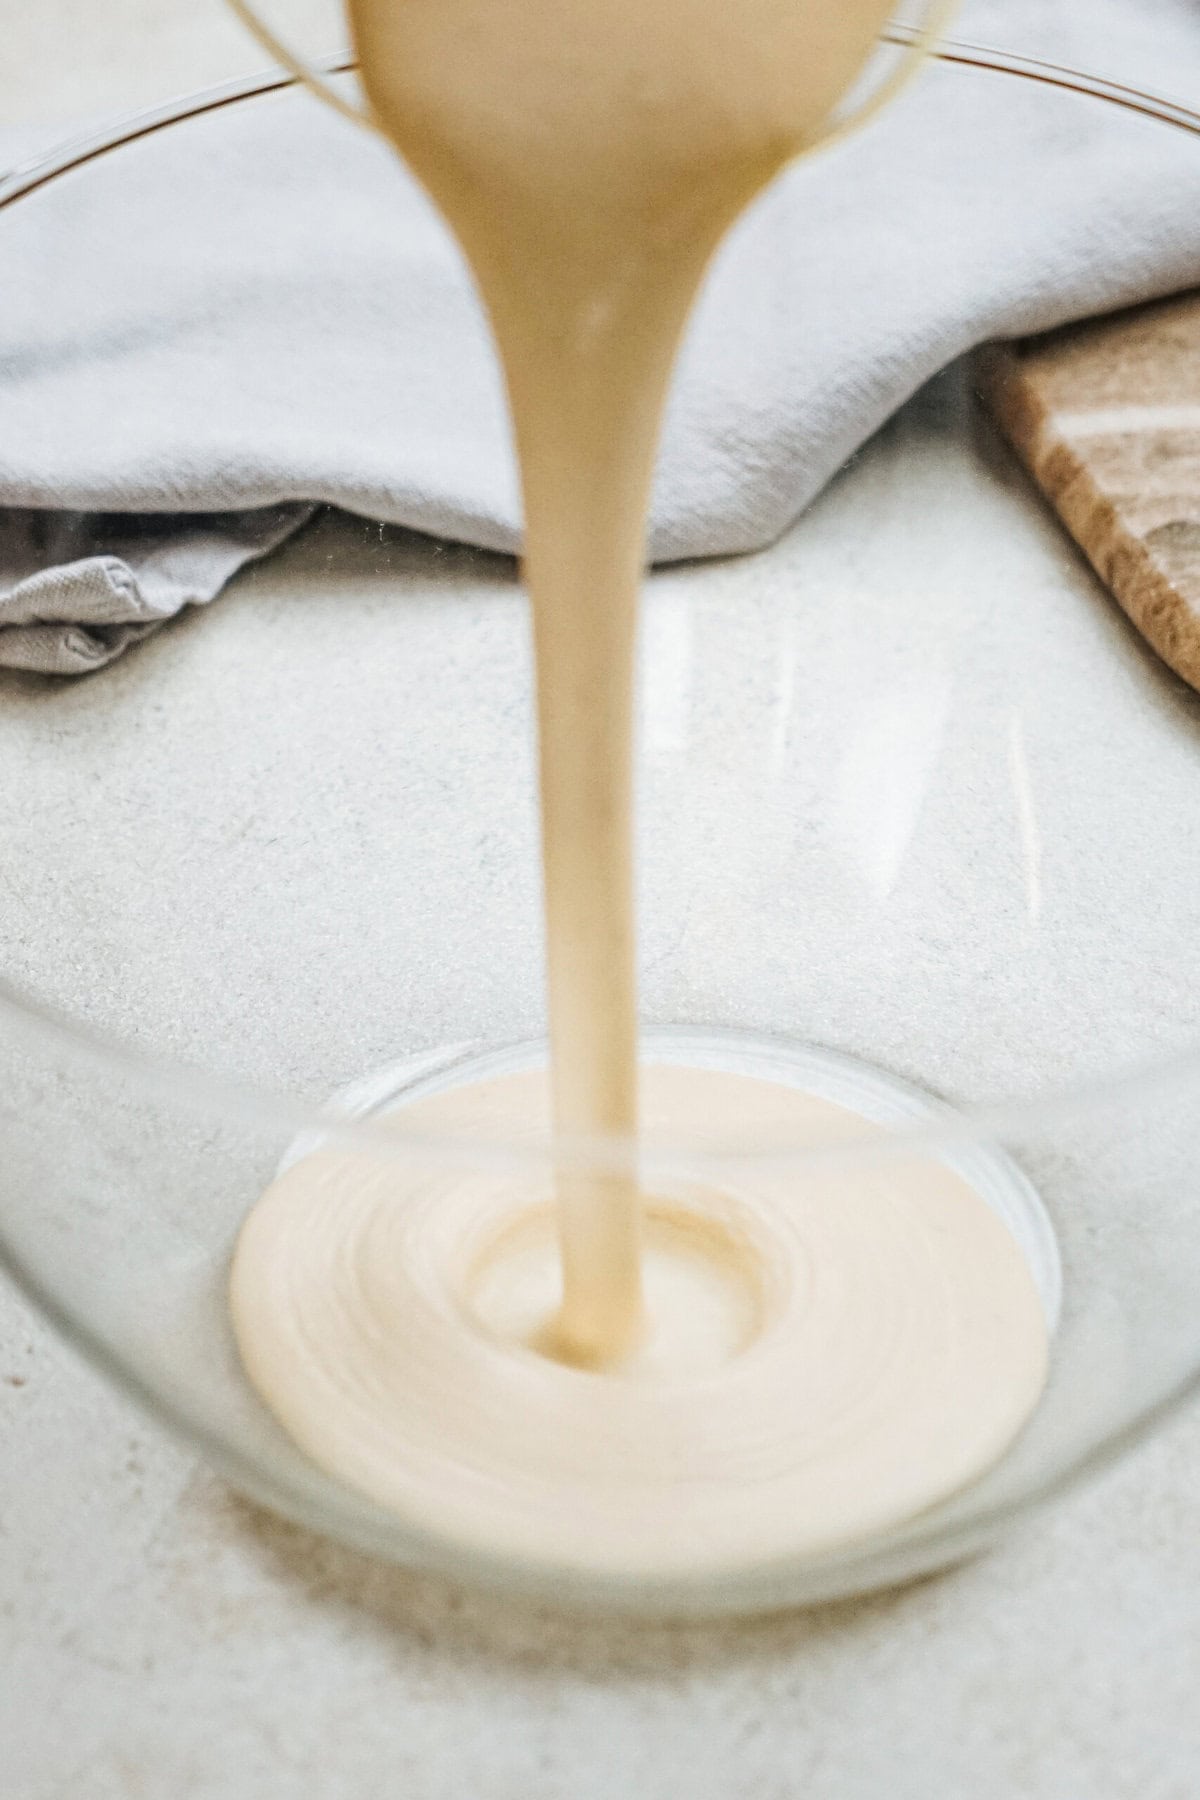
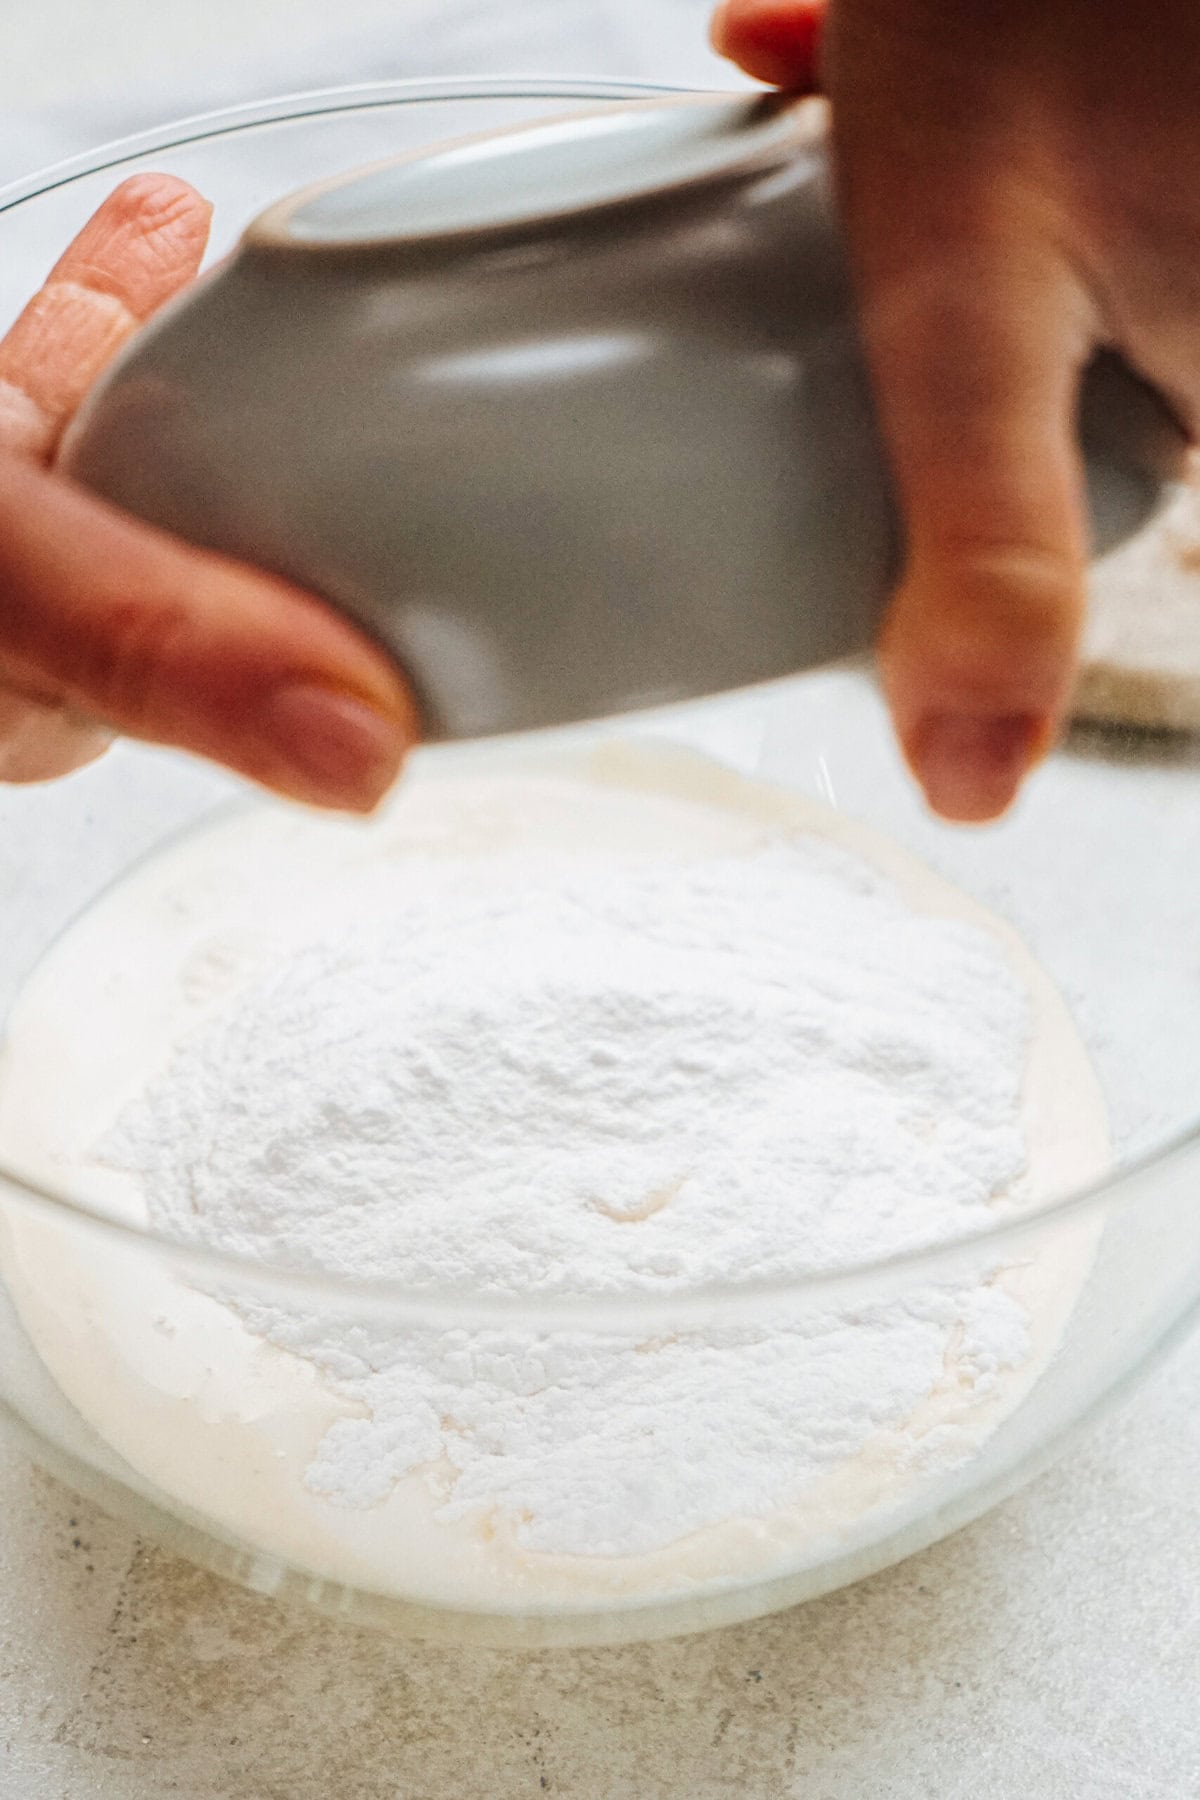
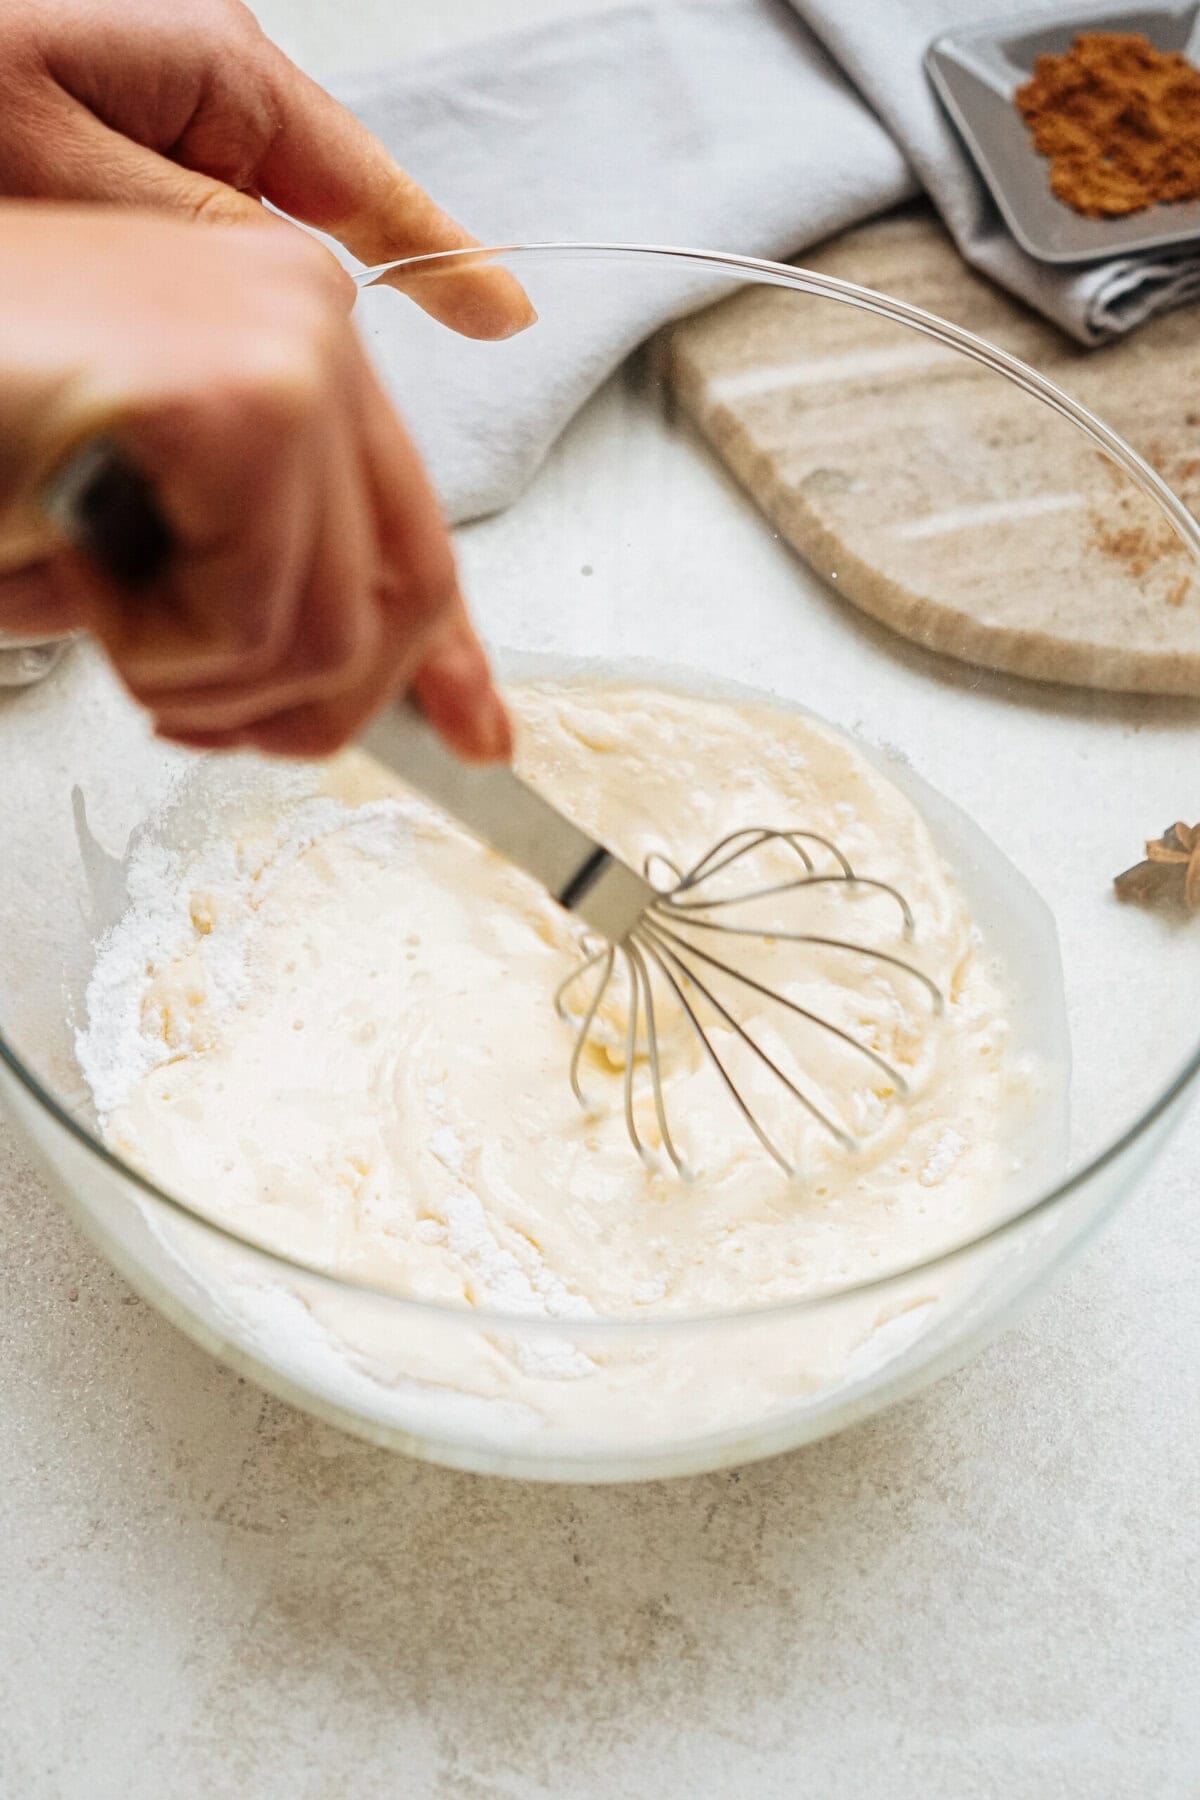
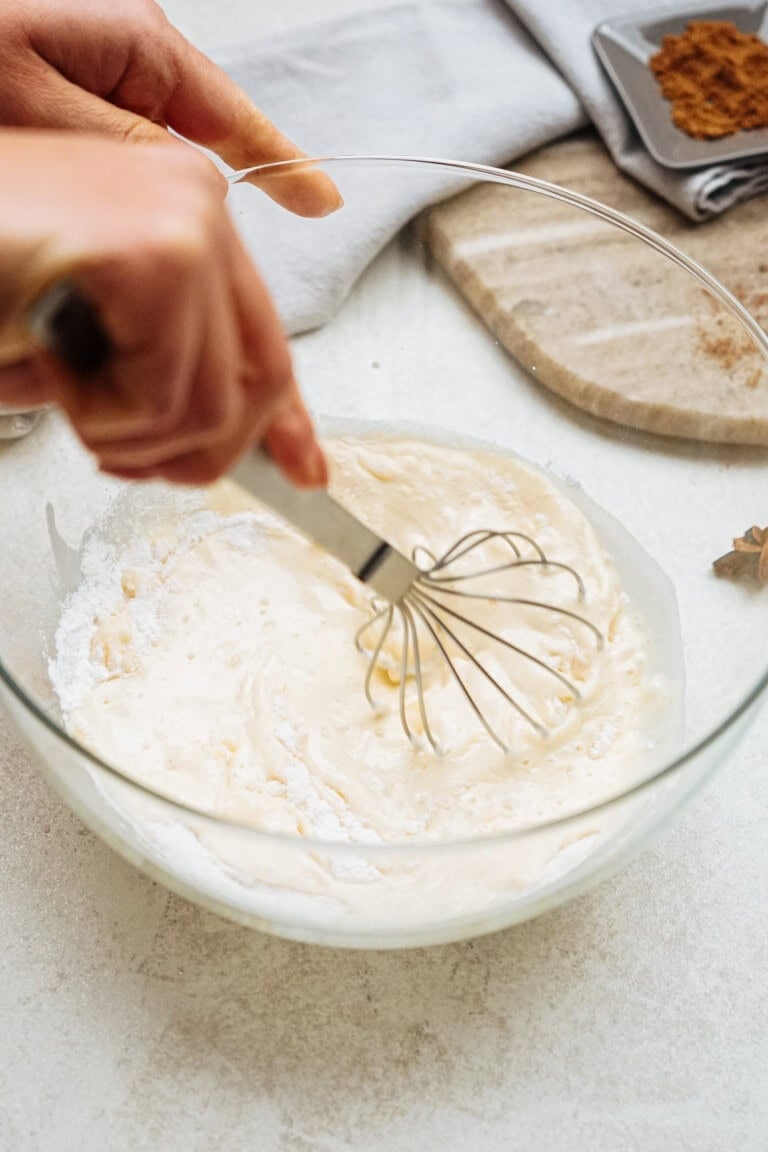
Whisk together eggnog, milk, and instant pudding mix in a medium bowl. Let thicken for a few minutes.
4. Combine Filling + Cream
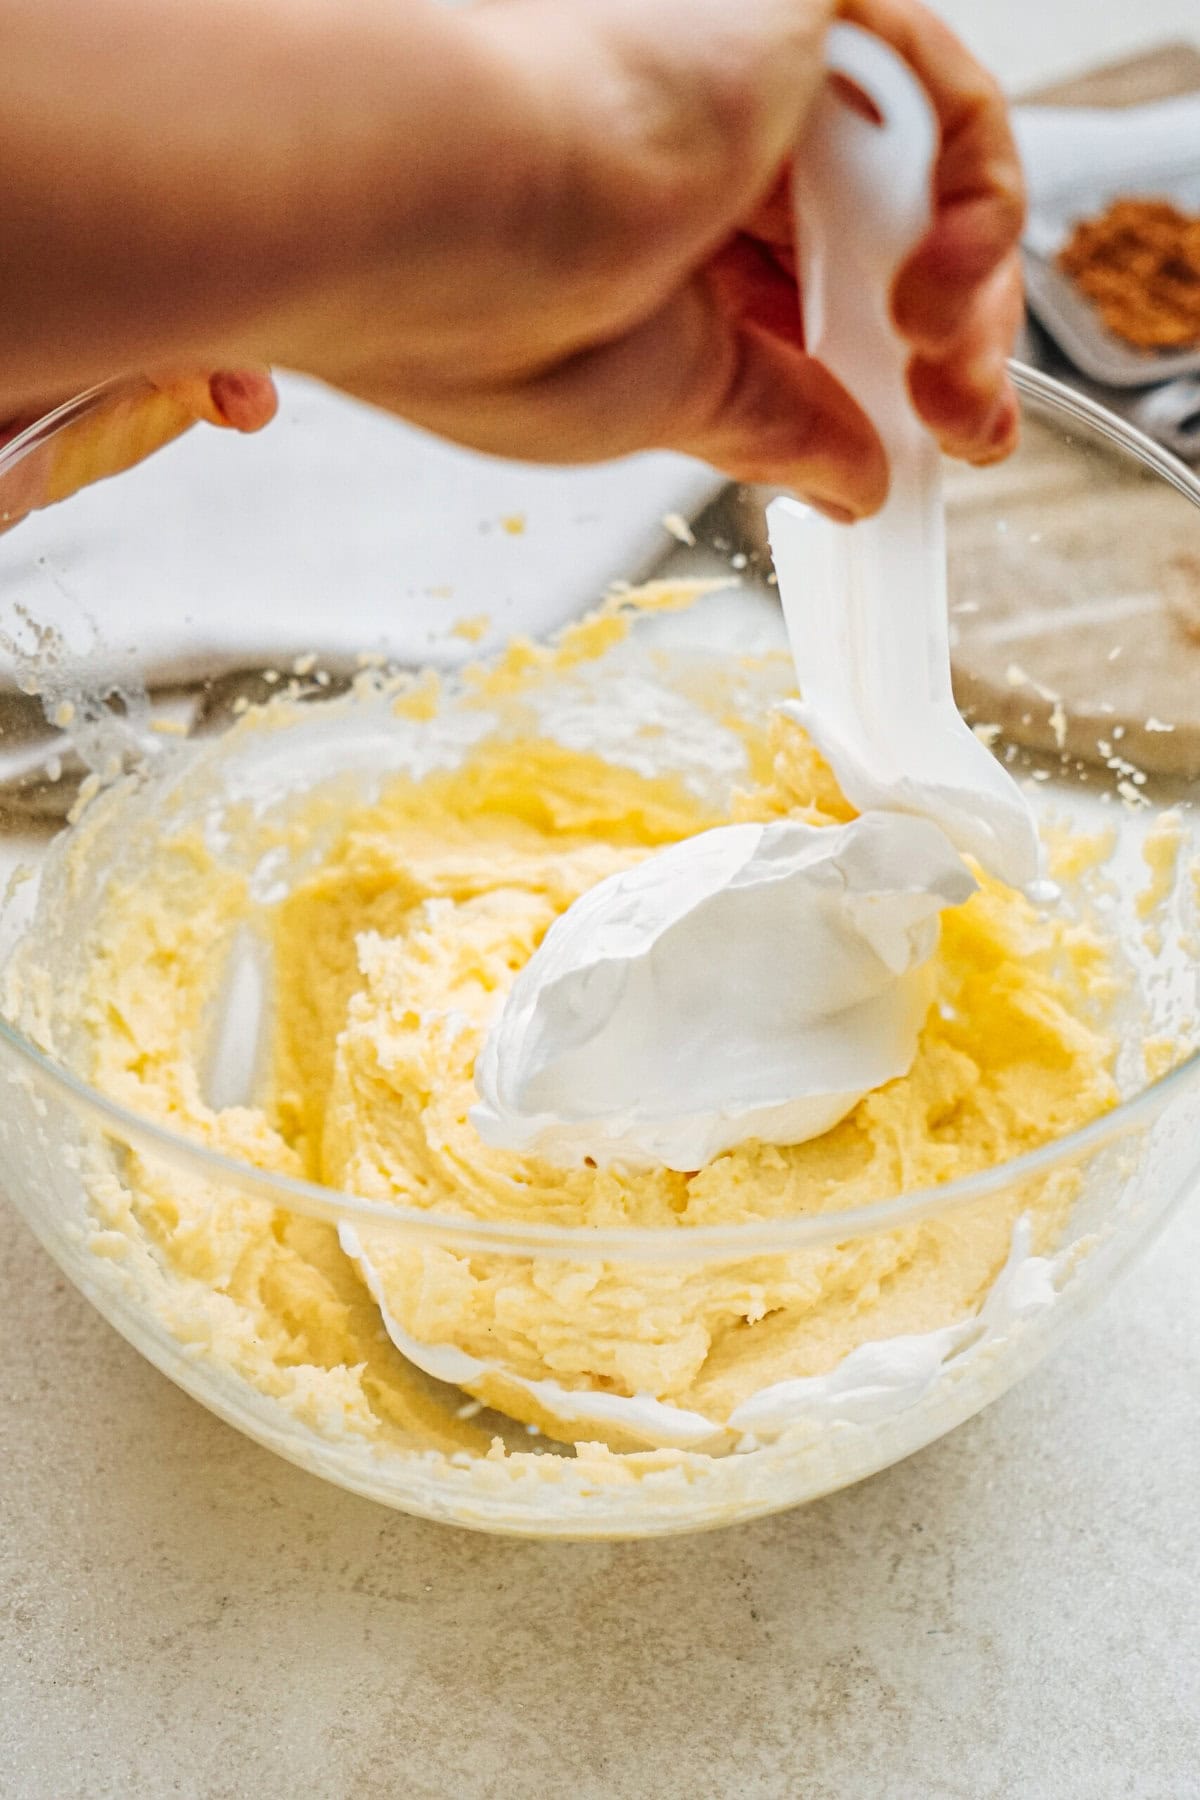
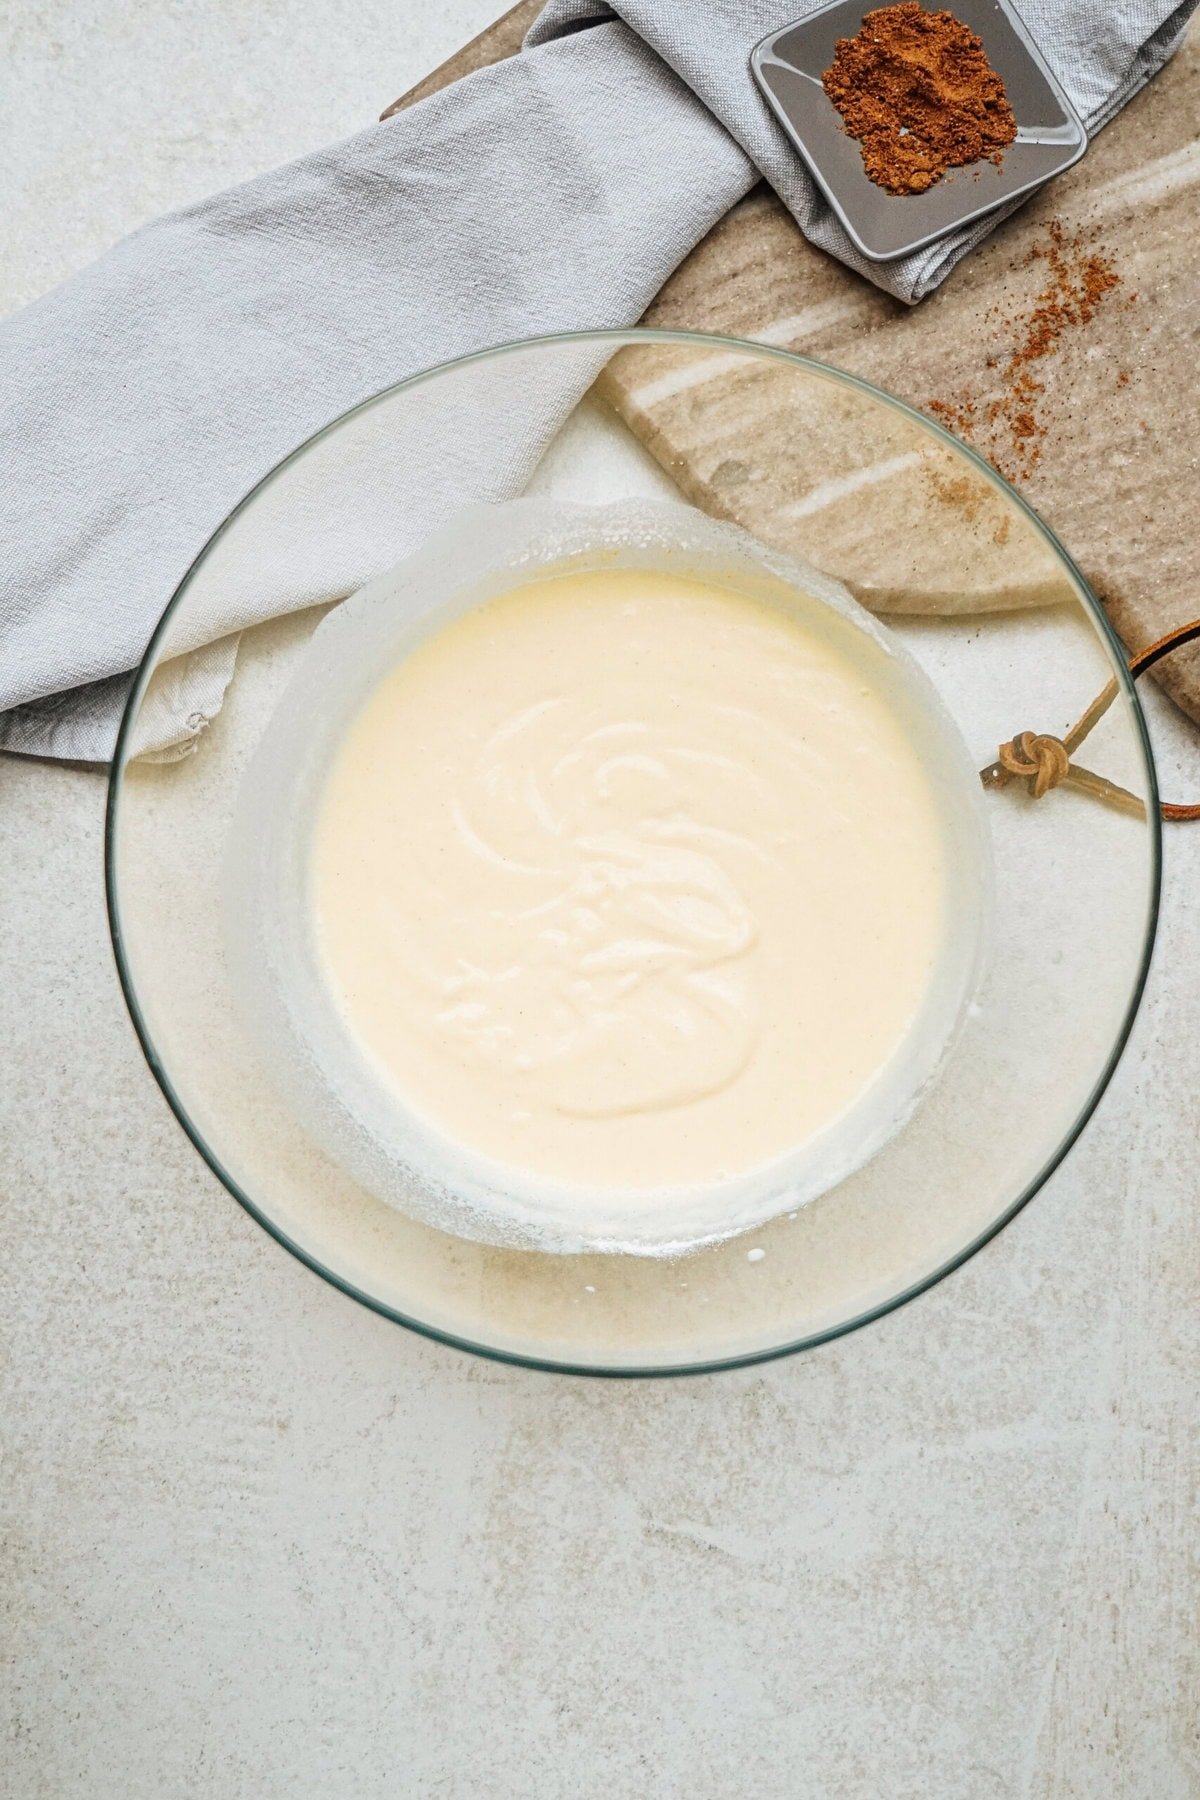
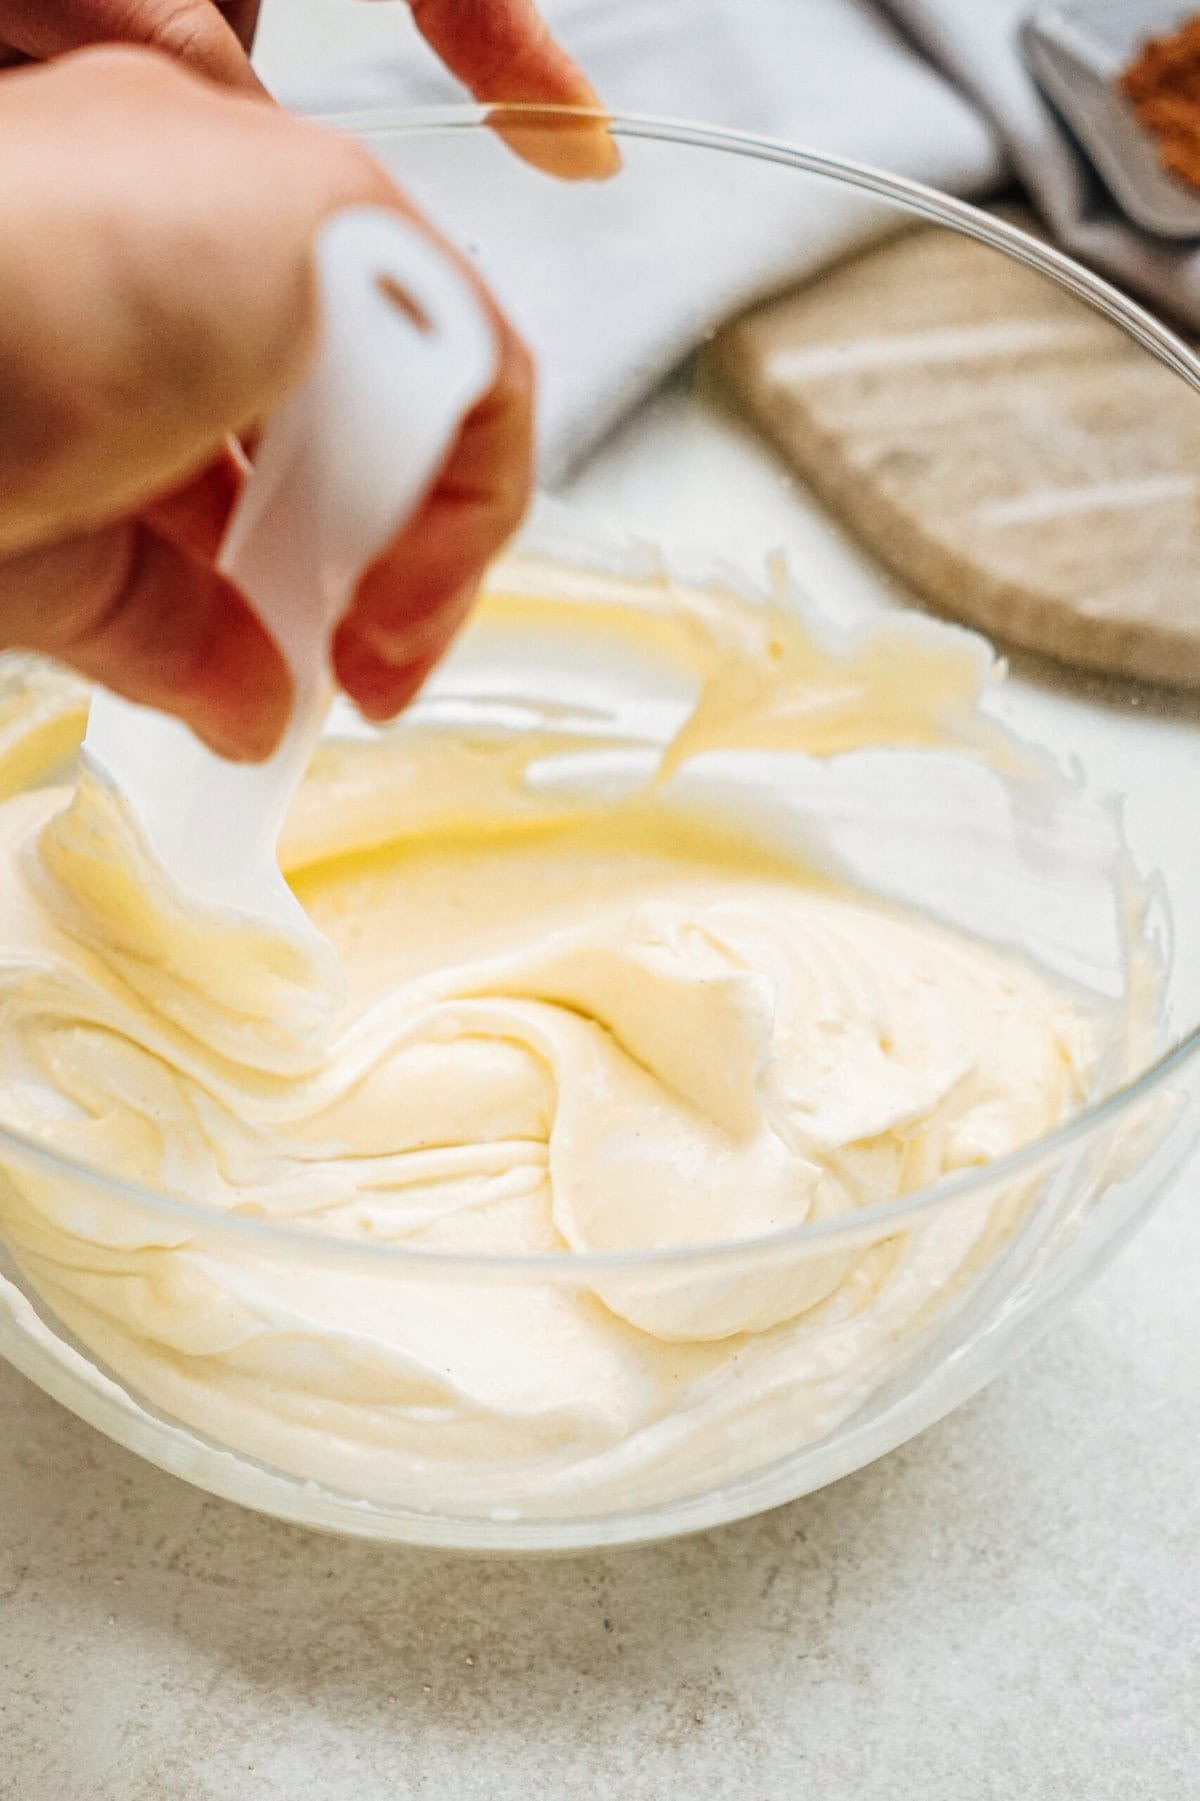
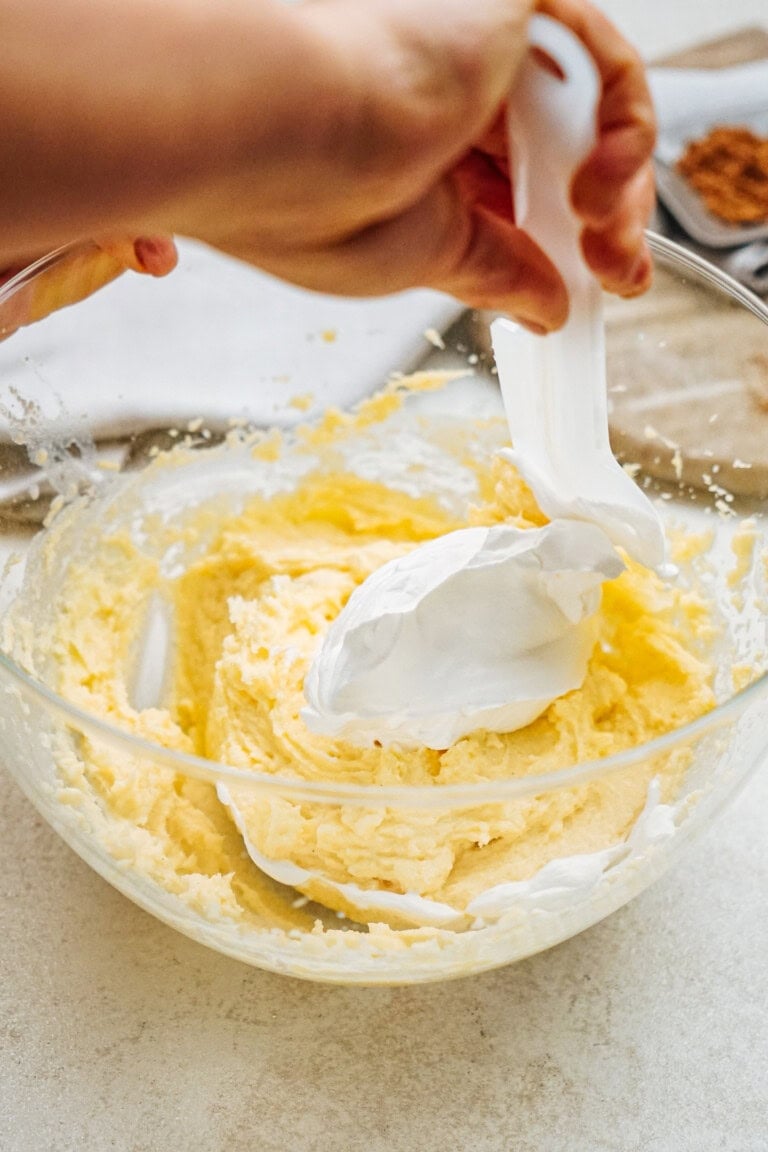
Remove whipped cream from the refrigerator and fold HALF of it into the eggnog mixture for a creamy texture. Refrigerate the remaining half of the whipped cream for later.
5. Assemble the Pie
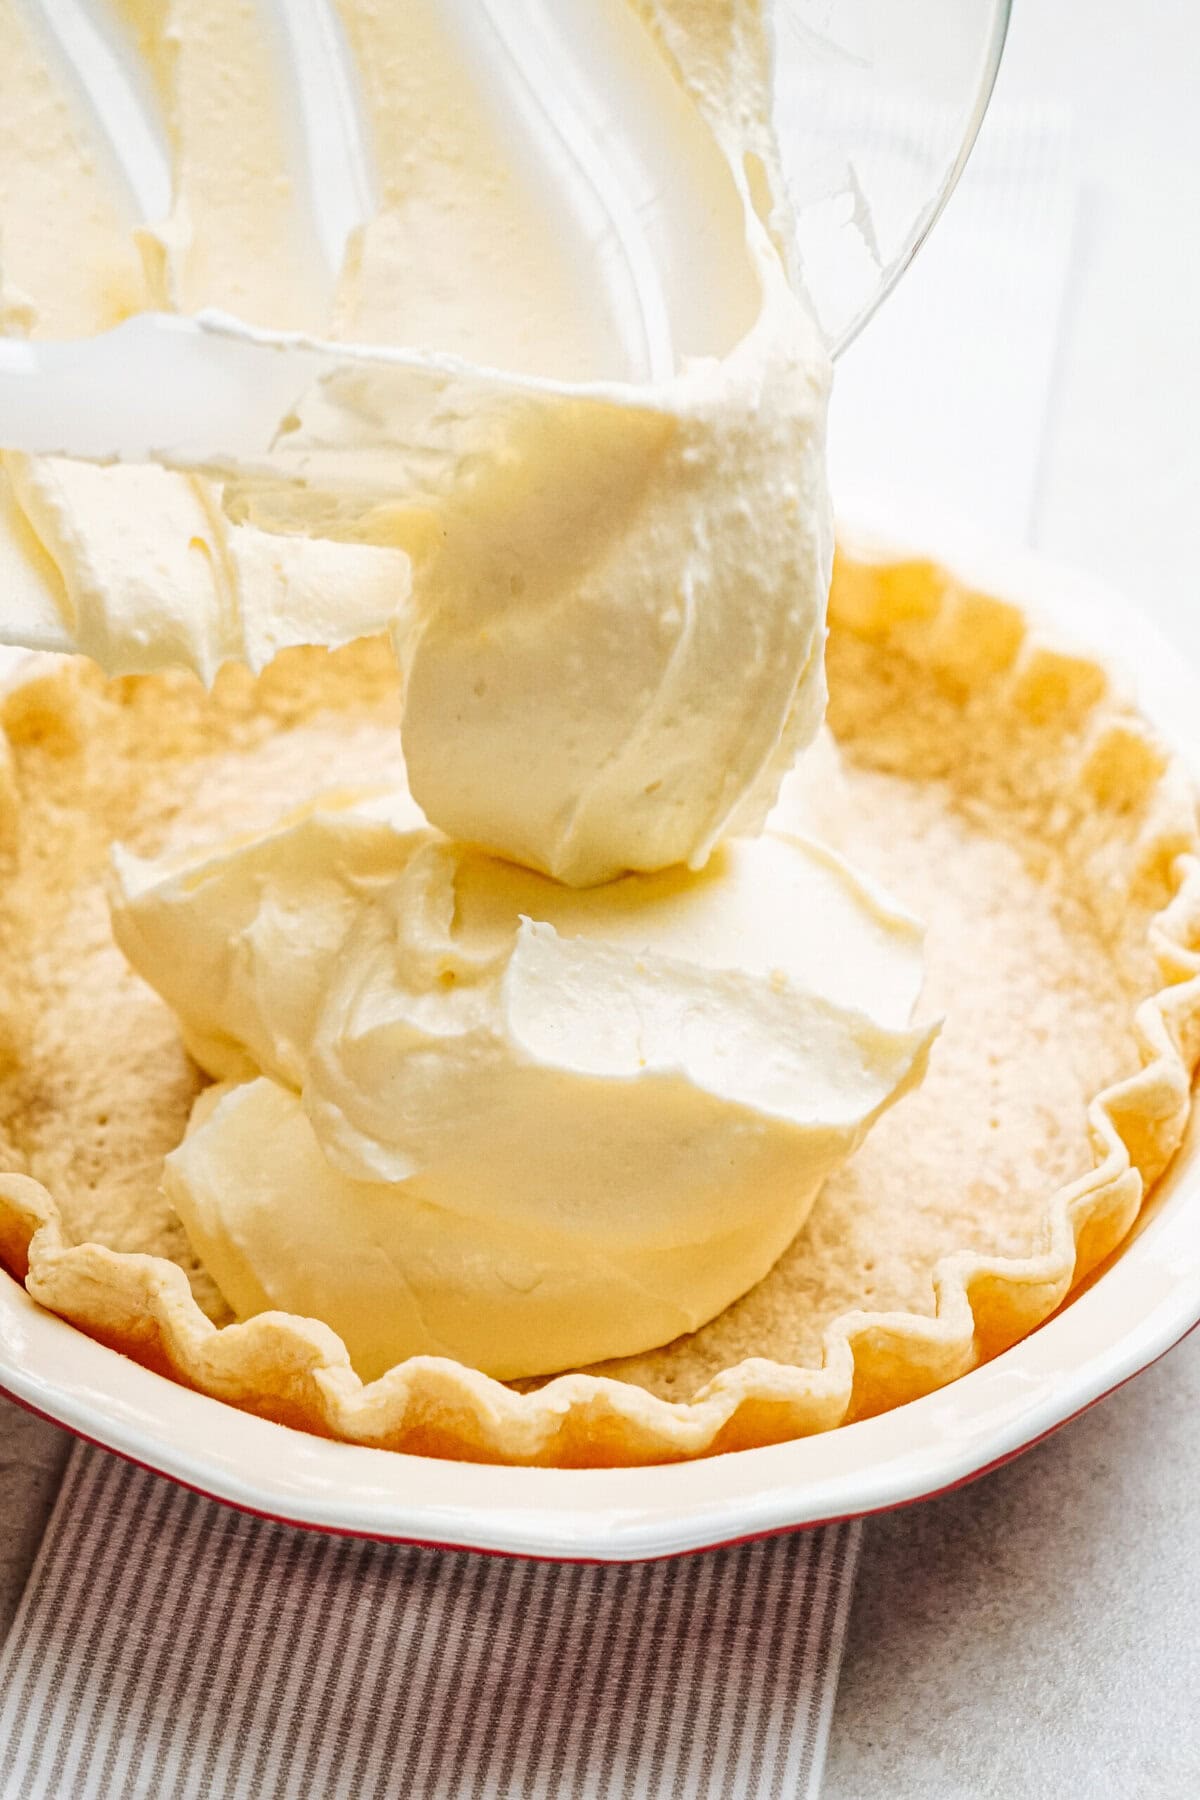
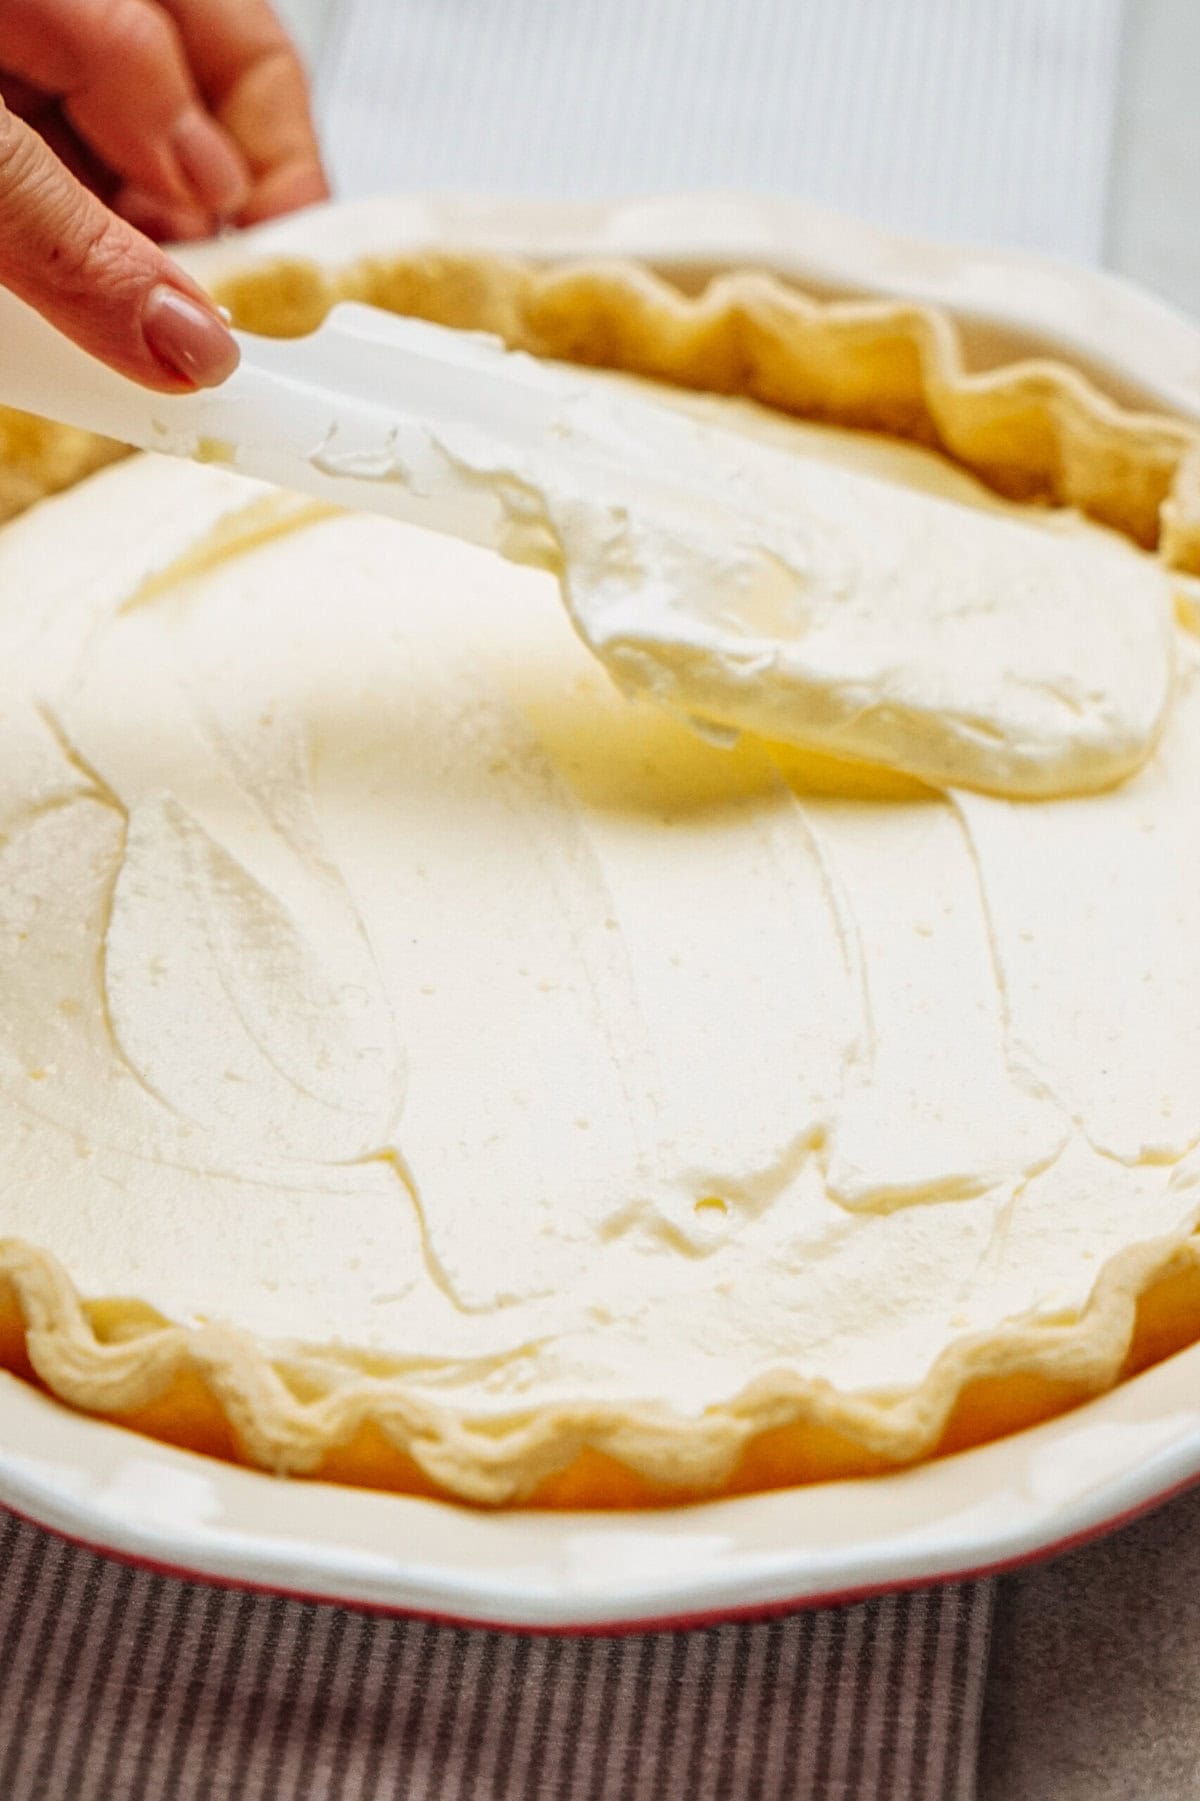
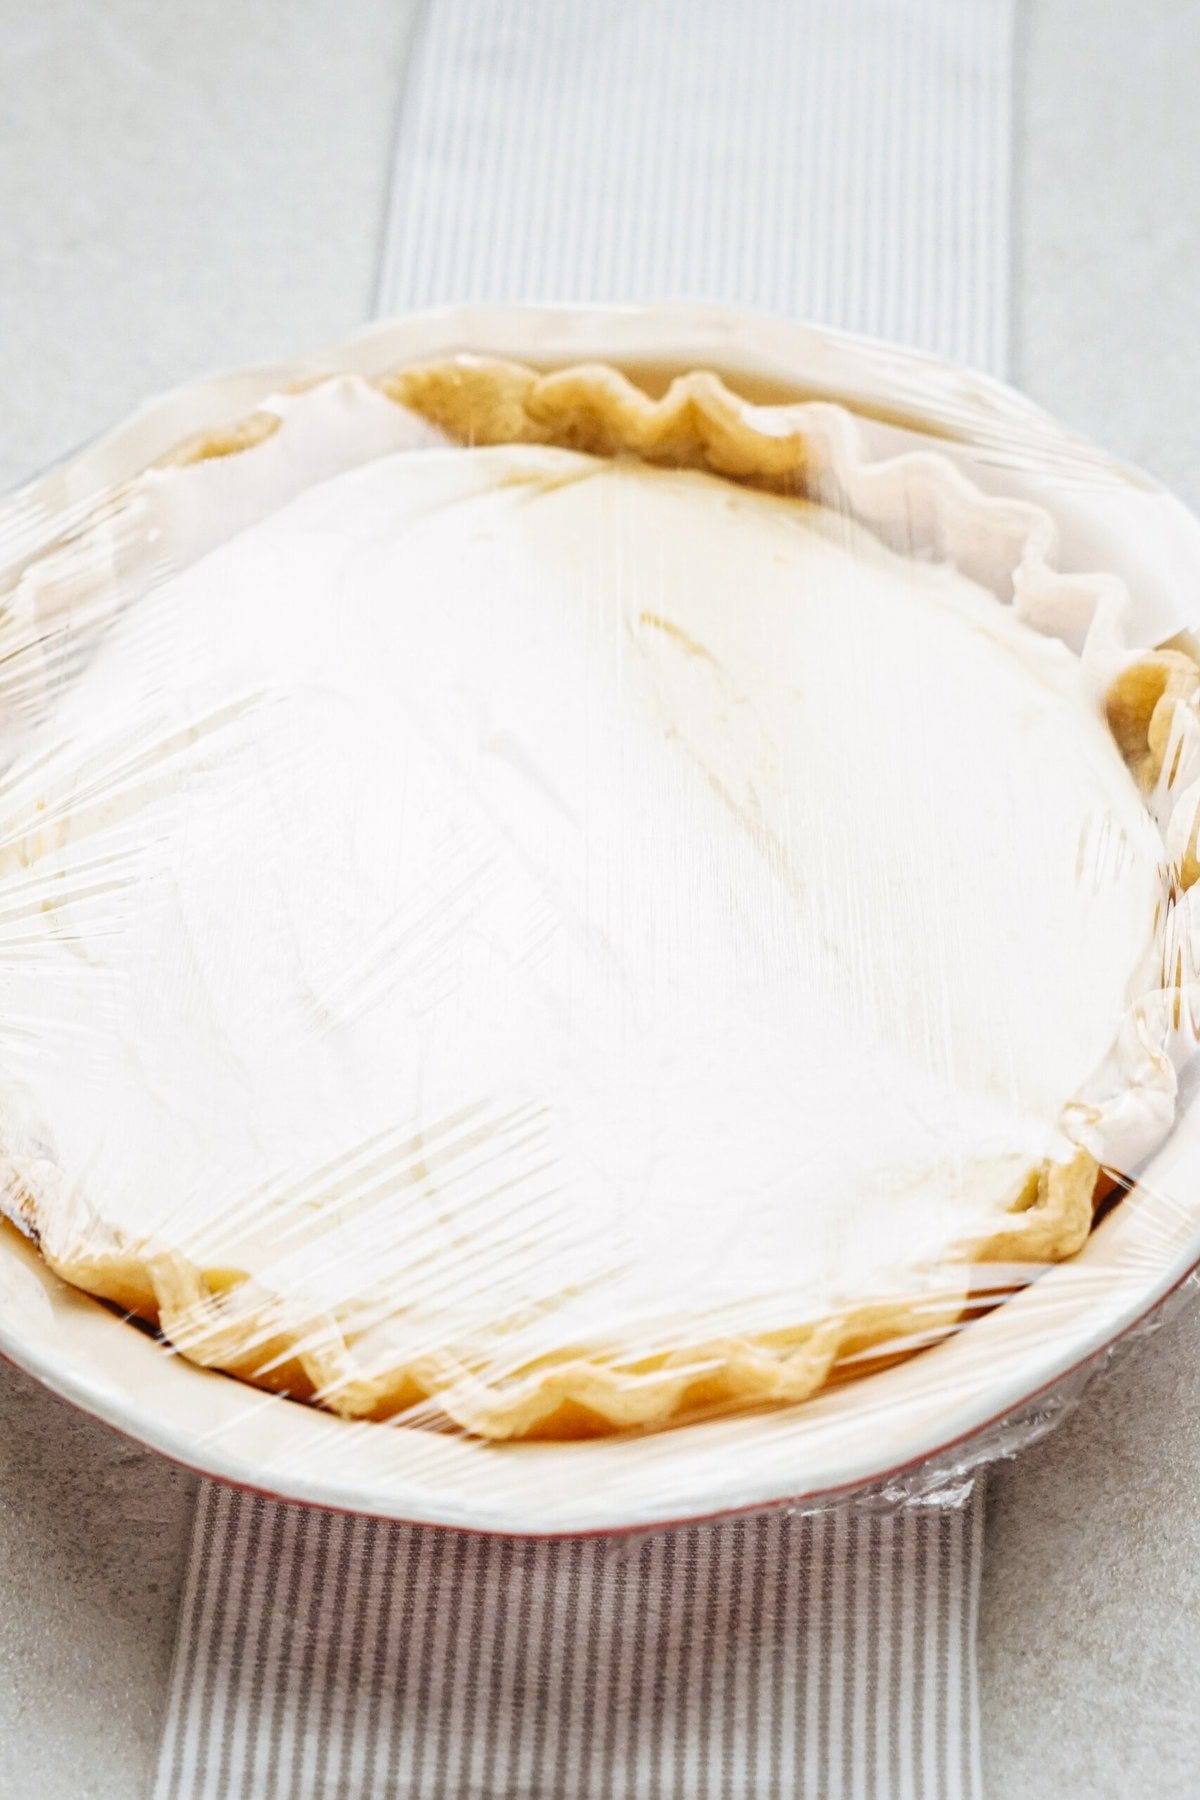
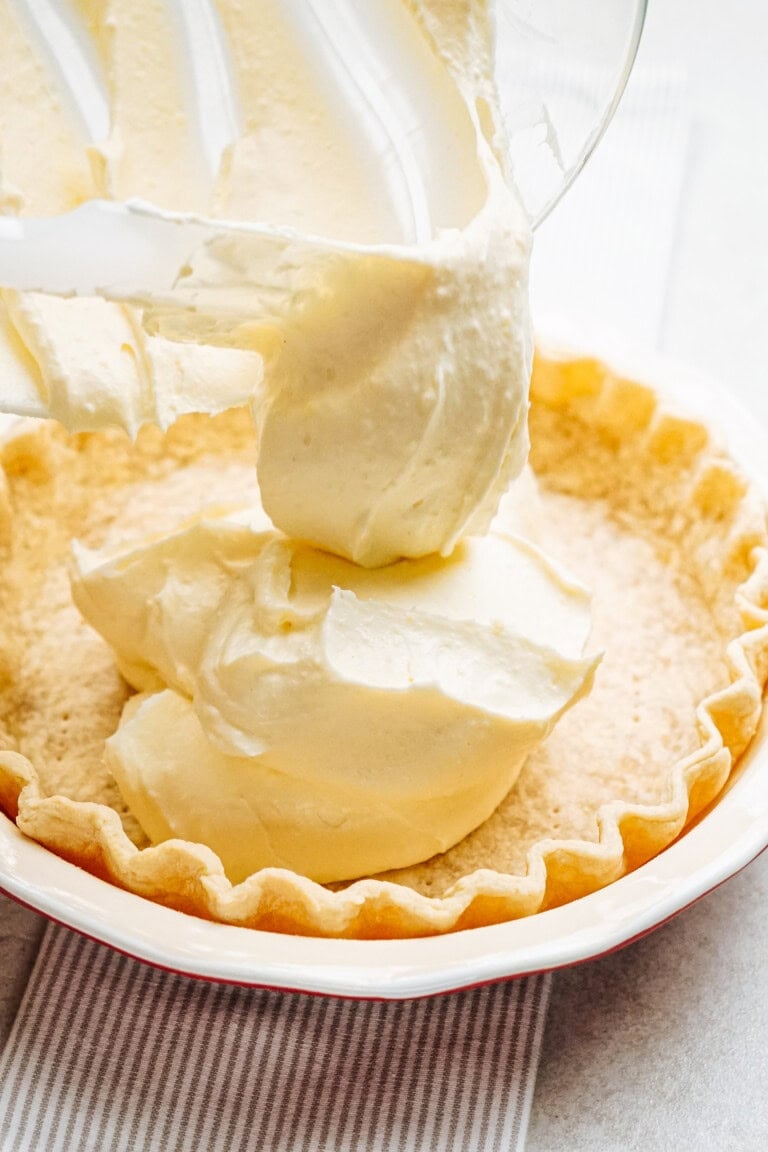
Pour the filling into the cooled crust, cover with plastic wrap, and refrigerate for at least 2 hours.
6. Add Remaining Whipped Cream + Serve
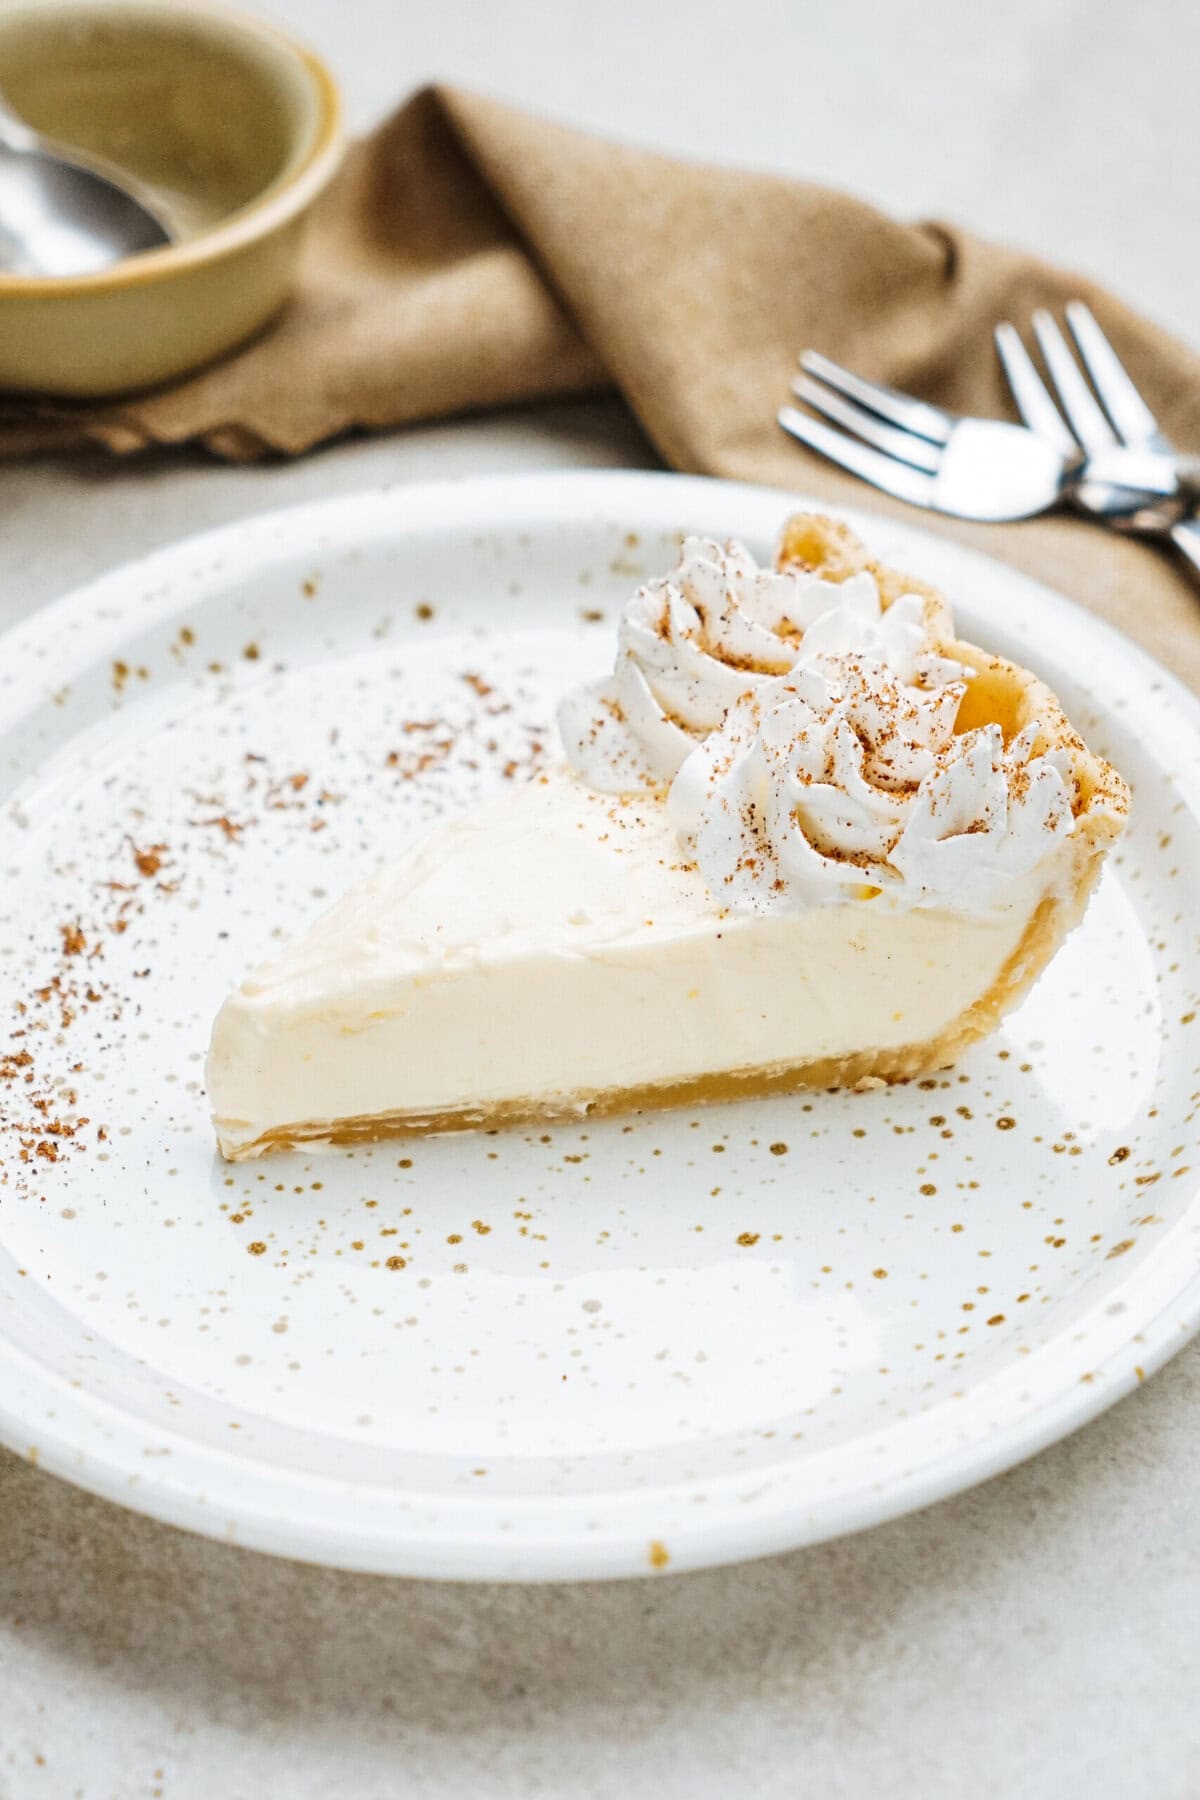
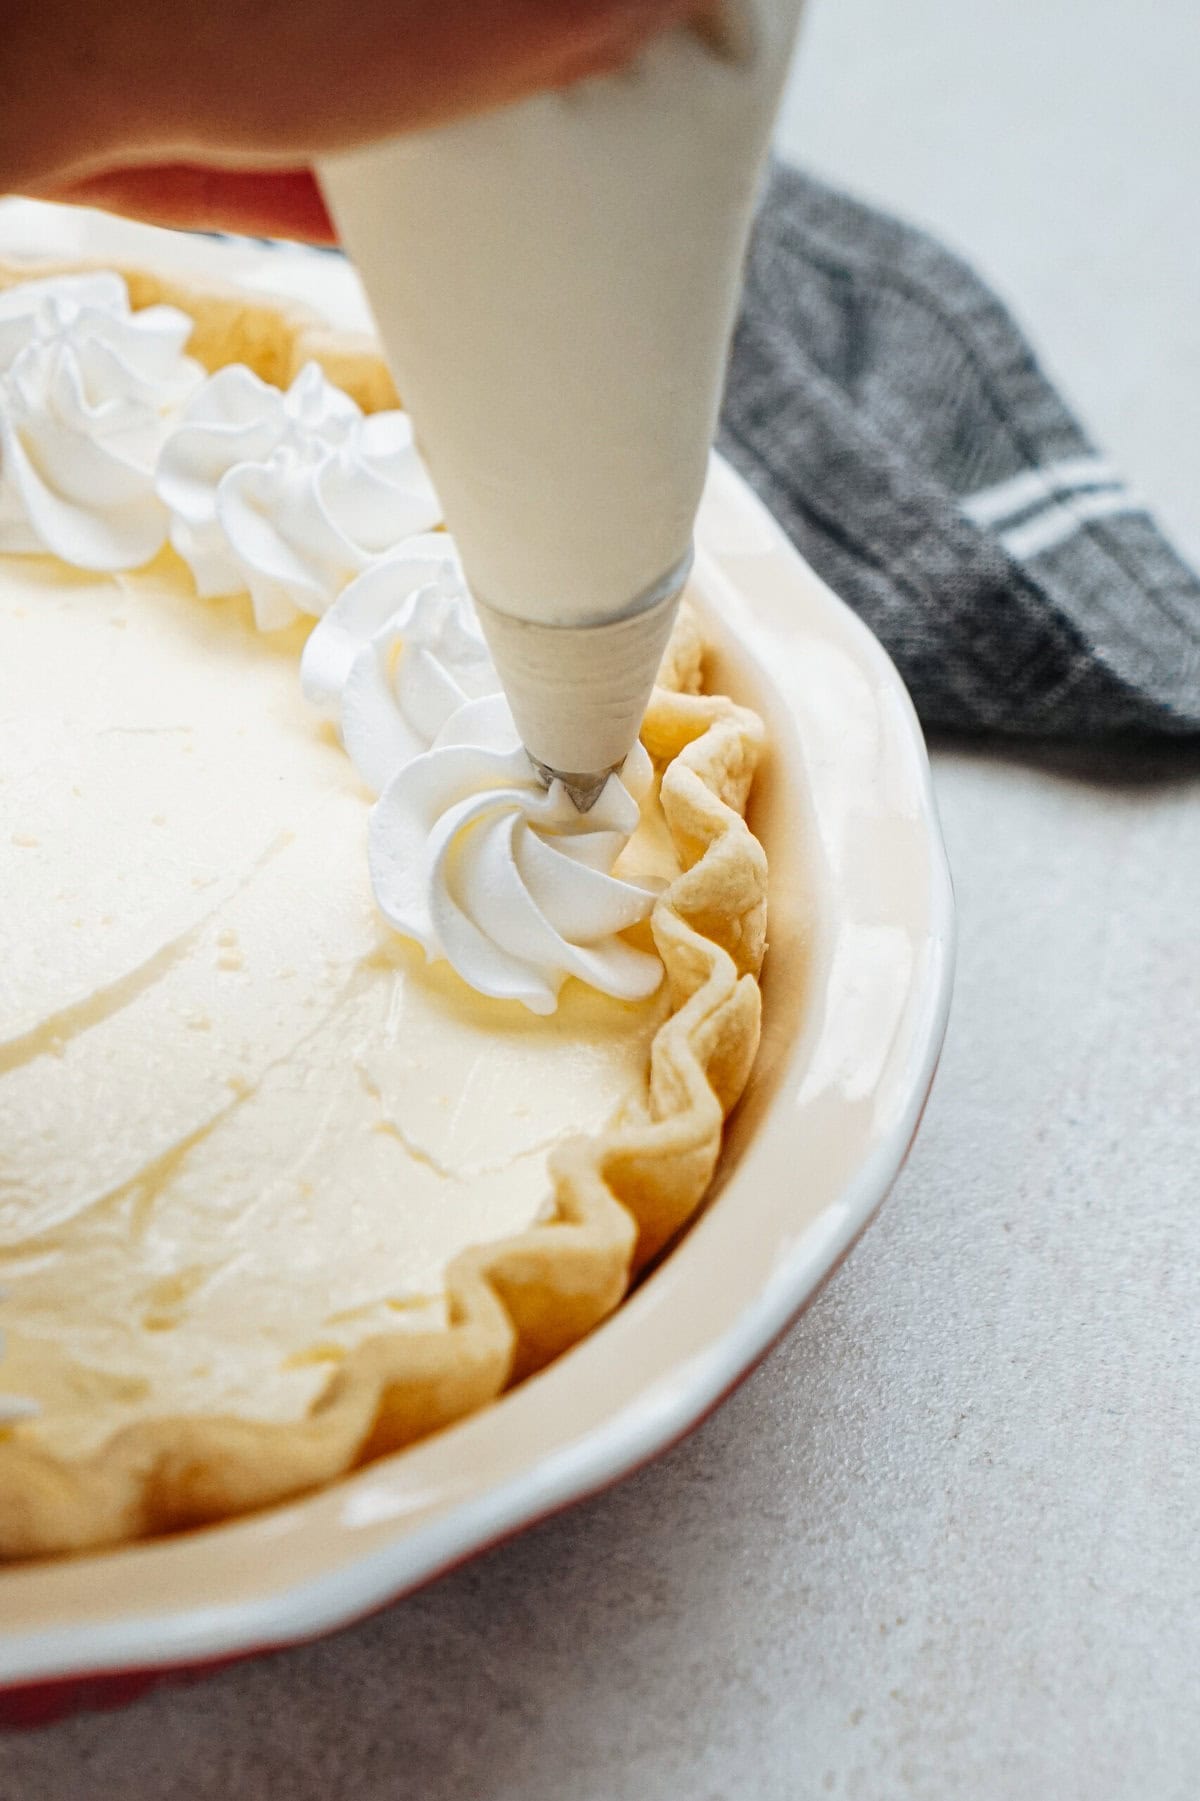
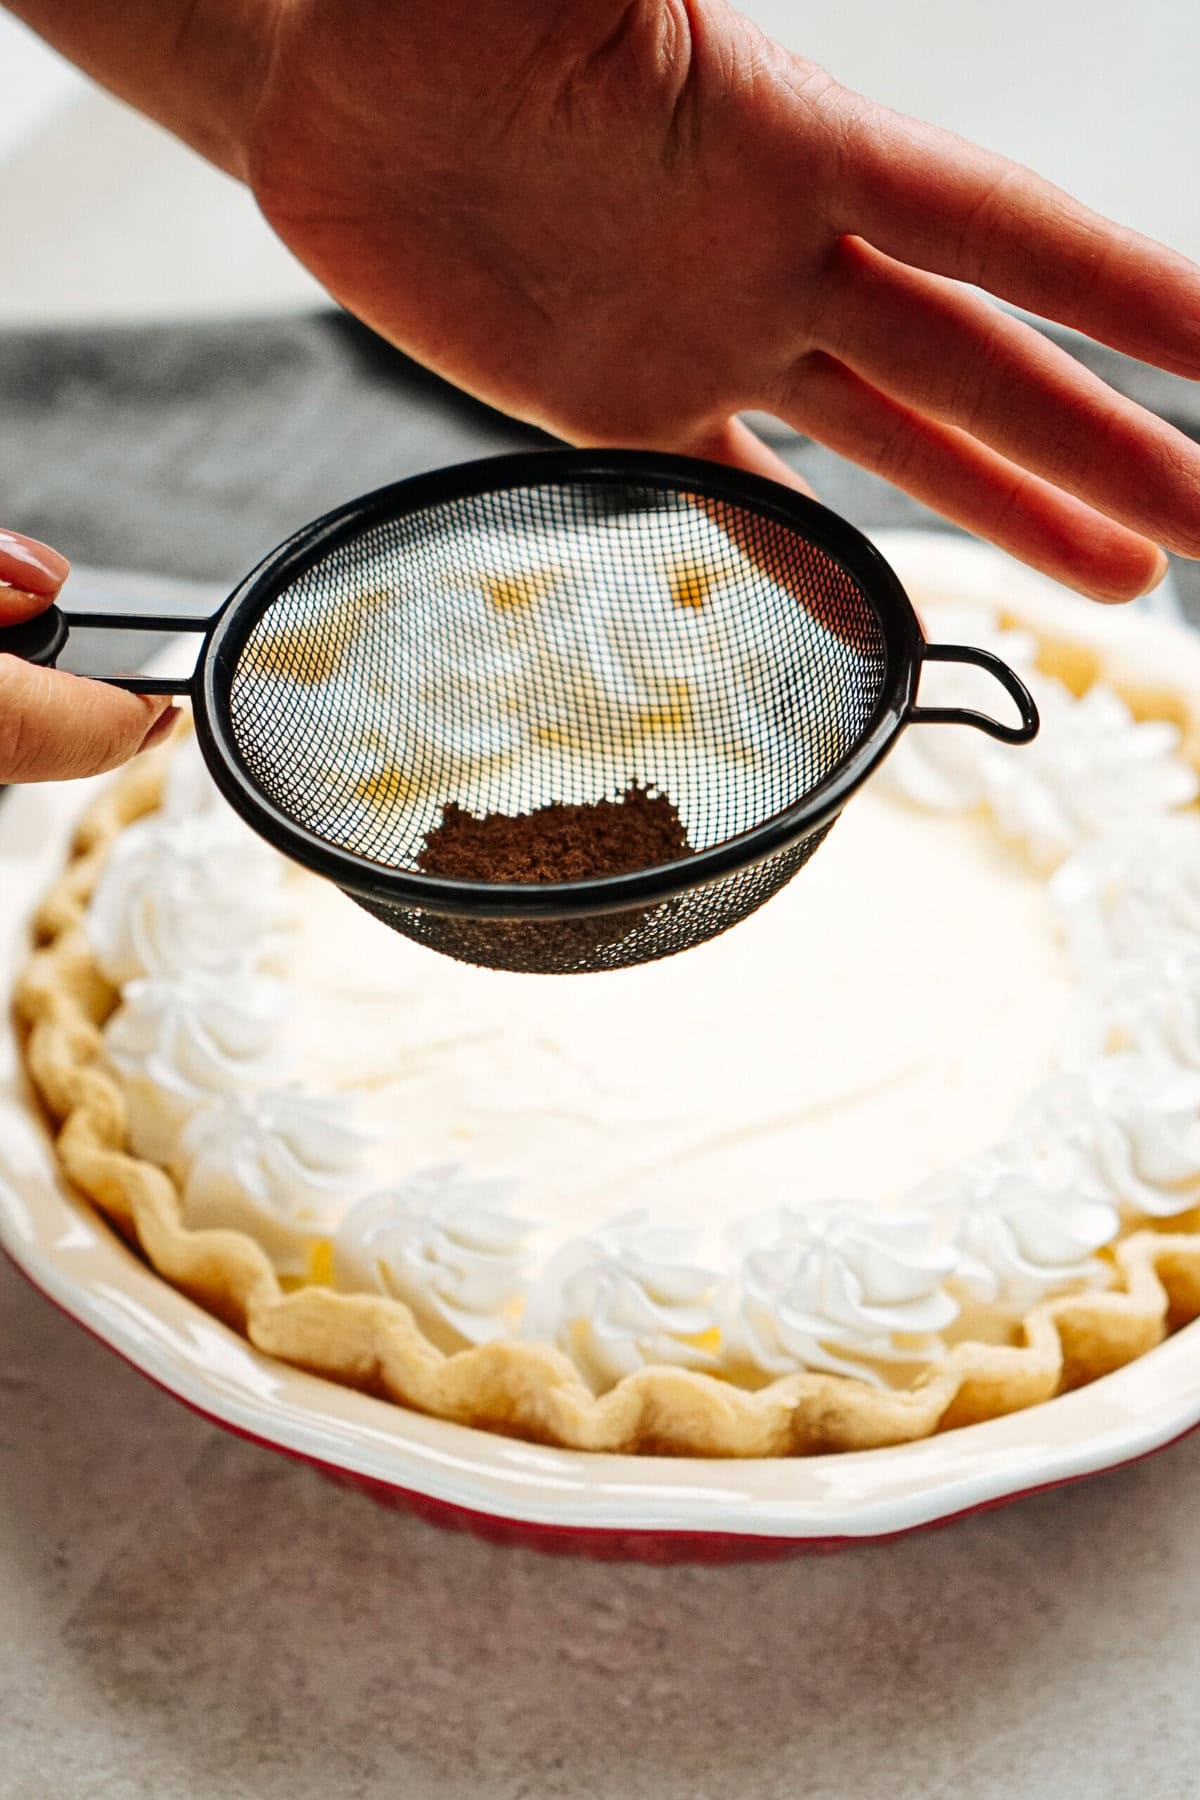
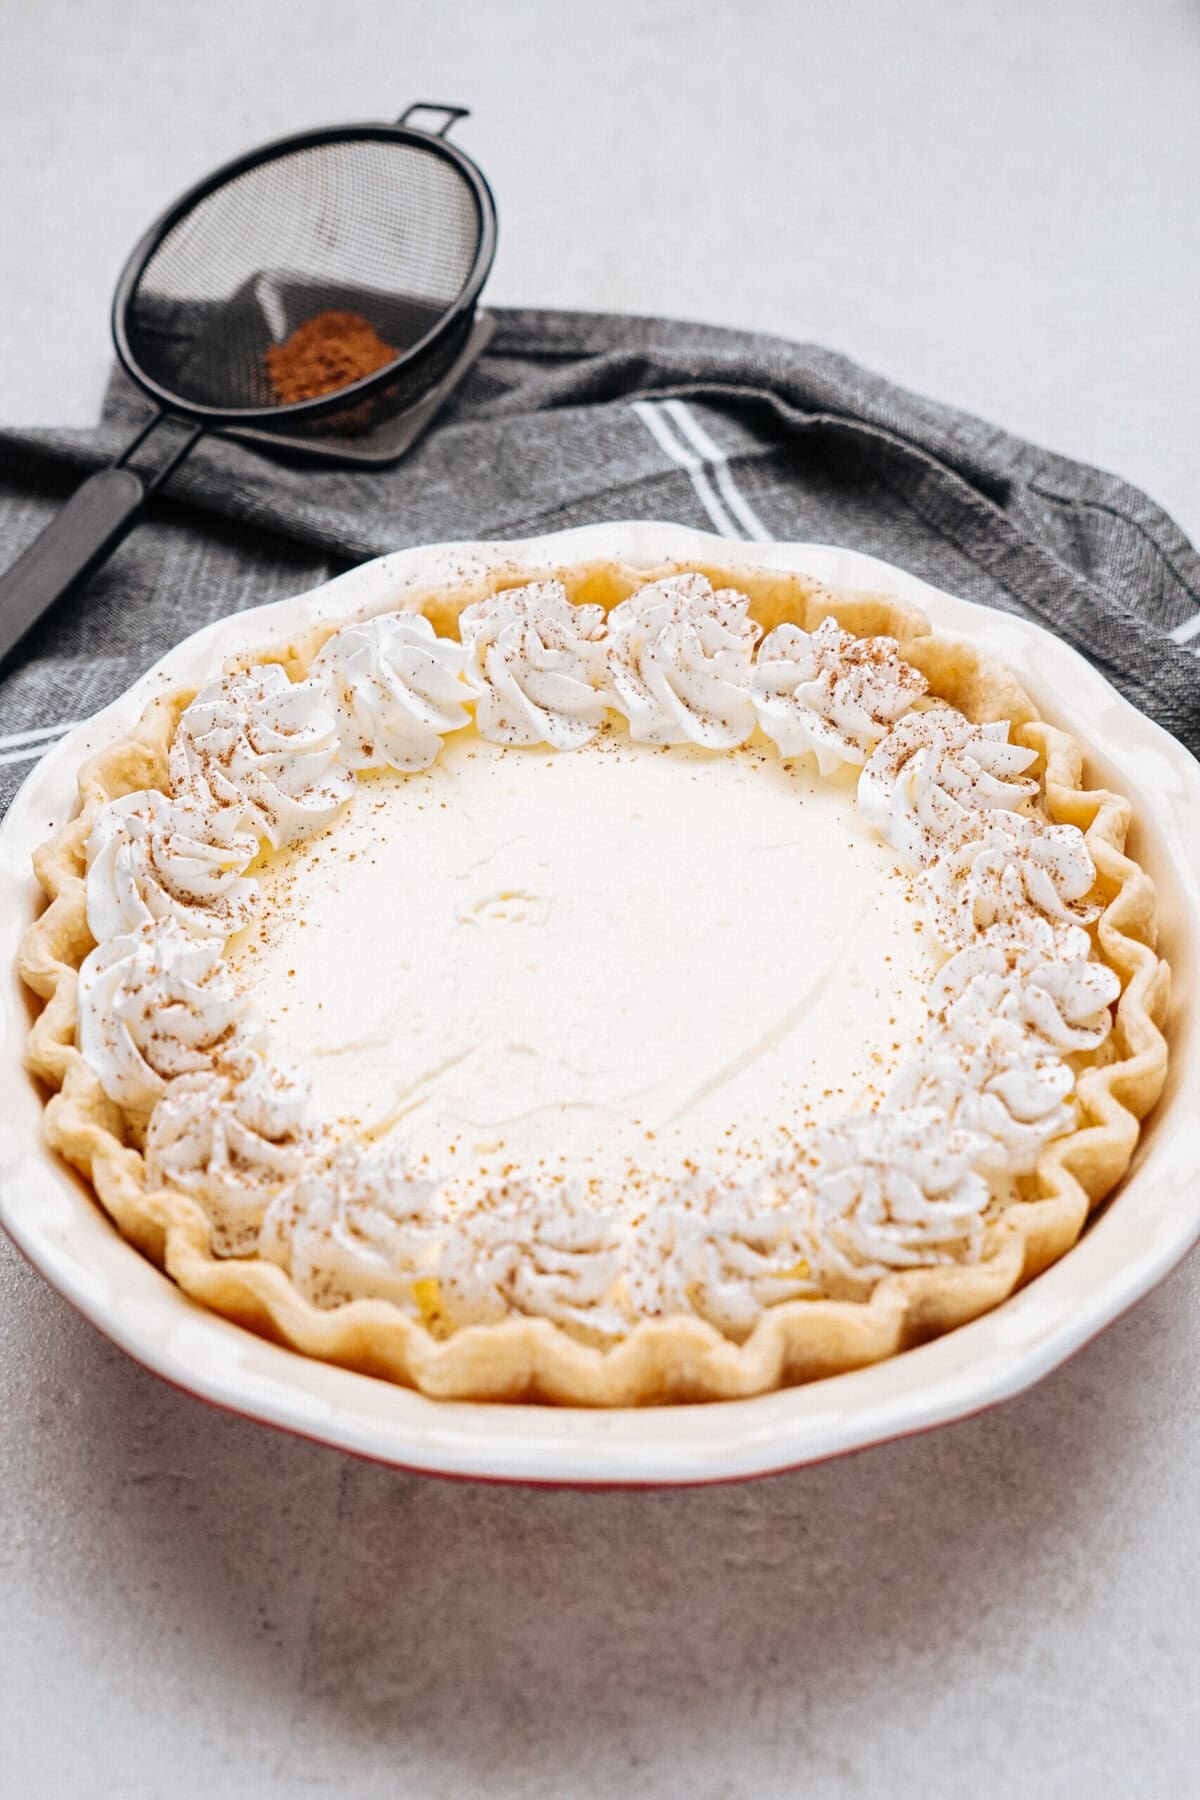
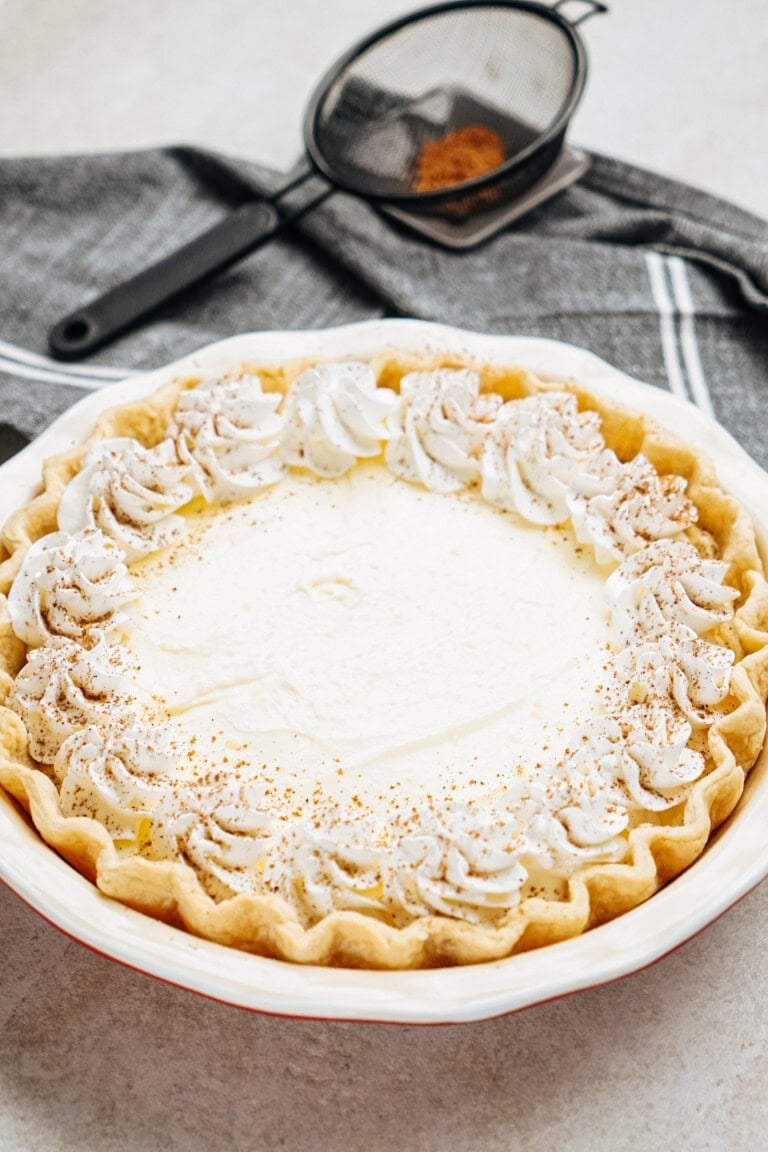
Pipe the remaining whipped cream onto the top of the pie, sprinkle with nutmeg, and enjoy!
Storage + Make Ahead Directions for Eggnog Pie
Keep the pie covered with plastic wrap in the refrigerator for up to 3 days.
To Make Ahead: Make the pie the day before your holiday dinner for the best flavor and creamy texture.
To Freeze: Wrap the pie tightly in plastic wrap and freeze for up to 2 months. Thaw in the refrigerator overnight.
More Holiday Pie Recipes to Try!
- Pecan Pie Cheesecake
- Mixed Berry Streusel Pie
- Gingerbread Cream Pie
- Pecan Cream Pie Recipe
- Pumpkin Pie
Eggnog Pie is a perfect dessert for the holiday season, from Christmas dinners to New Year celebrations. Its creamy filling and rich eggnog flavor will impress any crowd, while the simple ingredients and easy preparation make it a stress-free recipe. Next time you’re craving a festive dessert, this one’s sure to hit the spot! The printable recipe card is below! Have a great day, friends! 🙂
If you make this recipe, I would really appreciate it if you would give it a star rating and leave your review in the comments! If you have a picture of your finished dish, post it on Instagram using the hashtag #laurenslatest and tagging me @laurens_latest.

Eggnog Pie
Ingredients
for the pie crust-
- 3 cups all-purpose flour
- 3 tablespoons granulated sugar
- 1 teaspoon salt
- 3/4 cup unsalted butter ice cold, cubed
- 10 tablespoons ice cold water give or take a few tablespoons
for the filling-
- 3/4 cup heavy cream cold
- 1 cup eggnog cold
- 1/2 cup milk cold
- 1 box instant vanilla pudding
- ground nutmeg for garnish, optional
Instructions
for the pie crusts-
- In the bowl of a stand mixer, using the paddle attachment, mix the flour, sugar and salt together until combined.
- Stir in cold butter cubes until they are the size of peas. With the mixer on low, stream in ice cold water by the tablespoon until the dough starts coming together. It should be moist, but not sticky. If you grab a few pieces and squeeze them together in your hand, they should stick together without leaving a residue on your hands.
- Form dough into two disks, wrap in plastic wrap and refrigerate until ready to use.
- When ready to make the pie crust, remove one disk of dough from refrigerator and sit out for 10-15 minutes to make it easier to roll.
- Preheat oven to 400° F. Flour counter top and rolling pin and roll out dough to large circle. Gently place into a pie pan, cut off extra dough and scallop the top edges of crust.
- Prick bottom of crust with fork a few times, evenly. Bake for 10-12 minutes or until crust looks dry and top edges are barely golden. Set aside to cool.
for the filling-
- In a medium bowl, using an electric mixer, whip heavy cream to stiff peaks. Refrigerate until ready to use.
- Whisk together eggnog, milk, and instant pudding mix in a medium bowl. Let thicken for a few minutes.
- Remove whipped cream from the refrigerator and fold HALF of it into the eggnog mixture for a creamy texture. Refrigerate the remaining half of the whipped cream for later.
- Pour the filling into the cooled crust, cover with plastic wrap, and refrigerate for at least 2 hours.
- Pipe the remaining whipped cream onto the top of the pie, sprinkle with nutmeg, and enjoy!
Notes
Nutrition




[…] Egg Nog Cream Pie […]
I have an awesome boozy eggnog recipe that always gets rave reviews. I’m going to try your recipe in the next few weeks. I’m going to use Bob’s Red Mill gluten free pie mix for the pie dough. It’s the best GF option. Someone asked about instant pudding, and if you Google it, there are some great recipes out there. I’ve made it, but not recently. I can now get GF instant pudding. But if you’re where they don’t carry it, you can find the ingredients fairly easily.
Hi Mrs. Lauren!
This looks sooo amazing and i would love to make it! However, where I live it’s very hard to find instant vanilla pudding 🙁 Would there be anything I could substitute it with? Thank you for sharing such amazing recipes!!! >.<
Made it for Thanksgiving and got rave reviews. My daughter asked for the recipe. She is taking it to an office potluck. I used a graham cracker crust instead of a regular pie crust and it worked out well. Next time I will do a regular crust.
somehow, I don’t know what went wrong in the process but mine won’t thickened up like yours even I used a bigger size (big box) of vanilla pudding instant. I ended up putting a colorless gelatin in there so it thickened up. I really don’t know how that will turned out but I hope this trick works!!!!!
Do you think it would be okay if I made this tonight and let it sit until around 8 pm tomorrow night in the refrigerator? I would wait to garnish it with the cream and chocolate of course.
Yes, as long as you cover it with plastic wrap, it should be just fine!
We all just love egg nog…now with this amazing recipe we can enjoy it in a way never dreamed of before…but after we move.We are moving December 23….thank GOD just a couple of miles..to a home we are buying…yeaaaa…Thanks …Lauren….you rock…
Lauren this is just gorgeous! The recipe, the lighting and photos, and that creamy filling! Pinned!
[…] For recipe visit: laurenslatest.com […]
[…] 2. Bake, bake, bake… and ummm BAKE! […]
I just finished making this pie. I used Martha Stewart’s Easy Pie Crust recipe: http://www.marthastewart.com/336991/easy-pie-crust
I made the filling exactly as your recipe said and it tasted soooooooo good! We had left over filling and the whole family licked it clean.
The recipe was super easy and is definitely fool proof.
Soooo good!
[…] knew that, this year, I had to remedy that! As soon as I saw this pie I knew a pie would be one of the things I made with eggnog this […]
Made this with Southern Comfort Non-Alcoholic Eggnog and it is DELICIOUS!! Love It
[…] Eggnog Cream Pie from Lauren’s Latest […]
I think this filling would be great in a graham cracker crust also.
Sounds awesome
[…] Eggnog Cream Pie by Lauren’s Latest […]
[…] Egg Nog Cream Pie From Lauren’s Latest […]
Made this pie last night (on the eve of New Year’s Eve). Originally planned to make it for Christmas Dinner to add to the many desserts I was going to serve, but ran out of time (and energy). Glad to share that it is absolutely fabulous. It will be made many times throughout egg nog season next year. My only glitch was I grabbed “cook n serve” pudding instead of instant…but it didn’t make a difference and only added a little more time to the process. A great and wonderful dessert!
Wow! This looks amazing! How did I miss this? I love cream pies…with egg nog, genius!
Oooh, I’ll be making this without the crust because pesky crust just gets in the way! We don’t have eggnog in Germany so I’ll use some homemade egg liqueur. I’ve never had boozy pie filling but I will one day. I just have to find some pudding mix first. 🙂
First, I hate when you make a pie crust absolutely PERFECT and it shrinks when you bake it. My new mission is finding a solution to this problem.
…anyways, the pie sounds delicious. I love eggnog, so a pie with eggnog in the name got my attention!
Merry Christmas!
Brandon from theyummybits.com
looks so good. I could dive in
What a crazy time of year to have to move….aaahhhhh!!!! This looks amazing Lauren. Great way to use up all that eggnog that ends up in the fridge at this time of year!
oh my gosh. this is dreamy.
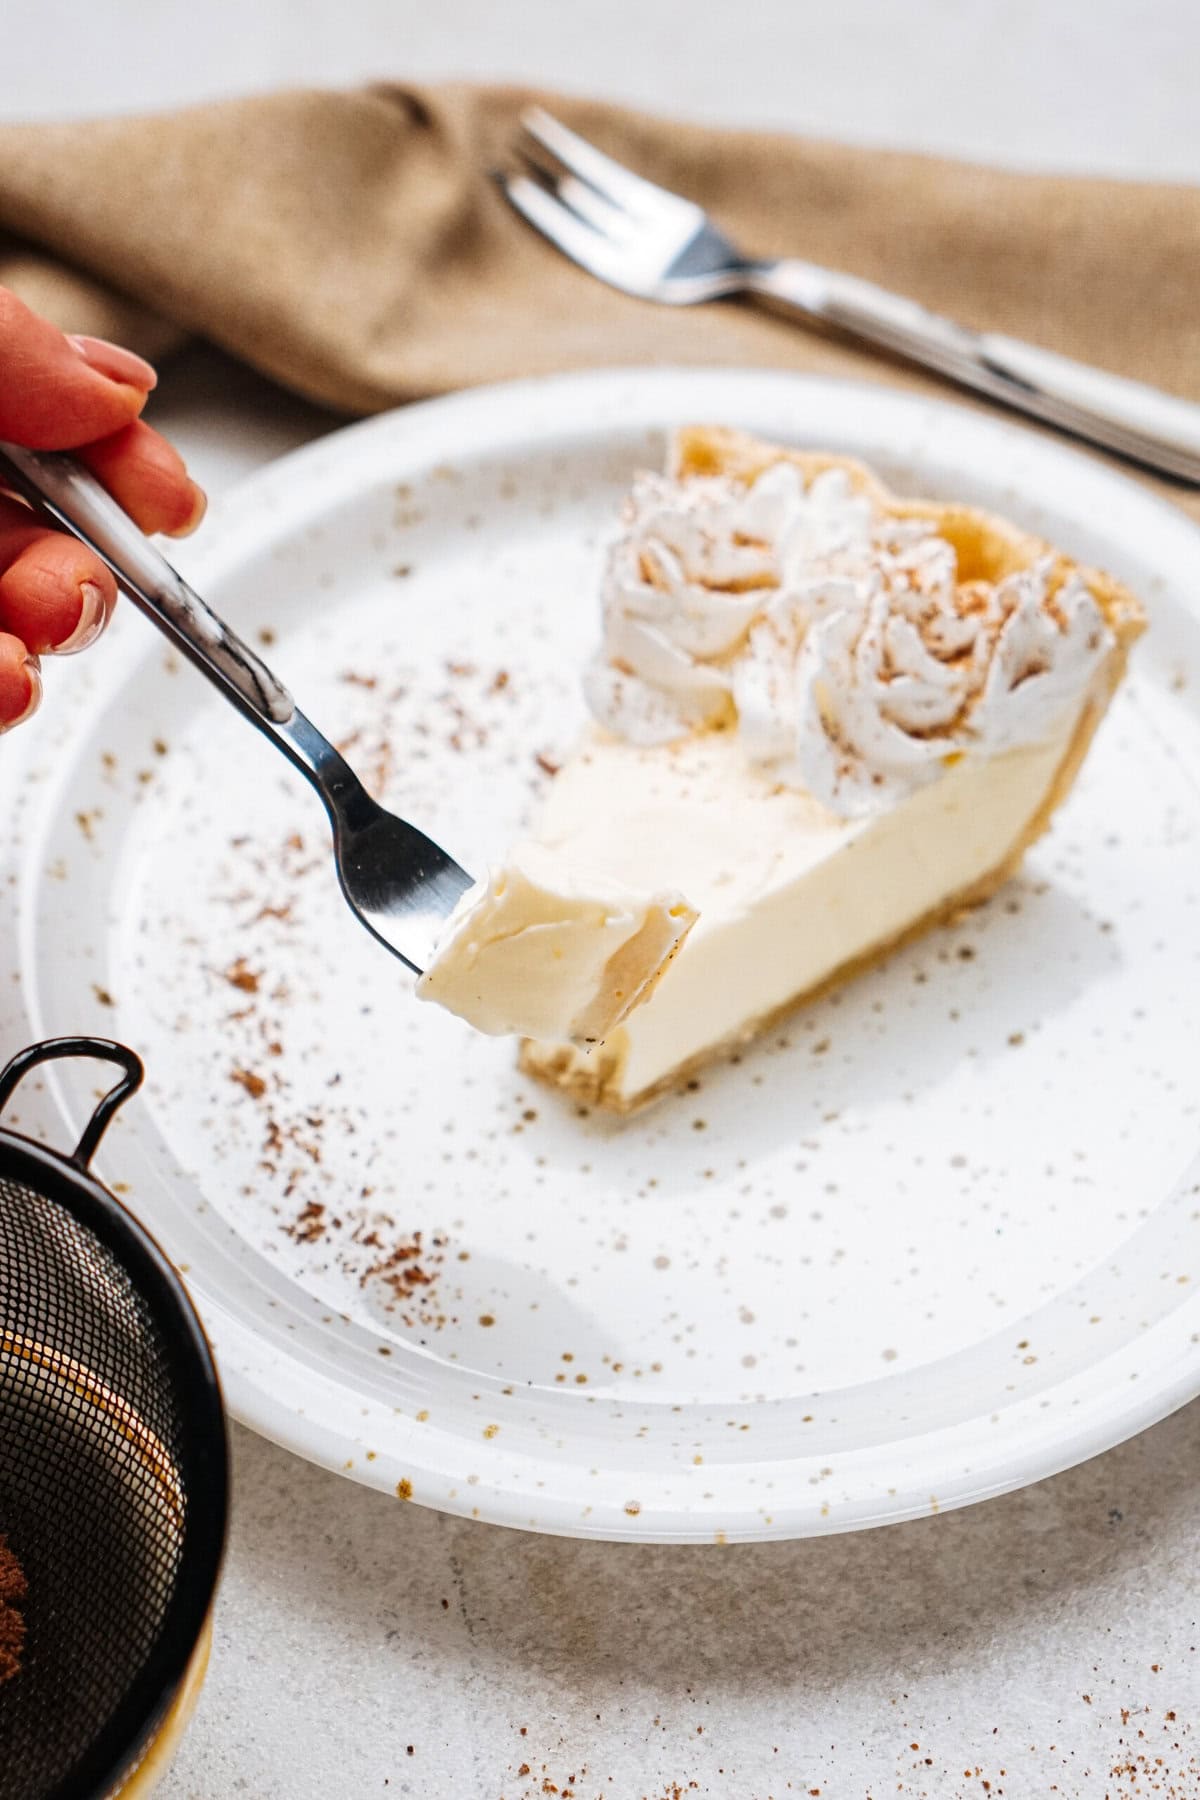
The Slice of pie on your plate is so beautiful!! picture perfect!! I want to just grab it…
Love the step by step instructions and your pictures are sooooo pretty. After I finish this comment I’m going back to look at the pics again! forgot to mention this pie looks delish!!
This pie looks so fluffy and airy and mmmm, mmmm, good! I like cream pies a lot, but don’t know what egg nog tastes like, so cannot imagine the flavour … looks like it would be really good though!
Your pie is dreamy looking! I’m with Bev on that one. It’s so light and airy and pretty…your pics are just beautiful! What kind of lens/camera do you usually shoot with and do you edit in Lightroom or PS? Your images are always just…magnificent. So delicate and beauitufl looking. And your light…is great. Mine is…not. Ever! I have like a two hour window during the day and that’s it.
But back to the pie…YUM!
Oh gosh Lauren! This looks magnificent! Ps… your crust rocks! 😉
Oh my…I’m in love!
Looks so yummy! I’m thinken of switching up our dessert plans for tonight’s party!
You mean egg nog DREAM pie, YEAAAAAH.