This post may contain affiliate sales links. Please read my disclosure policy.
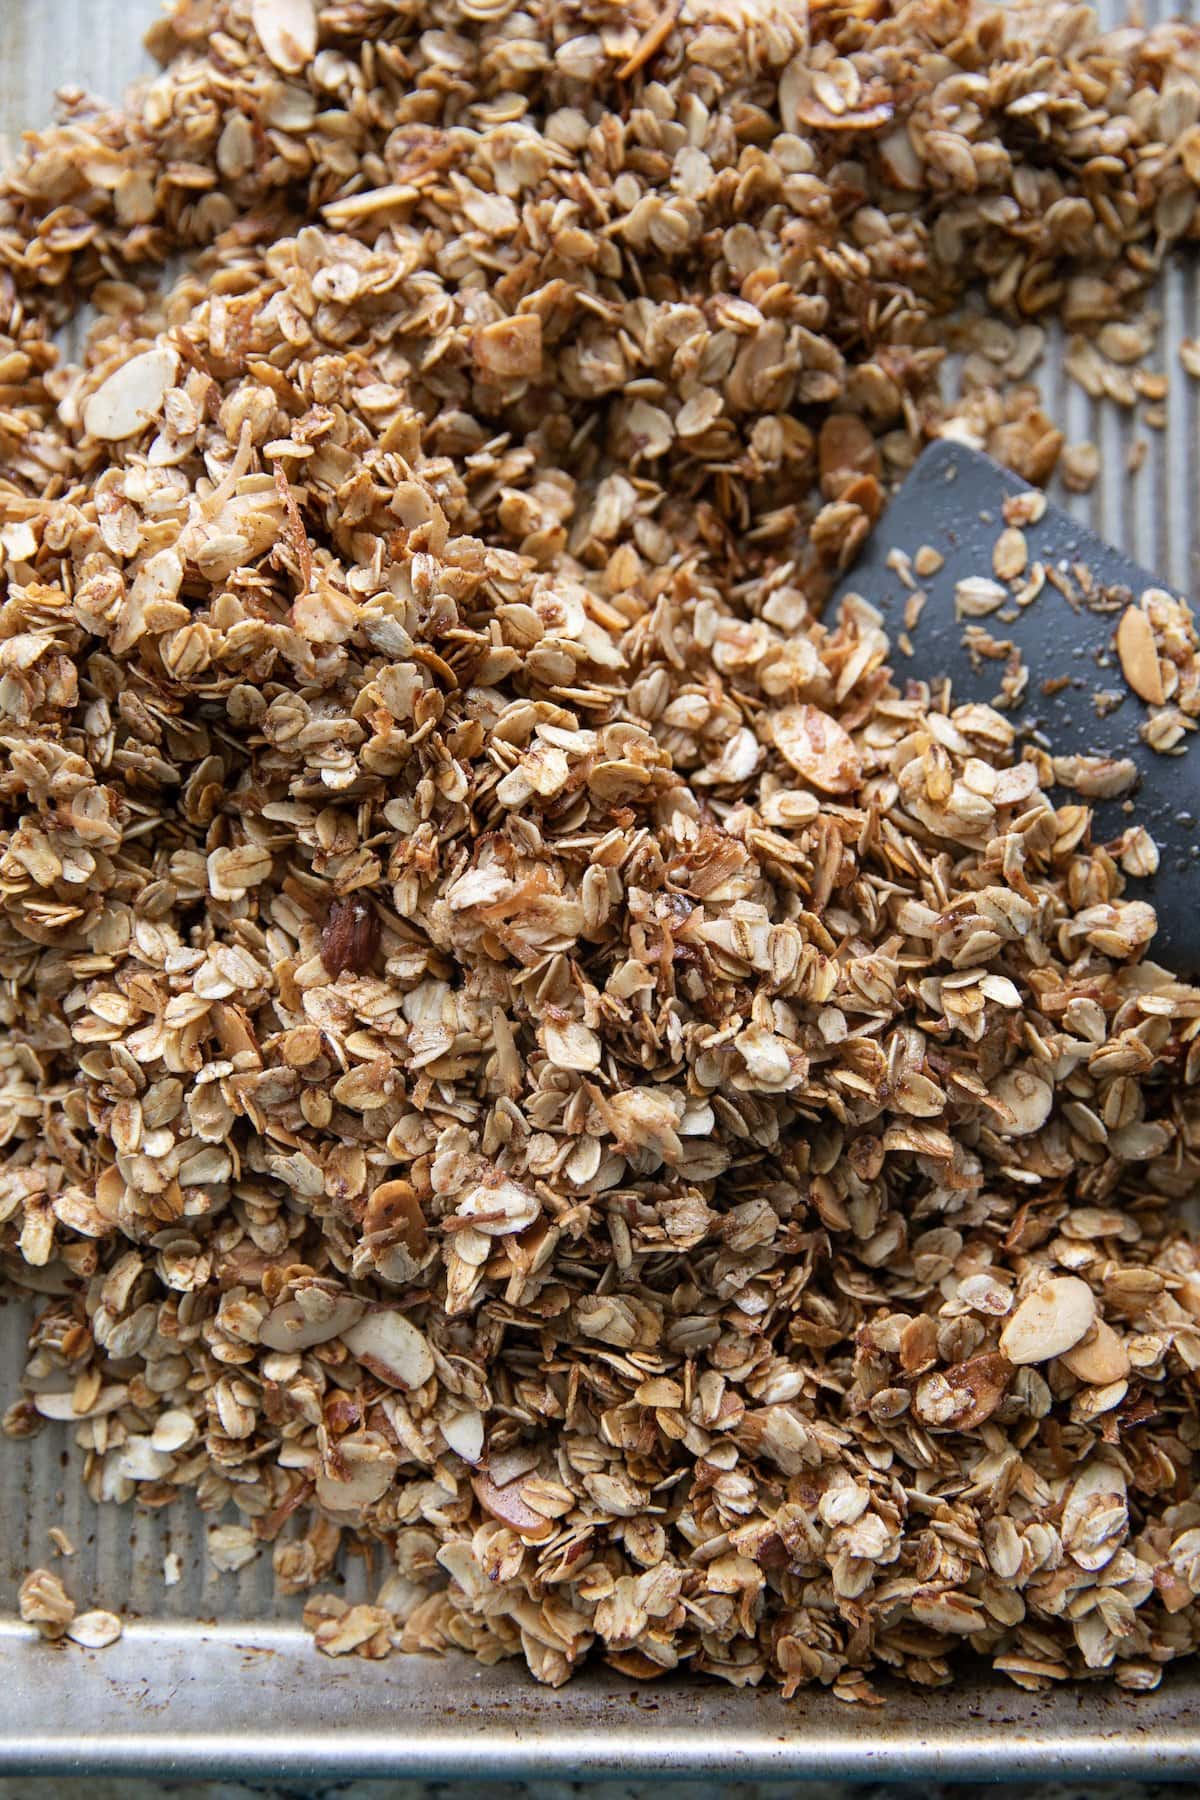
Learn how to make my Homemade Granola recipe the easy way! Plus I have tons of ideas on how to customize this recipe to make it just how you like it. If you’re wanting some chocolate in your life {yes, please!} try my Chocolate Granola. Yum!
A Healthier Breakfast or Snack
I love love love homemade granola. This super easy granola recipe is filled with the basics, but so flavorful and delicious. I love making a batch of this to have on hand for breakfasts or crunchy additions to yogurt, smoothie bowls, parfaits, chopped fresh fruit or even tossed into cookie or pancake batter for a different kind of crunch. While this is a simple tutorial on how to make your own delicious homemade granola, be sure to scroll down to the section on how to make this to your own liking. The recipe increments stay the same, regardless of the oats, nuts and seeds you are using. And yes, dried fruit can get added in, too. I’ll show you how. Read on, friends!
How To Make Homemade Granola in 3 Easy Steps
There are two main parts to making really good homemade granola: the dry ingredients like oats, nuts and seeds and the wet ingredients/oil-maple syrup mixture that gets poured over the dry ingredients that give it all it’s flavor and helps turn it into granola. Basically, you toast the dry ingredients, toss them with the wet and bake until toasty, crunchy and golden brown. Obviously there are more details which I’ll explain in the recipe card and directions below, but it’s certainly nothing to be intimidated by. There is nothing hard about making your own granola, you just need a little time. Here’s how to make it:
Toast Oats + Prepare Oil-Maple Syrup Mixture
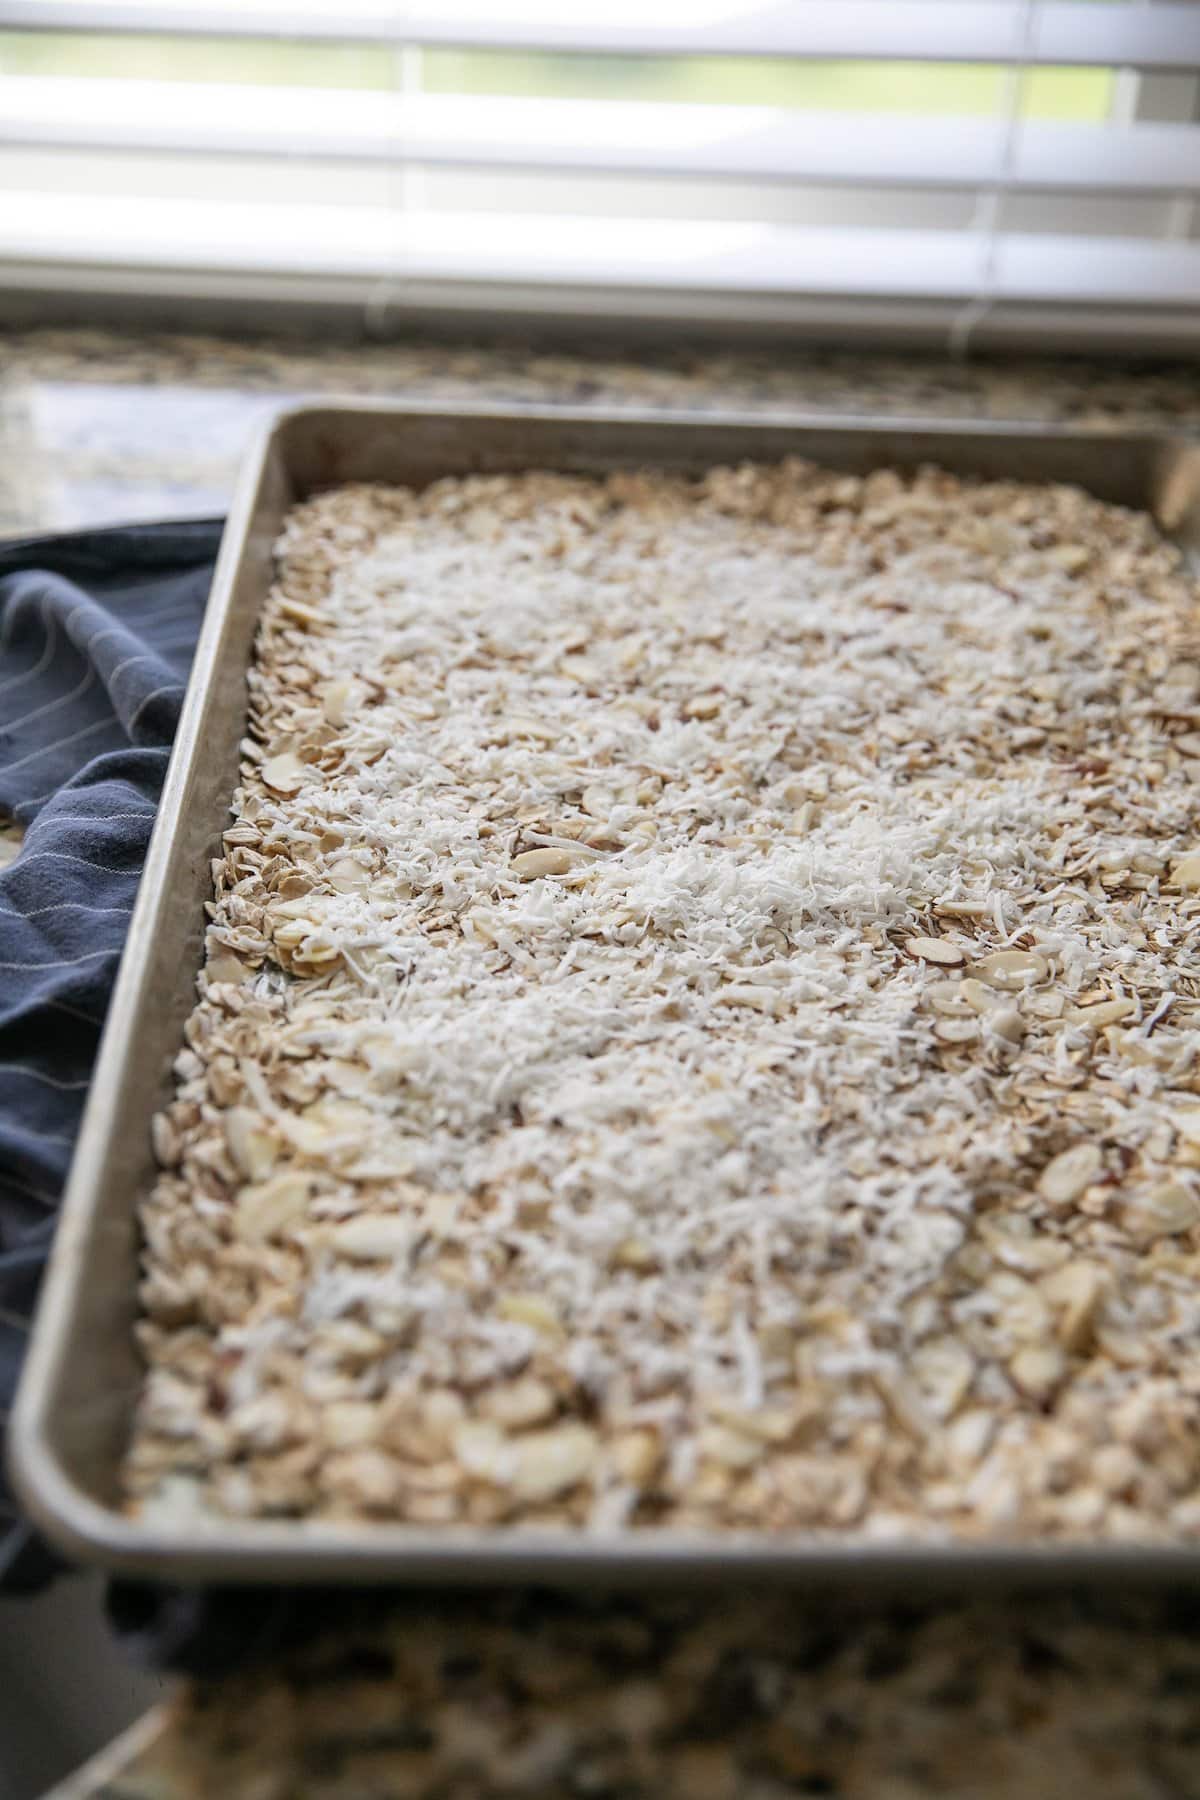
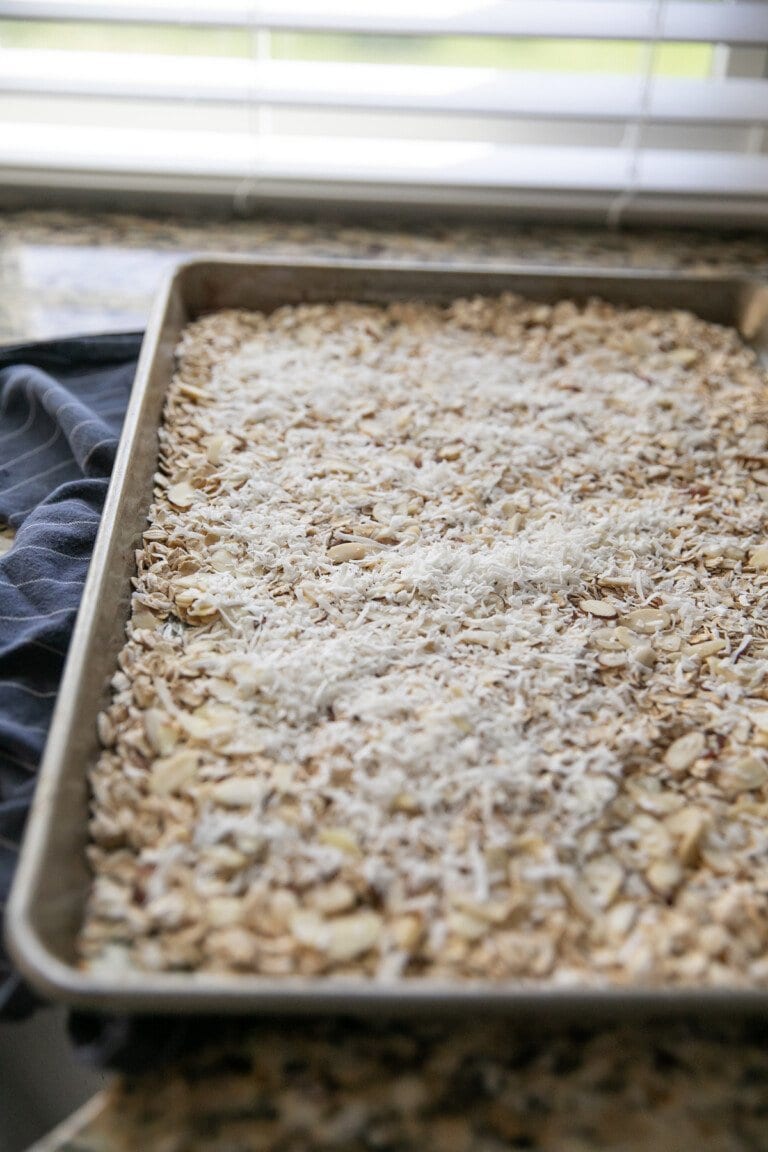
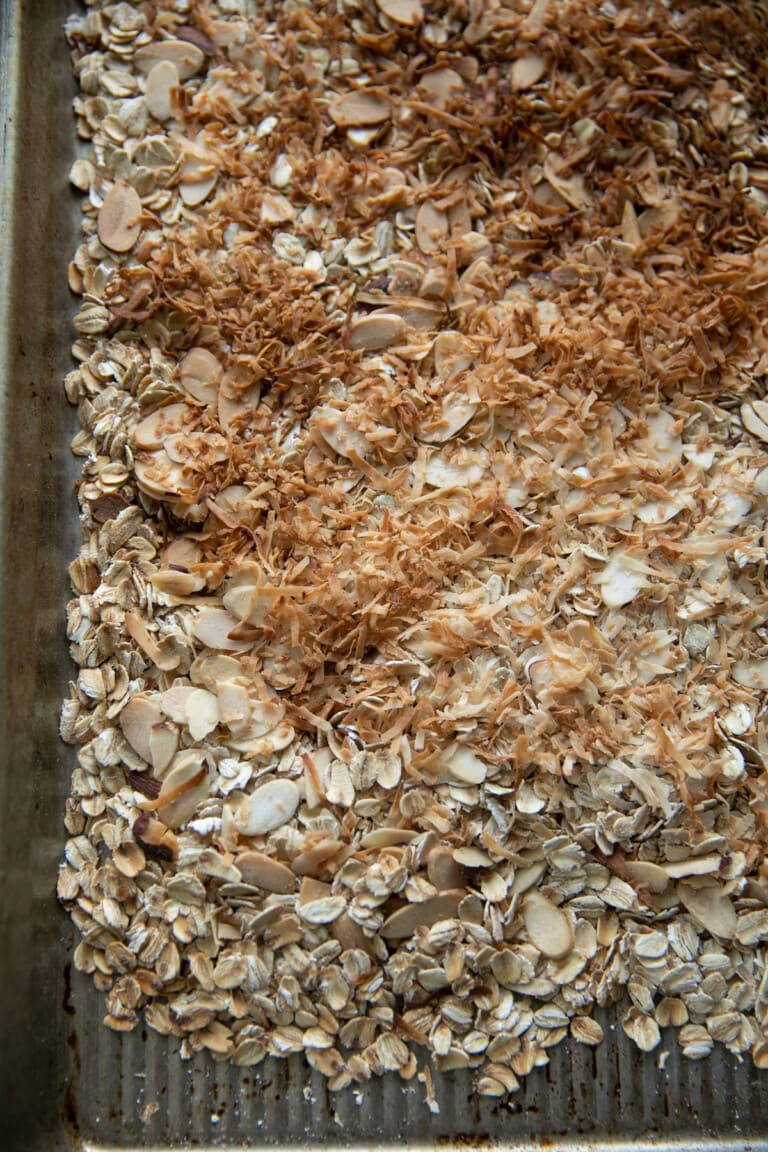
Preheat oven to 300 degrees. Place oats, almonds and coconut (optional) on two large half sheet pans with high sides and spread to create an even layer. I lined my pans with parchment paper for easy clean up, but that is optional. Toast until fragrant. This can be anywhere between 8-15 minutes, depending on your oven. Reduce oven temperature to 250 degrees.
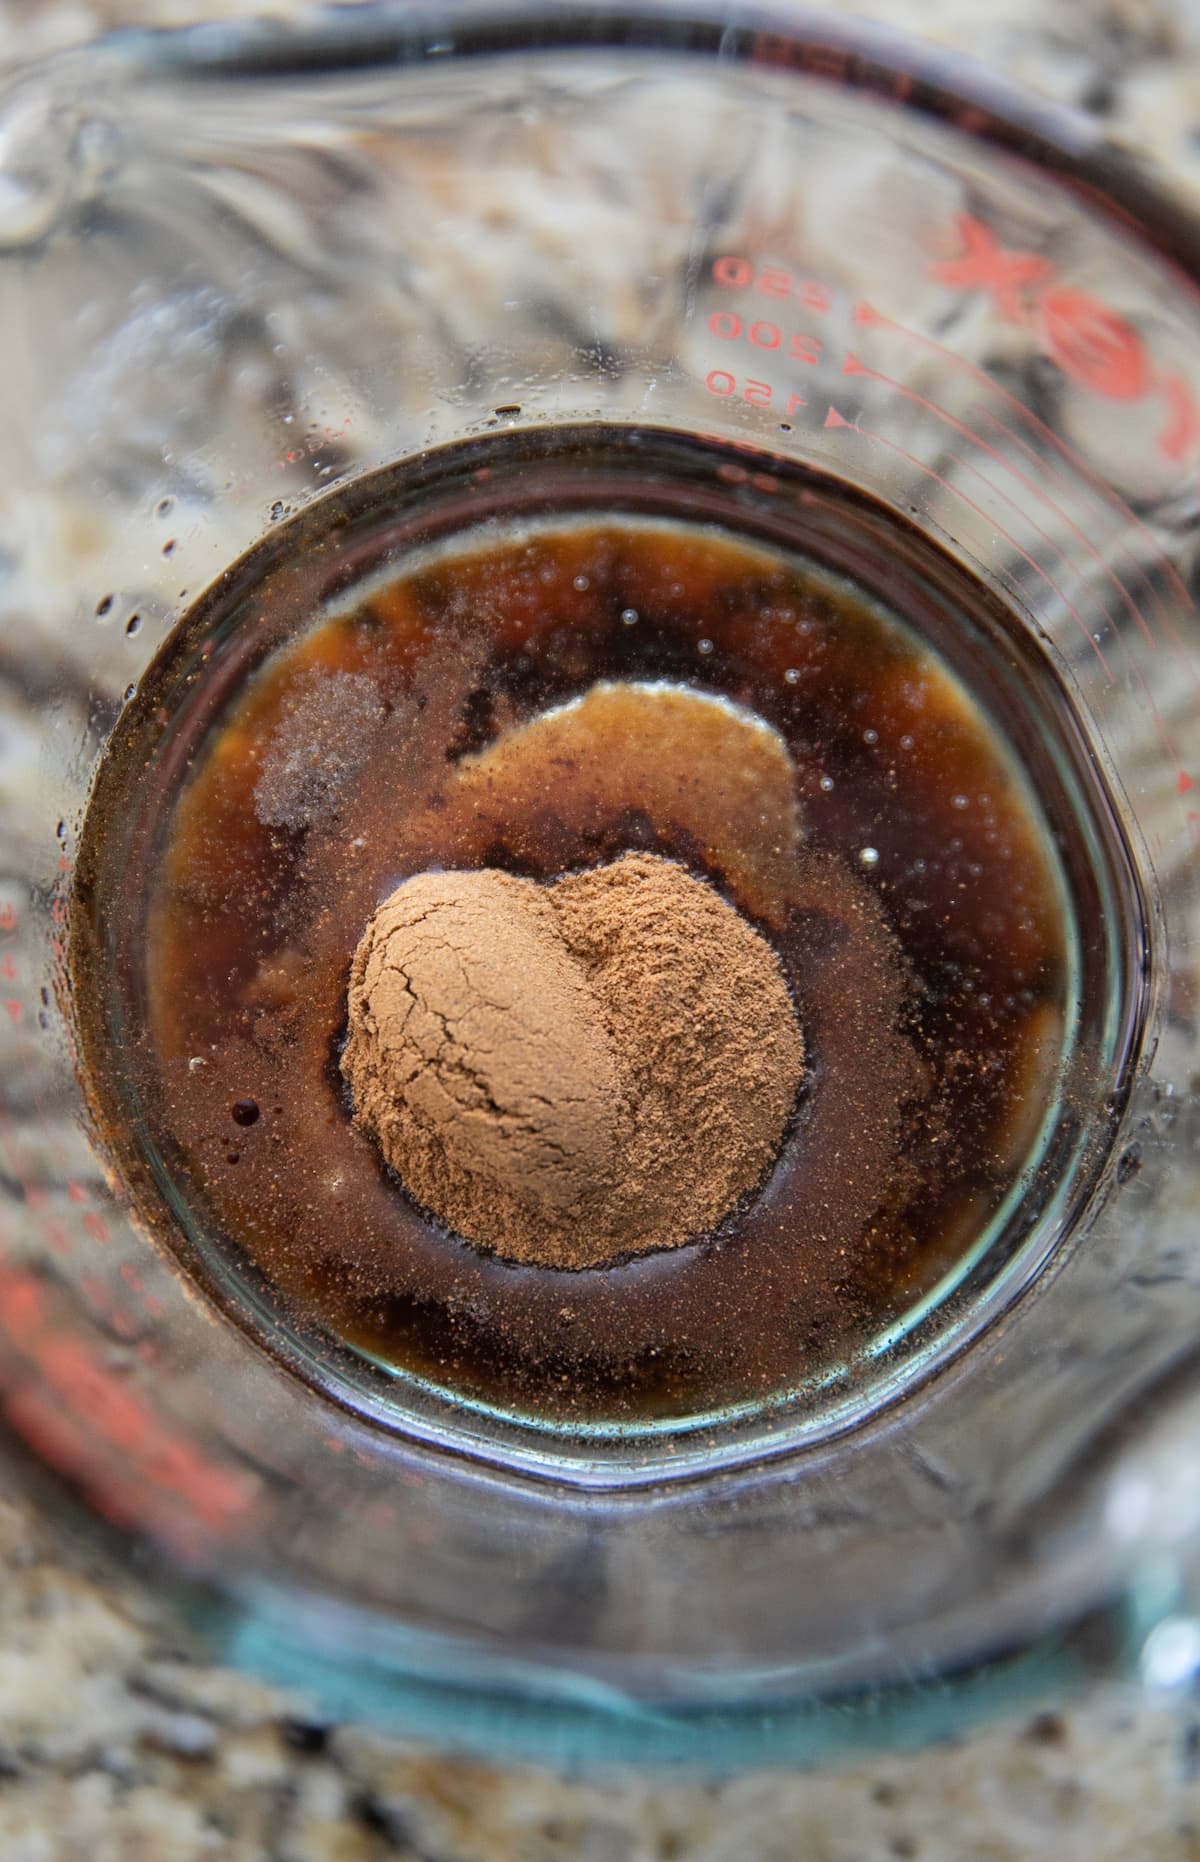
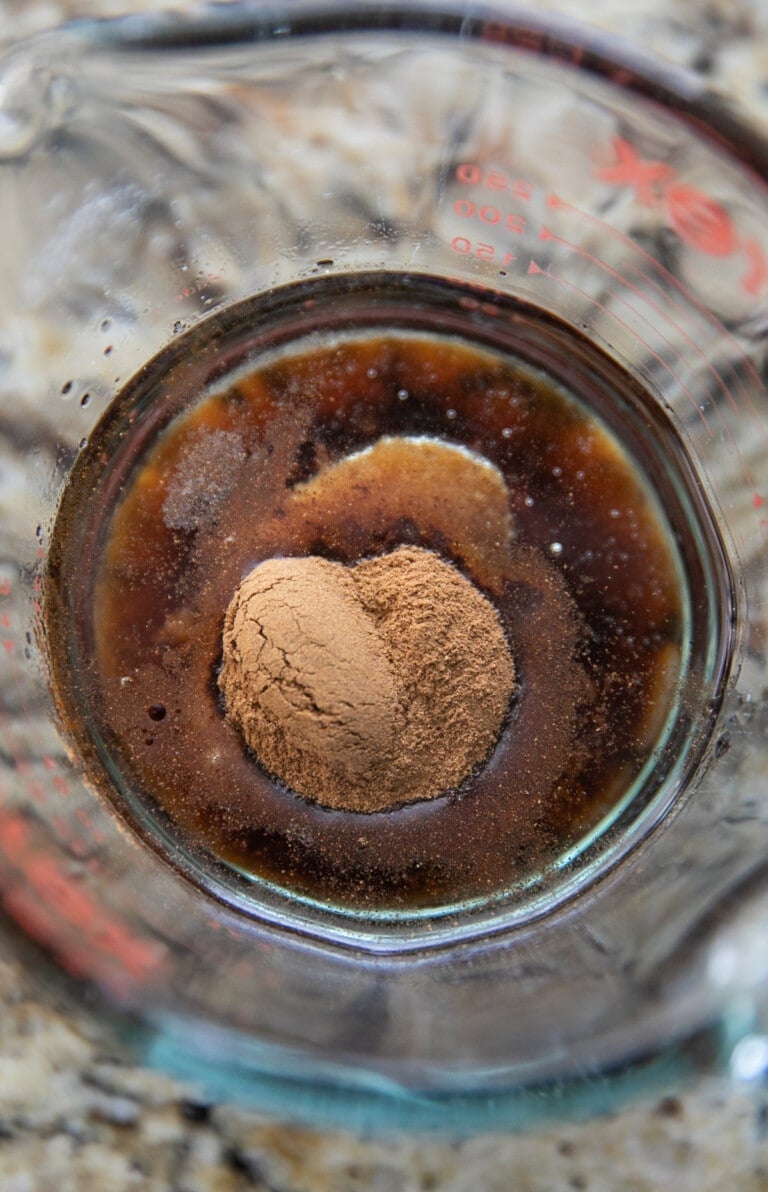
While oats are toasting, in large liquid measuring cup, stir together oil (any neutral oil will work), honey, brown sugar, cinnamon, vanilla and salt. The brown sugar will not dissolve completely and that’s ok.
A Note About Toasting Coconut
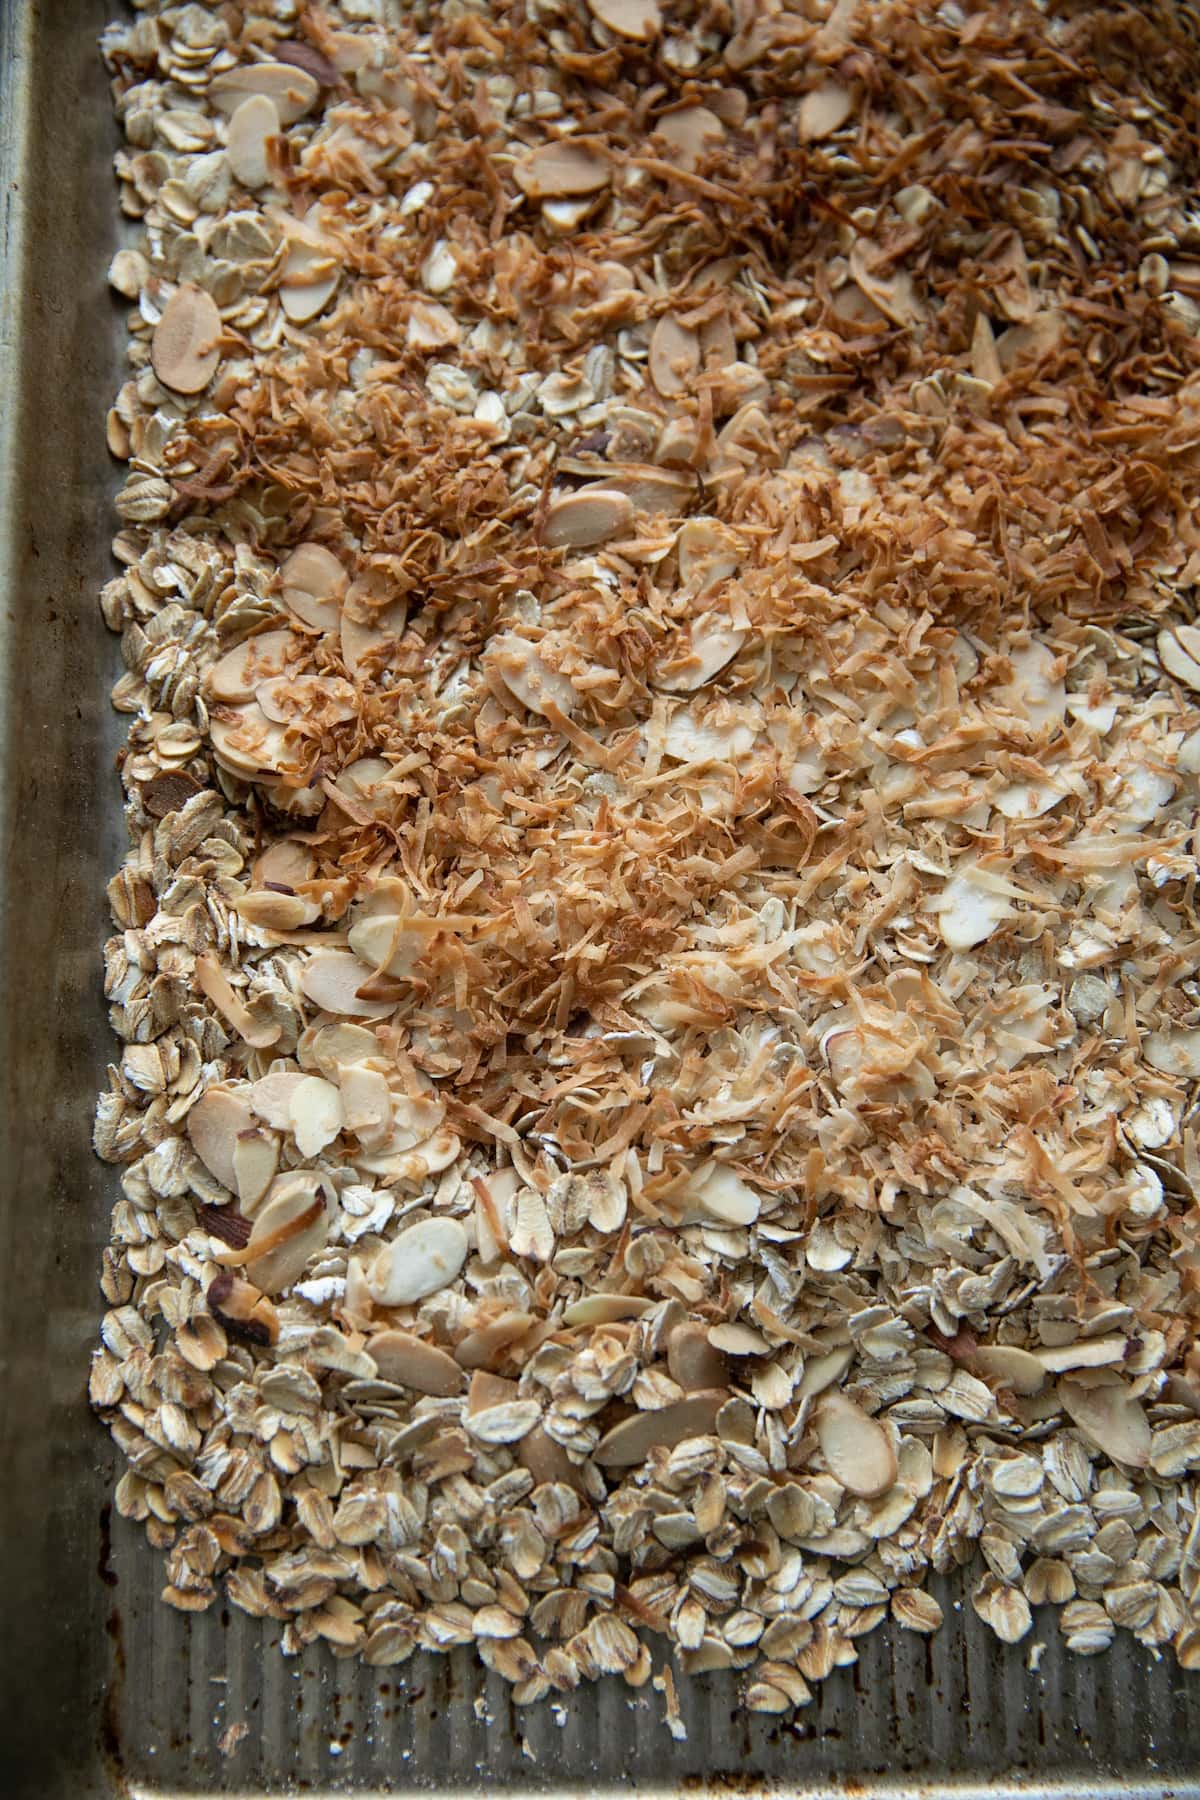
I opted to toast my oats, almonds and coconut together on the two sheet pans before tossing with the oil and maple syrup mixture and completing the baking process. I am not certain I would suggest toasting your coconut with the oats in this first step of the recipe, especially if you’re using a sweetened, desiccated coconut. It can easily burn. If you are using unsweetened, larger pieces of coconut (like this one from Bob’s Red Mill), these would work just fine toasting with the oats and nuts. But, if you’re using the sweetened desiccated version, I’d add that in with the oil and maple syrup mixture to make sure it didn’t burn.
Pour Oil/Maple Syrup Mixture Over Both Pans Of Granola
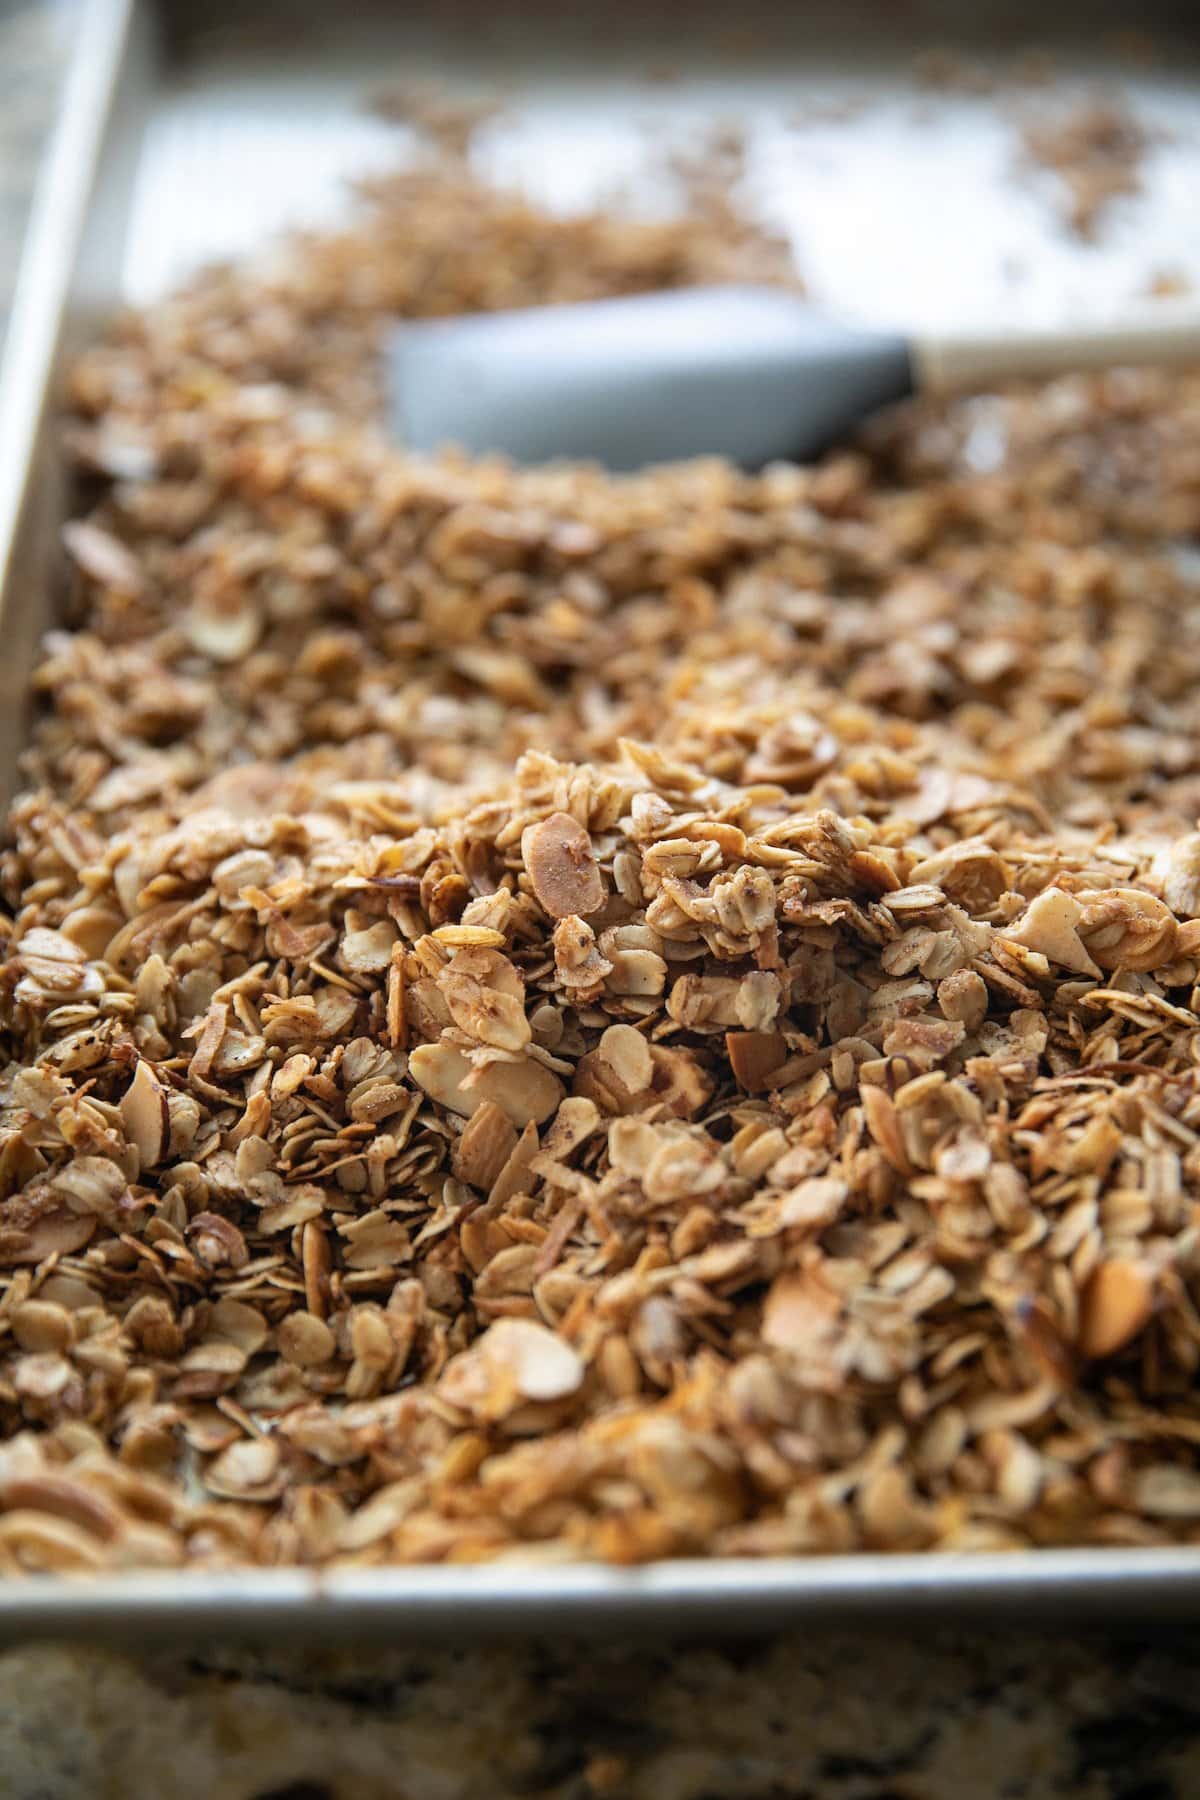
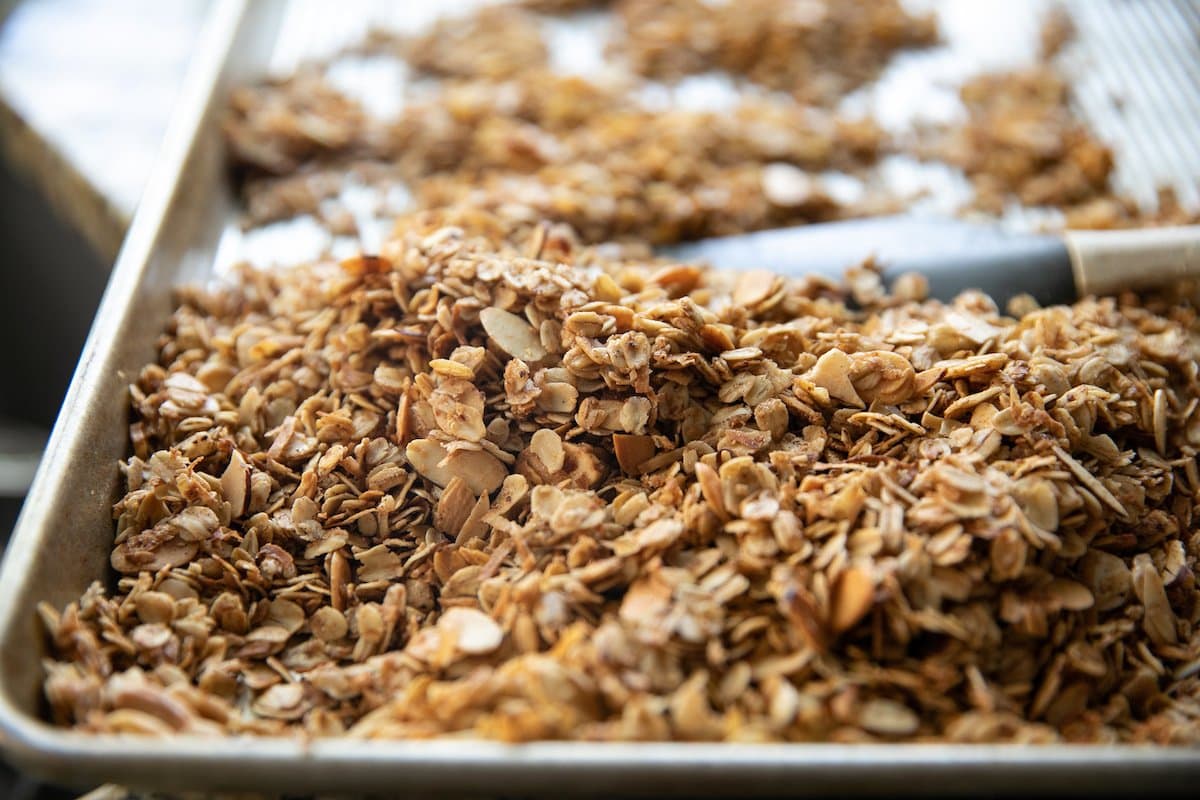
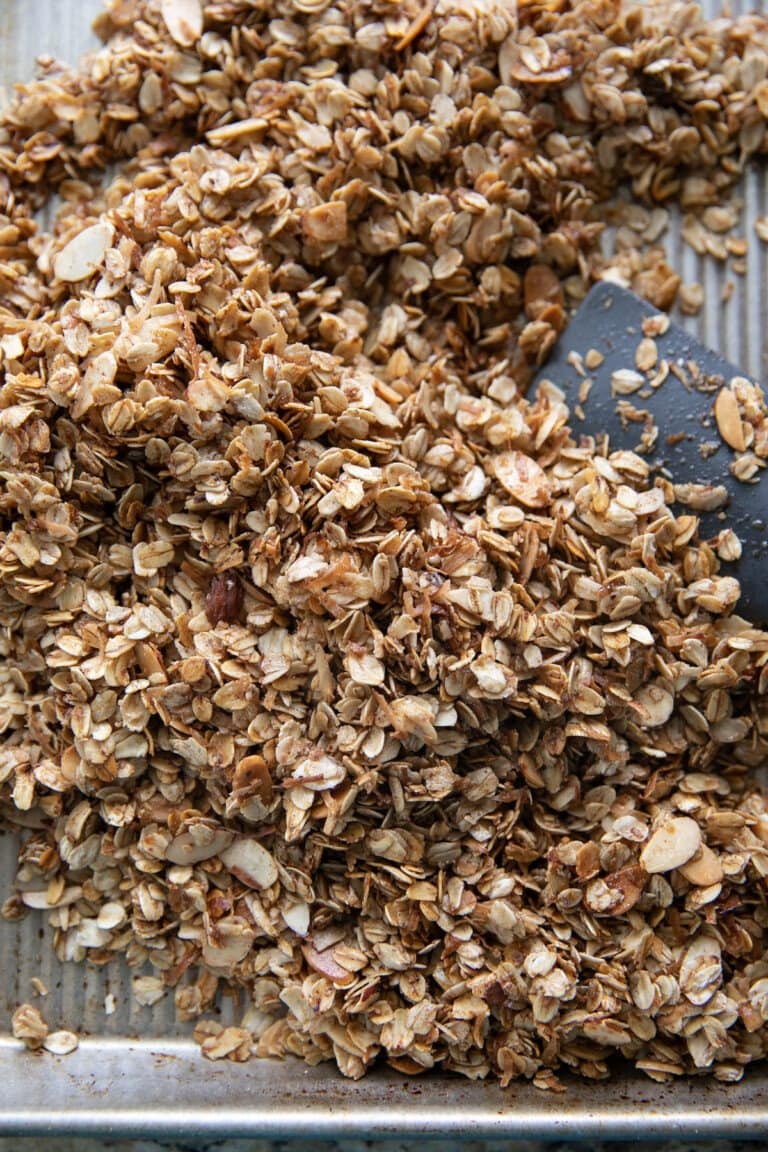
Once oats have toasted to your liking, pour oil and maple syrup mixture over both pans evenly. Stir until all ingredients are coated well. Spread into an even layer for both pans and return to oven. Bake, stirring occasionally. I like to stir the pans every 10 minutes or so until they are a dark, golden color and clusters are starting to form. 30-40 minutes. Again, every oven is different, so keep an eye on it.
Cool Completely and Store
Remove granola from oven and cool completely on sheet trays before transferring to airtight containers.
Why Use Multiple Sheet Pans?
While I have made this recipe completely with one sheet pan, I wouldn’t recommend it. We want to roast and toast all the ingredients and have it bake evenly. If it’s all piled together, it will have a harder time getting crispy and golden since most of the granola wouldn’t even be touching the bottom or sides of the pan. Think of when roasting vegetables. If you overload your pan, you’ll steam your veggies instead of roast them. It’s the same sort of thought process that will happen with this granola recipe. That’s why I suggest dividing these ingredients between two sheet pans (so, three cups per pan) so ensure everything bakes as evenly and quickly as possible.
Granola Variations
Here lies the beauty of making your own granola…anything goes and you can omit and add what you want! Dried fruits, nuts, seeds, you name it. It’s all good and all combinations I’ve tried are delicious.
Nuts + Seeds
My recipe calls for 8 cups total of oats, nuts and seeds. So as long as you’re ending up with 8 cups total, you can mix and match whatever you want. I suggest keeping at least half of that amount rolled oats (so minimum of 4 cups). I love adding in sesame seeds and sunflower seeds…they add such great flavor! A little goes a long way, especially when it comes to seeds.
- sesame seeds, sunflower seeds, hemp seeds, flax seeds, chia seeds
- pepitas (green pumpkin seeds)
- cashews, pecans, macadamia nuts, peanuts
Spices/Extracts
Instead of using cinnamon (or in addition to using cinnamon), you can add amazing flavor and warmth to your granola by adding in some of these other spices or extracts. Orange-Almond is one of my favorite combos.
- nutmeg
- cloves
- ginger
- pumpkin pie or apple pie spice (both are simple spice combinations of the spices listed above)
- ground star anise
- cardamom
- lemon/orange extract or zest
- almond extract
Dried Fruit
Adding some sweet and chewy dried fruit can turn my plain jane granola recipe into something really special. I would recommend adding 1-2 cups maximum to the finished homemade granola after it it completely cooled, then storing in air tight containers. You can always store the dried fruit and granola separately and add a small handful of raisins or craisins when you’re ready to eat.
- raisins
- craisins
- dried pineapple
- dried mango
- dried apple
- banana chips
Tips + Tricks
- This Granola Recipe absolutely needs to cool on the baking sheet entirely to keep it crunchy. DO NOT put warm granola into a sealed container!
- Dried fruit does not need to be toasted, so add that in once your granola has completely cooled.
- Feel free to replace the 2 cups of coconut and almonds with other nuts, seeds, and dried fruit. Make it how you’d like to enjoy it. (Details about how to do this are above.)
- Nutritional Information will depend on what you add to your granola mixture. The nutritional information below in the recipe card is for my basic recipe as stated.
How Long Will Granola Last?
Once the granola has cooled completely, place it in an airtight container. It should be kept at room temperature and should last up to 6 weeks.
Freezing Instructions
Granola can also be stored in the freezer. Place into a freezer-safe bag or airtight glass jar, pressing the air out of the bag before sealing. If stored correctly, this will stay fresh in the freezer for 3-5 months.
Love Granola? Try These Other Recipes…
- Chocolate Peanut Butter Granola
- No-Bake Peanut Butter Granola Bars
- Orange Granola
- Pumpkin Seed Granola
- Chewy Chocolate Chip Granola Bars
The printable recipe card is below. Enjoy your new favorite snack!

Homemade Granola Recipe
Ingredients
- 6 cups rolled oats
- 1 cup unsweetened shredded coconut
- 1 cup sliced almonds
For the rest of the granola:
- 1/2 cup avocado oil (any neutral oil)
- 1/4 cup honey or real maple syrup
- 1/4 cup packed brown sugar
- 1 tablespoon cinnamon
- 2 teaspoons vanilla extract
- dash salt
Instructions
- Preheat oven to 300 degrees. Place oats, almonds and coconut on two large half sheet pans with high sides and spread to create an even layer. Toast 8-12 minutes or until fragrant. Reduce oven temperature to 250 degrees.
- While oats are toasting, in large liquid measuring cup, stir together oil, honey, brown sugar, cinnamon, vanilla and salt. The brown sugar will not dissolve completely and that's ok.
- Once oats have been removed from oven, pour oil and sugar mixture over both pans. Stir until all ingredients are coated evenly. Spread into 1 even layer and return to oven. Bake 30 minutes stirring every 10 minutes.
- Remove granola from oven and cool completely on sheet trays before transferring to airtight containers.
Notes
- Granola needs to cool on the baking sheet completely to keep it crunchy! DO NOT put warm granola into a sealed container!
- Dried fruit does not need to be toasted or baked, so add that in once your granola has completely cooled.
- Feel free to replace the 2 cups of coconut and almonds with other nuts, seeds and dried fruit! Make it how you’d like to enjoy it.
- Nutritional Information will depend on what you add to your granola mixture.
- Here are some ideas to get you started:
- sesame seeds, sunflower seeds, hemp seeds, flax seeds, chia seeds
- pepitas
- cashews, pecans, macadamia nuts, peanuts
- raisins
- craisins
- dried pineapple
- dried mango
- dried apple
- banana chips



This is my new favorite homemade granola recipe. I love how I can make it the same or different each time. I’ve found that I like to make mine on one baking sheet instead of two because I like mine to be in clusters. It does make it harder to stir, but I’m okay with that. I also love how it takes me less than an hour to make it and be able to enjoy it!
I almost burnt my house down too:( Next time i make it. (and make it right) i’m sure it’ll be delicious
250? Aha! That was the issue. It doesn’t say to reduce it in the recipe, but that makes sense!! Thank you for getting back with me! I will try it again!
Hi Lauren, I just tried to make this recipe this morning and about 1/2 hour into the cooking time I noticed it was getting pretty brown. But I didn’t want to ruin the cooking process and risk it not getting crispy after it cooled, so I kept it in the oven. About 15 mins later my whole house was full of smoke and my granola was burnt. 🙁 What did I do wrong? Was the oven temperature supposed to be lowered for the 1 hour of cooking or was I just supposed to take it out when it seemed done? HELP!
Thanks!
Are you sure your temperature was at 250 degrees? If it was, I’d decrease the time and/or temp next time.