
You have 0 items in your cart
Lemon Bread Recipe

This post may contain affiliate links. View my privacy policy and disclosure policy for more details.
Mini Lemon Bread is an easy recipe that’s full of fresh lemon flavor. These mini loaves are soft, moist, and topped with a sweet lemon glaze. They bake quickly and are great for sharing, giving as gifts, or saving for later. If you love lemon desserts, this simple recipe is sure to become a favorite.

Why You’ll Love This Recipe
There are plenty of lemon bread recipes out there, but I keep coming back to this one because it’s so dependable. Sour cream keeps the bread incredibly moist, fresh lemon zest adds plenty of flavor to every bite, and the glaze takes it over the top without making it overly sweet. Since these are mini loaves, they bake quickly and are easy to package up for neighbors, friends, or family. I usually make a double batch because they disappear faster than you’d think.


Ingredient Notes
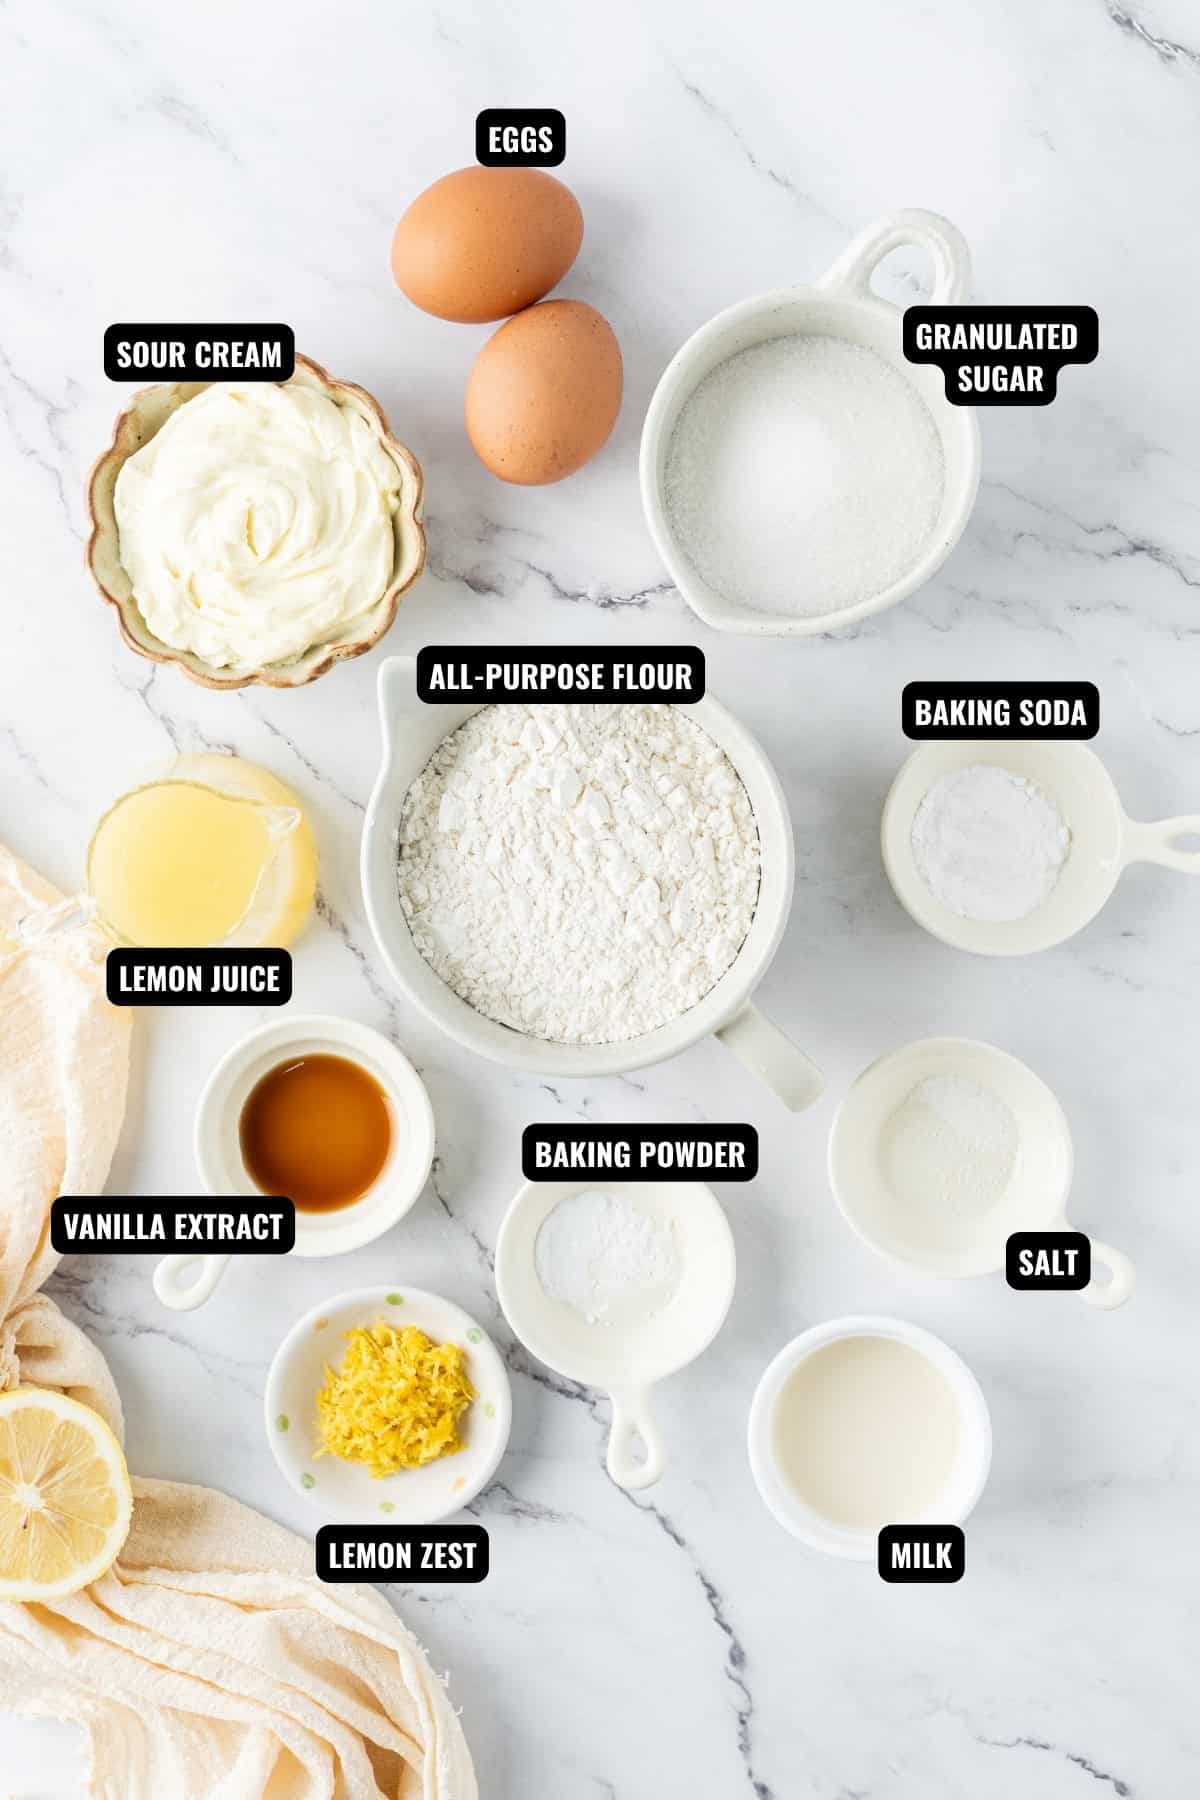
Here’s what you’ll need to make this Mini Lemon Bread. Nothing fancy, just simple ingredients that come together into soft, buttery little lemon loaves.
- Butter – Use softened, room temperature butter so it creams together easily with the sugar. This helps create a lighter texture.
- Granulated Sugar –Sweetens the bread and is also used in the lemon glaze.
- Eggs – These give the bread structure and help keep it tender.
- Vanilla Extract – A little vanilla extract rounds out the lemon flavor so it doesn’t taste too sharp.
- Sour Cream – This is the secret to moist lemon bread. It gives the crumb that soft, tender texture we all want.
- Fresh Lemon Zest – Use a large lemon and zest it before juicing. The zest brings the big lemon flavor.
- All Purpose Flour –Sift the flour before measuring for the best results. This keeps the batter light and helps prevent a dense loaf.
- Baking Powder and Baking Soda –These help the mini loaves rise properly.
- Milk –A small amount loosens the batter so it bakes up soft and smooth.
- Fresh Lemon Juice – Used in the glaze for that bright, tangy finish.
How to Make Mini Lemon Bread
This mini lemon bread comes together with a basic creaming method, a quick stir of dry ingredients, and a warm lemon glaze poured right over the top. The steps are simple, but a few little details, like using room temperature butter and not overmixing the batter, make all the difference in getting soft, moist loaves.
Step 1: Prep the Oven and Pans
Start by preheating your oven to 350 °F. Then spray your mini loaf pans really well with nonstick cooking spray. Be sure to get into the corners so the loaves release easily after baking. Set the pans aside while you make the batter.
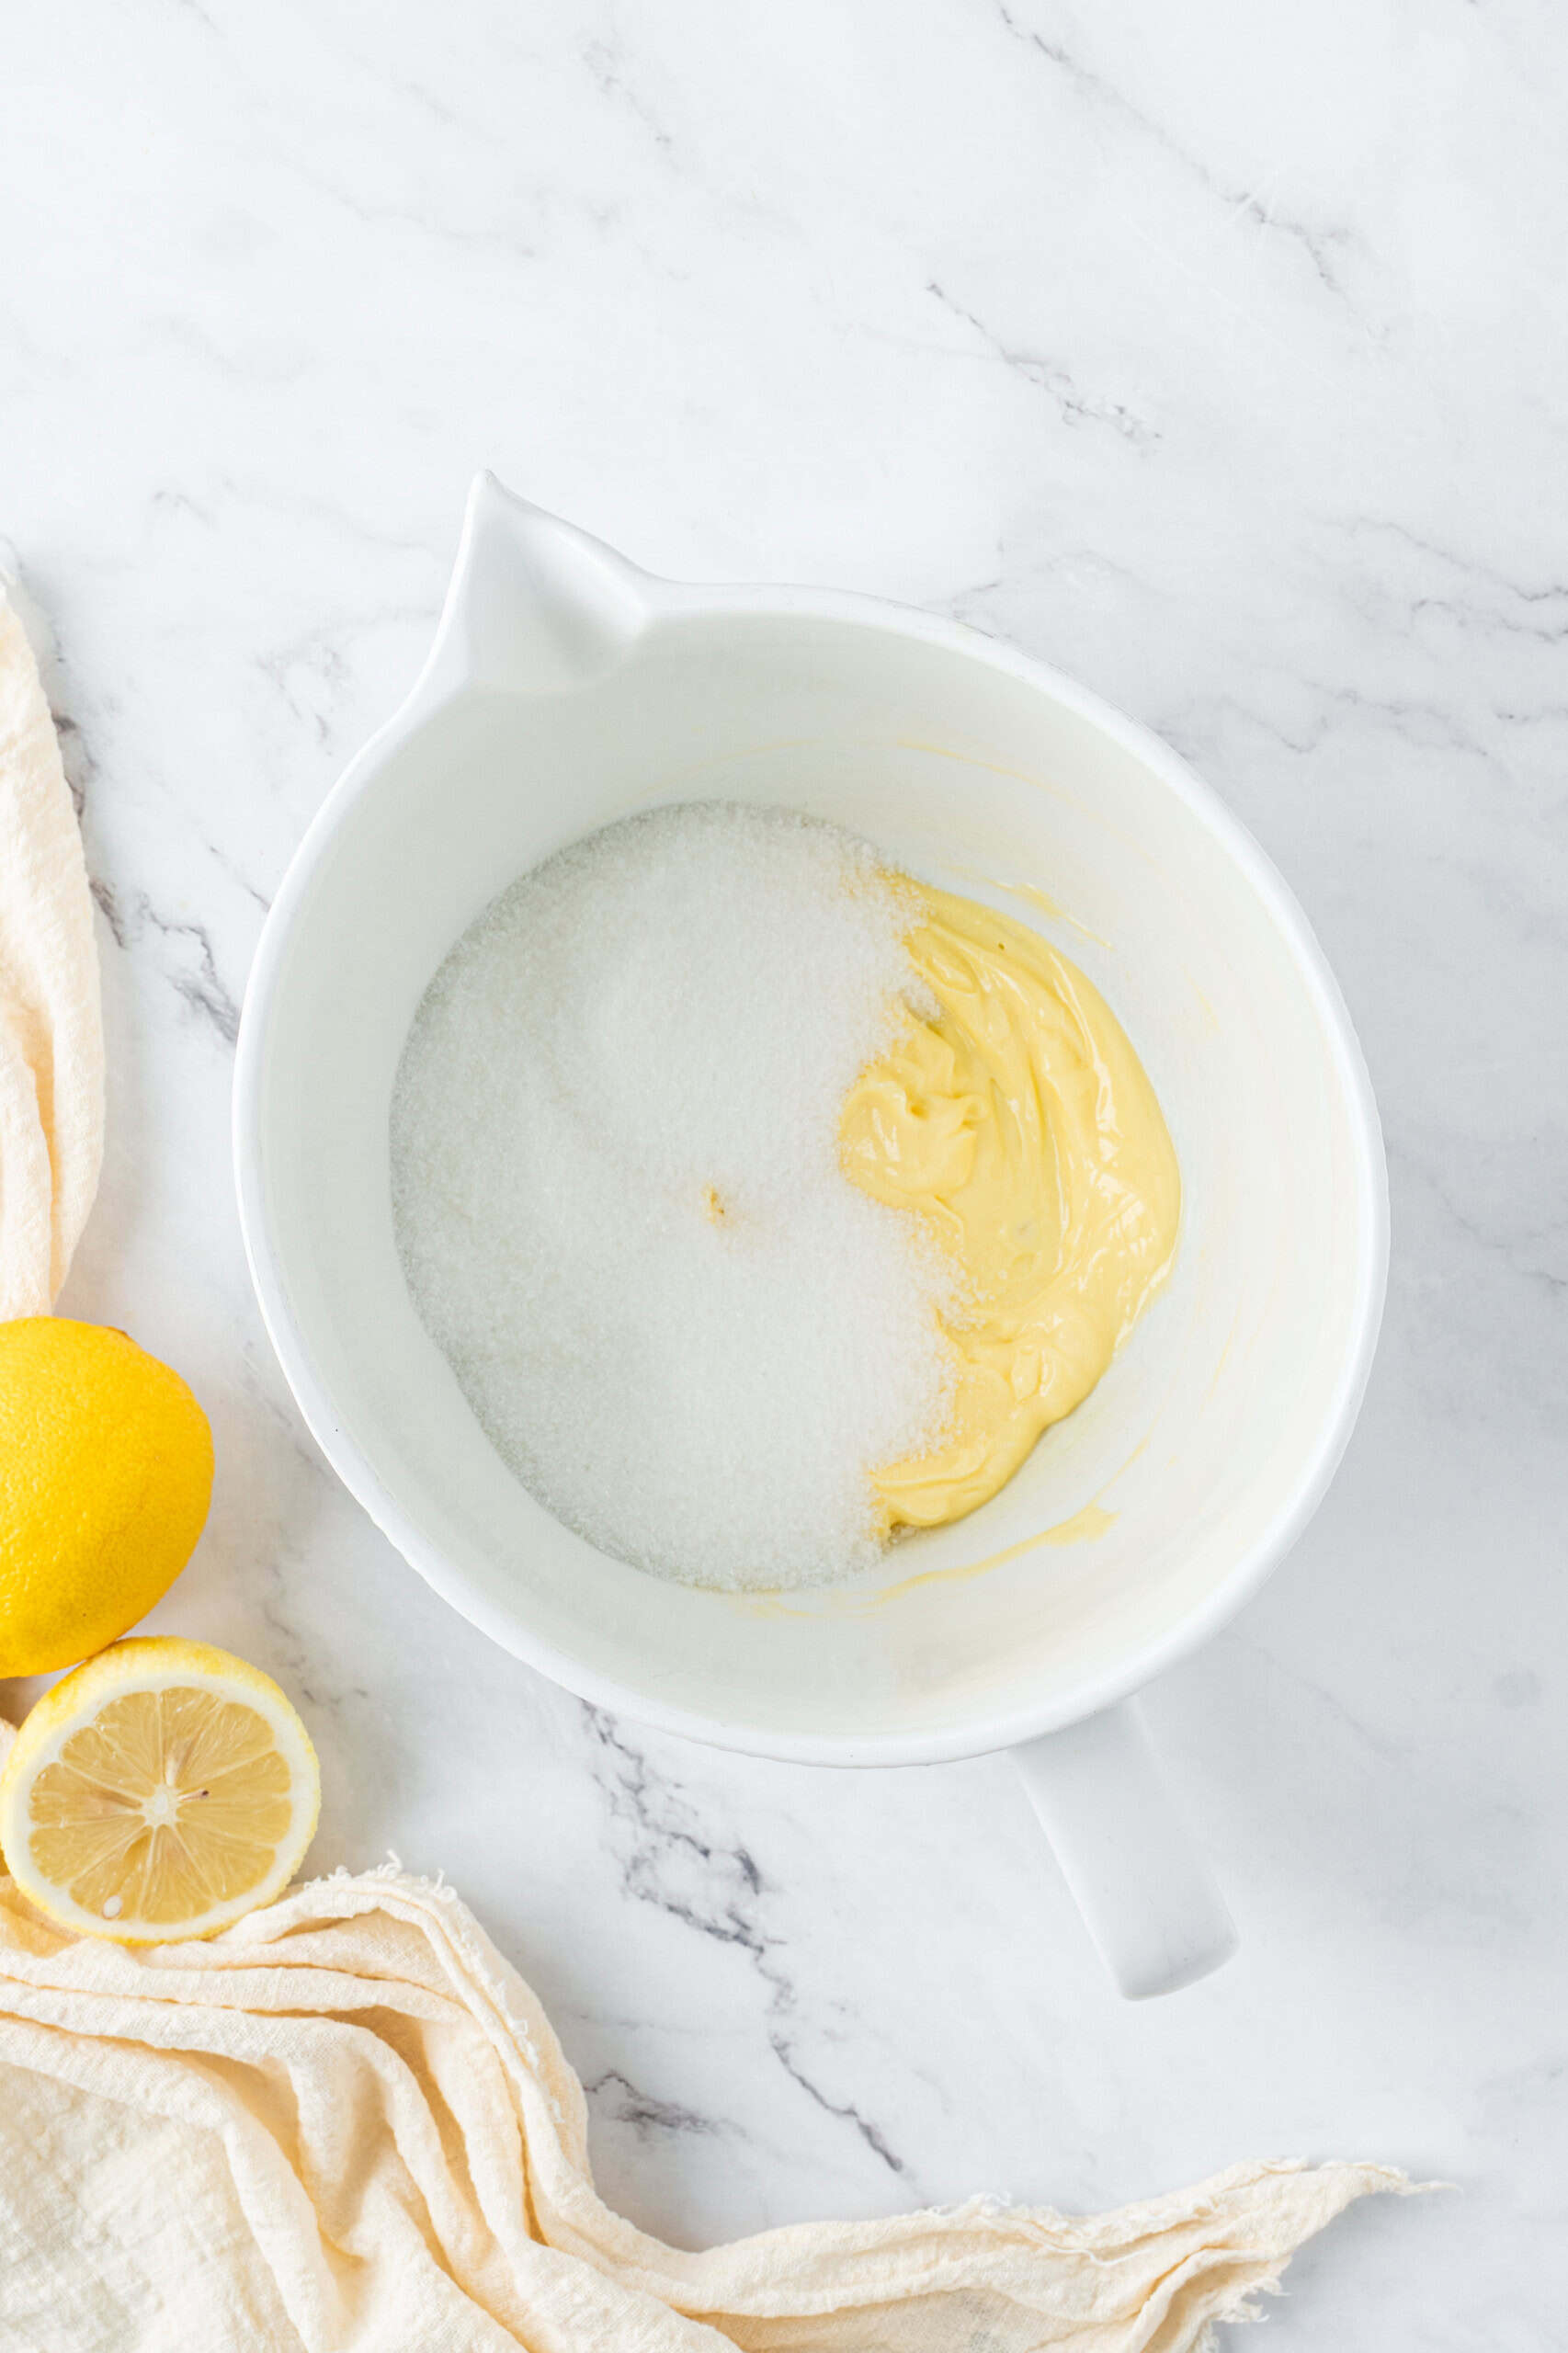
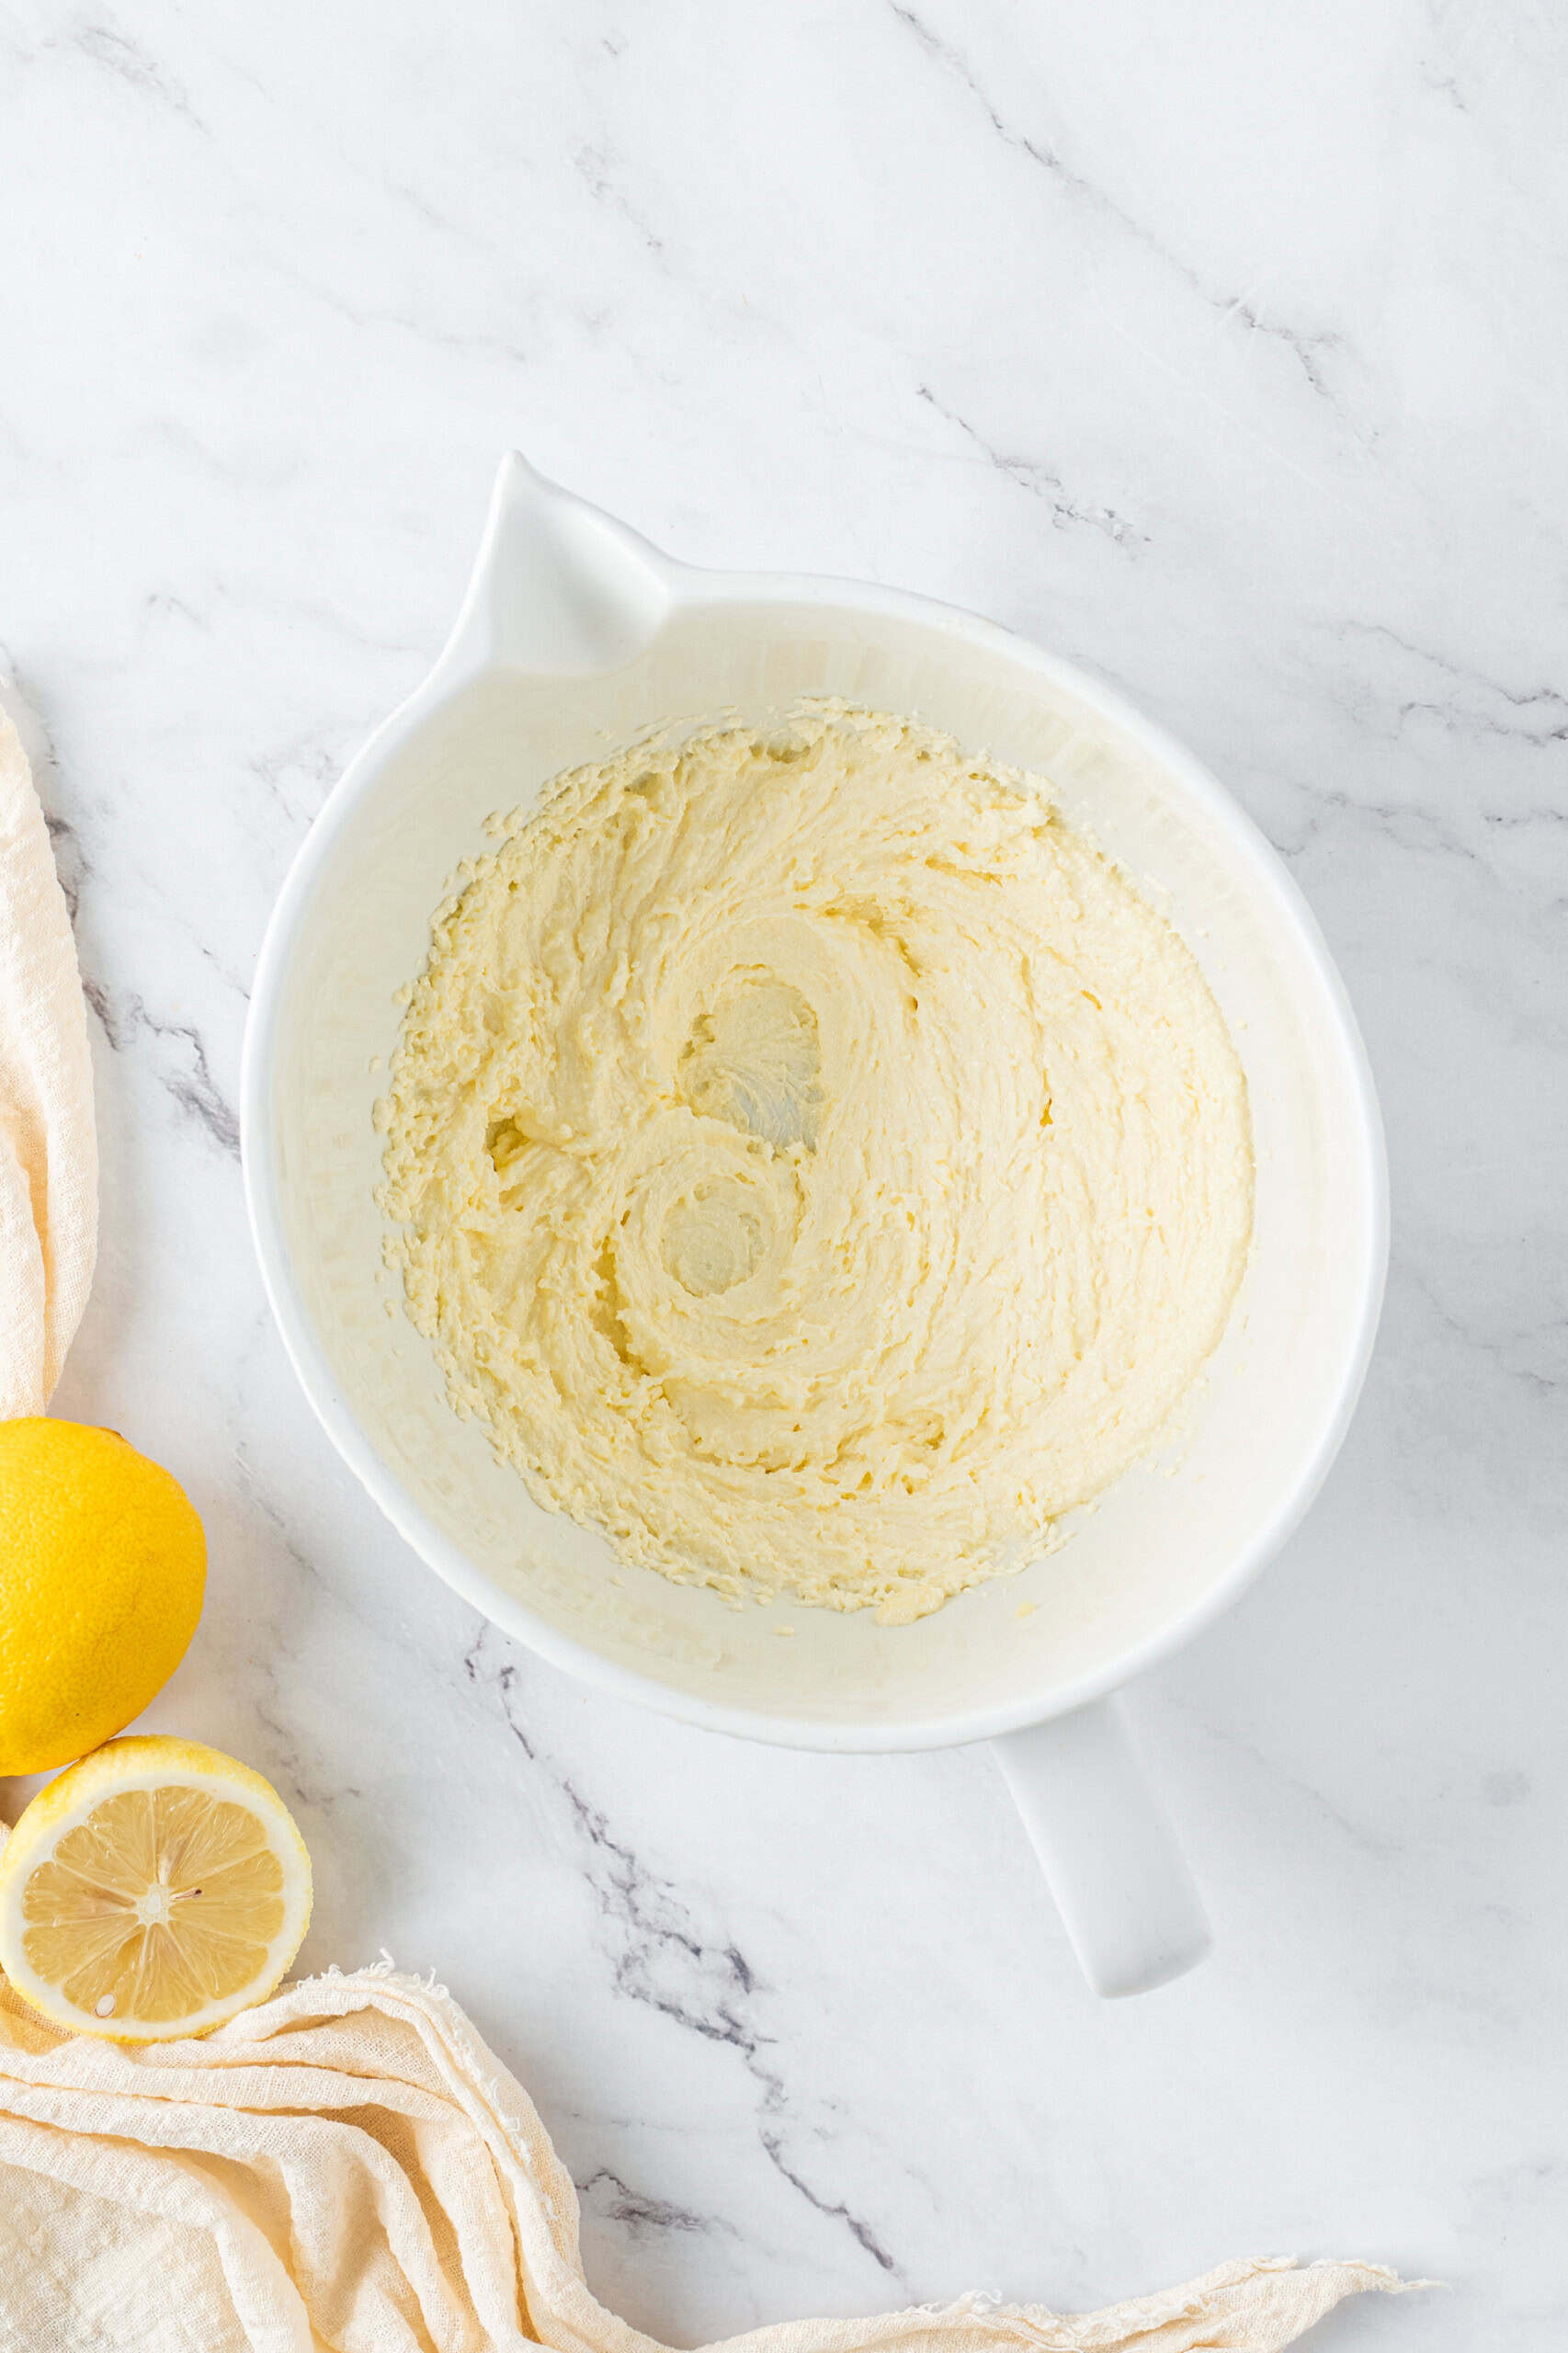
Step 2: Cream the Butter and Sugar
Cream the softened butter and granulated sugar together with a hand mixer (it makes the process much faster and helps incorporate more air for a lighter texture) until the mixture is light, fluffy, and pale in color. Use room-temperature butter so it blends smoothly and creates a soft, tender bread.
Step 3: Add the Eggs, Vanilla, Lemon Zest, and Sour Cream
Next, add the eggs, vanilla extract, fresh lemon zest, and sour cream to the butter mixture. Mix until everything is combined. The lemon zest is where a lot of that bright lemon flavor comes from, so don’t skip it. Then scrape down the sides of the bowl with a rubber spatula and mix again so all the ingredients are evenly worked into the batter.

Step 4: Mix in the Dry Ingredients
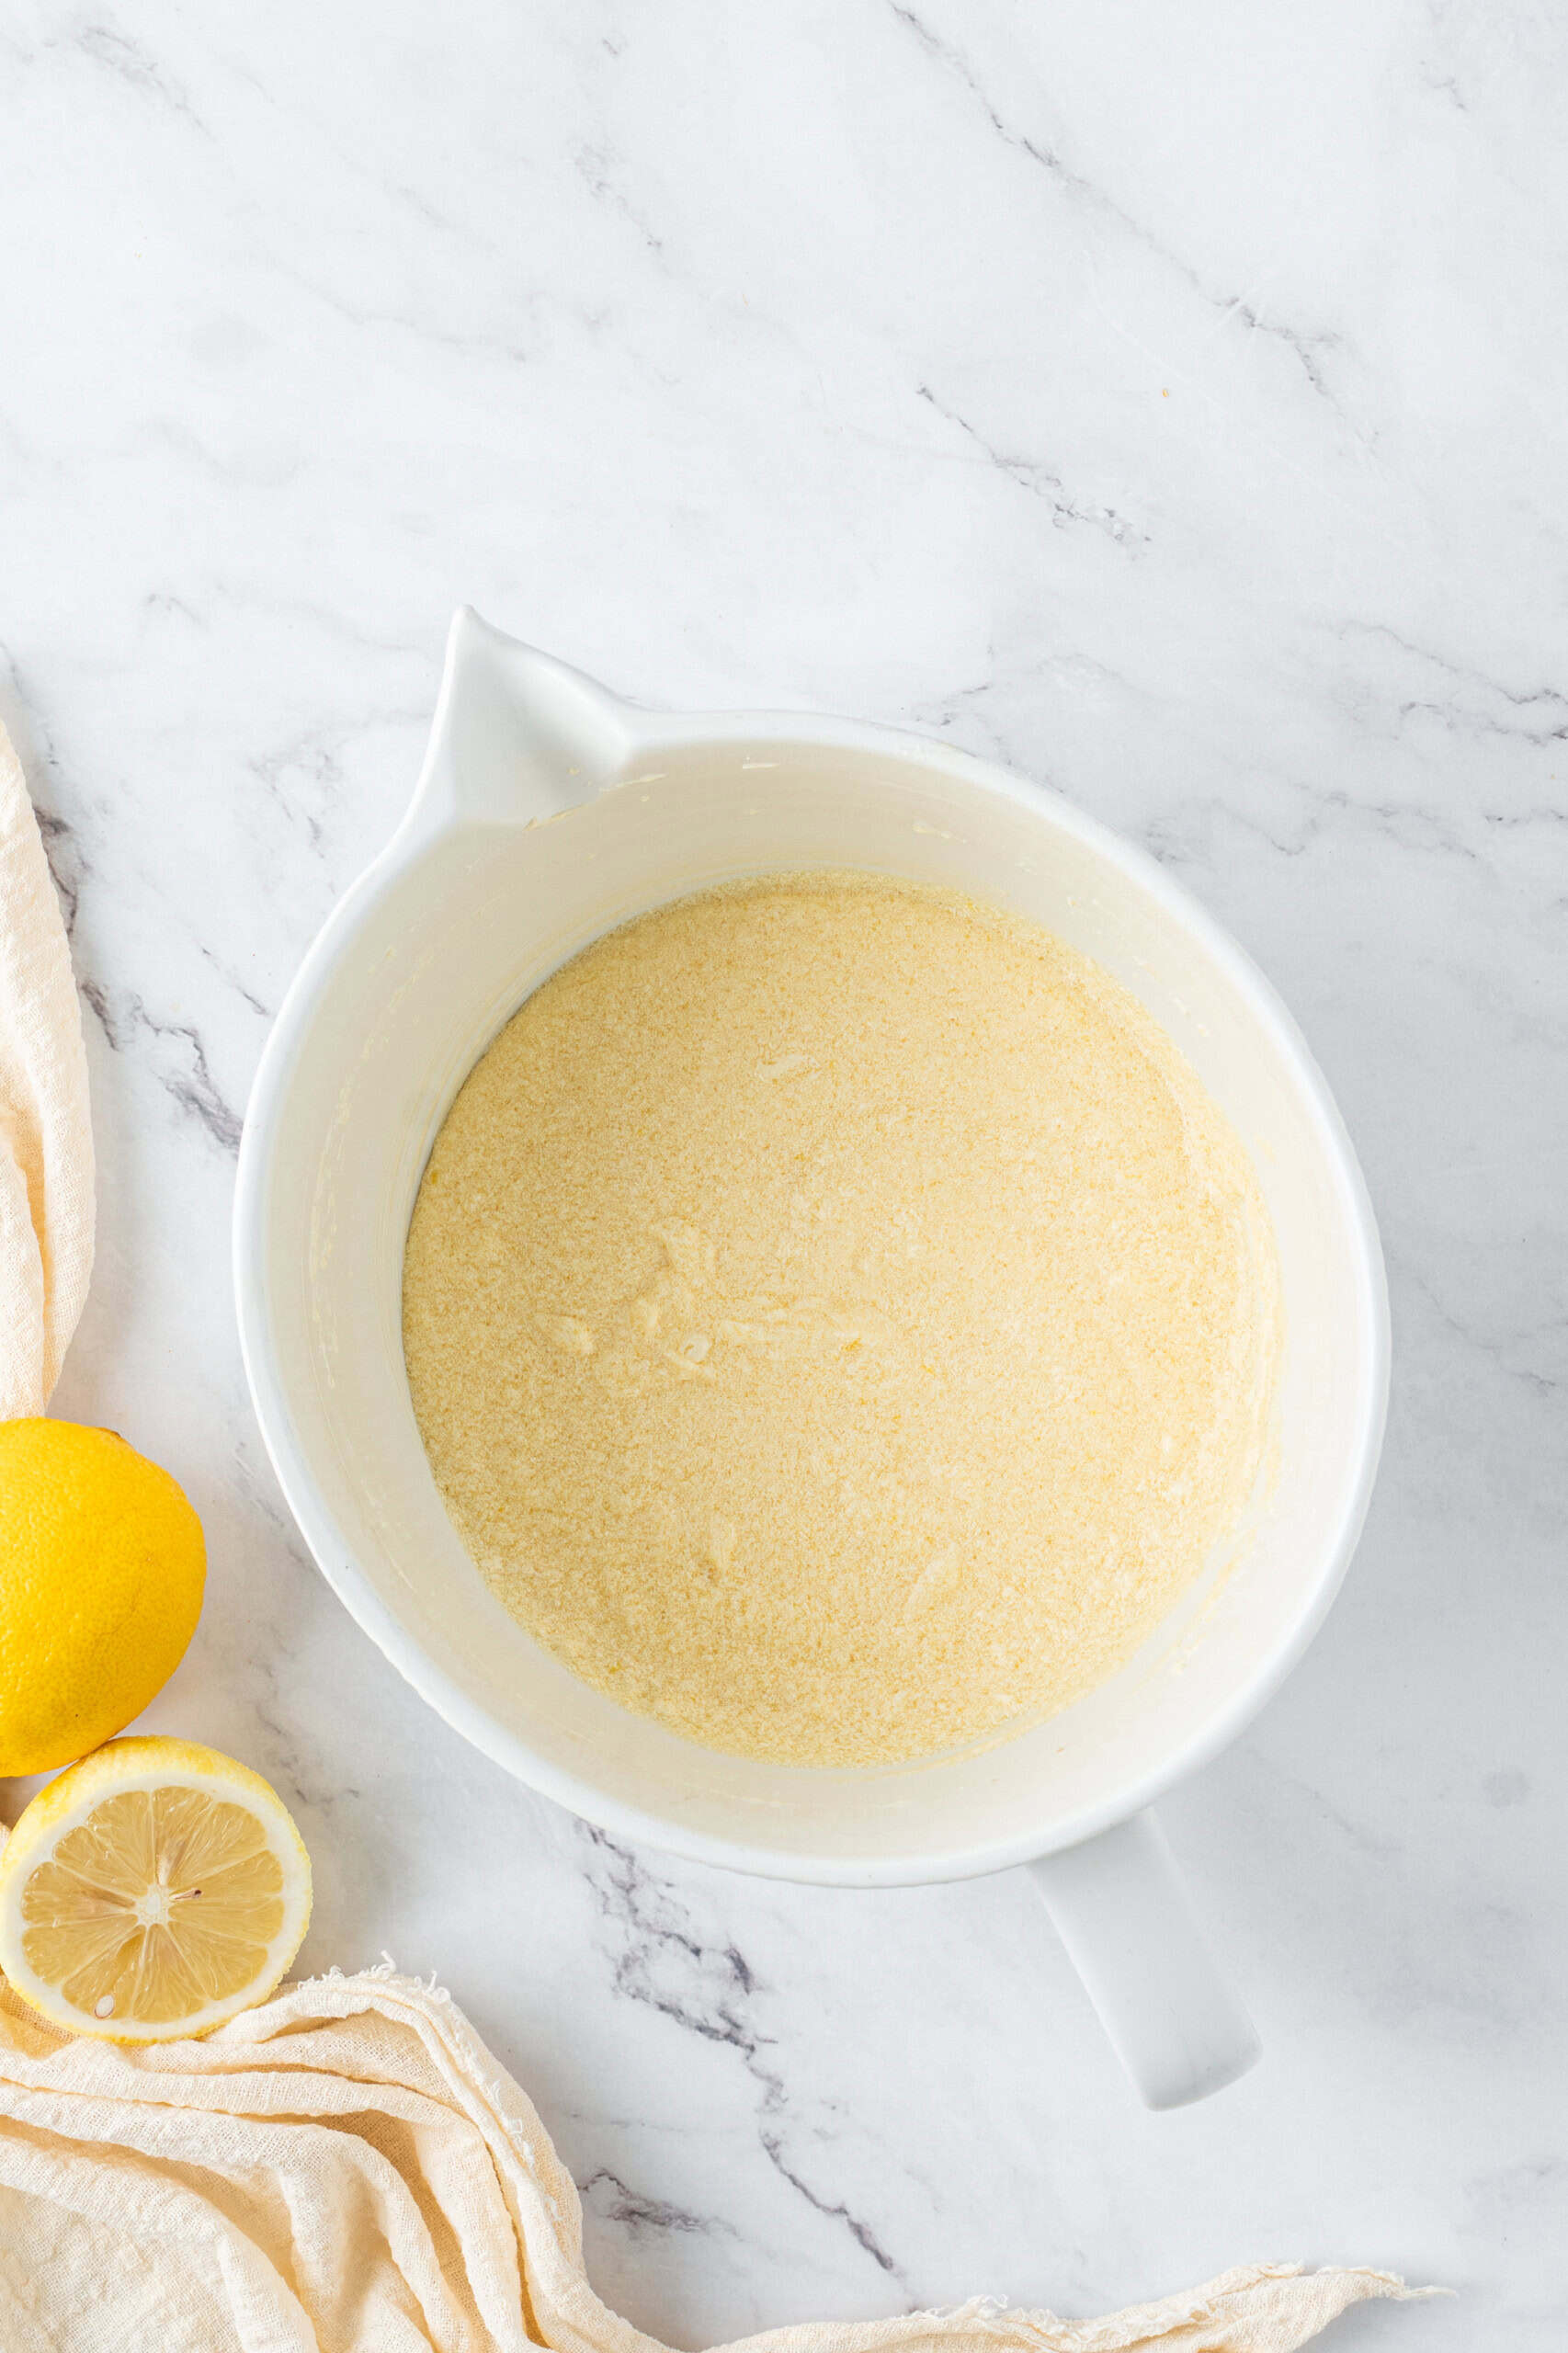
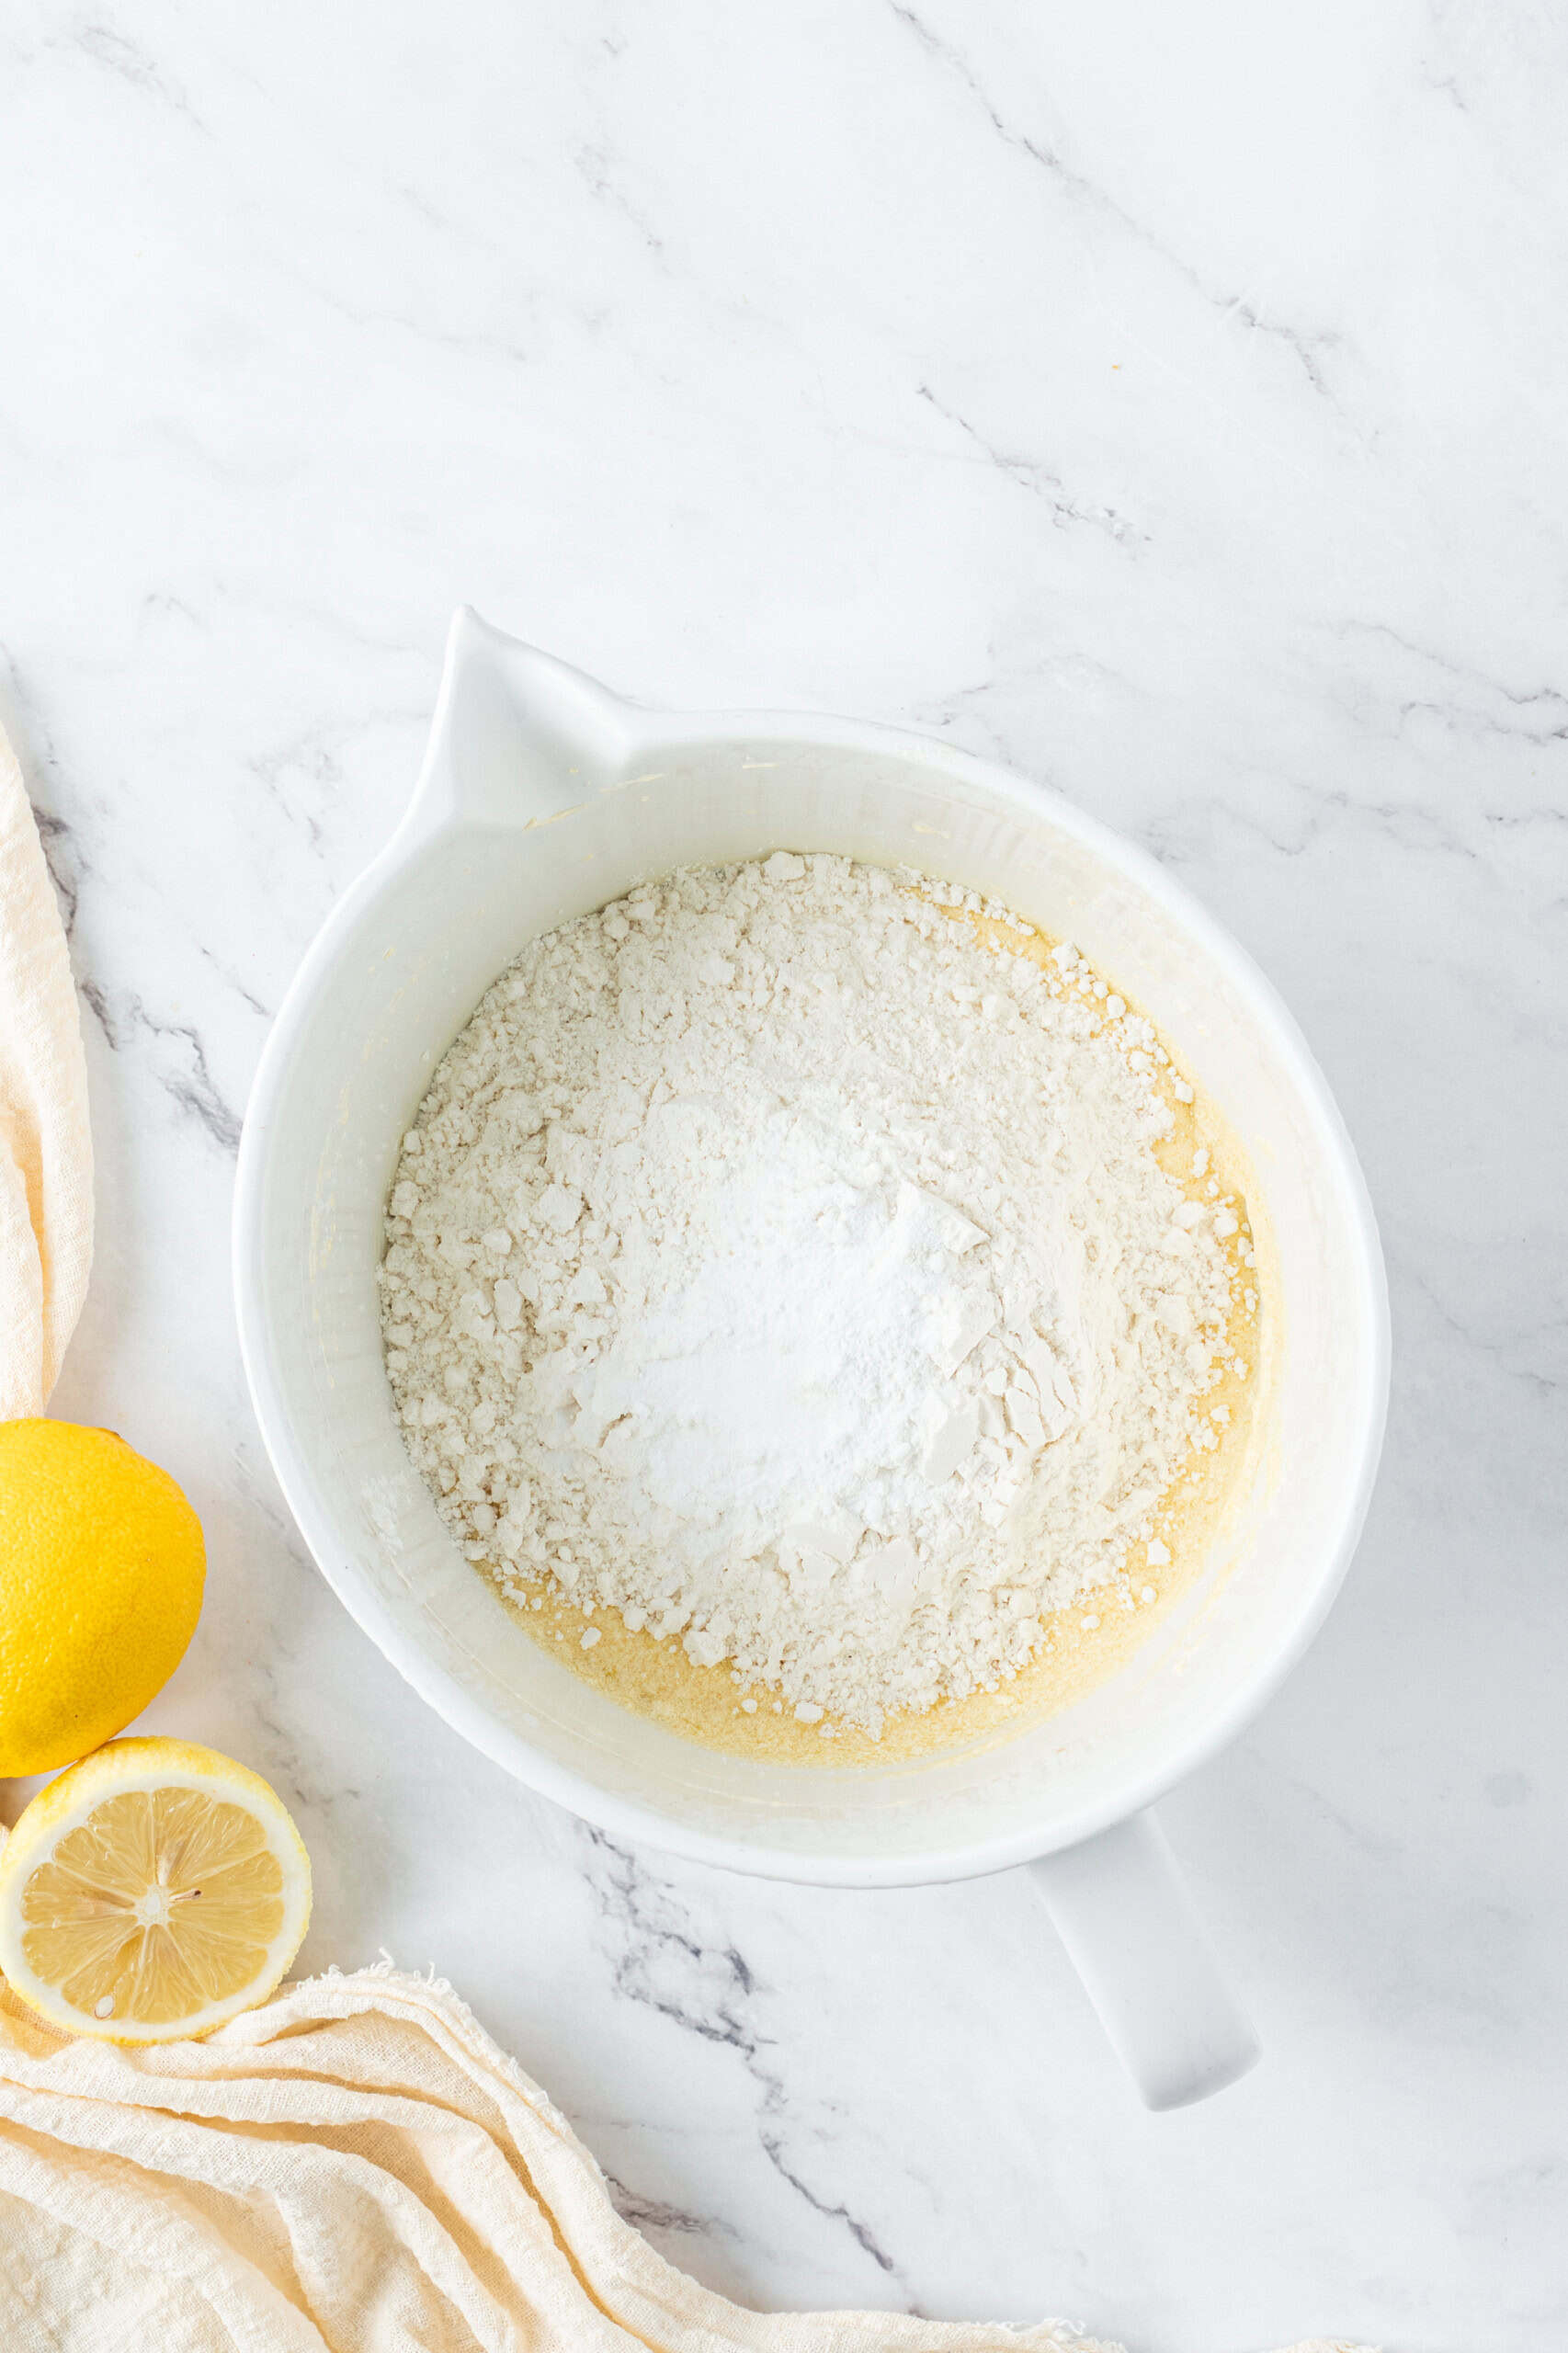
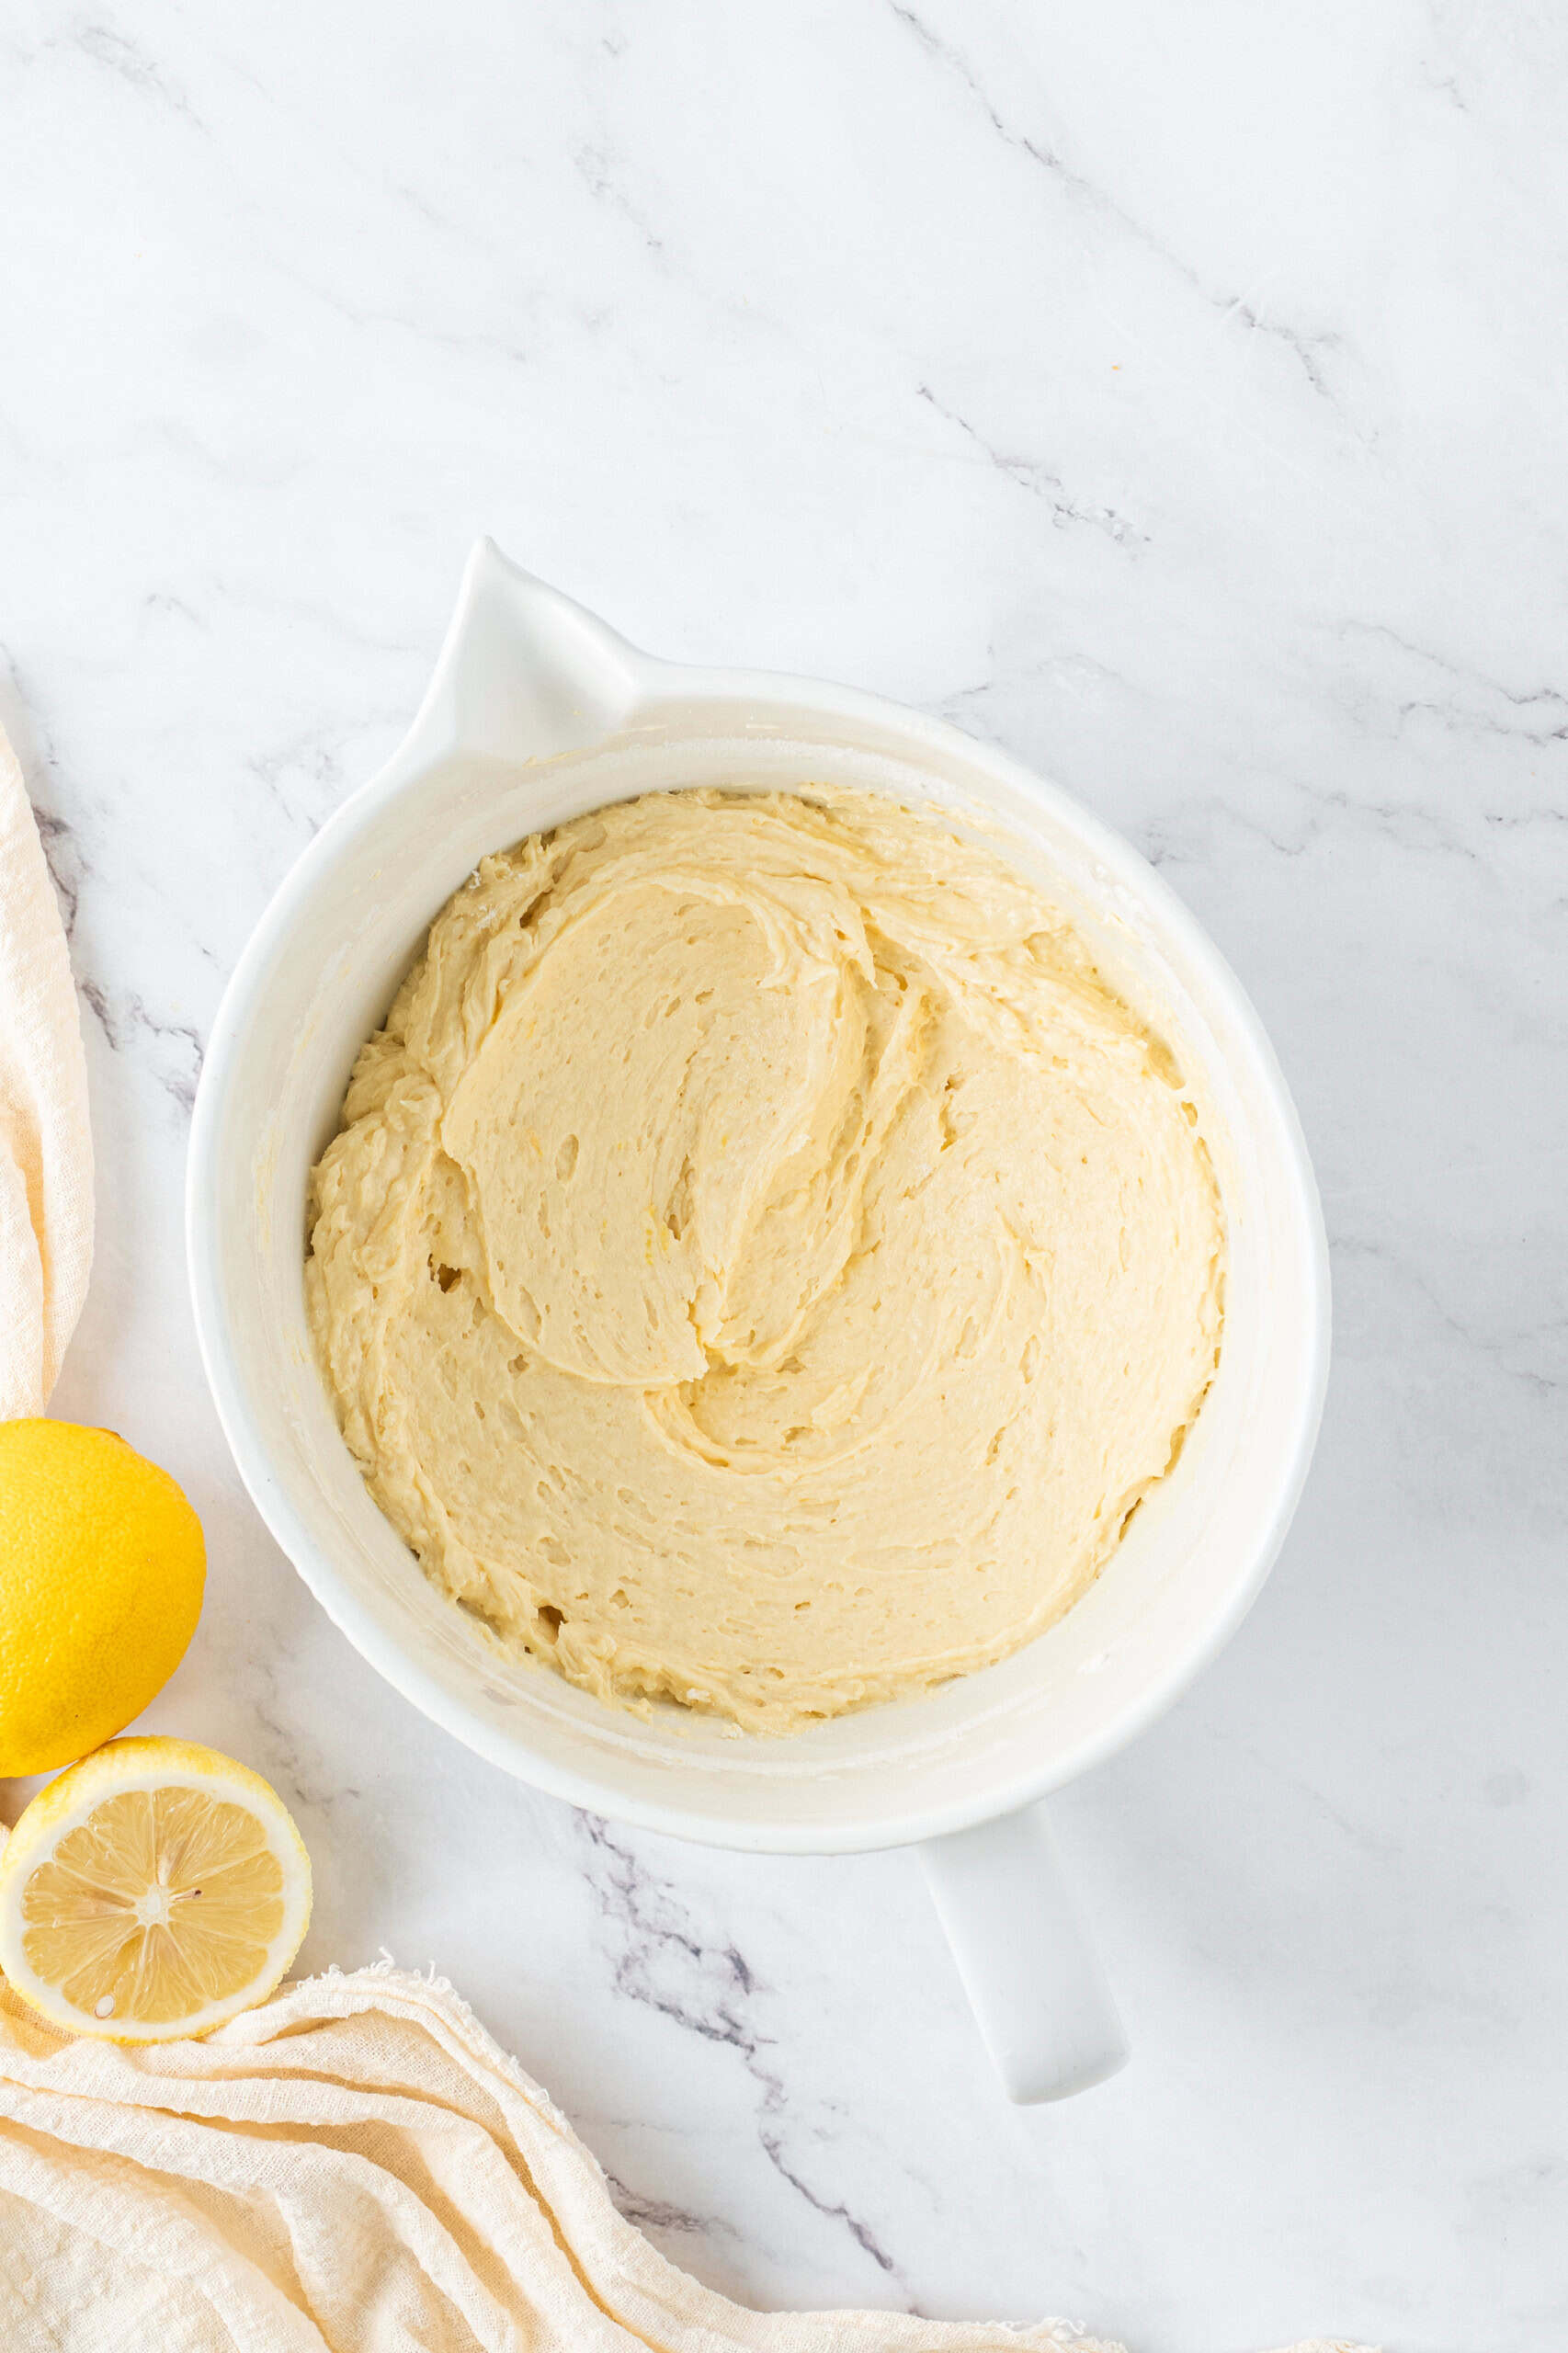
With the mixer on low speed, add the sifted all-purpose flour, baking powder, baking soda, and salt. Mix just until the dry ingredients disappear into the batter. The key here is not to overmix. Once the flour goes in, too much mixing can make the bread tougher instead of soft and tender. We want sweet little lemon loaves, not lemon doorstops.
Step 5: Add the Milk
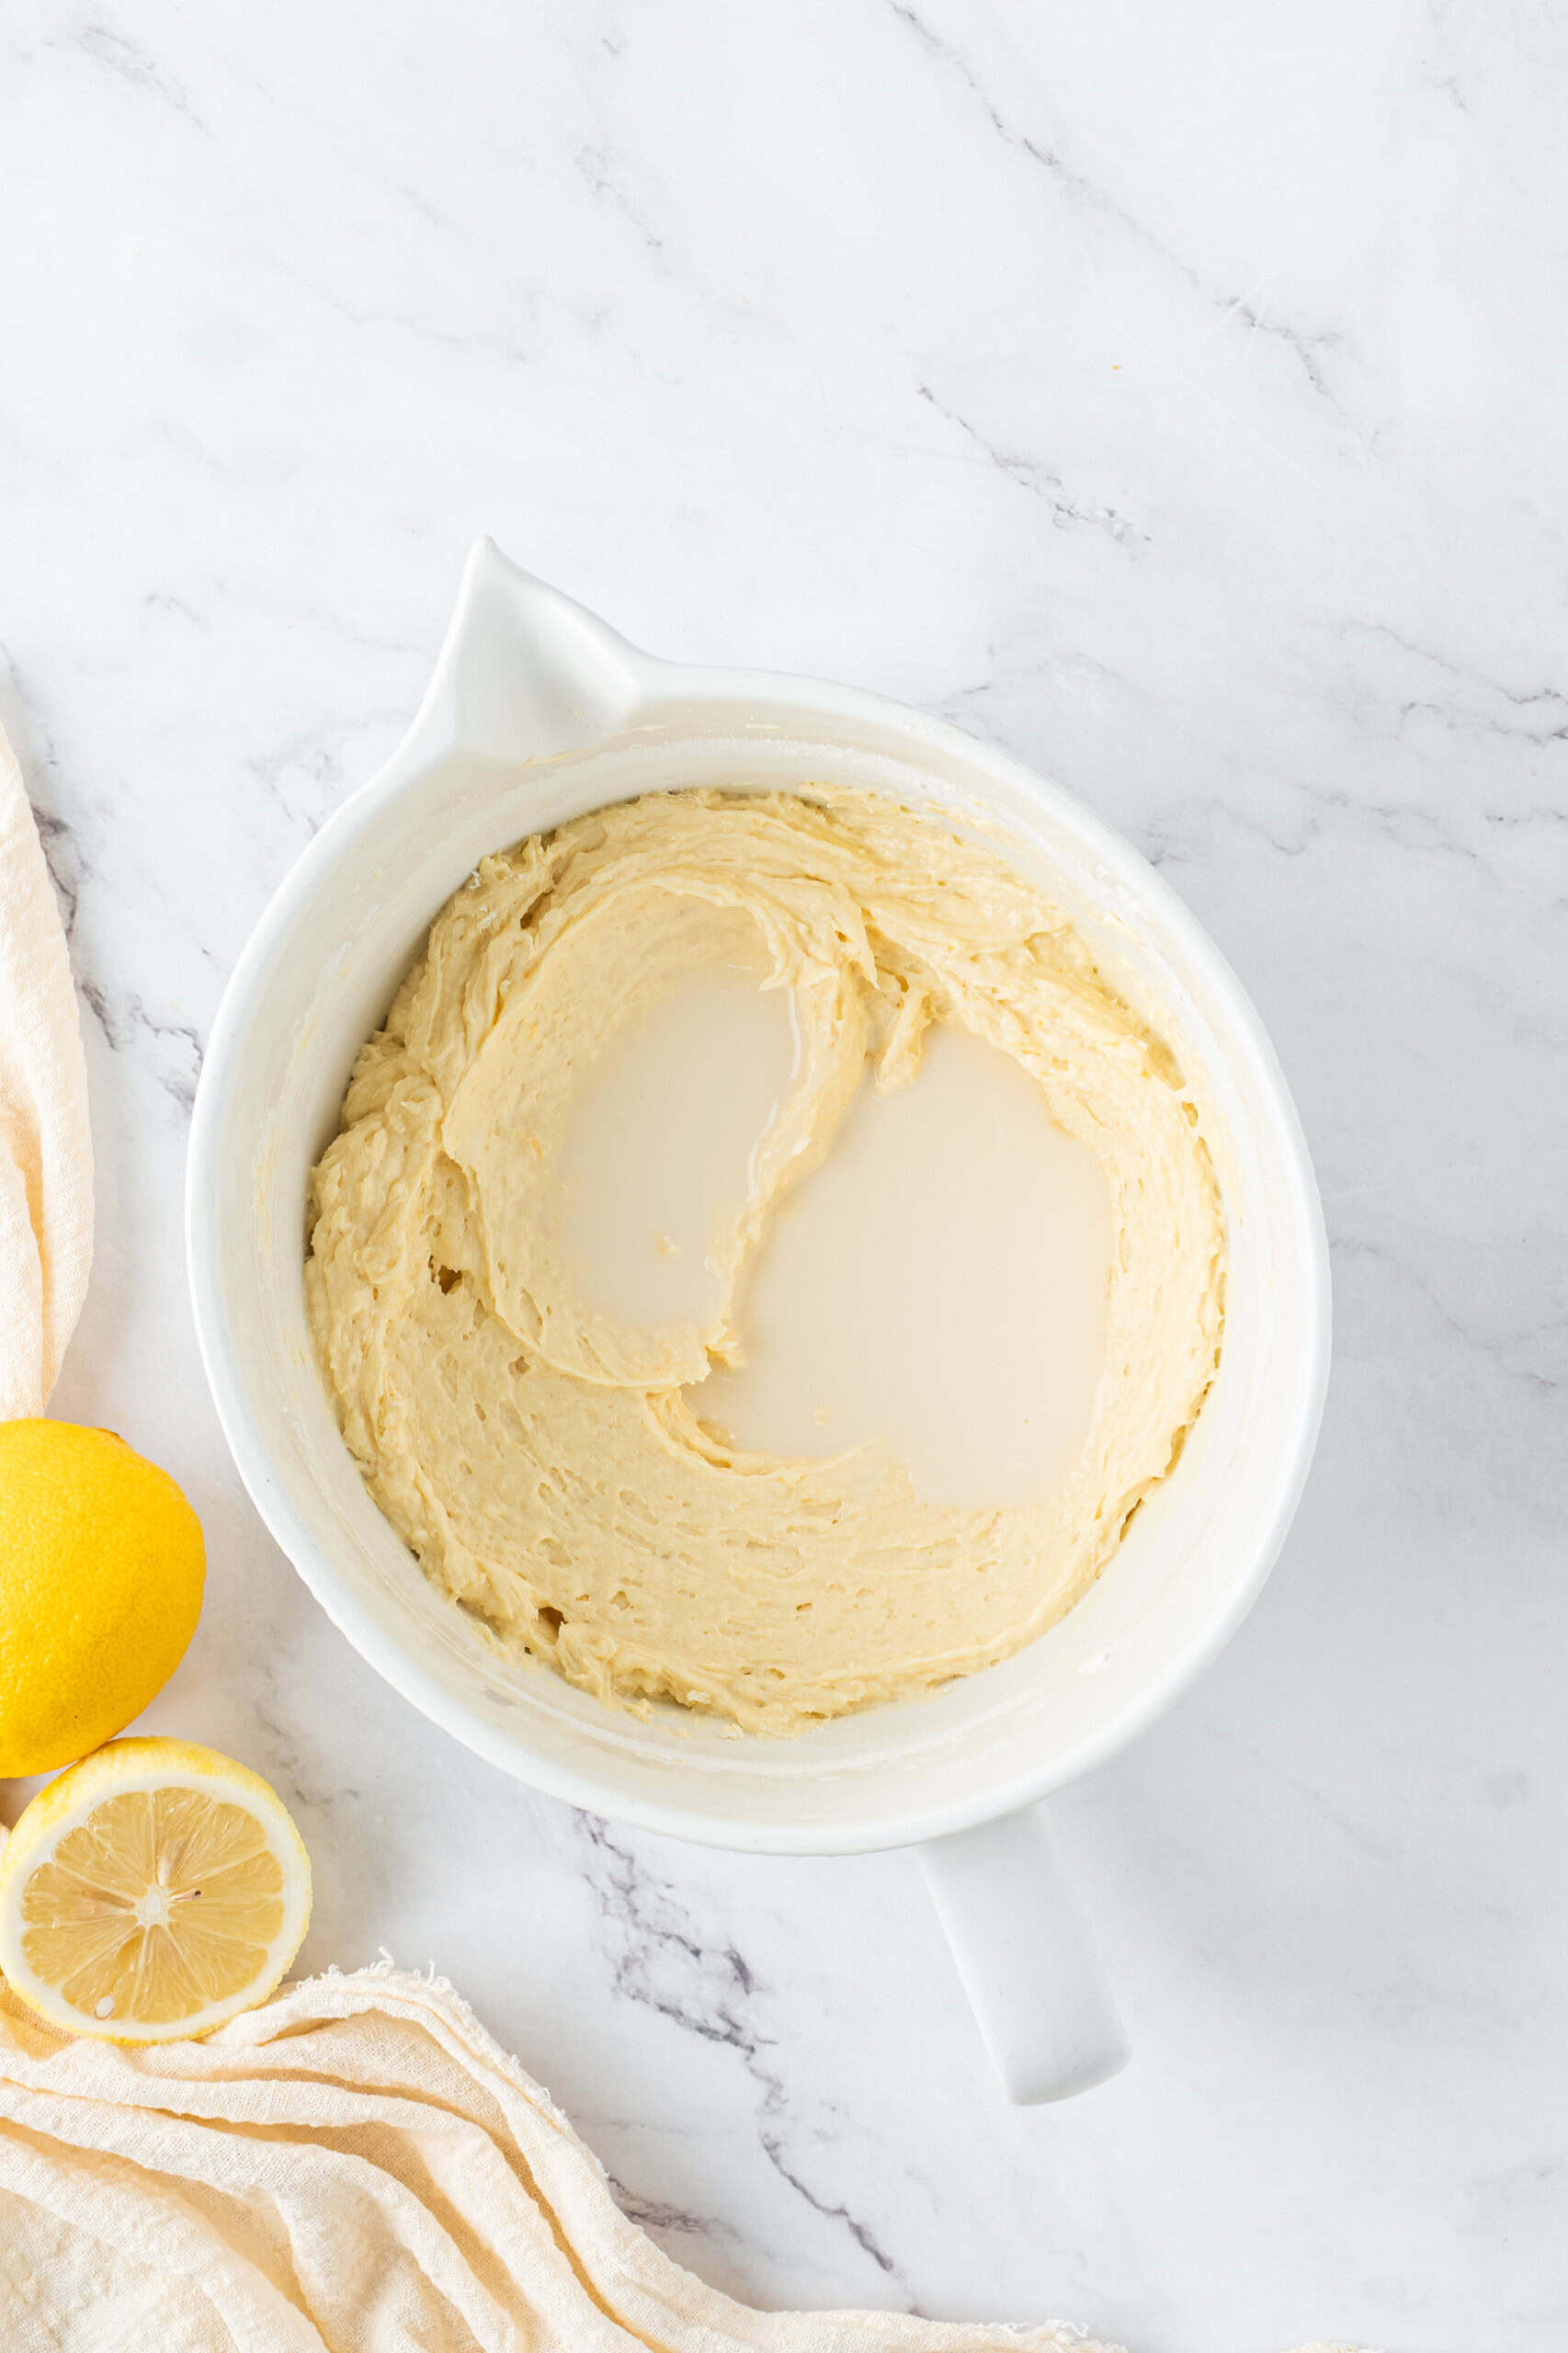
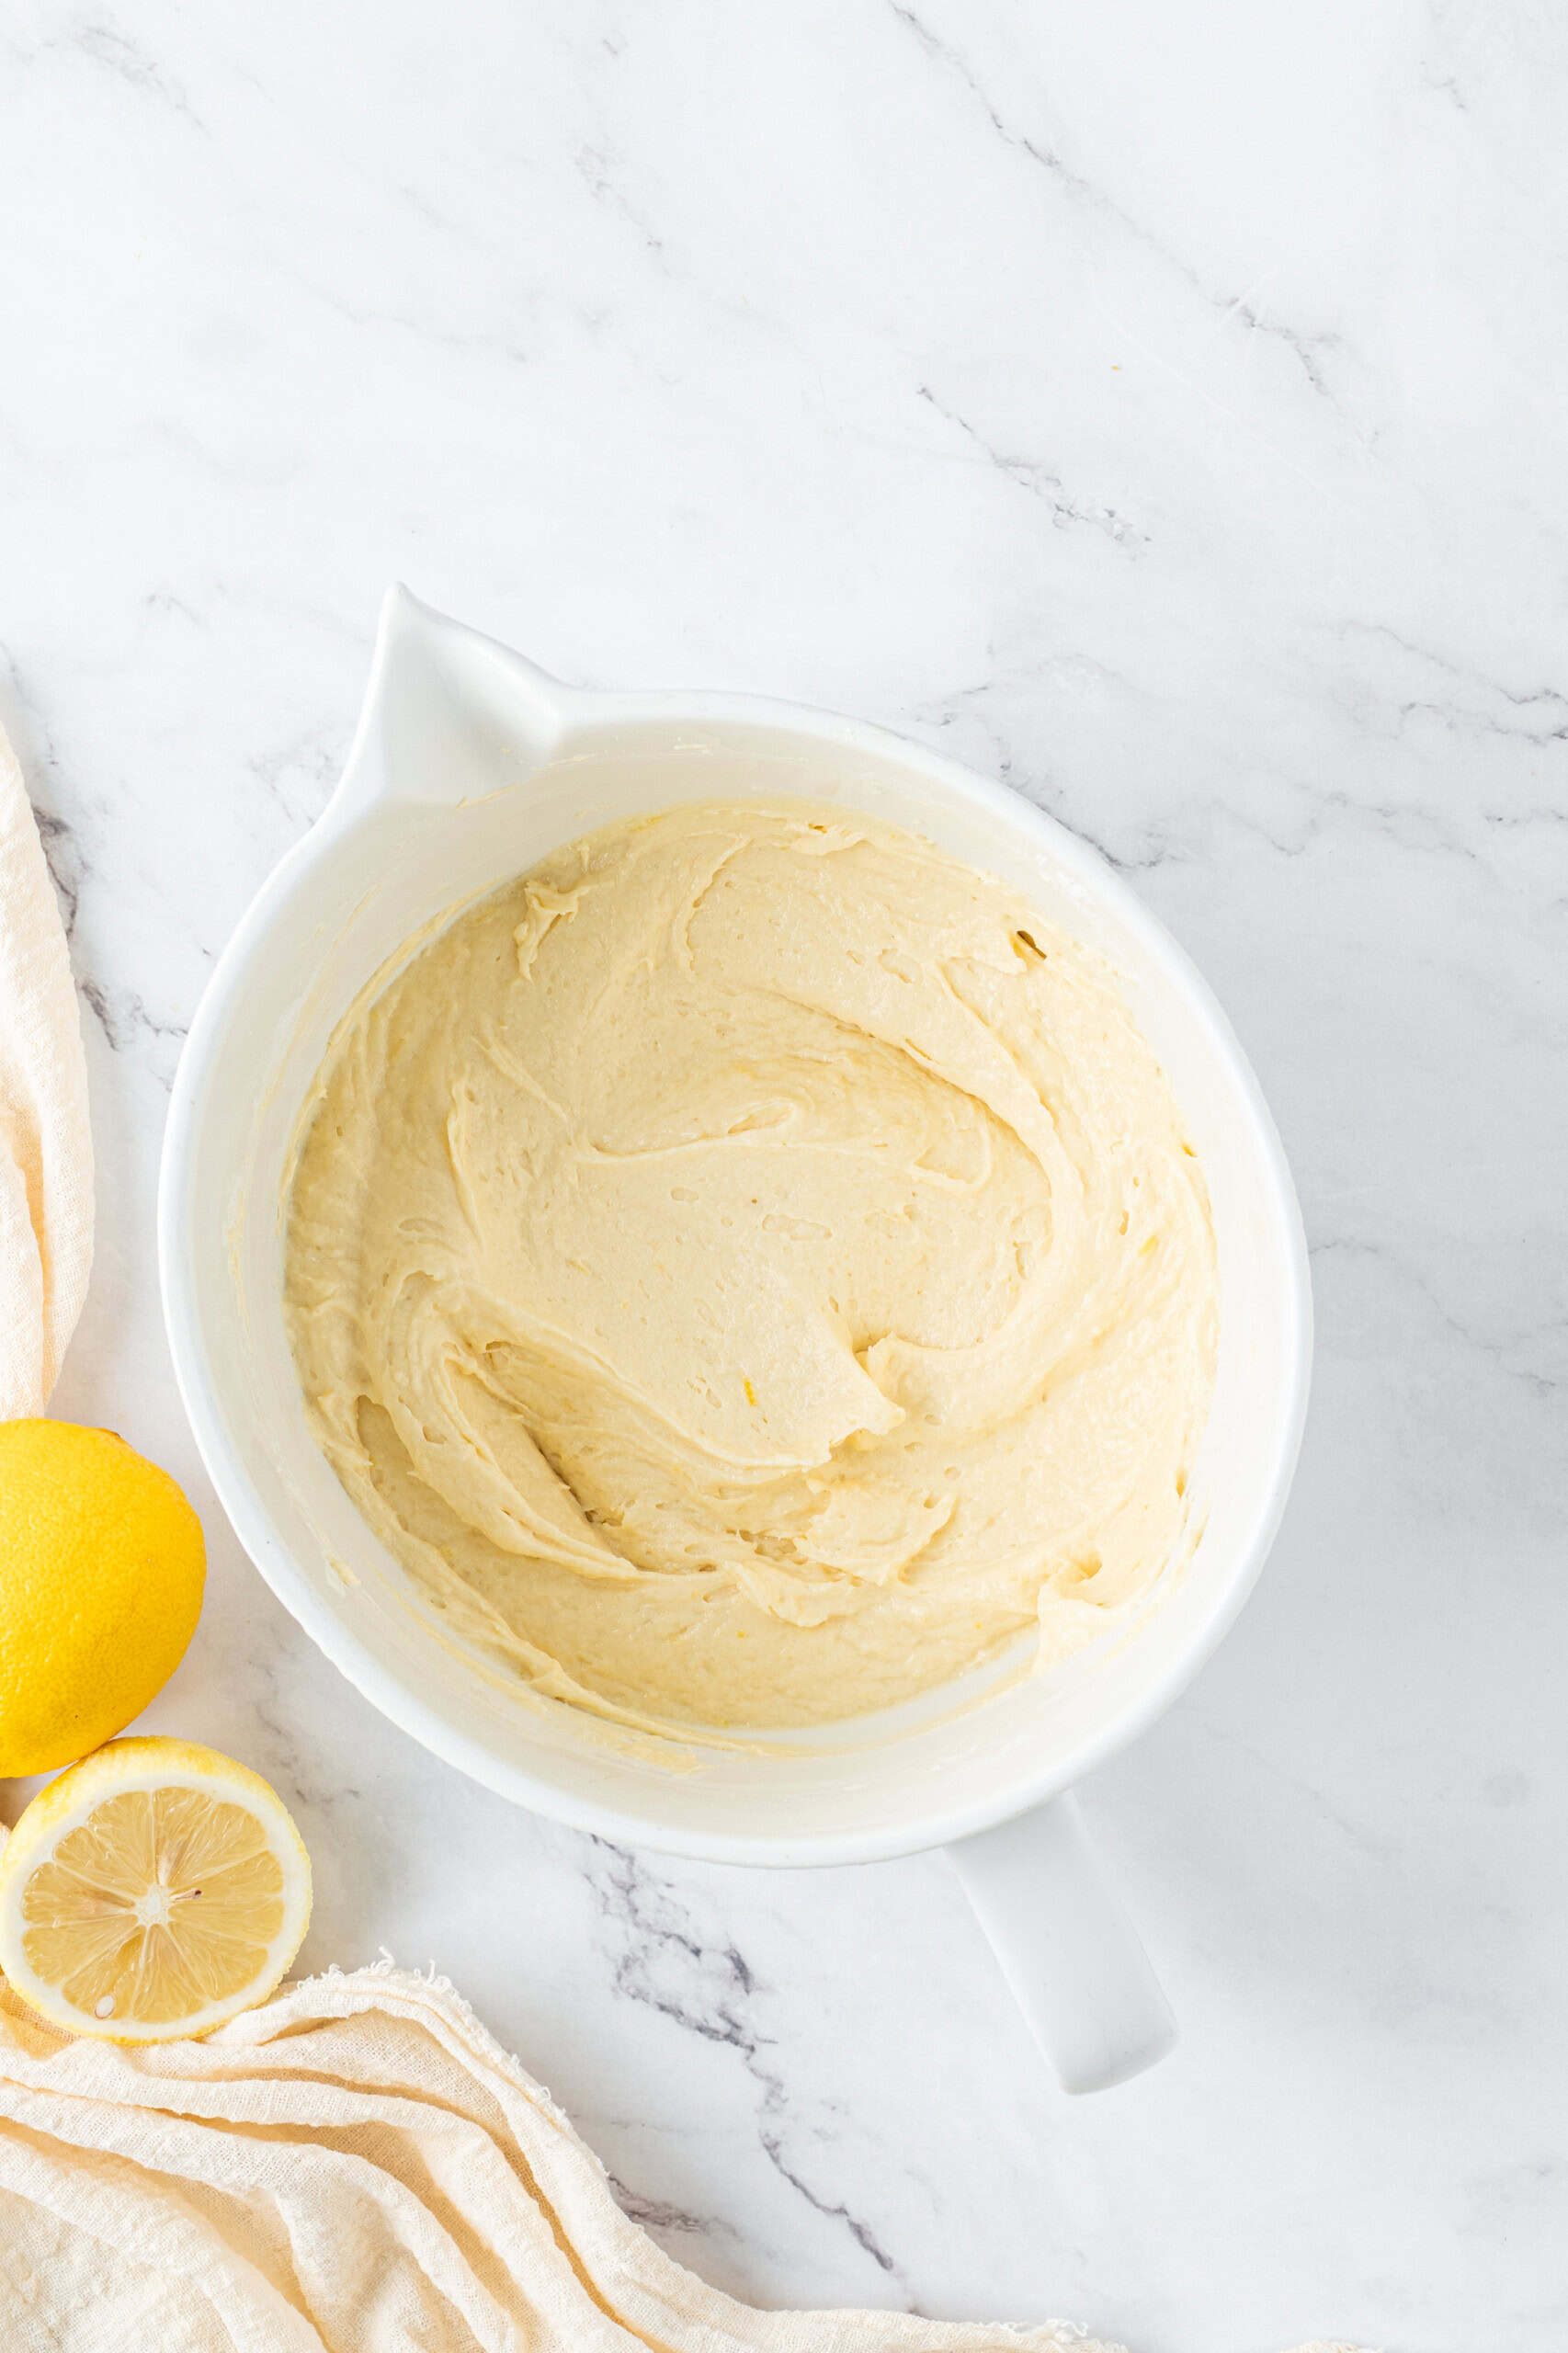
Pour in the milk and mix on low just until the batter loosens up and comes together. Then stop the mixer, scrape the sides and bottom of the bowl again, and stir a few times by hand. This makes sure there aren’t any sneaky dry spots hiding at the bottom of the bowl.
Step 6: Fill the Mini Loaf Pans
Spoon the batter evenly into the prepared mini loaf pans. Try to divide the batter as equally as possible so all the loaves bake at the same rate. Smooth the tops lightly with the back of a spoon or spatula, but don’t worry about making them perfect. They will puff up as they bake.
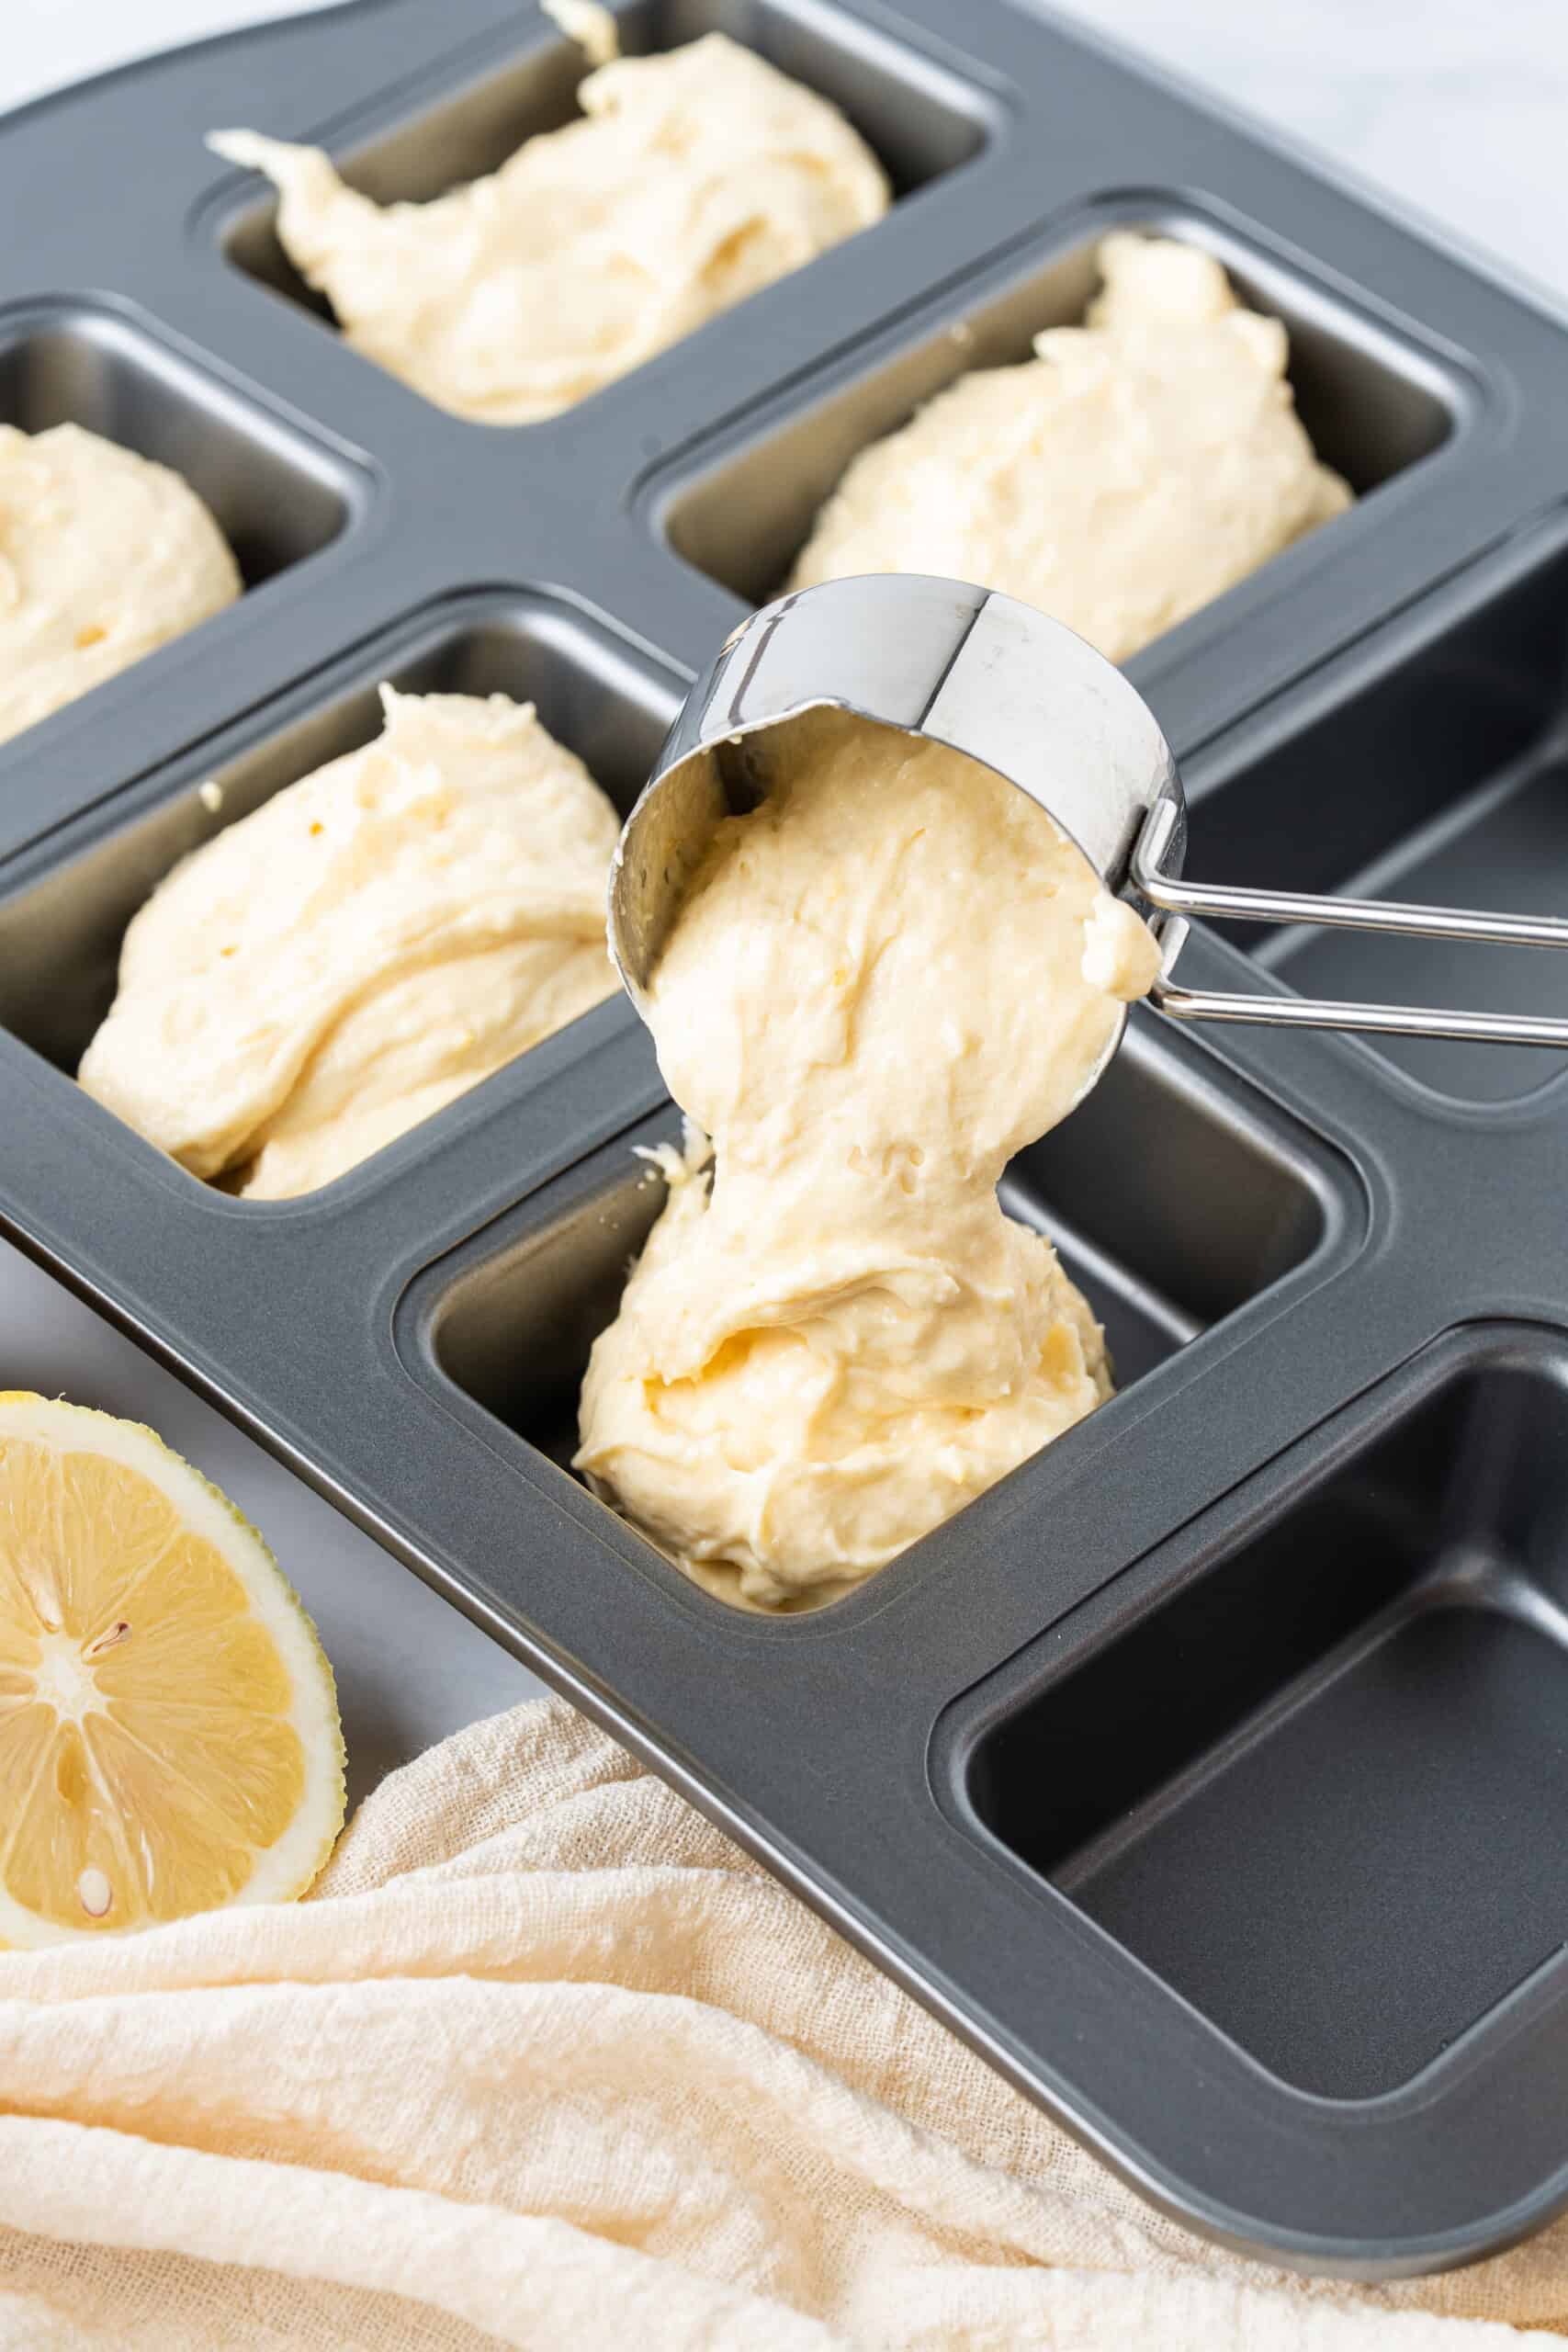
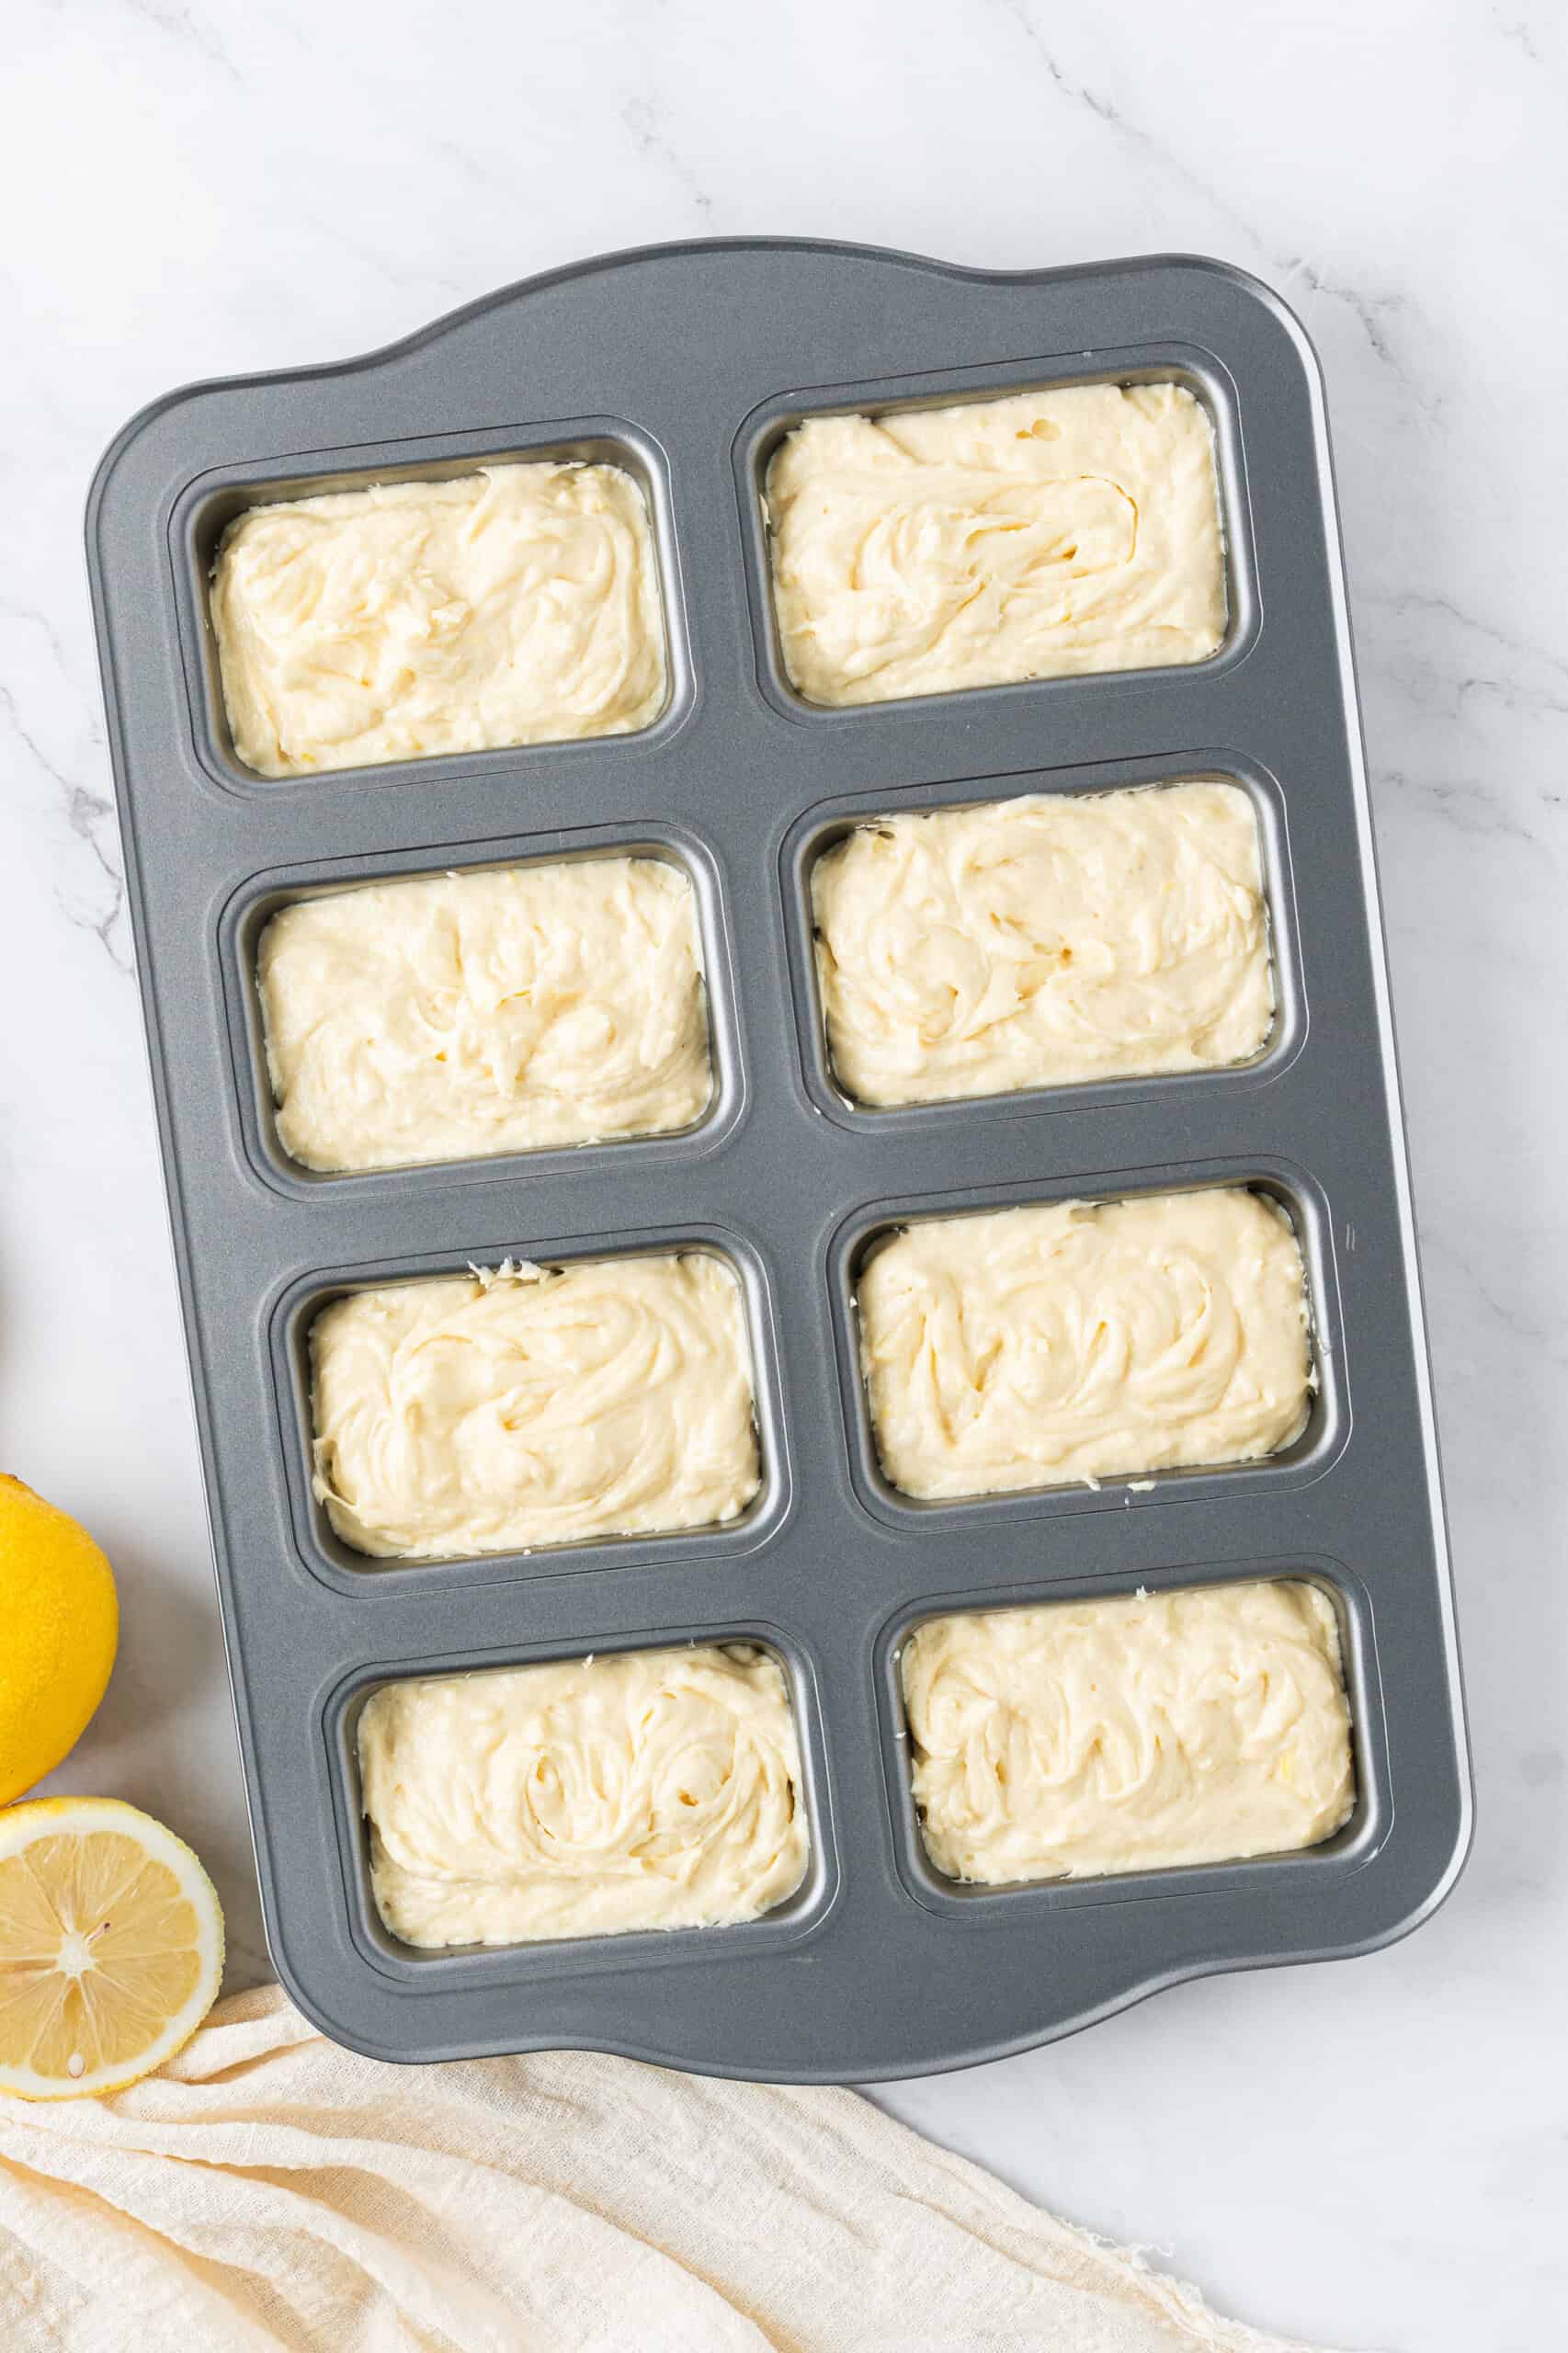
Step 7: Bake the Mini Lemon Bread
Place the pans in the oven and bake for 15-20 minutes. The edges should look lightly golden, and the centers should be set. To check for doneness, insert a toothpick into the center of a loaf. If it comes out clean or with a few moist crumbs, they’re done. If you see wet batter, bake for a few more minutes and check again. Mine were done right around 18 minutes.
Step 8: Make the Lemon Glaze
While the mini loaves are baking, make the glaze. Stir the fresh lemon juice and granulated sugar together in a small bowl or medium bowl. Microwave the mixture for about 2 minutes, stirring every 20 seconds, until the sugar dissolves into the lemon juice. The glaze should look glossy and smooth.


Step 9: Cool the Loaves Slightly
Once the loaves come out of the oven, let them cool in the pans for at least 15 minutes. This gives them time to firm up a bit, which makes them easier to remove without breaking. Mini loaves are adorable, but they can be dramatic if you rush them.
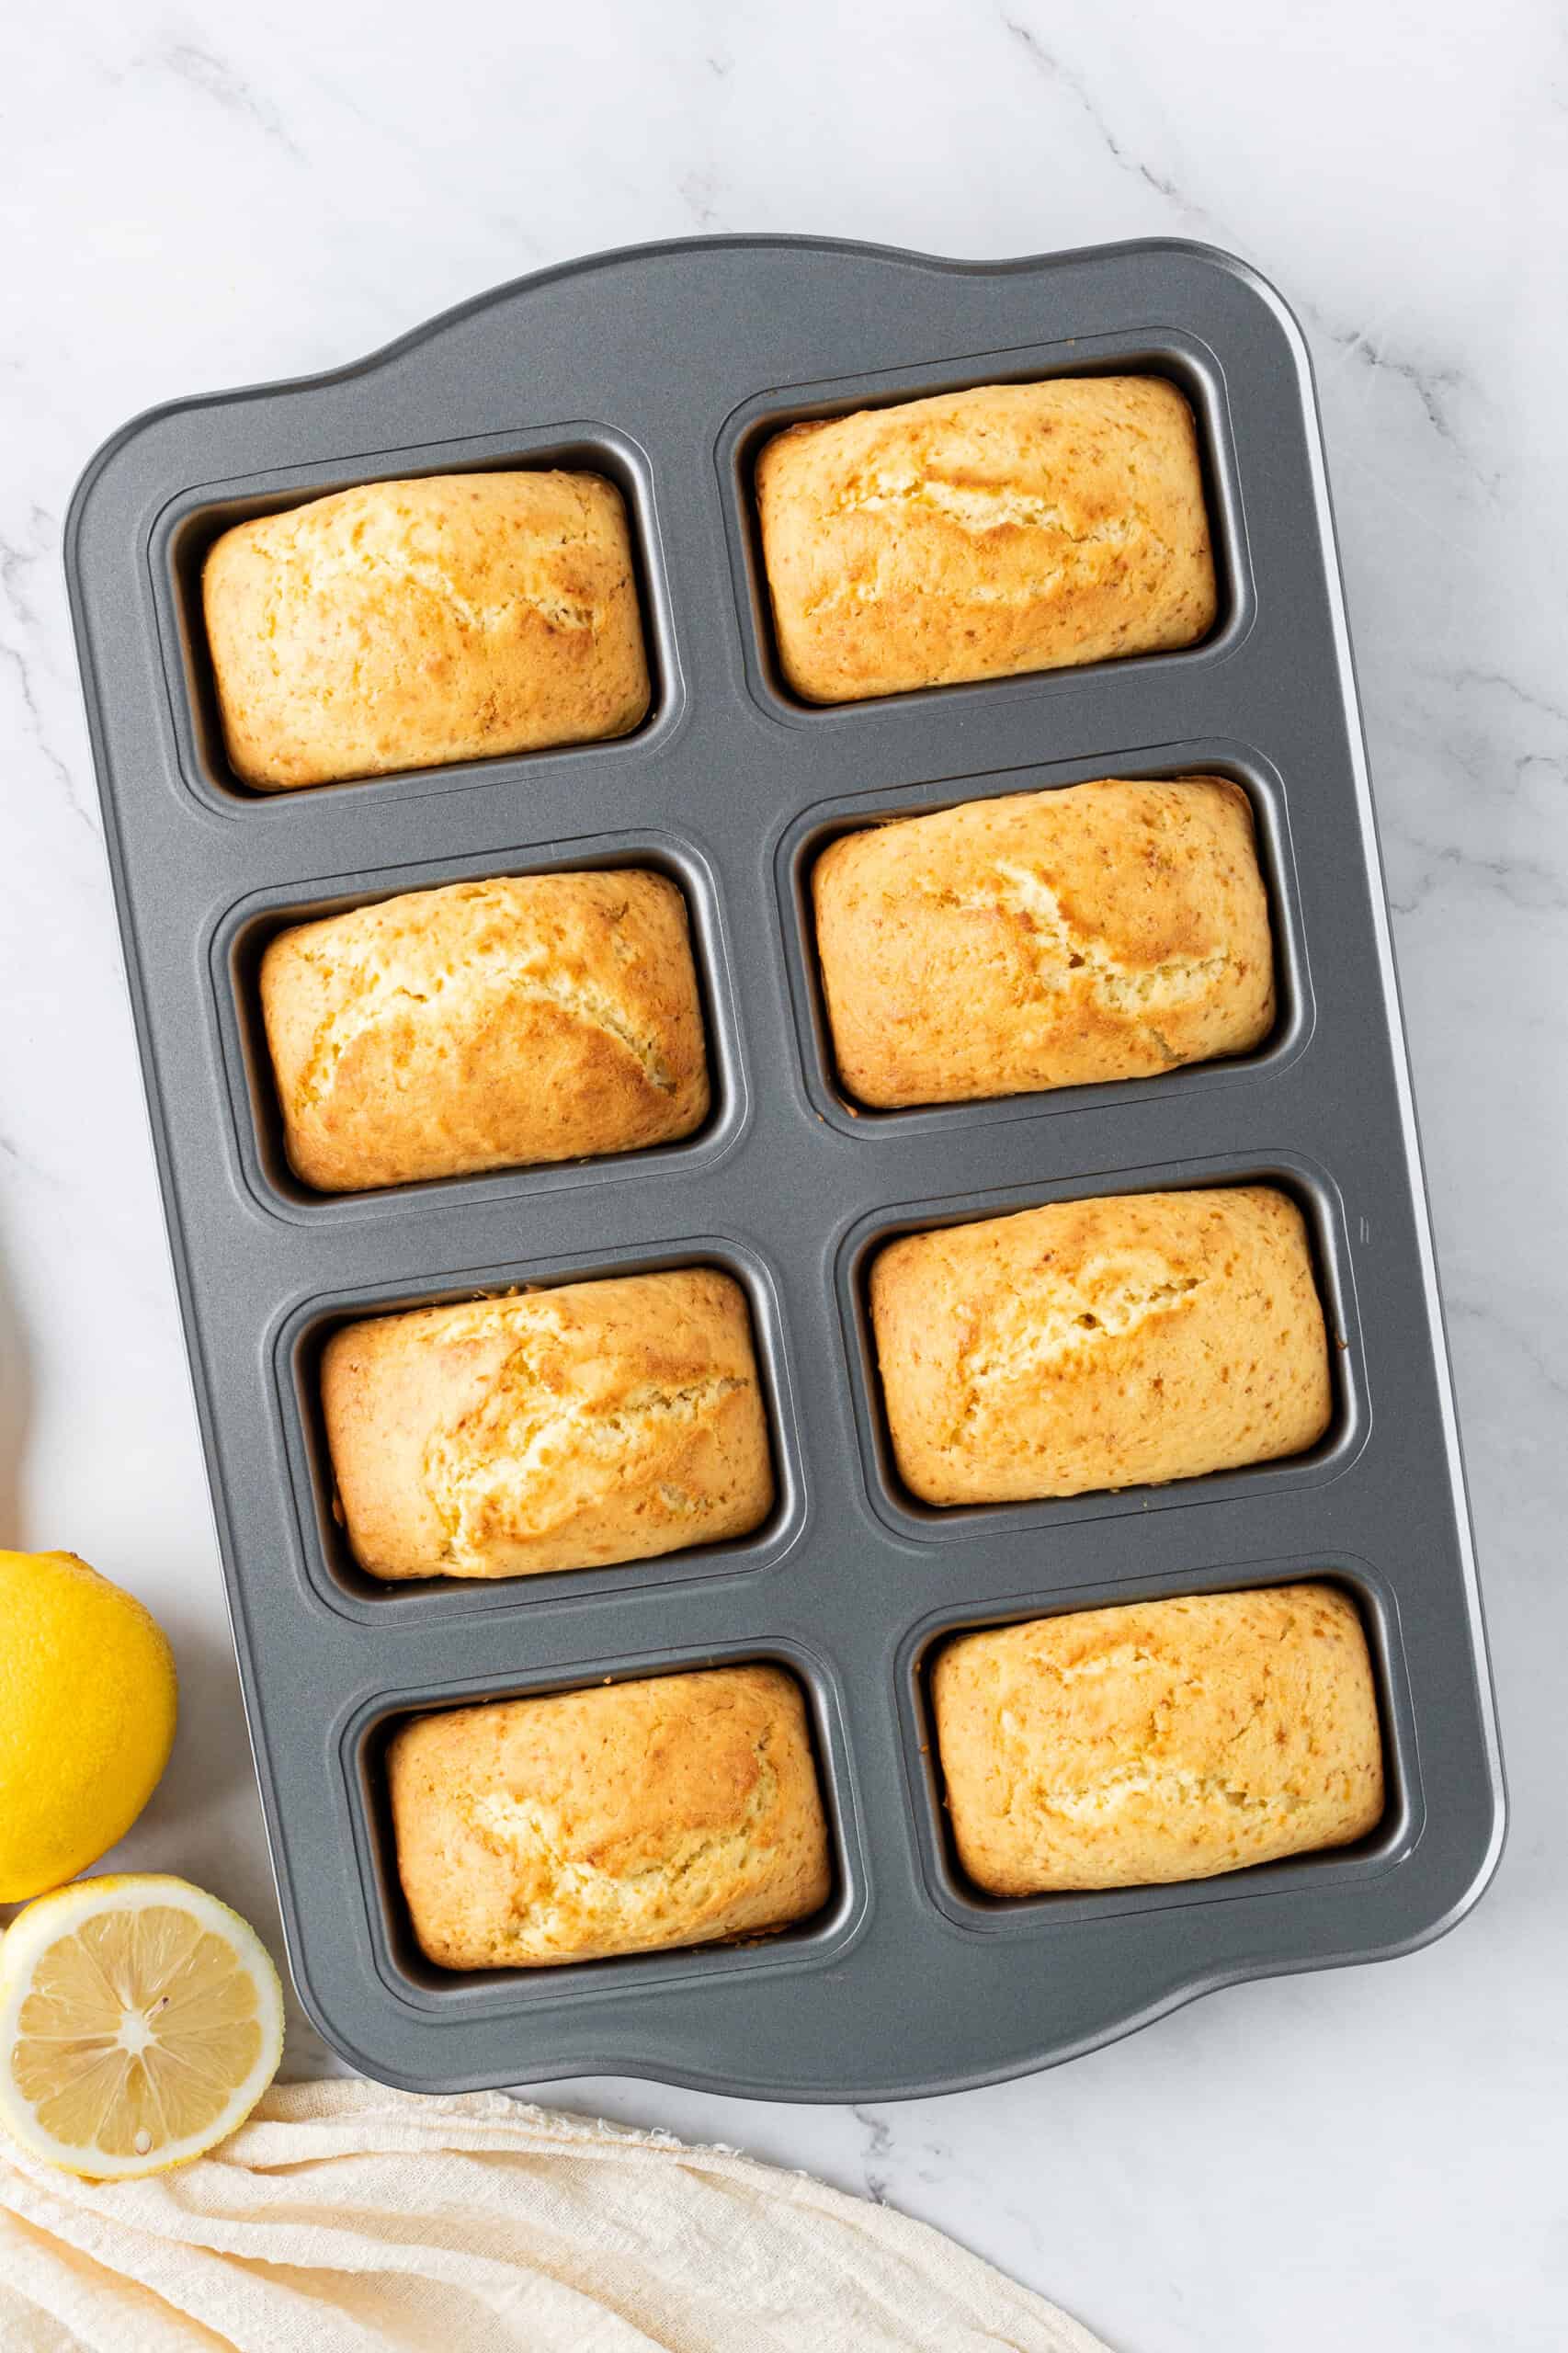
Step 10: Glaze and Cool Completely
Carefully remove the loaves from the pans and place them on a wire rack or a sheet of parchment paper. Spoon the lemon glaze over the warm loaves so it can soak into the tops and sides. Then let the loaves cool completely before storing. Once cooled, place them in an airtight container until ready to serve.
While the mini loaves are baking, make the glaze. Stir the fresh lemon juice and granulated sugar together in a small bowl or medium bowl. Microwave the mixture for about 2 minutes, stirring every 20 seconds, until the sugar dissolves into the lemon juice. The glaze should look glossy and smooth.




My Favorite Tools for This Recipe
You don’t need anything fancy to make this mini lemon bread recipe, but a few reliable kitchen tools can make the process easier. These are the items I reach for every time I make a batch.
- Mini Loaf Pans –These give you perfectly portioned little loaves and help the bread bake faster than one large loaf.
- Hand Mixer – Creams the butter and sugar quickly, so the batter starts off light and fluffy.
- Fine Grater – Makes quick work of zesting the lemon without grabbing too much of the bitter white pith.
- Large Mixing Bowl – Gives you enough room to mix without flour flying everywhere. We’ve all been there.
- Cooling Rack – Helps the loaves cool evenly after glazing.
Tips for Success
A few simple tips can make a big difference when baking mini lemon bread. Follow these suggestions for the best texture, flavor, and overall results every time.
- Use room temperature butter, eggs, and sour cream so the batter mixes smoothly.
- Zest the lemon before juicing it. Trying to zest a squeezed lemon is a tiny kitchen tragedy.
- Sift the flour before adding it to the batter for a lighter texture.
- Don’t overmix once the dry ingredients go in. Mix just until everything is combined.
- Scrape the sides of the bowl so you don’t end up with streaks of butter or flour.
- Spoon the glaze over the loaves while they are still warm so it soaks in beautifully.
- Let the loaves cool before storing so condensation doesn’t make them sticky.
- Use fresh lemon juice for the glaze. Bottled lemon juice just doesn’t have the same bright flavor.
What to Serve With Mini Lemon Bread
Mini Lemon Bread is sweet, bright, and buttery, so it pairs really well with breakfast, brunch, and snacky little sides. Here are a few easy ideas:
- Irish Coffee – A warm coffee drink with a little creaminess pairs beautifully with the sweet lemon glaze.
- Frittata – Eggs, veggies, and cheese make a hearty, savory balance to the sweet mini loaves.
- Homemade Greek Yogurt – Thick, creamy yogurt keeps things simple and adds a nice tang next to the lemon bread.
- Fruit Salad – Fresh berries, melon, grapes, or citrus make a light and colorful side.
- Loaded Potato Casserole – Rich, cheesy potatoes bring the comfort food energy and make the whole spread feel more filling.

Storage and Reheating
Store completely cooled mini lemon loaves in an airtight container at room temperature for up to 3 days. For longer storage, keep them in the refrigerator for up to 1 week.
To freeze, wrap each loaf tightly in plastic wrap, then place them in a freezer-safe bag or airtight container. Freeze for up to 3 months. Thaw at room temperature before serving.
These loaves don’t need much reheating, but you can warm a slice in the microwave for about 10 seconds if you like it soft and cozy.
FAQs
Can I use bottled lemon juice?
Fresh lemon juice is best, especially for the glaze. Since you need lemon zest for the batter anyway, fresh lemons make the most sense here.
Why is my lemon bread dry?
Dry lemon bread usually comes from too much flour or overbaking. For best results, sift the flour, measure carefully, and check the loaves a few minutes before the timer ends.
Can I make this recipe ahead of time?
Yes. This is a great make-ahead recipe because the lemon glaze has time to soak into the bread. The loaves stay moist and flavorful for days when stored properly.
Variations
This mini lemon bread recipe is easy to customize depending on what you have on hand or the flavors you enjoy most. Try one of these simple variations to make it your own.
- Lemon Poppy Seed Bread: Stir poppy seeds into the batter before baking.
- Blueberry Lemon Bread: Fold in fresh blueberries for a fruity twist.
- Almond Lemon Bread: Replace part of the vanilla extract with almond extract.
- Powdered Sugar Glaze: Use powdered sugar and lemon juice for a thicker, more opaque glaze.
- Orange Mini Loaves: Swap the lemon zest and juice for fresh orange.
- Lemon Cream Cheese Drizzle: Add a thin cream cheese glaze once the loaves have cooled.

More Lemon Recipes to Try
- Lemon Lush
- Lemon Creme Brulee Bars
- Homemade Lemon Curd
- Lemon Poppy Seed Cake
- Lemon Cream Puffs
- Lemon Crinkle Cookies
And there you have it! Soft, sweet Mini Lemon Bread with fresh lemon flavor and a simple glaze that soaks right in. The printable recipe card is below, so grab the details and get baking.

Mini Lemon Bread
Mini Lemon Bread is a light and fluffy cake with a hint of vanilla and lemon. It makes the perfect light dessert or snack
Ingredients
- 1/2 cup butter softened
- 1 cup granulated sugar
- 2 eggs
- 1 teaspoon vanilla extract
- 1/2 cup sour cream
- 1 large lemon zested {5 teaspoons, approximately}
- 1 1/2 cups all purpose flour sifted {which ends up being about 1 3/4 cup sifted flour}
- 1 teaspoon baking powder
- 1/4 teaspoon baking soda
- 1/4 teaspoon salt
- 3 tablespoons milk
Glaze:
- 1/4 cup fresh lemon juice
- 1/2 cup granulated sugar
Instructions
- Preheat oven to 350 degrees. Spray mini pans with non stick cooking spray and set aside.
- In large bowl, cream butter and sugar until light and fluffy. Stir in eggs, vanilla, lemon zest and sour cream. Scrape sides and mix again. With mixer on low speed, incorporate all dry ingredients until just combined, then stir in milk. Scrape sides and mix a few more times by hand. Spoon batter equally into prepared pans. Bake 15-20 minutes or until edges are golden brown and are baked thoroughly- use the toothpick method to see if they are done. Mine were done at 18 minutes.
- While lemon loaves are baking, mix ingredients together for glaze and microwave on high for 2 minutes, stirring every 20 seconds or so to dissolve sugar into lemon juice. The glaze is done once the sugar has dissolved.
- Once loaves come out of the oven, cool at least 15 minutes before removing from pans. Spoon glaze over loaves and continue to cool completely. Store in air tight containers until ready to serve.
Nutrition
Calories: 387kcalCarbohydrates: 58gProtein: 5gFat: 16gSaturated Fat: 9gCholesterol: 79mgSodium: 239mgPotassium: 145mgFiber: 1gSugar: 39gVitamin A: 513IUVitamin C: 10mgCalcium: 60mgIron: 1mg
Rate This RecipePlease consider Leaving a 5-Star Review!
If you make this recipe, I would really appreciate it if you would give it a star rating and leave your review in the comments! If you have a picture of your finished dish, post it on Instagram using the hashtag #laurenslatest and tagging me @laurens_latest.





This recipe doesn’t make 8 mini cakes. It made 6 1/2 mini pan cakes which were too small to give as gifts. I would guess this recipe would make three full mini cakes. Disappointed because I was going to give as Christmas presents. I guess I’ll put on a platter and serve instead. Disappointed ?