This post may contain affiliate sales links. Please read my disclosure policy.
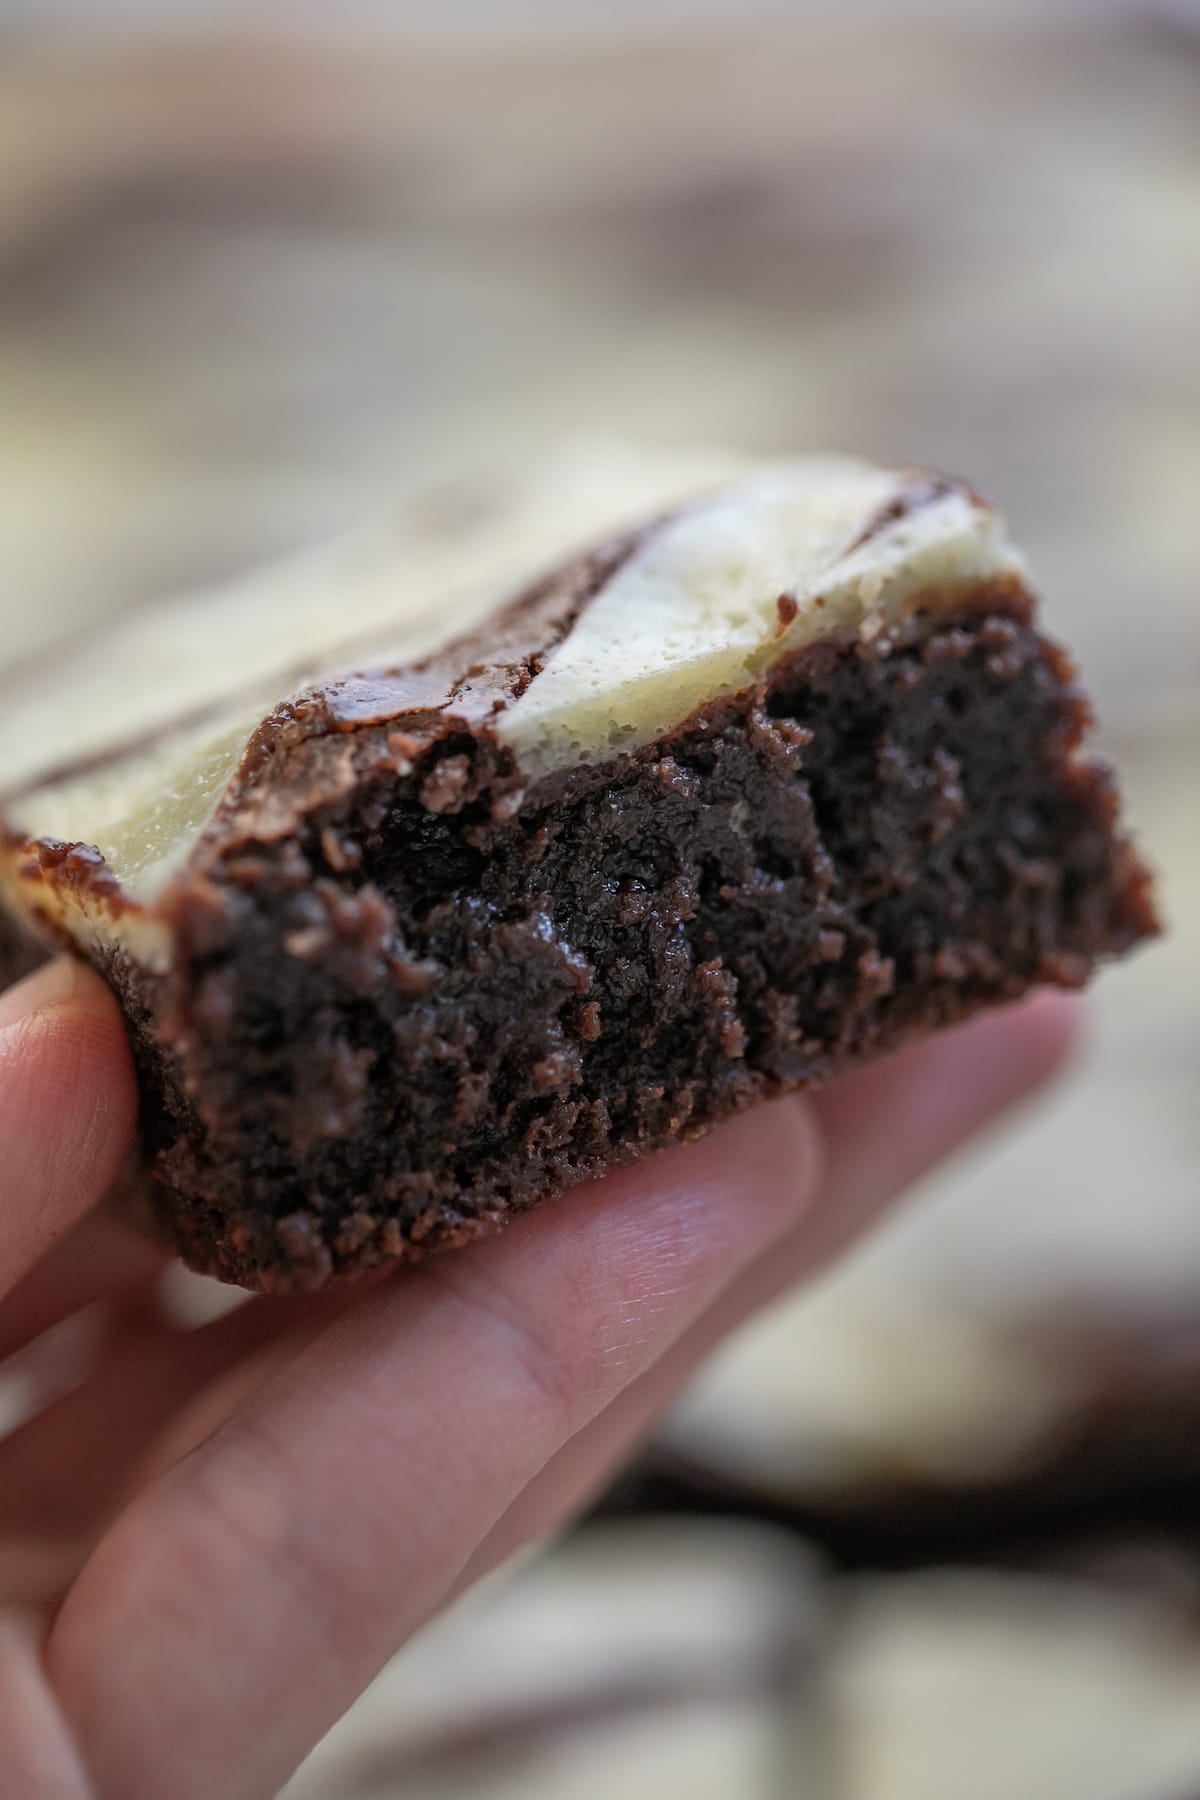
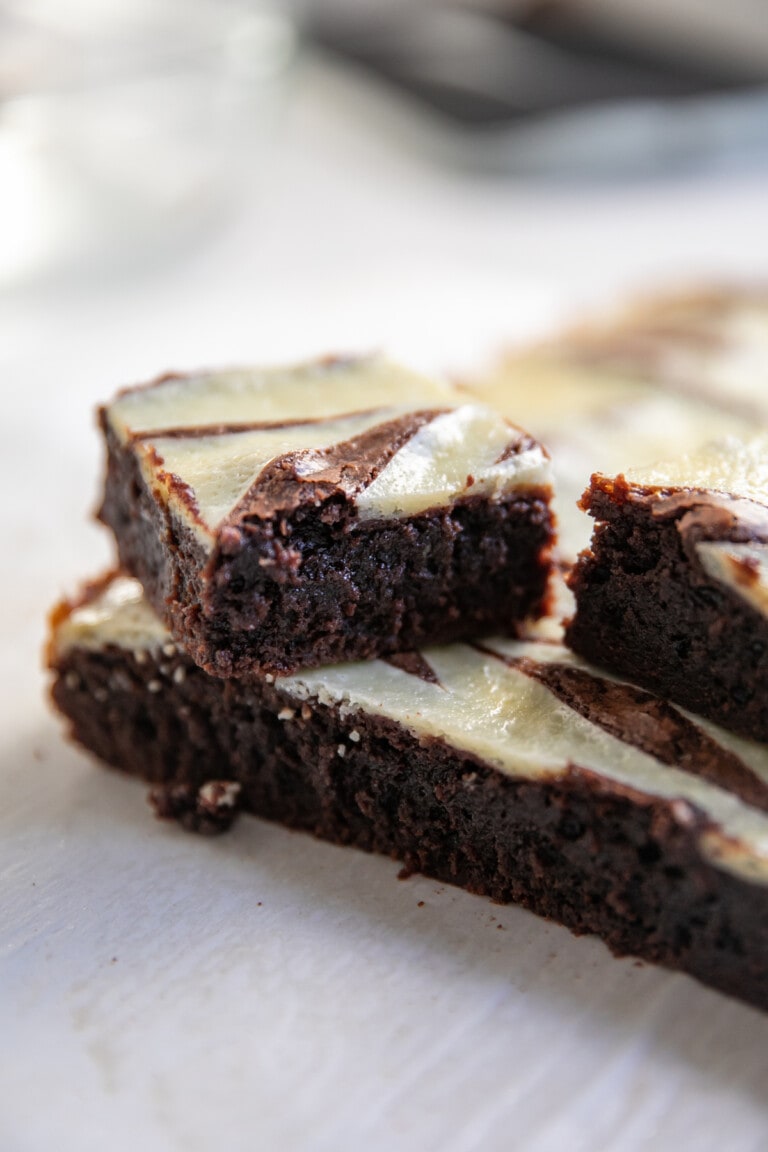
If you’re craving the ultimate dessert mashup, look no further than these Cheesecake Brownies. Combining the rich, fudgy goodness of my homemade Brownies with a cream, tangy cheesecake swirl (based off my Cheesecake recipe), this recipe is sure to satisfy any sweet tooth. Perfect for any occasion, these cheesecake brownies are easy to make and even easier to devour.
Why You’ll Fall in Love with These Cheesecake Brownies
These Cheesecake Brownies are the best of both worlds. You get a rich brownie layer as the base that is loaded with chocolate flavor, paired with a luscious cream cheese mixture swirled in. The combination is simply unbeatable. Plus, they’re incredibly versatile—you can dress them up with chocolate chips or keep them classic. Whether you’re a brownie lover or a cheesecake fanatic, this recipe is going to become one of your favorite treats. Trust me, one bite, and you’ll be hooked.
Ingredients Needed for Cheesecake Brownies
Here’s everything you’ll need to make this Cheesecake Brownies recipe. The list is long, but luckily you probably have most of these ingredients in your pantry already! Ensure all ingredients are at room temperature for best results.
- salted butter
- canola oil or vegetable oil: Keeps the brownies moist. Any neutral oil will work here.
- milk chocolate baking chocolate: Chopped for melty pockets of chocolate.
- dark chocolate baking chocolate: Chopped to deepen the chocolate flavor.
- unsweetened cocoa powder
- granulated sugar
- eggs: Binds everything together.
- vanilla extract
- baking powder
- salt
- all-purpose flour
- semi-sweet chocolate chips: Optional, but highly recommended for extra chocolate chunks.
for the cheesecake swirl-
- cream cheese: Softened to mix easily.
- granulated sugar
- vanilla extract
- egg
Variations
- Nutty: Add chopped walnuts or pecans or coconut shreds to the brownie batter.
- Berry: Swirl in some raspberry jam into the cheesecake mixture.
- Marble: Use white chocolate chips in the cheesecake layer for a marbled effect.
- Gluten-Free: Substitute all-purpose flour with a gluten-free flour blend.
- Other Add-ins: Toffee, or crushed candy canes
A Note About Chocolate
I’d highly recommend seeking out the best baking chocolate you can find for this brownie recipe. The better the quality of chocolate, the more decadent, rich, and delicious these become. Also, I’m a big believer in GO BIG OR GO HOME. Ghirardelli and Scharffen Berger are great brands.
If you don’t have three kinds of chocolate and are in a pinch, you can use semi-sweet chocolate chips.
How to Make Cheesecake Brownies
For full recipe details, including ingredient measurements, see the printable recipe card down below. Ok, let’s get started with these fudgy cheesecake brownies!
1. Prep and Preheat
Preheat oven to 350° F. Line a 9×13 glass pan with nonstick cooking spray and parchment paper and set aside.
2. Make Brownie Batter
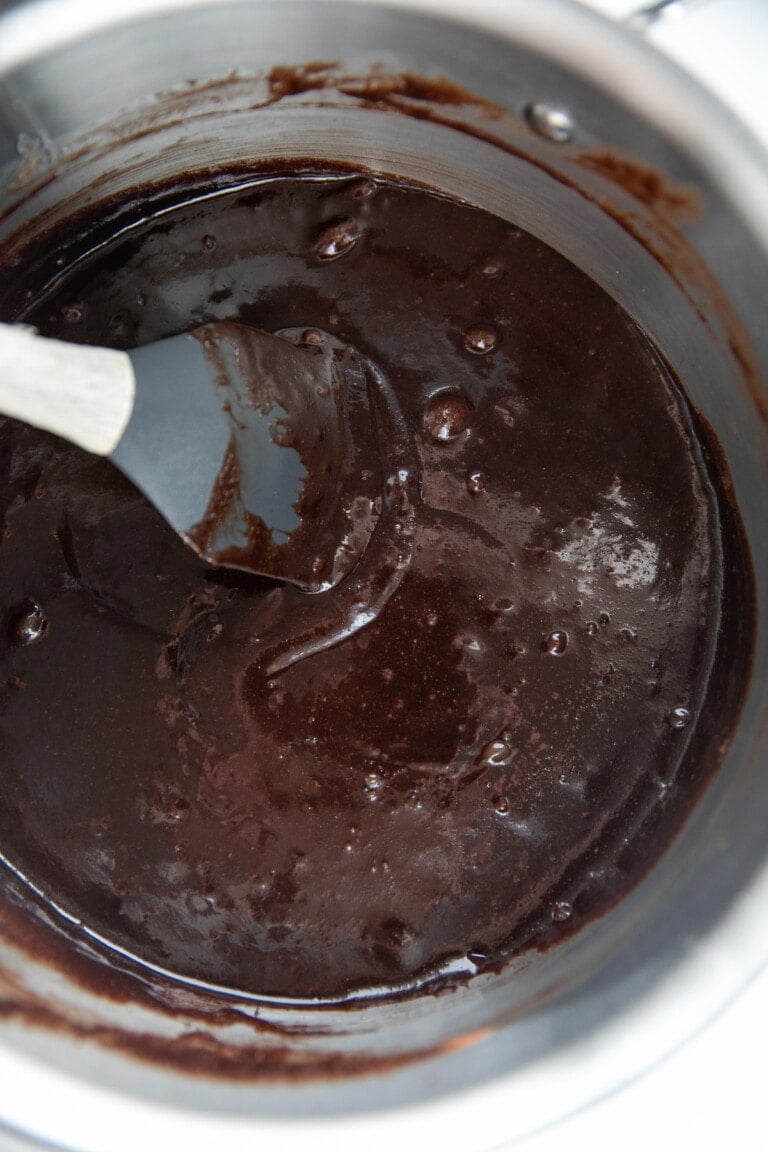
In a large pot over medium-low heat, melt butter, oil, chocolate, and cocoa together until fully melted and smooth. Remove from heat.
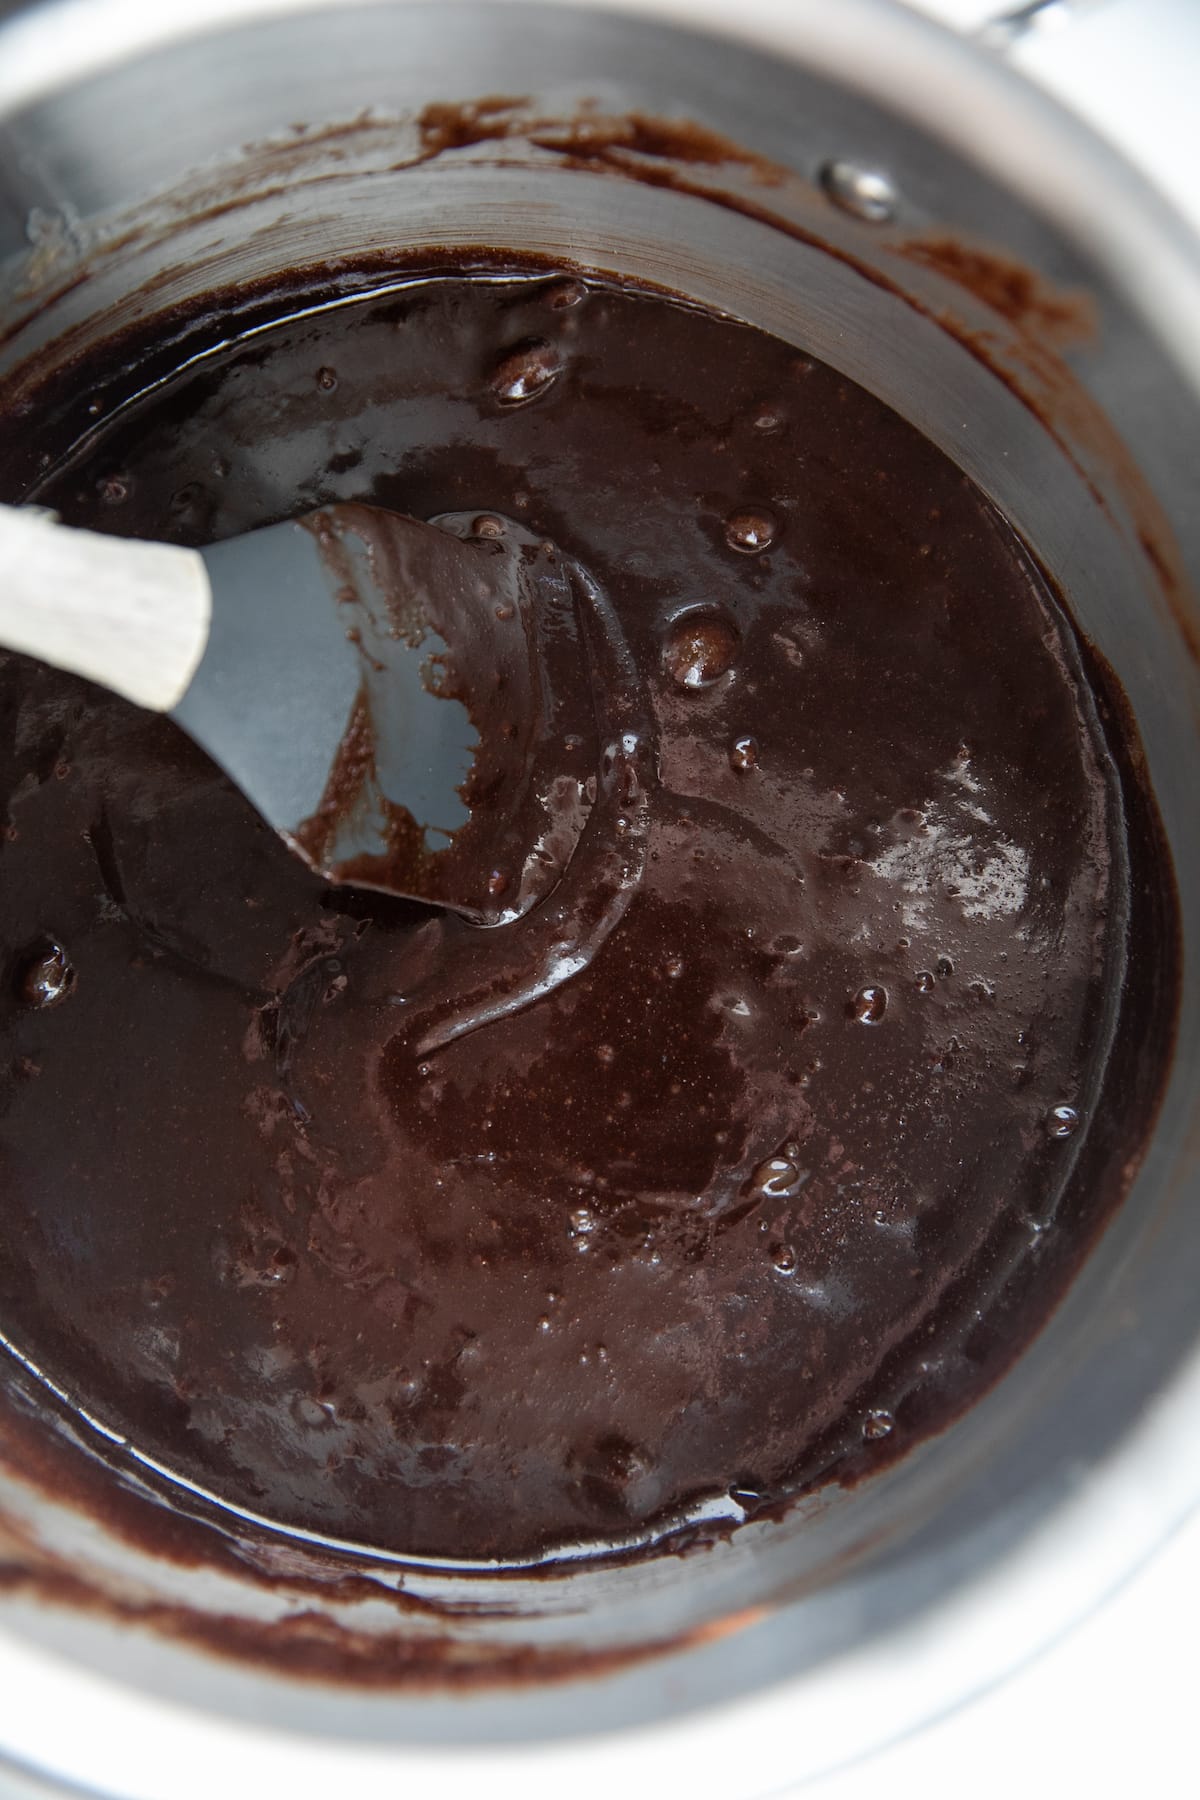

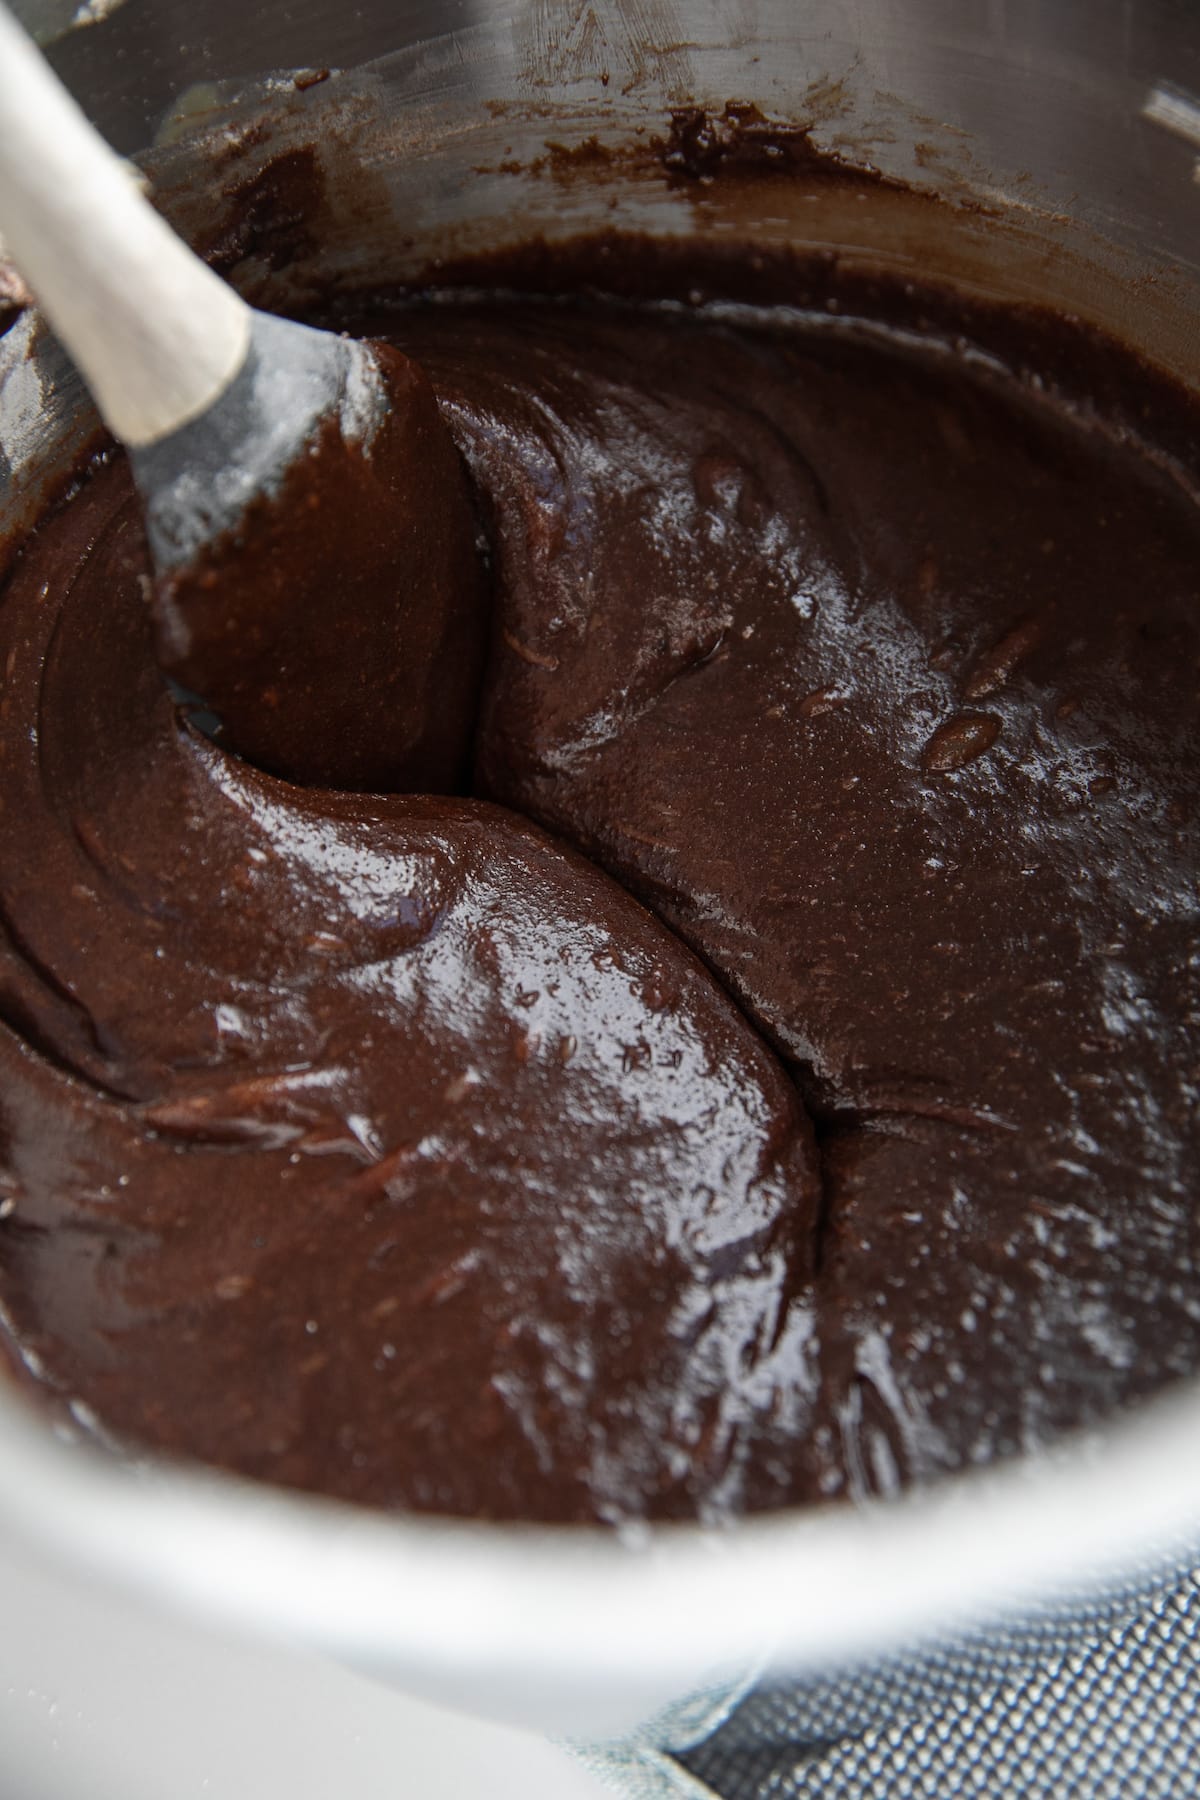
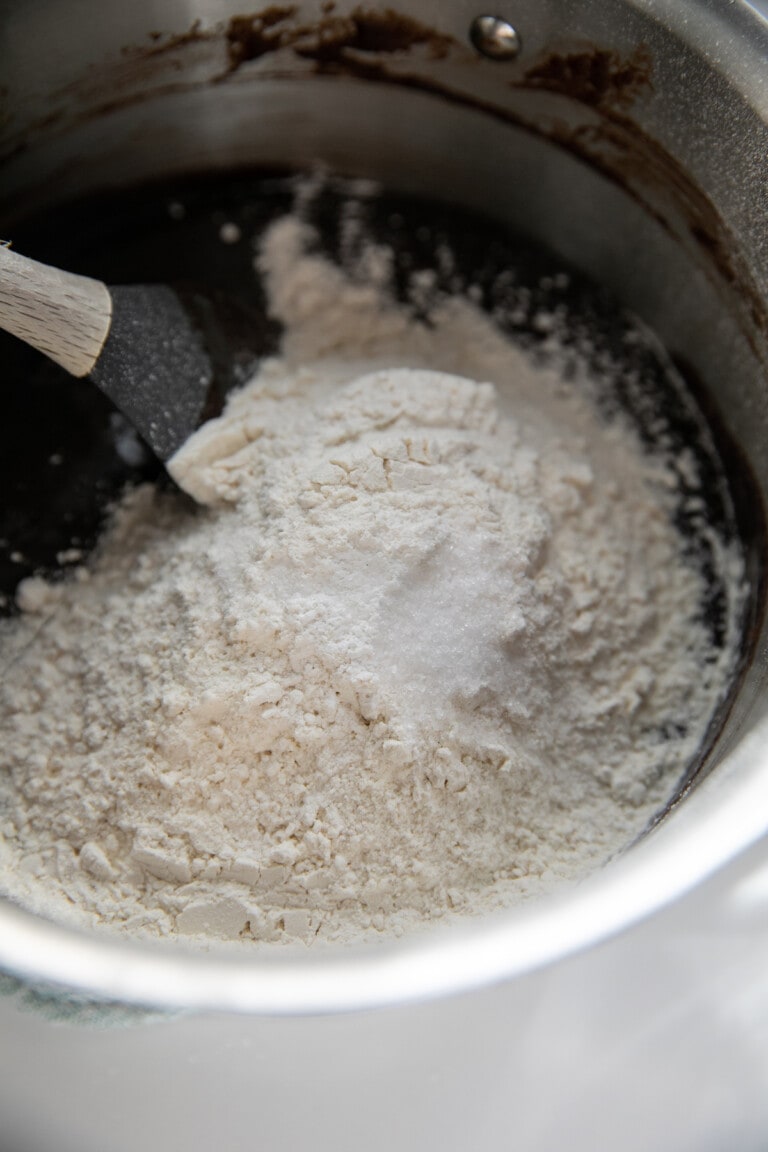
Pour in sugar and vanilla extract. Add in eggs, 1 at a time, stirring vigorously before the next addition. After all four eggs have been mixed in, the batter should be thick and smooth without that granular look to it. Add in the remaining dry ingredients and stir gently until just combined. Do not over mix.
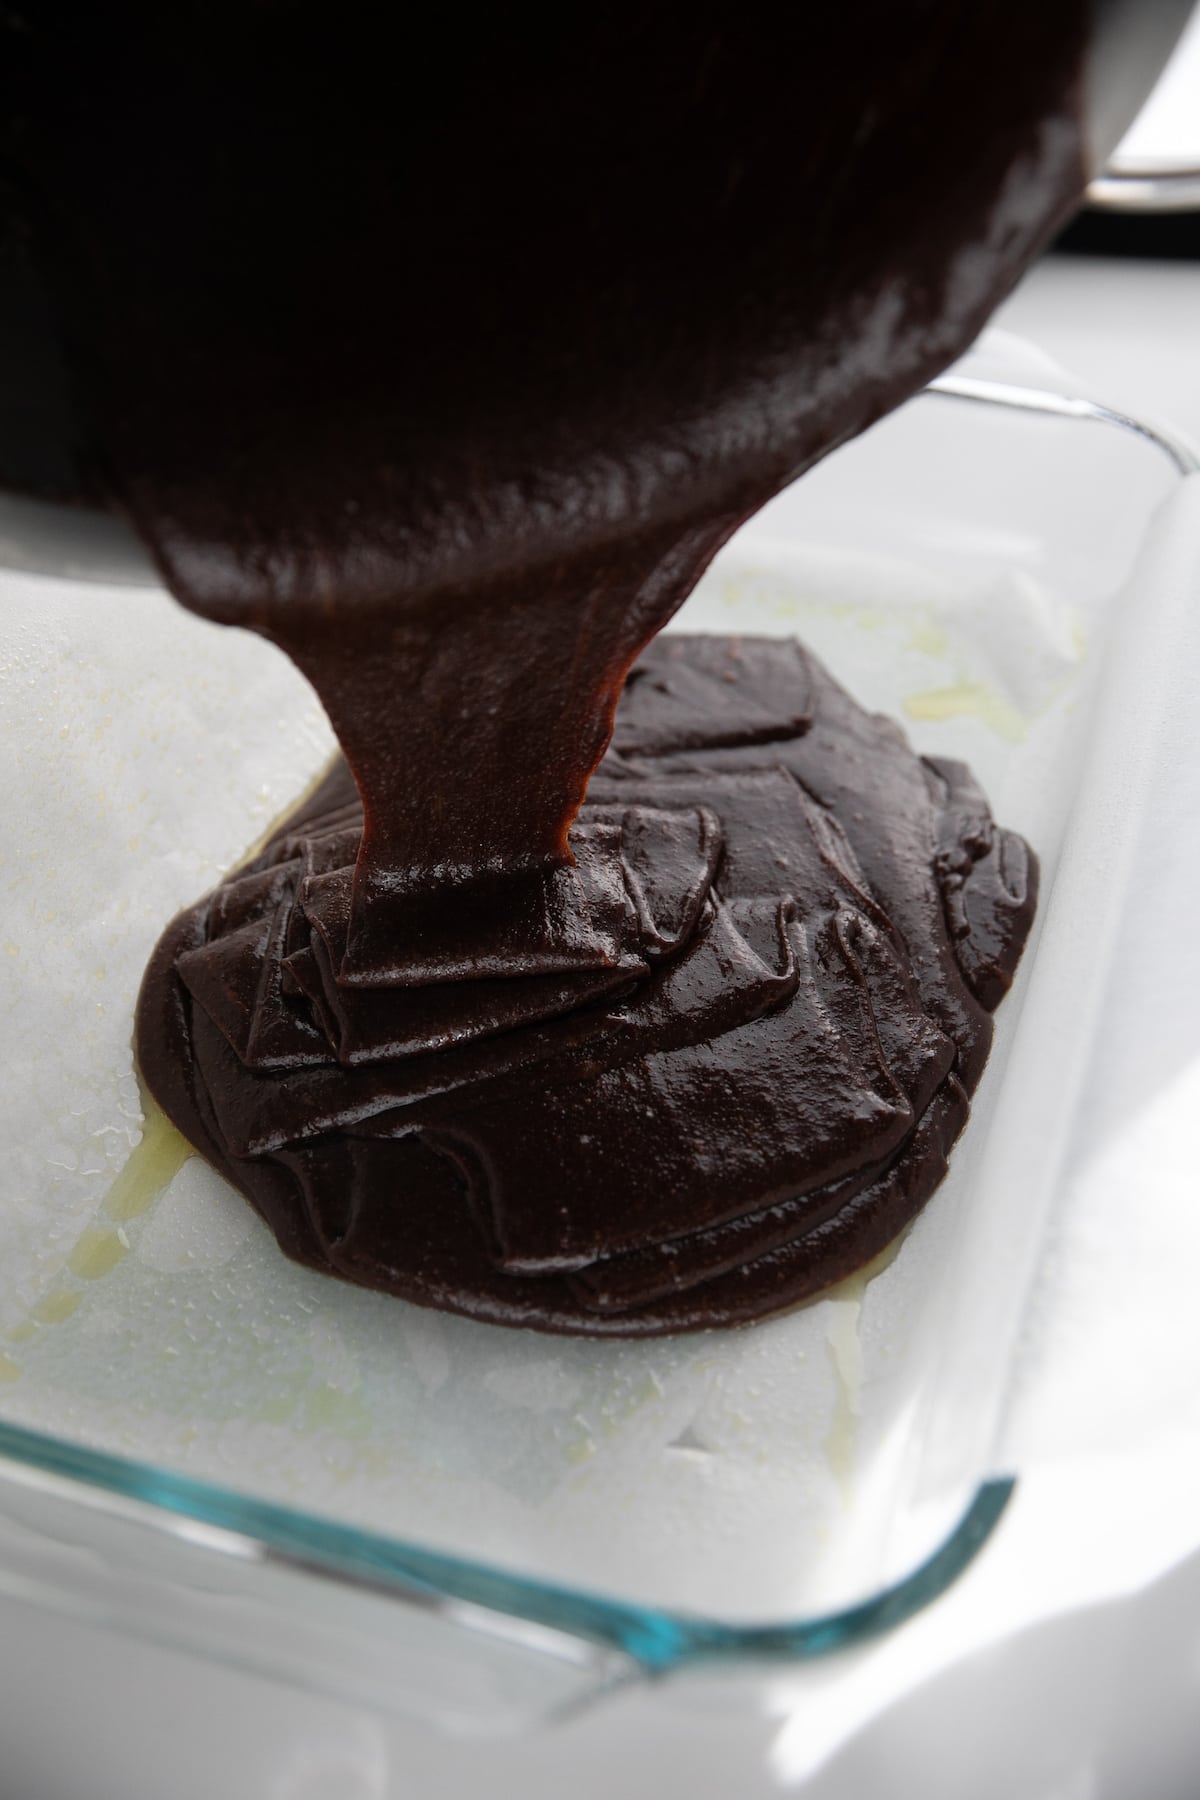
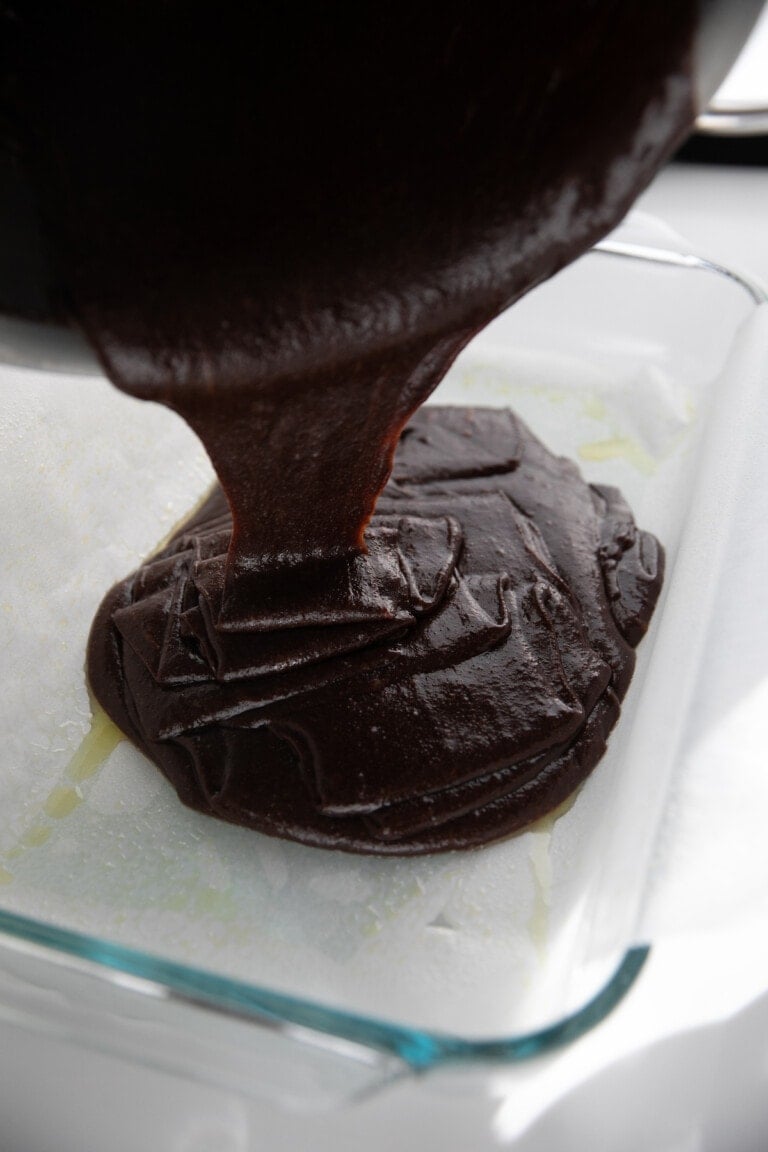
Fold in chocolate chips if using and pour batter into prepared baking pan. Smooth the top. Set aside.
3. Make the Cheesecake Filling
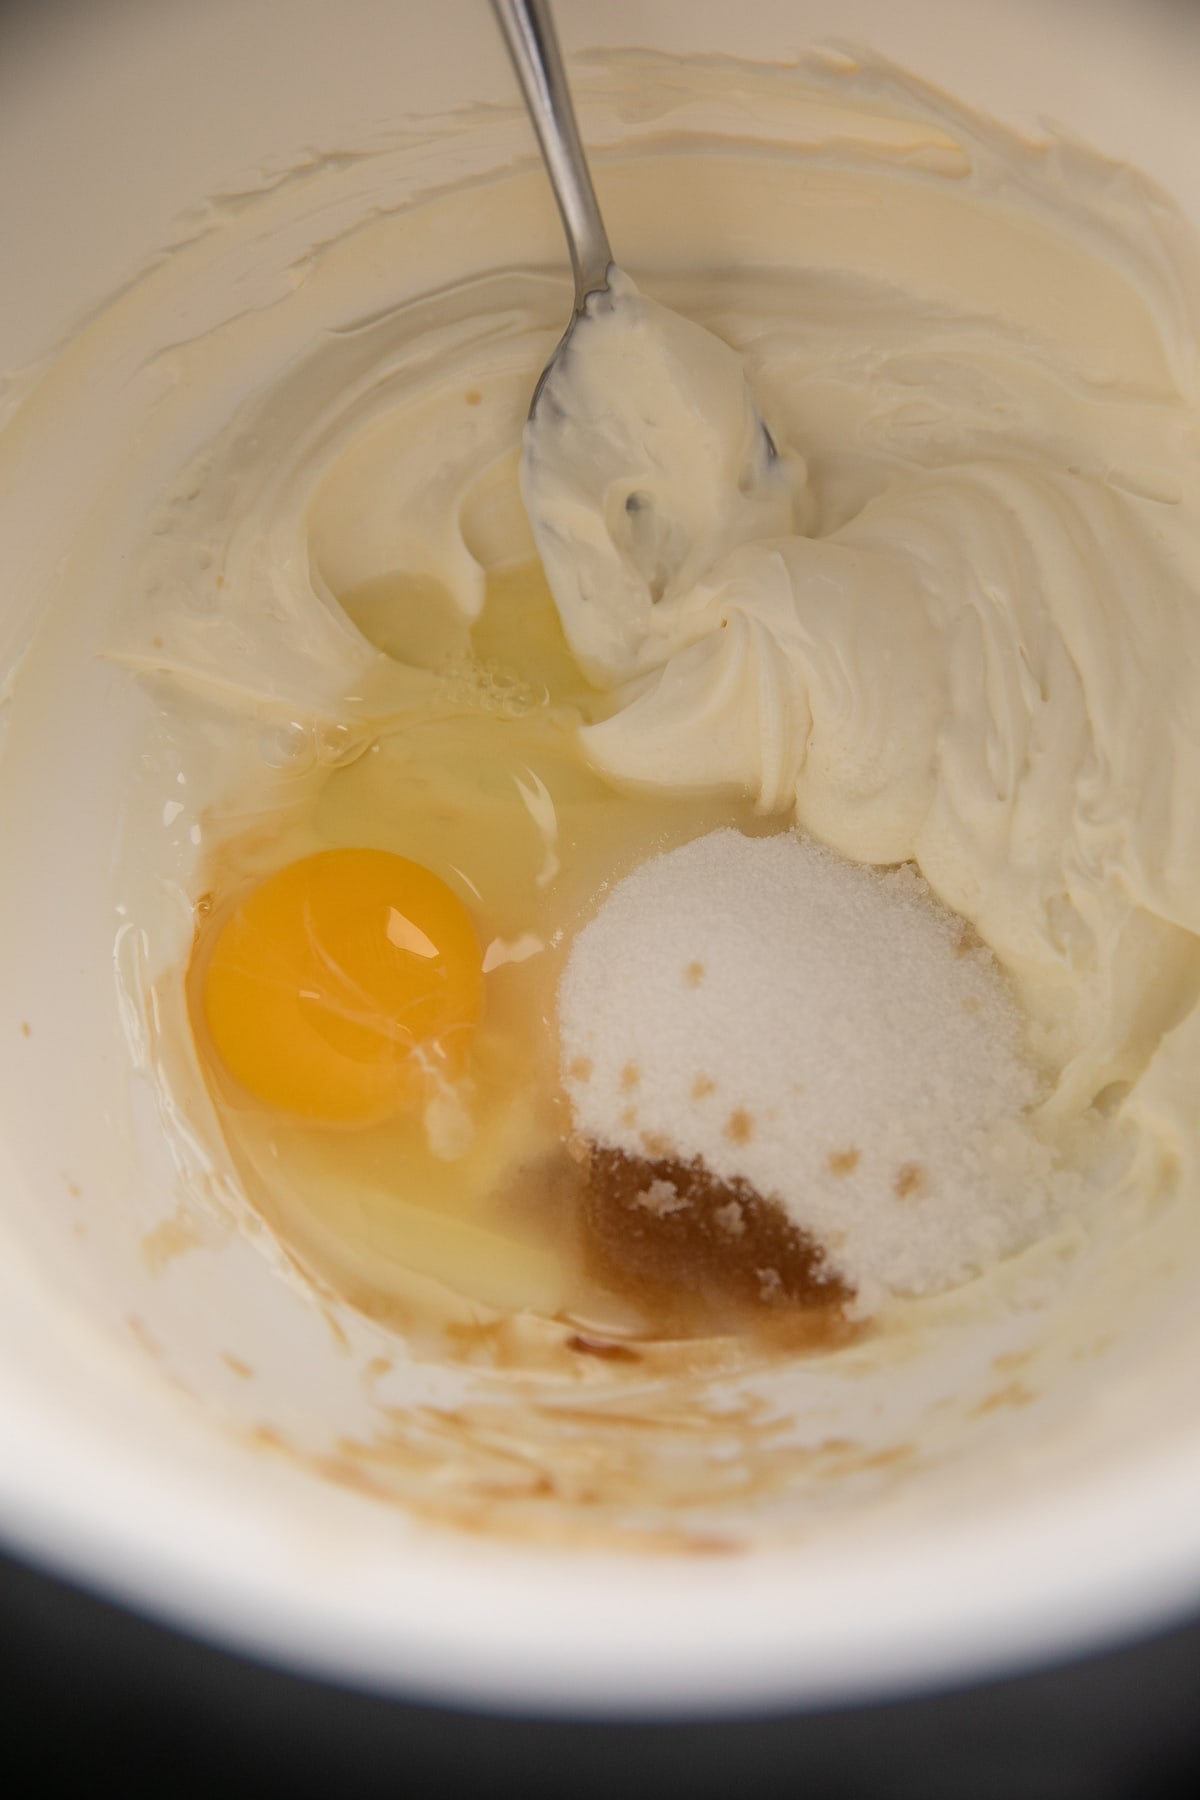
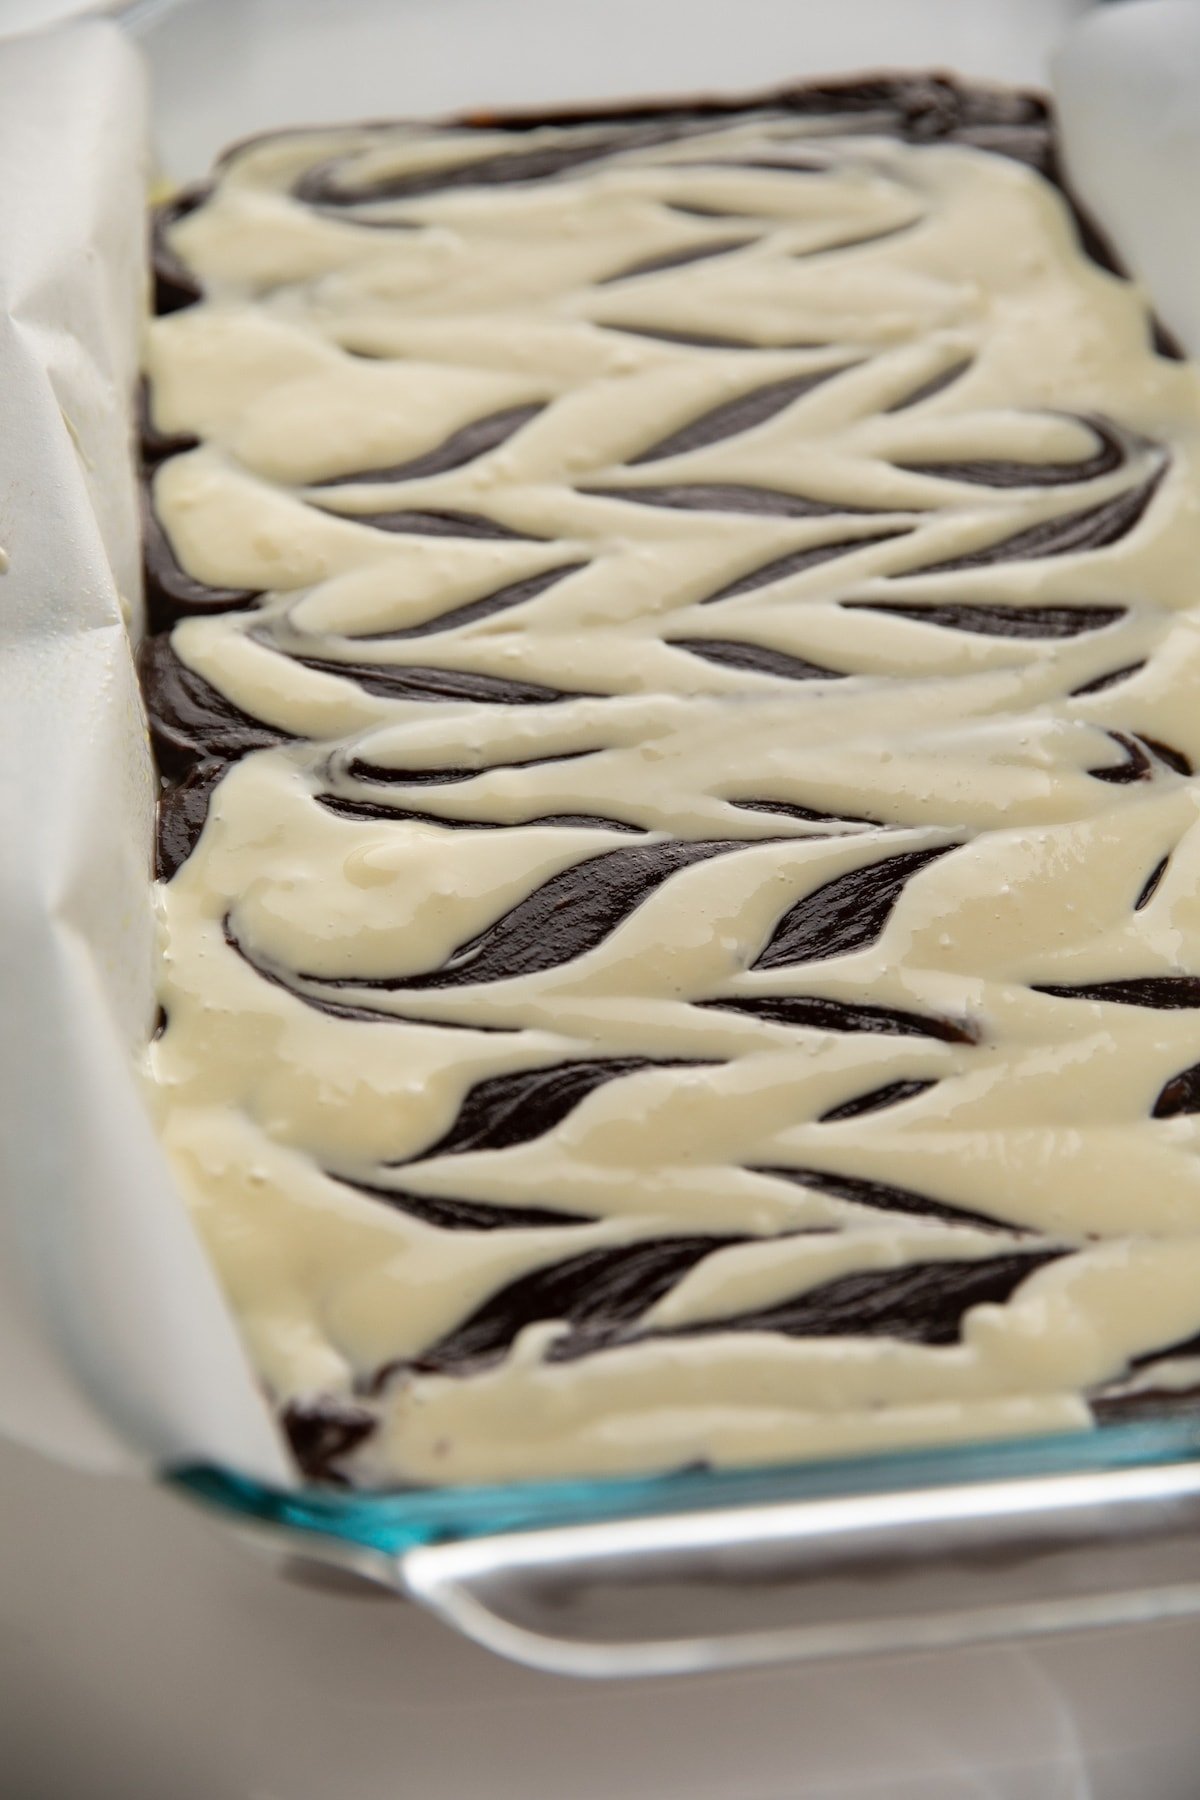
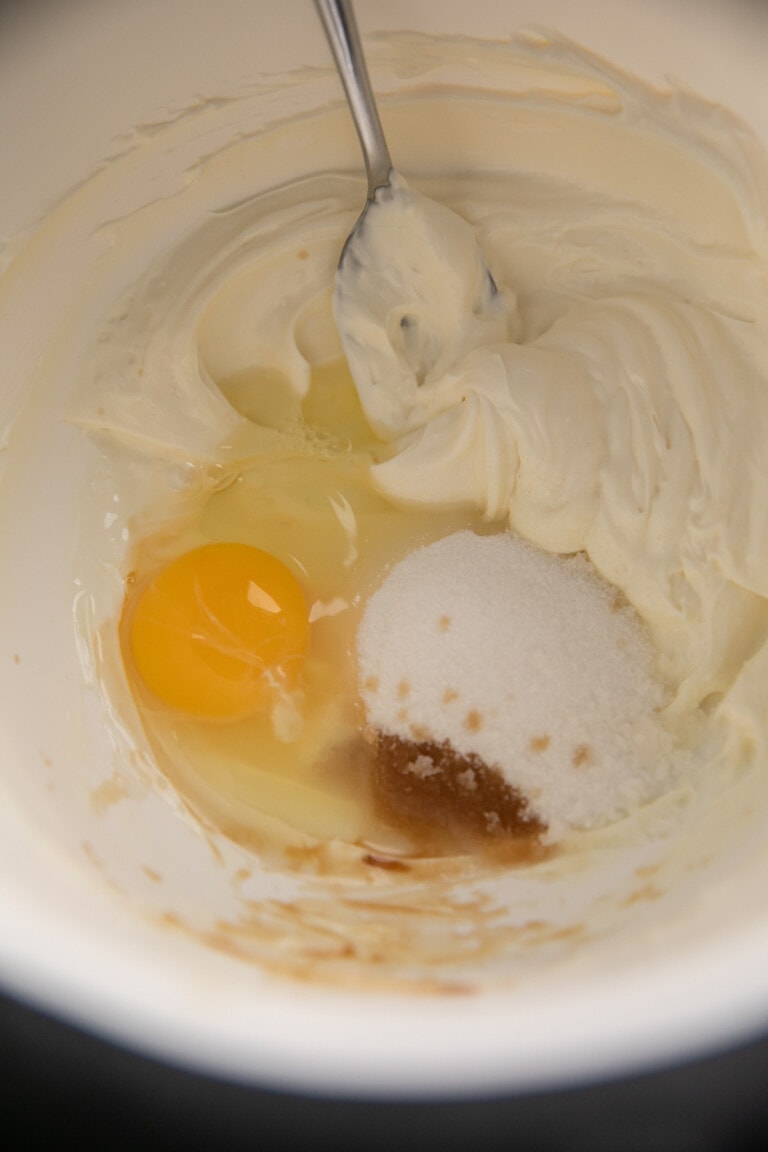
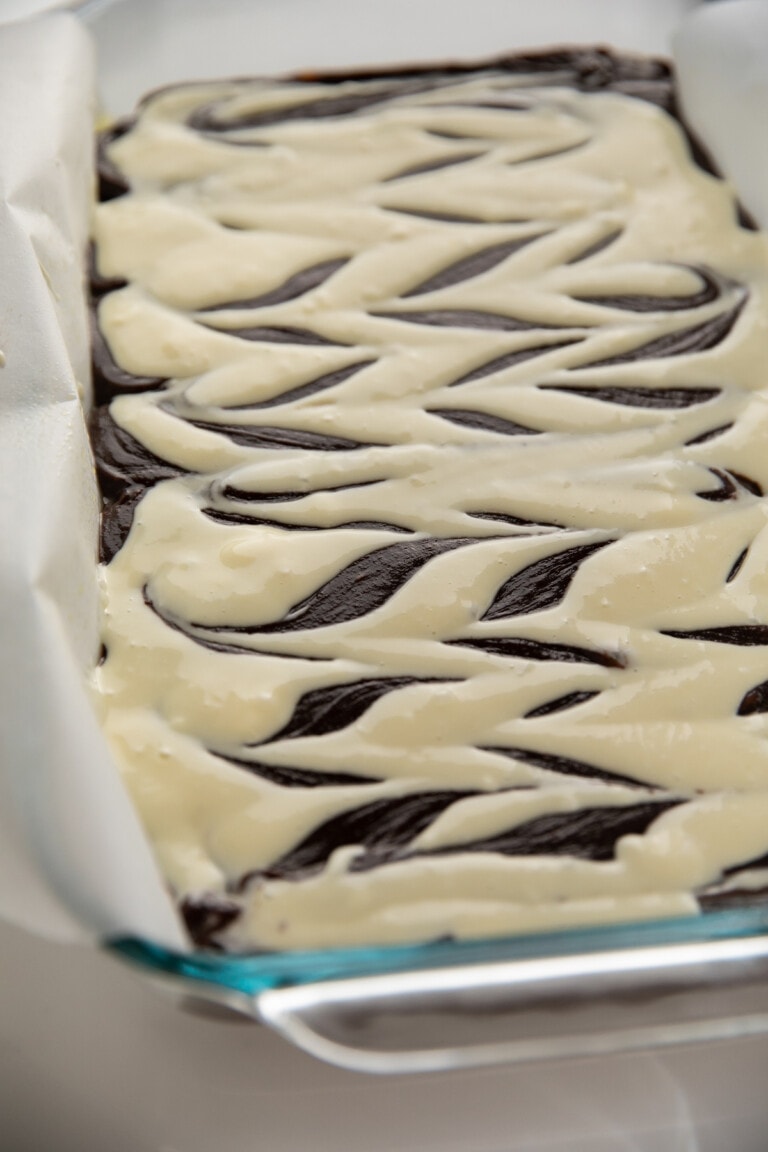
In a separate large mixing bowl, mix softened cream cheese with sugar, vanilla extract, and egg until completely smooth. Dollop the top of the brownies with the cheesecake mixture and use a clean knife or wooden skewer to swirl the cheesecake into the brownie batter.
5. Bake and Cool
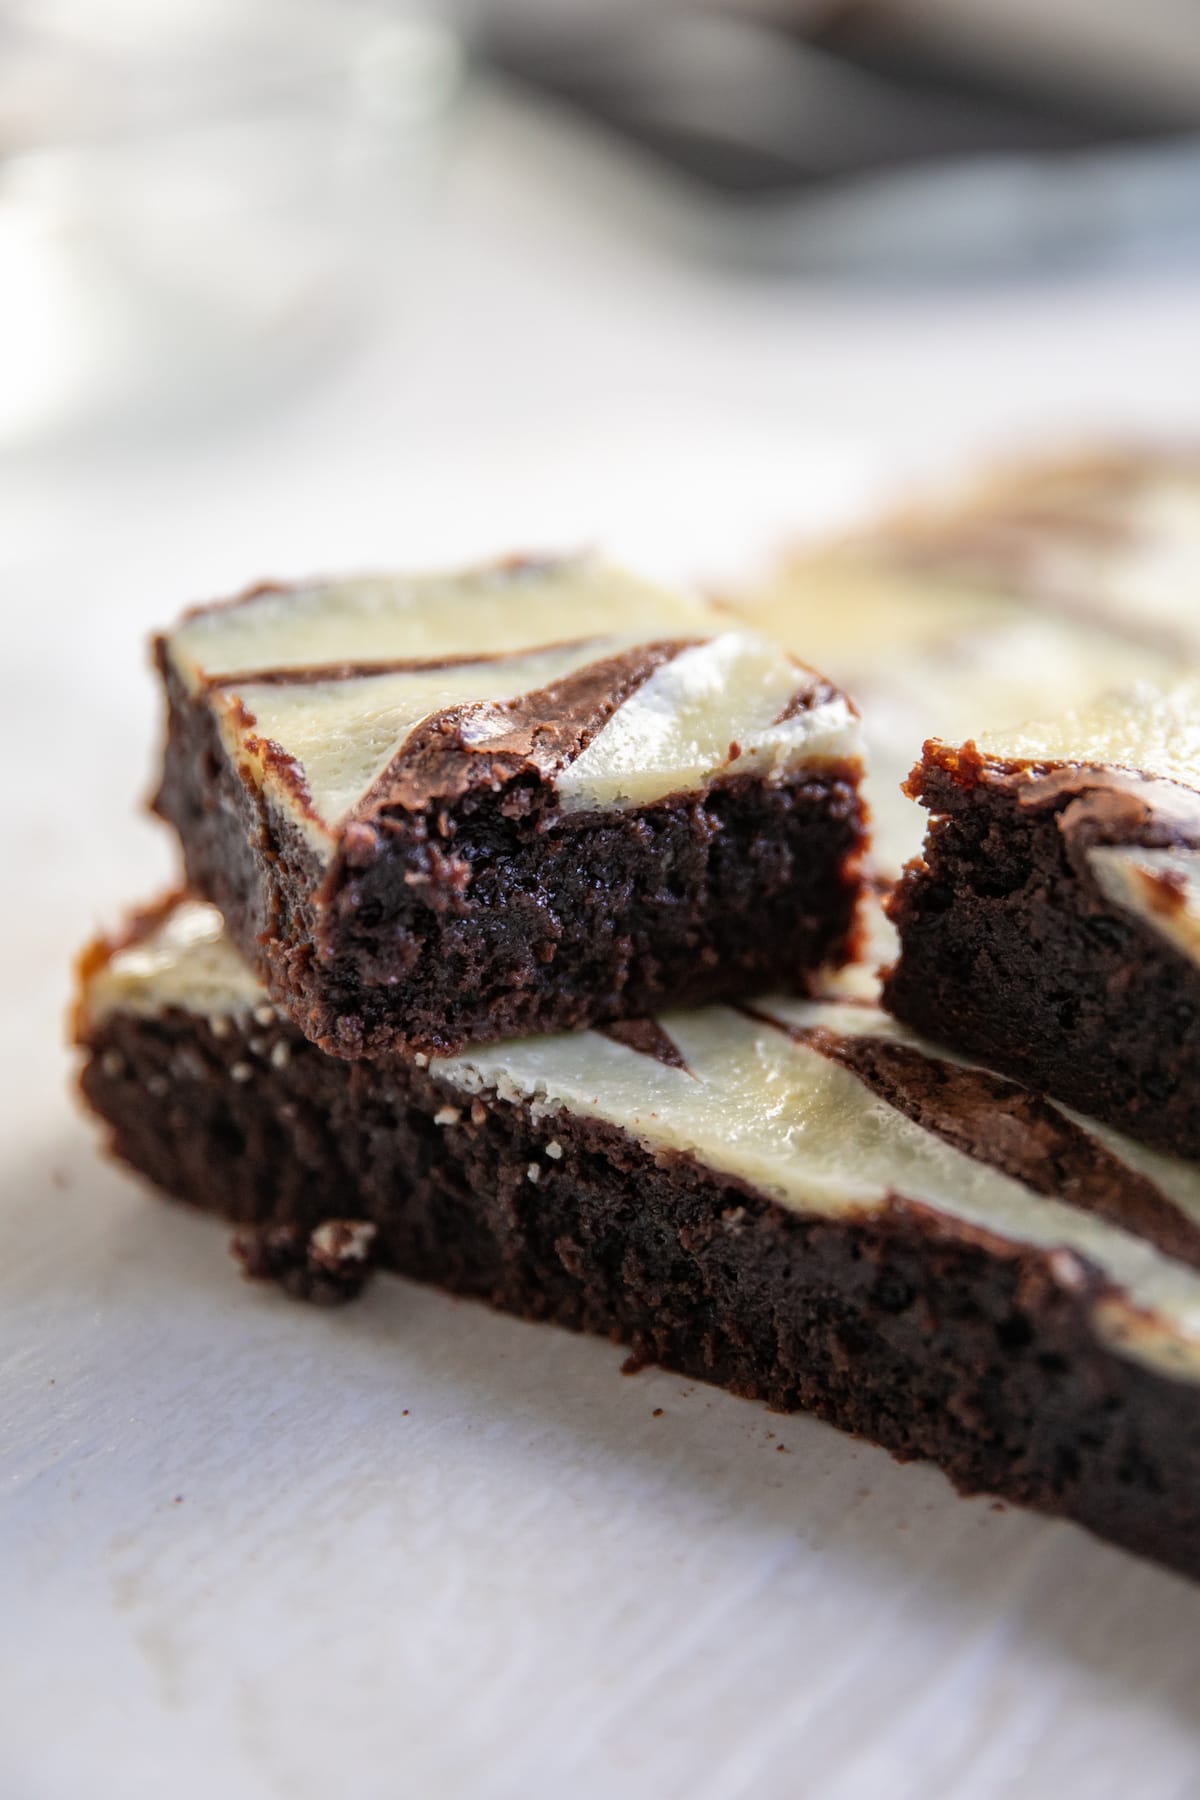
Bake in your preheated oven for 30-35 minutes. You’re looking for a few moist crumbs on a toothpick or knife inserted into the center of the brownies. Cool for at least 15 minutes on a wire rack before cutting into small squares and serving. I prefer to cool my brownies to room temperature, then refrigerate them before cutting and serving. I just prefer them cold, but feel free to serve them warm.
Storing Cheesecake Brownies
If you aren’t going to be serving these cheesecake brownies within a couple of hours I would highly suggest refrigerating them in an airtight container. Cover and store for up to 5 days. Feel free to enjoy cold or reheat individual slices in the microwave until warm.
Freezing Directions
If you want to store these cheesecake brownies for longer than a few days, cut each piece individually and wrap well in plastic wrap, store in a zip top bag and freeze for up to 3 months.
To reheat, simply microwave in 20-second bursts until warmed.
FAQ About Cheesecake Brownies
I would not recommend using a smaller pan for this recipe. These brownies aren’t crazy thick but they make up for it in their richness. If all you have is a smaller pan I’d cut the recipe in half.
If you want a thicker cheesecake topping you can absolutely double this part of the recipe. Just note that you might need to bake it for a little bit longer so it sets correctly.
While you certainly can make the brownie portion of this recipe with a box mix I prefer making it homemade. This ensures a fudgy rich brownie base every time while boxed mixes differ in quality depending on the brand.
If your cream cheese was too warm, the cheesecake mixture might be loose. Simply drizzle it over the brownie batter and use a butter knife to swirl it in.
More Decadent Desserts to Try!
Brownies and cheesecake are definitely some of my favorite desserts! Here are a few more that I love too!
- Pumpkin Brownies
- Nutella Cheesecake
- Butterfinger Nutter Butter Cheesecake Bars
- No Bake Brownie Batter Cheesecake
- No Bake Oreo Cheesecake Balls
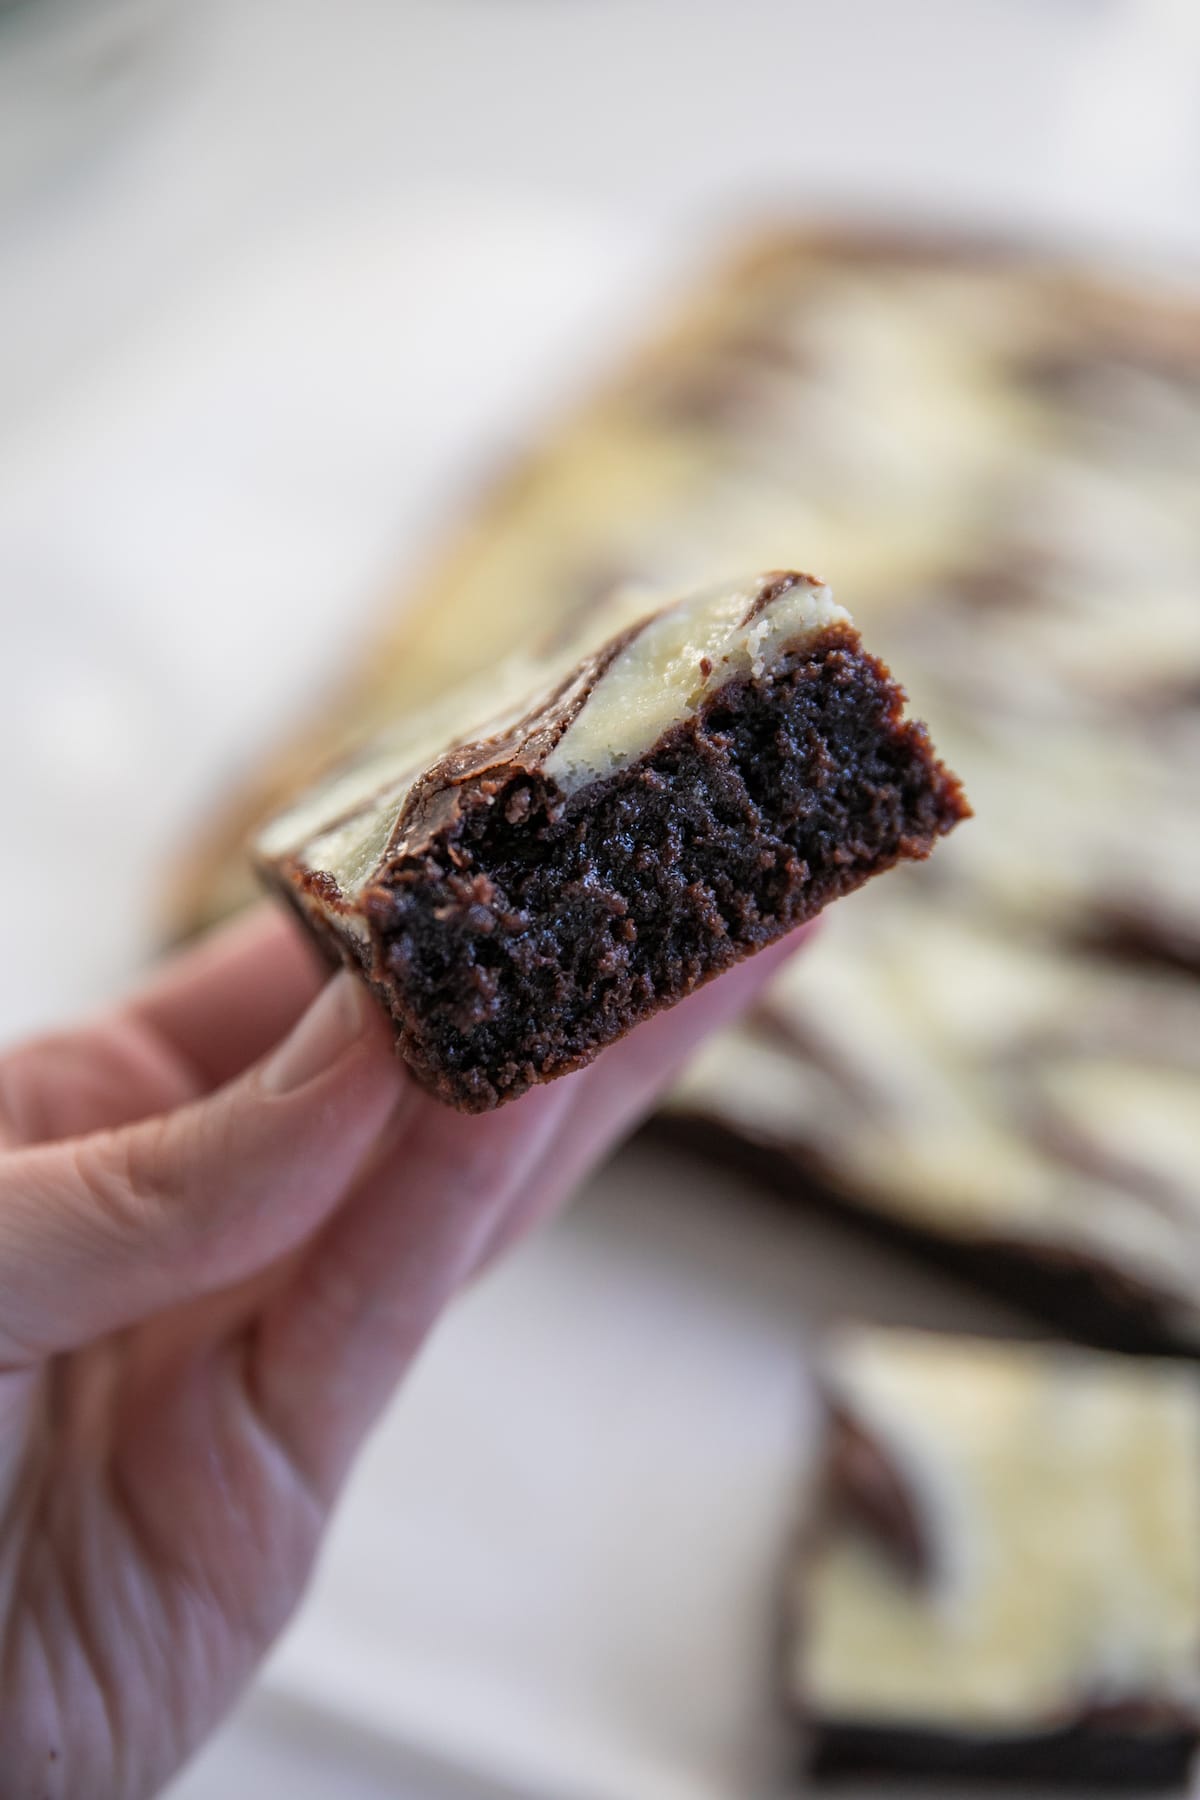
These Cheesecake Brownies are a decadent treat that’s easy to make and impossible to resist. Perfect for any occasion, they’re sure to impress. The printable recipe card is below. Have a good day, friends! 🙂
If you make this recipe, I would really appreciate it if you would give it a star rating and leave your review in the comments! If you have a picture of your finished dish, post it on Instagram using the hashtag #laurenslatest and tagging me @laurens_latest.

Cheesecake Brownies
Ingredients
For the Brownies:
- 3/4 cup salted butter
- 1/4 cup canola oil or vegetable oil
- 4 oz. milk chocolate chopped
- 4 oz. dark chocolate chopped
- 3 tablespoons unsweetened cocoa powder
- 2 cups granulated sugar
- 4 eggs
- 1 1/2 teaspoons vanilla extract
- 1/4 teaspoon baking powder
- 1/2 teaspoon salt
- 1 1/2 cups all purpose flour
- 1/2 cup semi sweet chocolate chips optional
for the cheesecake swirl-
- 8 oz cream cheese softened
- 1/4 cup granulated sugar
- 1 teaspoon vanilla extract
- 1 egg
Equipment
- 1 9×13 baking dish
Instructions
- Preheat oven to 350° F. Line a 9×13 pan with nonstick cooking spray and parchment paper and set aside.
- In a large pot over medium-low heat, melt butter, oil, chocolate, and cocoa together until fully melted and smooth. Remove from heat.
- Pour in sugar and vanilla extract. Add in eggs, 1 at a time, stirring vigorously before the next addition.
- After all four eggs have been mixed in, the batter should be thick and smooth without that granular look to it.
- Add in the remaining dry ingredients and stir gently until just combined. Do not over mix.
- Fold in milk chocolate chips if using and pour batter into prepared pan. Smooth the top. Set aside.
- In a separate bowl, mix cream cheese together with sugar, vanilla and egg until completely smooth.
- Dollop the top of the brownies with the cheesecake mixture and use a butter knife or wooden skewer to swirl the cheesecake into the brownie batter. If your cream cheese was too warm, your cheesecake mixture might be a little loose (like mine shows in the photos). If this is the case, simply drizzle across the top and drag it through using a butter knife or wooden skewer.
- Bake 30-35 minutes. Cool at least 15 minutes before cutting and serving. I prefer to cool my brownies to room temperature, then refrigerate before cutting and serving. I just prefer them cold. 🙂





Made these for my 16 year old grandson and he loved them !