You have 0 items in your cart
Dill Pickle Recipe
This post may contain affiliate links. View my privacy policy and disclosure policy for more details.
You want Dill Pickles with real crunch and bold, garlicky flavor, and this recipe delivers. The brine is balanced, the dill actually comes through, and the cucumbers stay crisp from start to finish. Even better, it’s quick to prep. Slice, stir, pour, refrigerate and you’ve got fresh, homemade dill pickles ready in 24 hours.
Ingredient Notes
- Granulated sugar– Just enough to round everything out. You won’t taste sweetness, promise.
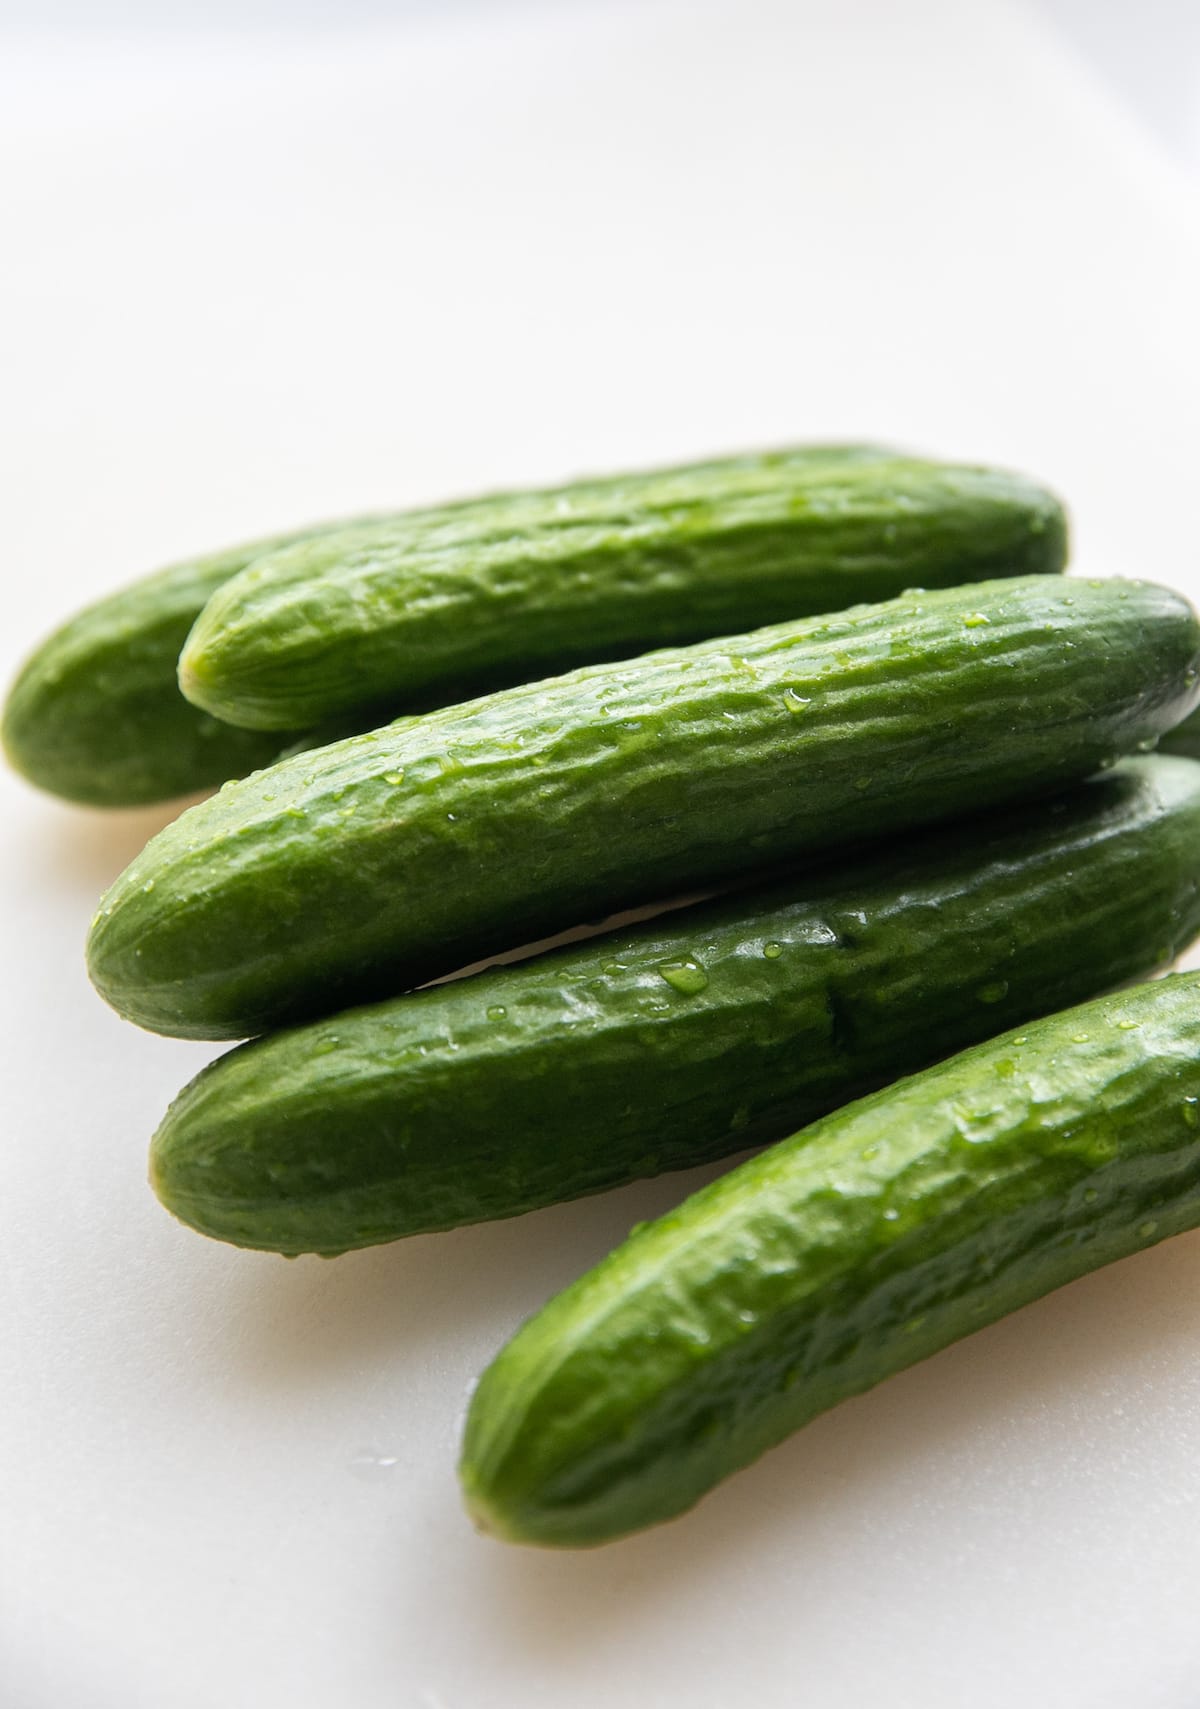
- Persian cucumbers– Naturally crisp, thin-skinned, and perfect for pickling. English cucumbers also work in a pinch.
- Garlic cloves– Smashed, not minced. This keeps the flavor bold without turning sharp.
- Dried dill weed– Easy and reliable. Fresh dill works too if you have it, just use a bit more.
- White distilled vinegar– Clean, classic tang that gives that familiar pickle bite.
- Kosher salt or pickling salt– Skip table salt here. It can make the brine cloudy and mess with flavor.
- Whole peppercorns + red pepper flakes– A little warmth in the background.
How to Make Homemade Dill Pickles
This recipe is straightforward and quick to prep. You’ll have everything in jars in about 15 minutes, then the fridge does the rest of the work. For full recipe details, see the printable recipe card down below.
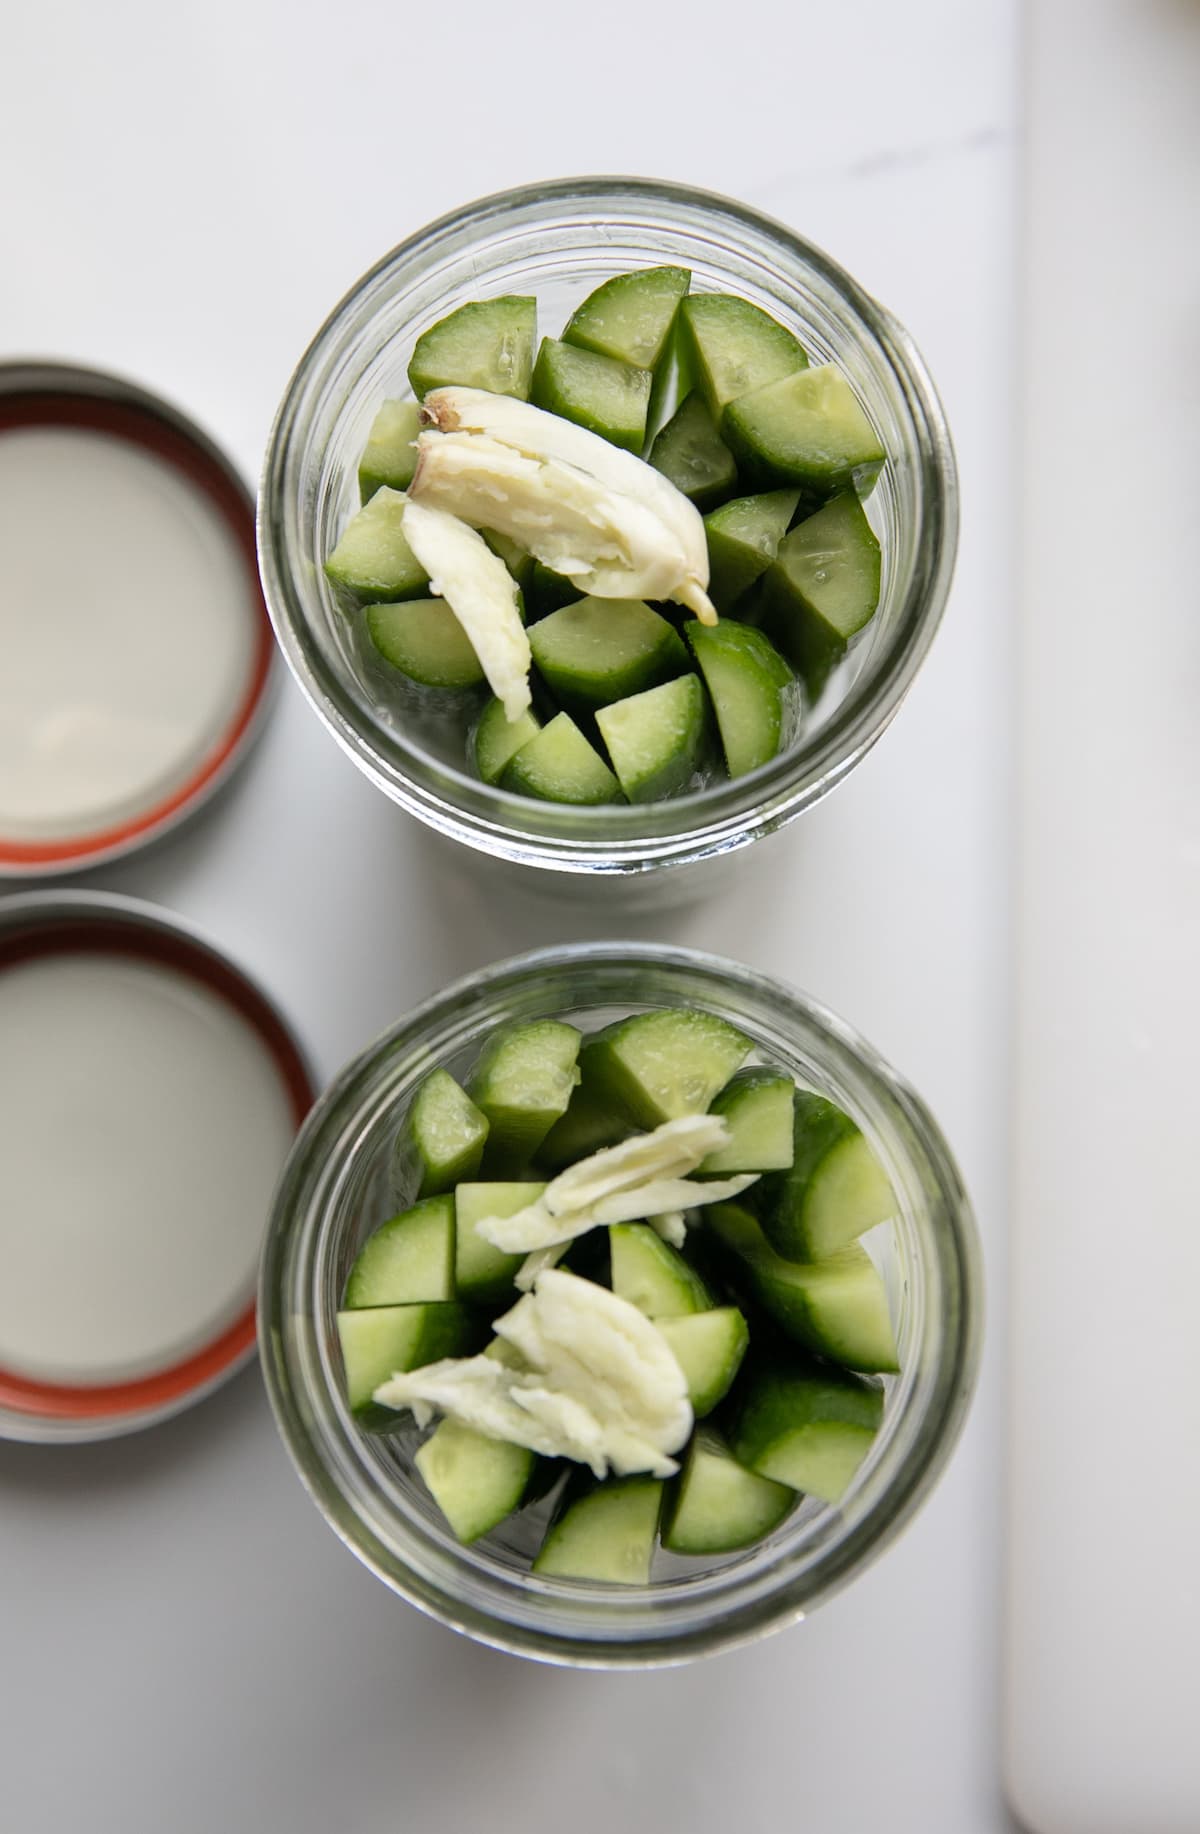
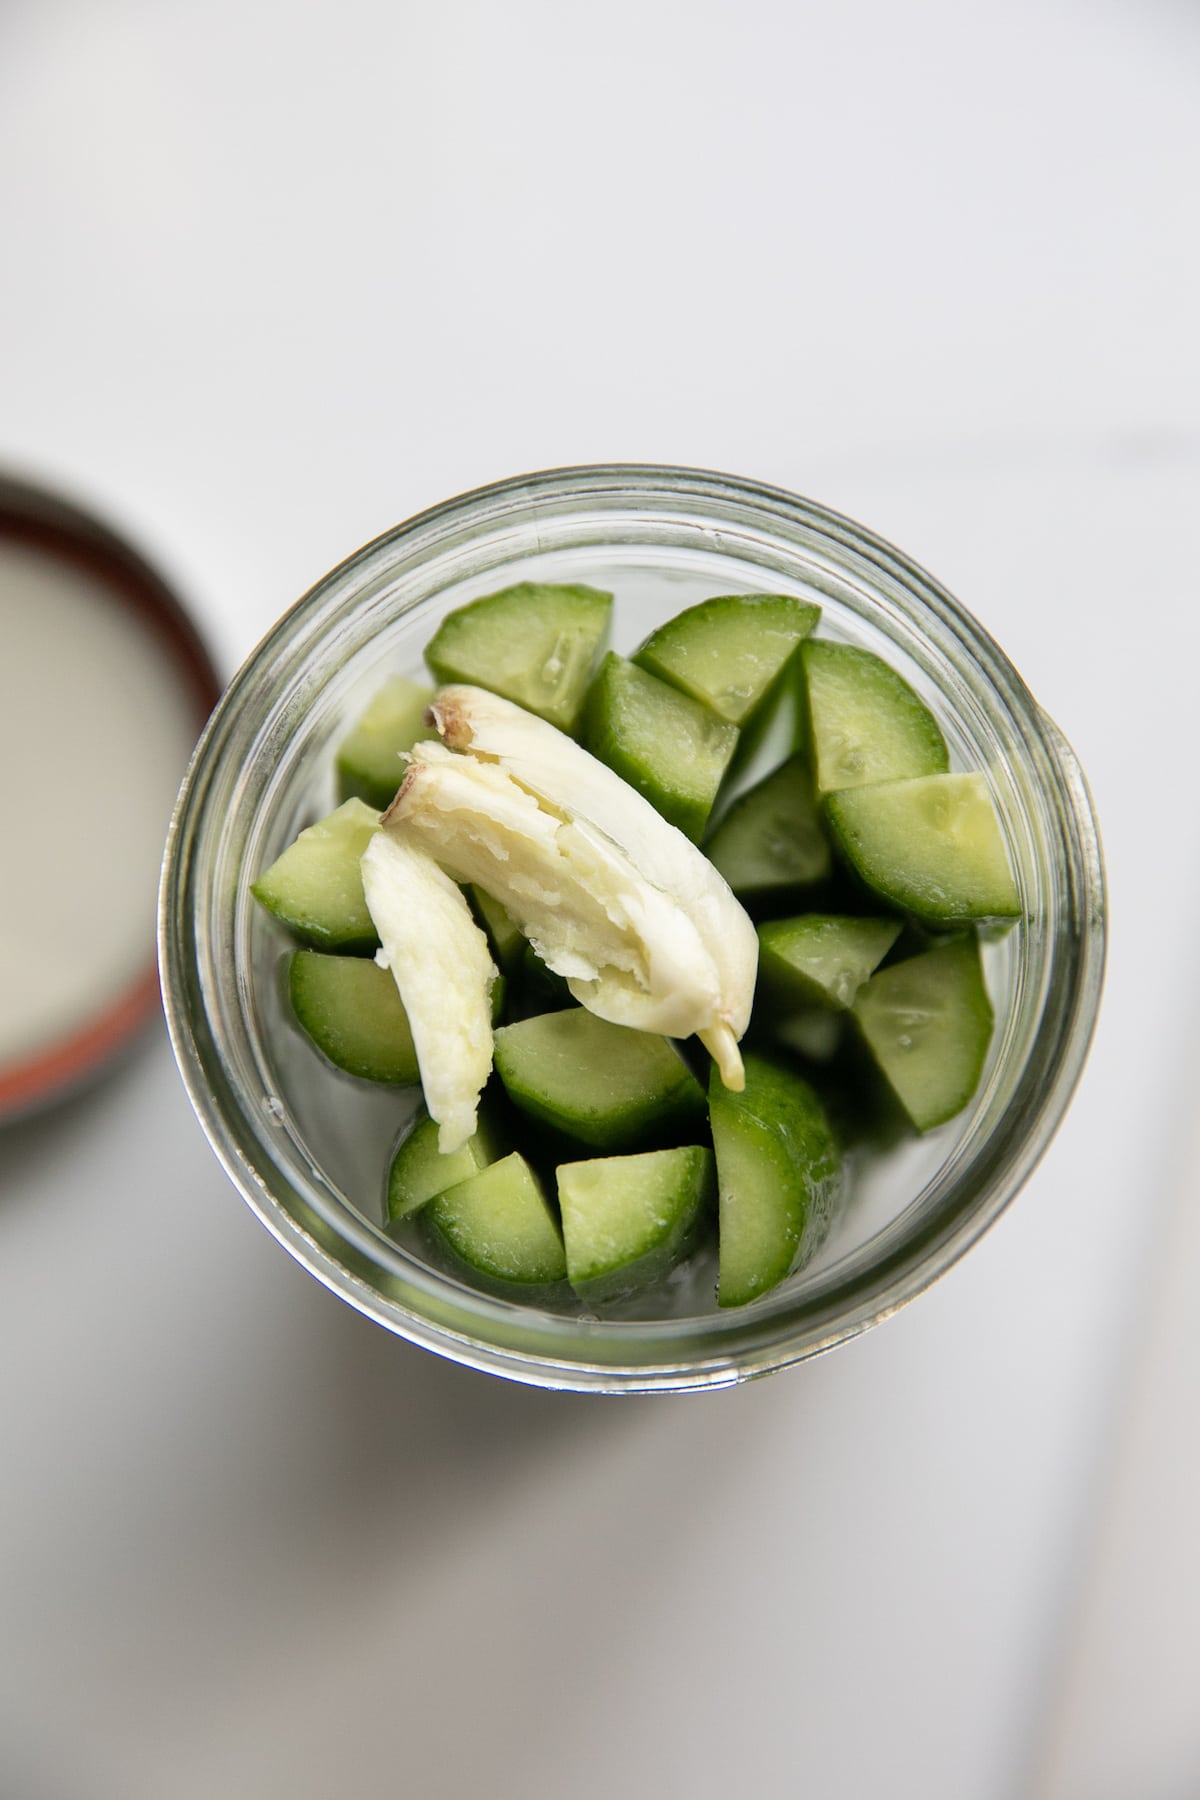
Step 1: Prep the Jars + Cucumbers
Wash and dry your jars. Slice cucumbers into spears and pack them upright. Add smashed garlic to each jar.
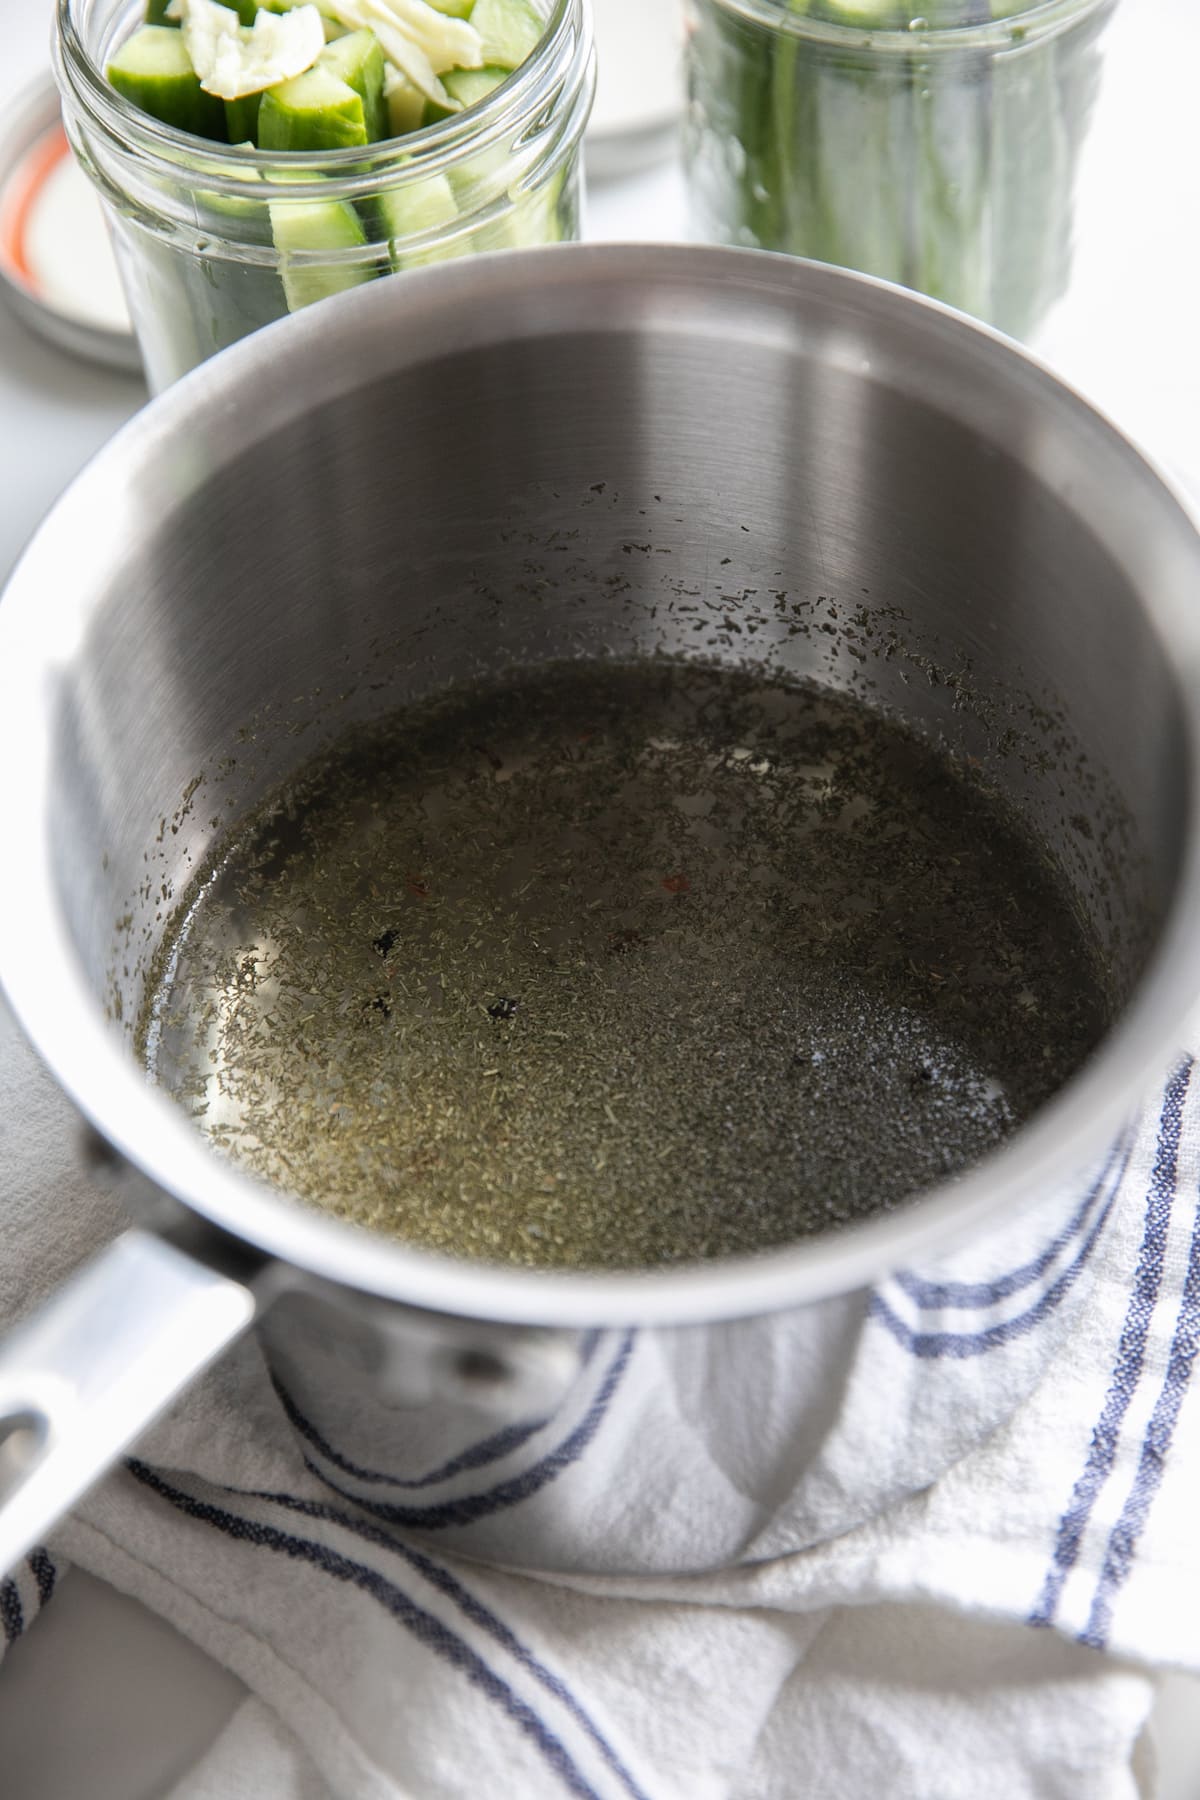
Step 2: Make the Brine
Heat vinegar, water, dill, salt, peppercorns, sugar, and red pepper flakes until dissolved (about 2 minutes).
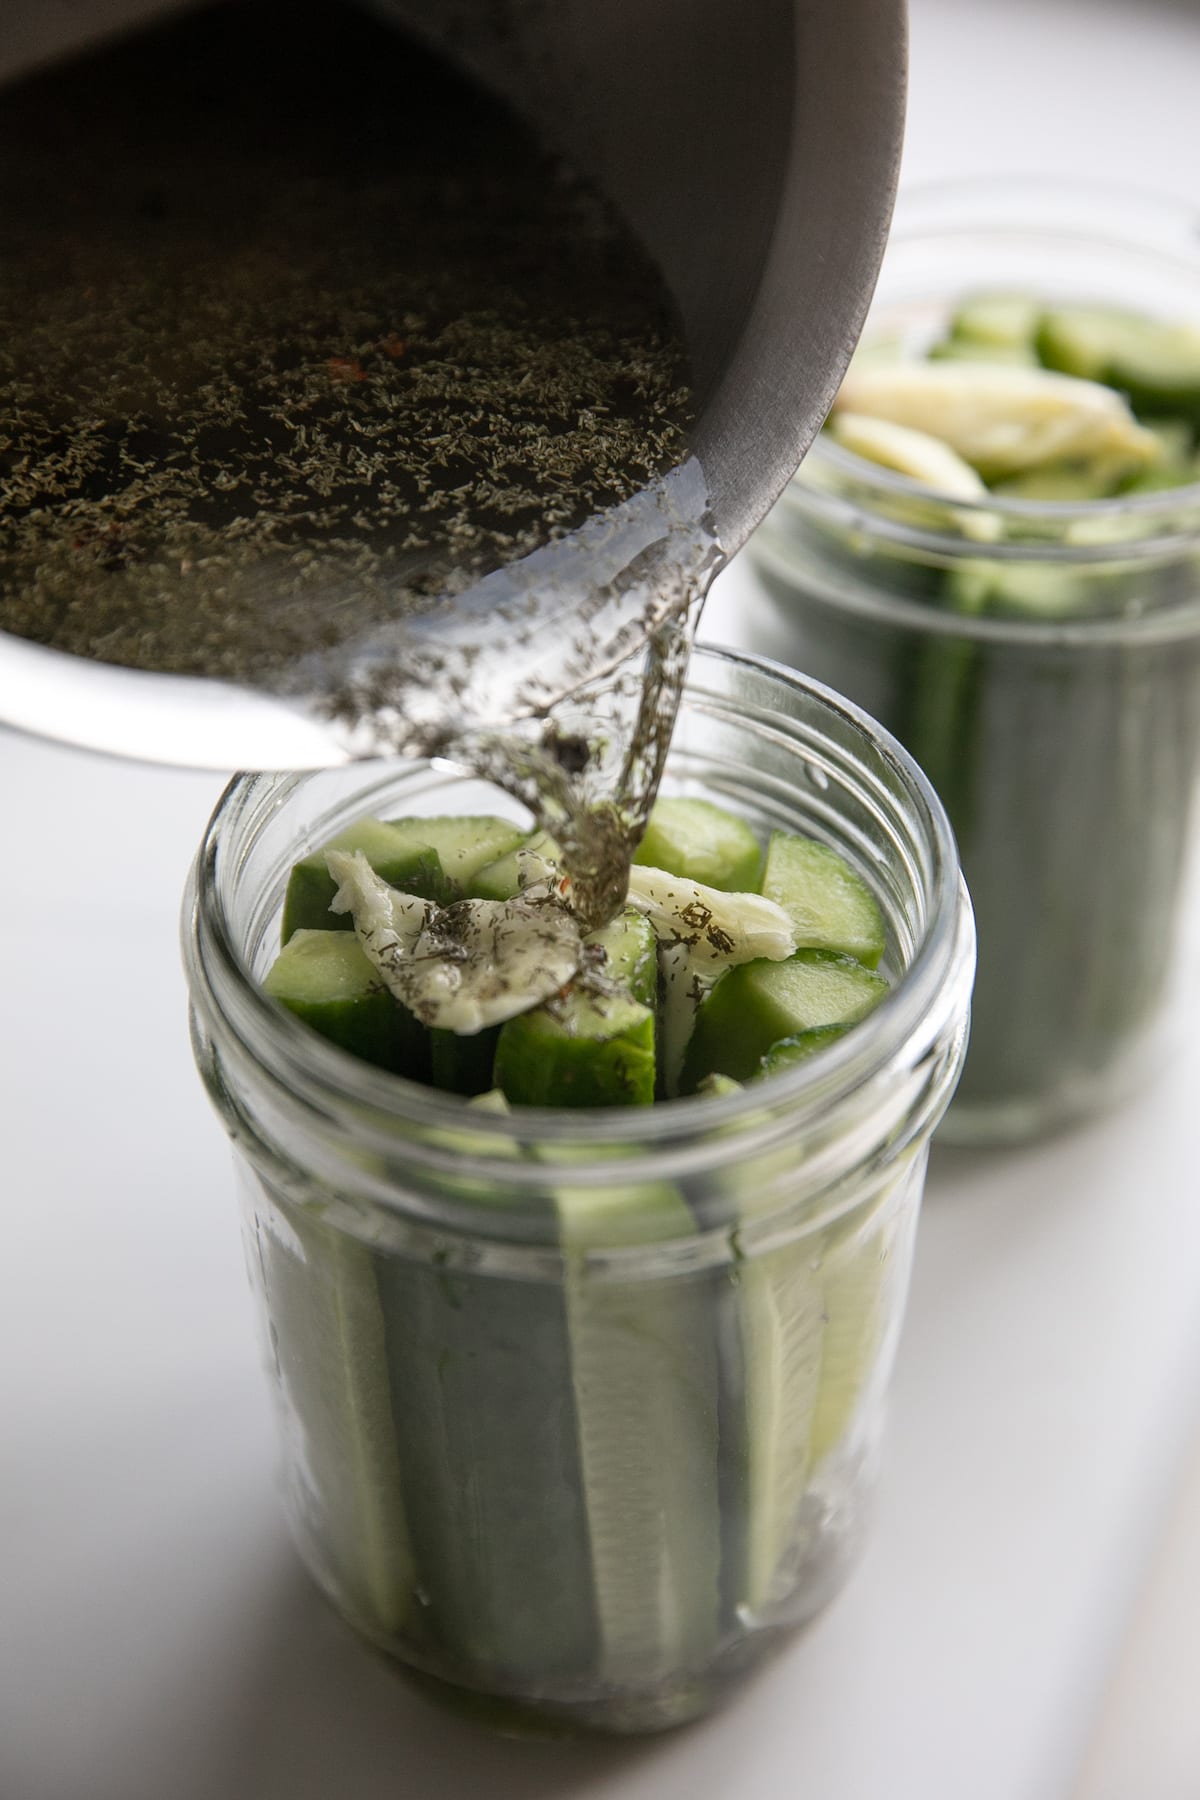
Step 3: Cool Slightly + Pour
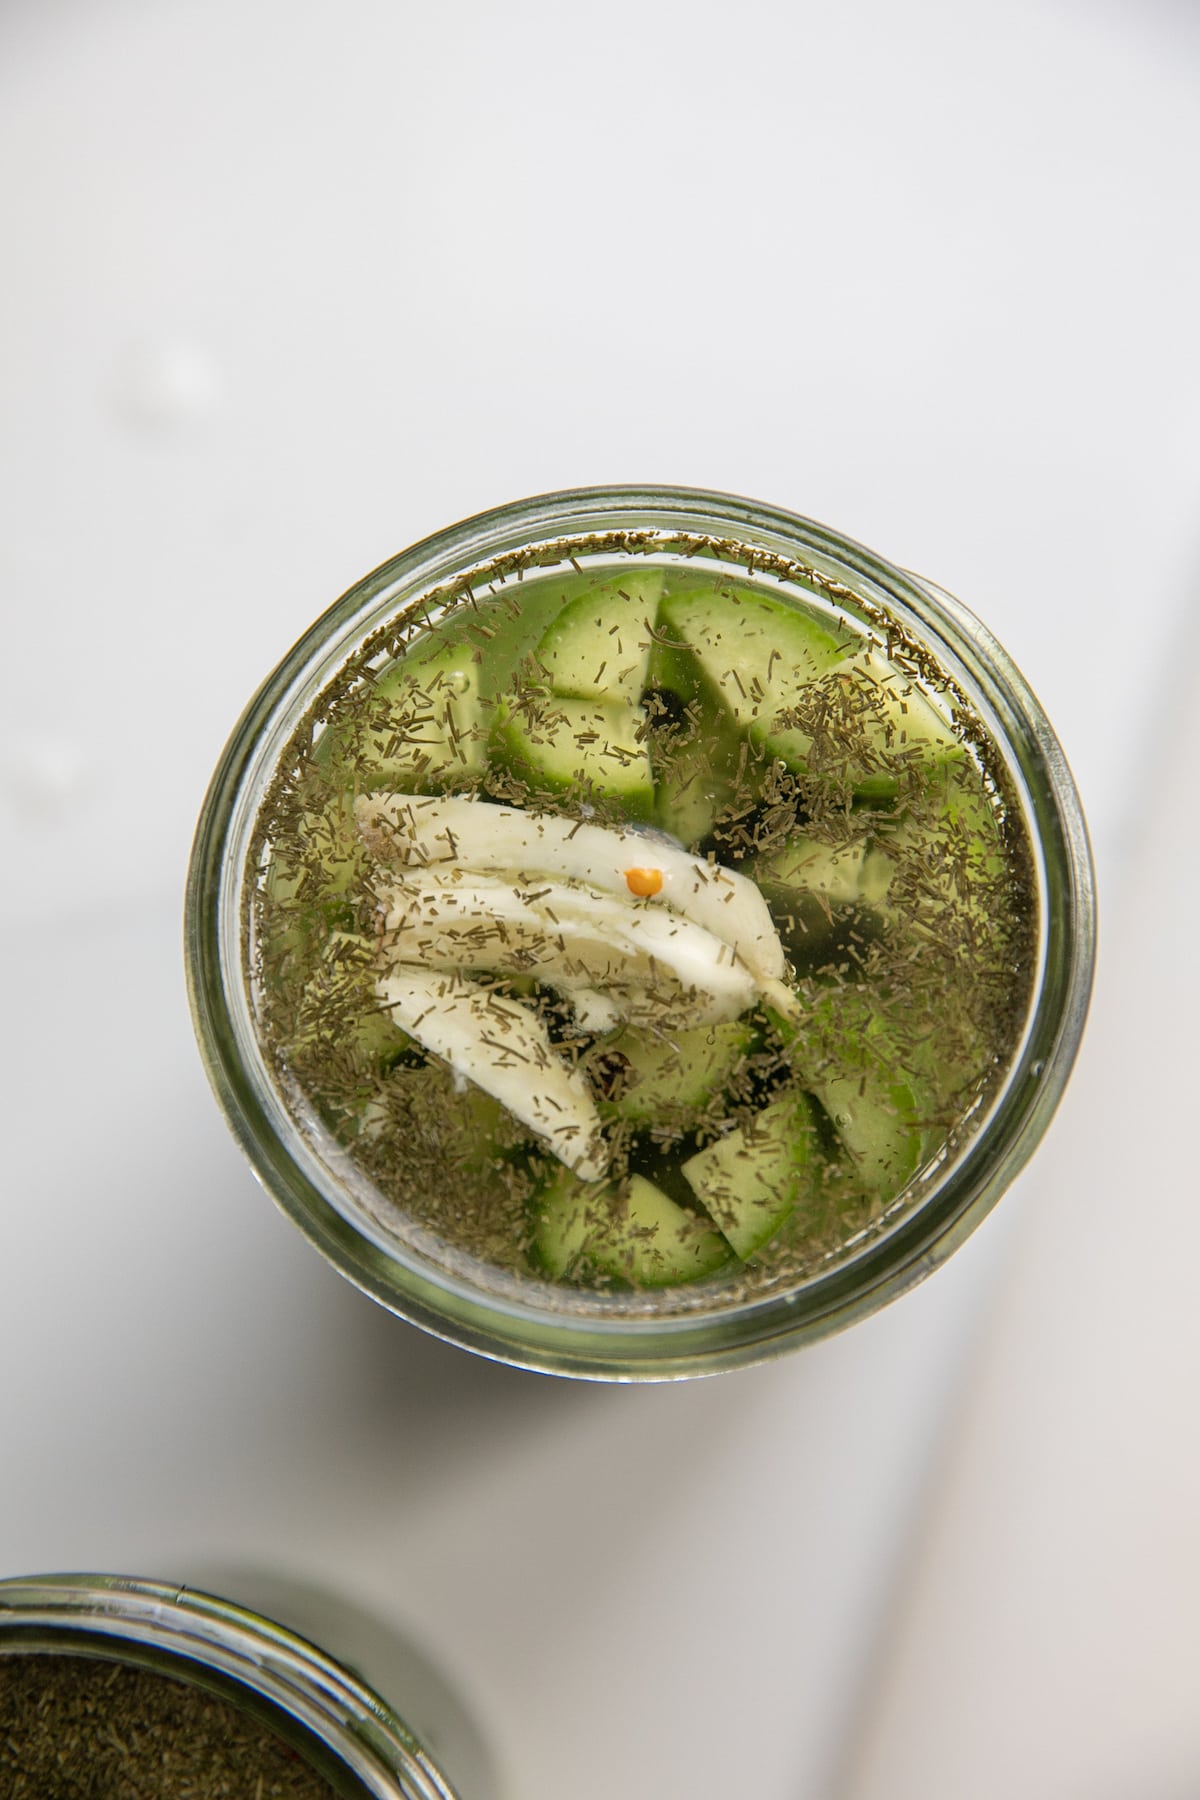
Let the brine cool for 10 minutes, then pour over cucumbers to cover completely.
Step 4: Chill + Wait
Seal and refrigerate at least 24 hours for that signature dill pickle flavor.
Tools You’ll Need
You don’t need anything fancy here, just a few basics but they really make your life so much easier once you have them:
Pint-sized glass jars with lids
These are what you’ll use to store the pickles once everything is packed and brined. I like using glass jars because you can easily see how the pickles are developing and they seal tightly while they chill.
Small saucepan
This is what you’ll use to heat the vinegar brine so the salt fully dissolves. A basic one works fine, but I prefer one with a thicker bottom so the heat distributes more evenly and nothing scorches while you’re stirring.
Cutting board
You’ll need this for slicing the cucumbers before they go into the jars. A stable cutting board helps keep everything steady while you cut, especially if you’re making multiple jars at once.
Measuring cups and spoons
These make sure your brine ratios stay consistent so the pickles turn out balanced every time. I always rely on a set with clear markings because even small measuring errors can change the flavor.
Tips for Success
- Use fresh, firm cucumbers. Softer ones won’t crisp up later
- Pack cucumbers tightly so they stay submerged in the brine
- Let the brine cool slightly before pouring, it helps keep that crunch
- Taste after 24 hours, then let them sit longer if you want stronger flavor
- Store toward the back of the fridge where it’s coldest
Let’s Use Those Homemade Pickles
Besides just eating these pickles straight up, I thought it would be helpful to list a few of my favorite recipes that call for dill pickles.
FAQ
How long do dill pickles take to be ready?
They’re good after 24 hours, but even better after 48 hours.
Why aren’t my dill pickles crunchy?
It usually comes down to the cucumbers. Start with fresh, firm ones for the best texture.
Can I reuse the pickle brine?
You can once, but the flavor will be lighter the second time.
Do I need to sterilize jars?
Since these are refrigerator dill pickles, a good wash with hot soapy water works just fine.
Once you make these dill pickles, the store-bought jar might start collecting dust. Fair warning, these disappear fast. The printable recipe card is below. Have a great day, friends!

Dill Pickles with Dill Weed
Make Dill Pickles at home with this simple recipe! Persian Cucumbers are soaked in a garlic and dill pickling liquid and kept in the fridge for the most glorious, crunchy homemade pickles.
Equipment
- 2 pint jars
- small saucepan
- Cutting Board
- measuring spoons and cups
Ingredients
- 1.5 pounds persian cucumbers
- 2 small garlic cloves smashed
- 1/2 tablespoon dried dill weed
- 1 cup white distilled vinegar
- 1 cup water
- 1 tablespoon kosher salt or pickling salt
- 1/2 teaspoon whole peppercorns
- 1 teaspoon granulated sugar
- 1 pinch red pepper flakes or more, as desired
Instructions
- Wash and dry pint jars. Set aside.
- Wash cucumbers, cut off ends and slice into quarters, lengthwise. Add upright into jars and top each with one smashed garlic clove. Set aside.
- Make the pickling liquid by combining dill, vinegar, water, salt, peppercorns, sugar and red pepper flakes into a small pot. Place over medium heat and stir until salt and sugar has dissolved; about 2 minutes.
- Remove from heat and cool 10 minutes. Pour overtop of cucumbers, add lid and refrigerate at least 24 hours.
Notes
Storage Instructions
- Refrigerator: Store tightly sealed in the fridge up to 3 weeks
- Make ahead: Flavor improves over the first 2–3 days
- Freezing: Not recommended, it ruins the texture
- Best tip: Keep cucumbers fully submerged to maintain freshness and crunch.
Nutrition
Calories: 15kcalCarbohydrates: 3gProtein: 1gFat: 1gSaturated Fat: 1gPolyunsaturated Fat: 1gMonounsaturated Fat: 1gSodium: 584mgPotassium: 93mgFiber: 1gSugar: 1gVitamin A: 70IUVitamin C: 2mgCalcium: 15mgIron: 1mg
Rate This RecipePlease consider Leaving a 5-Star Review!
Variations
- Add sliced onions for extra bite
- Swap in fresh dill for a brighter flavor
- Toss in mustard seeds for a classic deli-style twist
- Increase red pepper flakes for more heat
More Recipes to Try
- Simple Macaroni Salad
- Chicken Caesar Pasta
- Chicken Corn Chowder
- Avocado Dressing
- Zucchini Pizza Casserole
If you make this recipe, I would really appreciate it if you would give it a star rating and leave your review in the comments! If you have a picture of your finished dish, post it on Instagram using the hashtag #laurenslatest and tagging me @laurens_latest.


How long does this take until they are ready to eat? Do they have to hangout in the brine for awhile?