
You have 0 items in your cart
Easy Cheese Danish

This post may contain affiliate links. View my privacy policy and disclosure policy for more details.
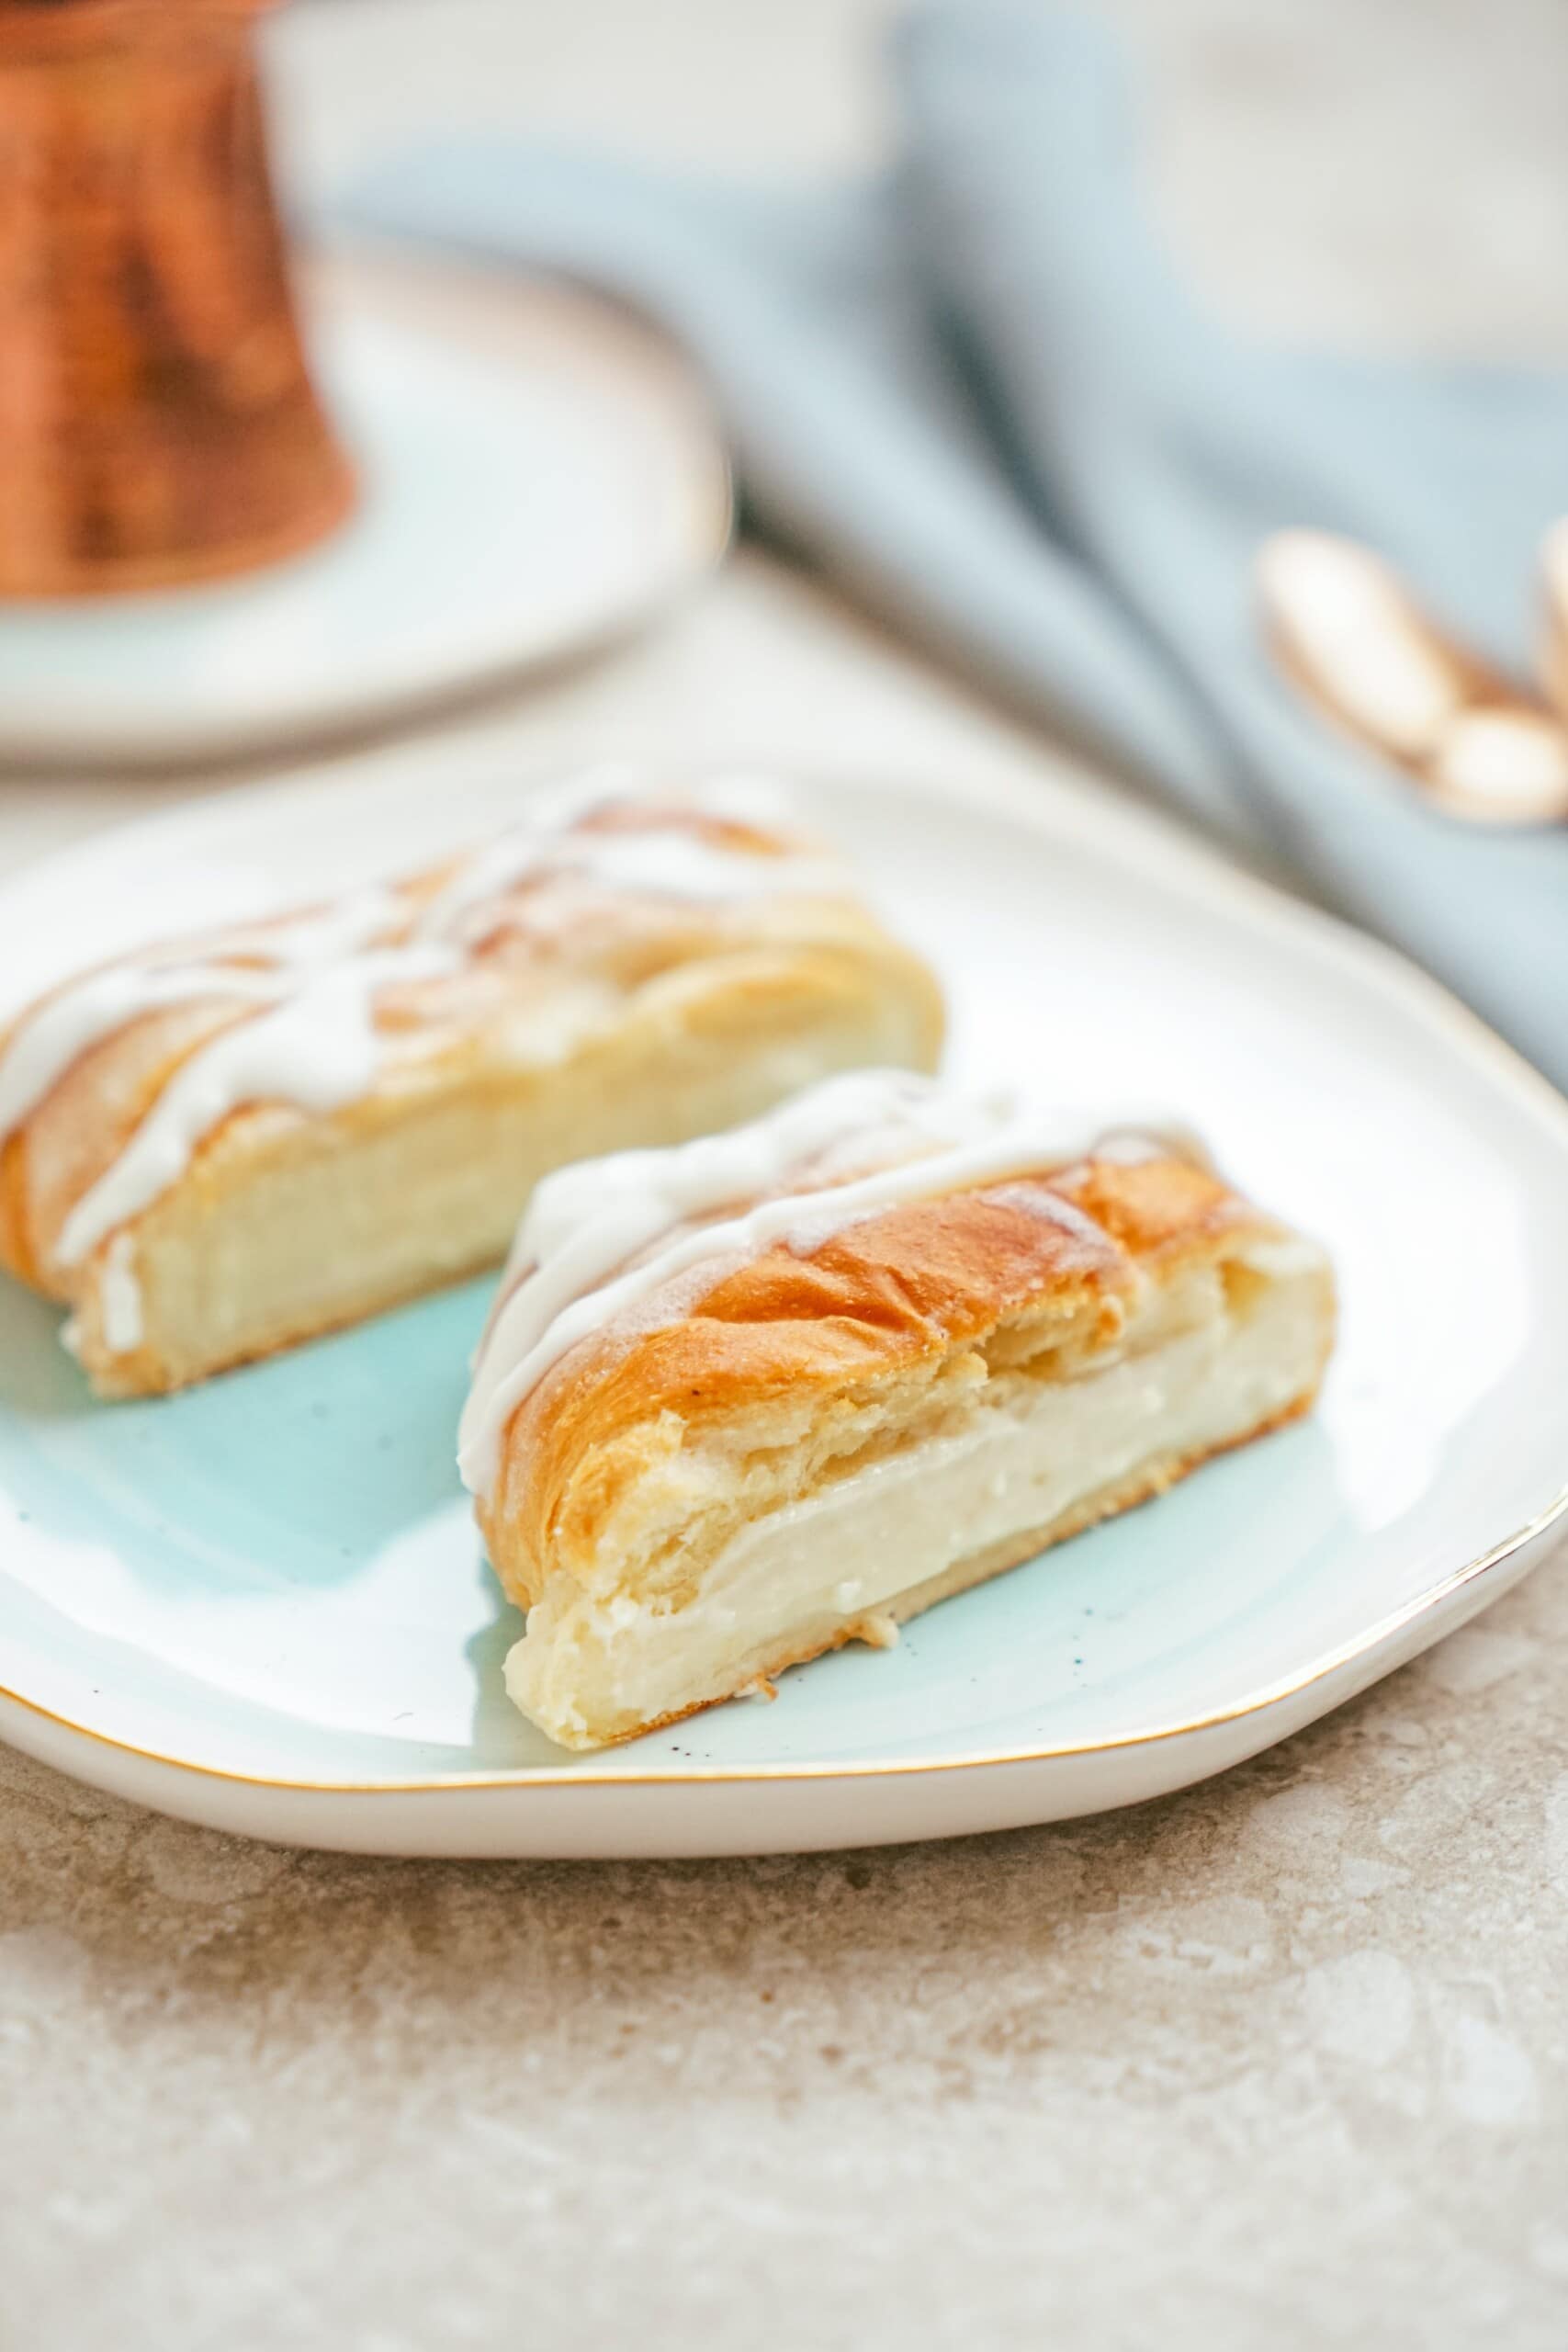
If you’re looking for a simple breakfast pastry that feels like something from your favorite coffee shop, this Easy Cream Cheese Danish is it. Using crescent roll dough instead of puff pastry sheets makes it quick and approachable, but the result still delivers that flaky, golden exterior and creamy center you want in a great cheese danish. It’s one of those easy breakfast recipes that hits the sweet spot between effort and payoff and it will totally blow your socks off!
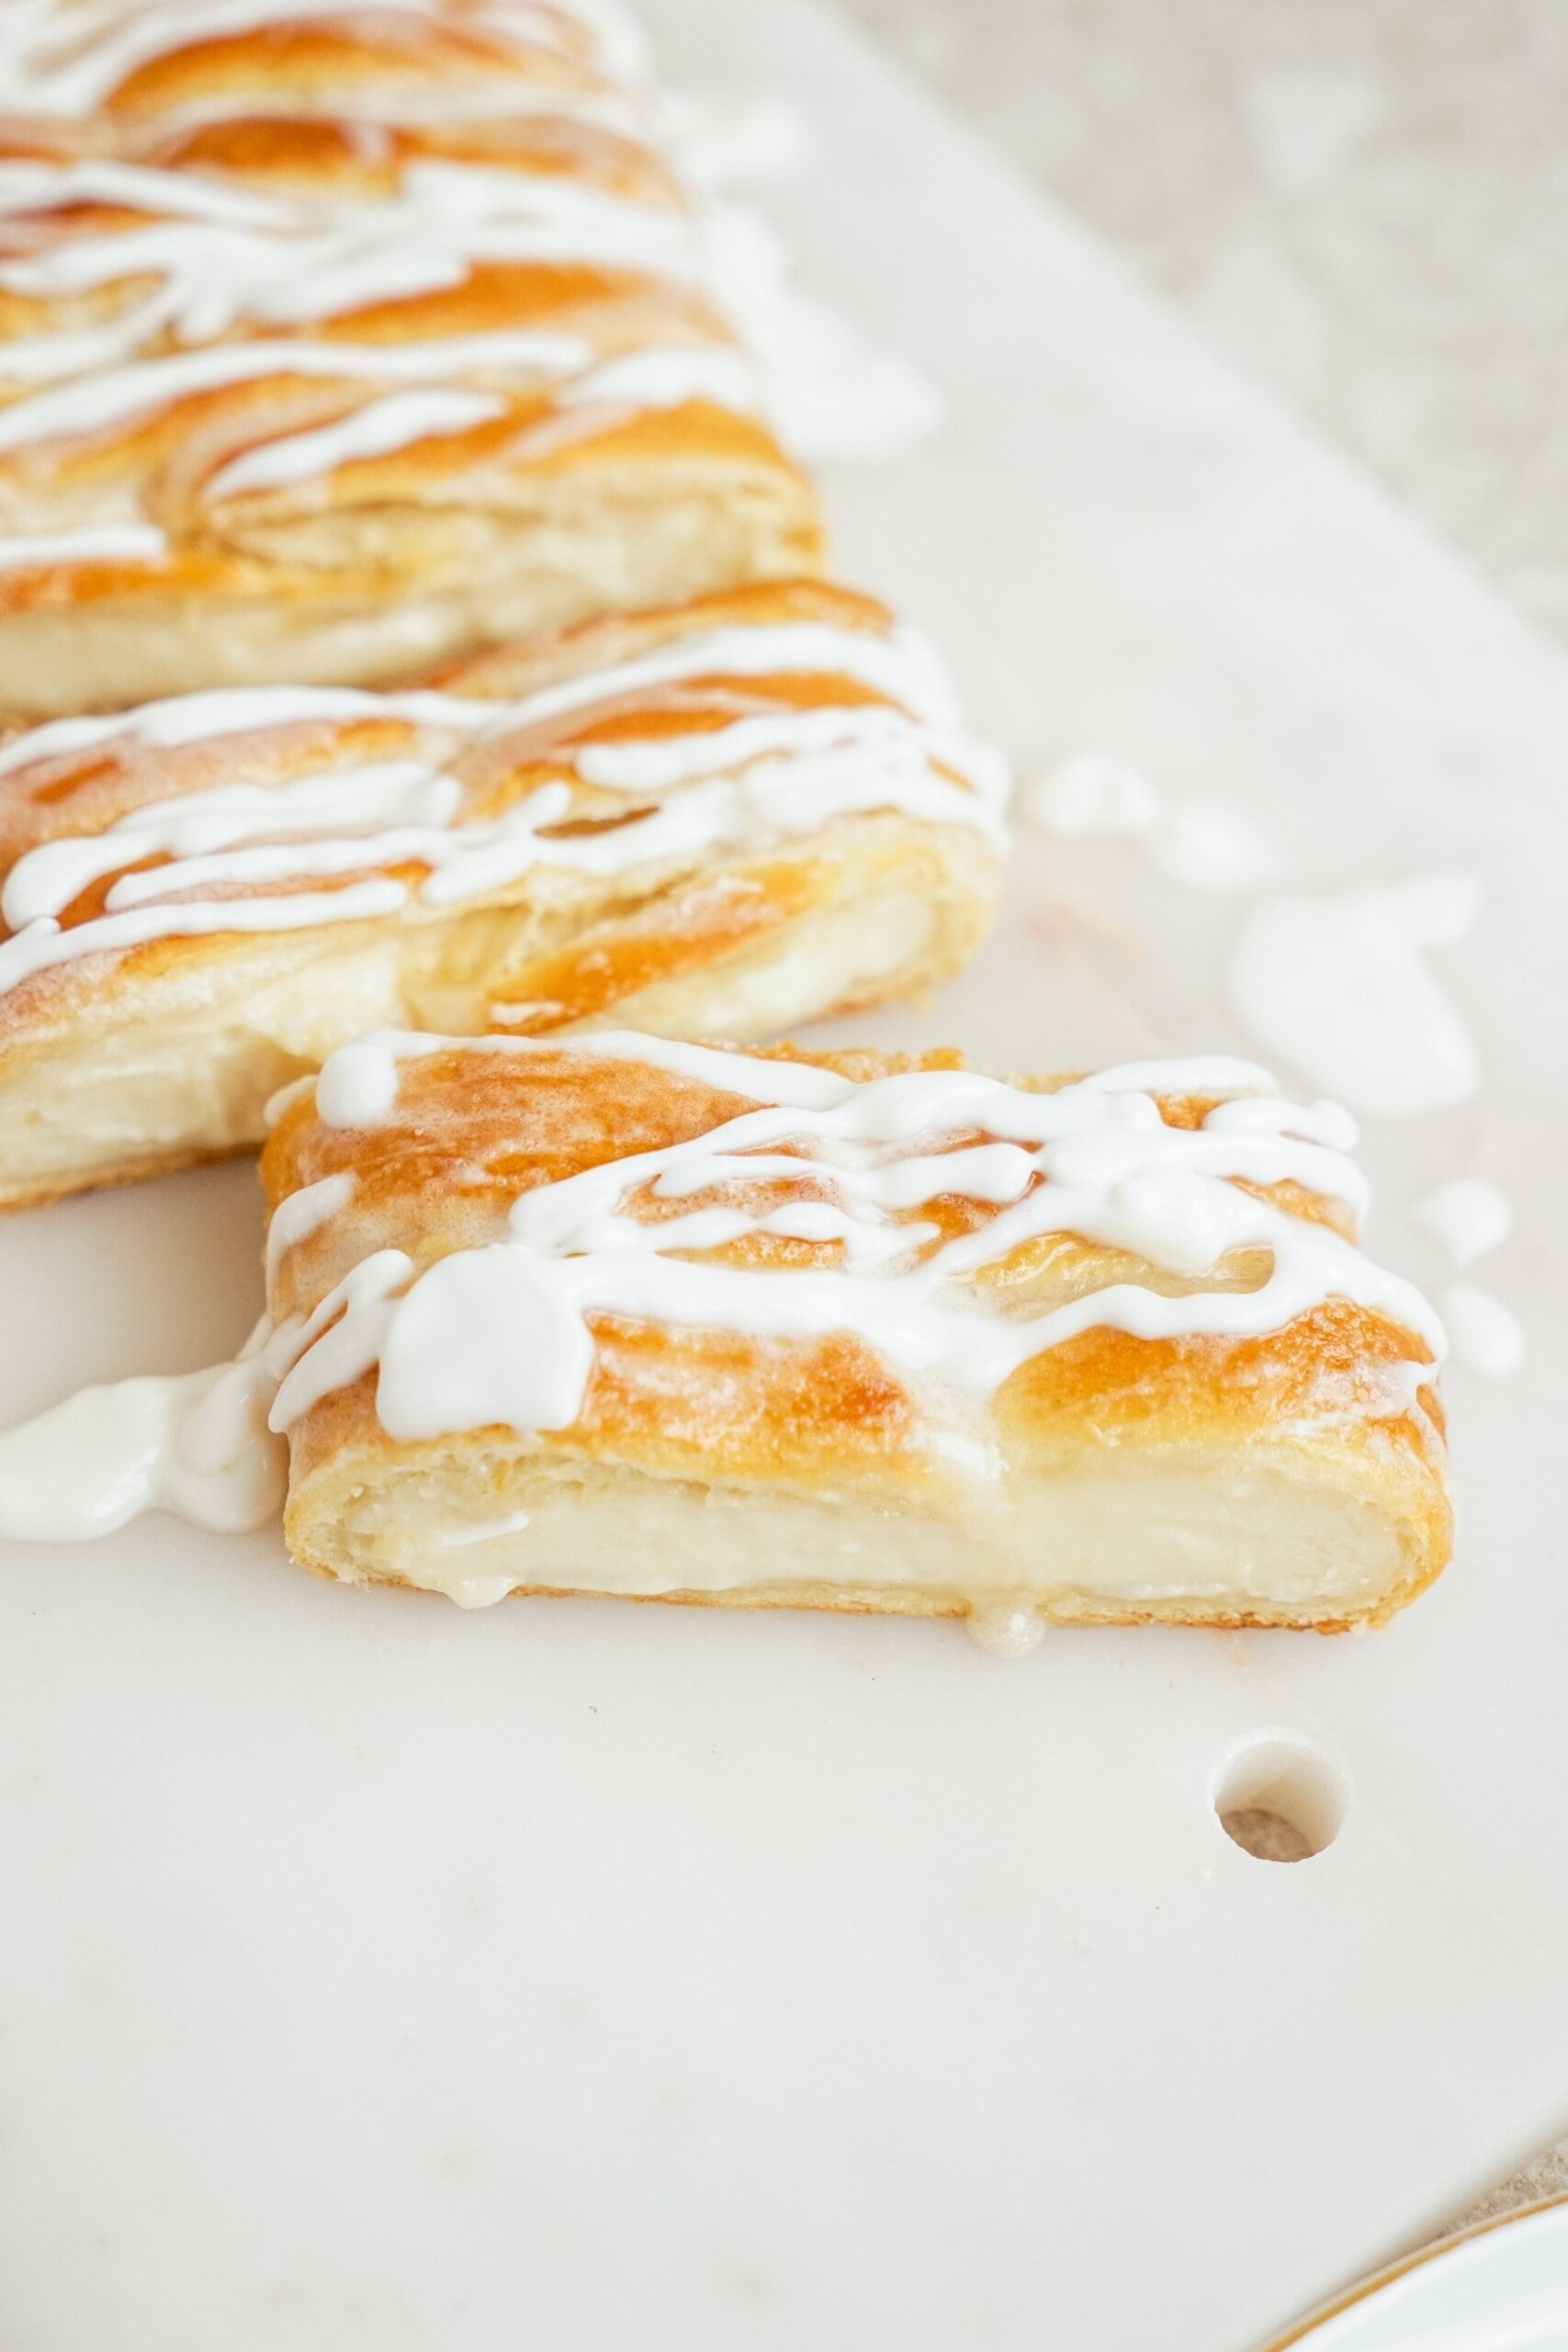
Aren’t Danishes Typically Made with Puff Pastry?
Yes, yes, they are. Puff Pastry dough is made with flour, water, and butter. It’s then rolled out and folded several times, creating layers. When it’s baked, it creates air pockets within the layers, which makes the light and flaky pastry.
Crescent roll dough is made with similar ingredients plus sugar, making it a bit sweeter while still retaining the light, flaky texture we all love in a danish or other pastries. I used crescent roll dough for this recipe because honestly it’s what I had on hand. I found it a bit easier to work with, and it turned out great, too!
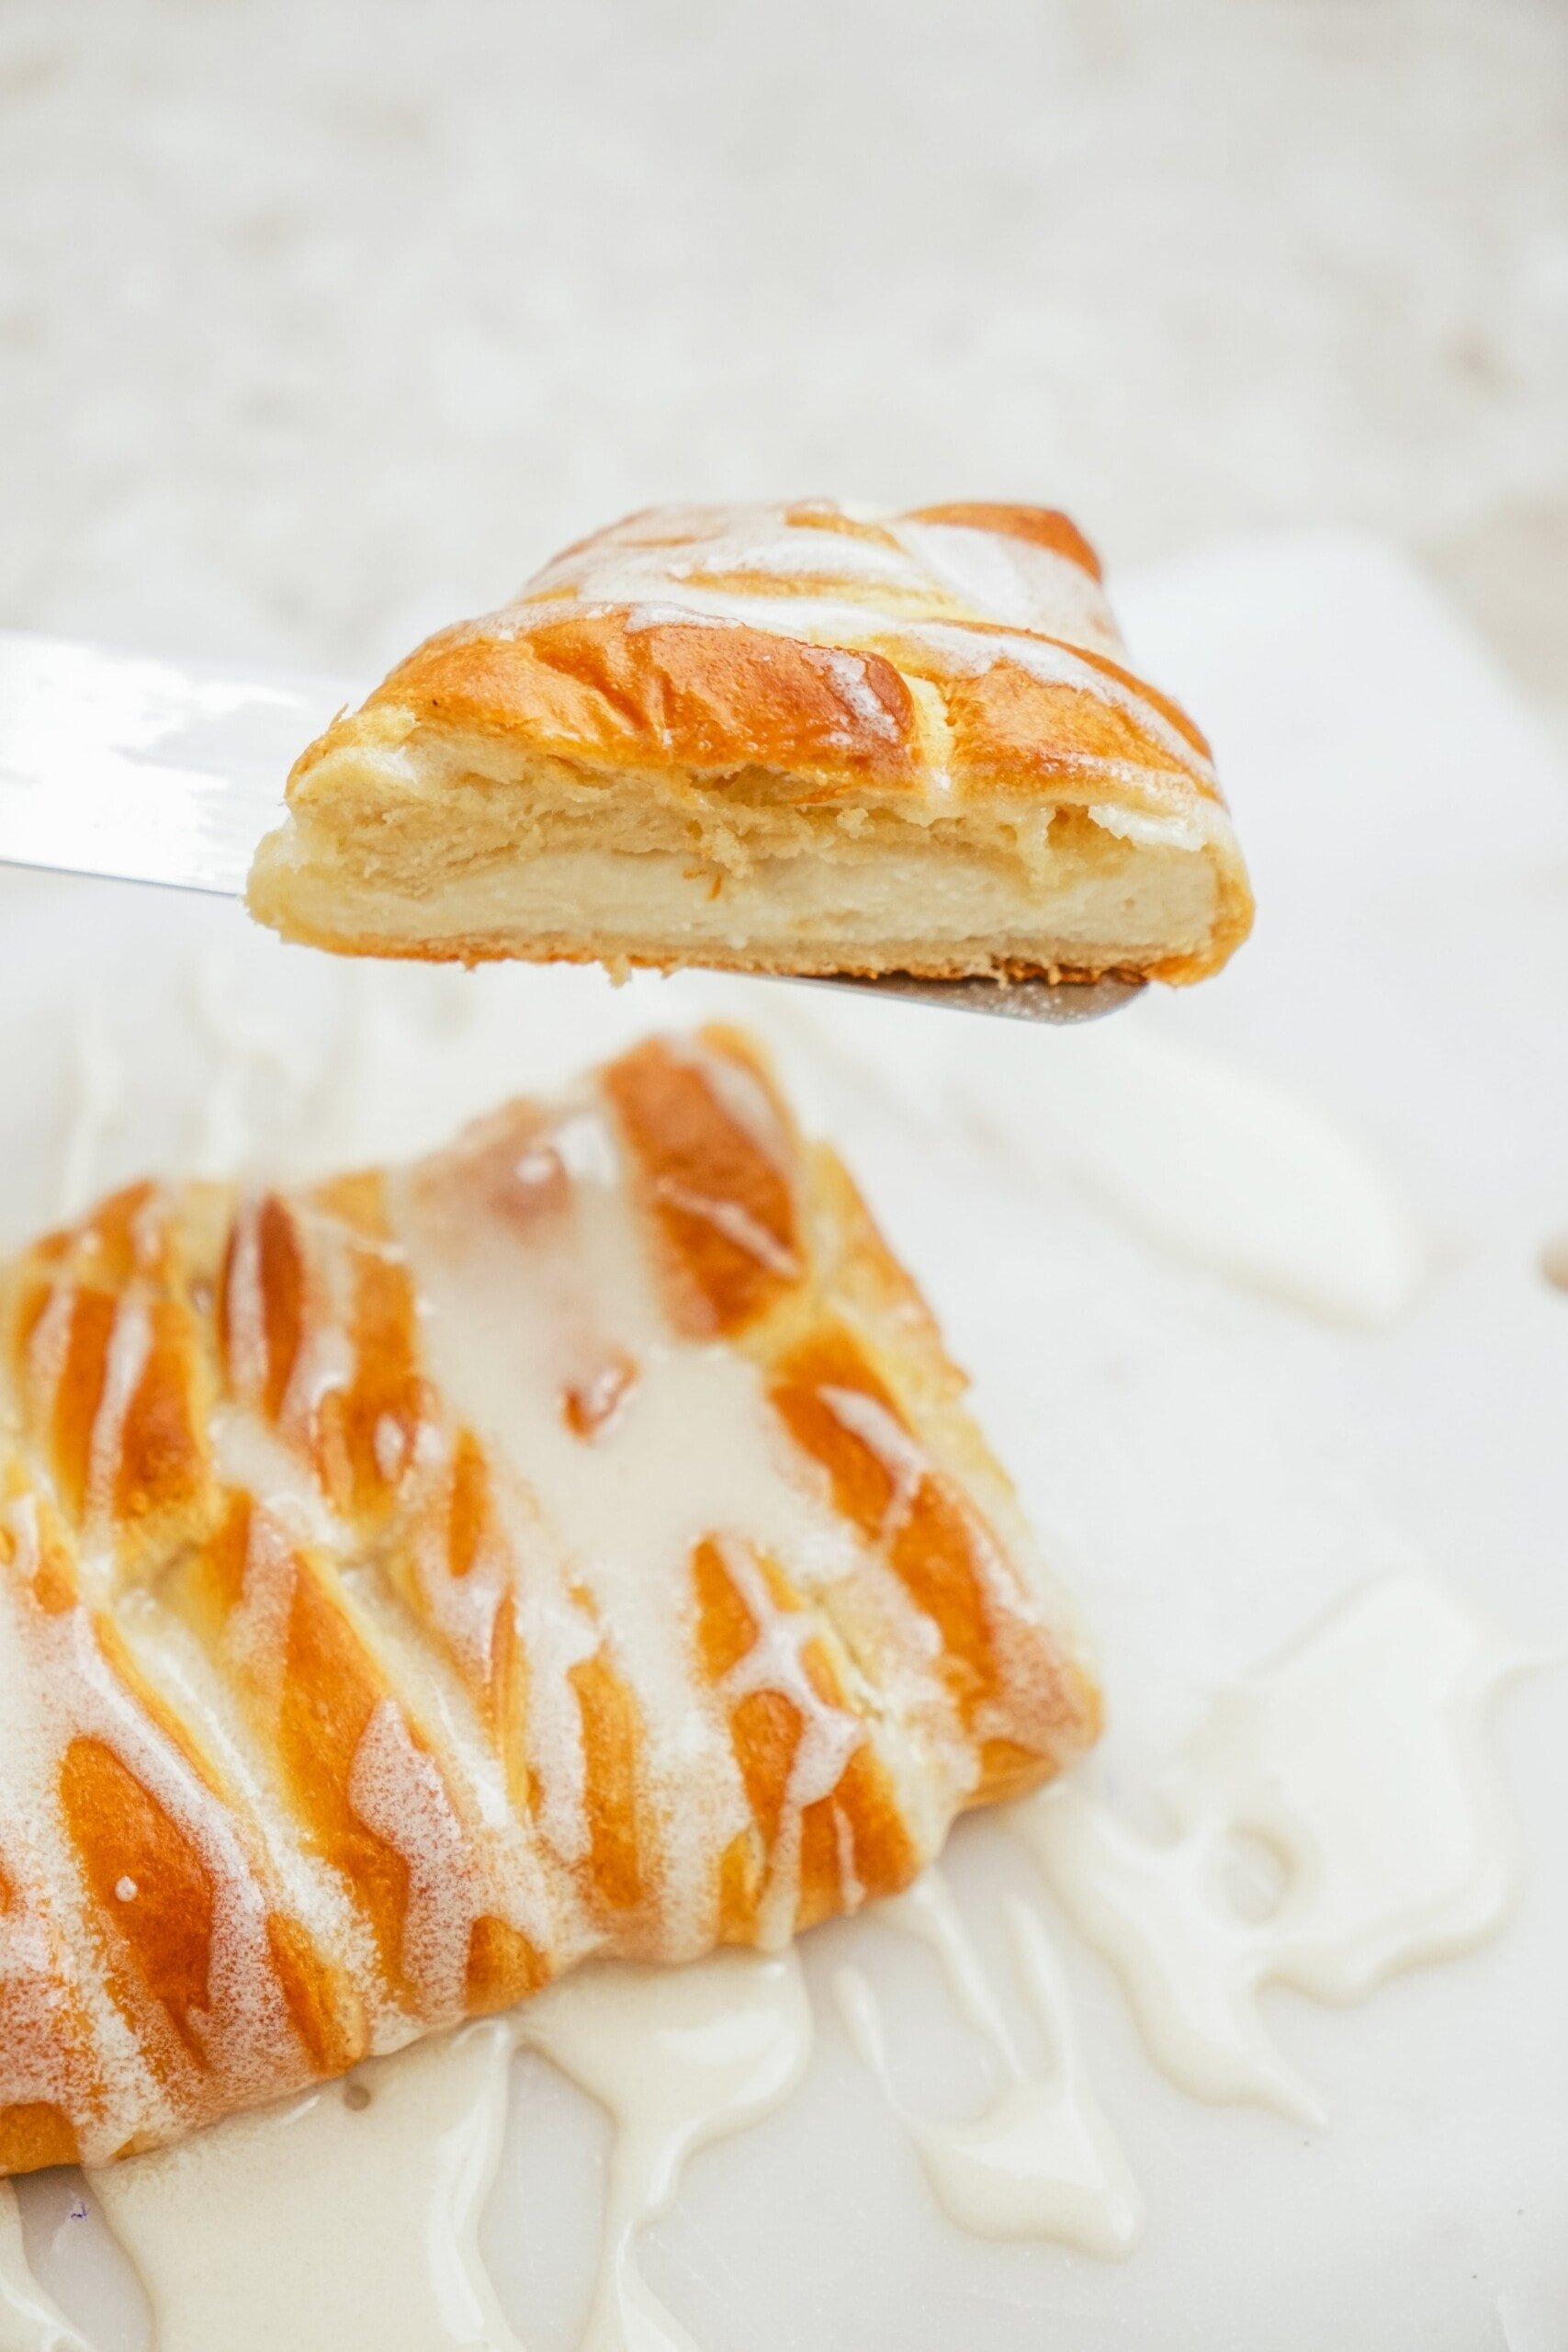
Ingredient Notes
You only need a few basic items—most of which you probably already have on hand:
- Crescent roll dough – a shortcut to that flaky buttery crust without the time commitment of homemade puff pastry
- Cream cheese, softened to room temperature – this gives you that smooth cream cheese filling with no lumps
- Granulated sugar – just the right amount of sweetness for the filling
- All-purpose flour – helps firm up the cream cheese mixture
- Vanilla extract – adds warmth and depth to the filling
- Powdered sugar, heavy cream, and a little more vanilla extract – to make that perfect drizzle icing on top

How to Make a Cheese Danish
For full recipe details, including ingredient measurements, see the printable recipe card down below. Here is step-by-step what you can expect when making this recipe:
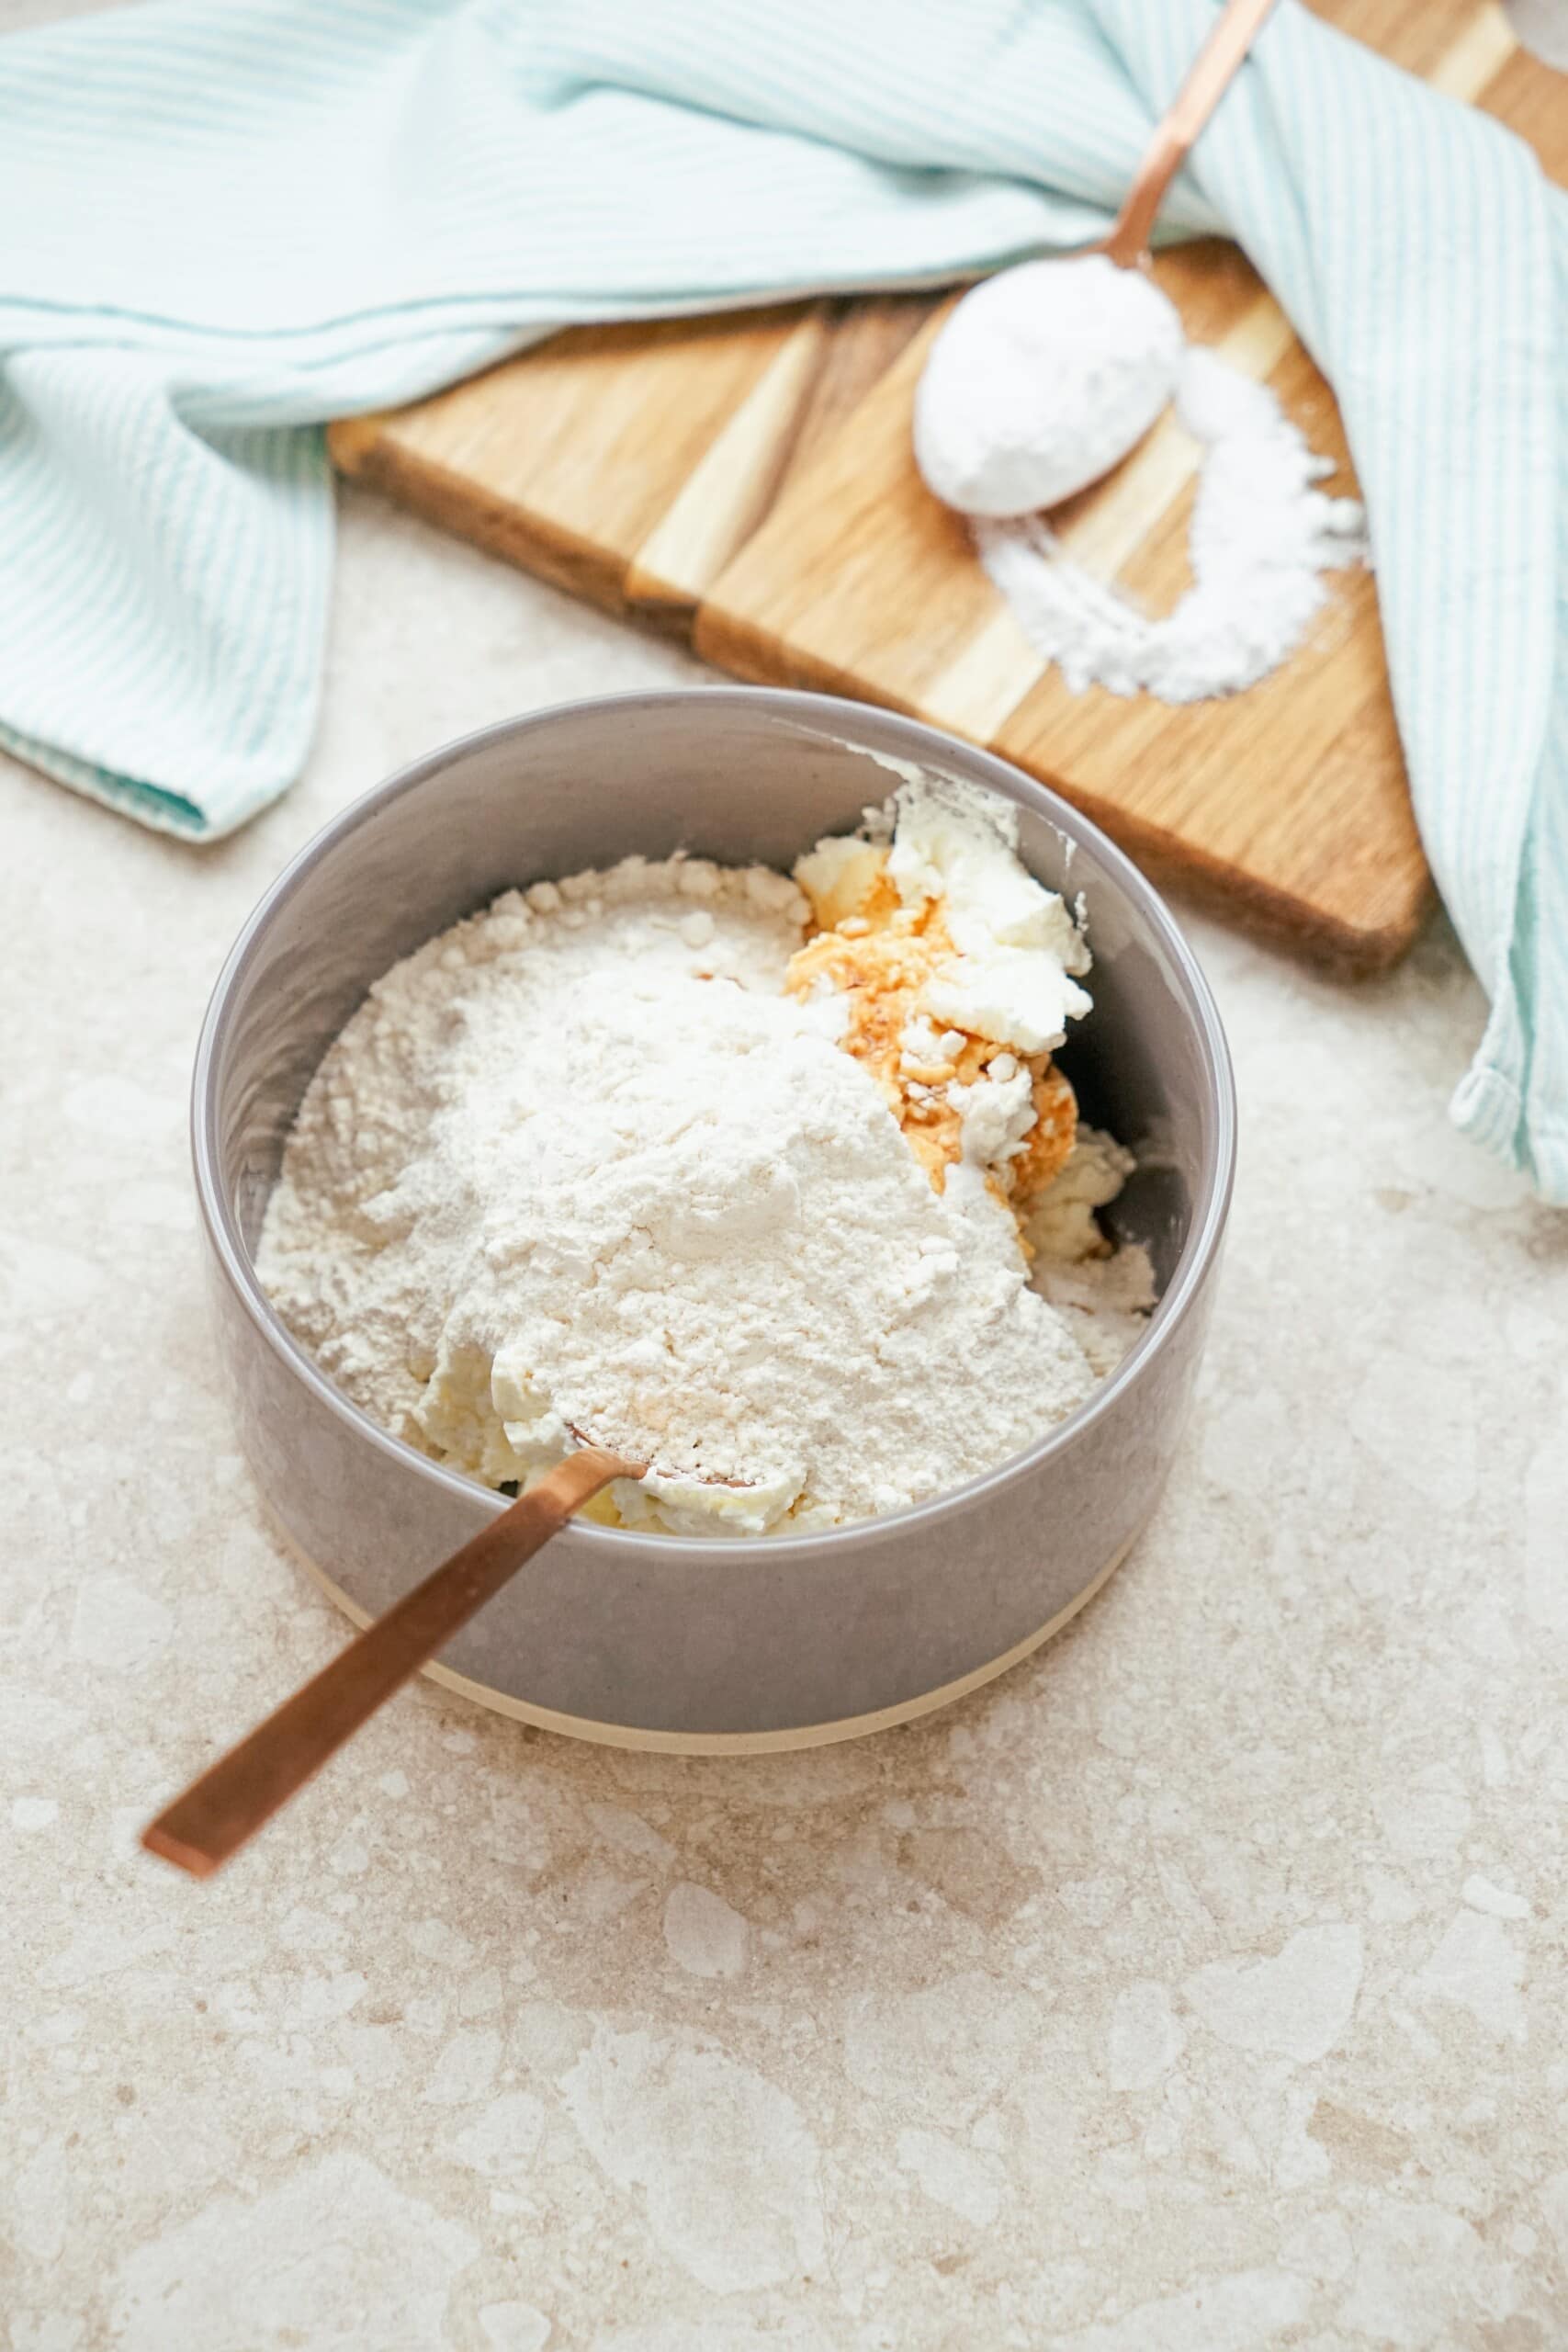
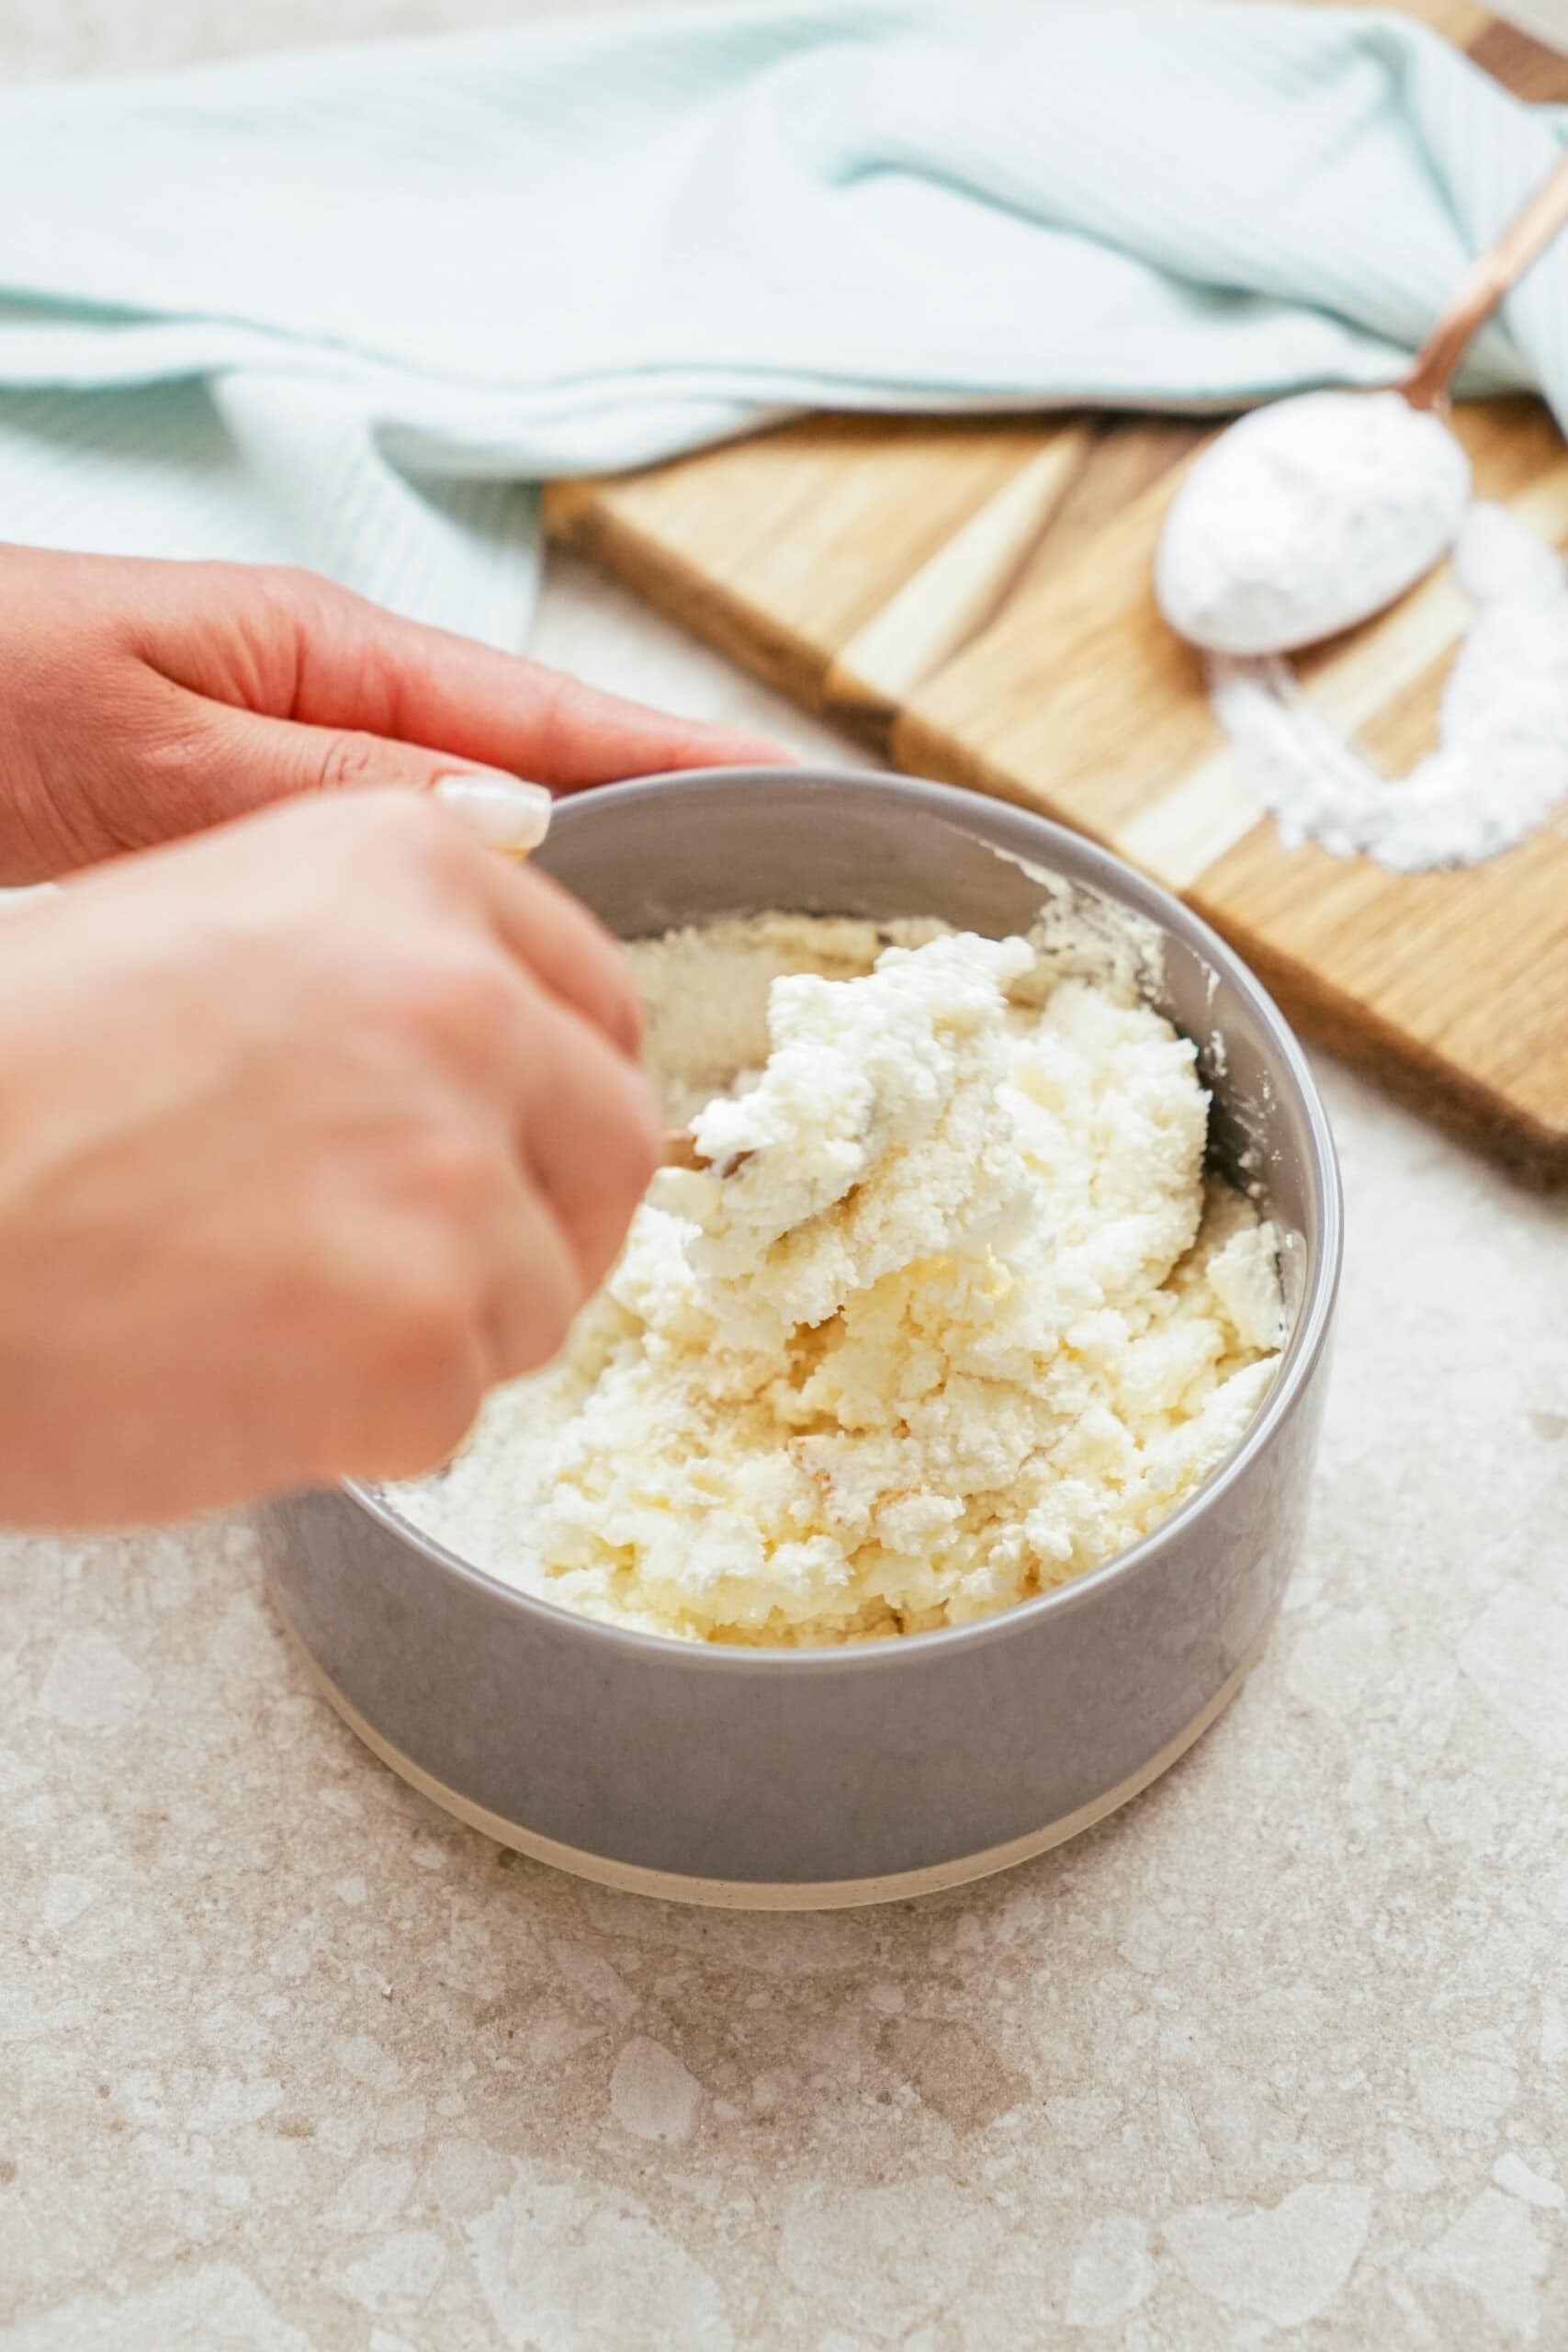
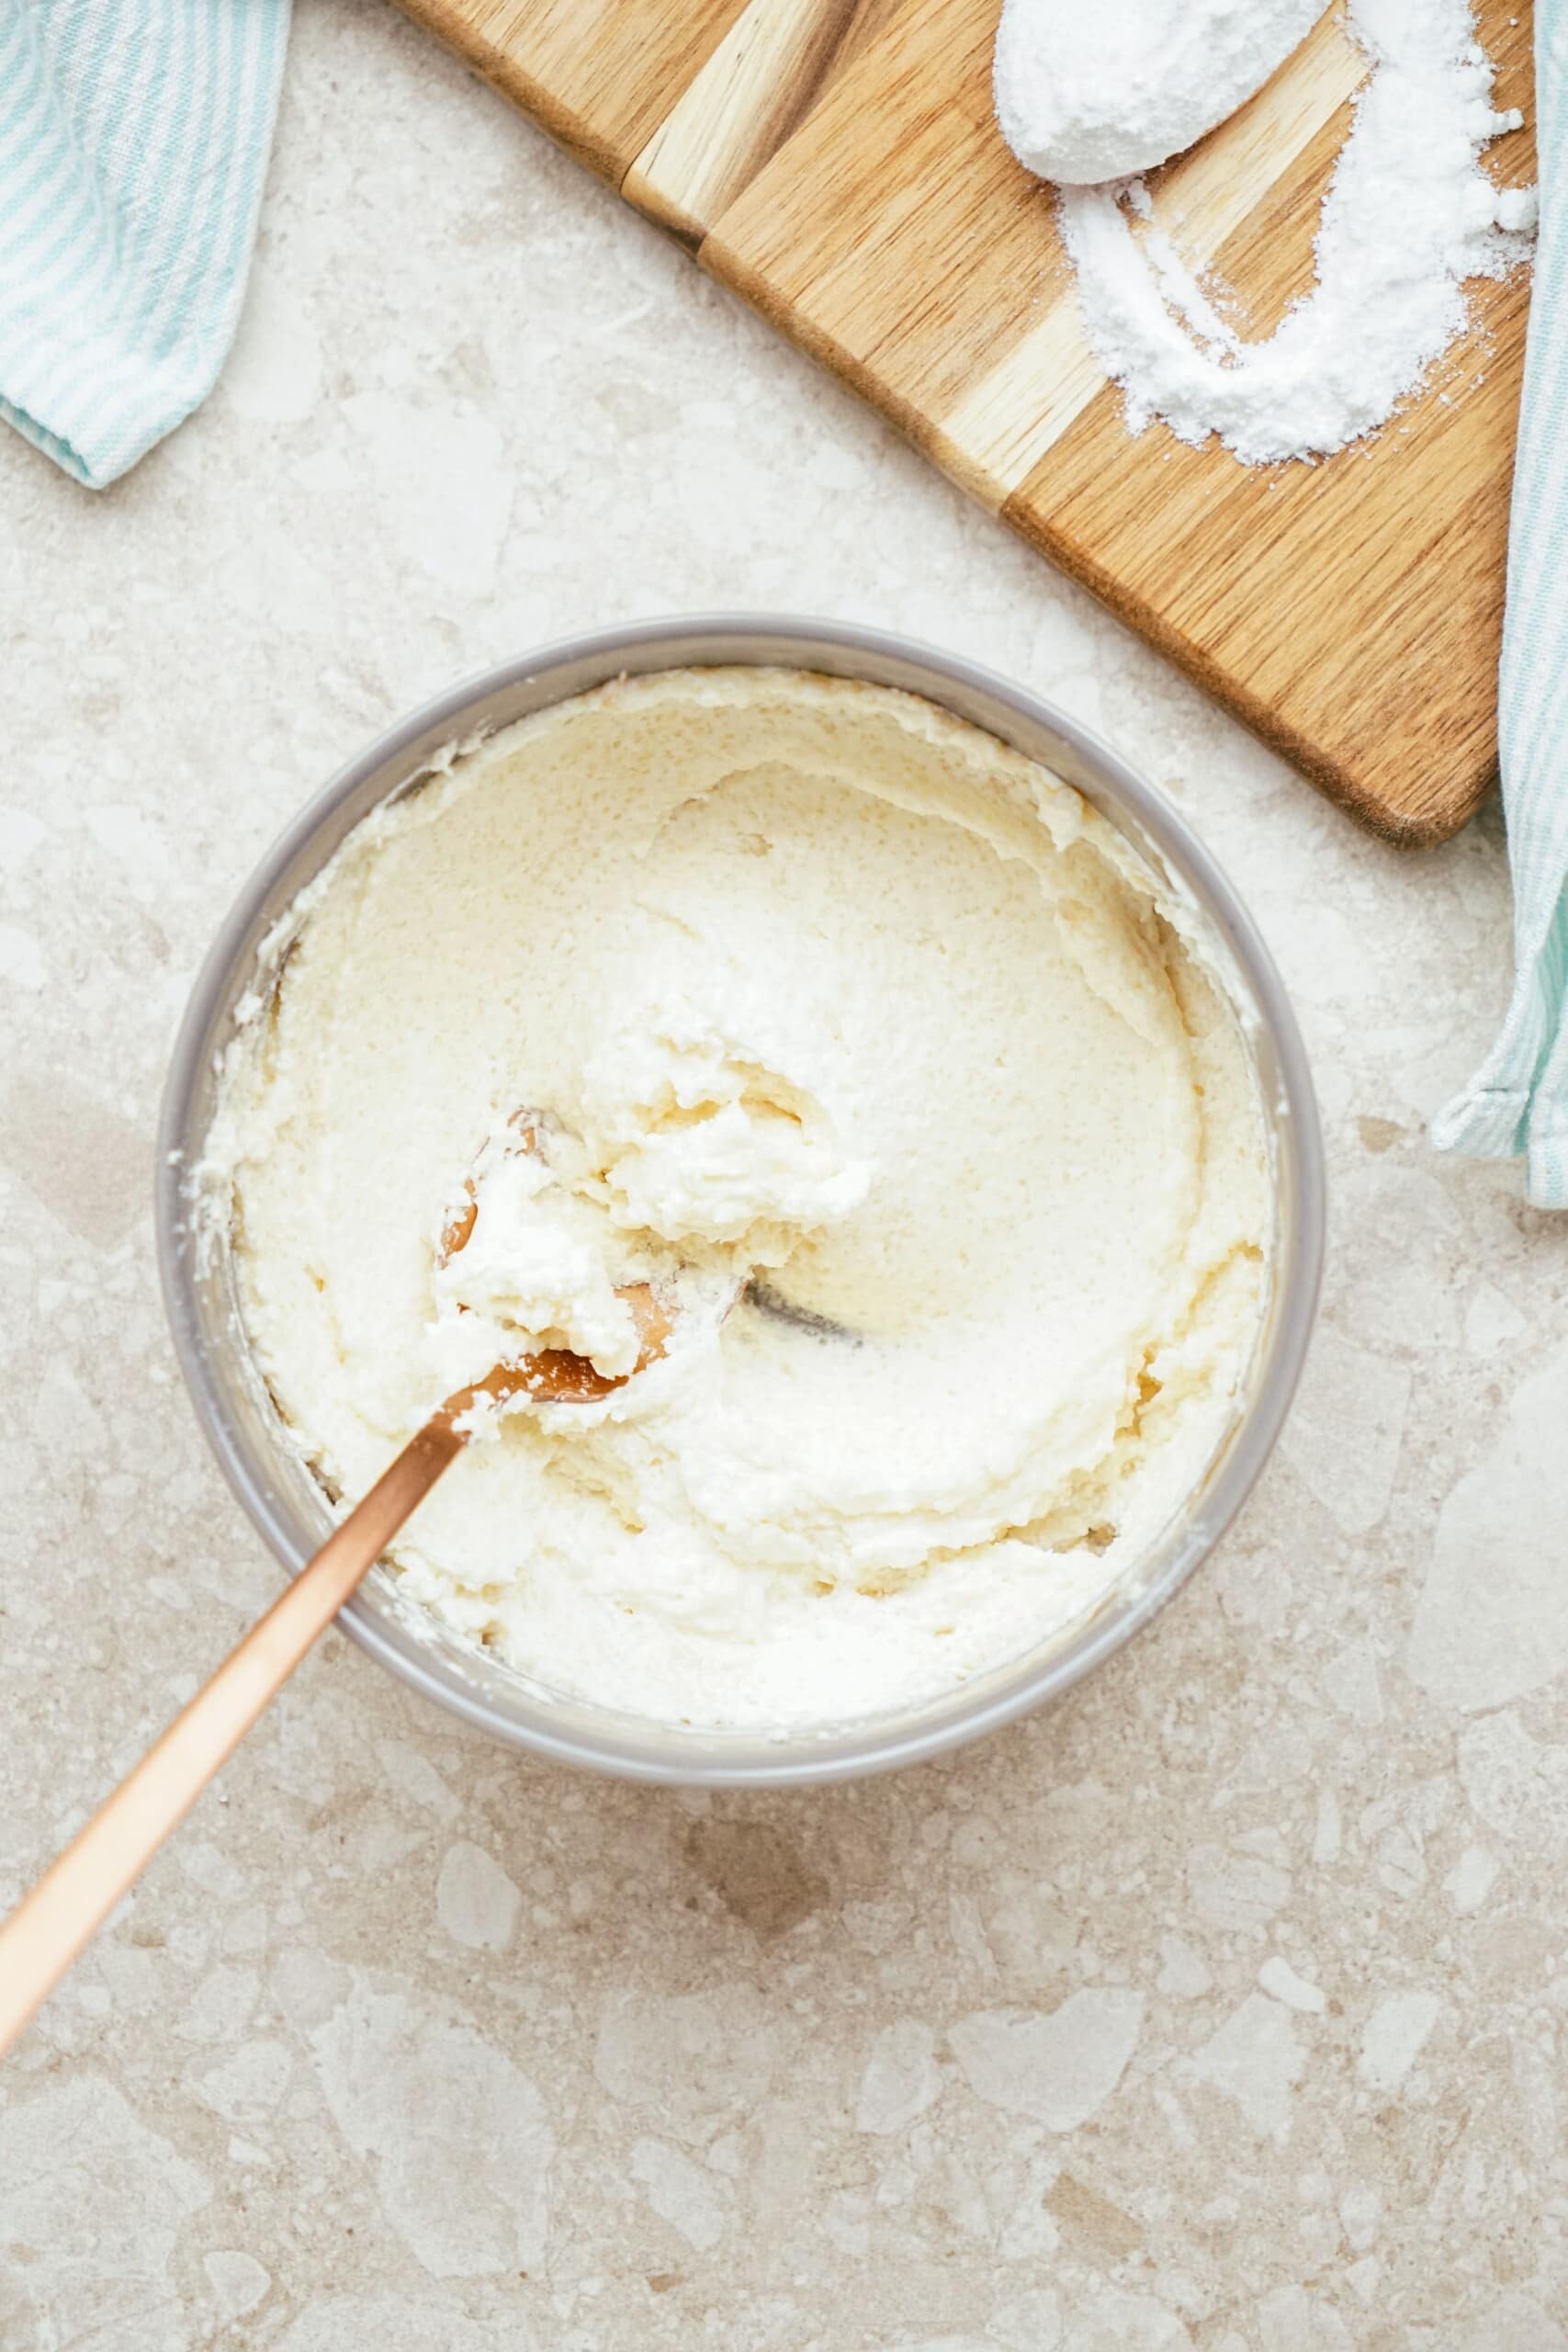
Step 1: Preheat Oven + Combine Filling Ingredients Together in a Bowl
Preheat oven to 375°F. In a small bowl, combine cream cheese, sugar, flour, and vanilla extract using a fork or hand mixer. Set aside.
Step 2: Lay Out Crescent Dough on Baking Sheet
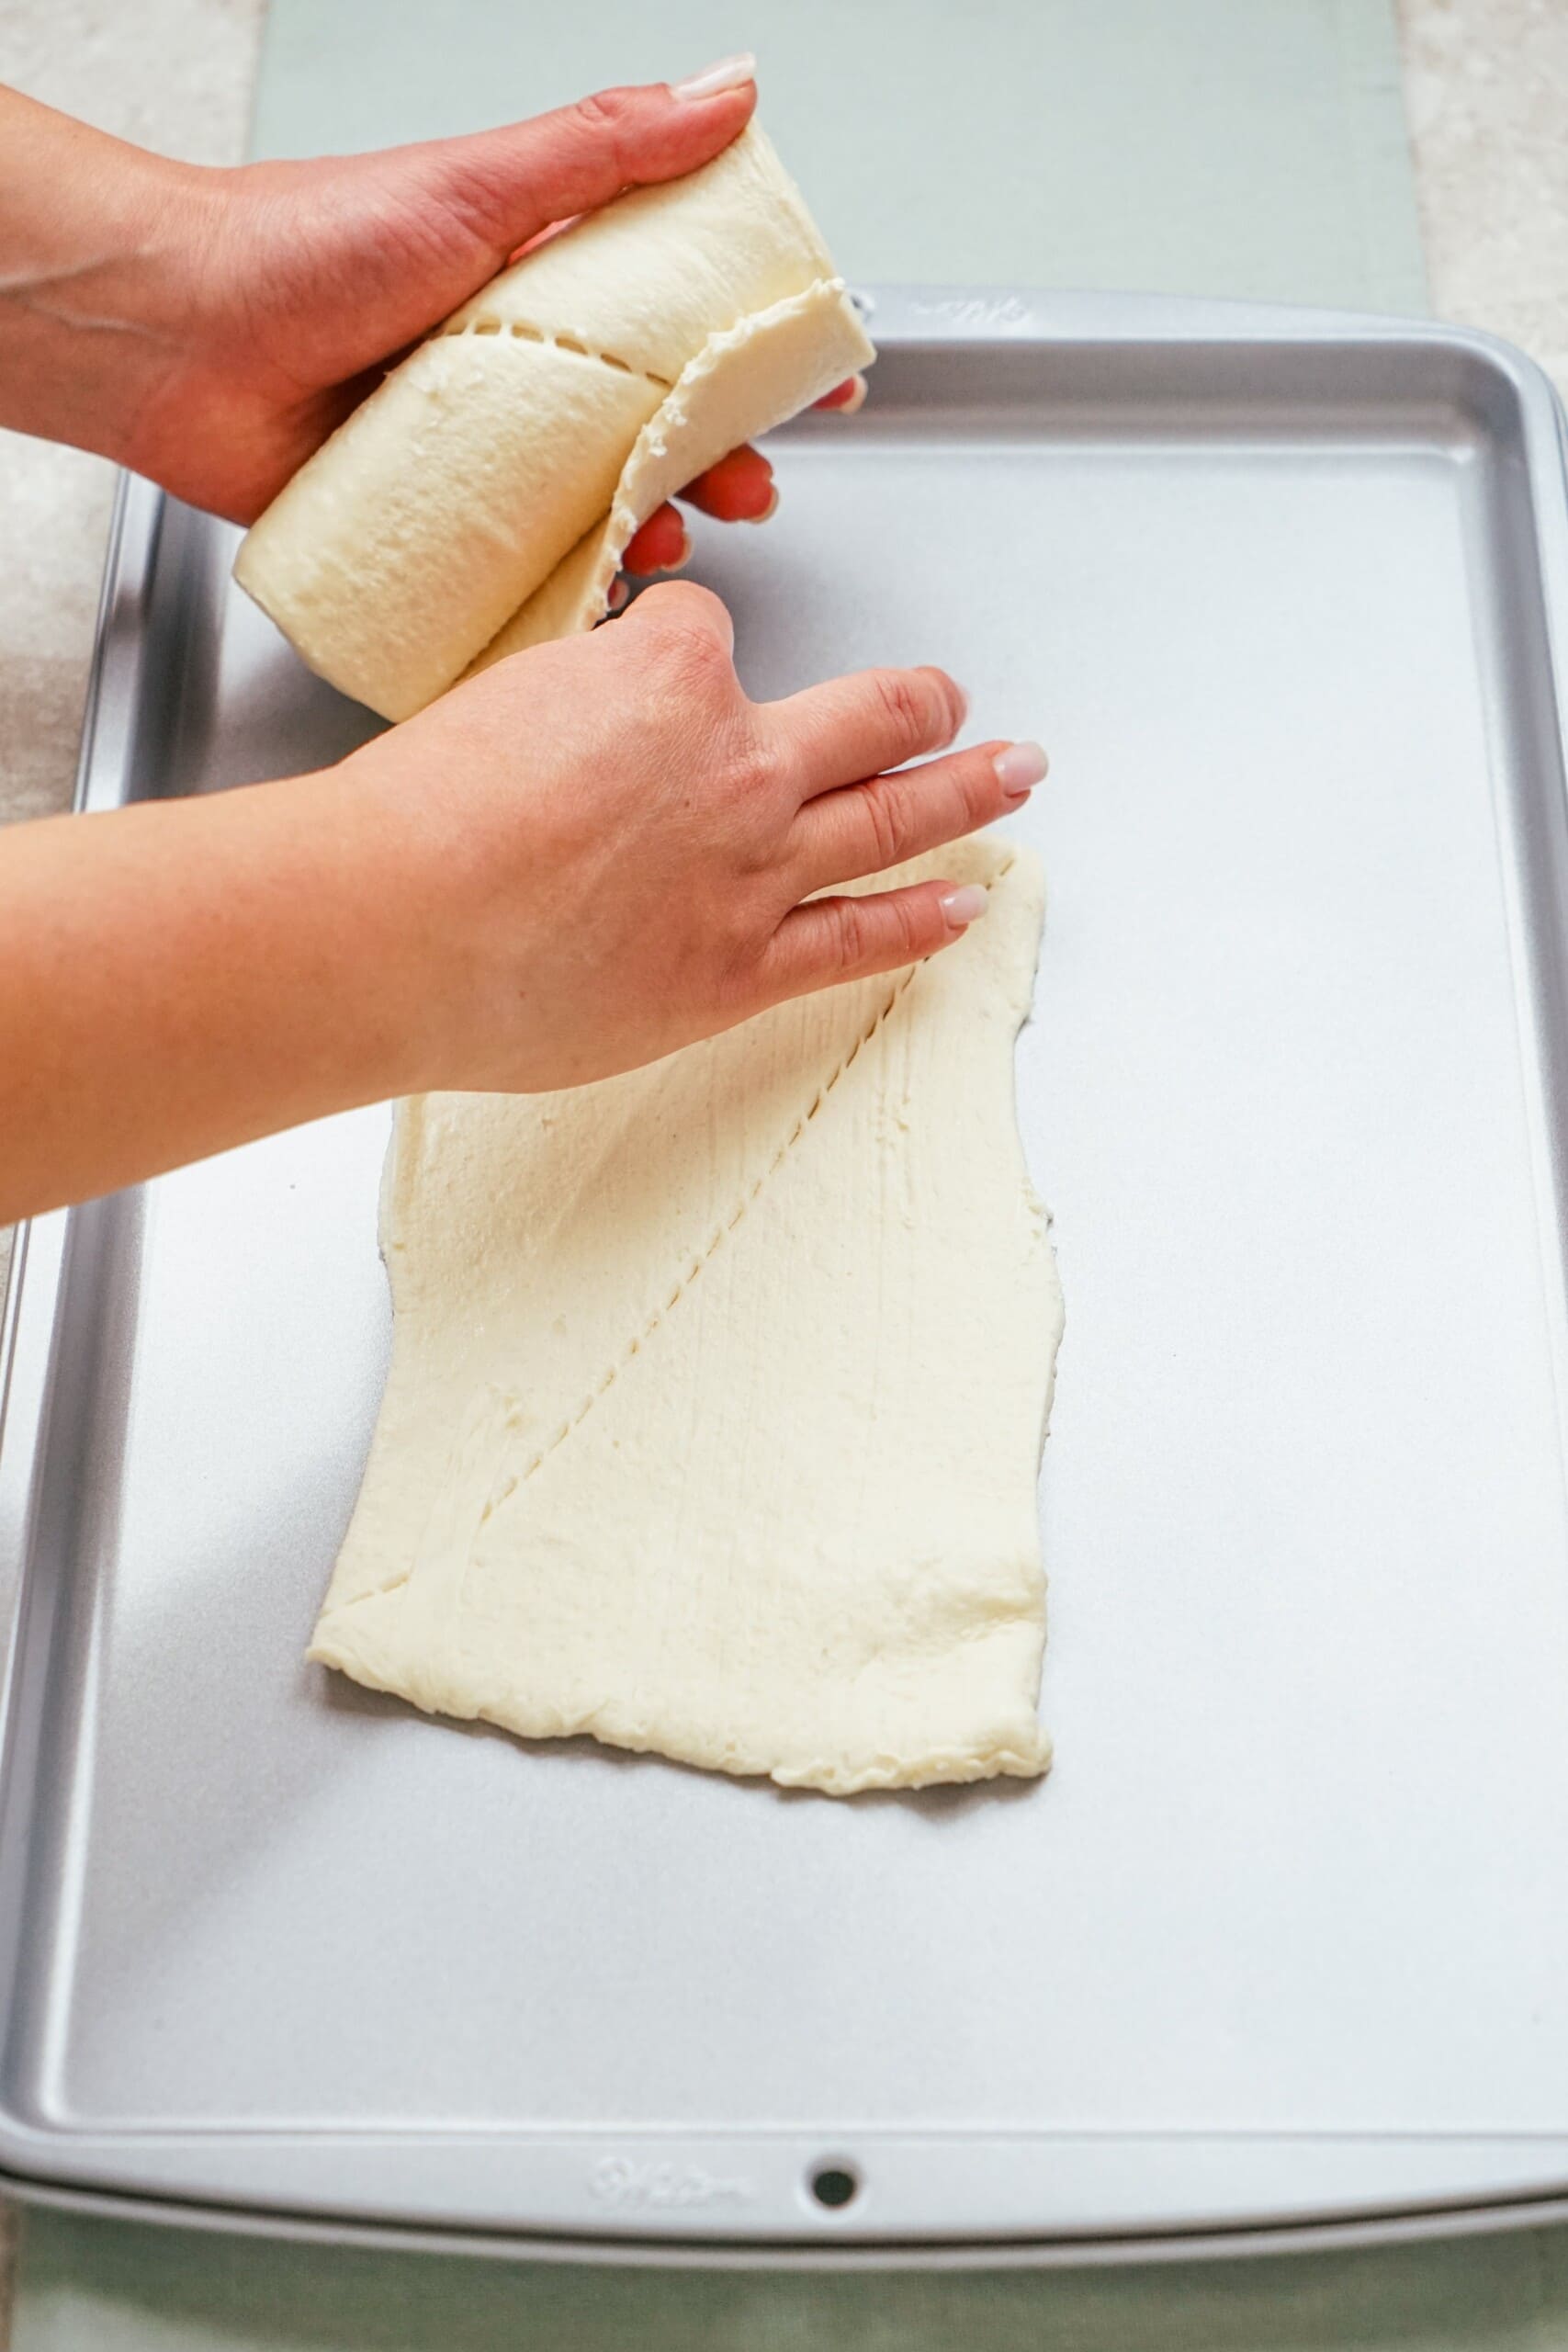
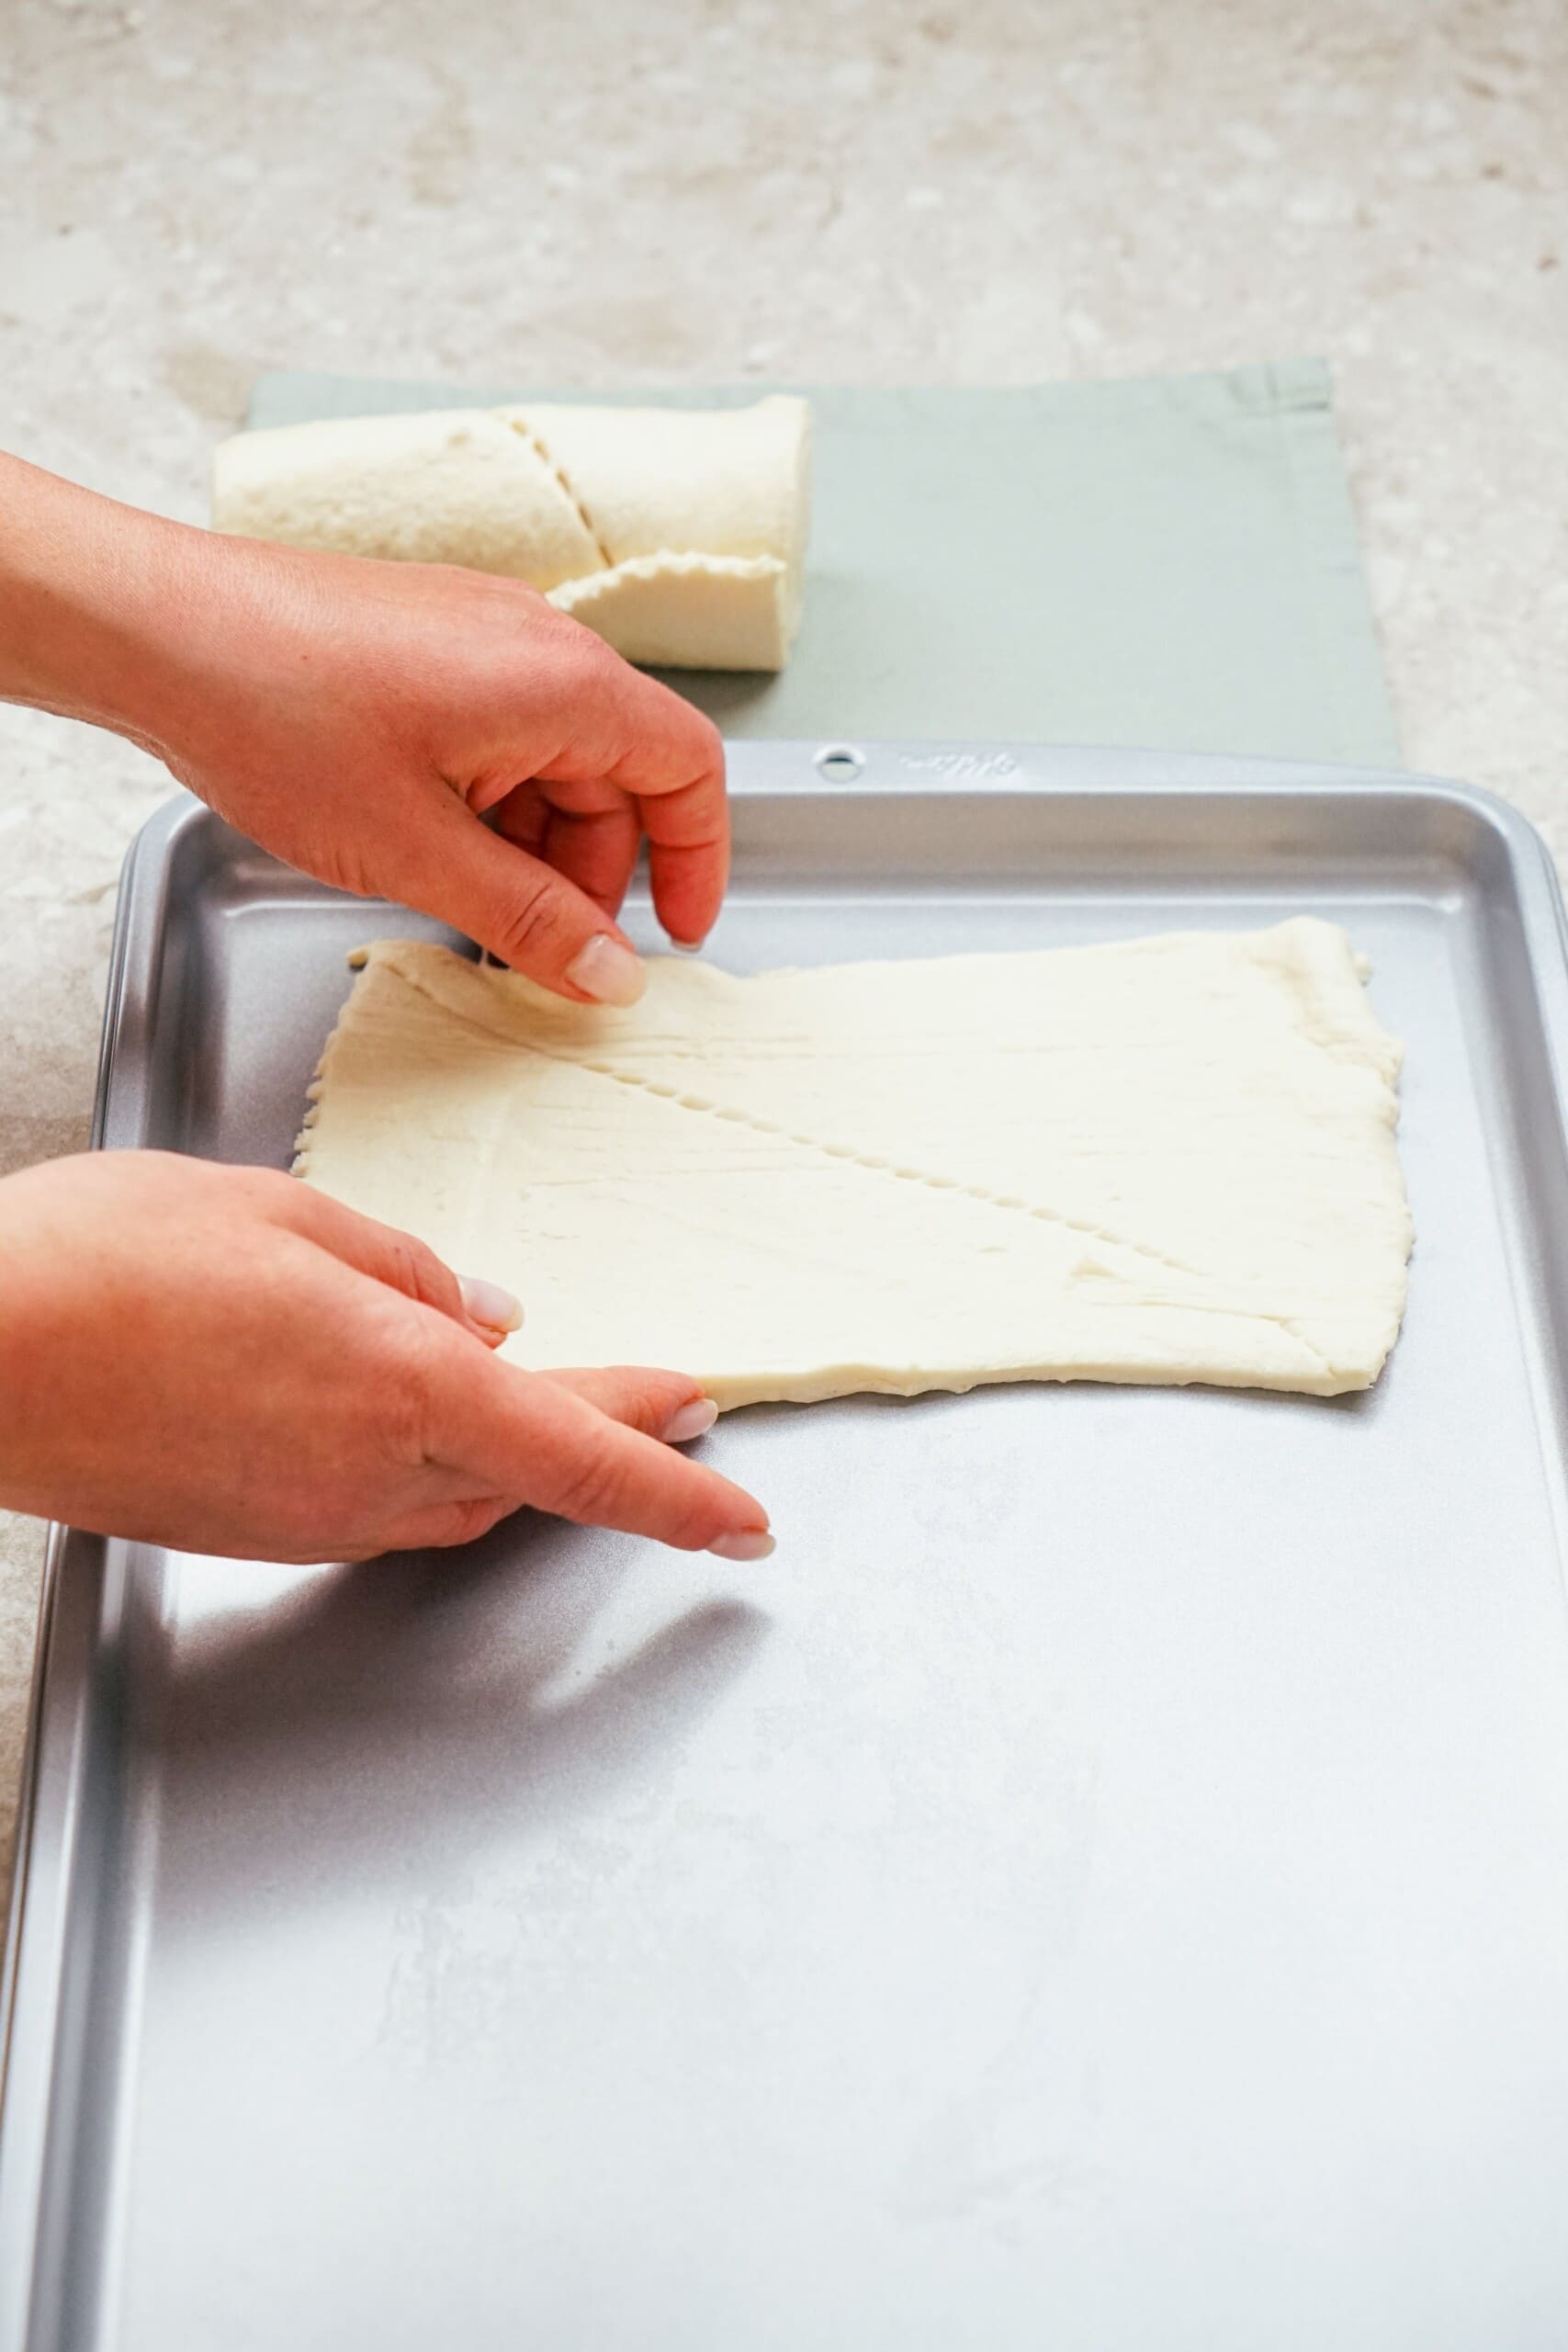
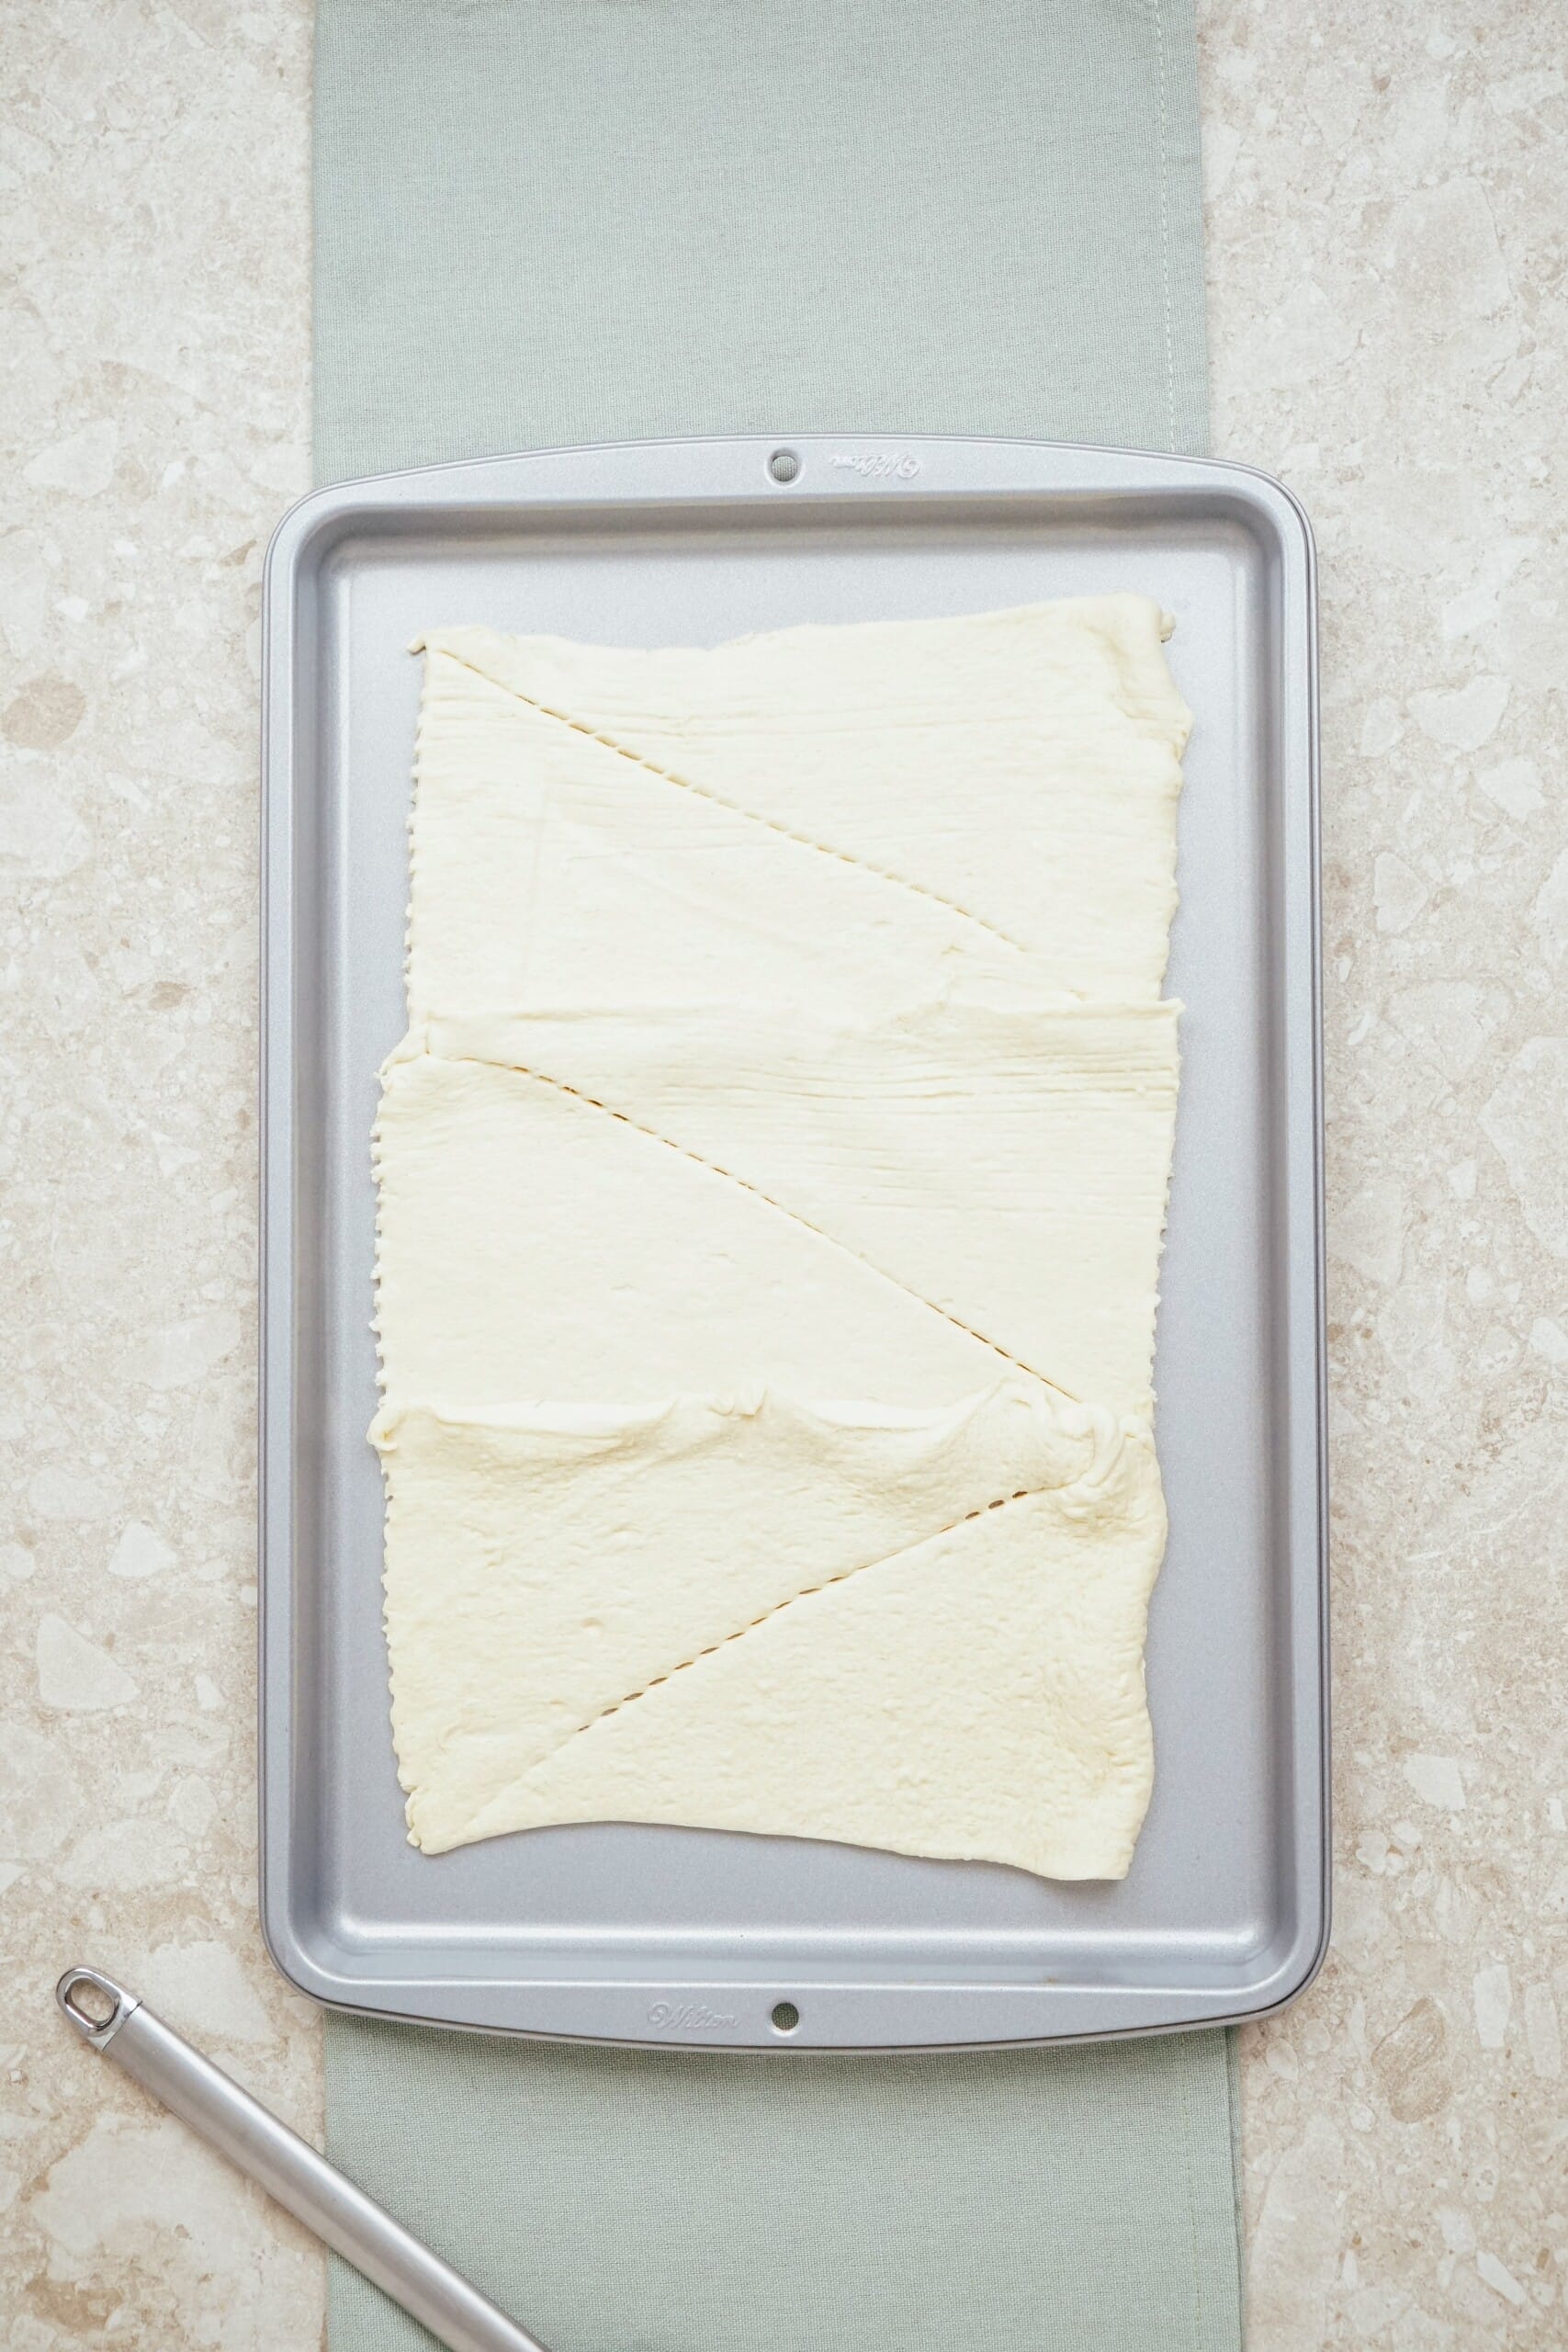
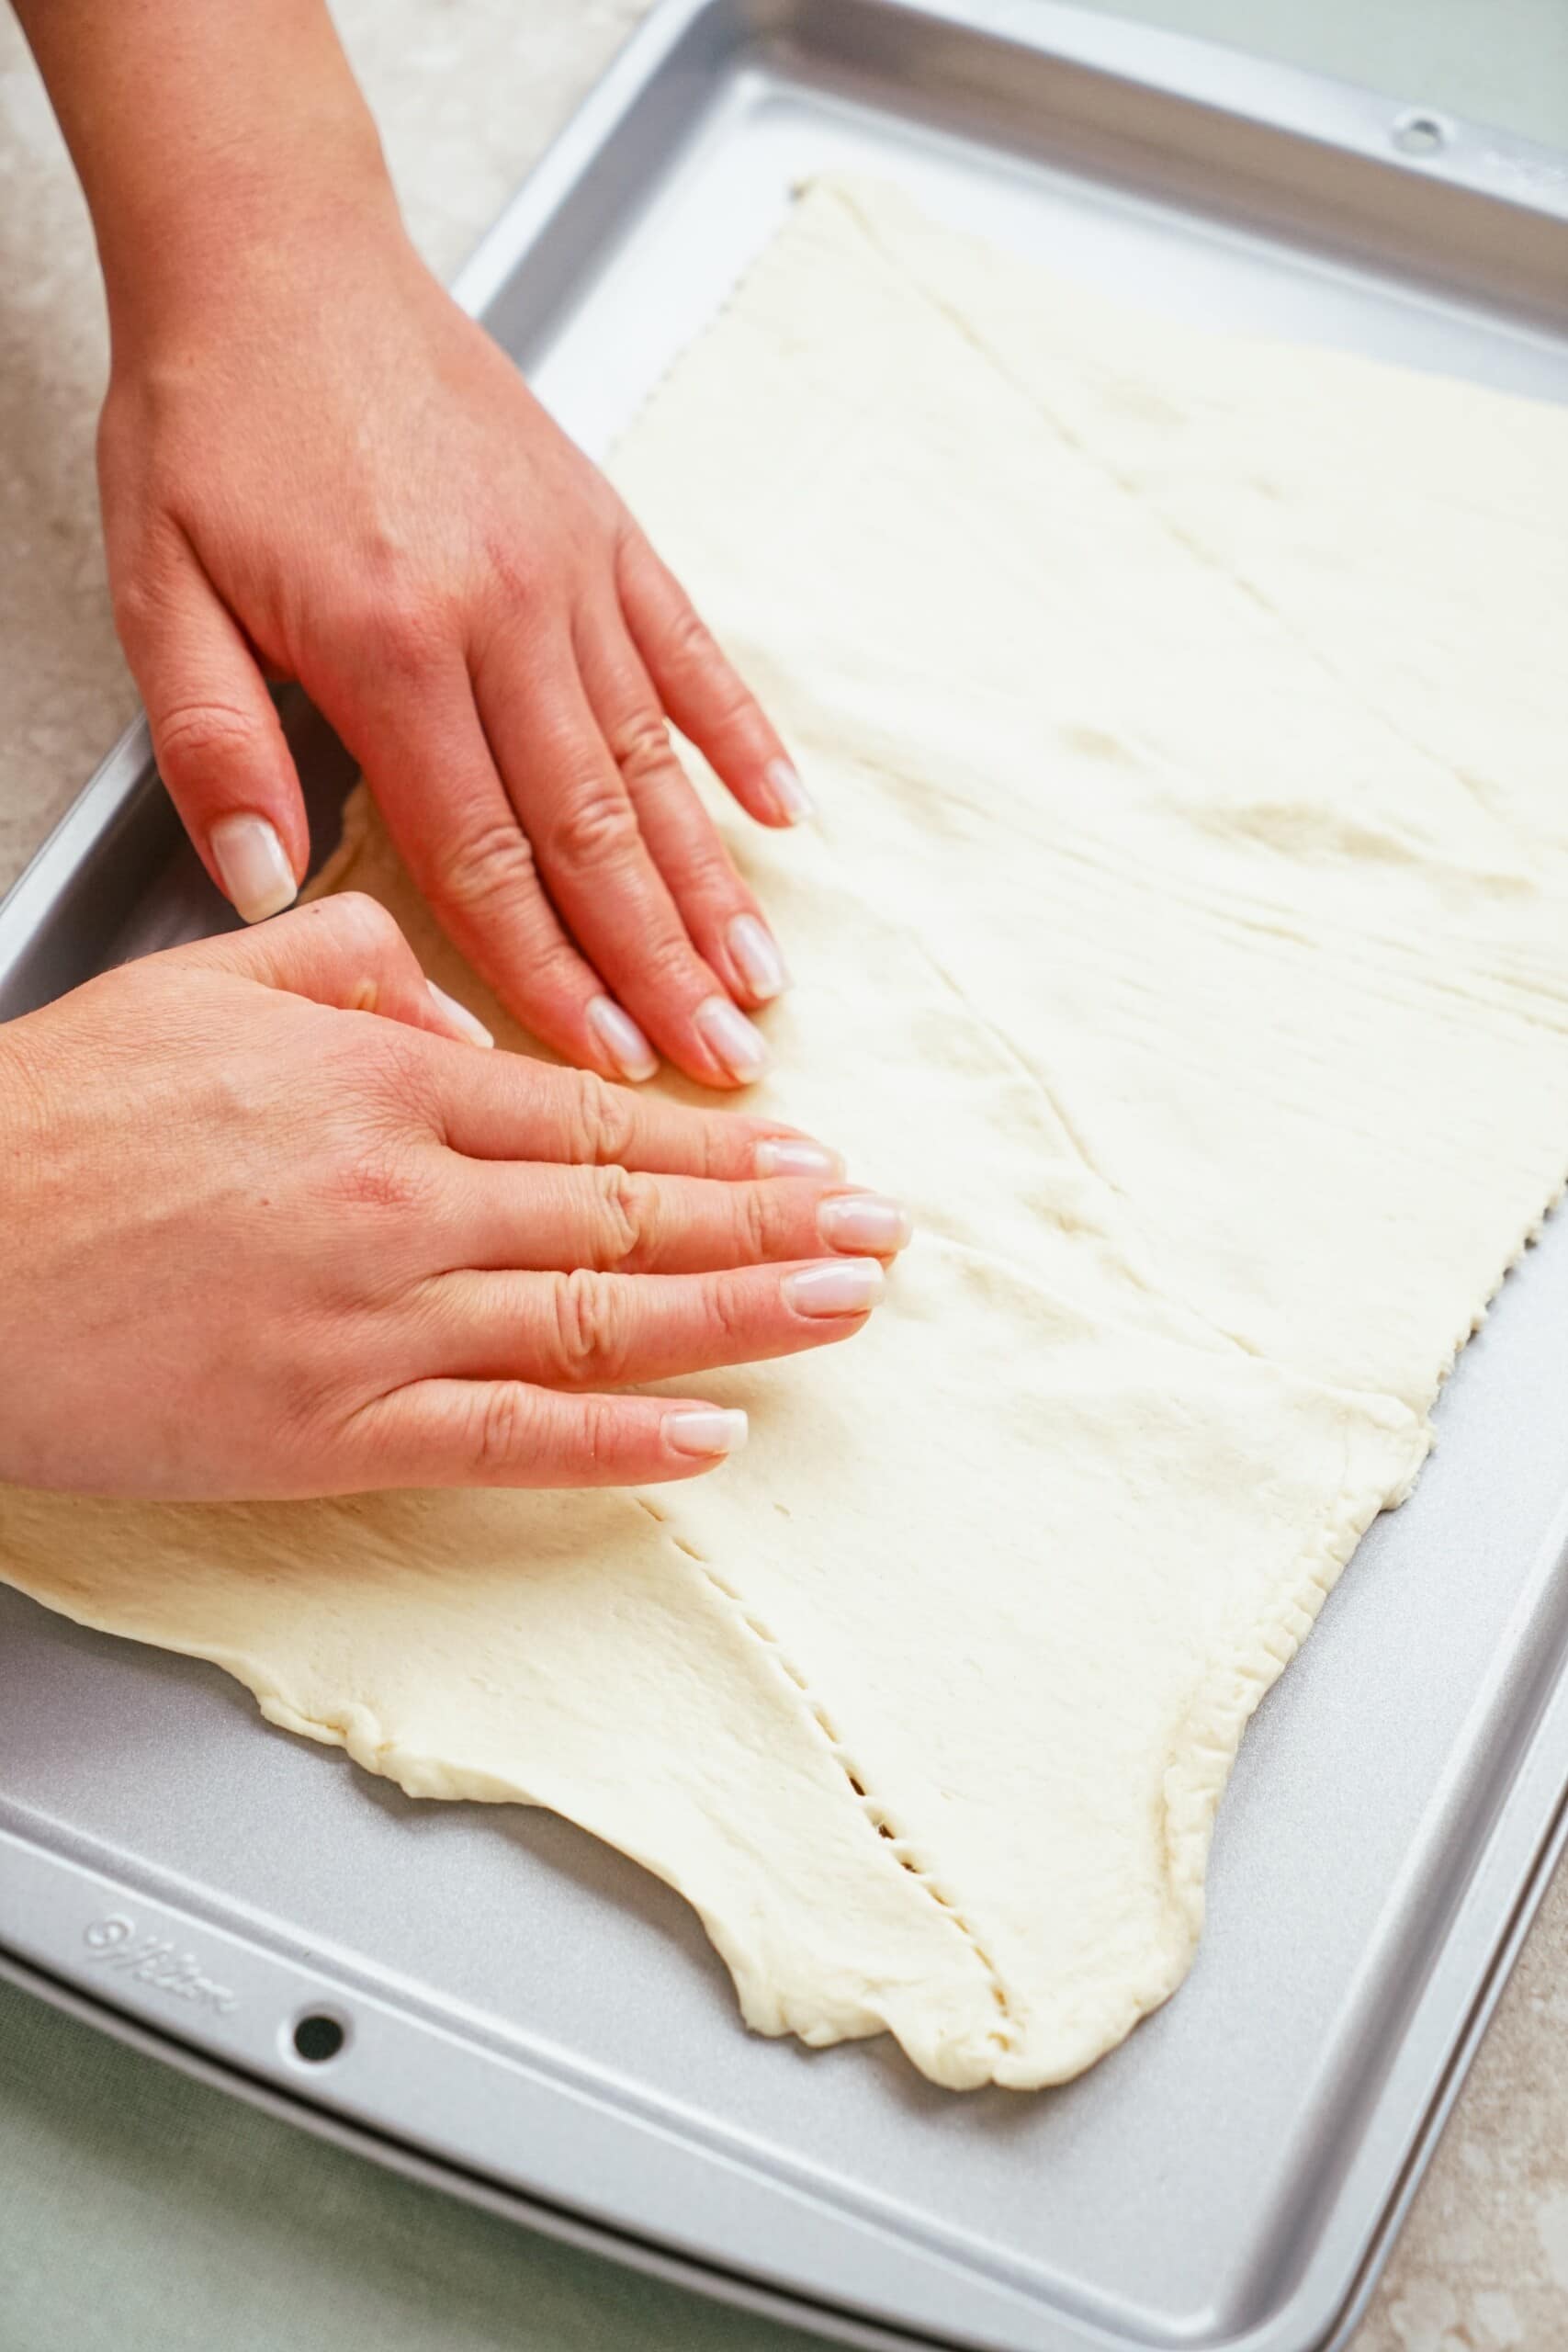
Pop open crescent roll dough and unroll, leaving crescents in rectangles. On an ungreased baking sheet, lay the crescent roll rectangles together, lining them up widthwise. The dough should be almost the entire length of a half sheet pan. Press the edges together to even them out and seal any holes.
Step 3: Add Cream Cheese Filling
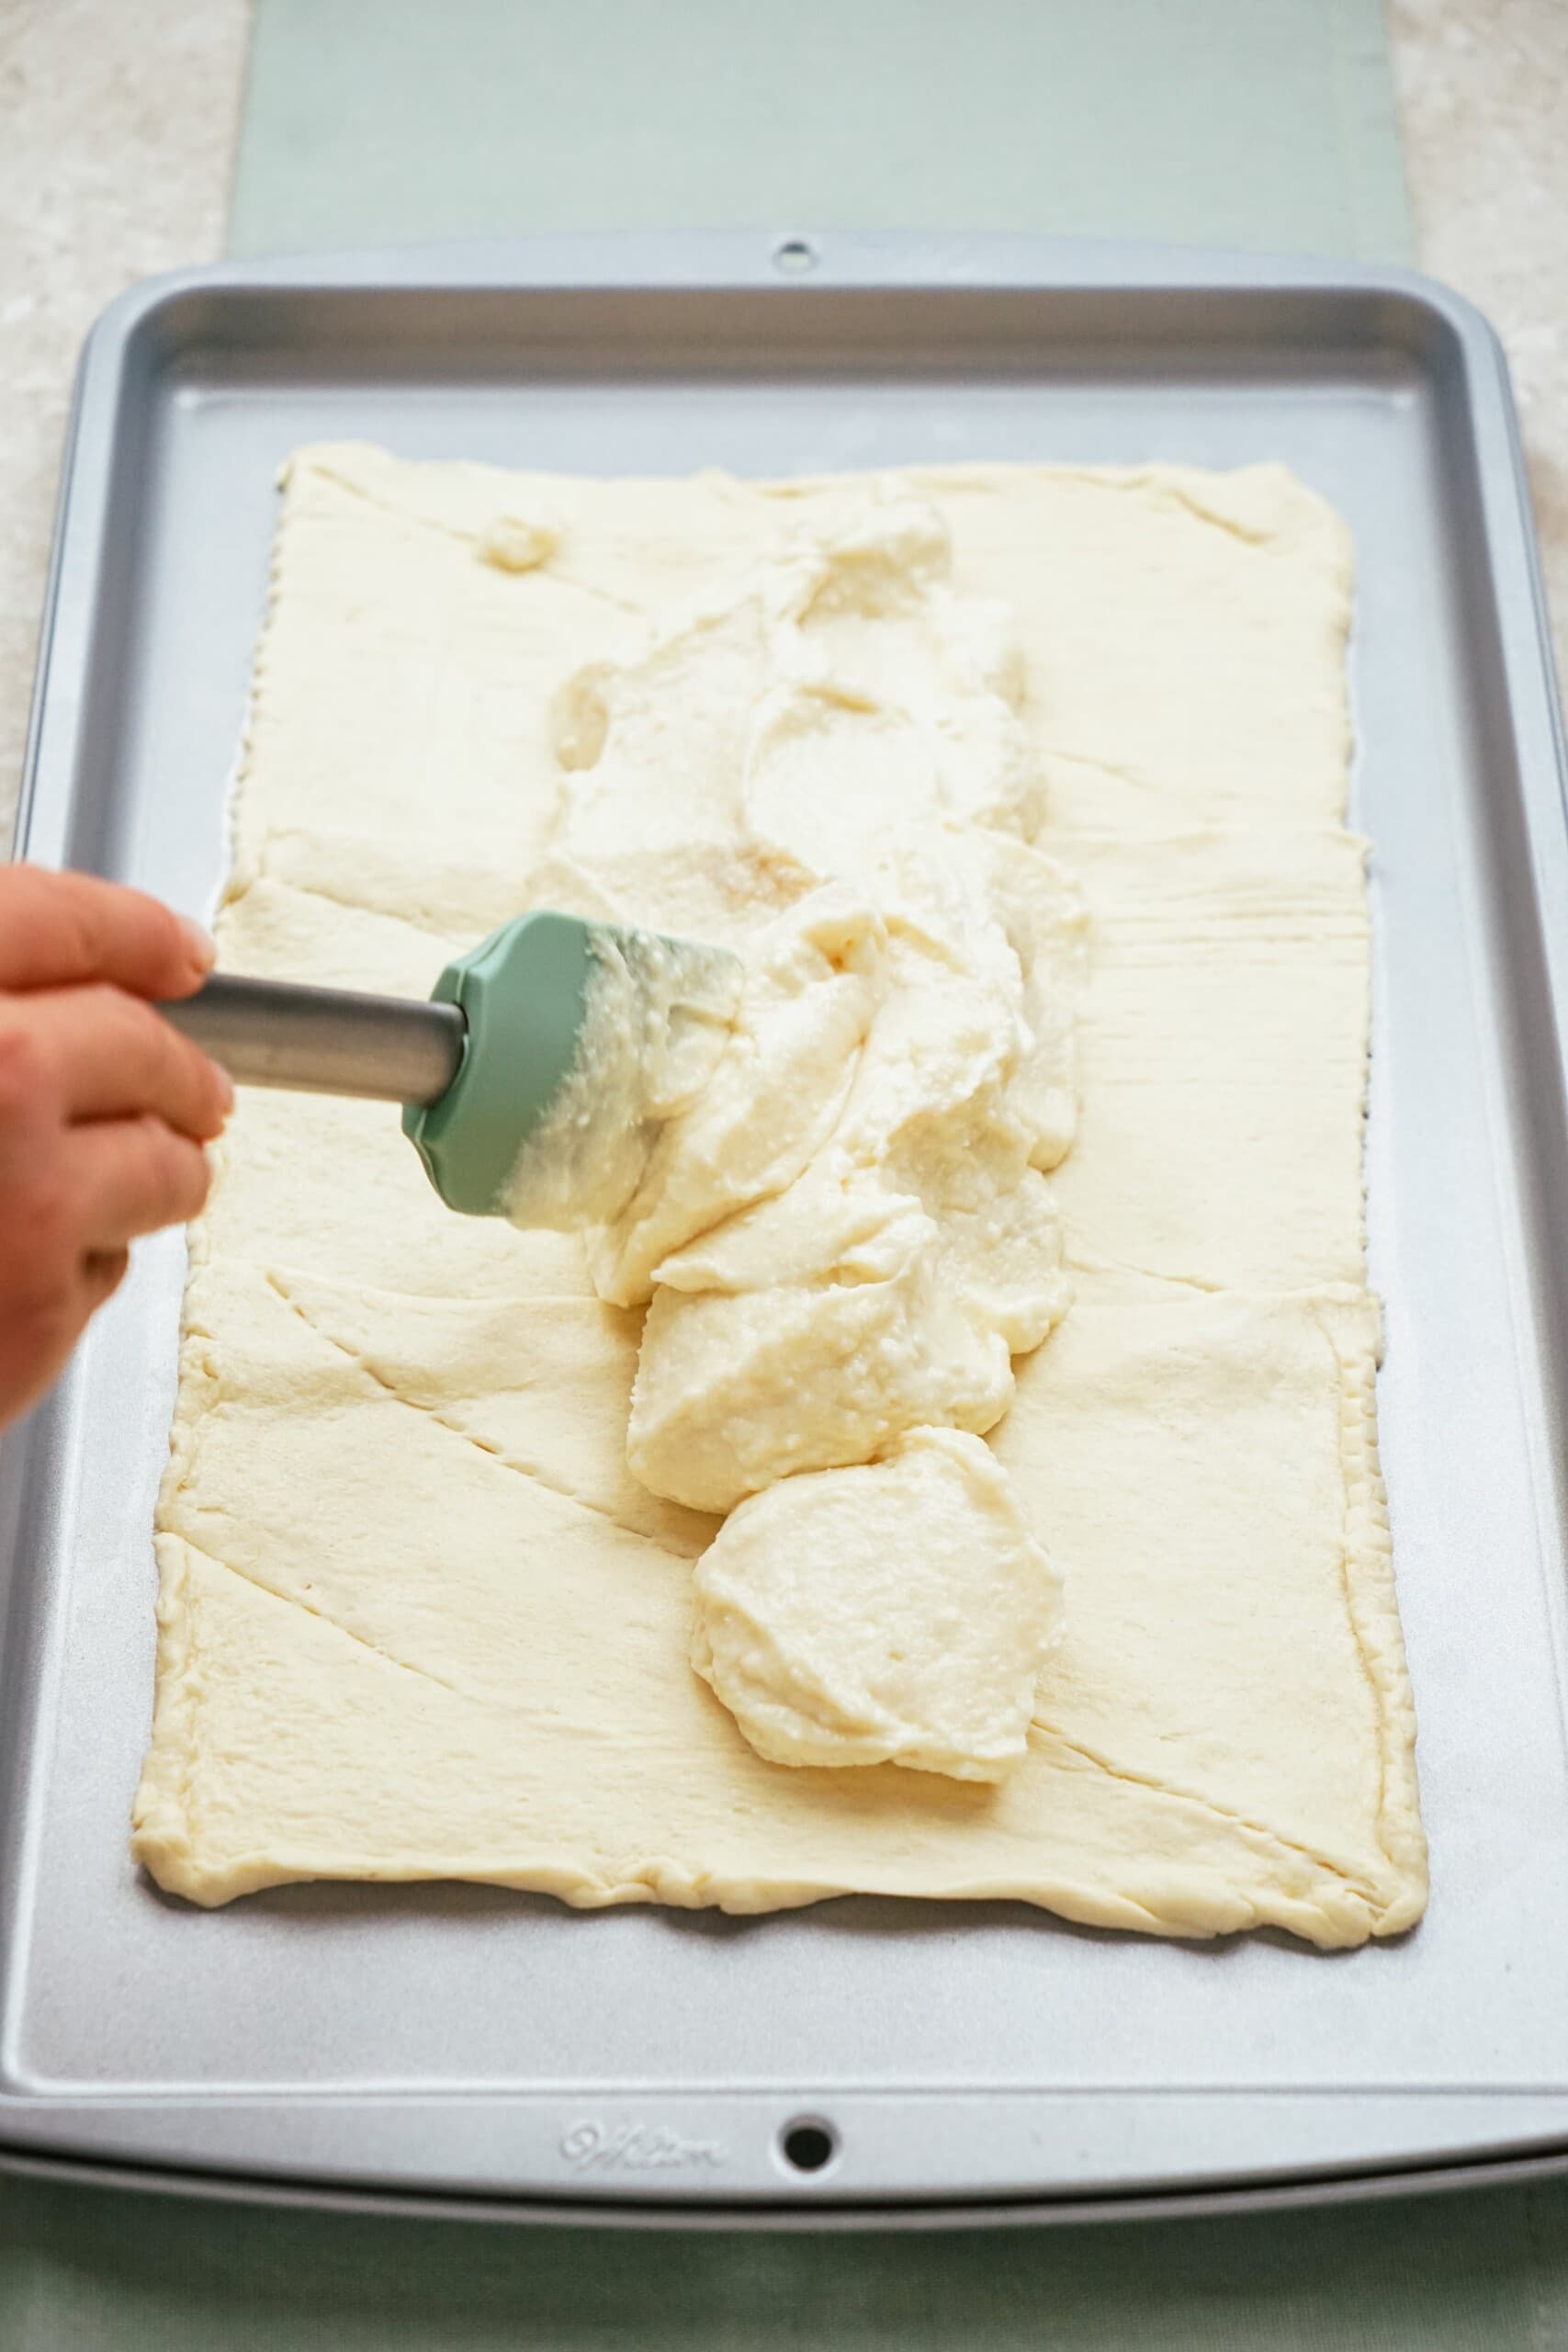
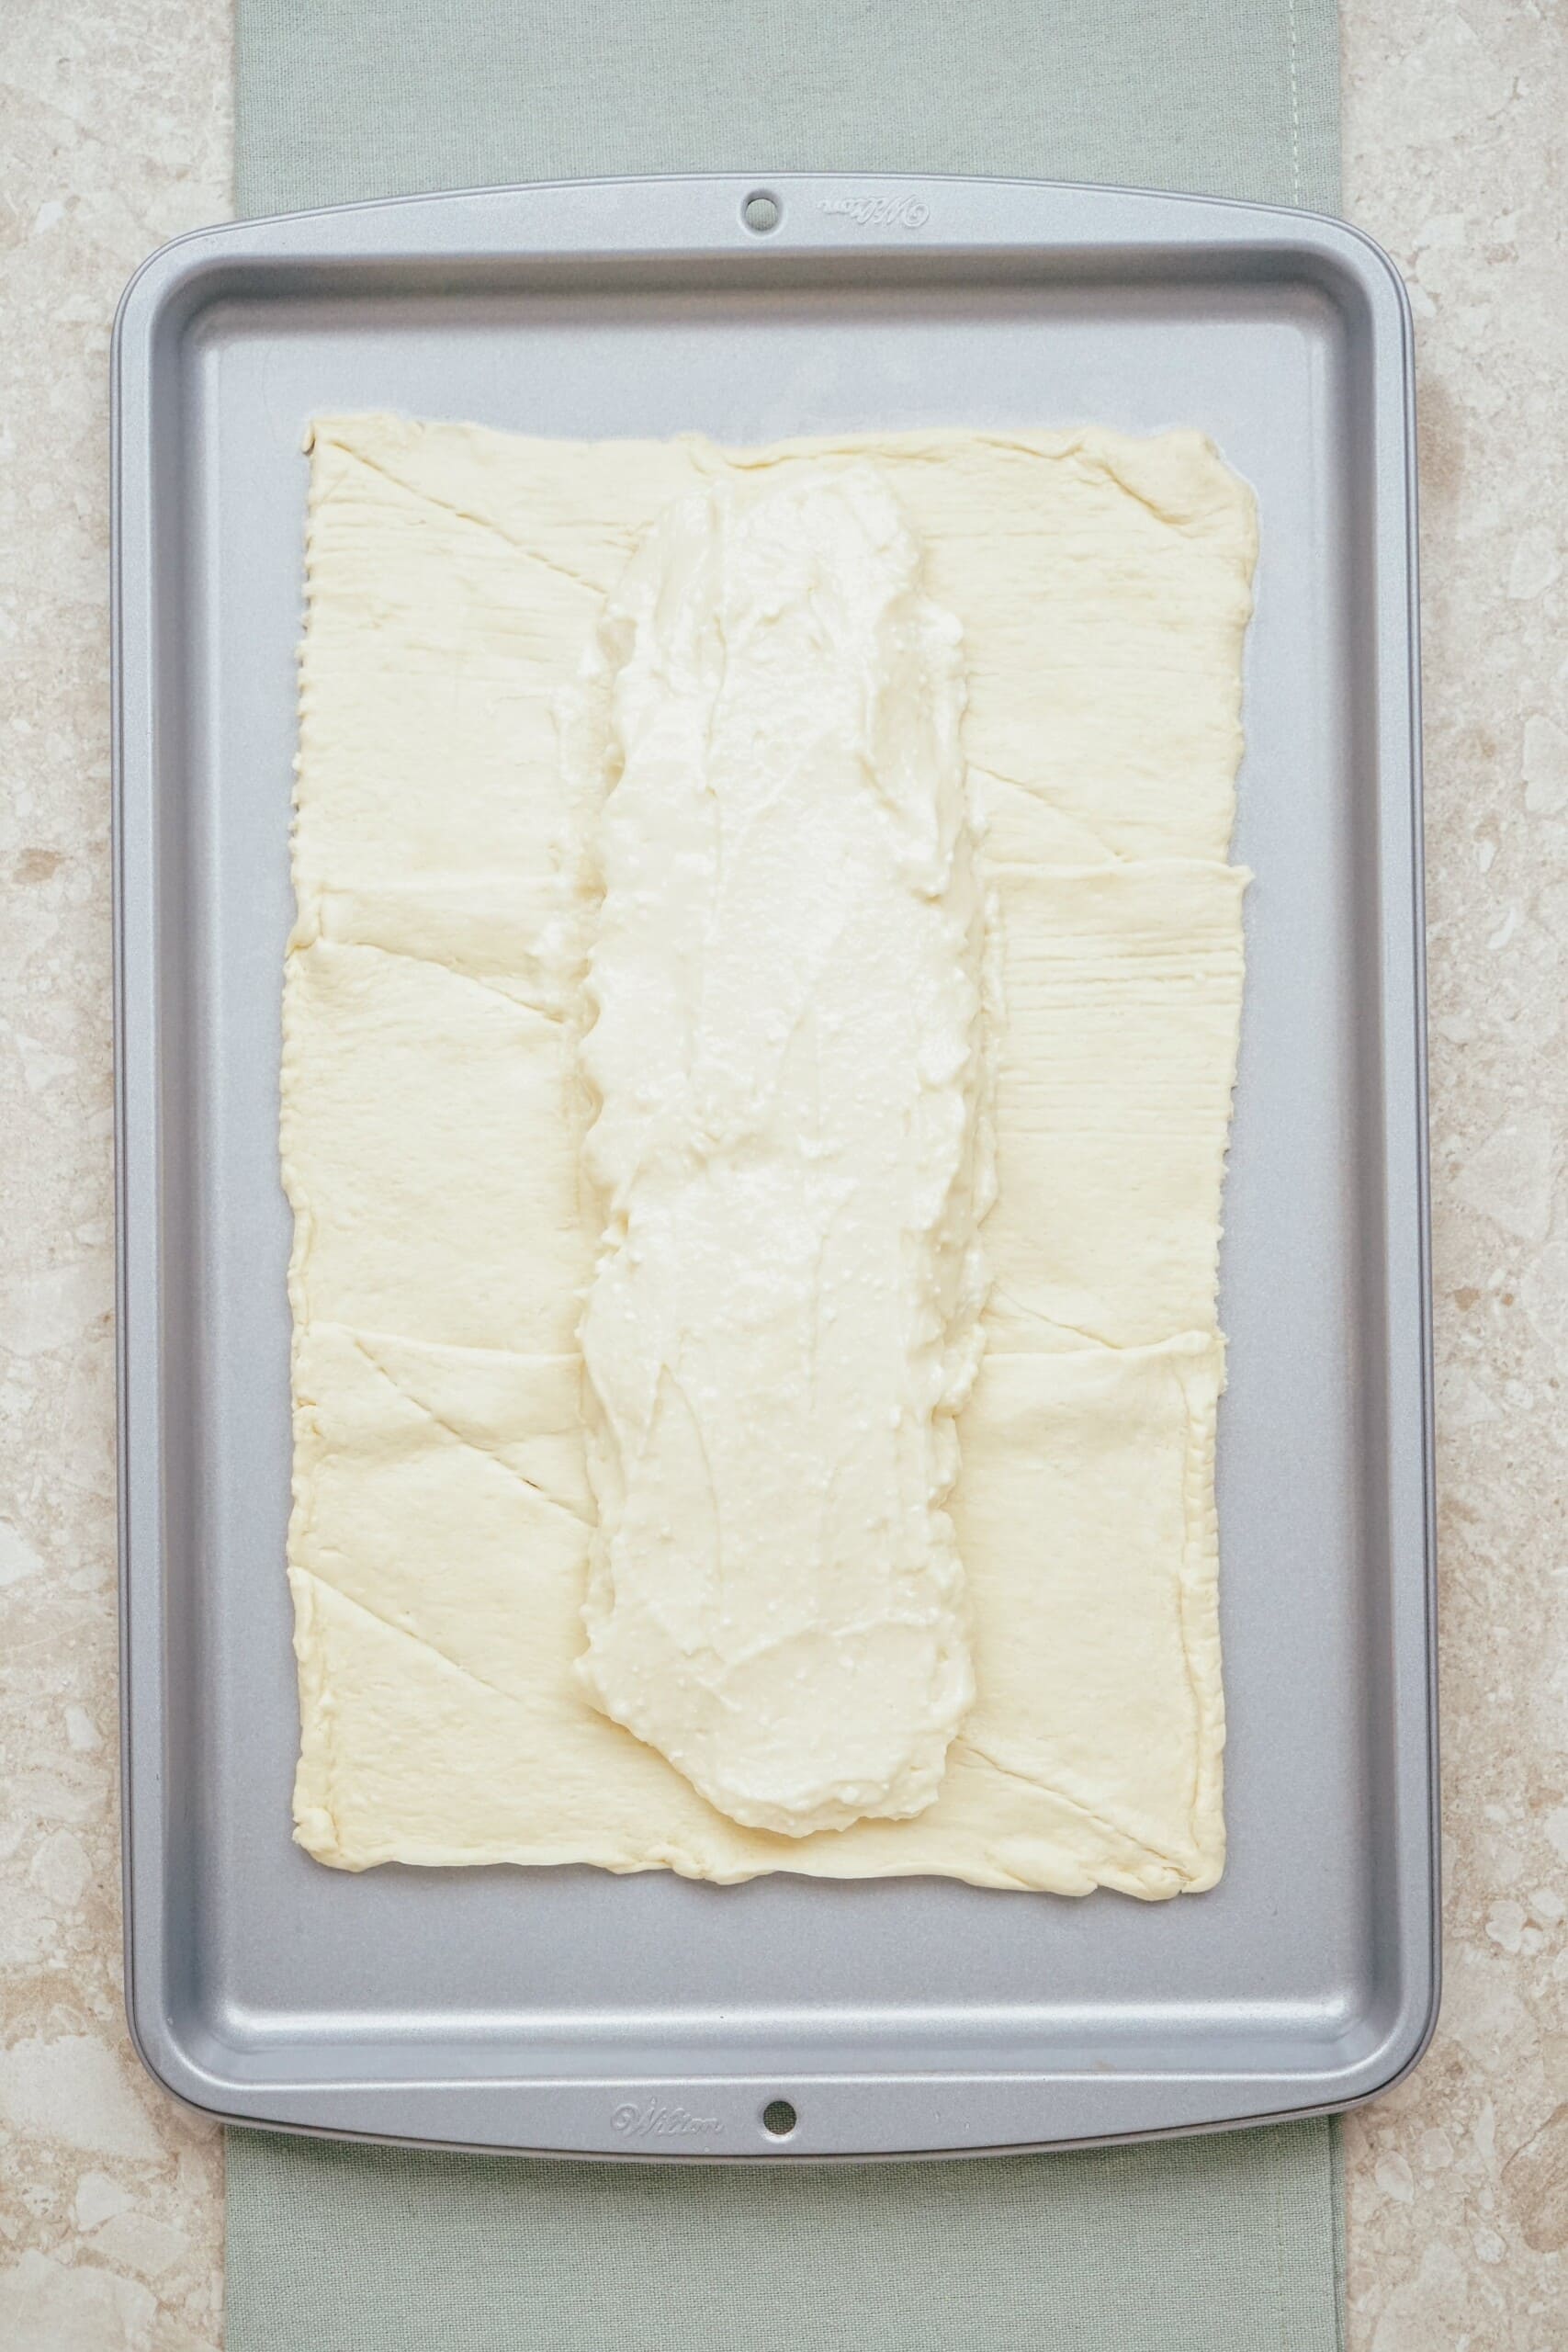
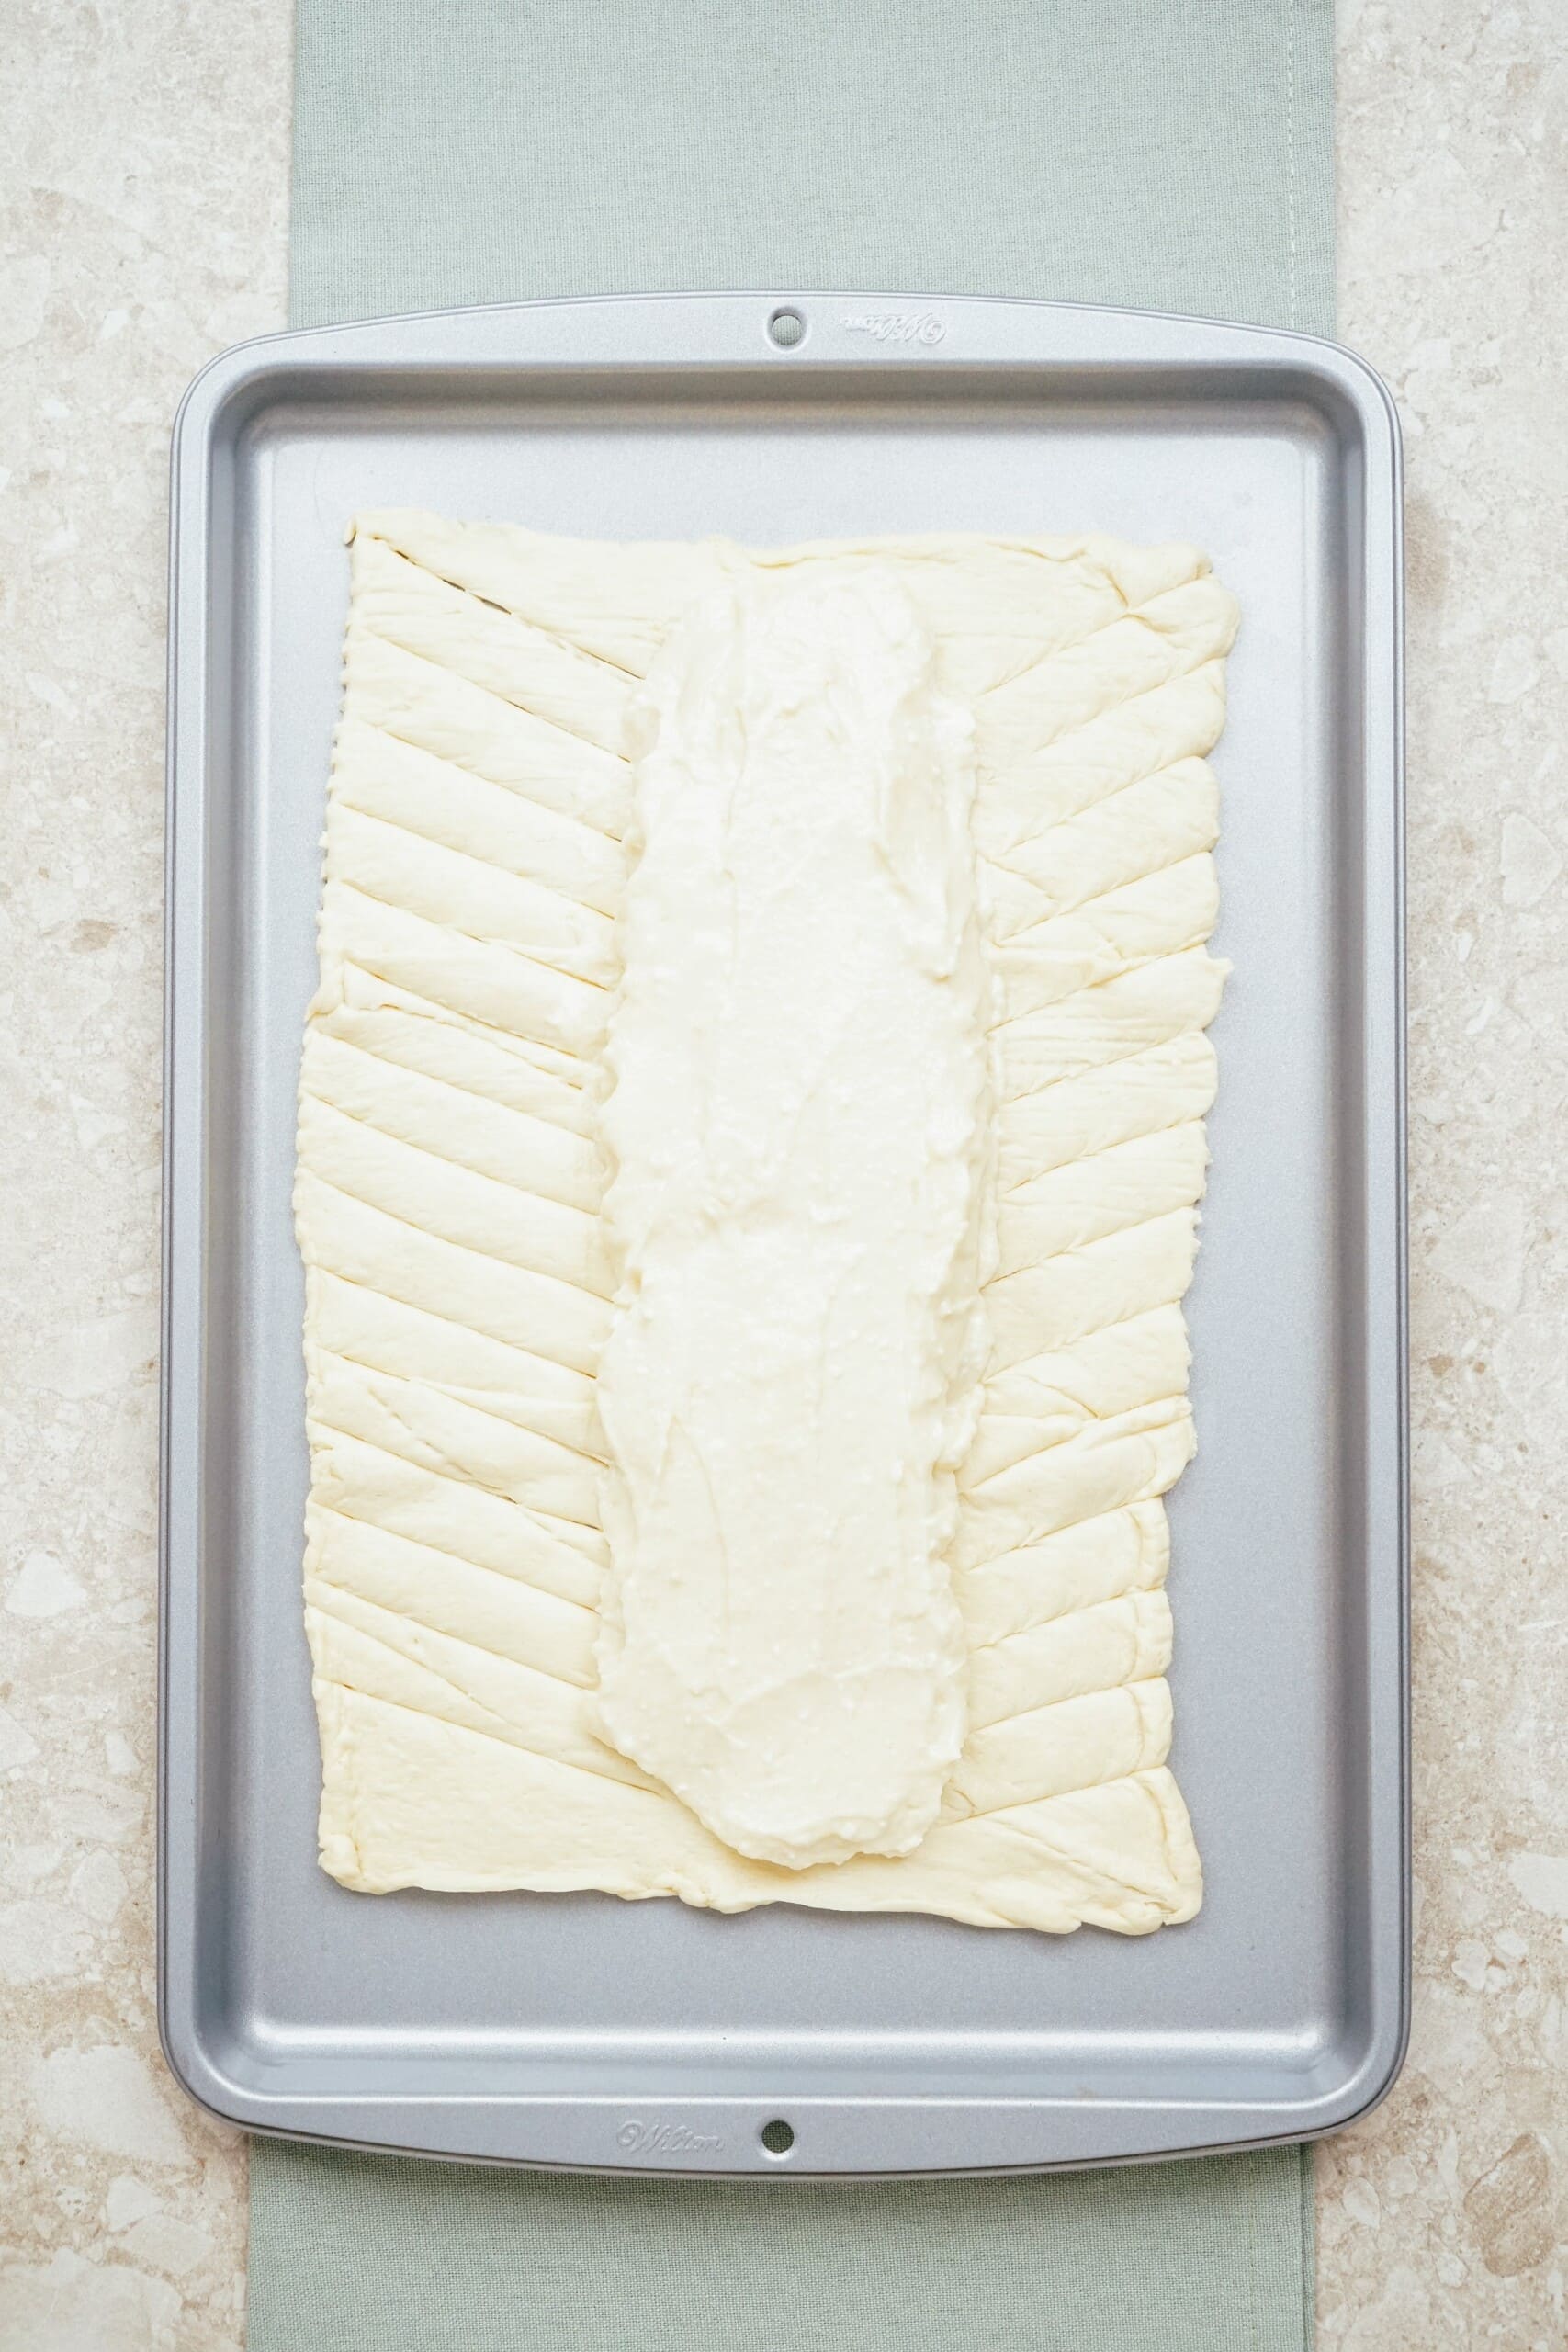
Carefully spread the cream cheese filling down the center of the dough to a width of about 2-3 inches.
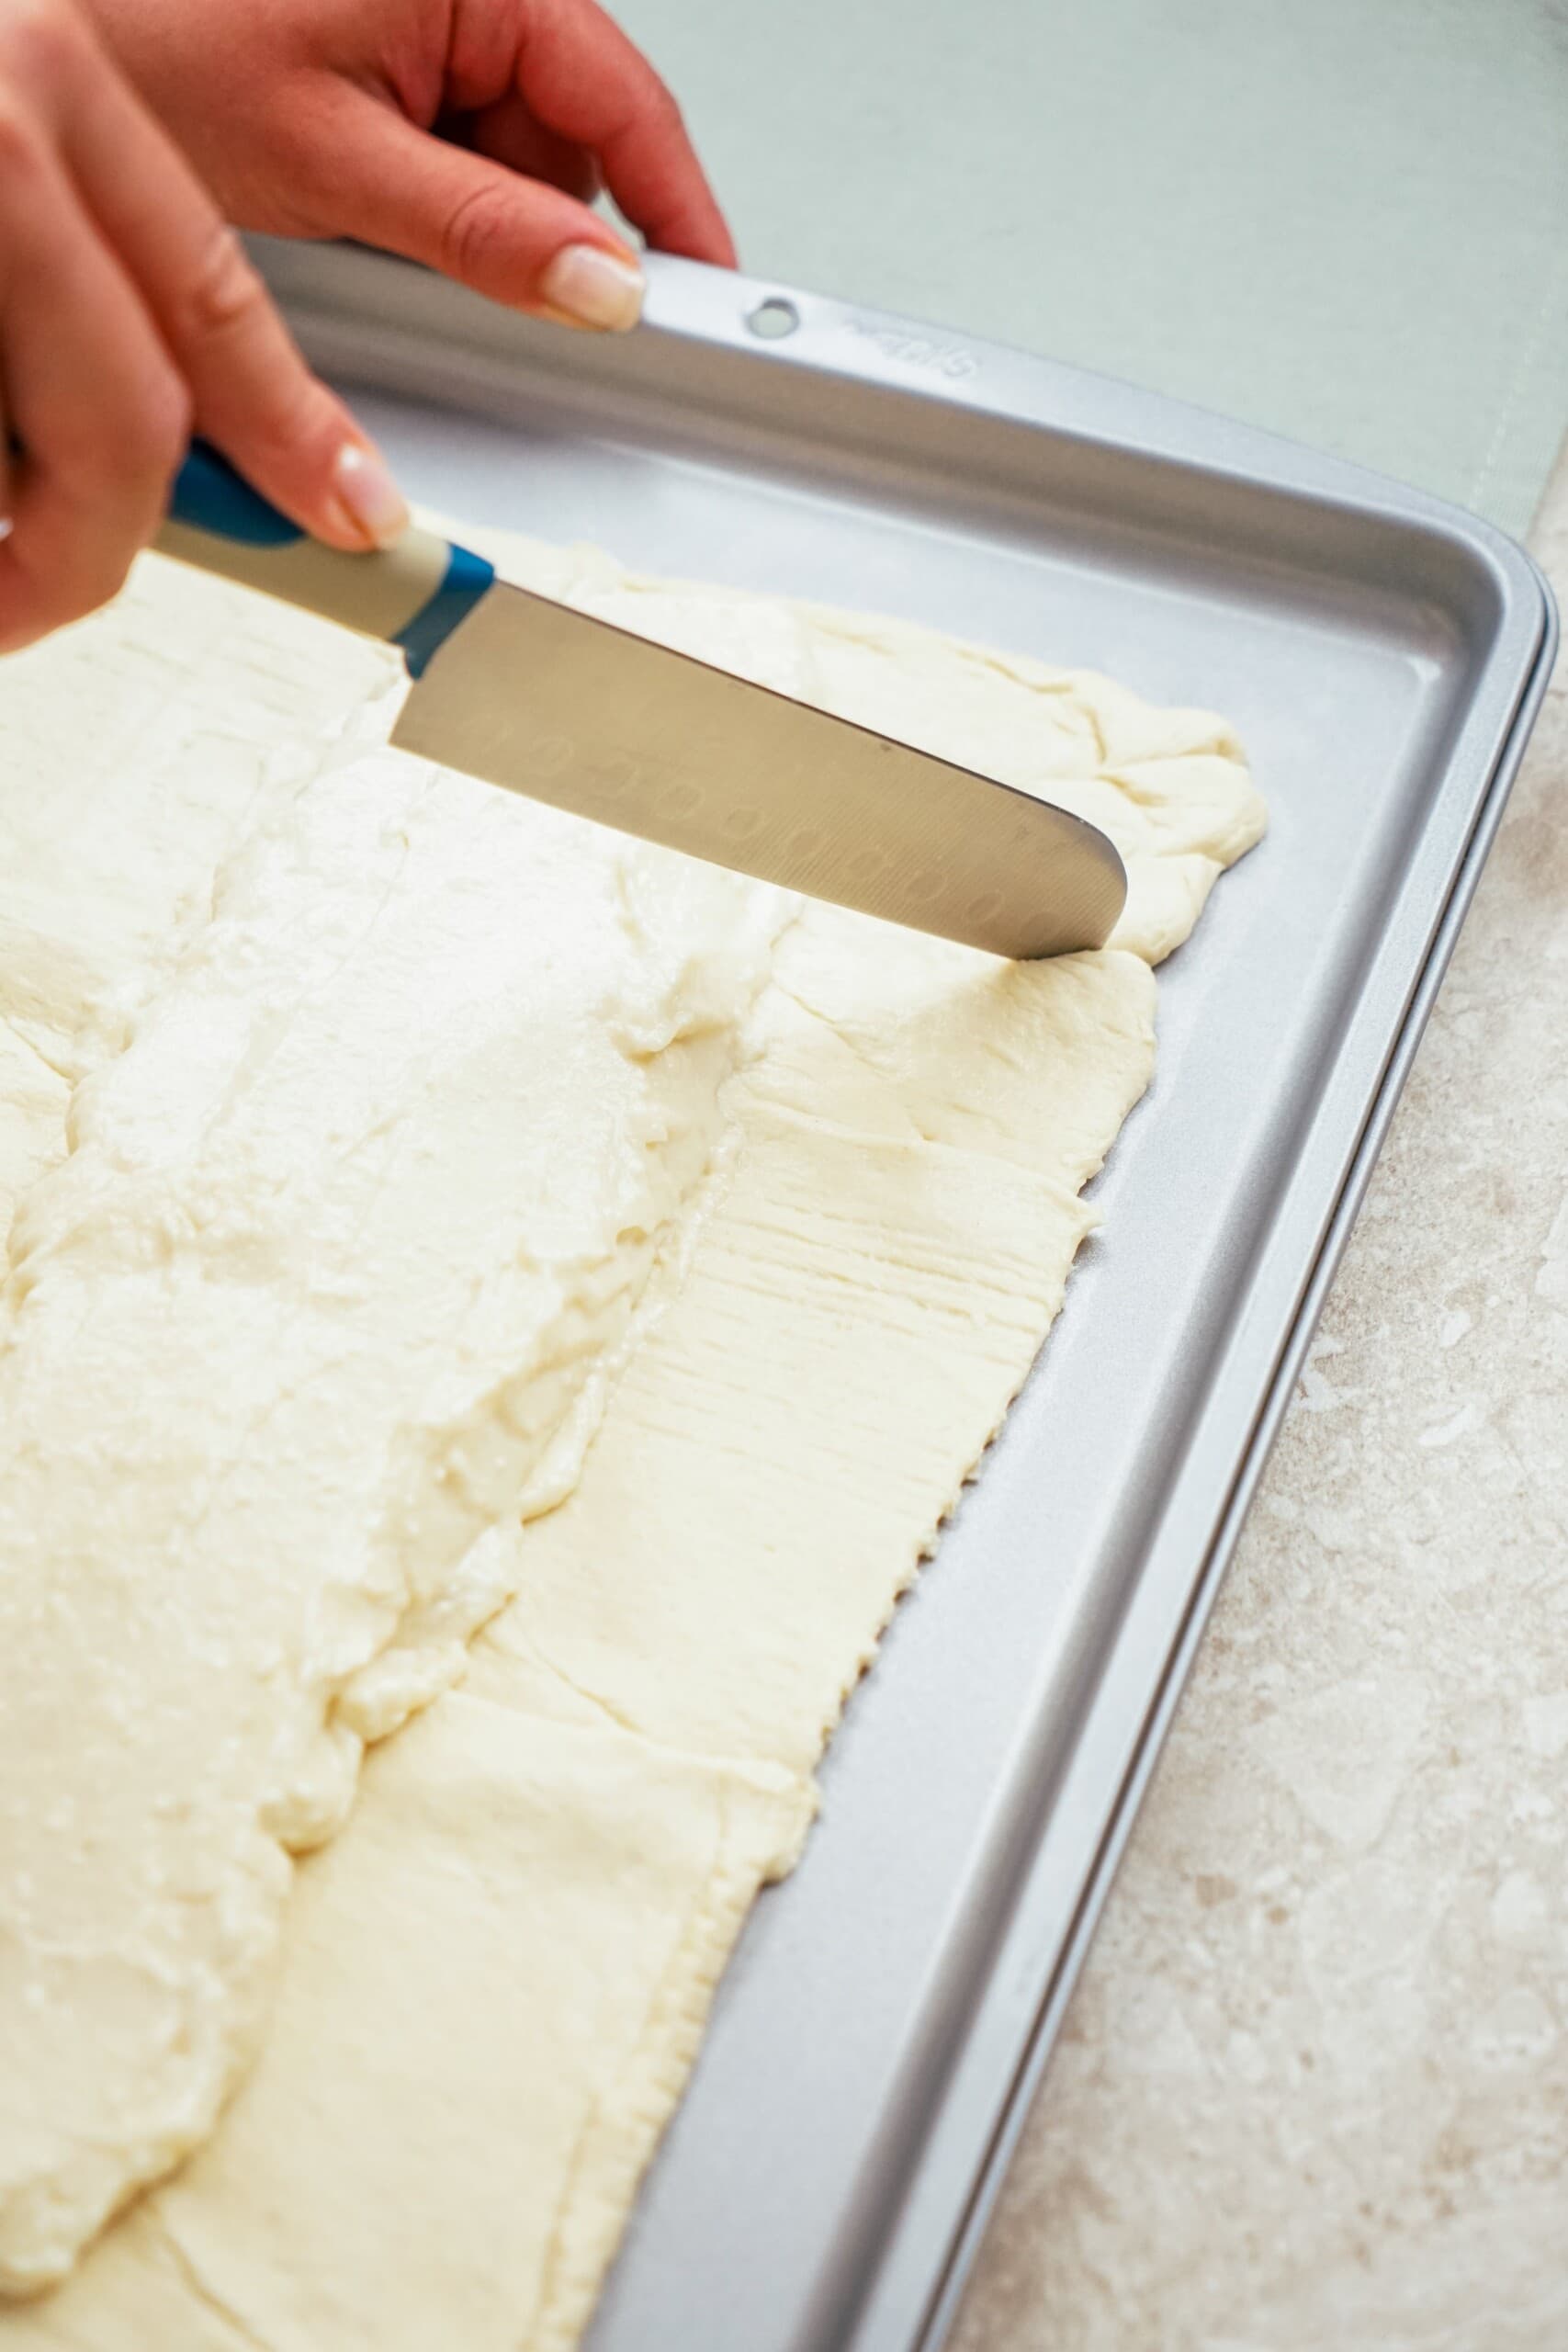
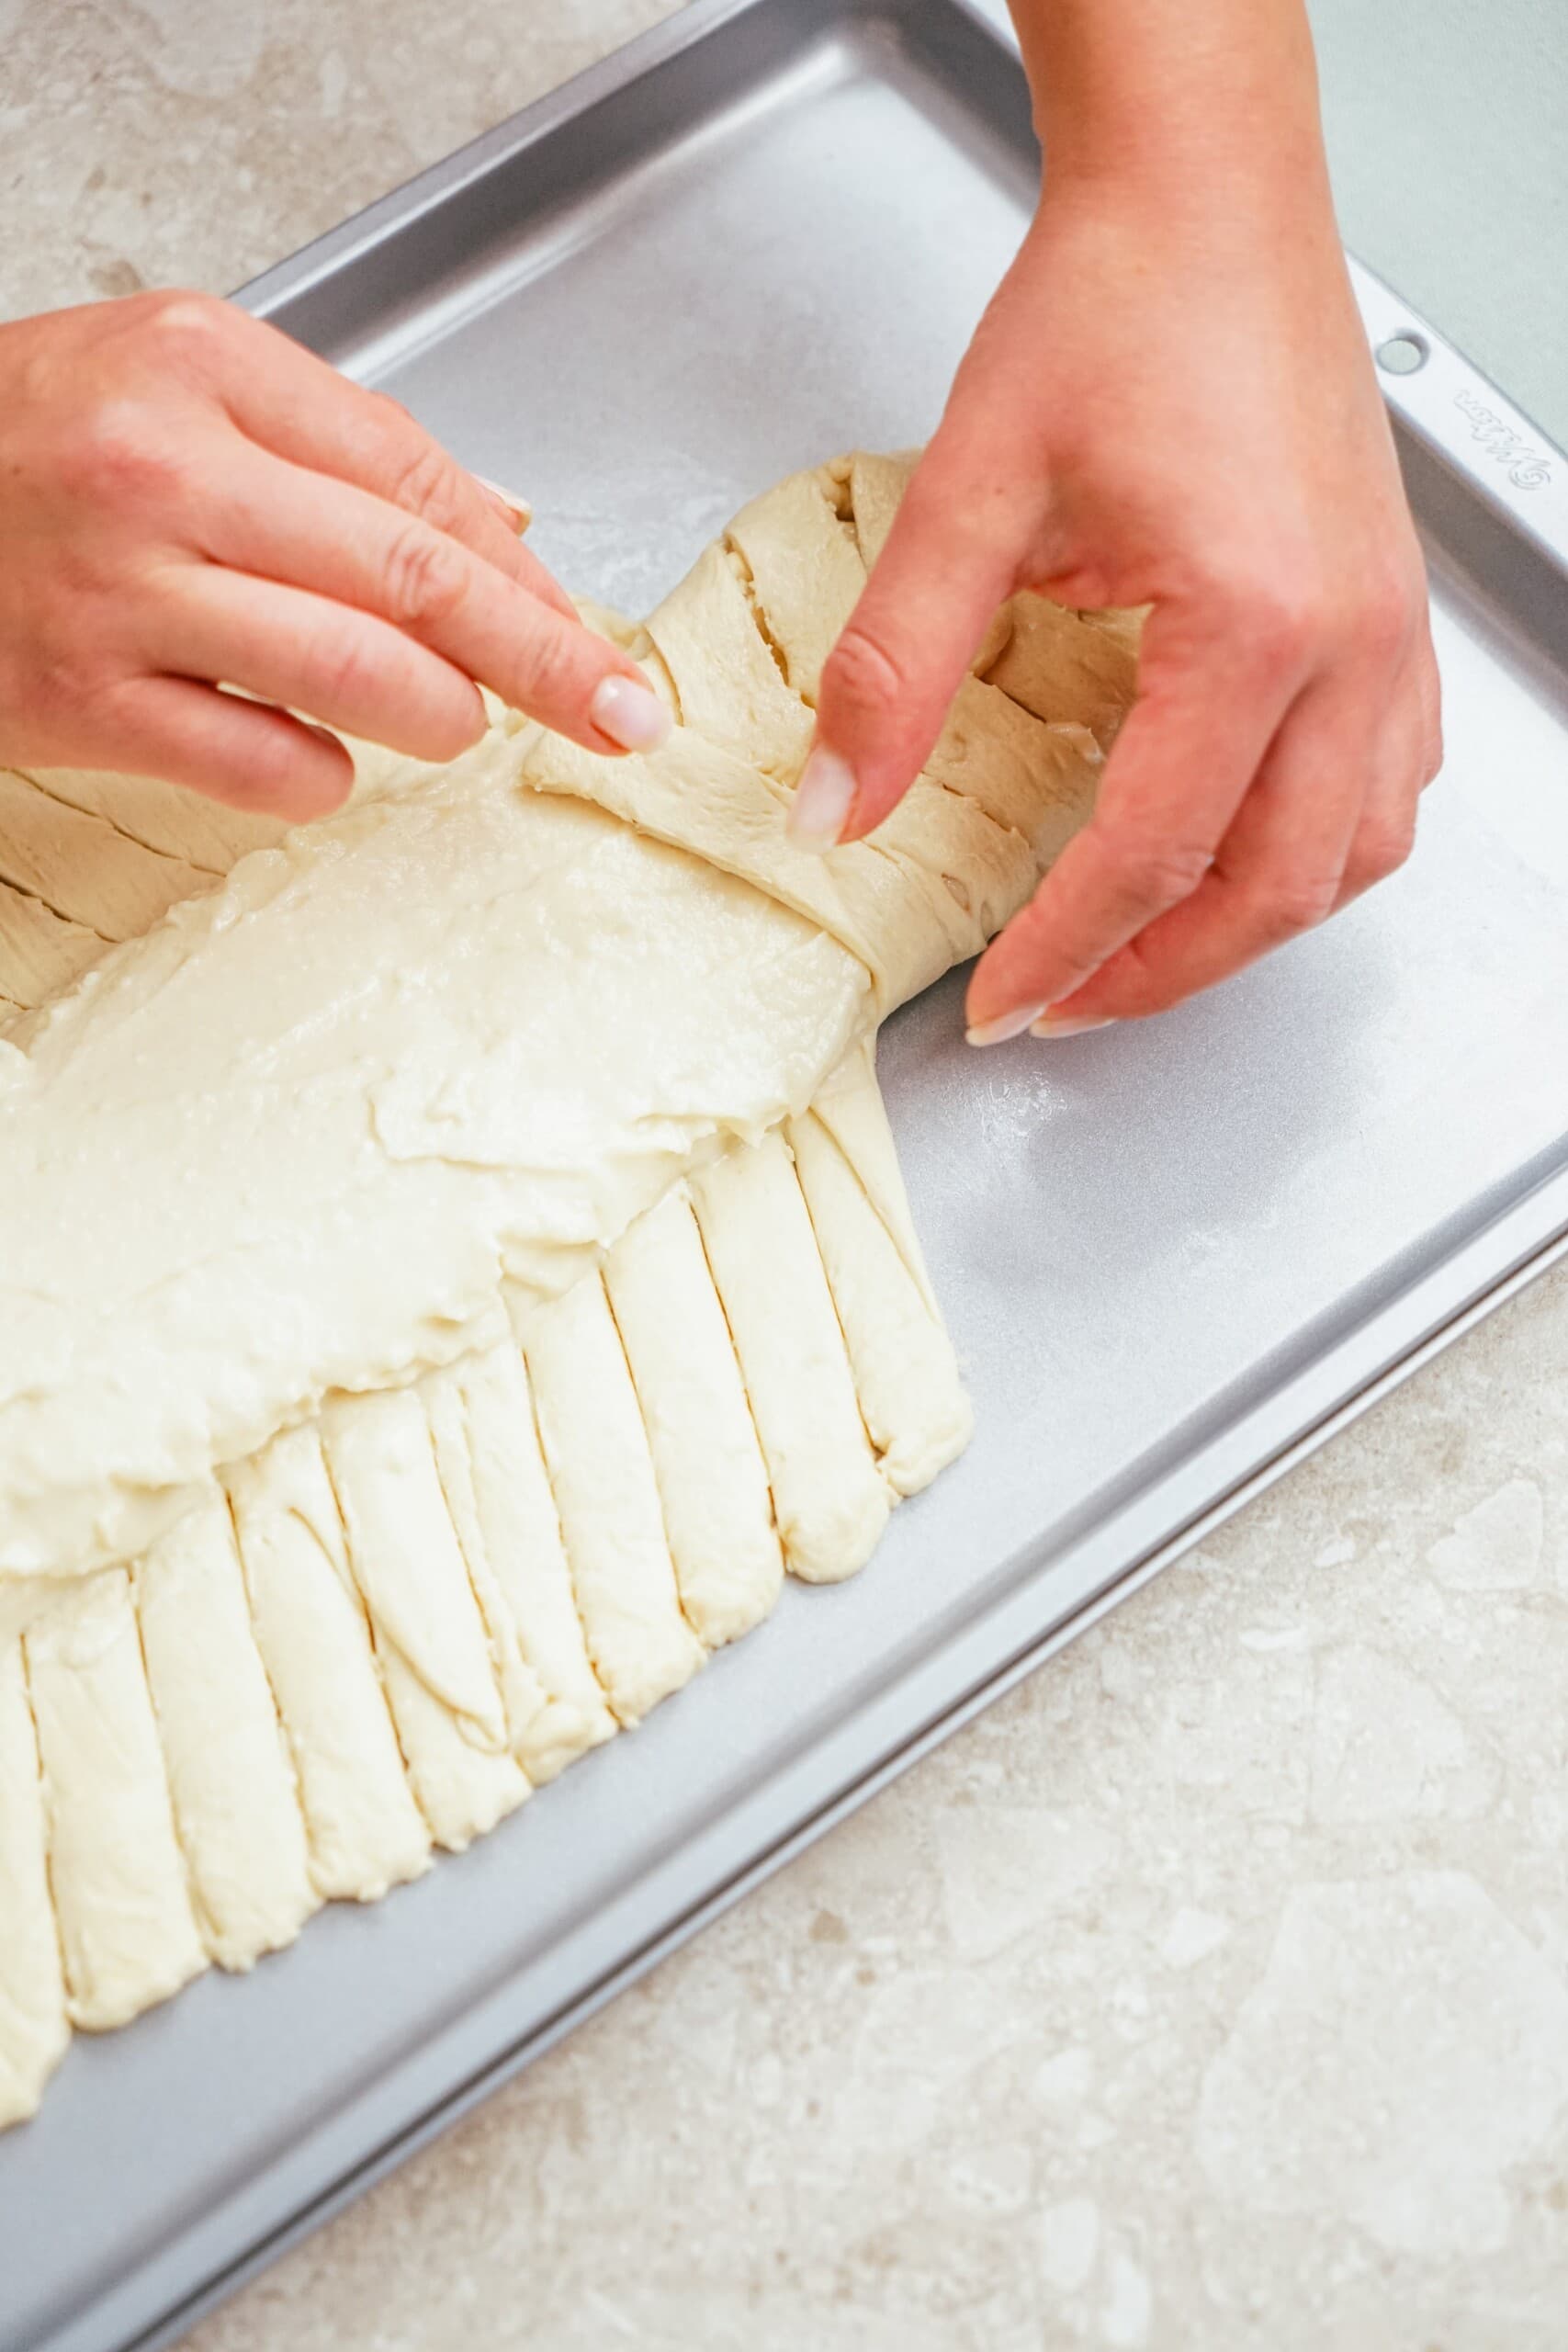
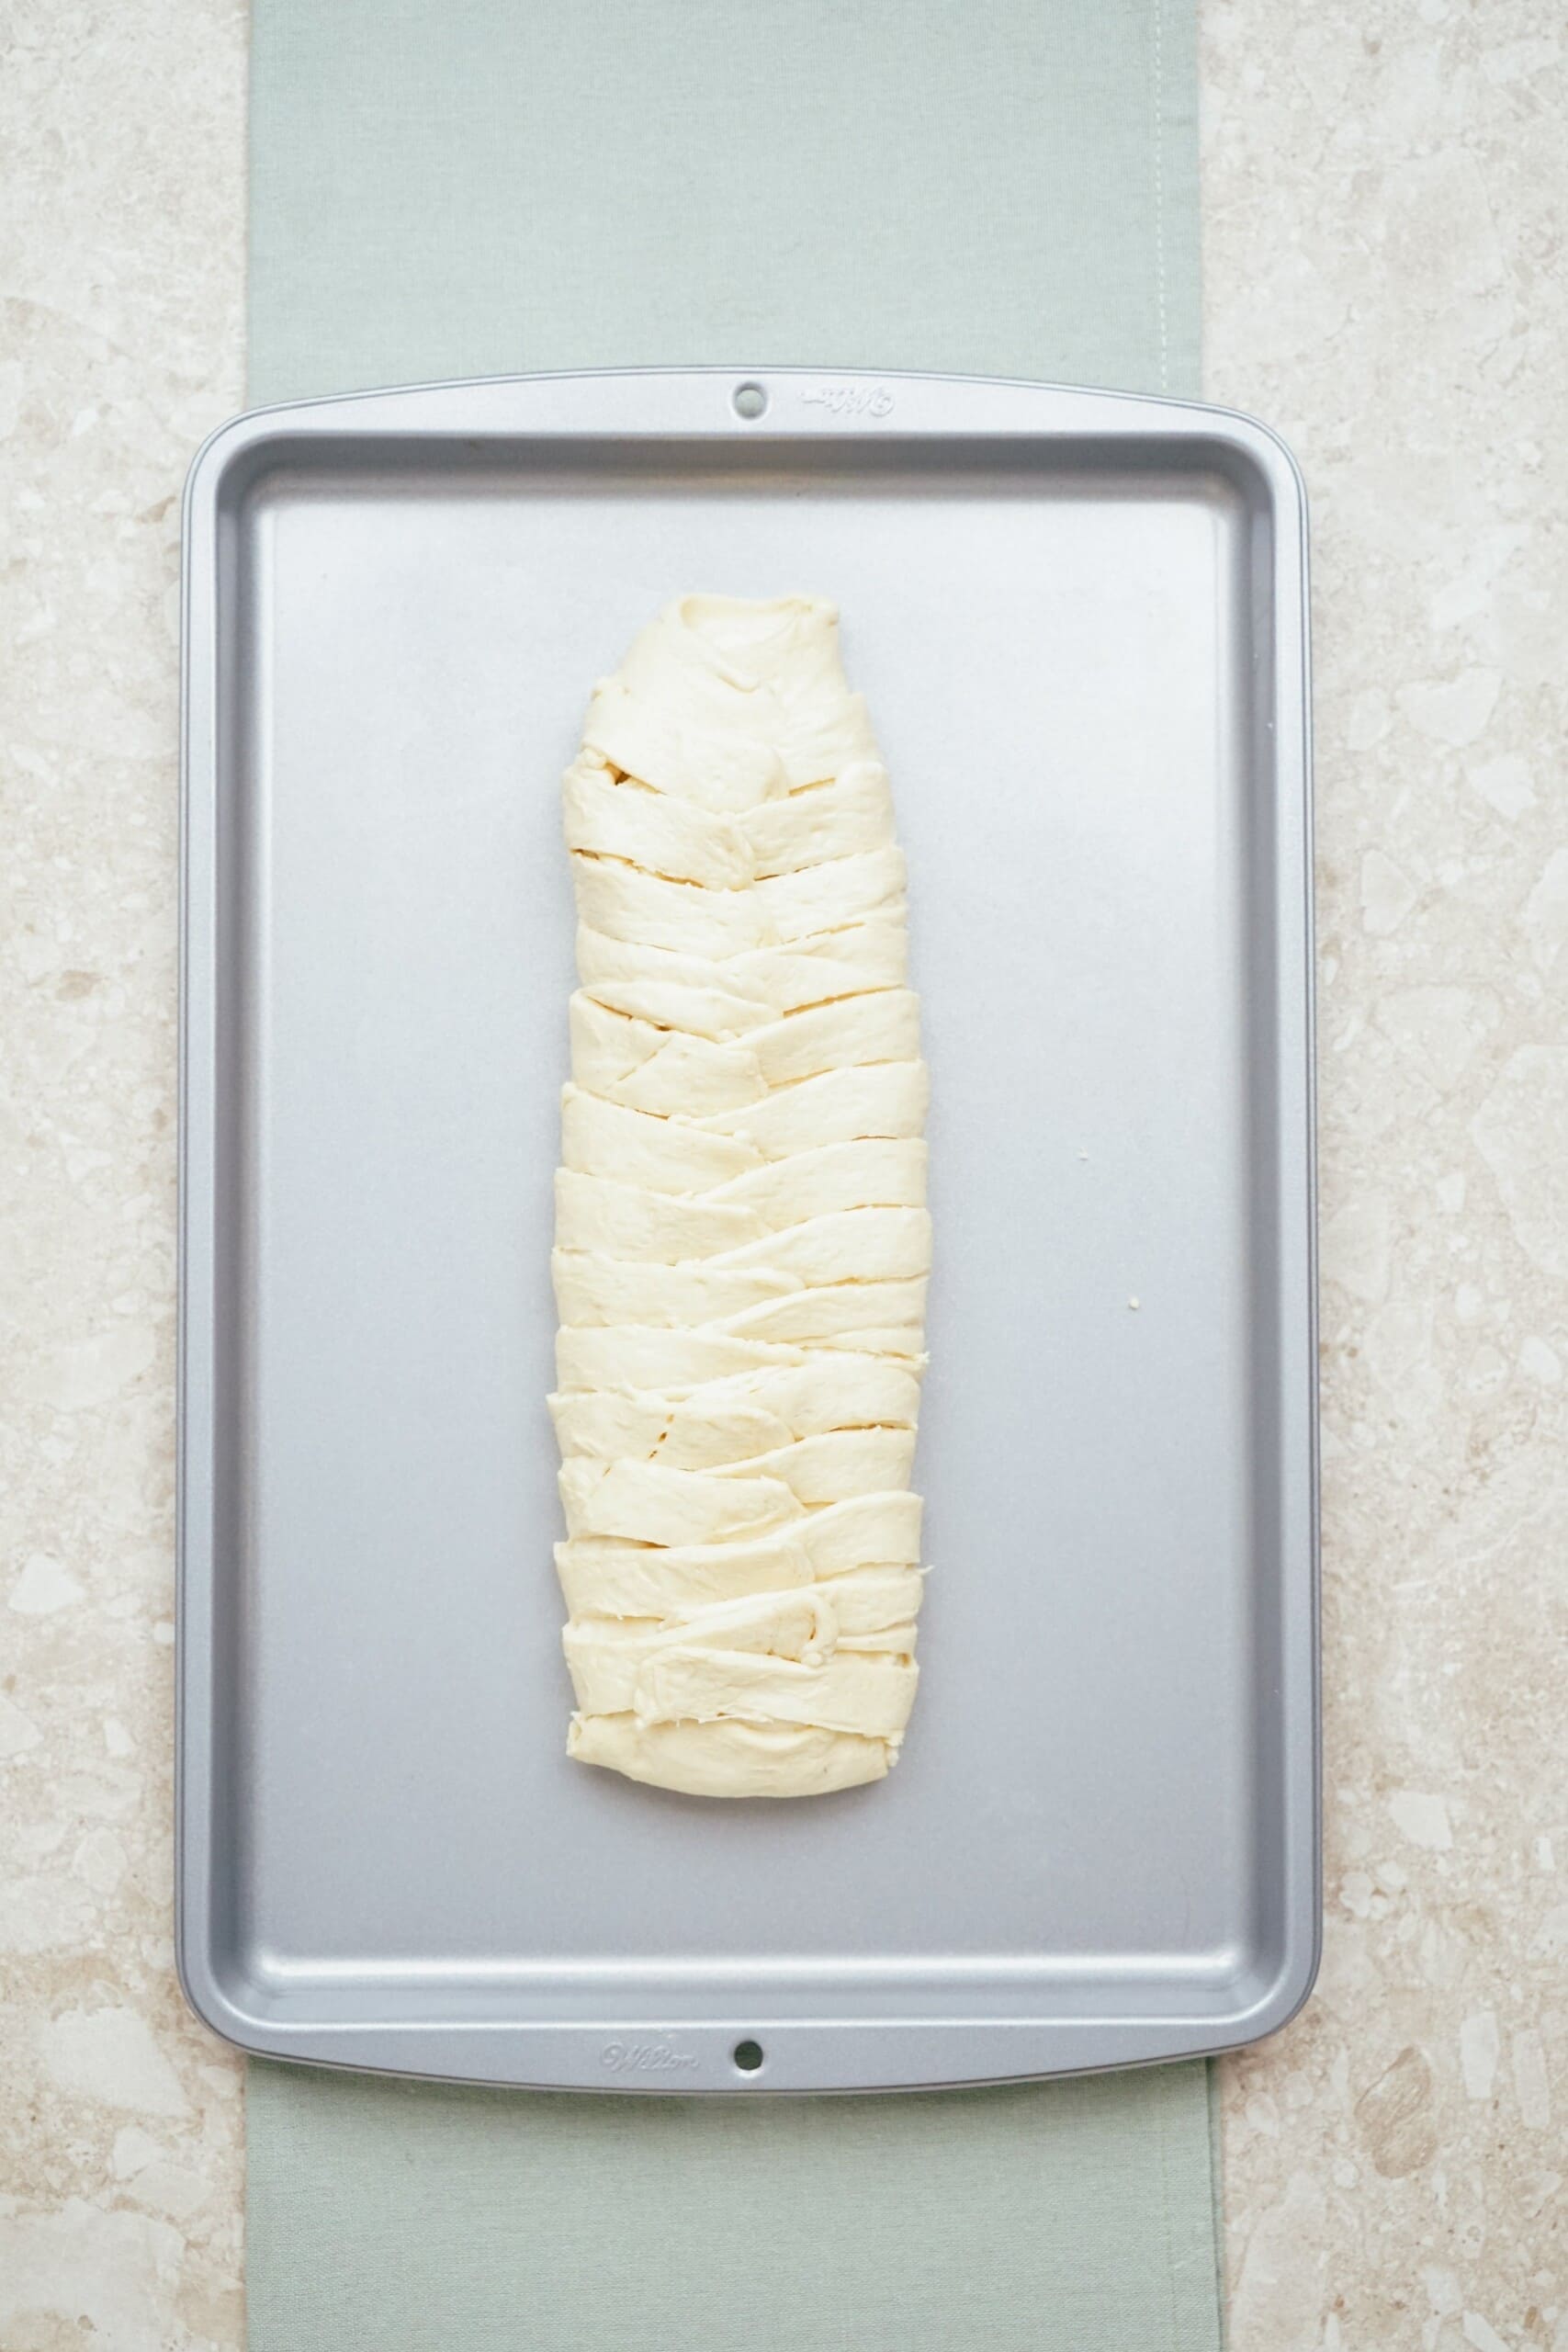
Next, cut 1/2 inch diagonal strips up each side of the dough. Fold 1/2 inch dough pieces up over filling alternating sides to get a braided pattern. You may have excess dough once you reach the end of the danish, so fold them in as best as you can.
Step 4: Bake
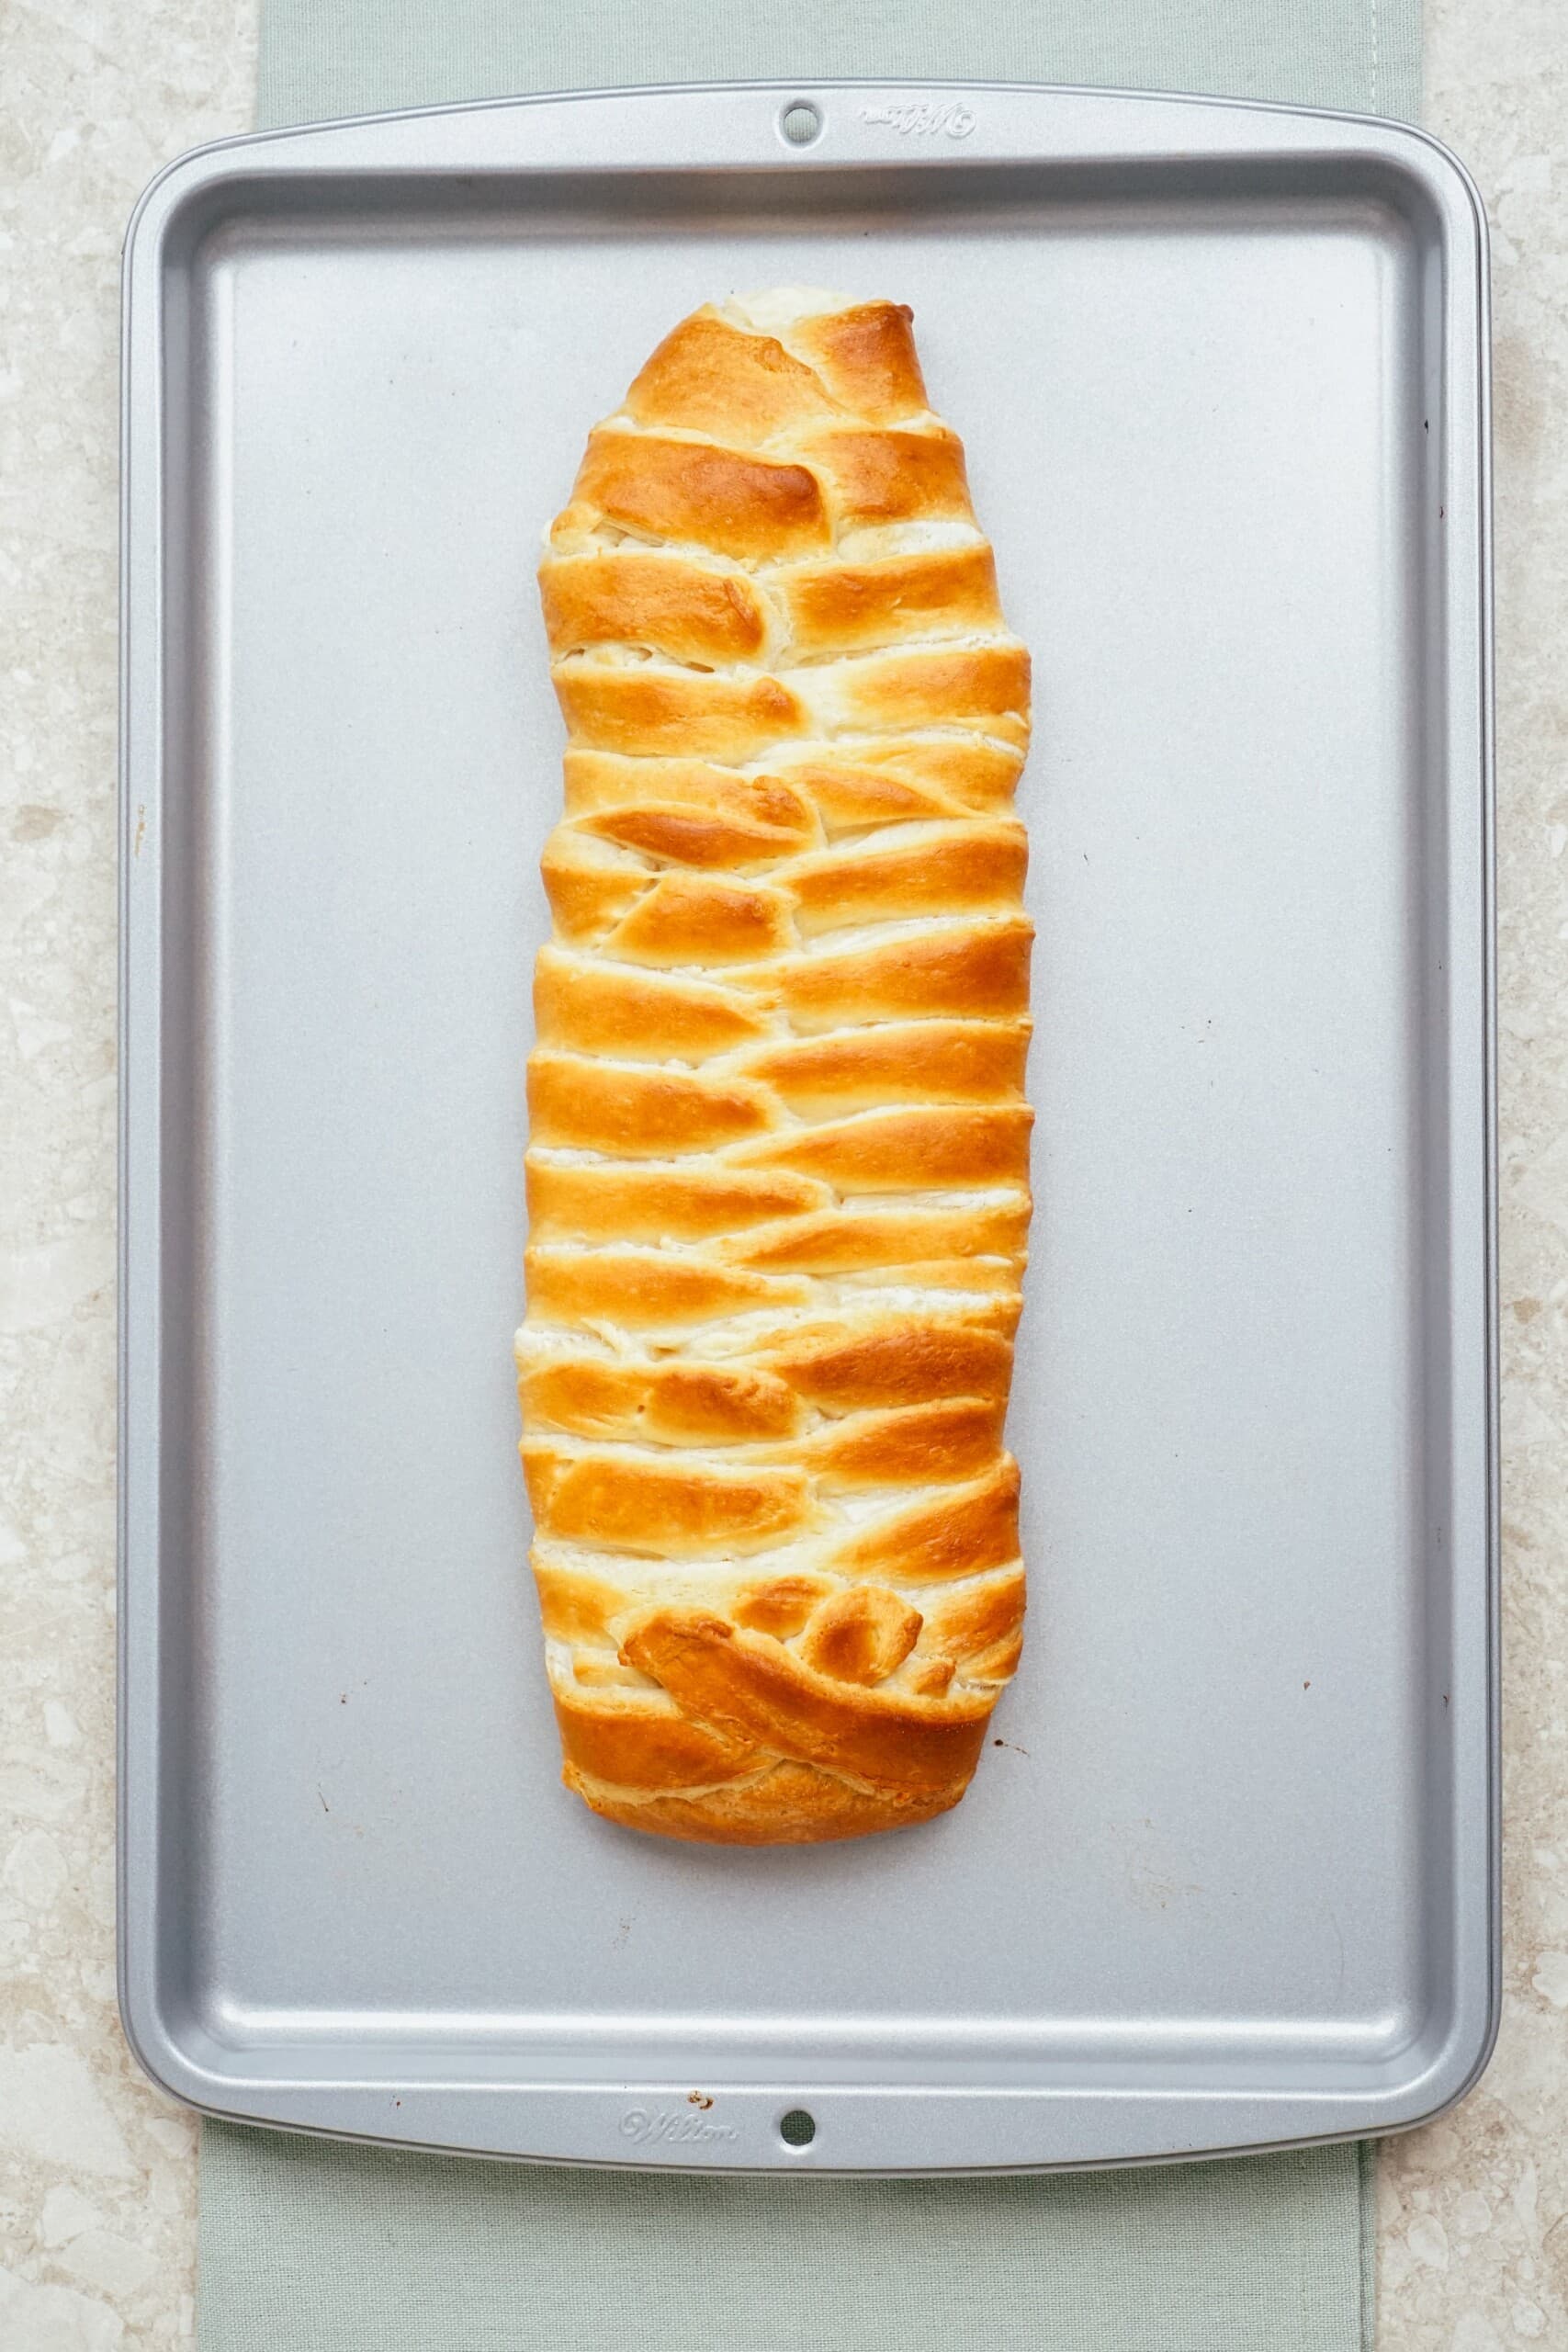
Bake for 20-30 minutes or until filling is set and the crescent dough is golden brown. Cool before removing from the baking sheet.
Step 5: Make the Icing
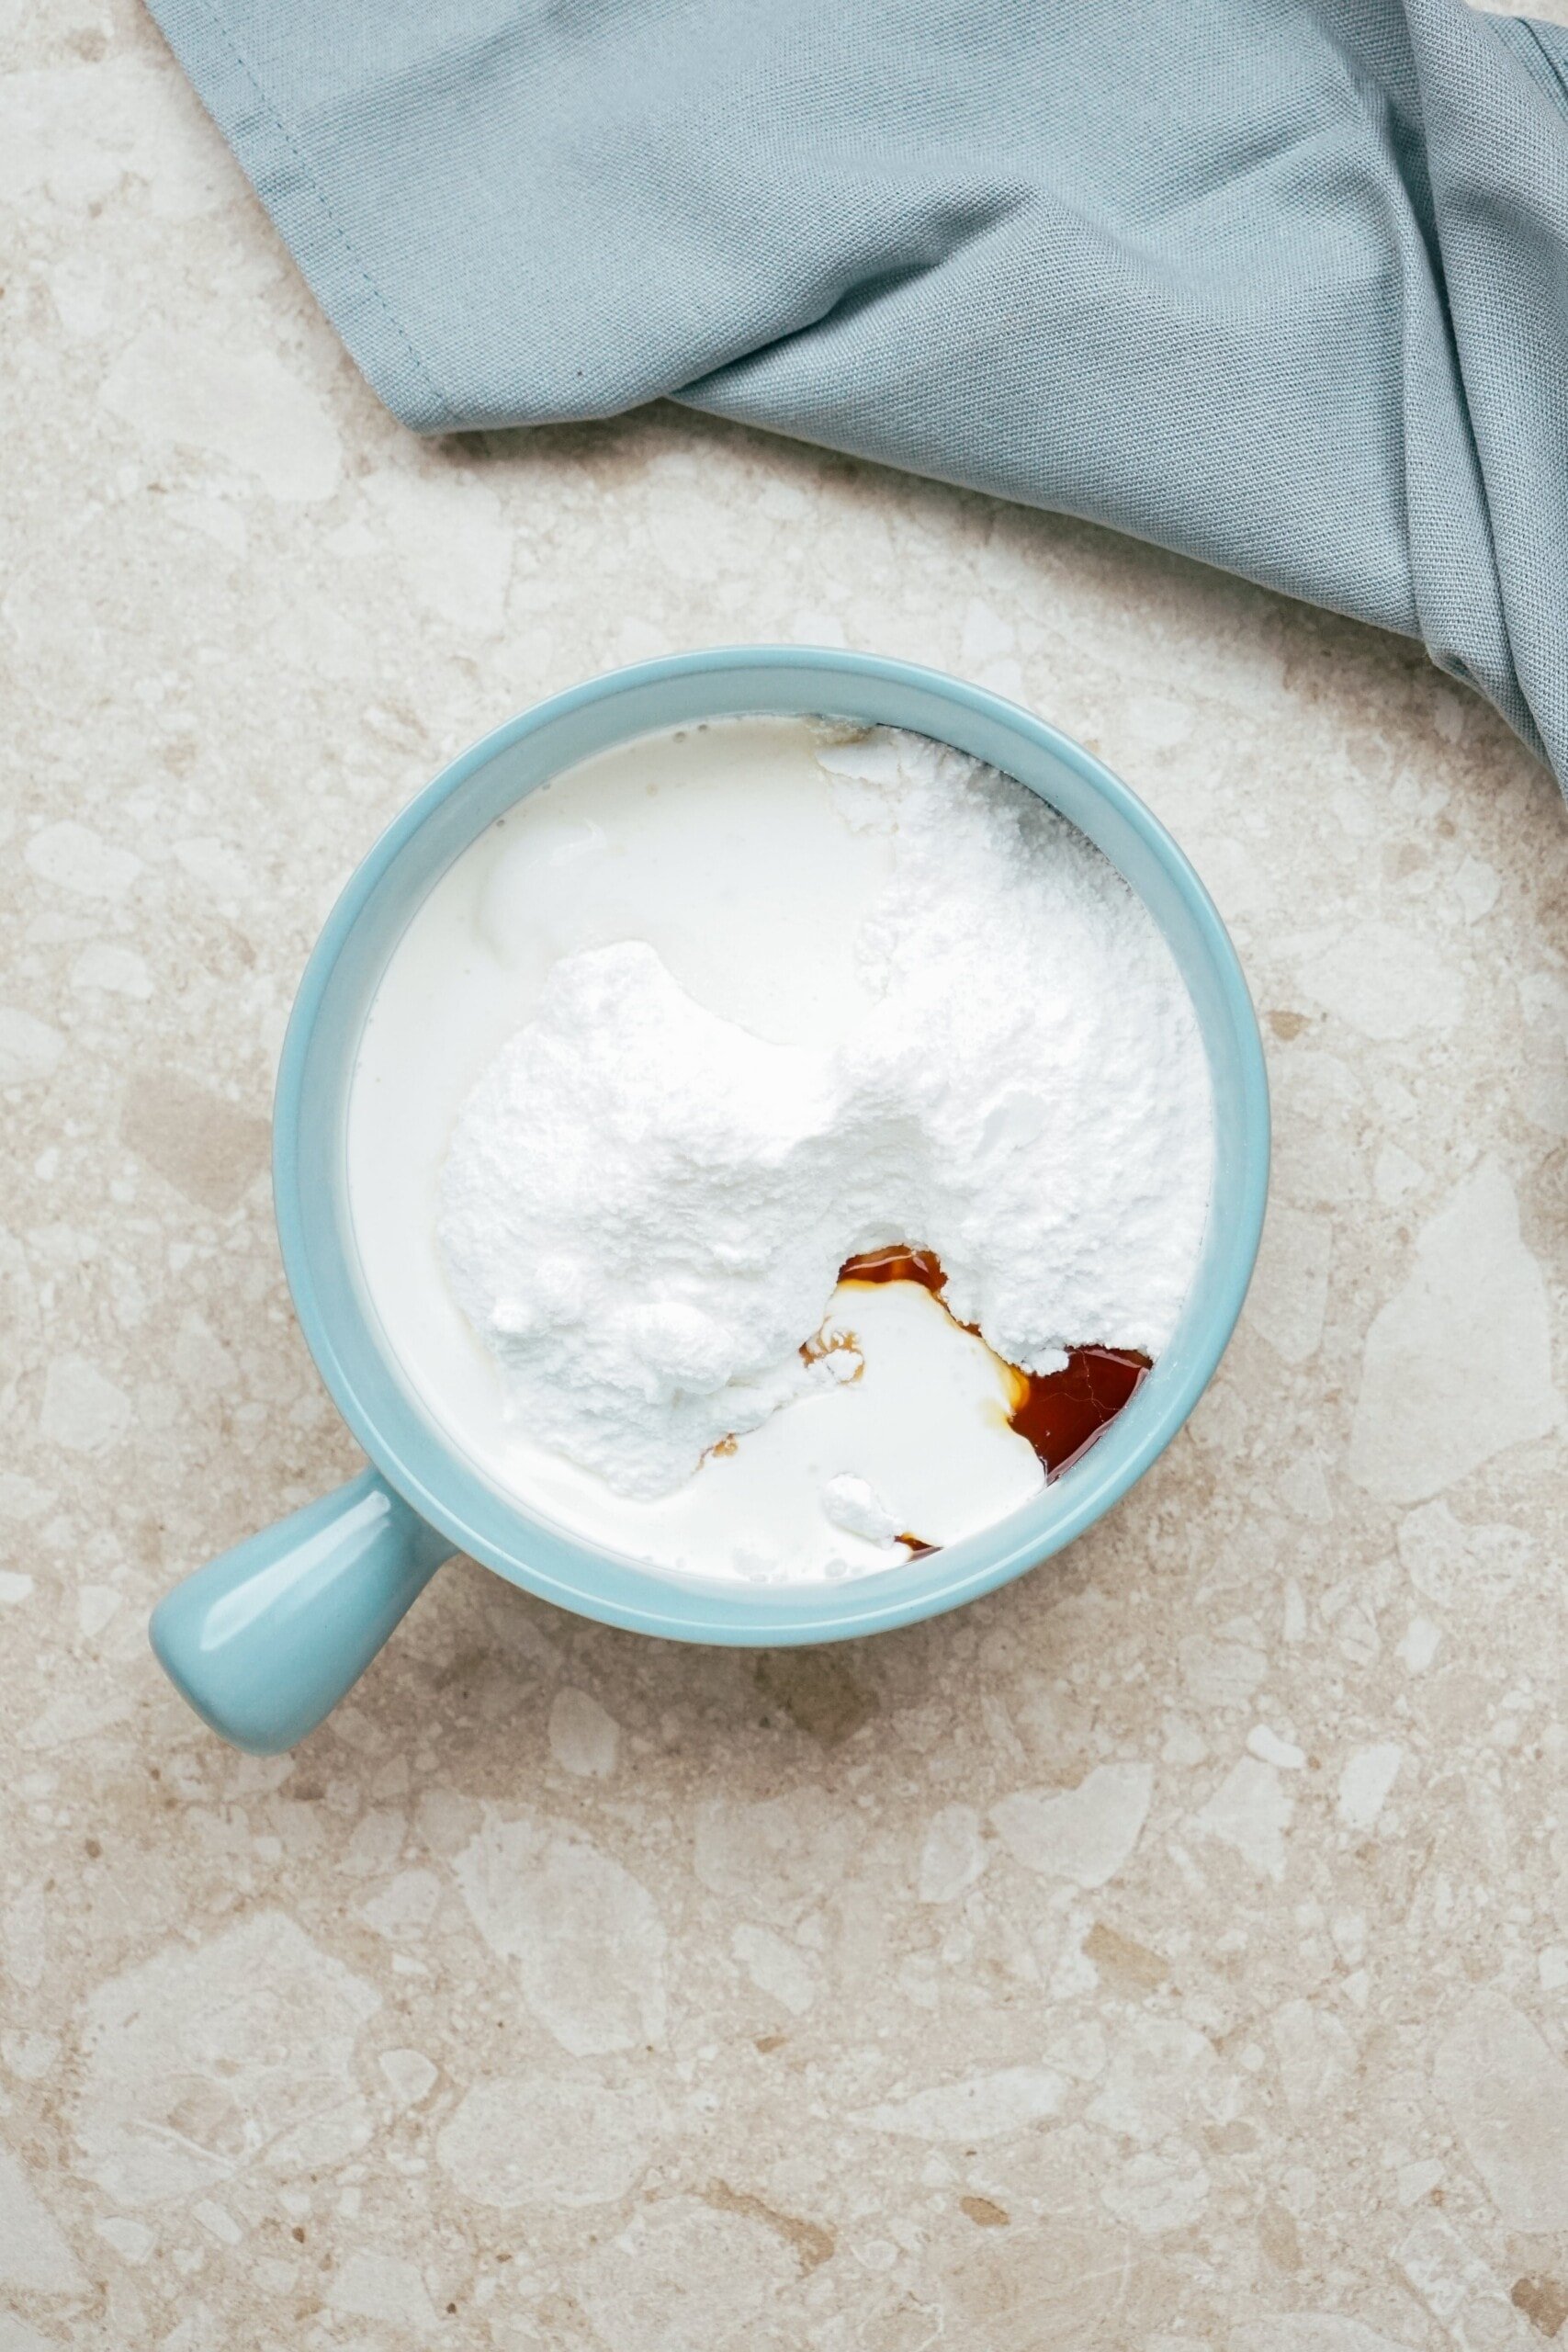
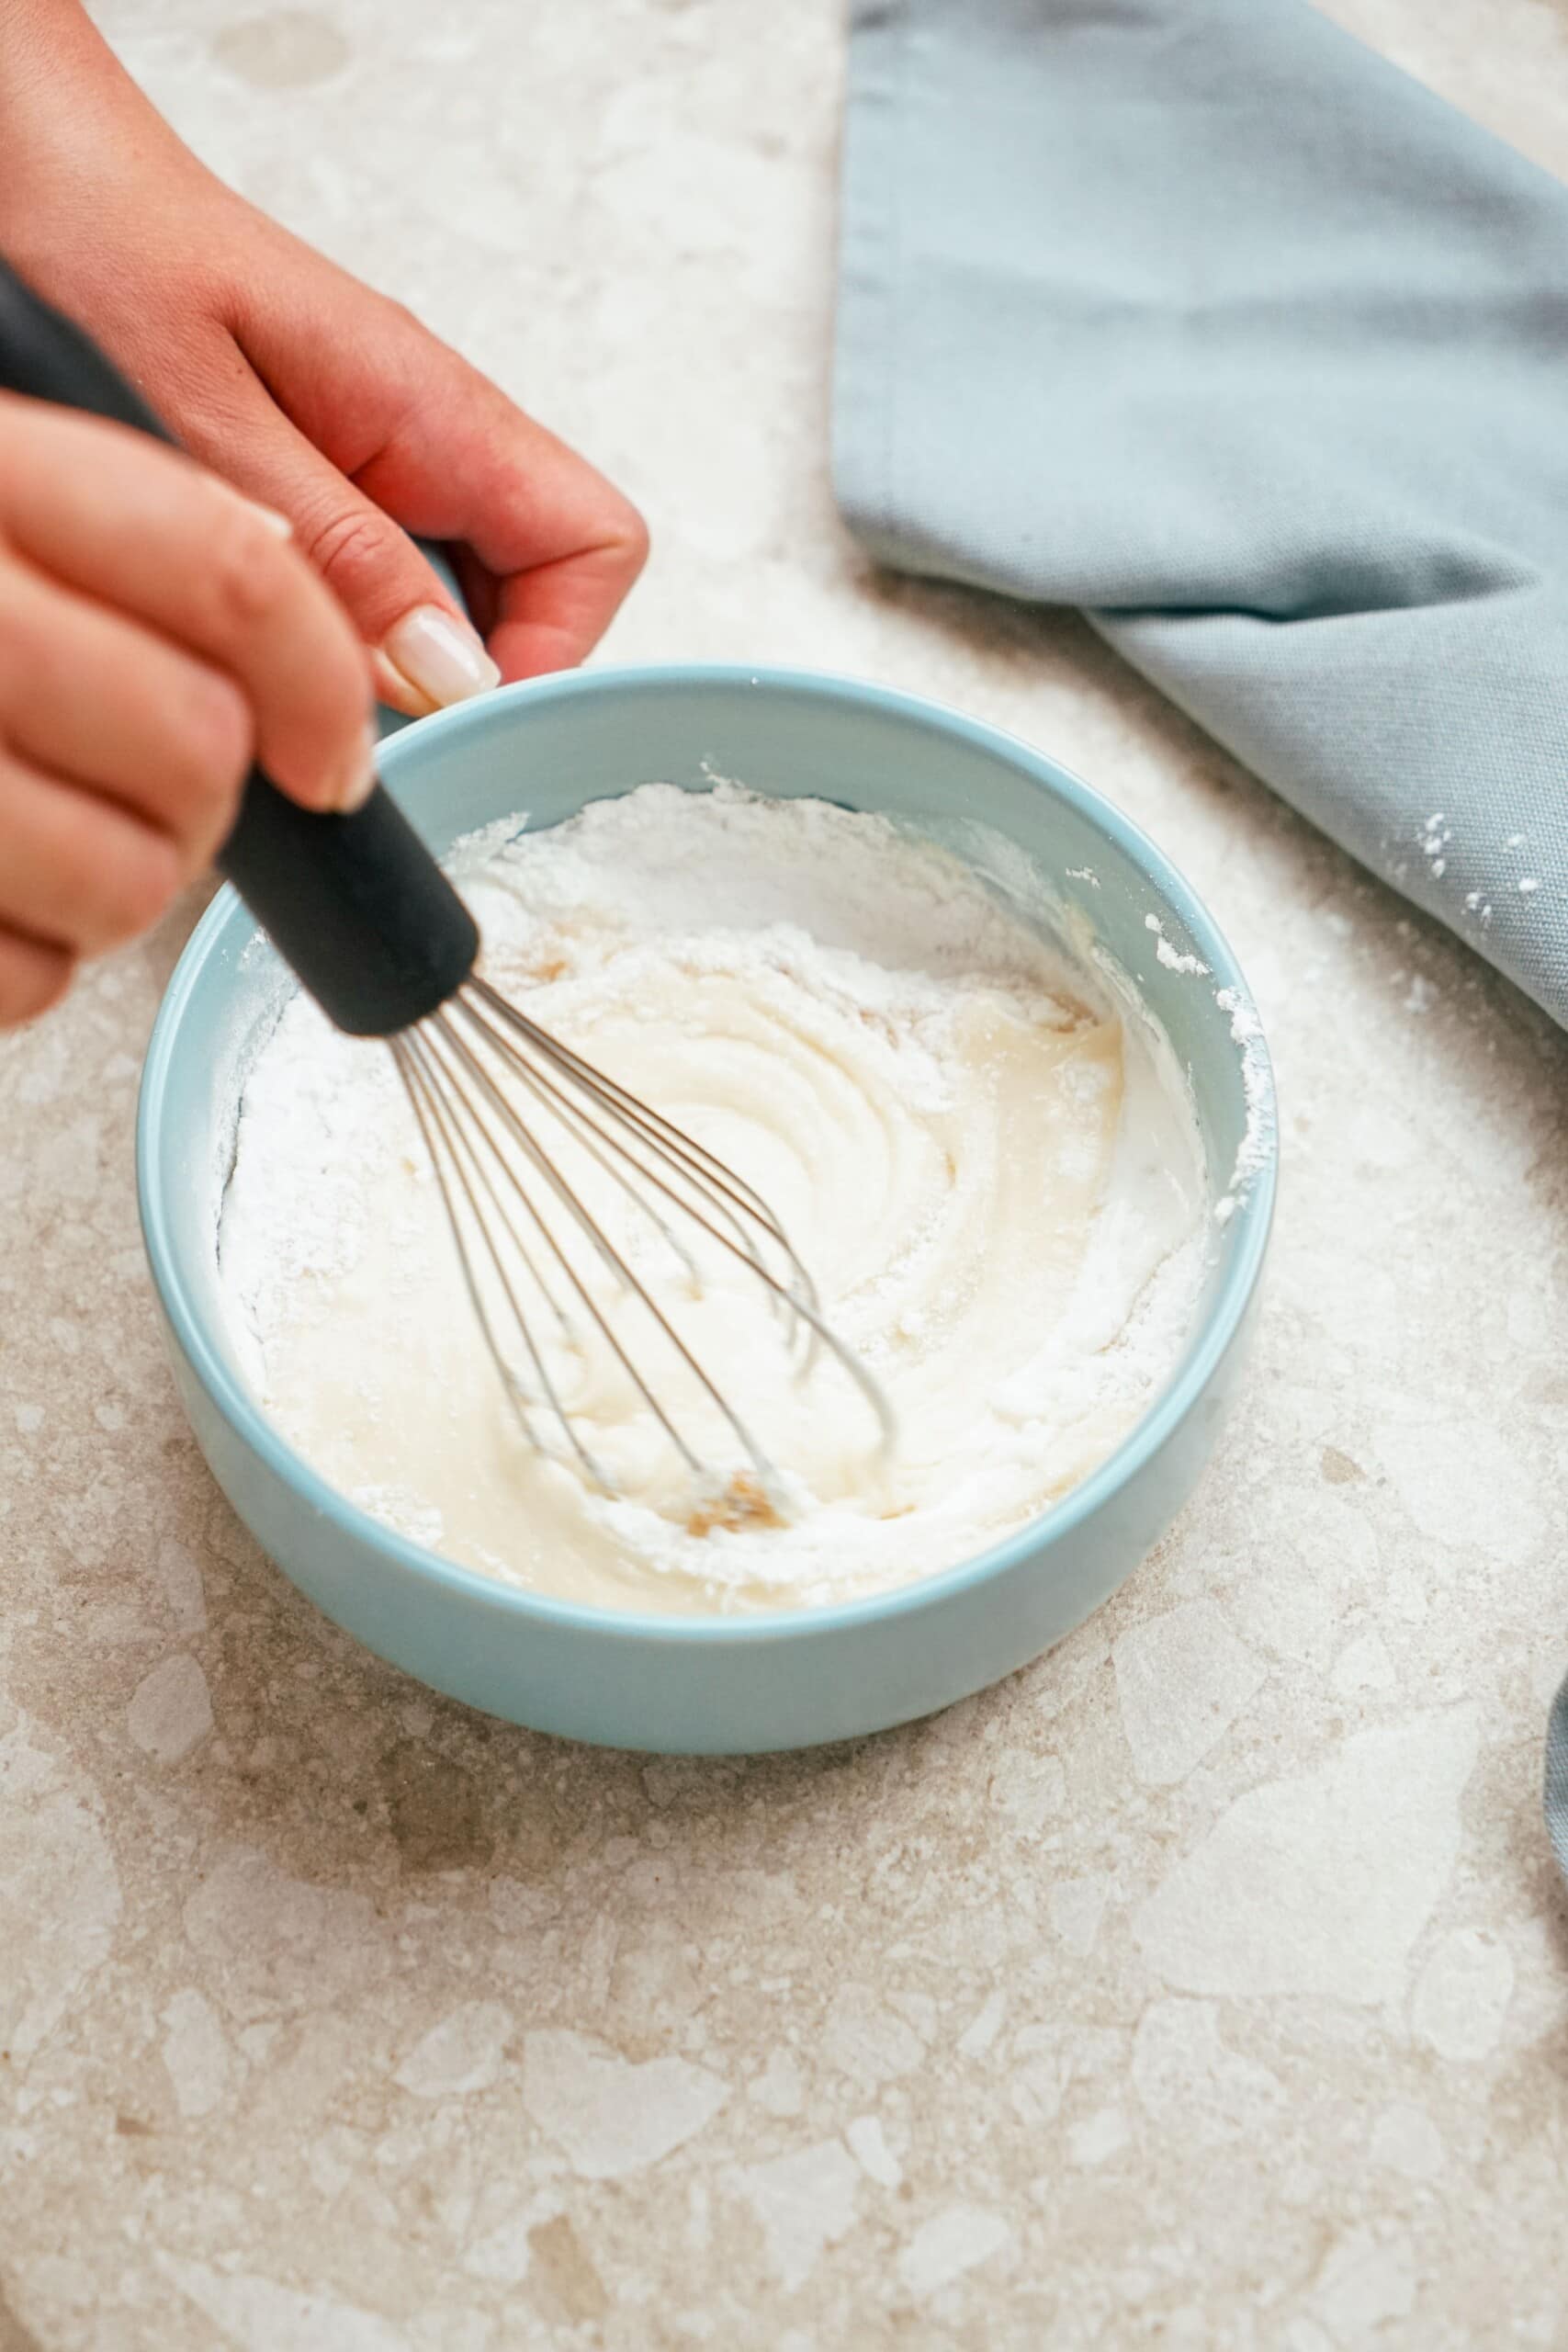
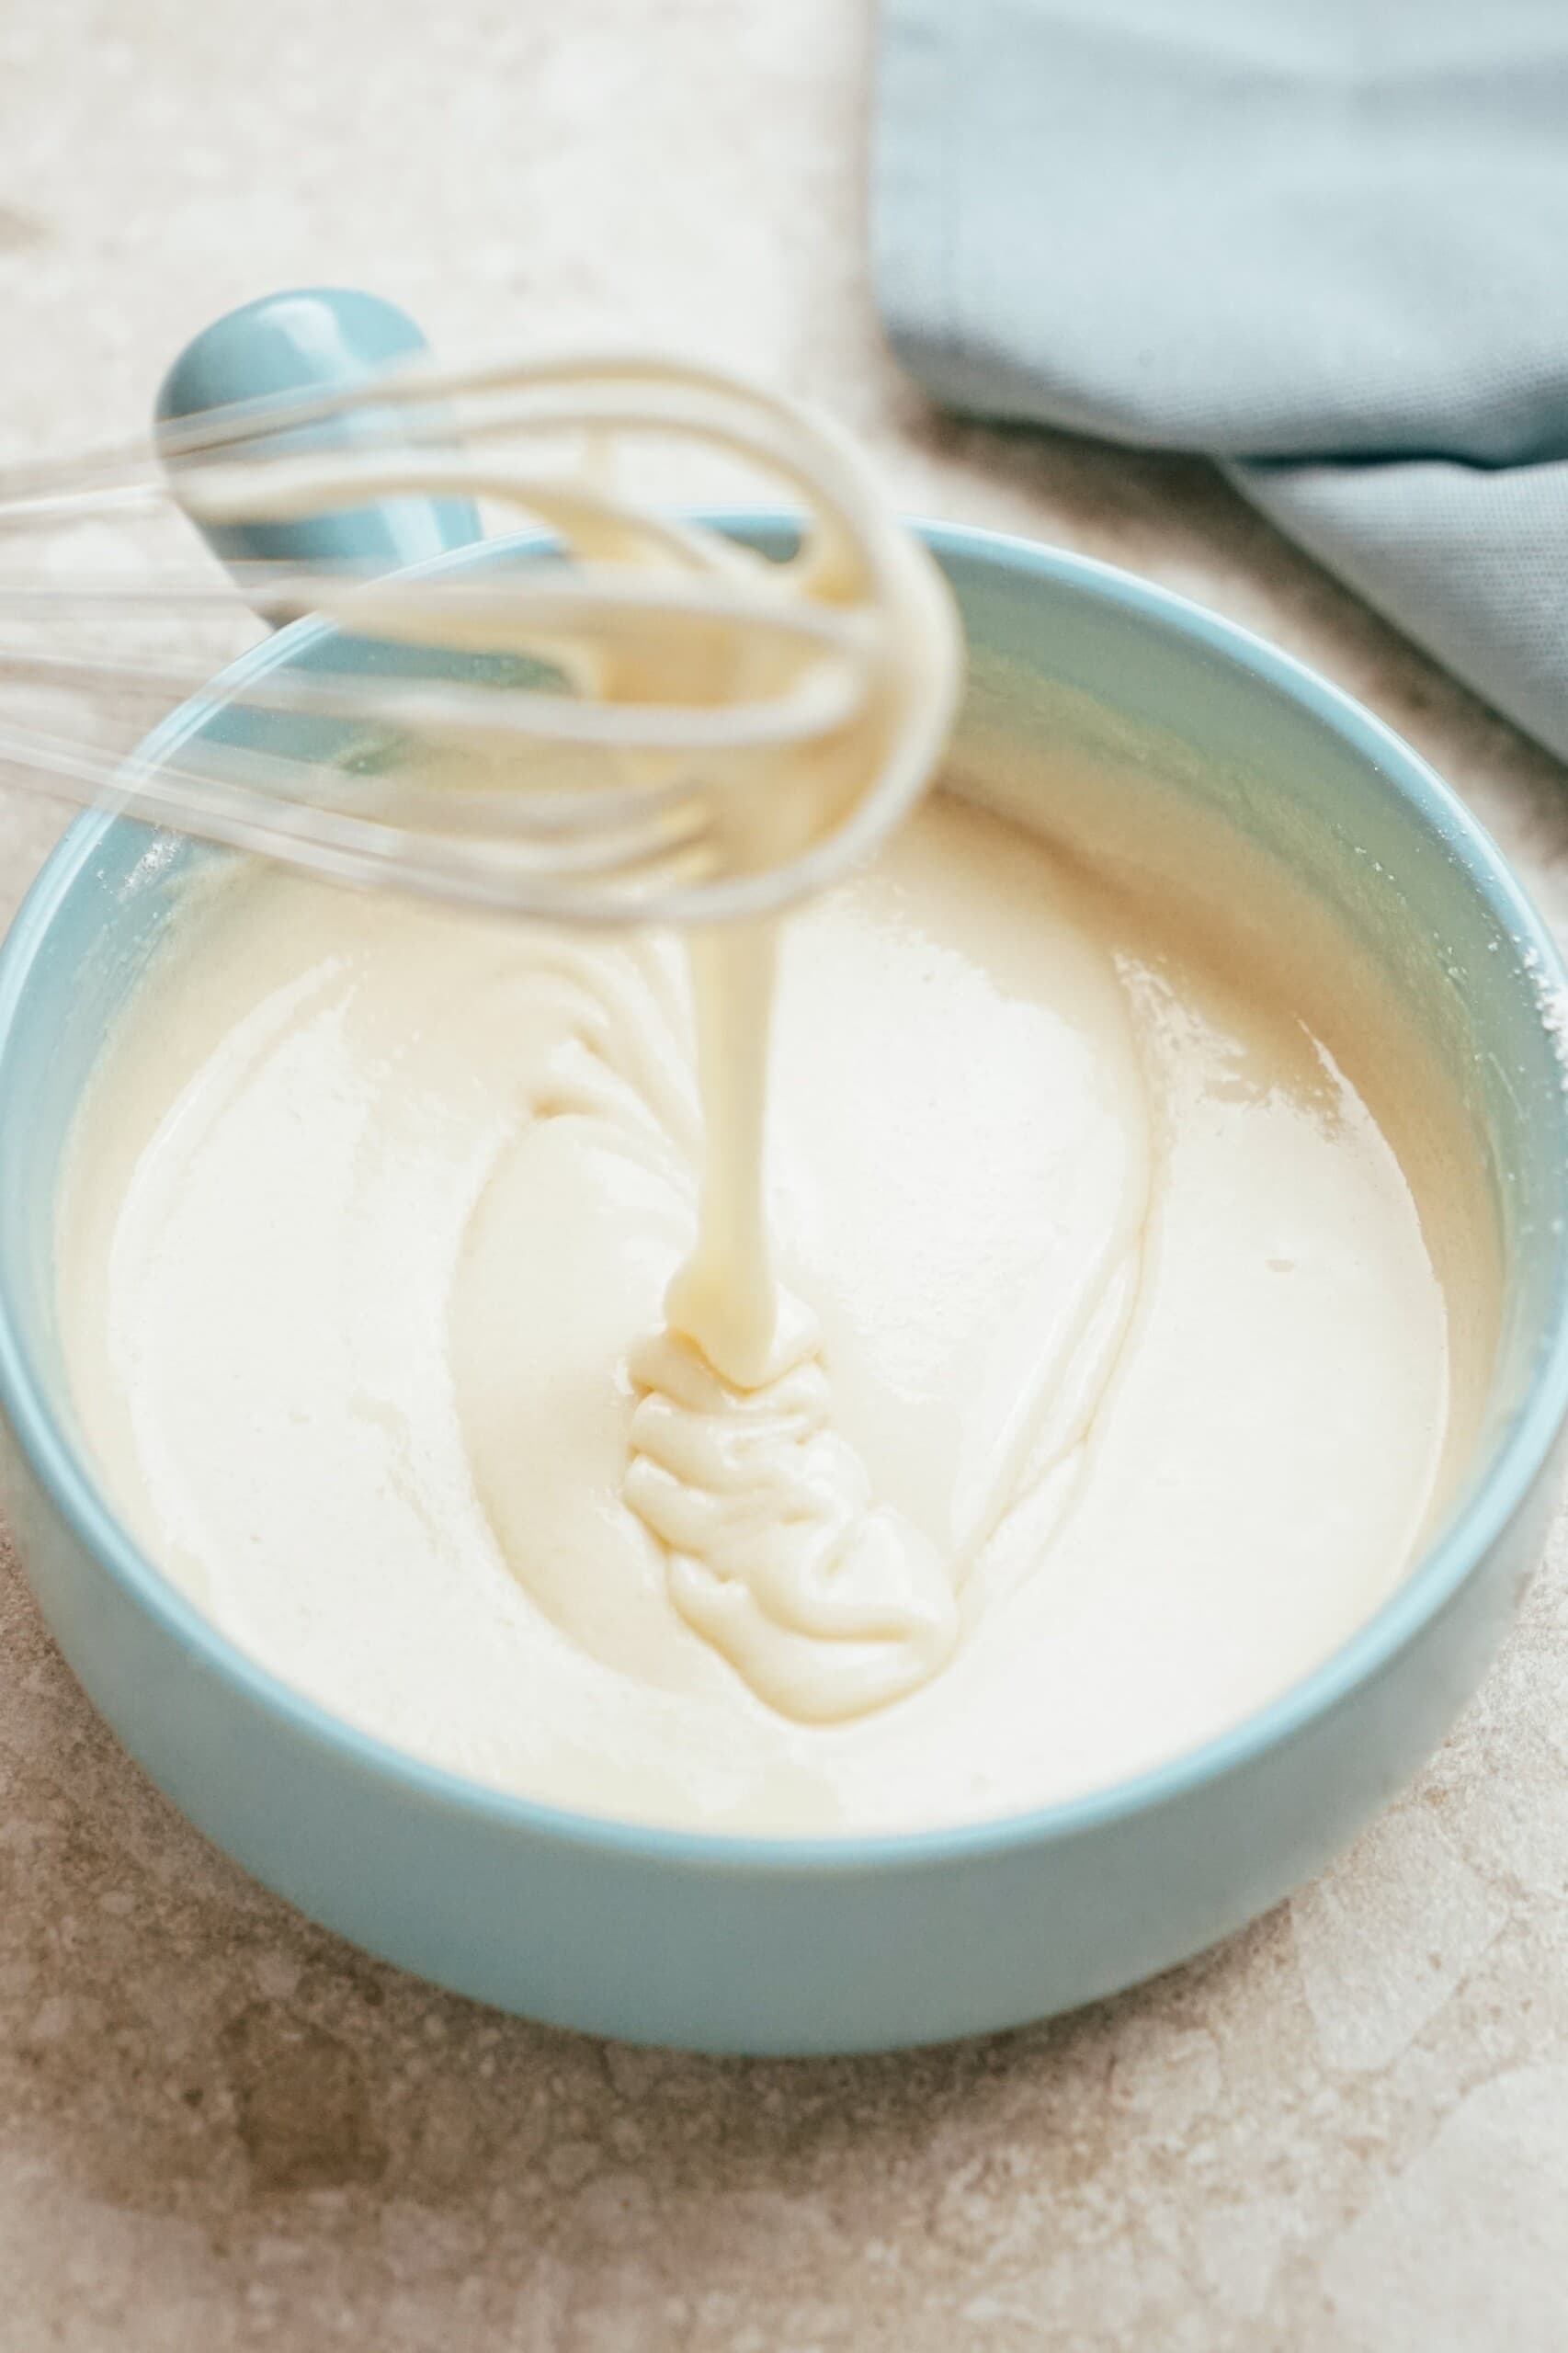
Once the Danish has cooled, transfer it to a serving platter. In a small bowl, combine powdered sugar, vanilla extract, and cream, then use a wire whisk (it helps blend everything smoothly and quickly remove any lumps) to make the icing, adding more cream as needed until you reach your desired consistency.
Step 6: Drizzle Icing, Cut + Serve!
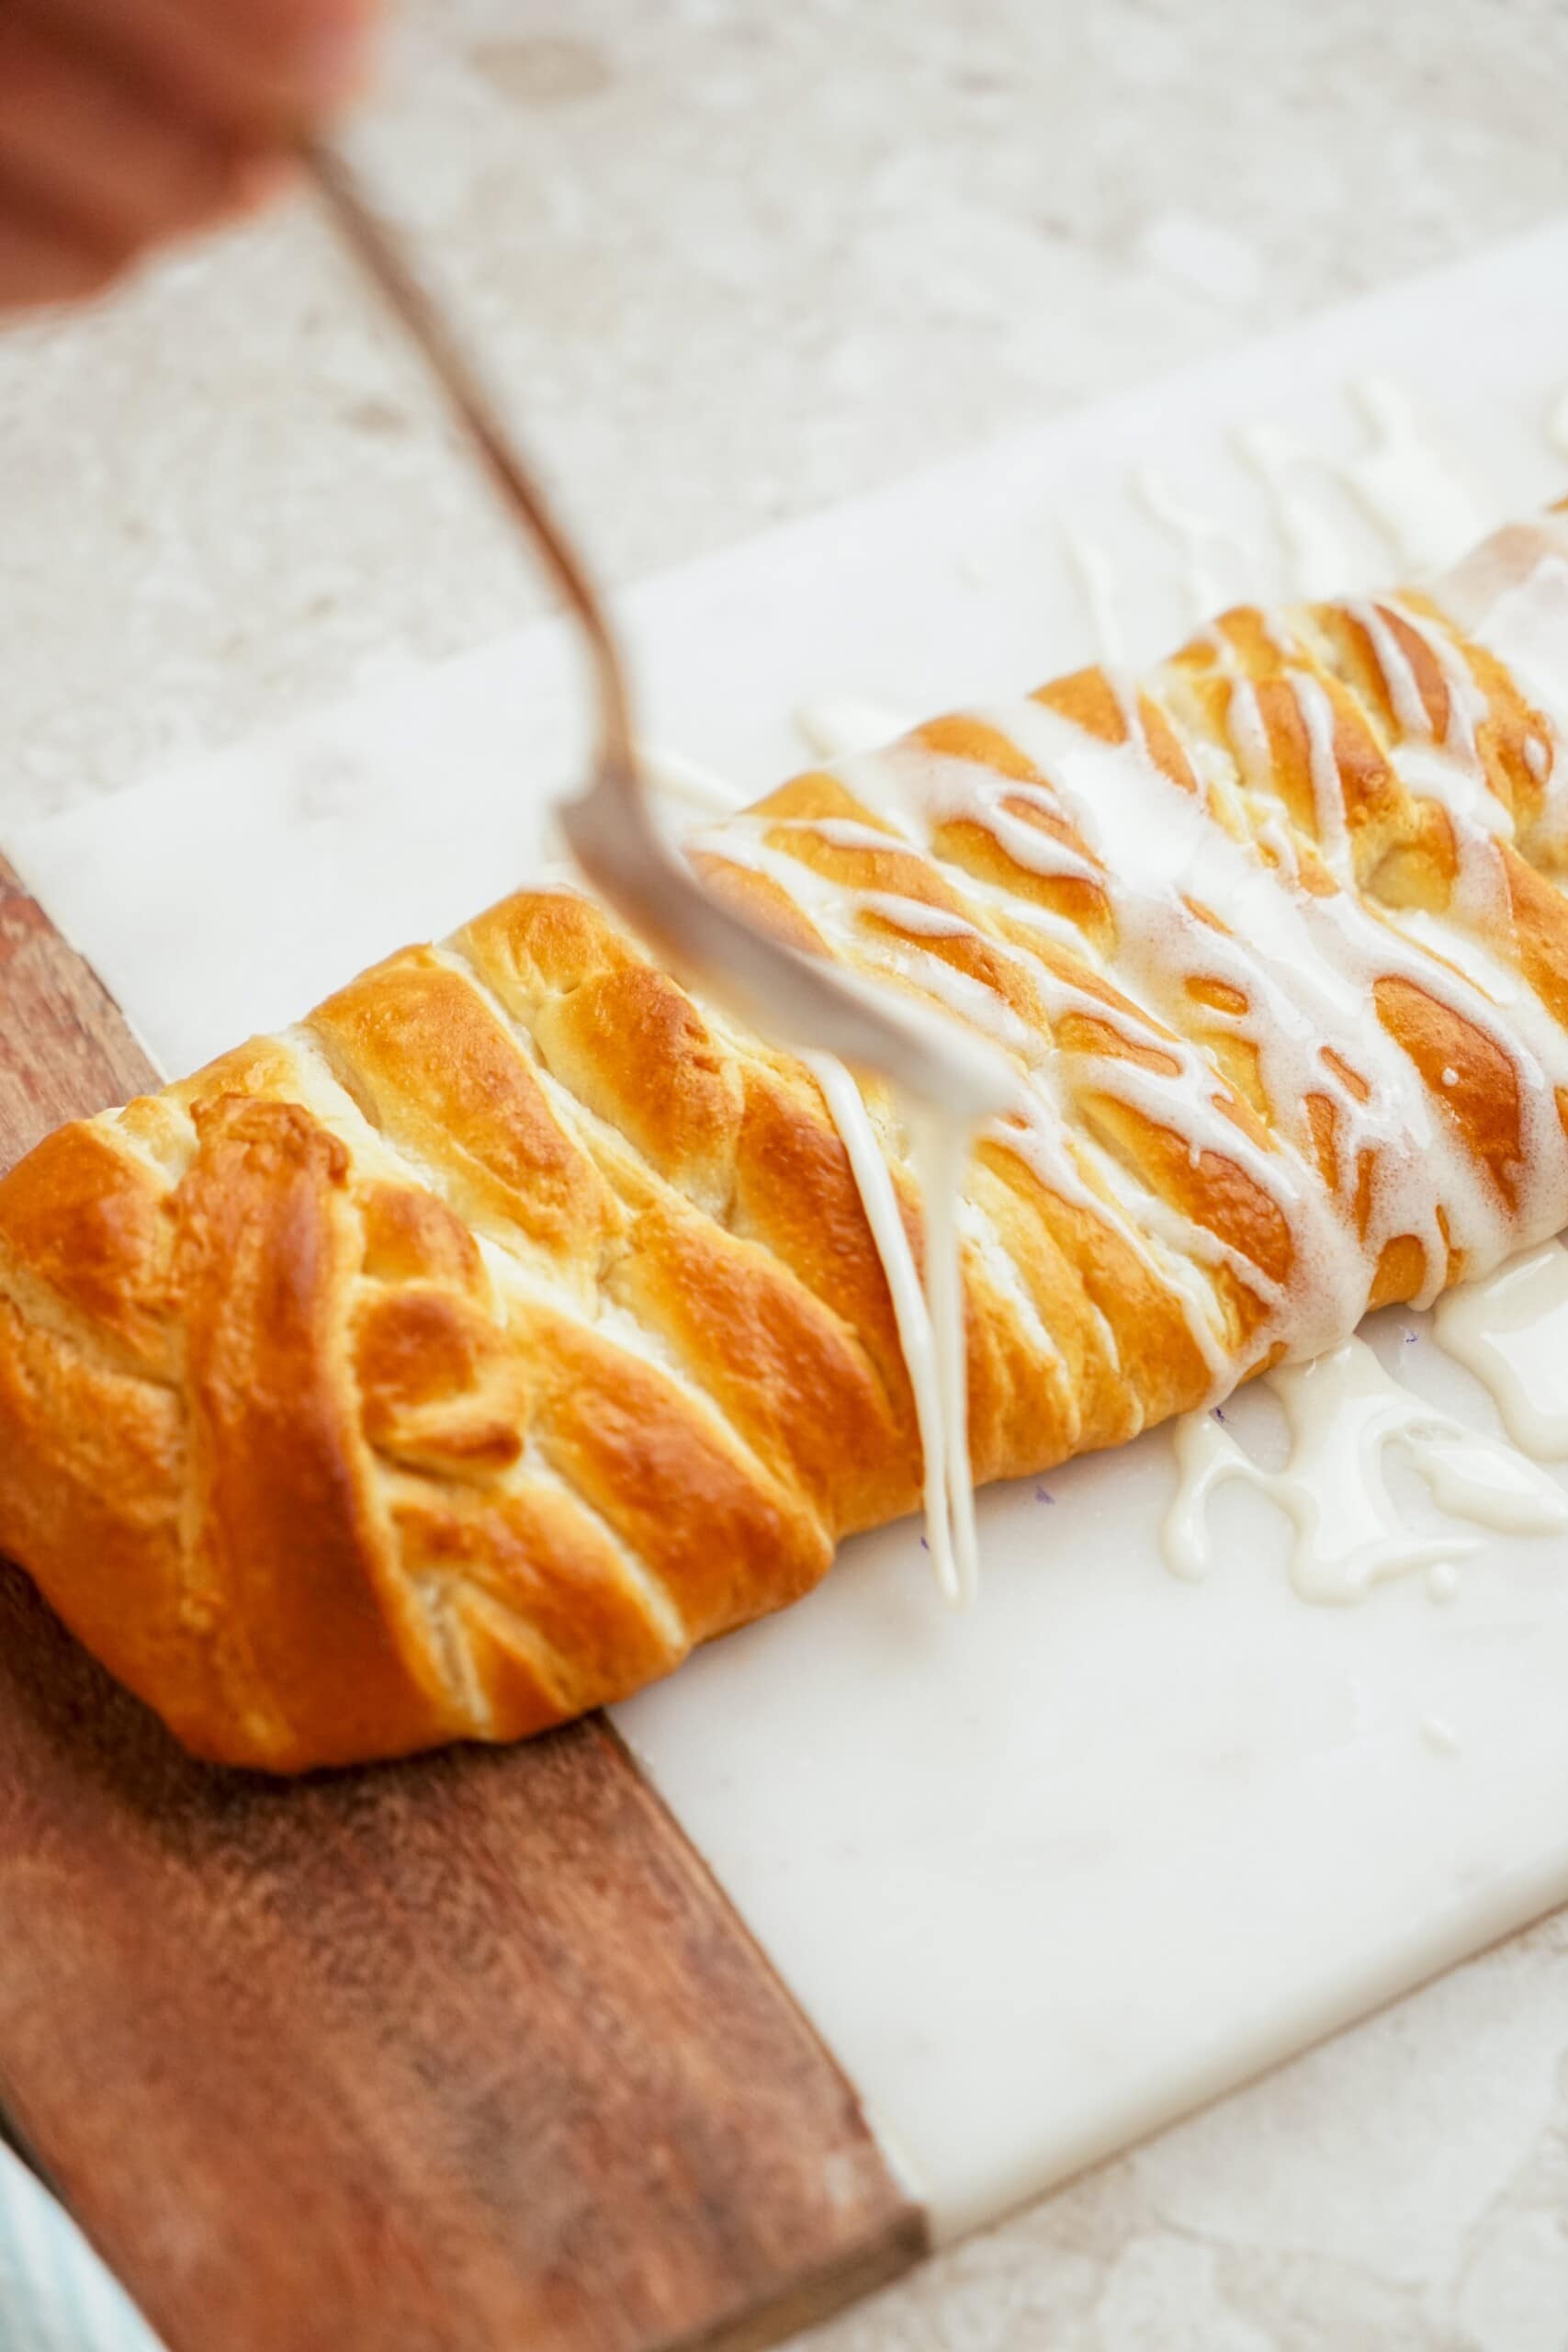
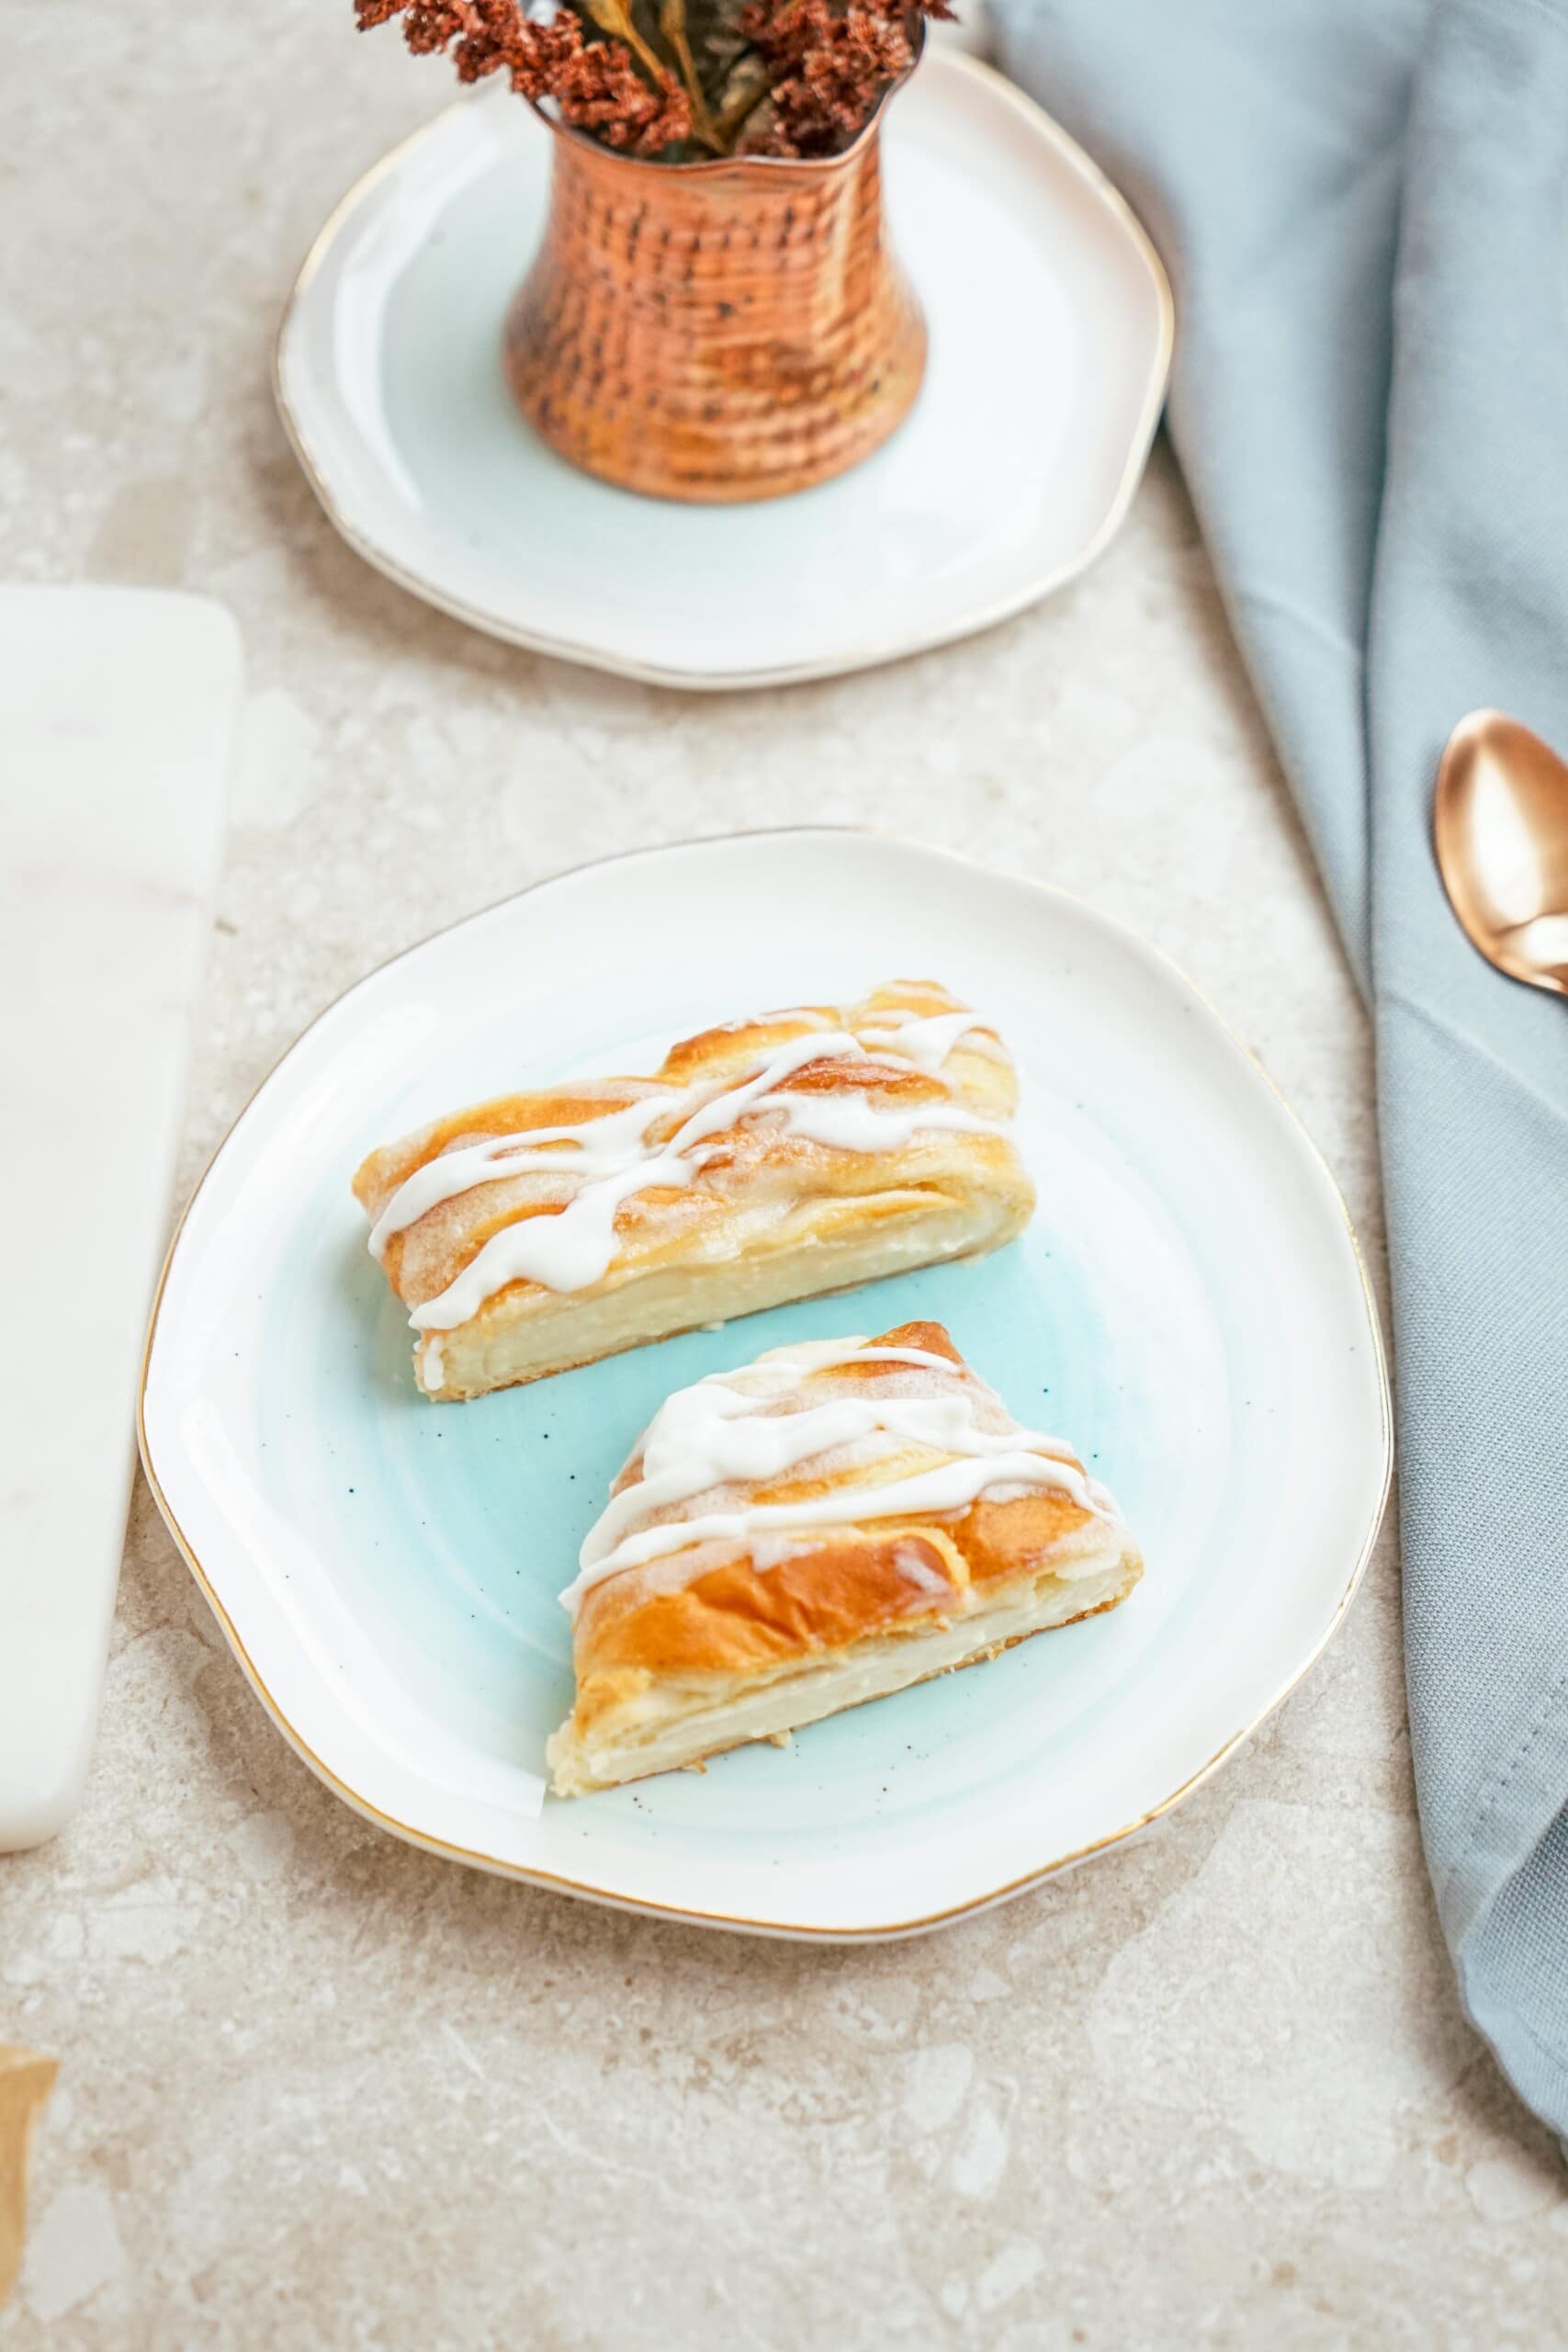
Drizzle icing over danish. Cut into pieces and serve.
Tools You’ll Need
You don’t need anything fancy here, but having the right tools makes this faster and more consistent:
- Baking sheet – A good baking sheet helps the danishes bake evenly and gives the bottoms that light golden finish without overbrowning. I like using a sturdy one that doesn’t warp in the oven.
- Wire whisk – A wire whisk makes it easy to smooth out the cream cheese filling and glaze without lumps. It also helps blend everything quickly without overmixing.
- Mixing bowls – Give you plenty of space to combine the cream cheese filling cleanly and comfortably while keeping splattering to a minimum.
- Prep bowls – Handy for holding smaller ingredients before assembling the danishes.
- Measuring cups and spoons – Accurate measuring cups and spoons make a big difference in achieving a perfectly sweet, creamy cream cheese filling rather than too runny or too thick.
Tips for Success
These simple tips will help you get perfectly flaky, creamy cheese danishes every time with no guesswork and better results on the first try.
- Let the cream cheese soften fully before mixing so the filling turns out smooth and easy to spread without lumps.
- Don’t overfill the pastry because just a small spoonful in the center helps prevent leaking while baking.
- Keep the puff pastry cold until you’re ready to use it so it bakes up light, flaky, and well layered.
- Press the centers gently if needed before adding filling to create a small well that helps hold everything in place.
- Watch the edges closely in the oven since they can brown faster than the filling sets.
- Let the cheese danish cool for a few minutes before adding glaze so it does not melt and run off completely.
- If the glaze feels too thin, add a little more powdered sugar to thicken it for a cleaner finish.
What to Serve with Cheese Danish
These simple pairings help balance the sweetness of cheese danish with drinks and savory sides, making it easy to turn it into a full breakfast or brunch.
- Hot Chocolate – A warm, chocolatey drink that pairs nicely with the sweet cream filling and flaky layers.
- Irish Coffee – Strong coffee that balances the sweetness.
- Sausage Egg Muffins – Savory option that adds protein.
- Bacon – Salty side that contrasts the pastry.
- Smoothie Bowl – Light fruit option for freshness.
- Banana Berry Smoothie – Cool drink that complements the richness.

Storage + Reheating + Make Ahead Directions
Any leftover Cheese Danish should be refrigerated, covered, for up to a week! This is no store-bought danish where it can sit out. No crazy preservatives here, so be sure to refrigerate.
Freezing
Unfortunately, this cheese danish does not freeze well. This is because the cream cheese filling will change texture when frozen and then thawed again. It becomes less of a creamy filling and more of a crumbly texture. Ew.
But if you want to make this danish recipe without the cream cheese filling, you can freeze it (baked or unbaked).
Unbaked. Prepare the recipe completely up to the point of baking. Place the unbaked danish on the parchment-lined baking sheet in the freezer for a few hours until frozen. Once frozen, remove from the baking sheet and place it into an airtight container. Return to the freezer for up to two months.
You can bake the danish straight from the freezer. Give it an extra 15-20 minutes to bake and watch closely!
Baked. Cool the danish completely, then place in an airtight container. It can last for up to two weeks in the freezer. When ready to serve, remove from the freezer and let thaw in the fridge overnight. To heat the danish up, place in the oven until heated through. Store any leftovers in the fridge.
Reheating
For the best texture, reheat slices in a 300°F oven for 5–8 minutes until warmed through. You can also microwave individual pieces for about 15–20 seconds, though the pastry will be softer instead of crisp.
Make-Ahead Directions
Thankfully, this cheese danish recipe is super easy to make ahead. This is great to save you even more time! Whether you are making this the night before for breakfast the next morning or for dessert the next day, you can follow these easy steps.
- First, follow the directions as normal and stop before baking!
- Make some room in your fridge because now you can take your whole baking sheet and cover it with plastic wrap.
- Keep it in your refrigerator for up to two days.
- When ready to bake, pull it out of your fridge and let the danish get to room temperature. Then bake as you normally would! Enjoy!
FAQs
Why did my pastry turn out soggy in the center?
This usually happens if there is too much filling or if it is underbaked. Make sure the edges are golden and the base feels set before removing from the oven.
Do I need to use an egg wash?
It helps the pastry brown evenly and gives a nicer finish, but you can skip it if needed.
Why did my pastry not puff properly?
This usually happens when the puff pastry gets too warm before it goes into the oven or if the oven is not fully preheated. Cold dough helps create steam layers, which is what gives that flaky rise. Also avoid pressing the pastry too flat before baking.
Variations
You can easily switch things up to make this recipe your own:
- Swap crescent rolls with puff pastry dough or even croissant dough
- Add a spoonful of lemon curd or strawberry jam on top of the cream cheese filling
- Stir in a bit of sour cream or lemon juice for tang
- Mix in fresh berries like fresh raspberries or fresh strawberries before baking
- Use a dash of almond extract in the icing for a subtle nutty flavor
- Sprinkle the filling with cinnamon sugar for a nod to cinnamon rolls
More Danish Variations to Try!
Check out my other versions of this Danish recipe. They are SO good!
- Chocolate Cream Cheese Danish
- Apple Cinnamon Cream Cheese Danish
- Pumpkin Cream Cheese Danish
- Easy Blackberry Cheese Danish
More Sweet Pastries to Try!
- Puff Pastry Cinnamon Rolls
- Orange Rolls
- Monkey Bread
- French Cruller
- Homemade Glazed Donuts
- Apple Turnovers
I hope you love this recipe as much as I do. It’s perfect for breakfast or dessert! I’d love for you to give a star rating and tell me what you think in the comments! The printable recipe card is below. Enjoy, friends!
If you make this recipe, I would really appreciate it if you would give it a star rating and leave your review in the comments! If you have a picture of your finished dish, post it on Instagram using the hashtag #laurenslatest and tag me @laurens_latest.

Easy Cream Cheese Danish
This Cream Cheese Danish will blow your socks off! It's not only so easy but also so SO delicious and drizzled with icing on top!
Ingredients
- 1 tube crescent rolls
- 8 oz cream cheese softened
- 1/2 cup granulated sugar
- 1 teaspoon vanilla extract
- 3 tablespoons all purpose flour
for the icing-
- 1 cup powdered sugar
- 4 + tablespoons heavy cream
- splash vanilla extract
Instructions
- Preheat oven to 375° F. In a small bowl, combine cream cheese, sugar, flour and vanilla extract. Set aside.

- Pop open crescent roll dough and unroll, leaving crescents in rectangles. On an ungreased baking sheet, lay the crescent roll rectangles together, lining them up width wise. Dough should be almost the entire length of a half sheet pan. Press edges together to even out edges and seal any holes.
- Carefully spread cream cheese filling down the center of the dough to be about 2-3 inches wide. Cut 1/2 inch diagonal strips up each side of the dough. Fold 1/2 inch dough pieces up over filling alternating sides to get a braided pattern. You may have excess dough once you reach the end of the danish, so fold them in as best as you can.
- Bake for 20-30 minutes or until filling is set and crescent dough is golden in color. Cool before removing from baking sheet to a serving platter.
for the icing-
- In a small bowl, mix together powdered sugar, vanilla extract, and heavy cream to create icing. You may need to add more cream to get the desired consistency.
- Drizzle the icing over danish. Slice and serve.

Video
Nutrition
Calories: 342kcalCarbohydrates: 43gProtein: 3gFat: 19gSaturated Fat: 10gPolyunsaturated Fat: 3gMonounsaturated Fat: 4gCholesterol: 37mgSodium: 313mgPotassium: 49mgFiber: 0.1gSugar: 31gVitamin A: 491IUVitamin C: 0.04mgCalcium: 33mgIron: 1mg
Rate This RecipePlease consider Leaving a 5-Star Review!
If you make this recipe, I would really appreciate it if you would give it a star rating and leave your review in the comments! If you have a picture of your finished dish, post it on Instagram using the hashtag #laurenslatest and tag me @laurens_latest.





Where do you get a tube of crescent rolls with 6? It’s either 4 or 8
Family Favorite! I add cherry pie filling and a drip of almond in the icing!
I follow the directions exactly except I add in 1 egg yolk as well and they come out just like the packaged Vienna cream danishes that they sell in gas stations and such
Ive made this more times than I can count. It’s a requested every time I have family in town. I don’t change anything about it. Its devoured as soon as I get it out of the oven. Thank you Lauren for such a tasty recipe! We love it !!!
I love this recipe so much, I’ve made it so many times. I’ve recently started to add guava paste. It’s delicious !
So yummy and sooo easy!! My family LOVES it! Easily one of my FAVORITE recipes ever! It’s fluffy one the outside and creamy on the inside! Good job!!!
These are an easy and delicious dessert treat.
Mind got a little ‘well done’ on the bottom and I used less time bc I was afraid I’d burn them.
Would greasing the pan make it worse or better?
I made this with puff pastry and replaced the flour with 1 egg yolk. Brushed the top with egg wash before baking and sprinkled some raw sugar on top as well. I didn’t want to cover the beautiful braid with icing. I wish I could share my pics.
I am confused. Should the prepared braided Cream Cheese Danish be baked before freezing, or freeze first?
This recipe gets points for ease but the flavor was just ok. I may have higher standards than most for cheese danish as it’s my absolute favorite pastry. The filling was lacking flavor and was a bit too firm. However, it’s easy to throw together if your need something in a pinch. Doubt I’ll be making it again.
They now make danish sheets they are wonderful for making danish…I like to throw some fresh fruit on top of the cream cheese..blueberries, raspberries, or pie filling…goes over big at my house….
I make this recipe at least once a week on my daughter’s insistance since I found it months ago. Thank goodness we haven’t gained any weight! Lol! It’s so quick & easy & the taste is excellent. My filling never oozes out. It’s the perfect recipe. Make sure your crescent dough is fresh (freshly bought & used soon after), or it may not rise at all.
We love it. Everyone does!
Thanks again!
This was so easy to make and was so good! The icing was about too much…so sweet, could about done without half of it, but it was delicious! Will definitely be doing this often!
It’s the middle of the night & we are making this! We’re having puppies! Two so far. Big Momma had 9 last time, so…
This is our 3rd time making this braid -so easy- and definitely addictive .
Thanks for this version of cream cheese danish!
Christmas morning will be the next one. Will have to make two for sure.
It just came out. Yum. & It only took 13 min in my gas oven.
Happy Holidays!?
Yup! It’s worth the hype. I was worried it wouldn’t be as good without an egg in the cream cheese filling, but it was BETTER with flour, instead! It allows the cream cheese flavor to shine, without any egg interference. I combined 1/3 cup strawberry jam with 1/2 T flour, just to make sure it wouldn’t be too runny, and spooned it on top of the cream cheese. I pulled the edges up, but didn’t fully cover the top with the crescent dough.
Looks stunning! Tastes even better.
This time I added chopped fresh figs & chopped pecans & cinnamon sugar! Wonderful!