This post may contain affiliate sales links. Please read my disclosure policy.
Ready to add a little wow factor to your cakes? Chocolate curls are a simple way to add a touch of elegance to any dessert, and believe it or not, they’re surprisingly easy to make at home. Whether you’re decorating a birthday cake, a chocolate pie, or adding a fancy topping to ice cream, chocolate curls can instantly level up the look (and taste) of your treat. With this recipe, you’ll be making chocolate curls like a pro in no time—all you need is some chocolate, a sheet pan, and a few easy-to-follow steps.
Why You’ll Love This Recipe
You’ll love making these chocolate curls for more than just the satisfying end result. Not only does it allow you to create beautiful decorations, but it’s also super flexible. You can adjust the type of chocolate, size of the curls, and even the tools you use. Plus, it’s perfect for both beginner bakers and experienced pastry chefs looking to refine their cake-decorating skills. This method lets you make curls that look delicate yet professional, all from the comfort of your kitchen.
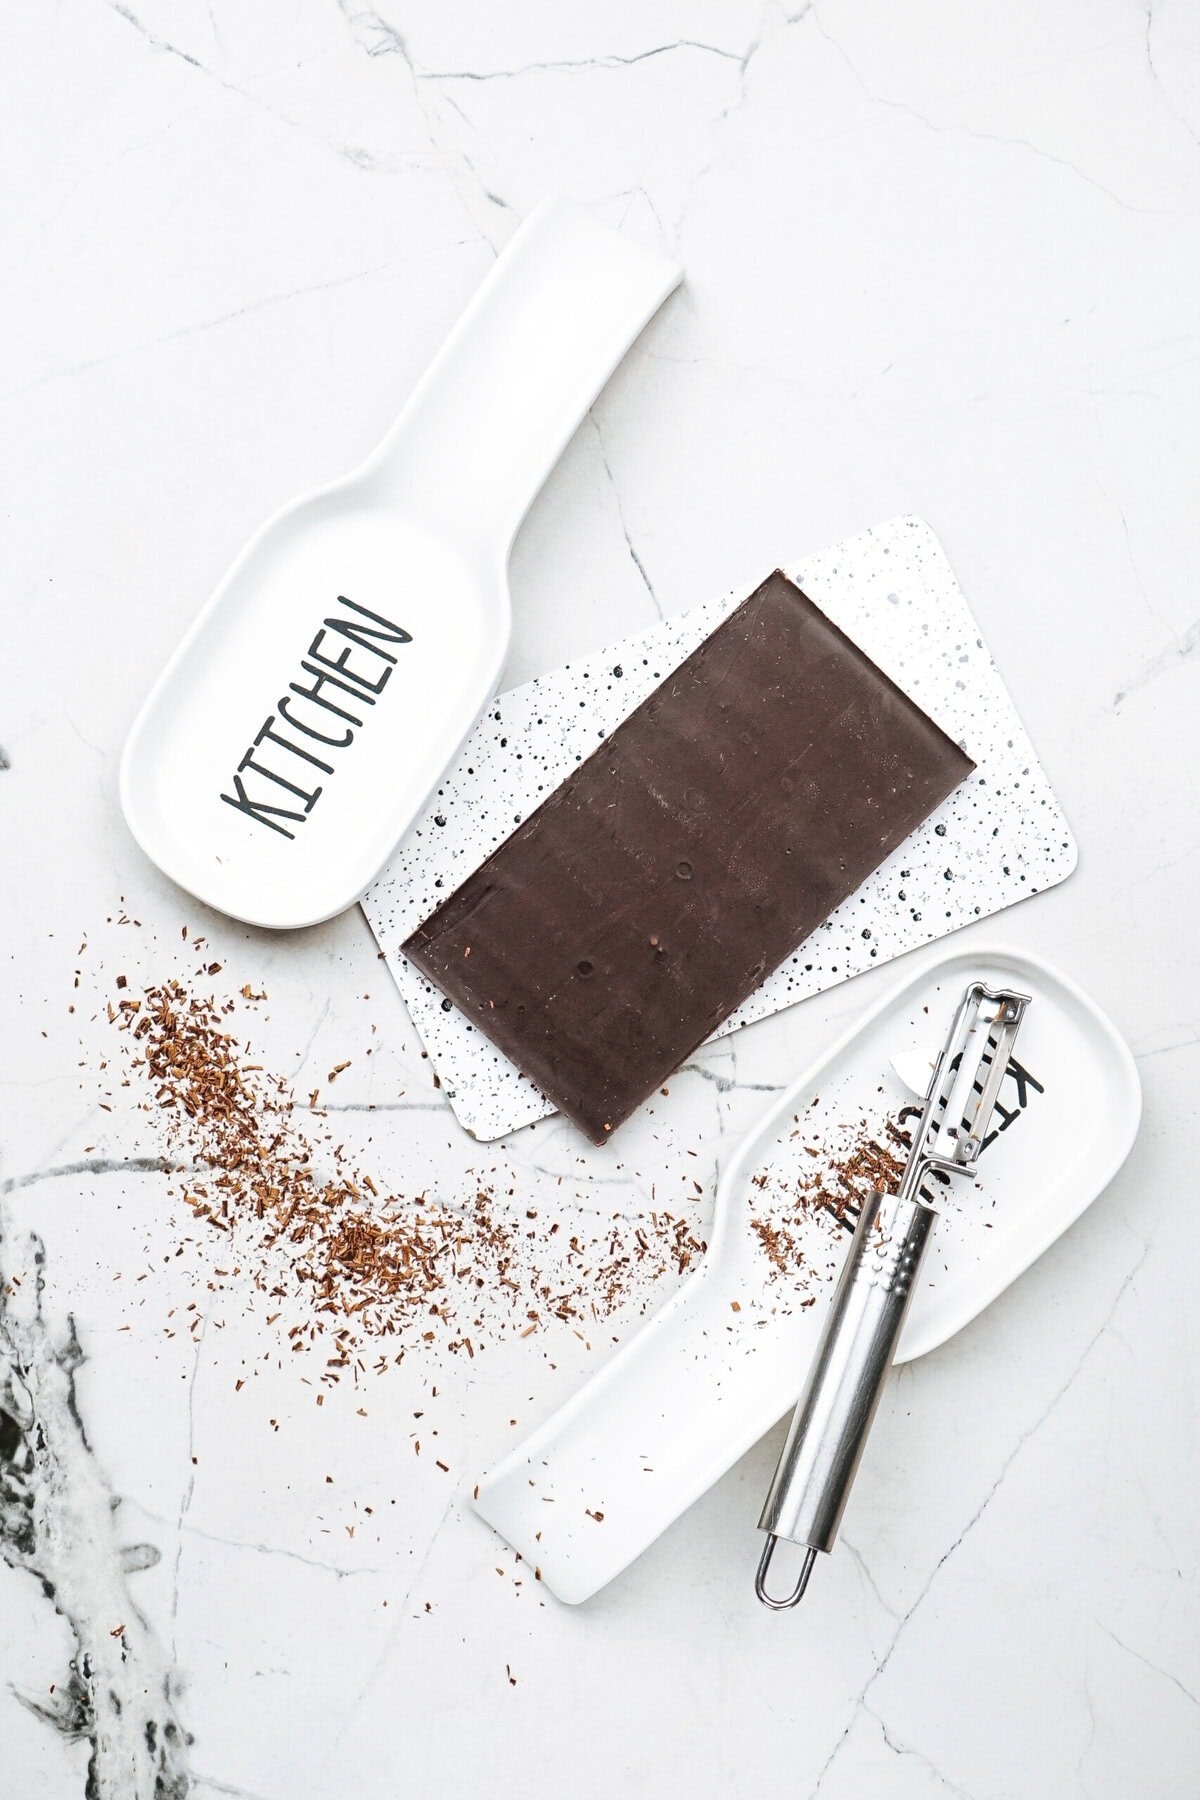
Ingredients Needed for Making Chocolate Curls and Shavings
- Chocolate bar or chips: I used Ghirardelli 72% Cacao, but feel free to use any high-quality dark chocolate or milk chocolate for this.
- Vegetable shortening or Coconut Oil (optional): Adding a small amount can help make the chocolate more pliable.
- Equipment: Metal spatula or bench scraper, offset spatula, large cookie sheet or baking sheet, microwave-safe bowl, and wax paper if desired.
Variations
If you’re looking to switch things up, try these variations for unique chocolate curls:
- White Chocolate Curls: Swap the dark chocolate for a bar of white chocolate.
- Milk Chocolate: For a sweeter curl, opt for milk chocolate or even sweet chocolate chips.
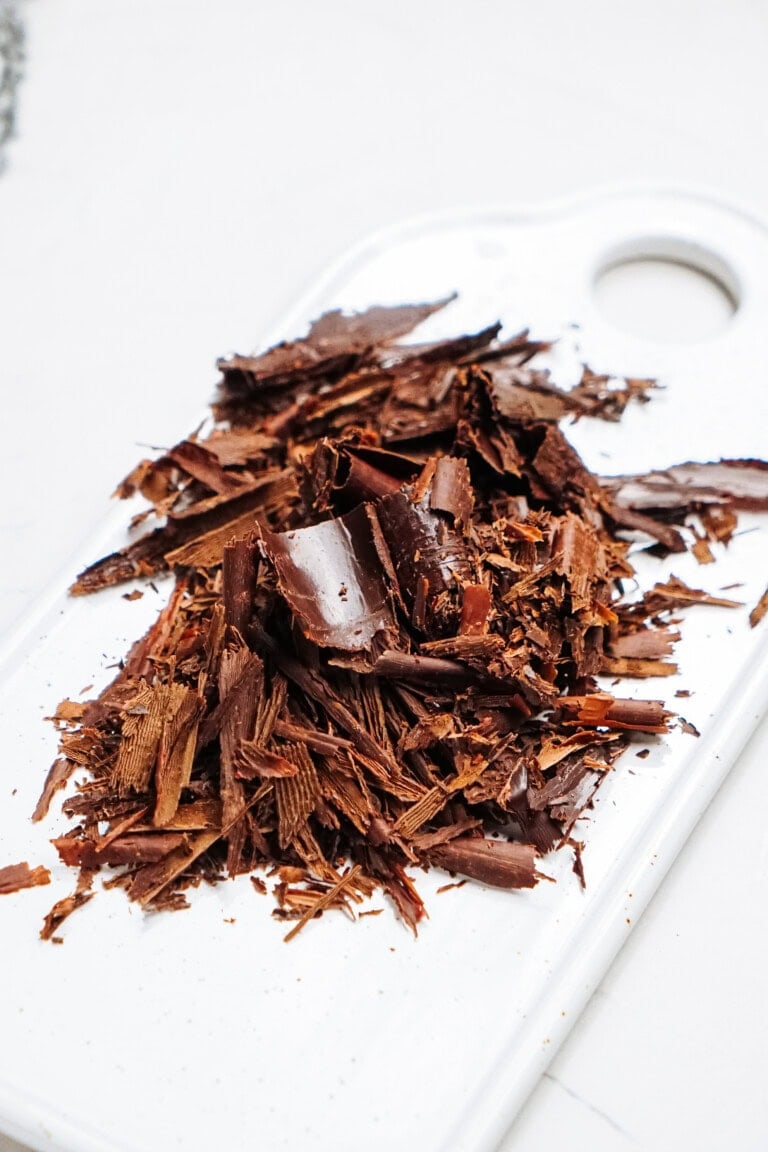
- Chocolate Shavings: Instead of curls, make fine shavings using a vegetable peeler.
- Large Curls: Spread the chocolate in a thicker layer for bigger curls.
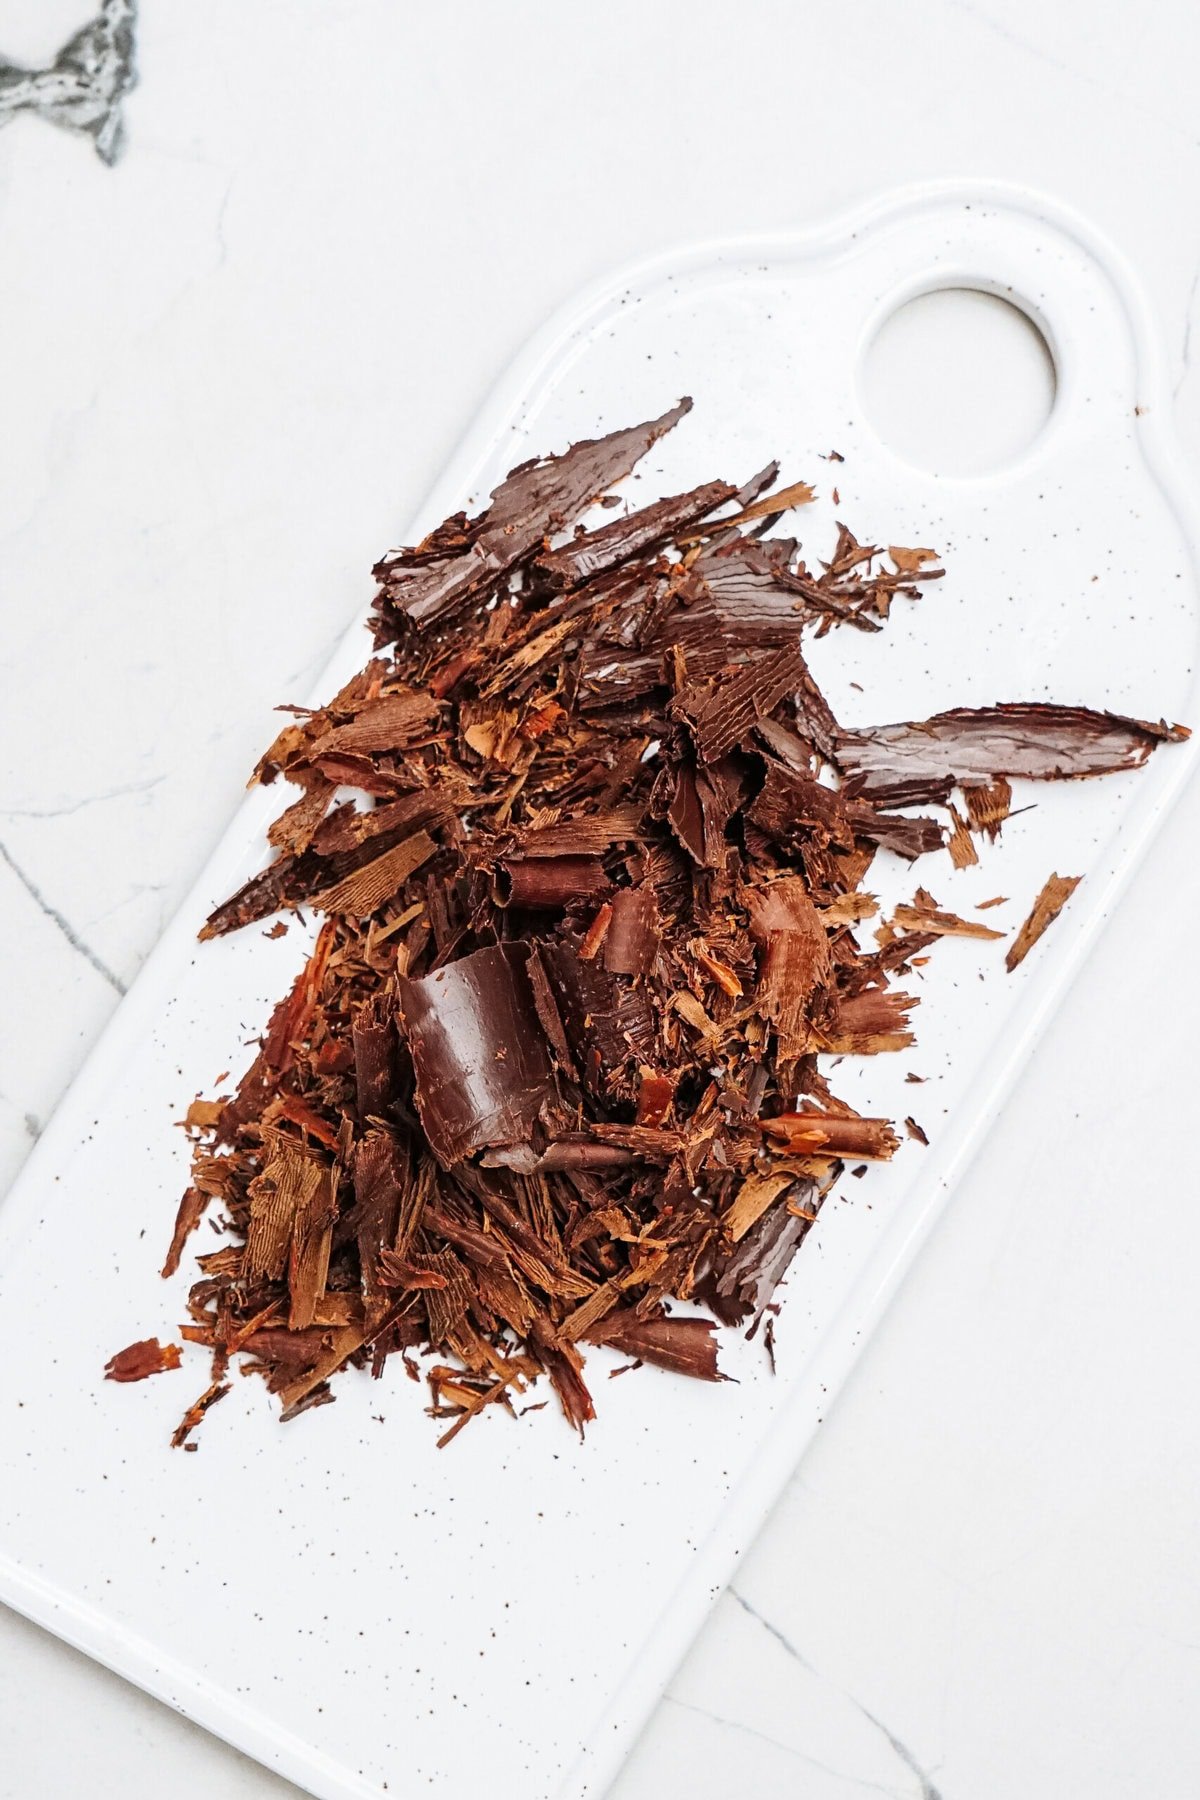
How to Make Chocolate Curls for Cake
Follow these step-by-step instructions to create chocolate curls and shavings in just a few easy steps. For full recipe details, see the printable recipe card below.
1. Chop + Melt Chocolate
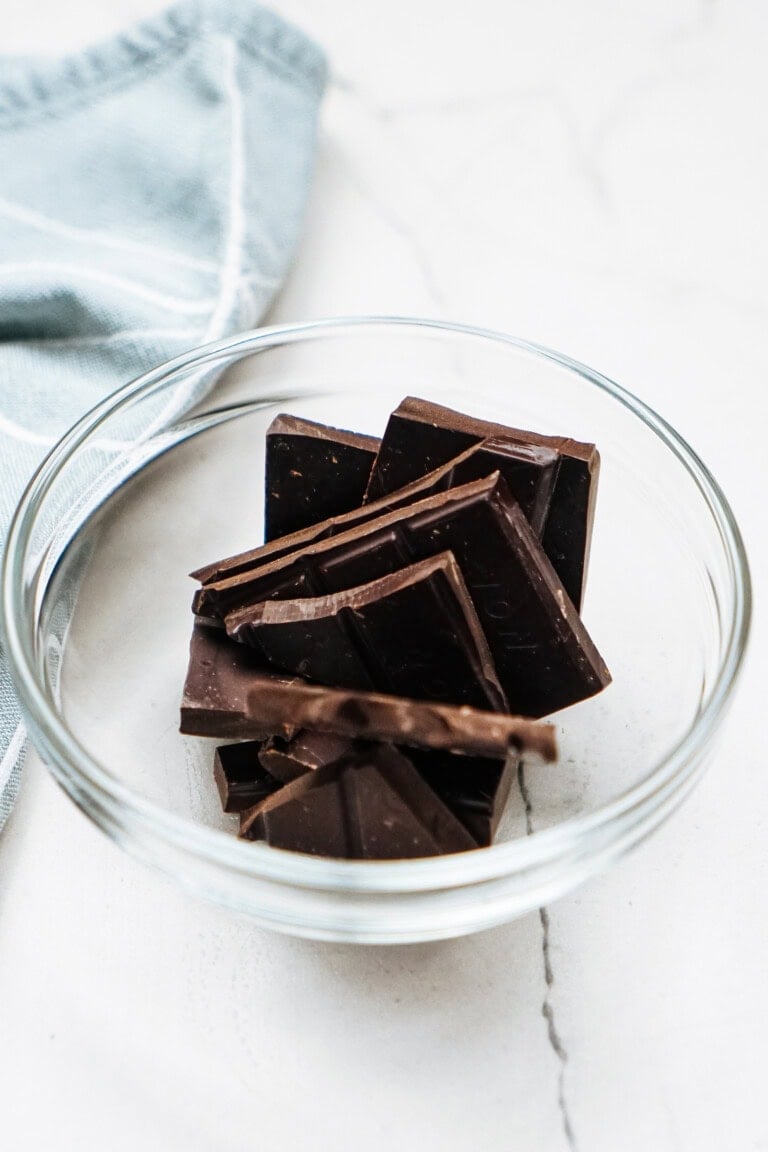
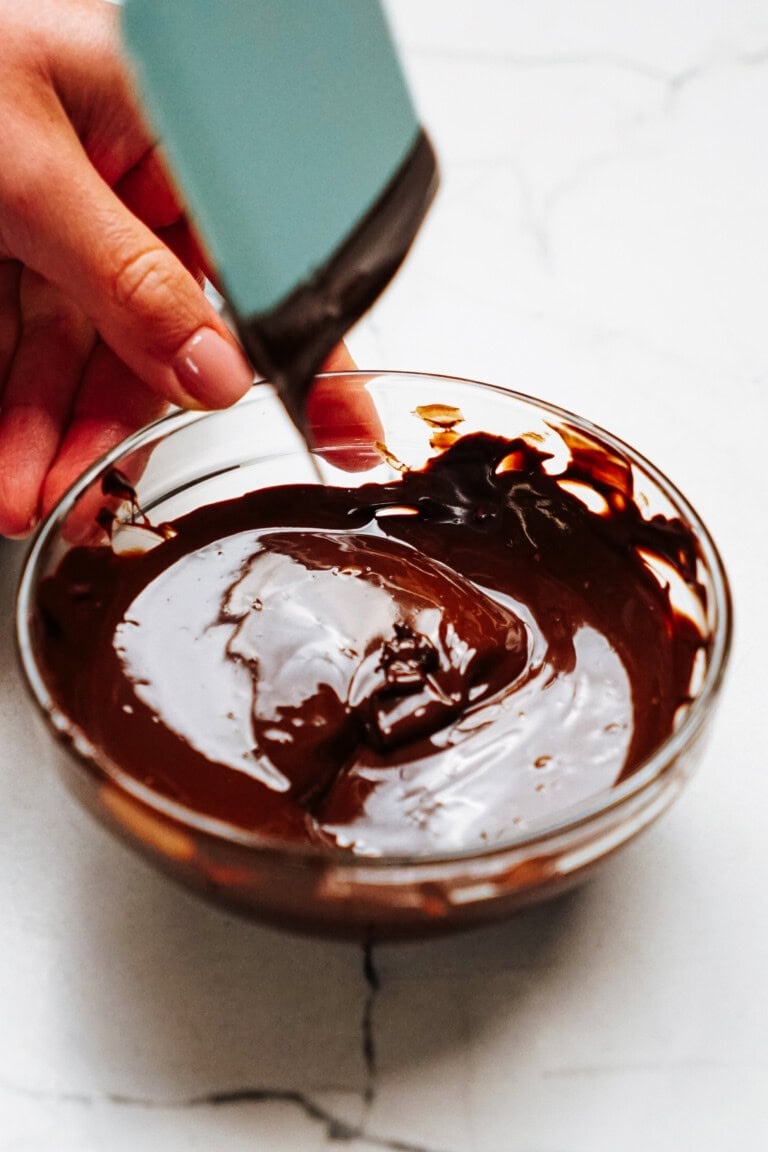
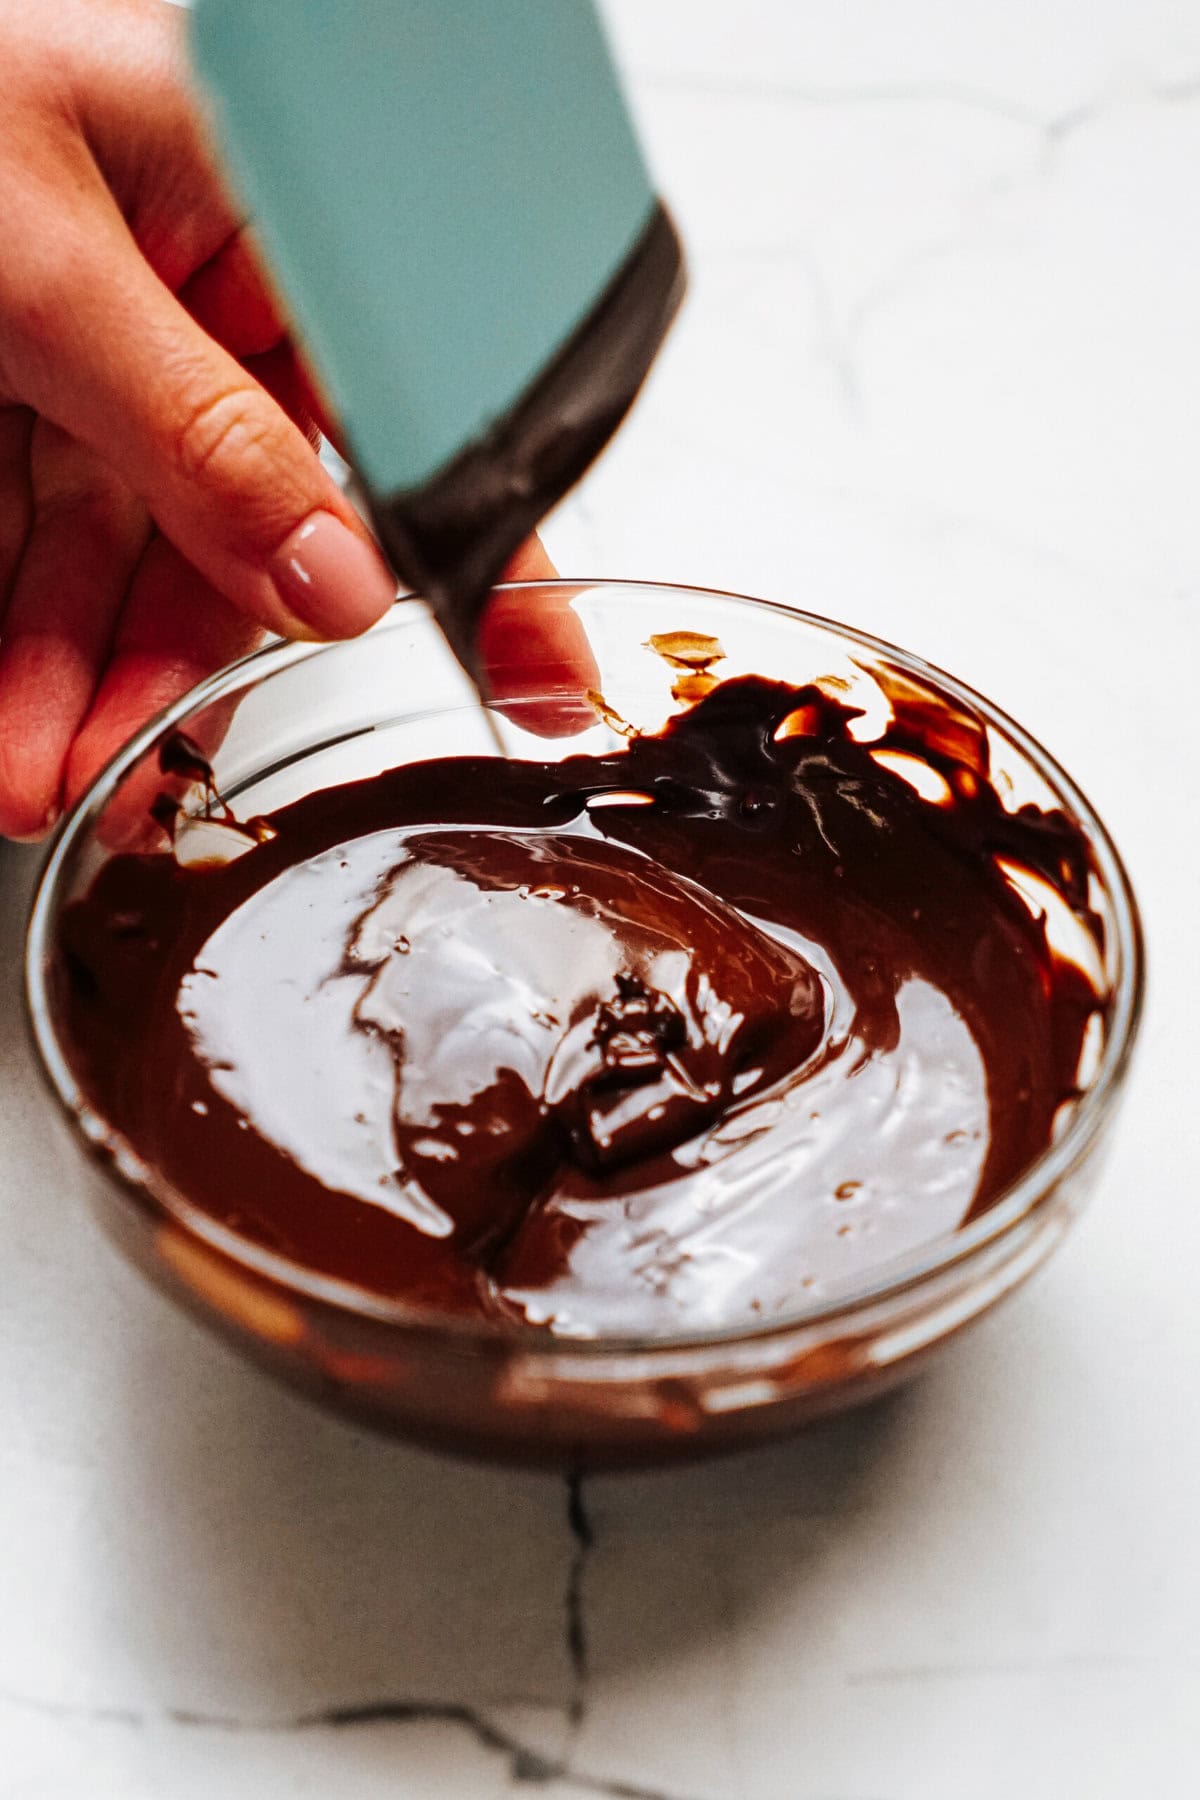
If you’re using a chocolate bar, chop it into large chunks using a knife. Place the chocolate pieces (or chocolate chips if you’re using those) in a microwave-safe bowl and microwave in 20-second intervals, stirring each time, until melted. If adding oil, do so in this step.
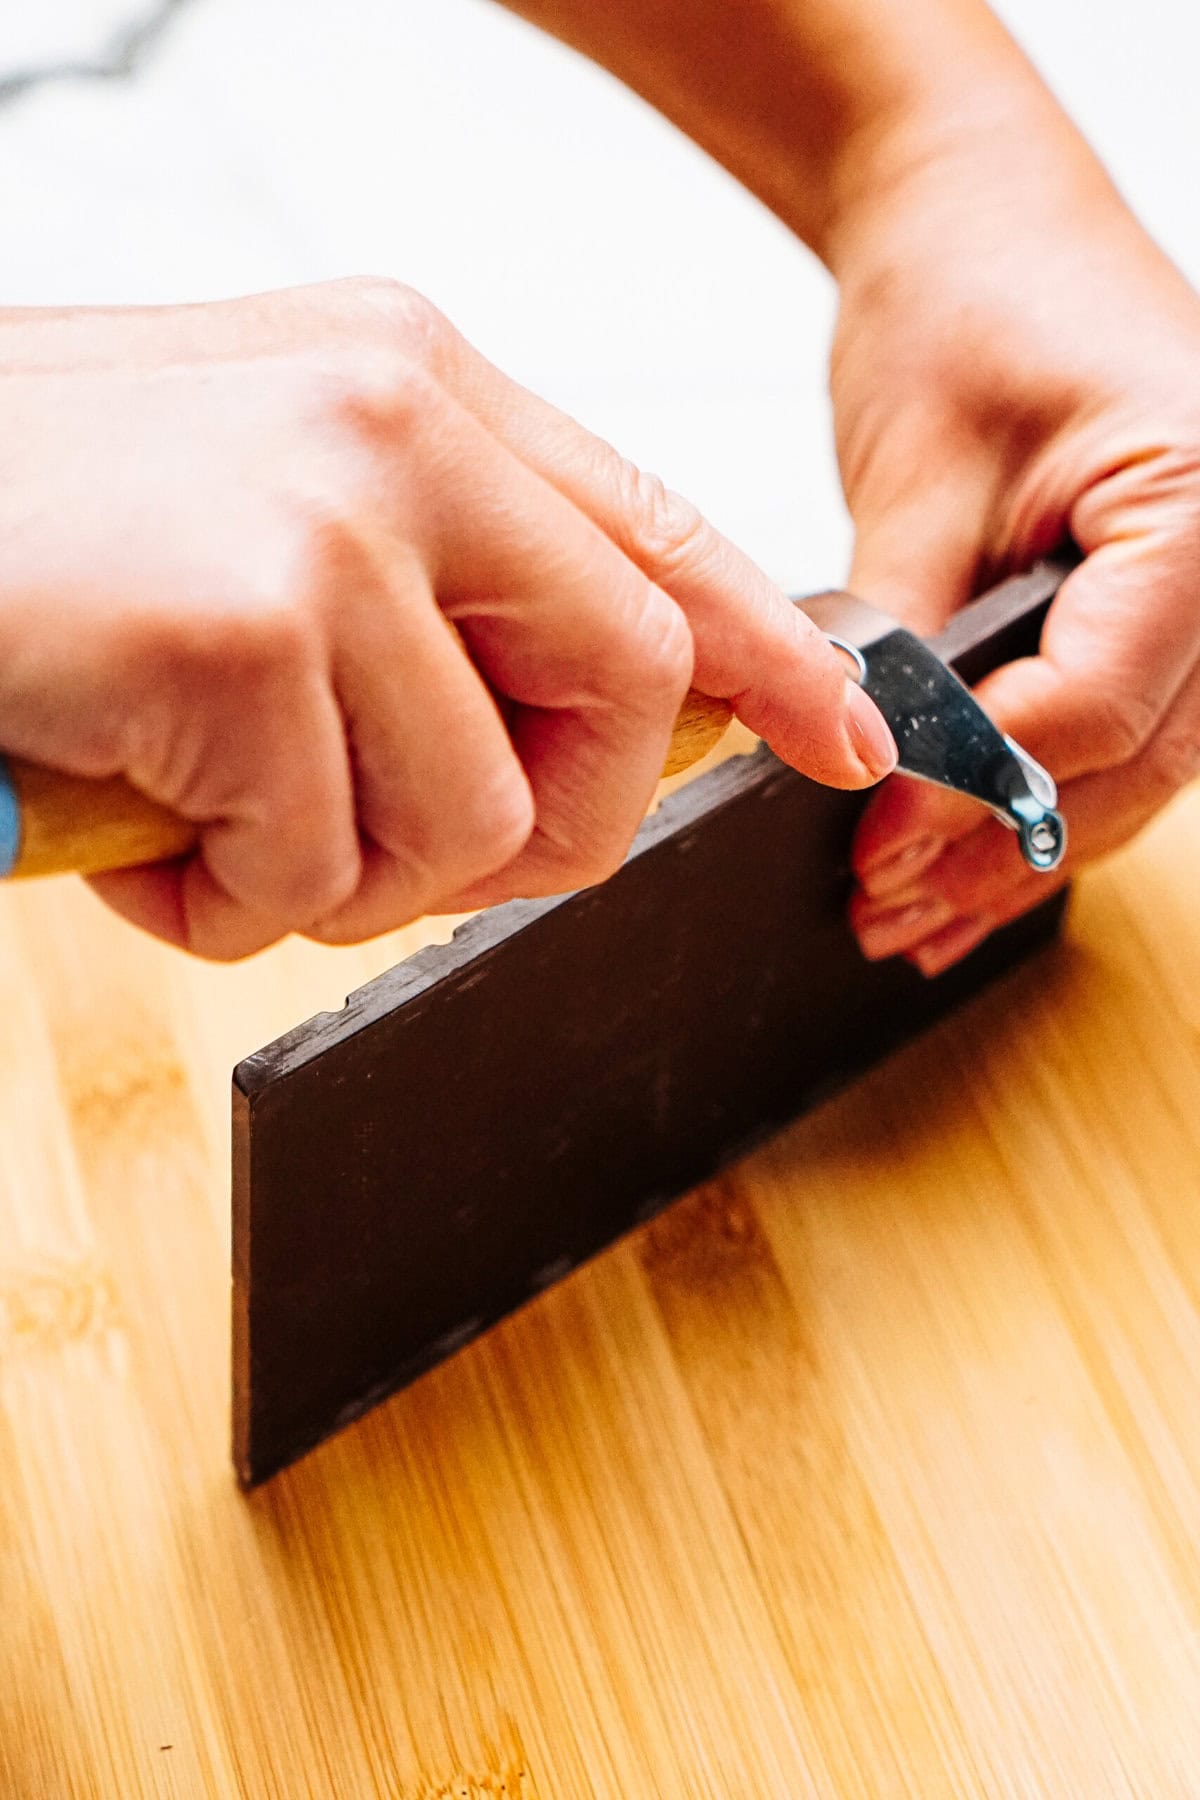
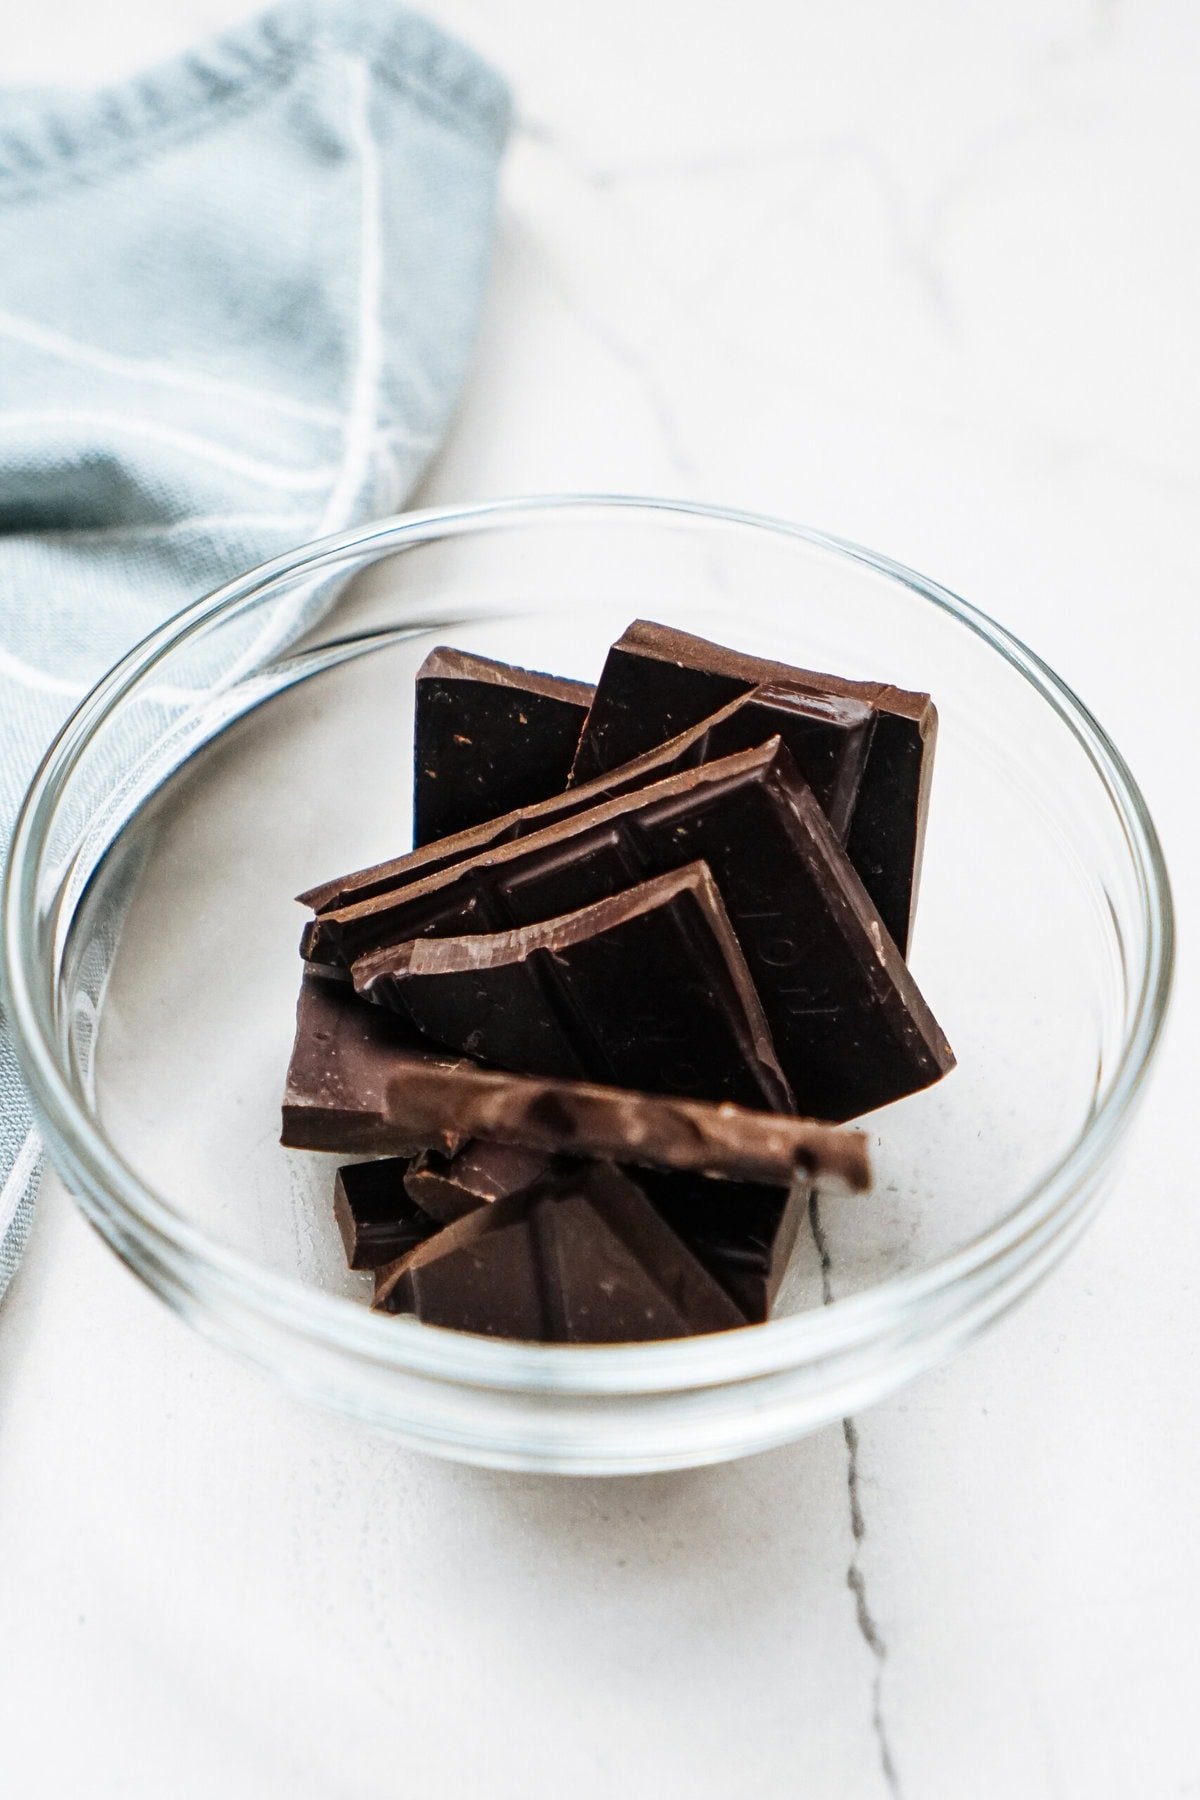
2. Spread the Chocolate
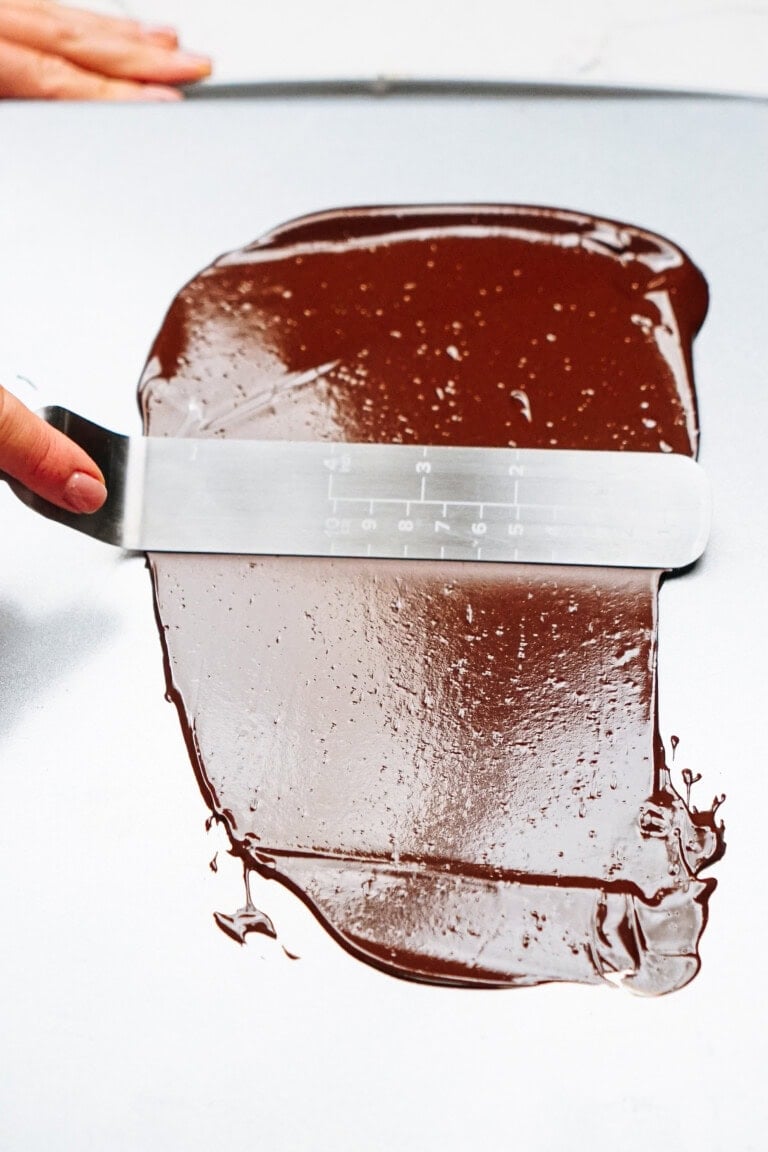
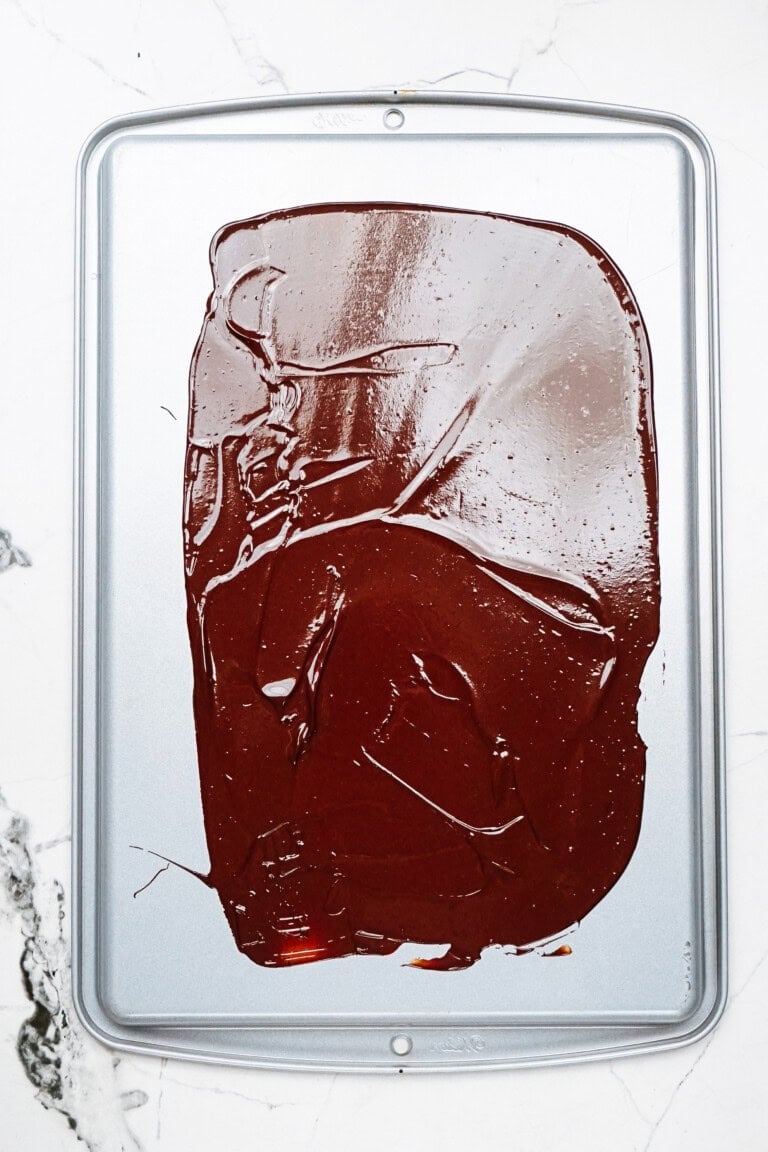
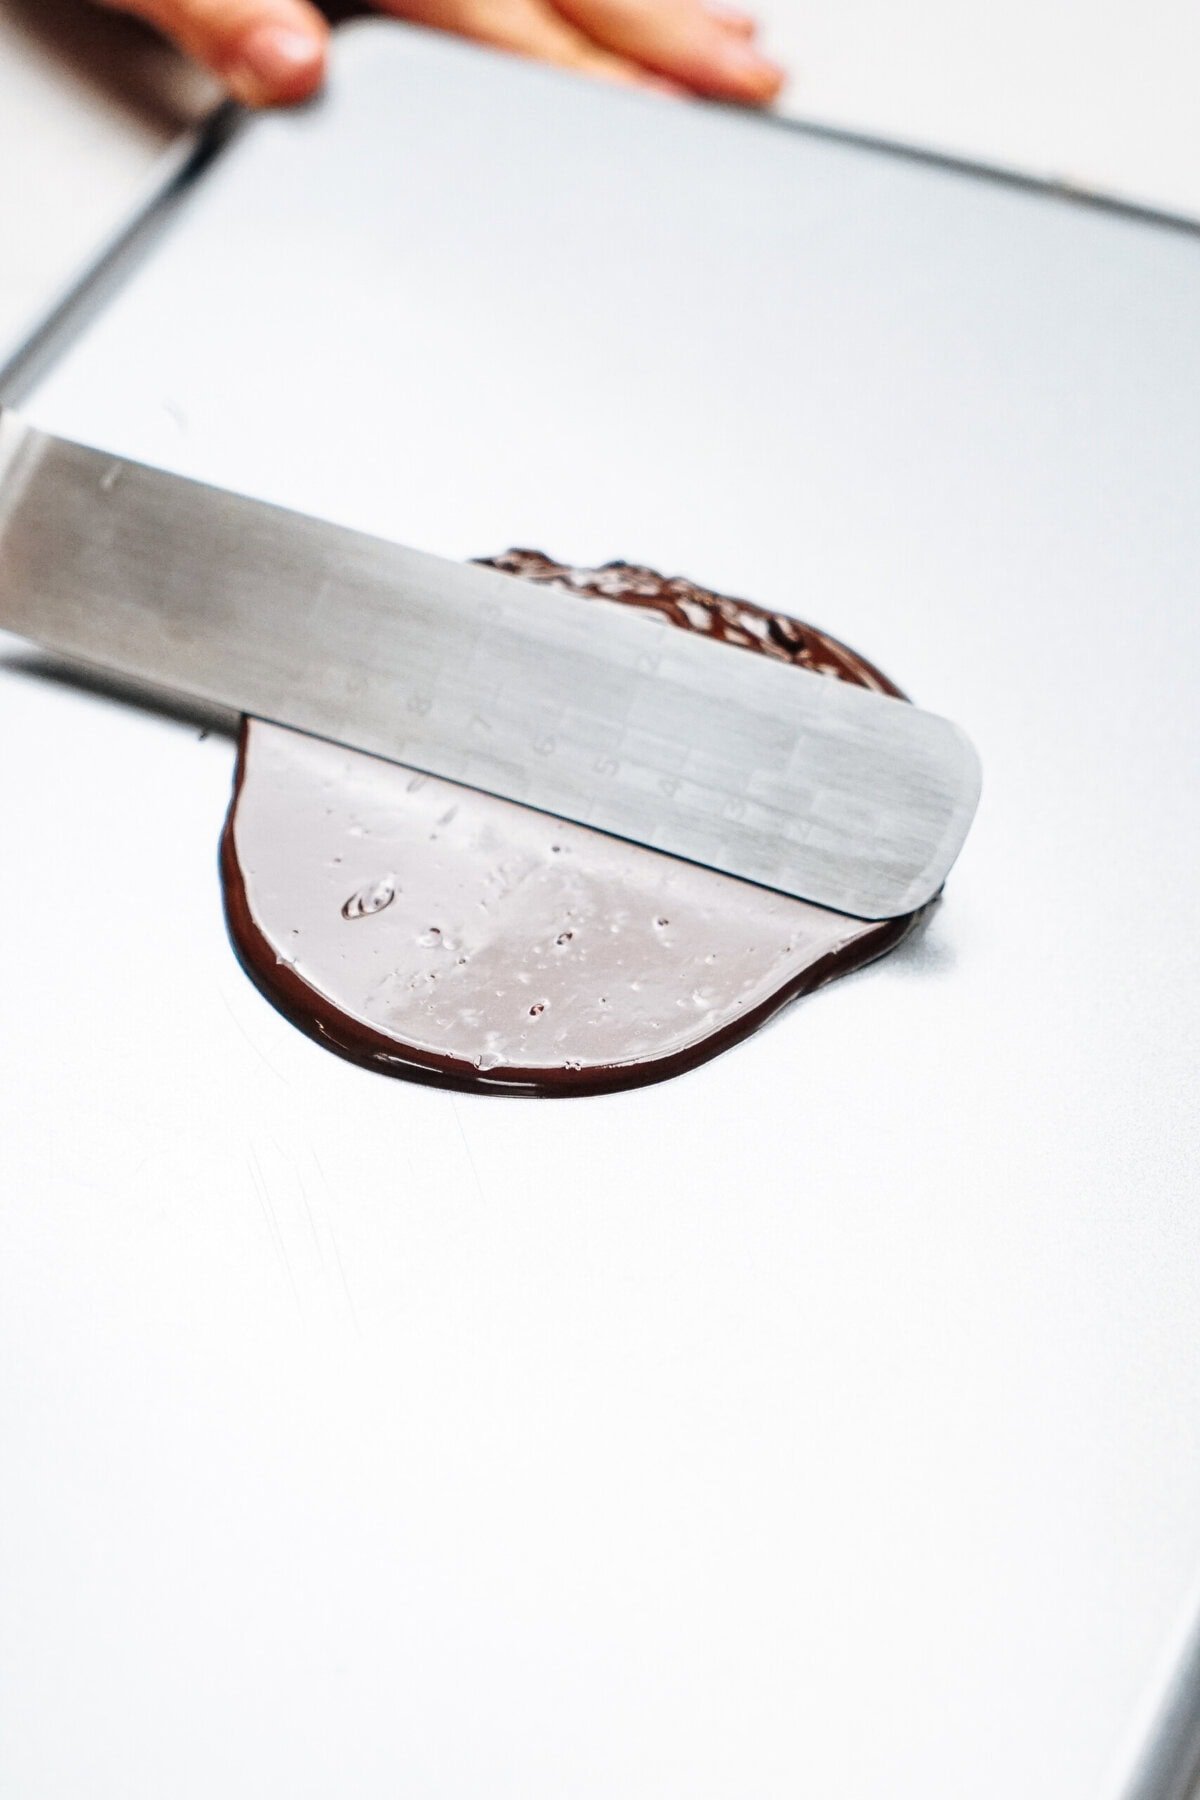
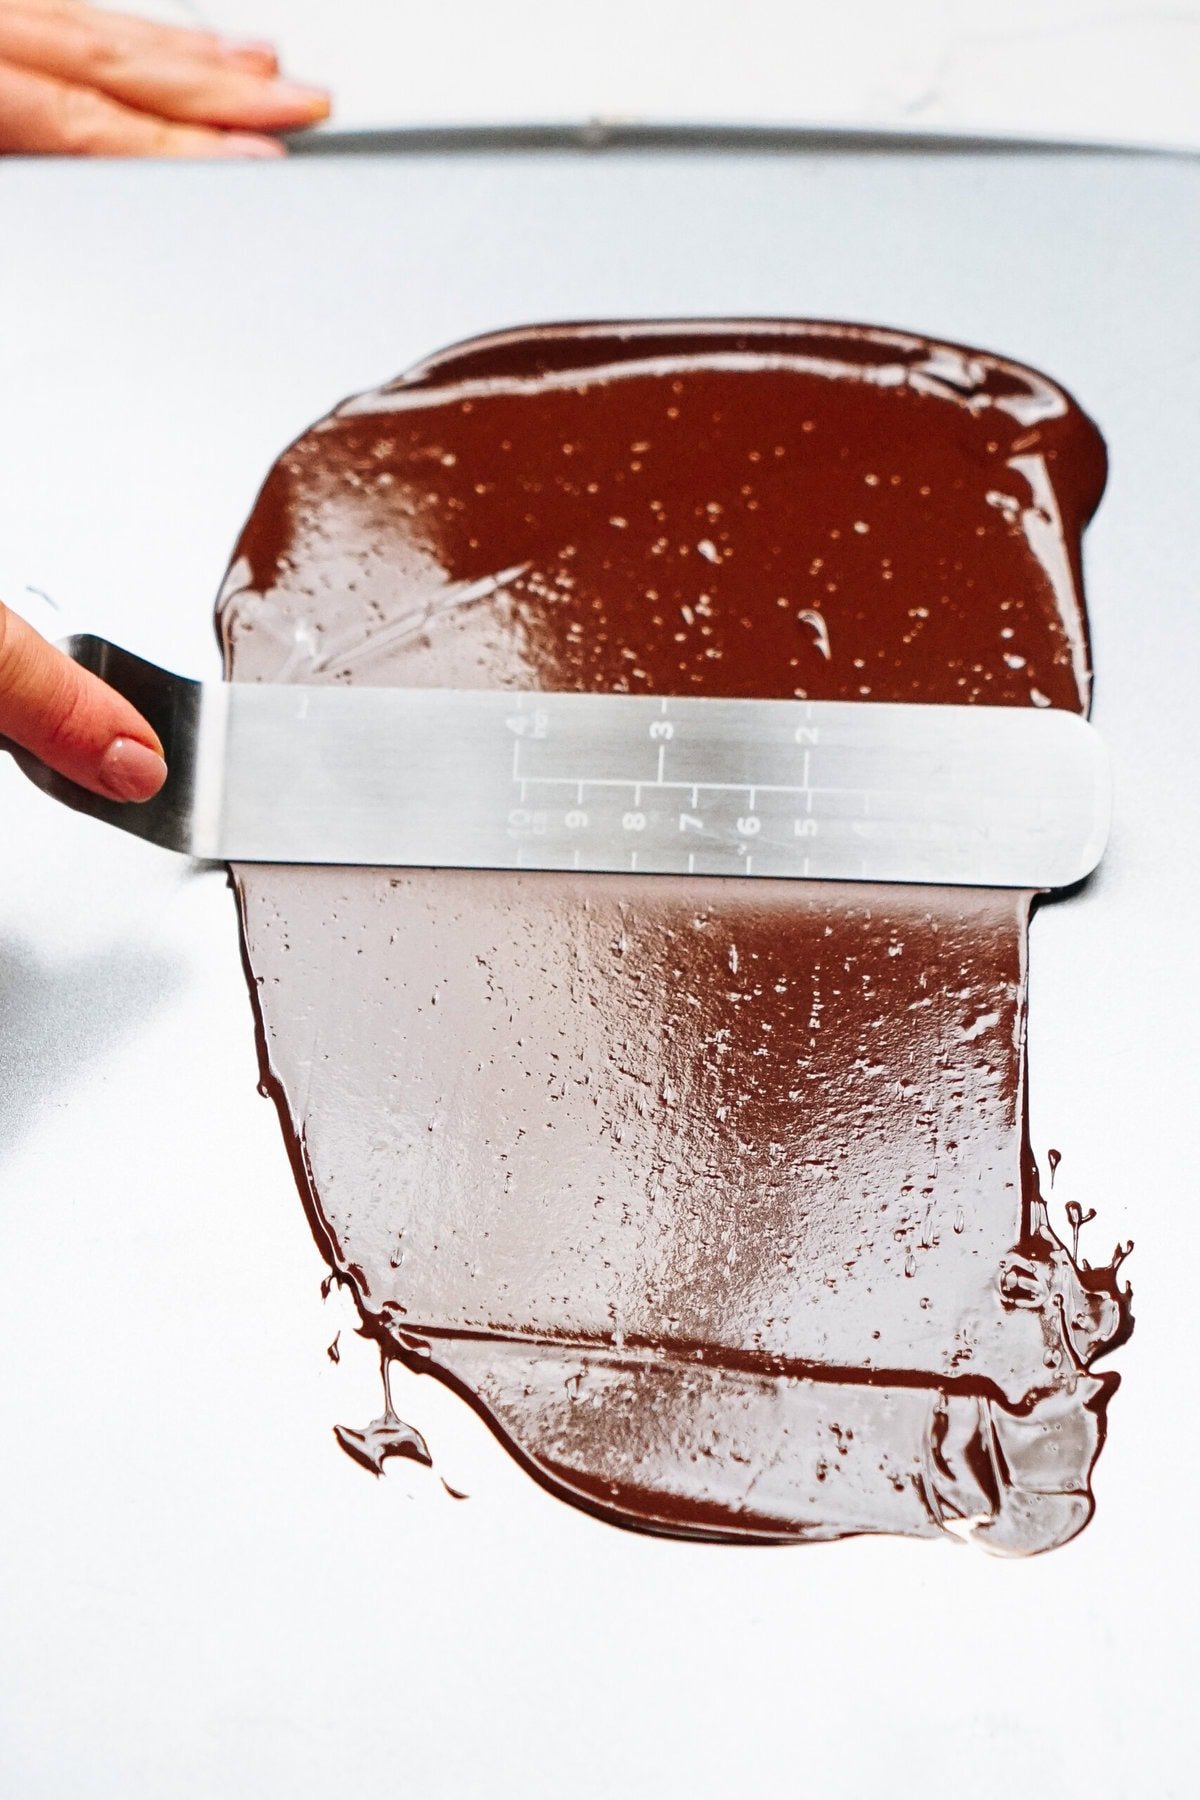
Using an offset spatula, spread the melted chocolate in a thin layer (about 1/8 inch thick) on the back of a large cookie sheet or baking sheet.

3. Chill Chocolate
Place in the refrigerator for about 10-15 minutes. Remove from refrigerator. The chocolate should firm up but not become rock solid. You want it to be pliable enough to curl, but not so soft that it just melts when you try to handle it.
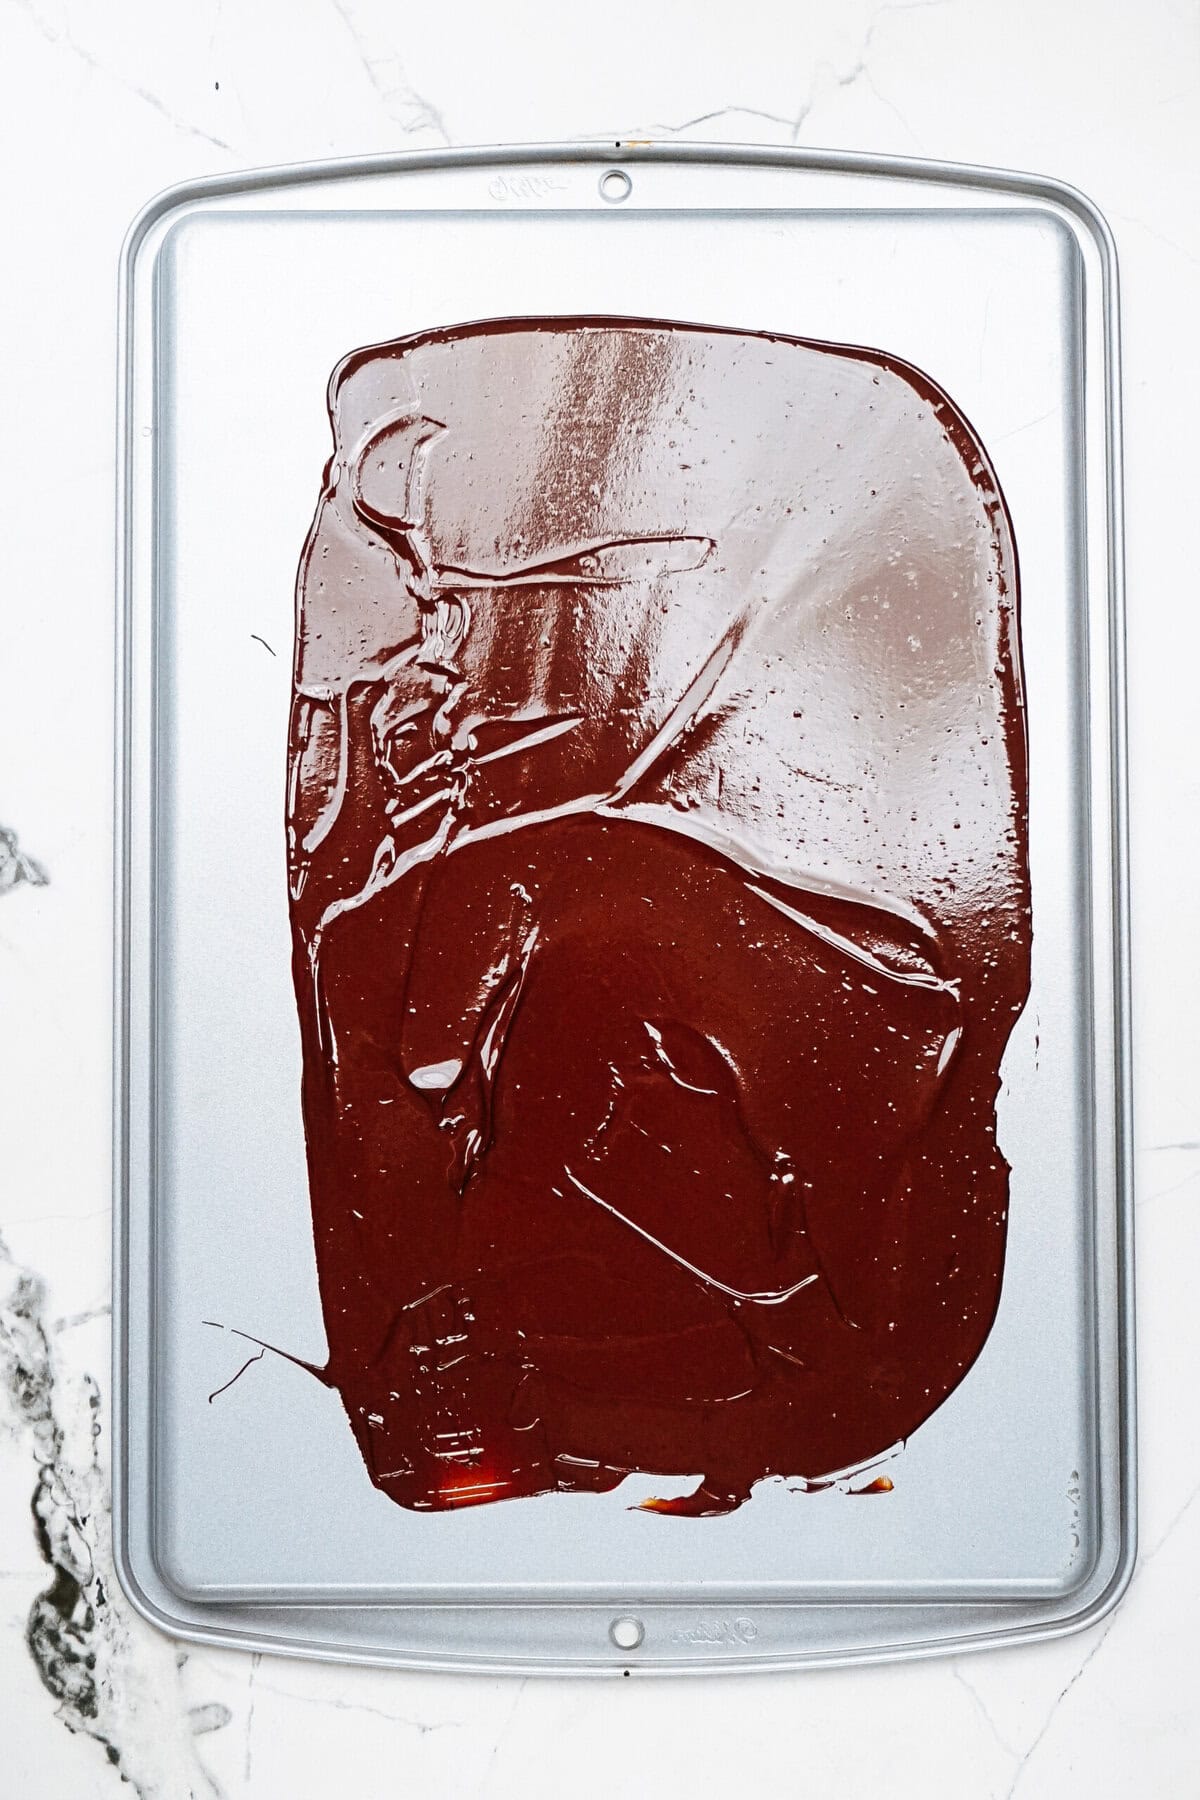
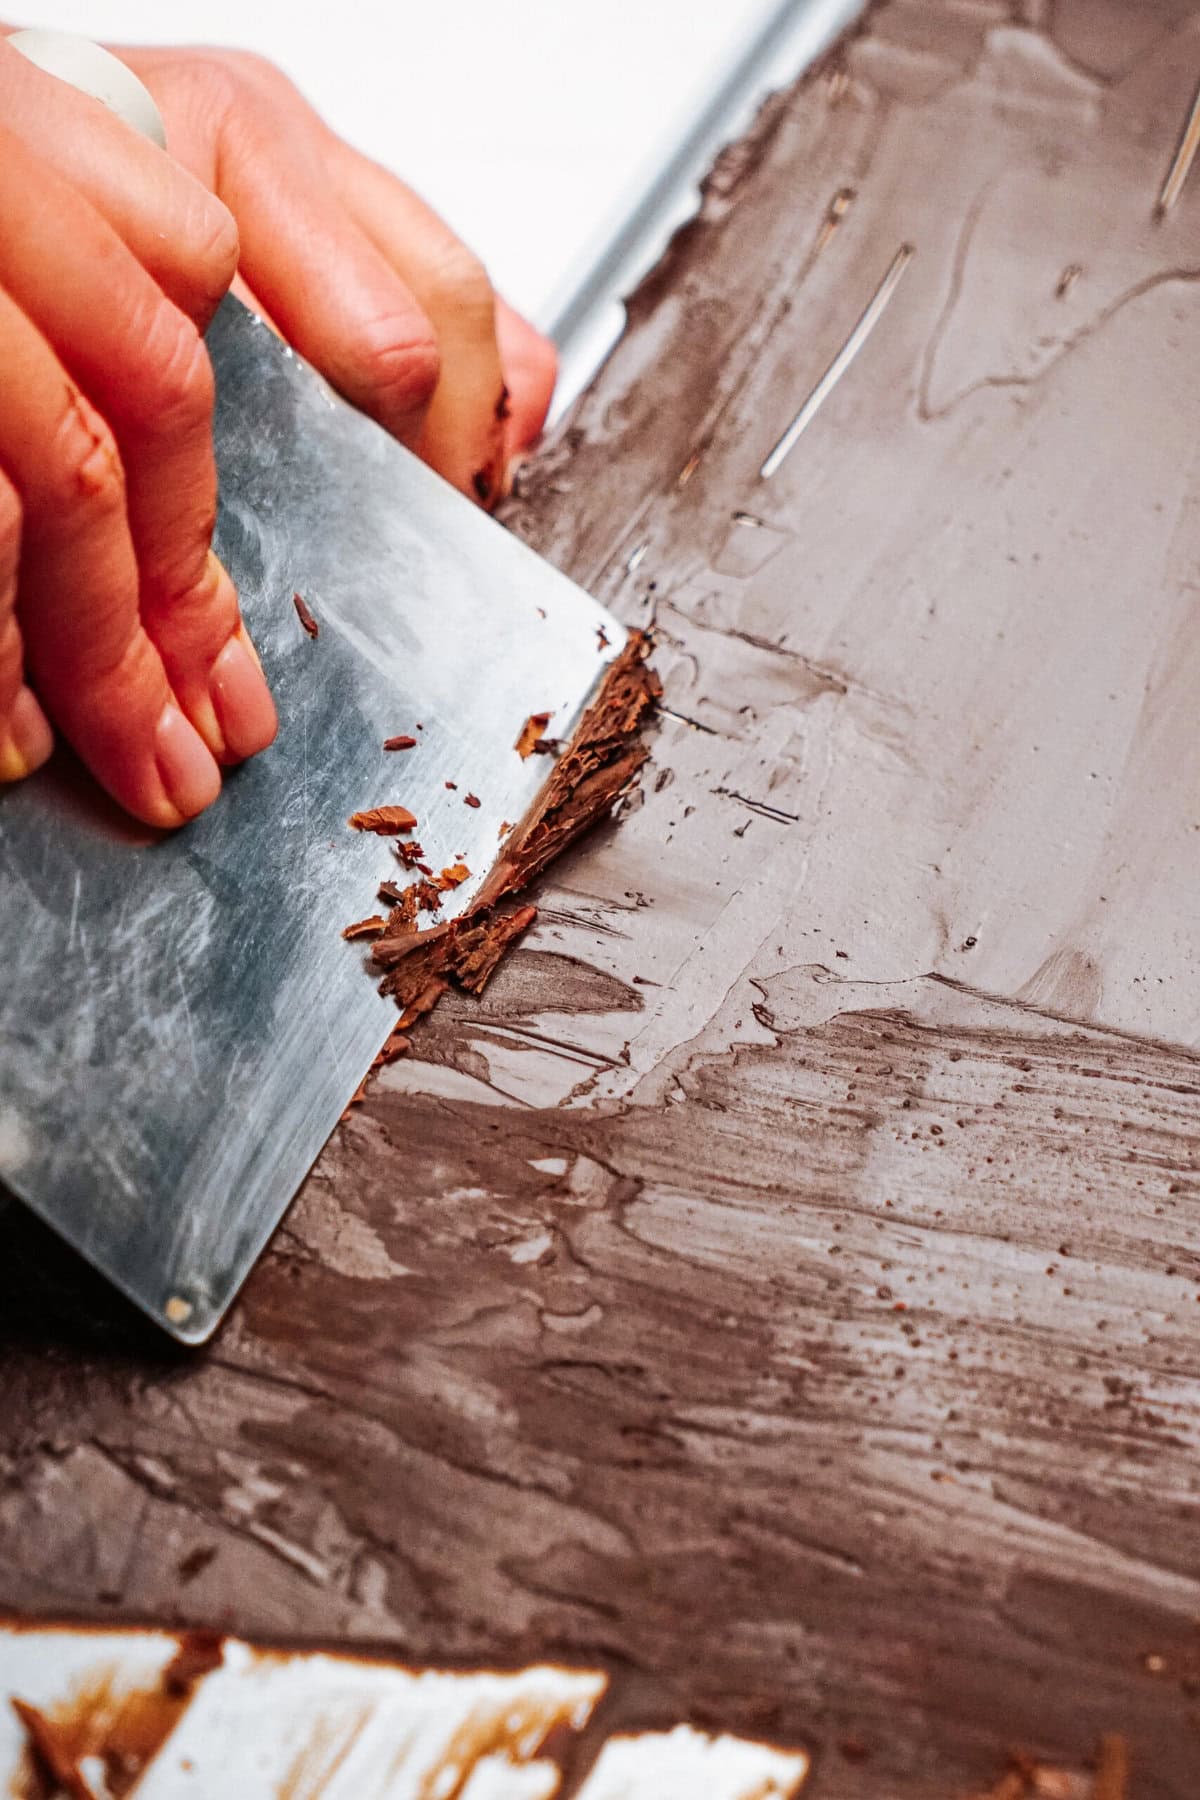
Pro Tip: Choose the right temperature– The chocolate should be firm yet pliable. If it’s too soft, the curls will break. If it’s too hard, they won’t curl at all.
4. Make Curls
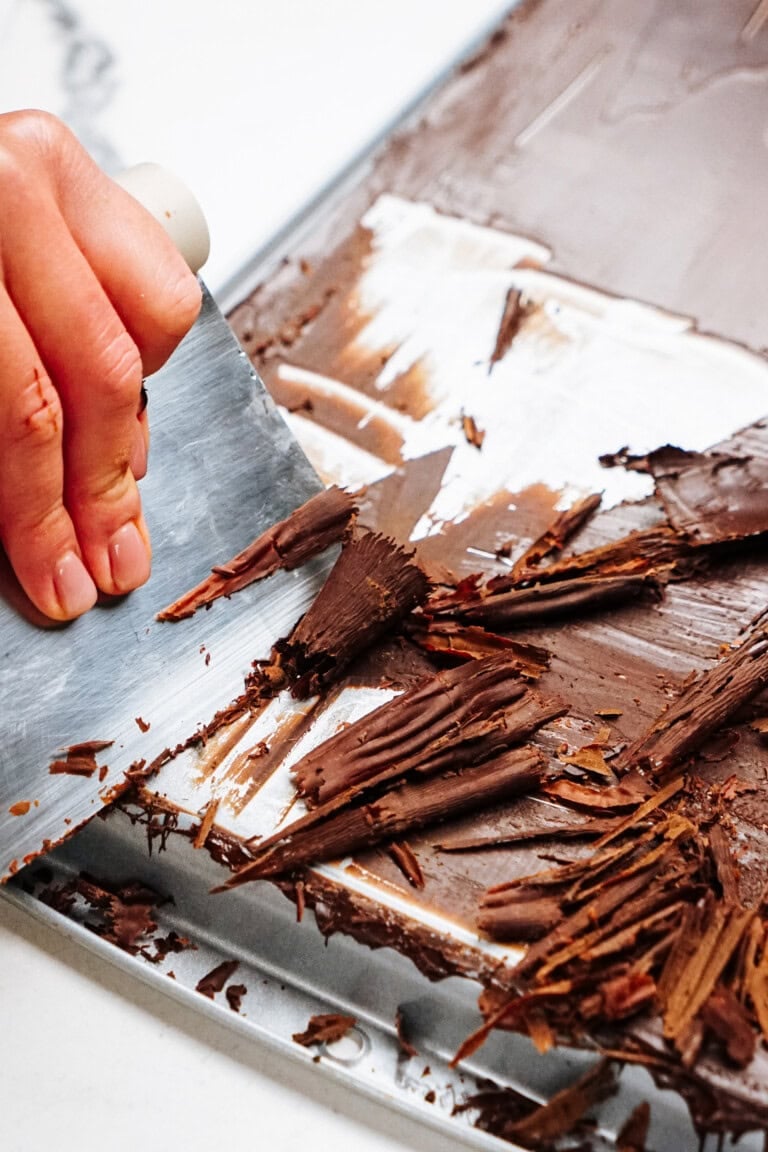
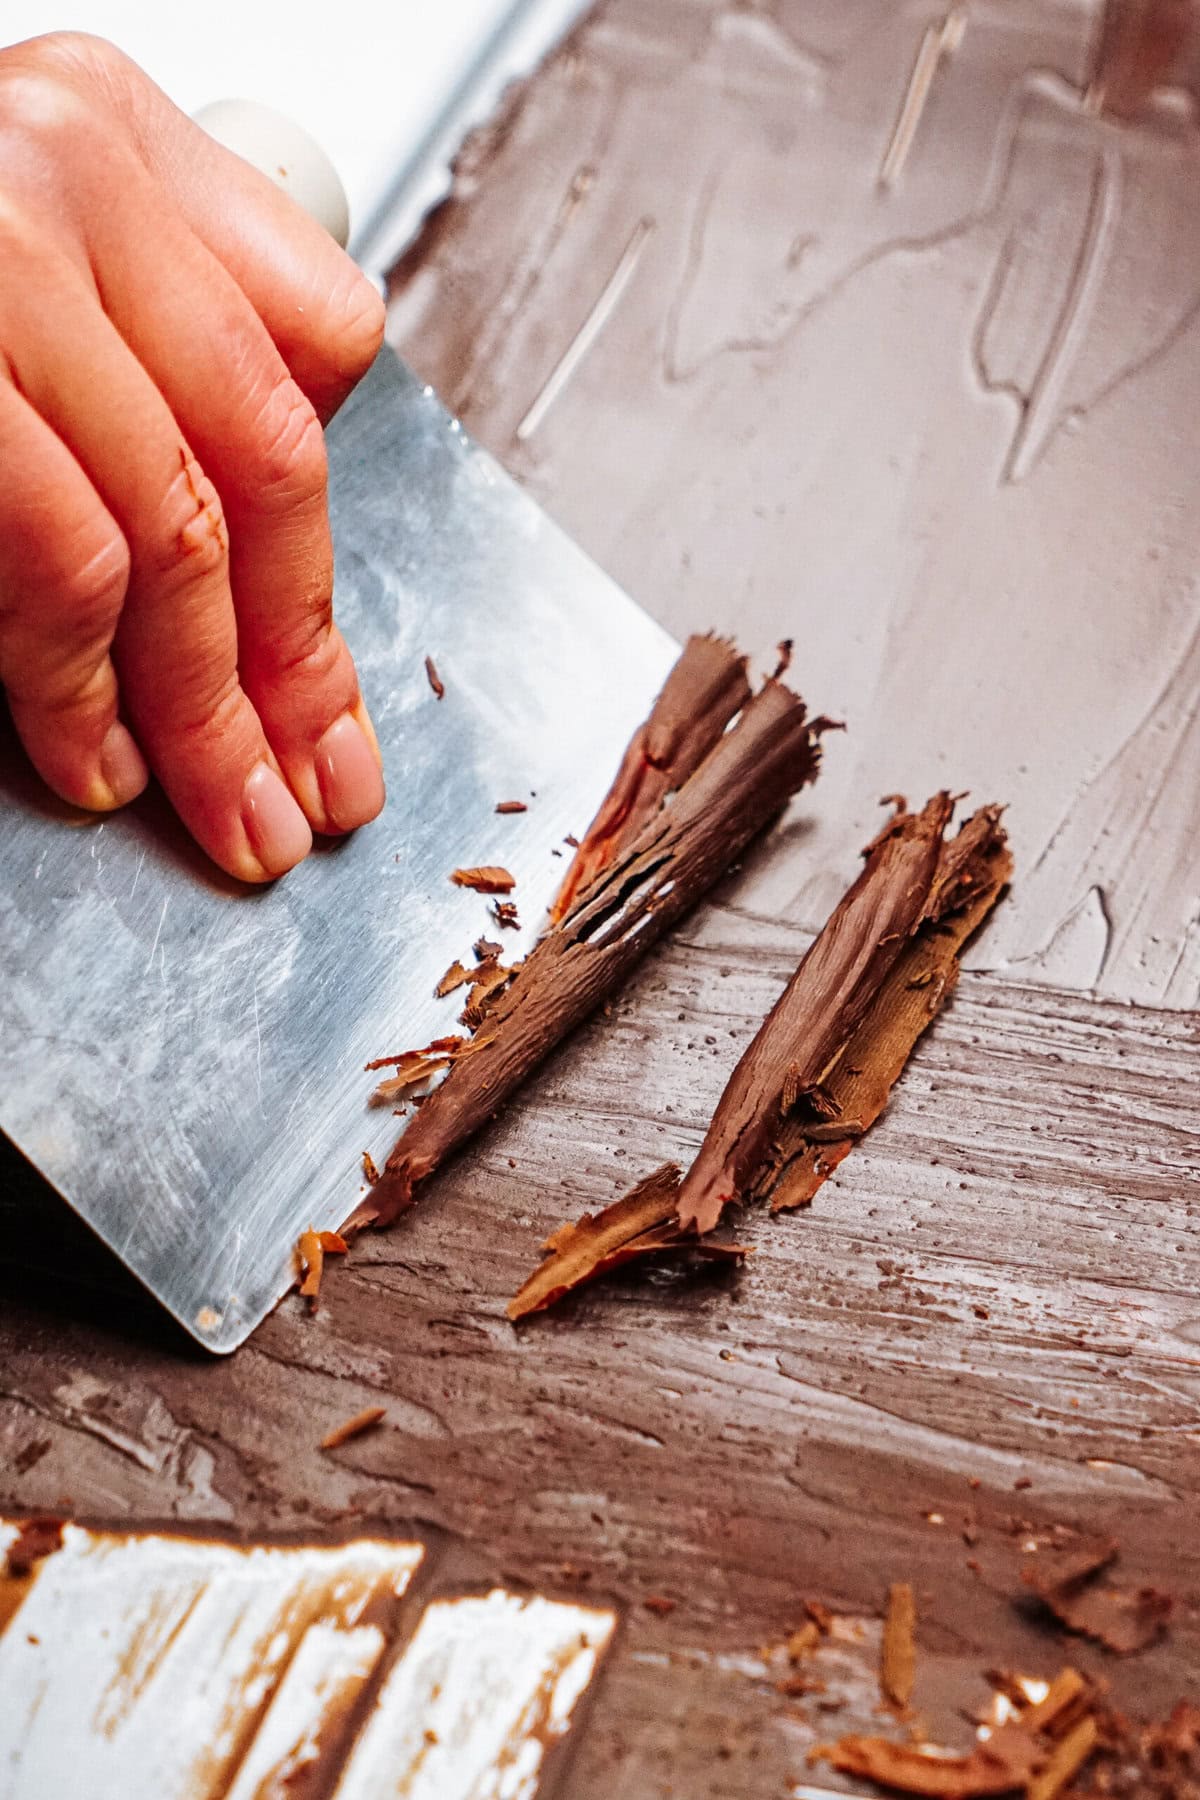
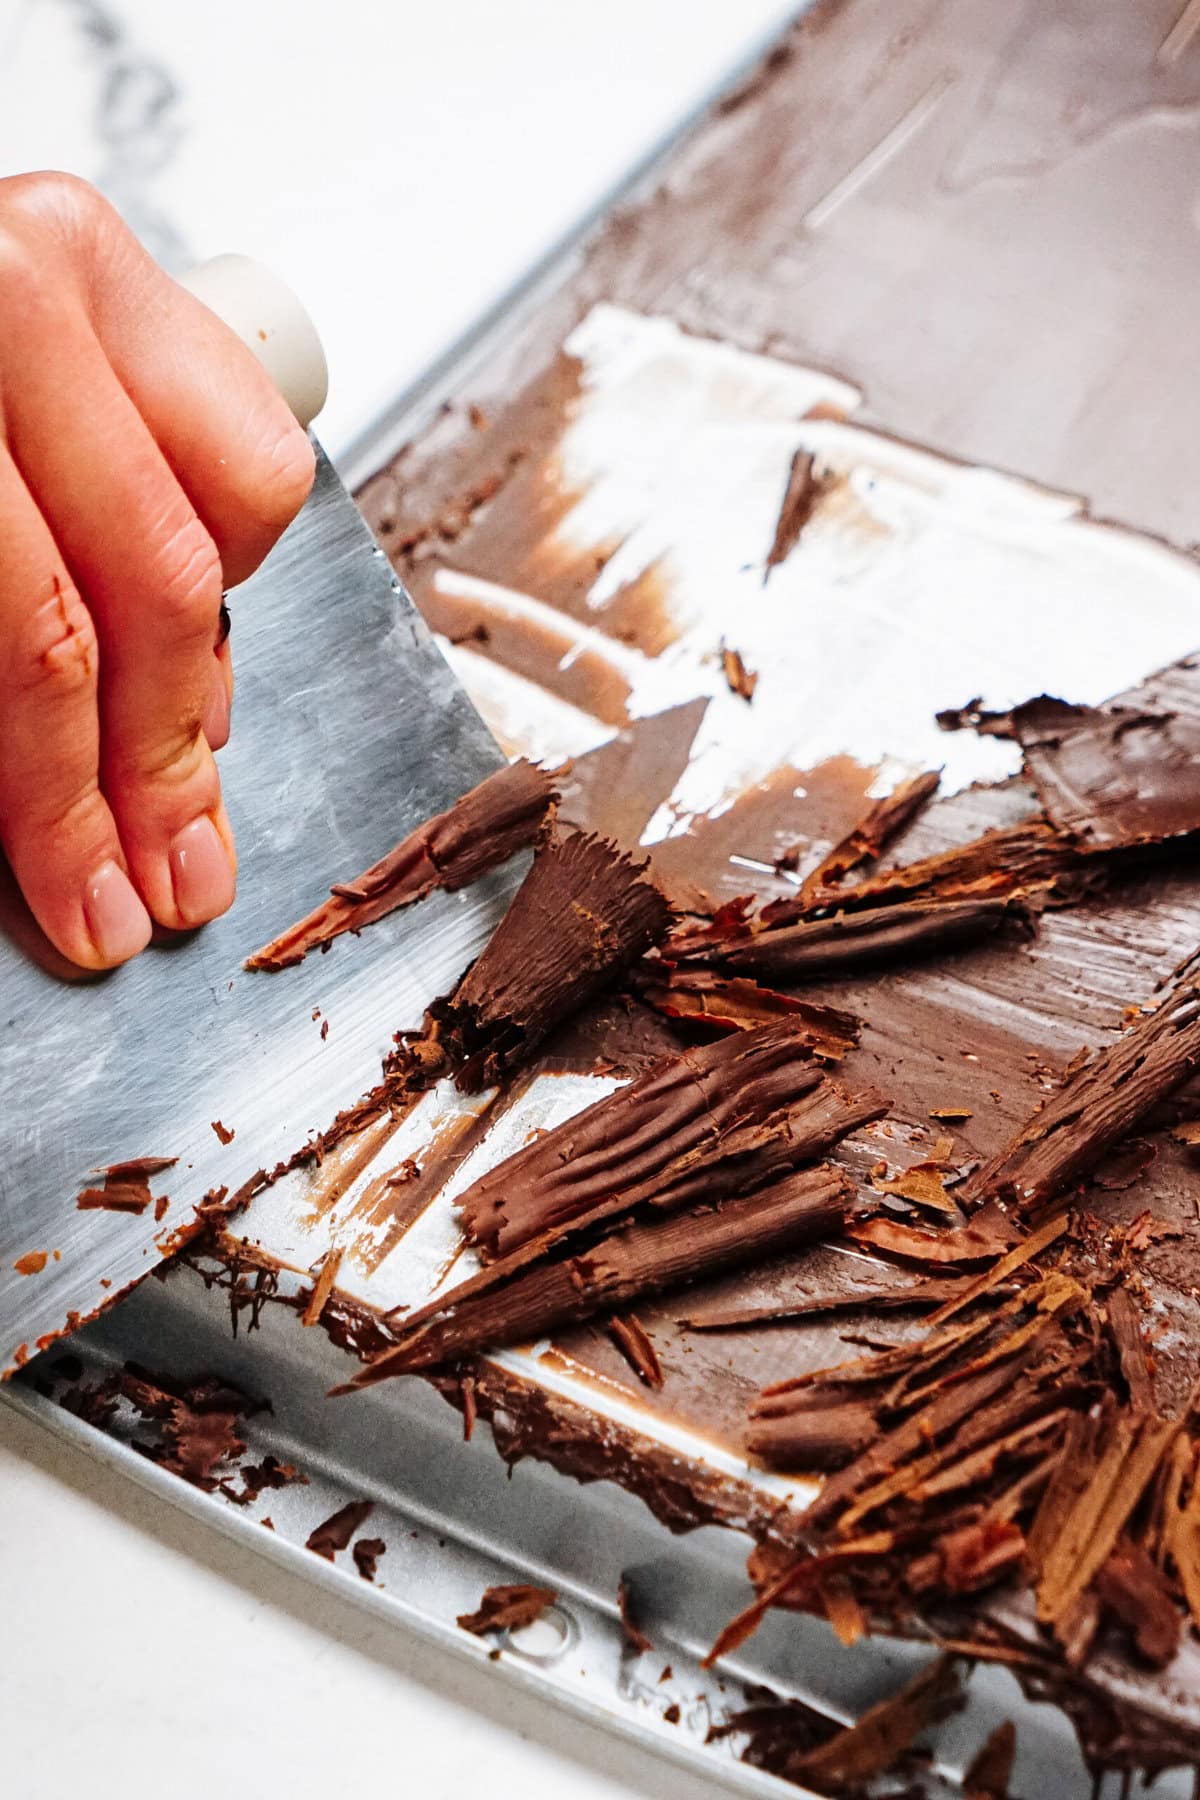
Using a metal spatula or bench scraper, gently scrape the chocolate from one end to the other, creating curls. If the chocolate is too hard, let it sit at room temperature for a minute or two.
5. Use or Store
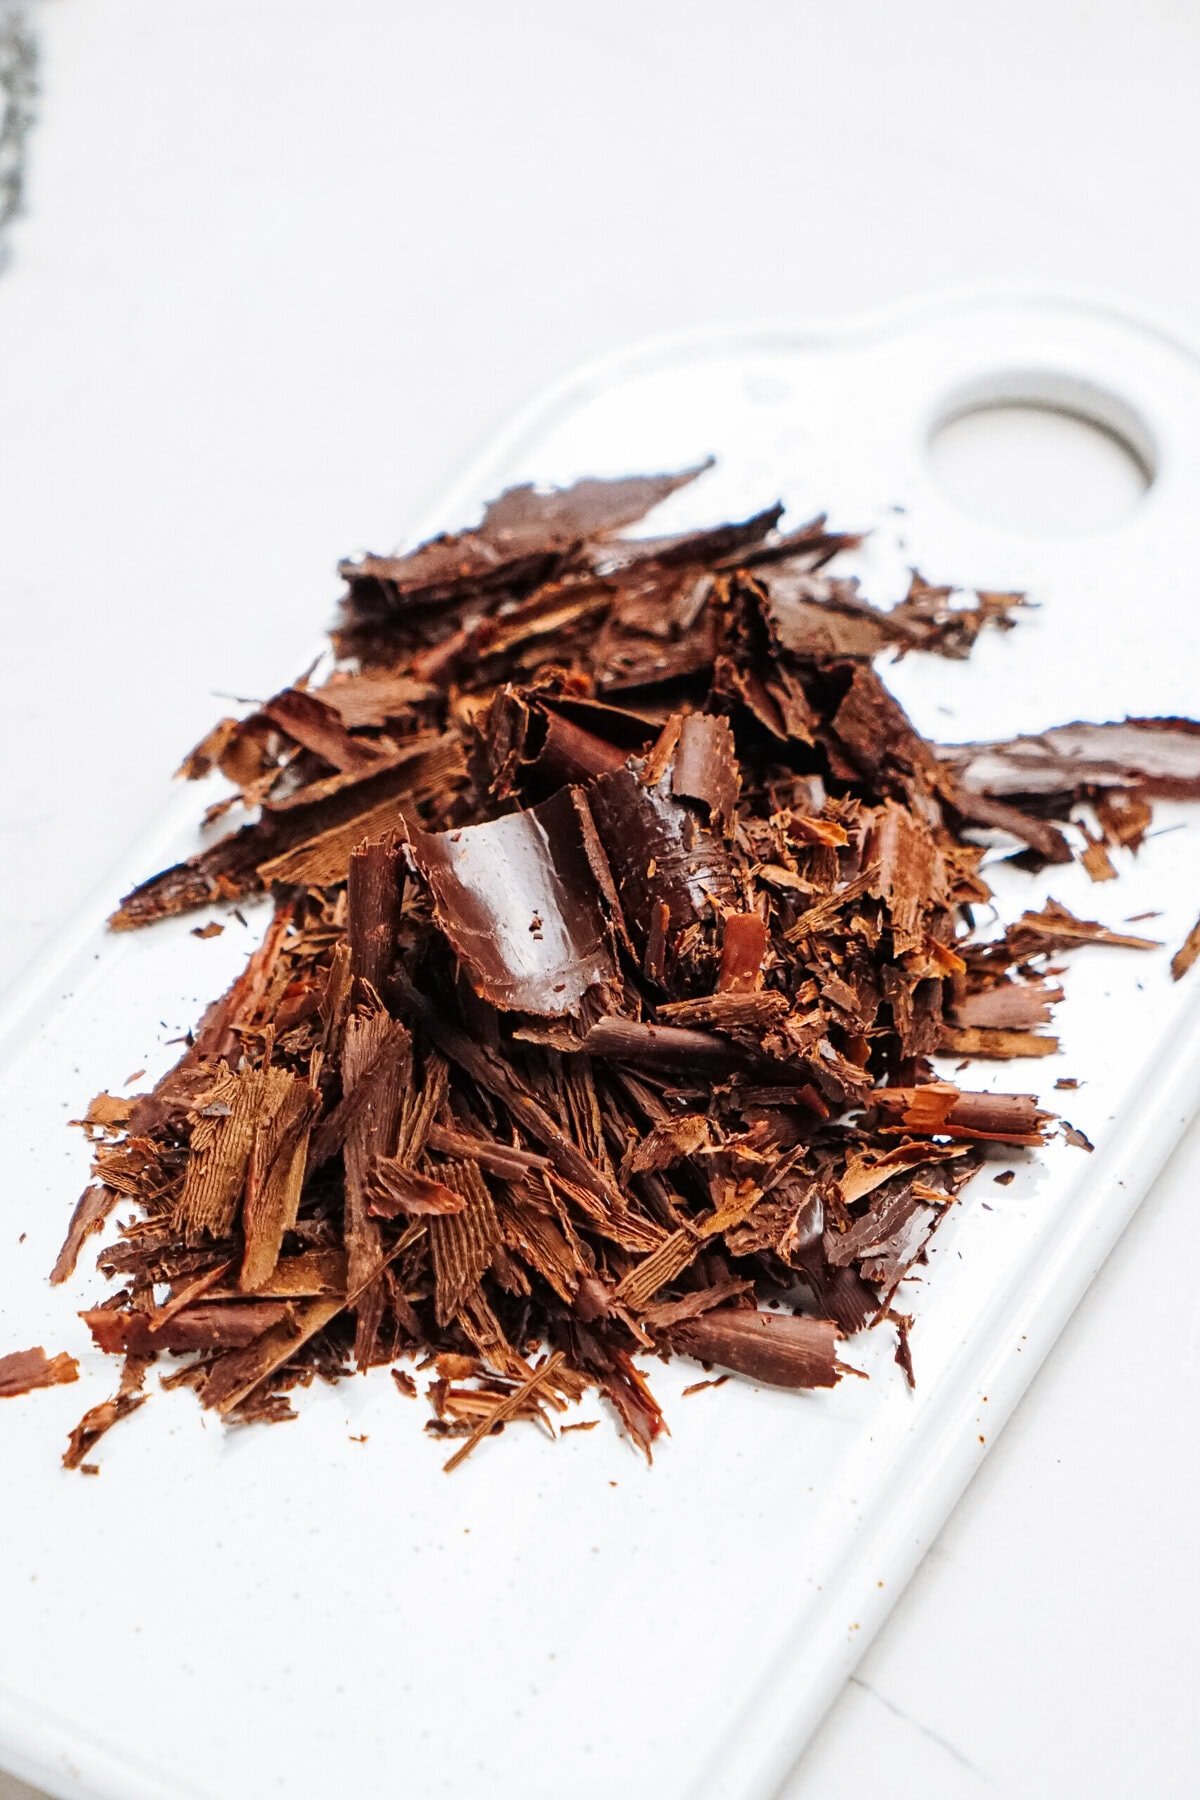
Use the curls immediately or store in an airtight container.
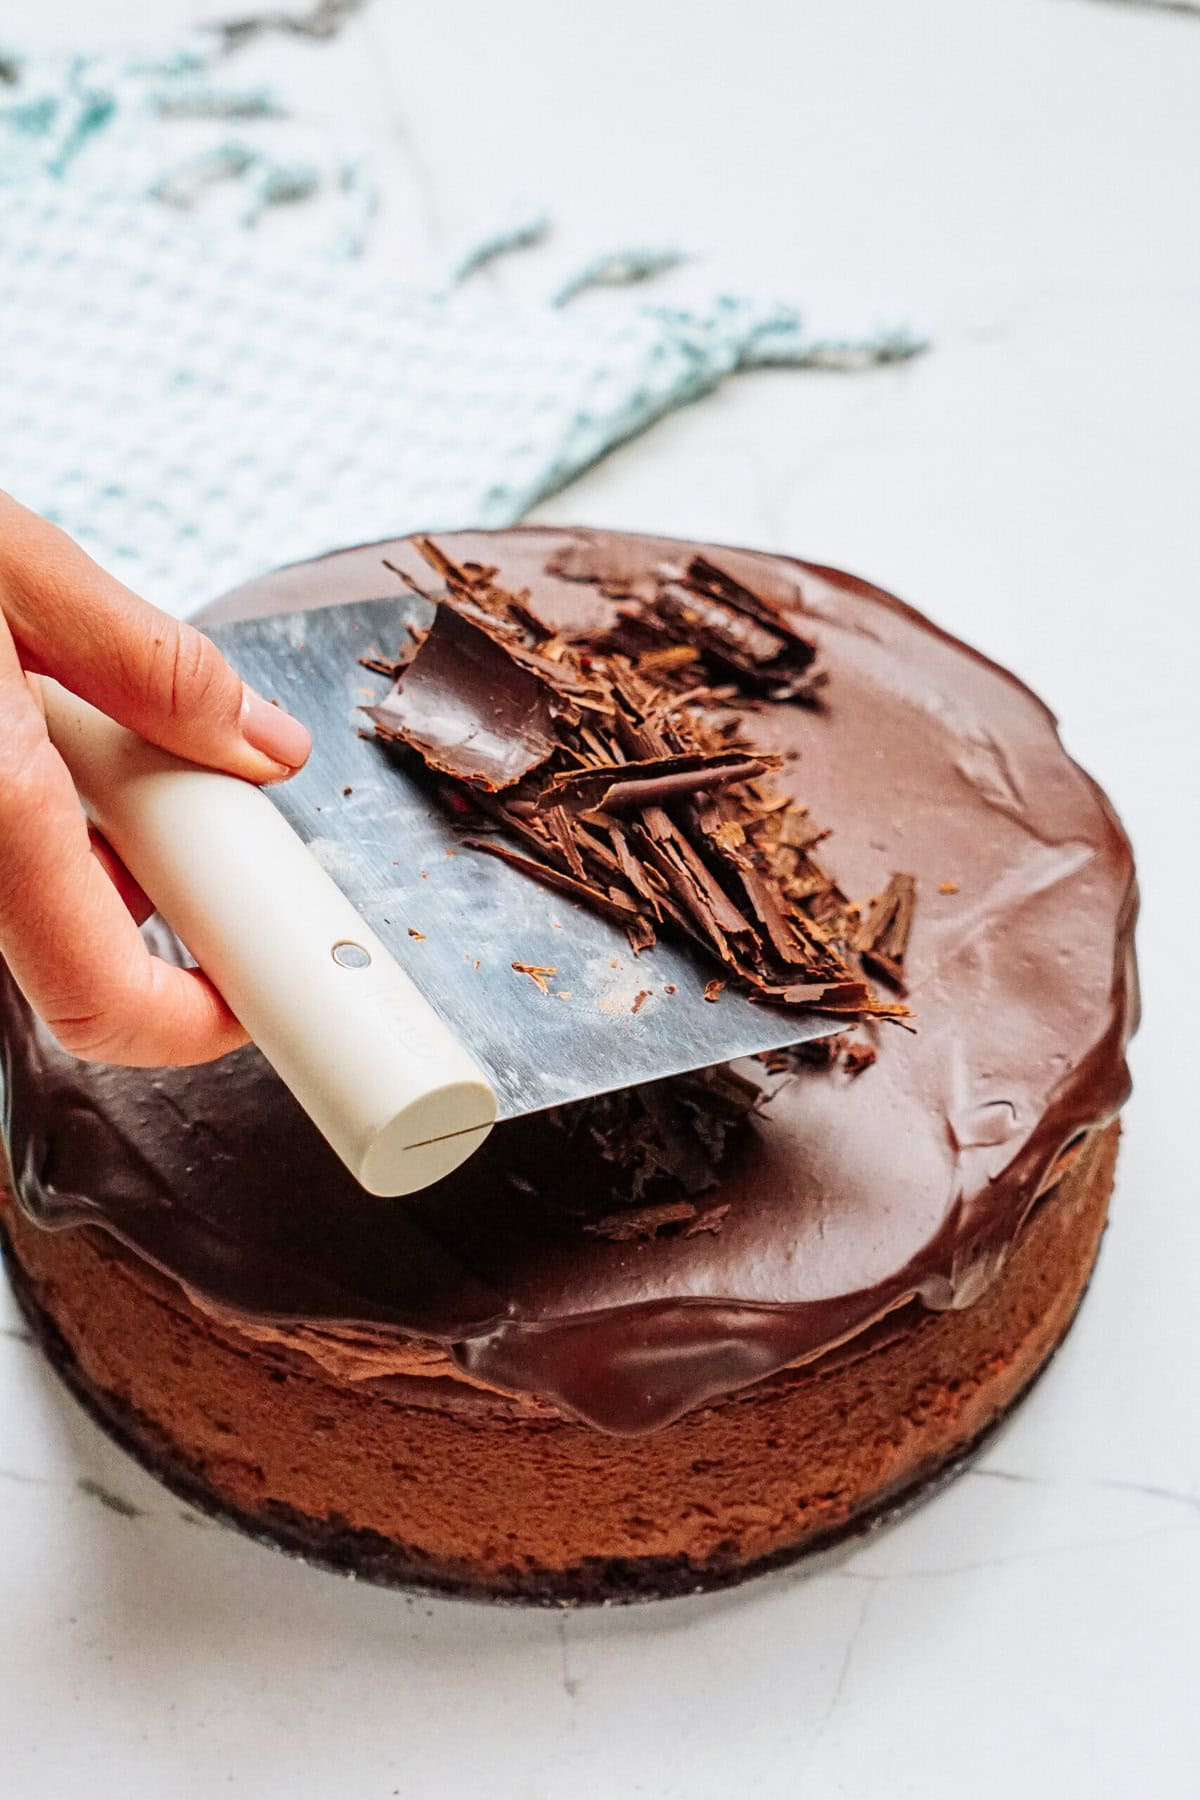
Pro Tip: Handle with care– Chocolate curls are delicate, so use a rubber spatula or skewer to transfer them to your cake.
Storage Directions for Chocolate Curls
Chocolate curls keep best in an airtight container at room temperature, though they can also be refrigerated if you’re in a humid or warm area.
To Freeze: you can freeze chocolate curls in an airtight freezer container. Make sure they’re in a single layer with wax paper in between if needed.
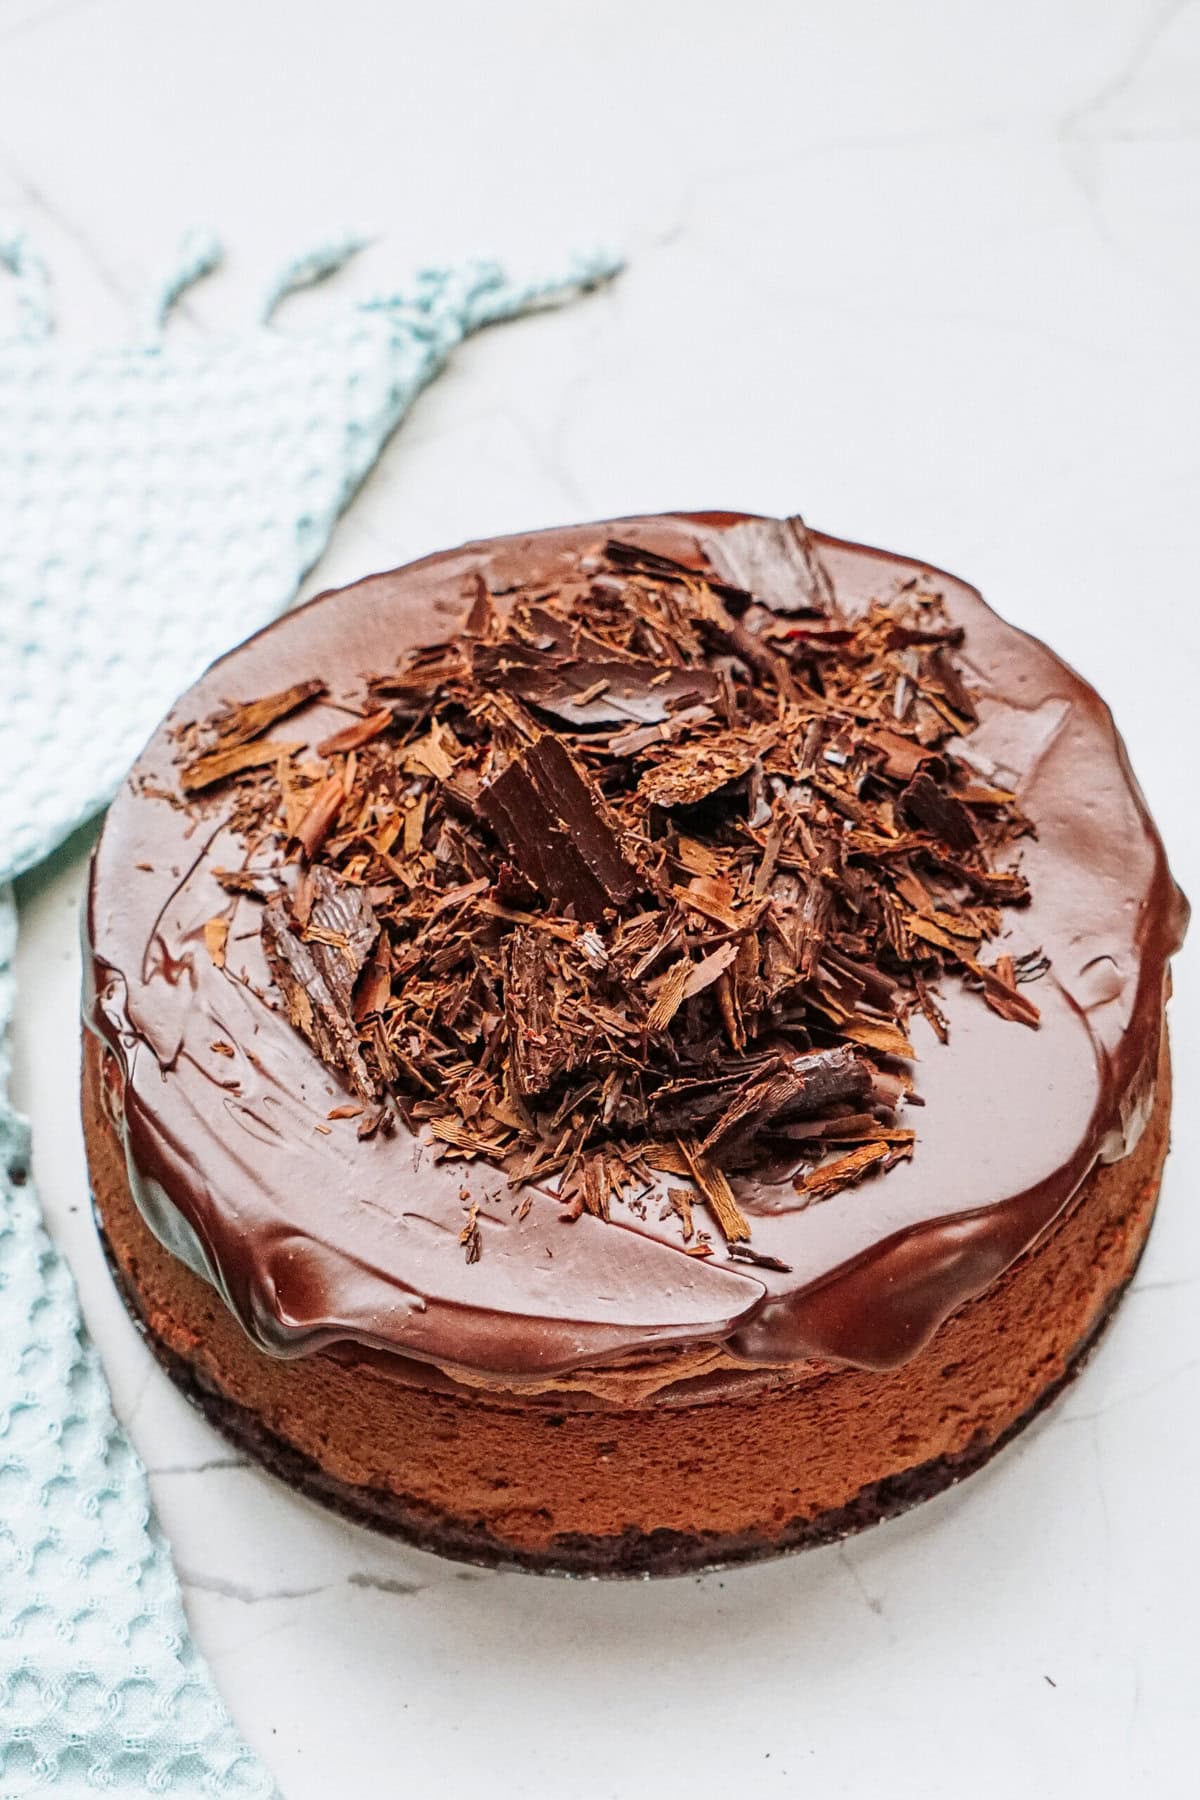
Cake Recipes to use Chocolate Curls and Chocolate Shavings
Really, any cake that could use a little chocolate flair is a great candidate for chocolate curls! Here are few suggestions:
- Chocolate Cake – A classic chocolate layer cake or a rich flourless chocolate cake looks even more decadent with chocolate curls on top.
- Black Forest Cake – Chocolate curls are perfect for the sides or top of a Black Forest cake, complementing the layers of whipped cream and cherries.
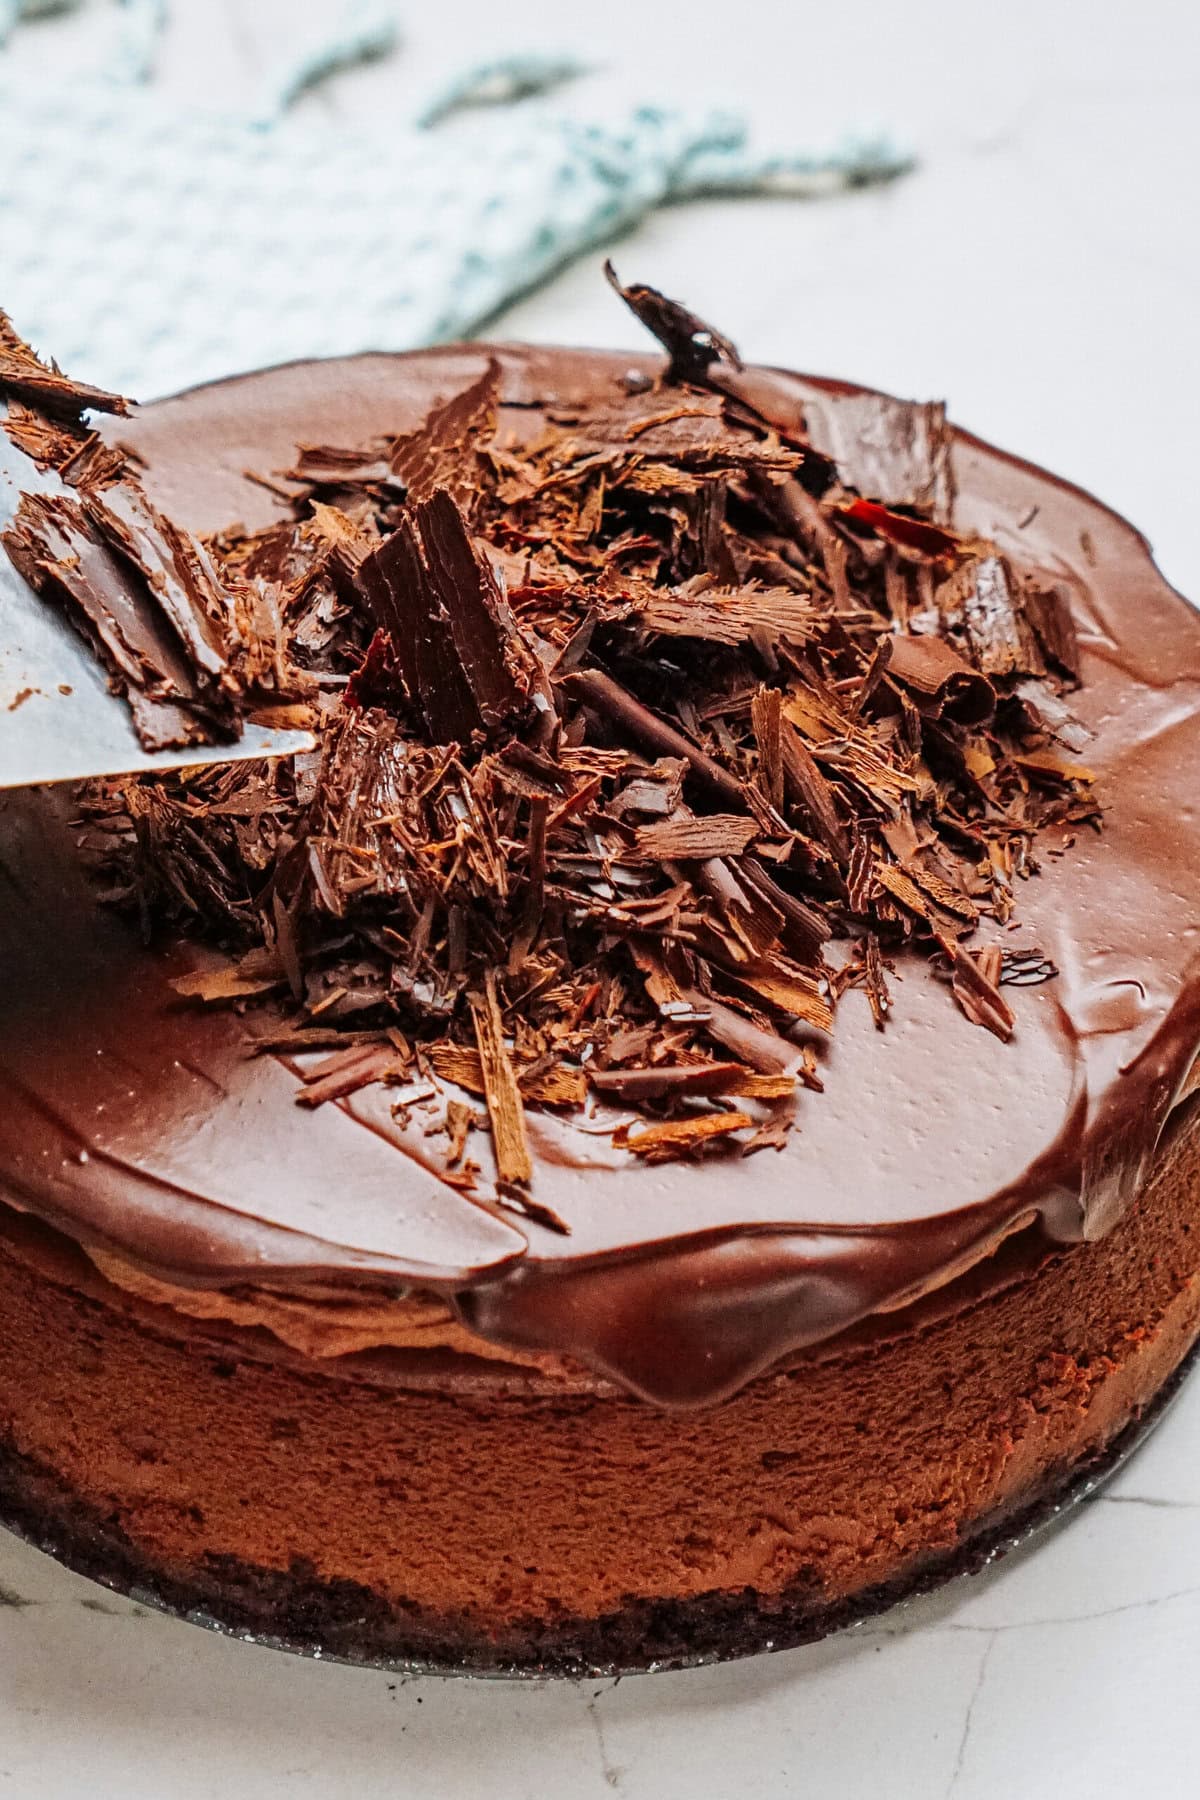
- Cheesecake – A plain cheesecake, especially with a chocolate drizzle or ganache layer, gets an elegant boost from chocolate curls.
- Cheesecake Factory Godiva Chocolate Cheesecake Copycat – For cakes with a mousse filling or topping, chocolate curls add texture and an extra chocolate punch.
- Red Velvet Cake – White chocolate curls add a stunning contrast against red velvet’s deep red color.
- Ice Cream Cake – Chocolate curls are a classic topping for ice cream cakes, adding a decorative finish without melting in the freezer.
- Vanilla Cake – For those who love a mix of vanilla and chocolate, chocolate curls make a perfect topper for a vanilla cake with chocolate frosting.

Making chocolate curls for cake decorating is a quick trick for adding an elegant touch to desserts. Whether it’s your first time or you’re a seasoned home cook, these simple curls bring a professional look to cakes, pies, and more. So, grab a bar of chocolate, melt it down, and start curling—you’ll be amazed at the difference a few curls can make!
If you make this recipe, I would really appreciate it if you would give it a star rating and leave your review in the comments! If you have a picture of your finished dish, post it on Instagram using the hashtag #laurenslatest and tagging me @laurens_latest.

How to Make Chocolate Curls for Cake
Ingredients
- 3.5 oz chocolate bar or chips I used Ghirardelli 72% Cacao, but use any good chocolate you would like
Instructions
- If using a chocolate bar, chop the chocolate into large chunks using a knife.
- Place chocolate pieces (or chocolate chips if using those) in a microwave safe bowl and microwave in 20 second intervals, stirring in between until melted.
- Using an offset knife, spread chocolate evenly onto the back of a clean cookie sheet (about 1/8" thick).
- Place in the refrigerator for about 10-15 minutes. Remove from refrigerator. The chocolate should firm up but not become rock solid. You want it to be pliable enough to curl, but not so soft that it just melts when you try to handle it.
- Using a metal spatula or bench scraper, scrape the chocolate from one end to the other to create a "curl".
- Use as desired.

