
You have 0 items in your cart
Baileys Irish Cream Cheesecake

This post may contain affiliate links. View my privacy policy and disclosure policy for more details.
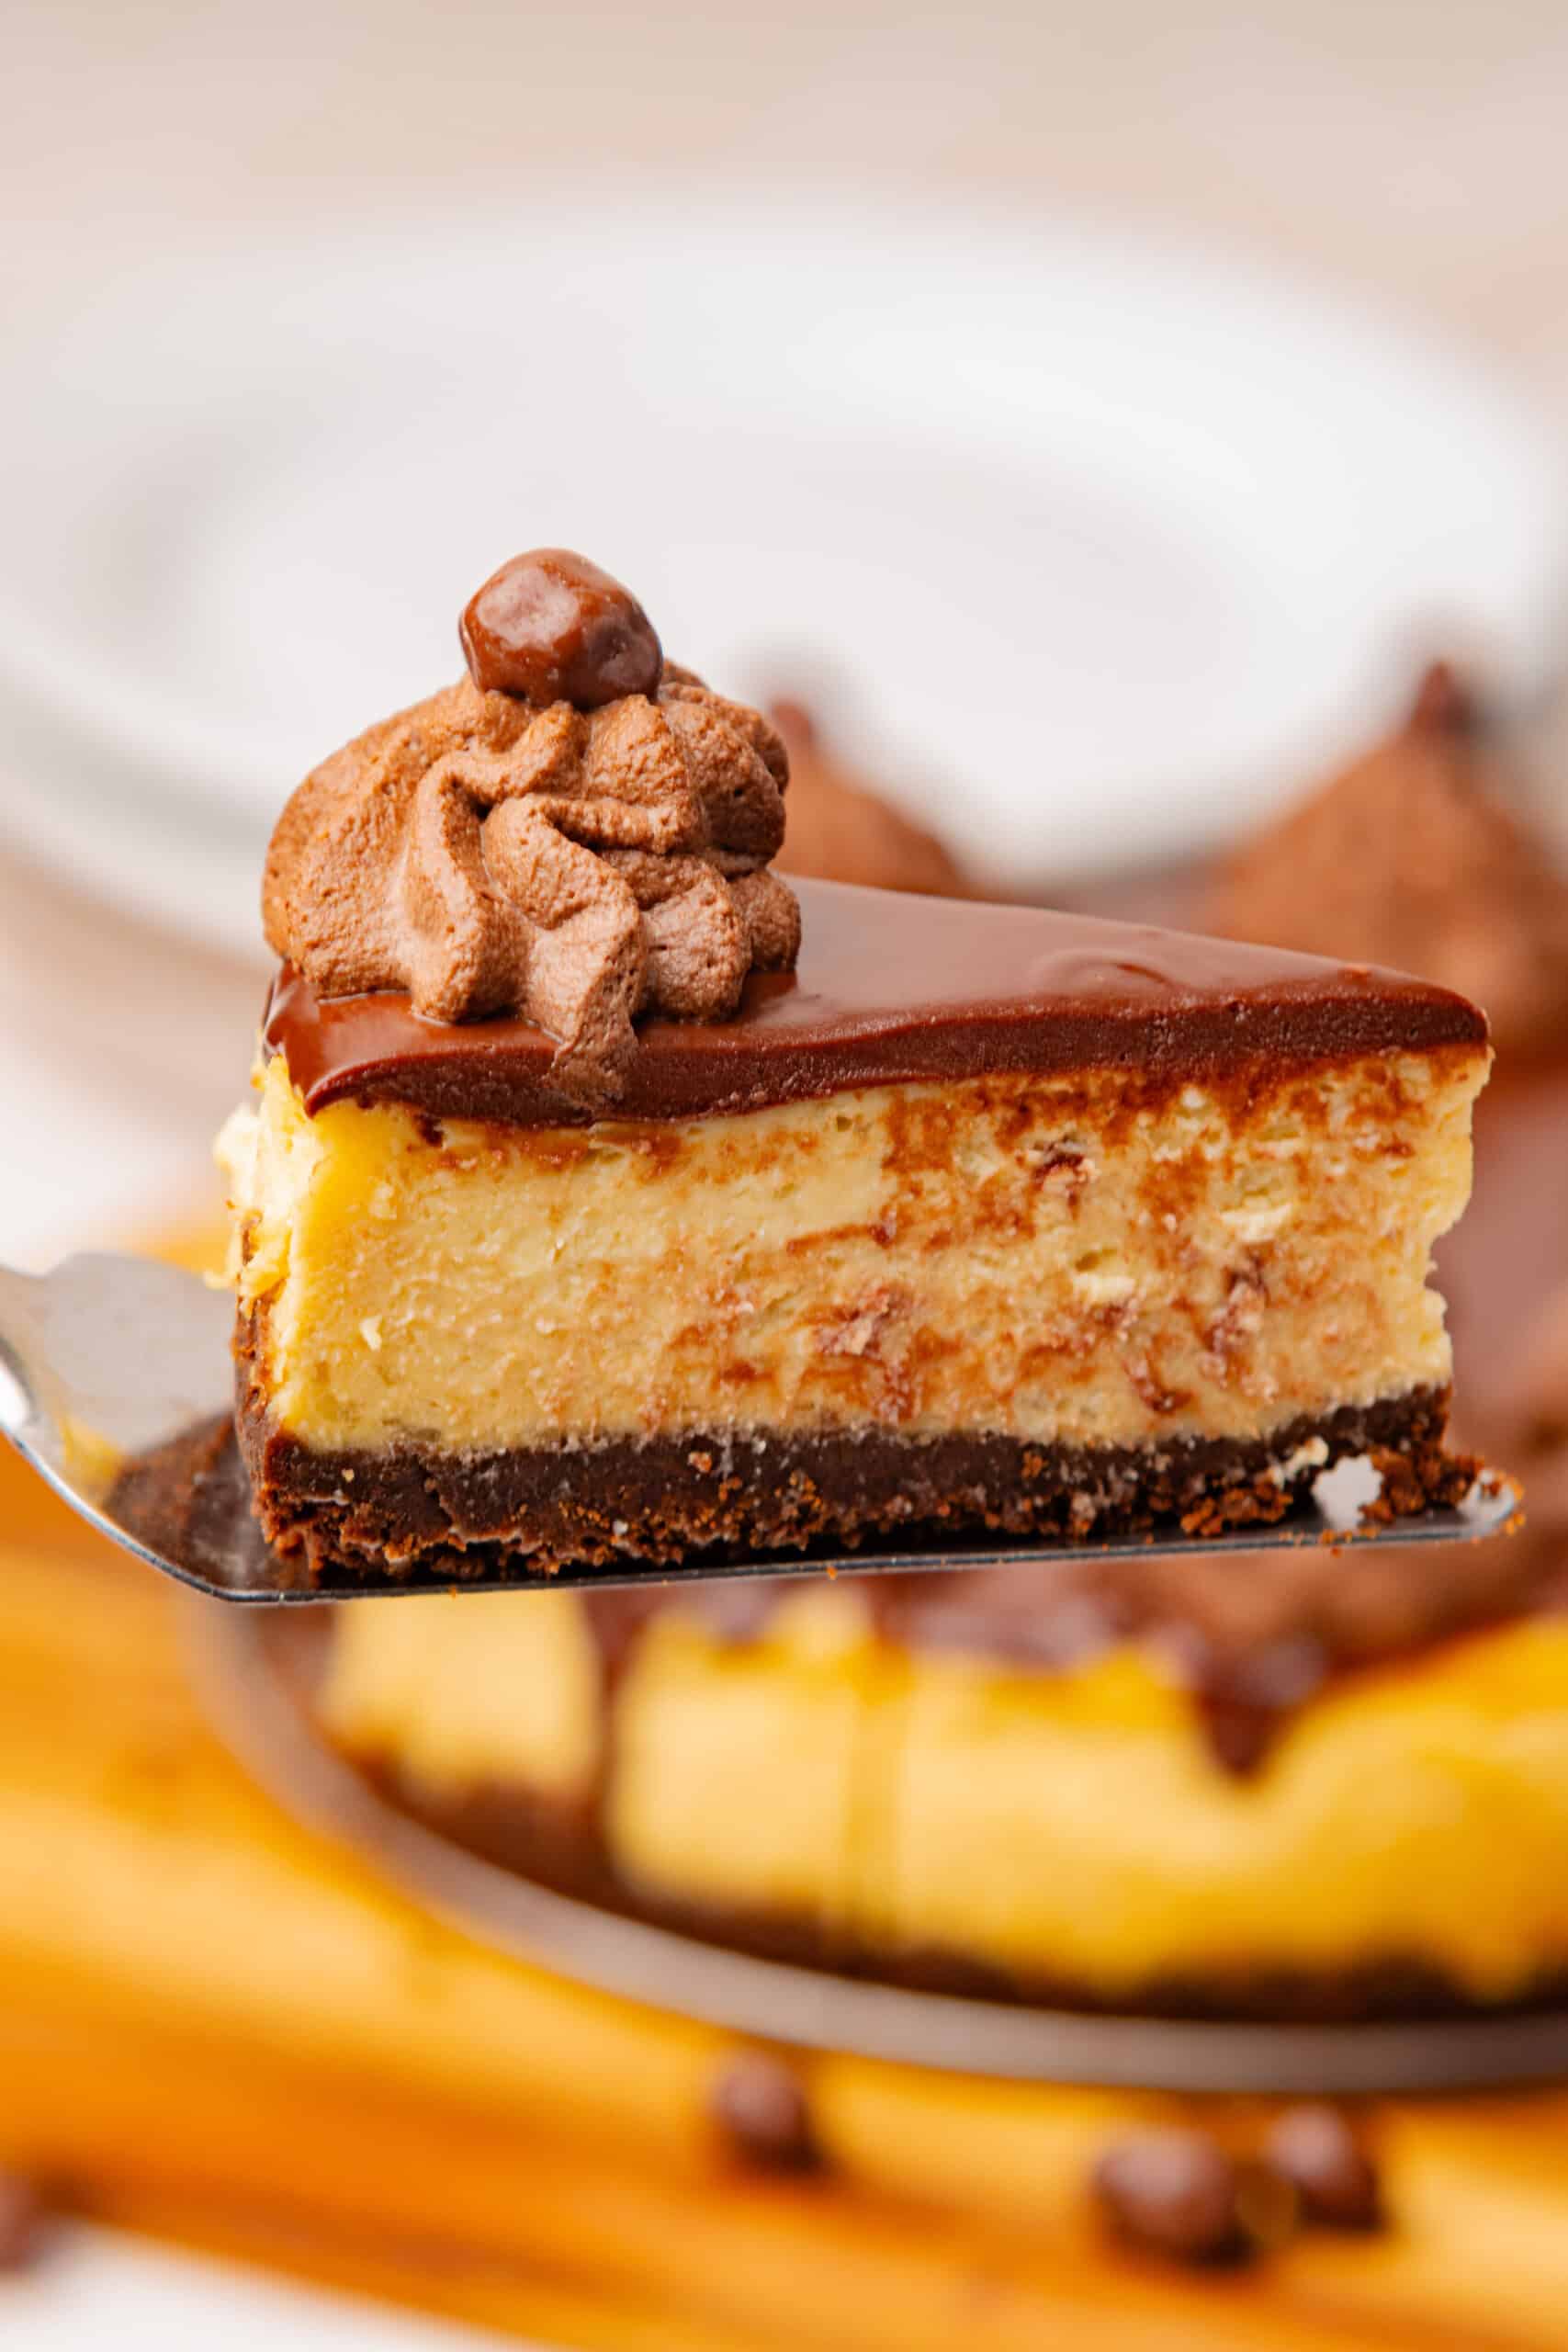
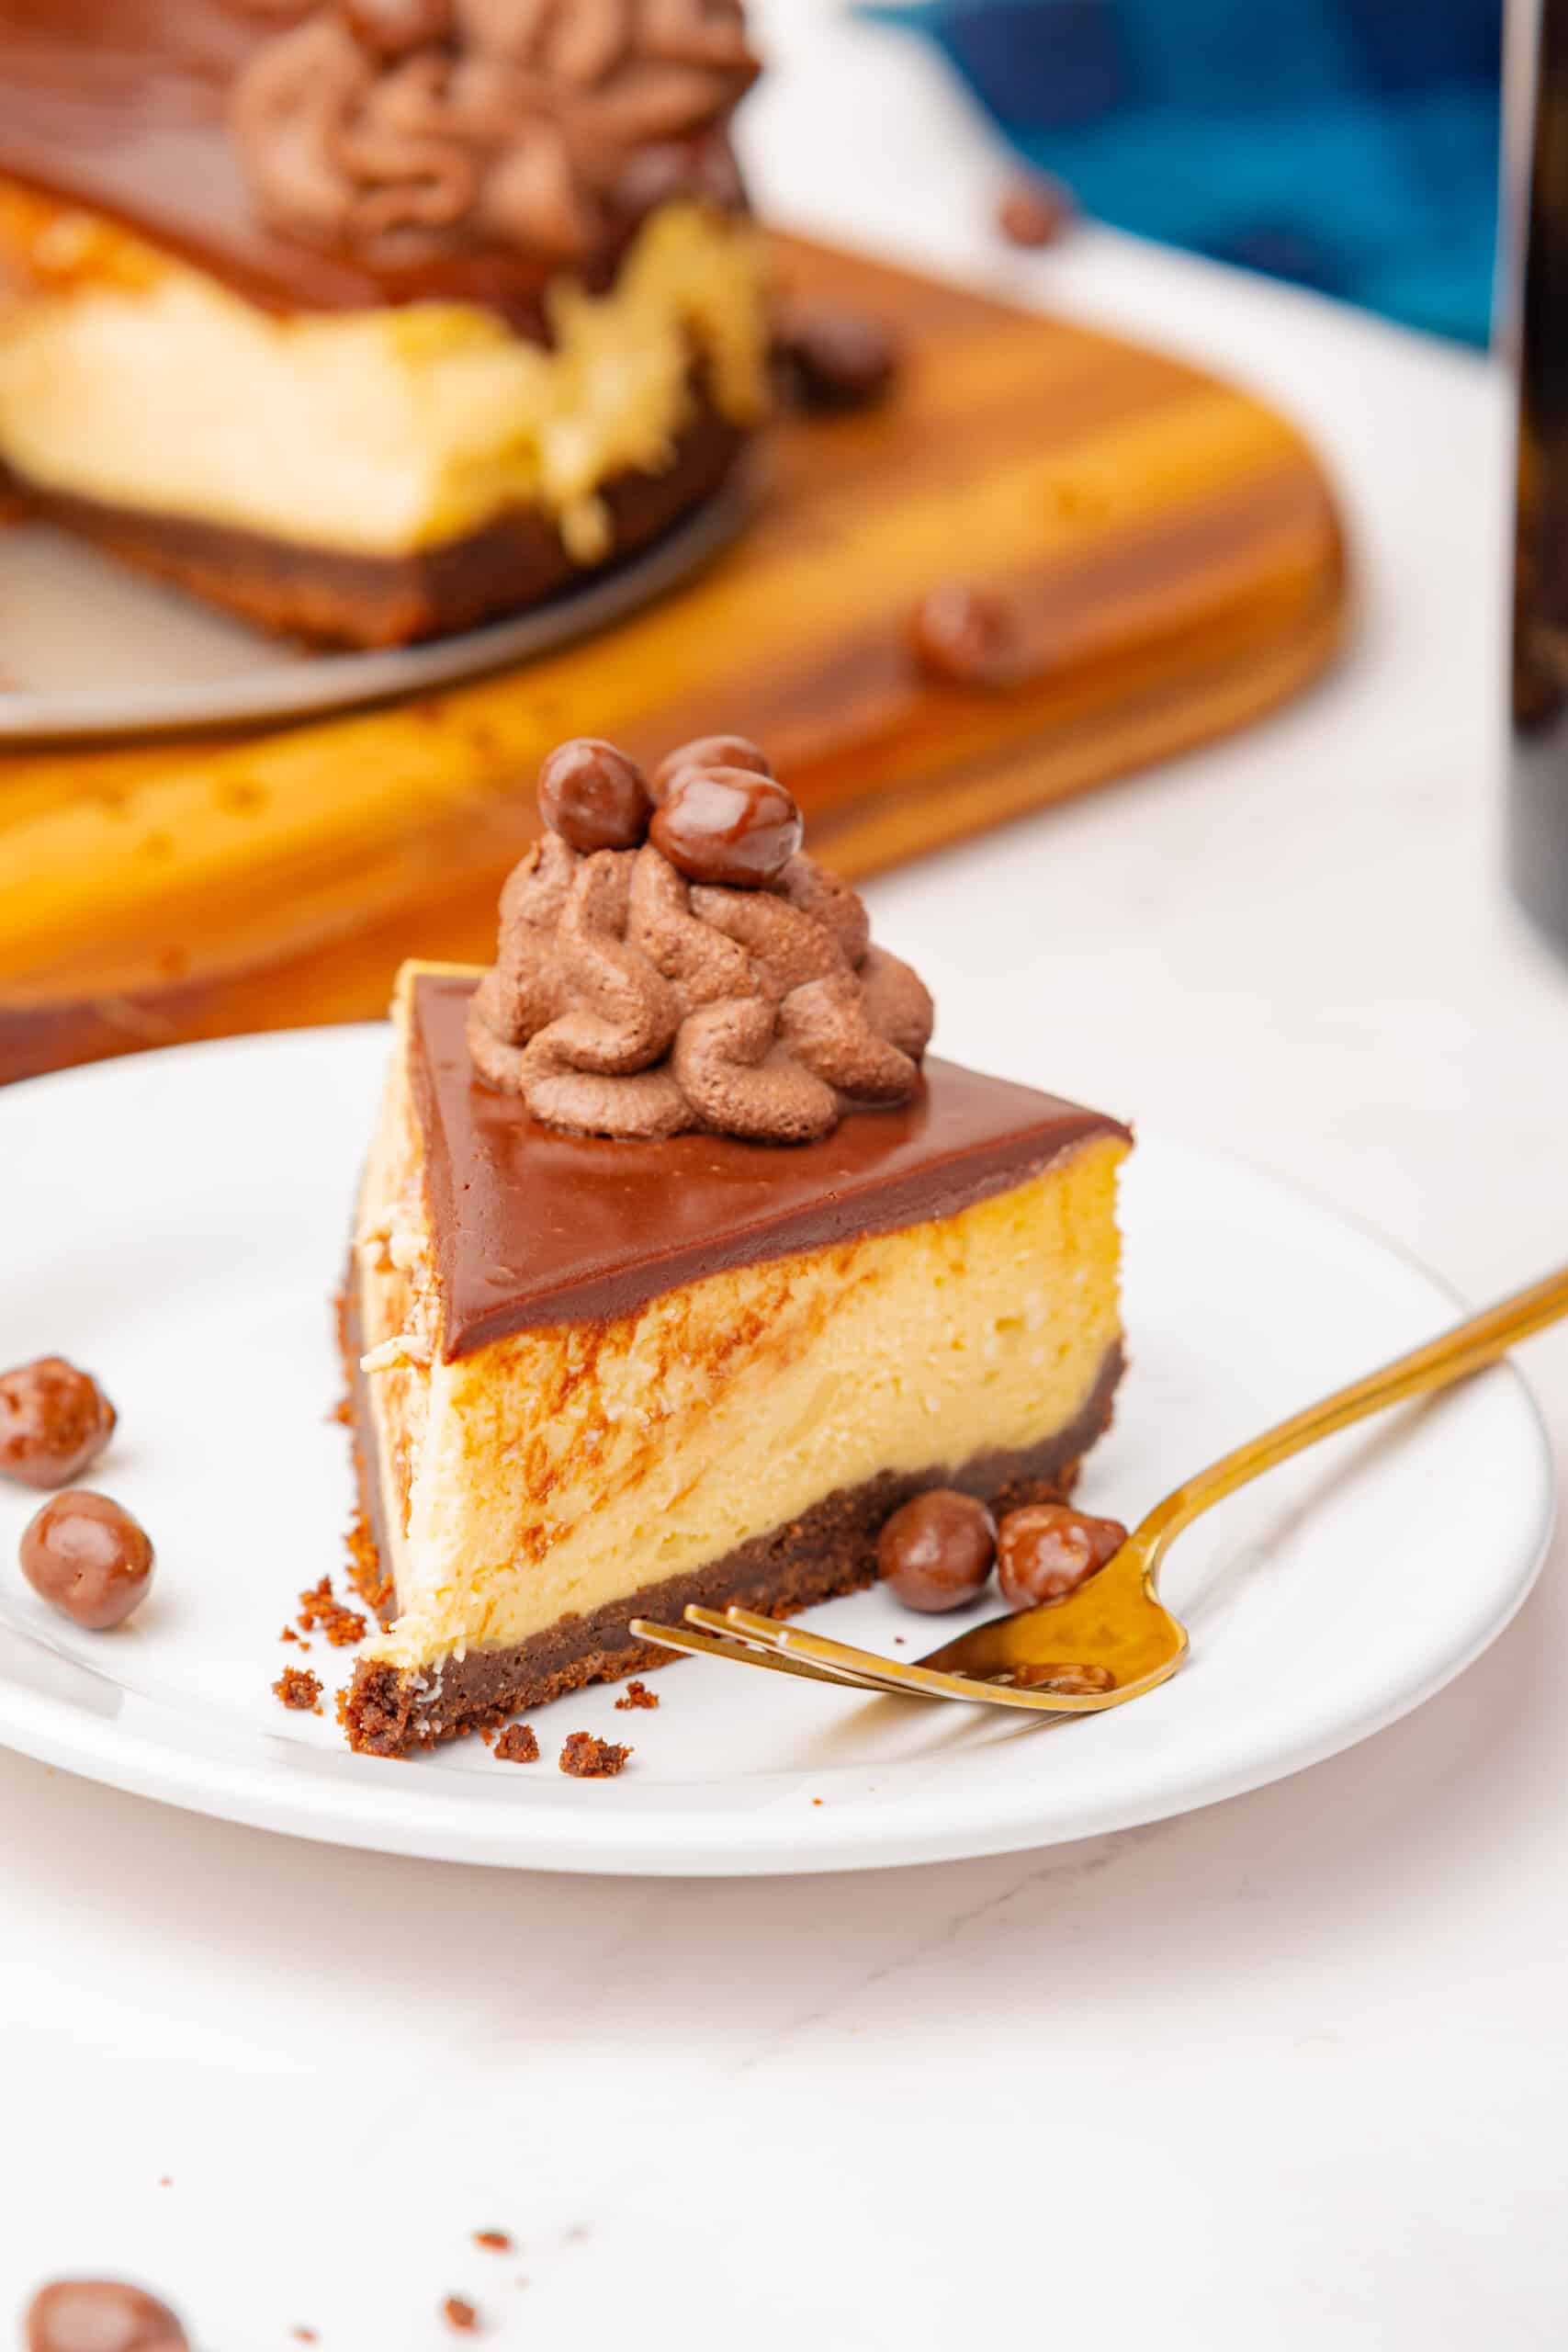
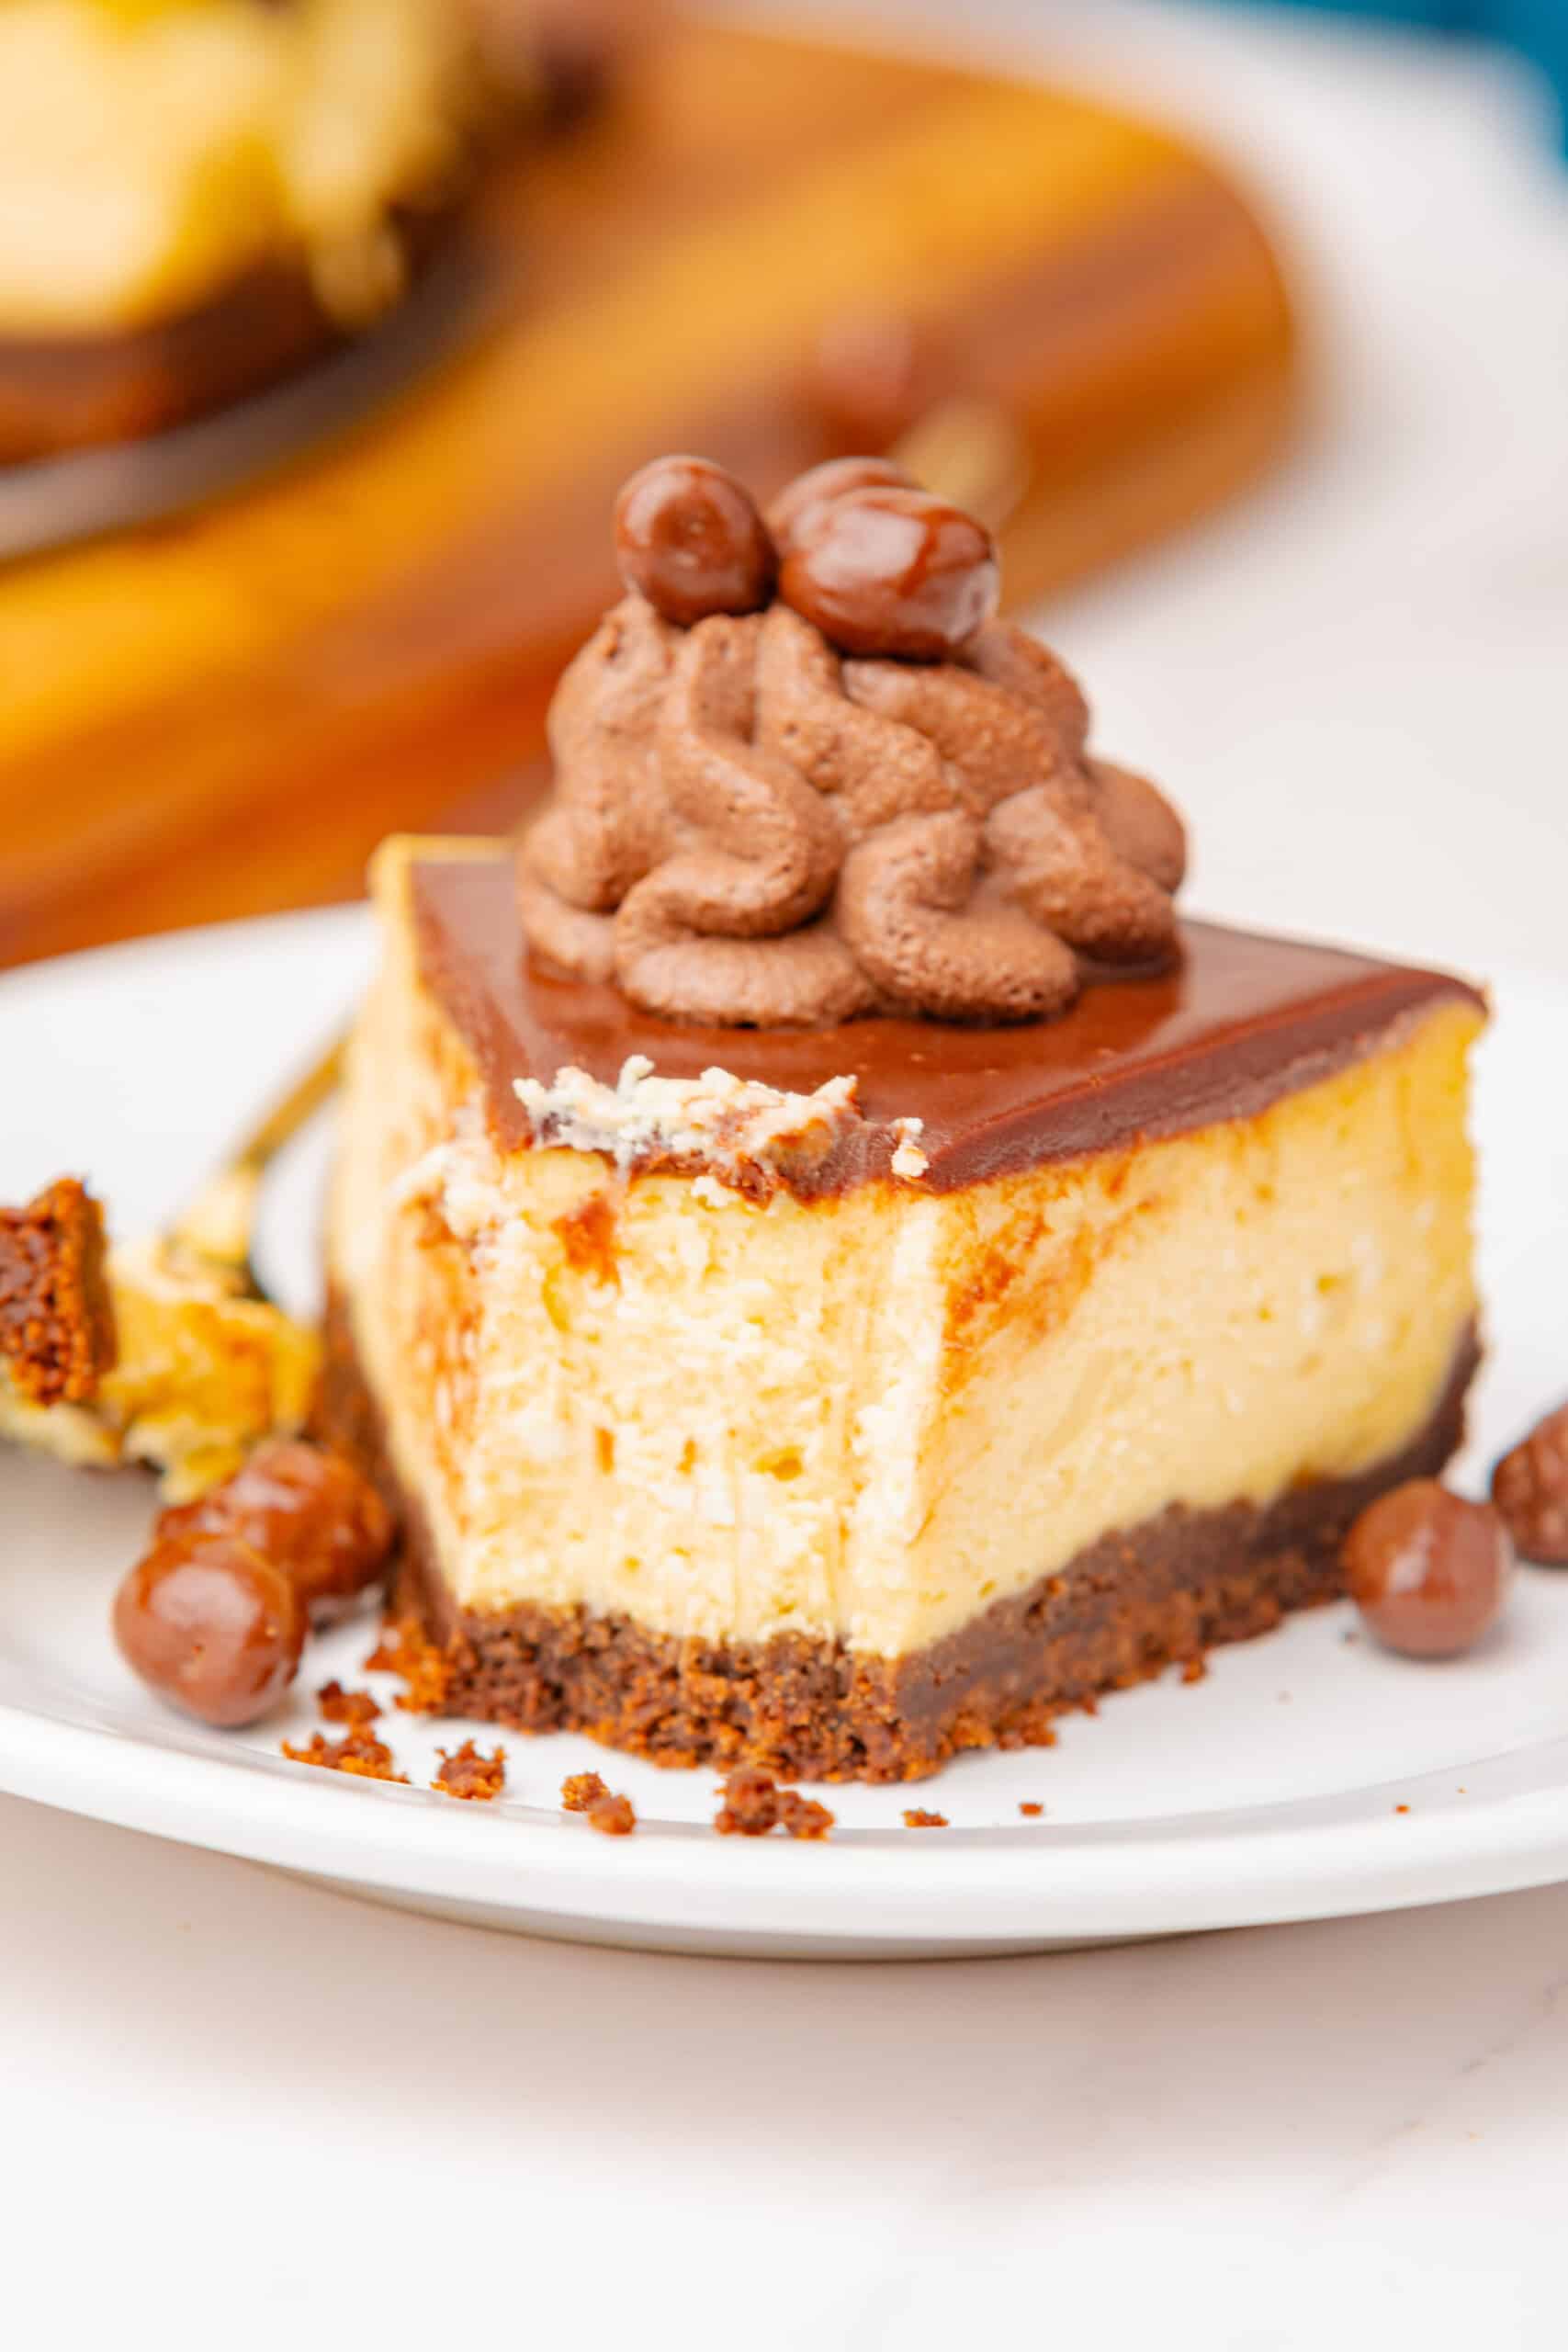
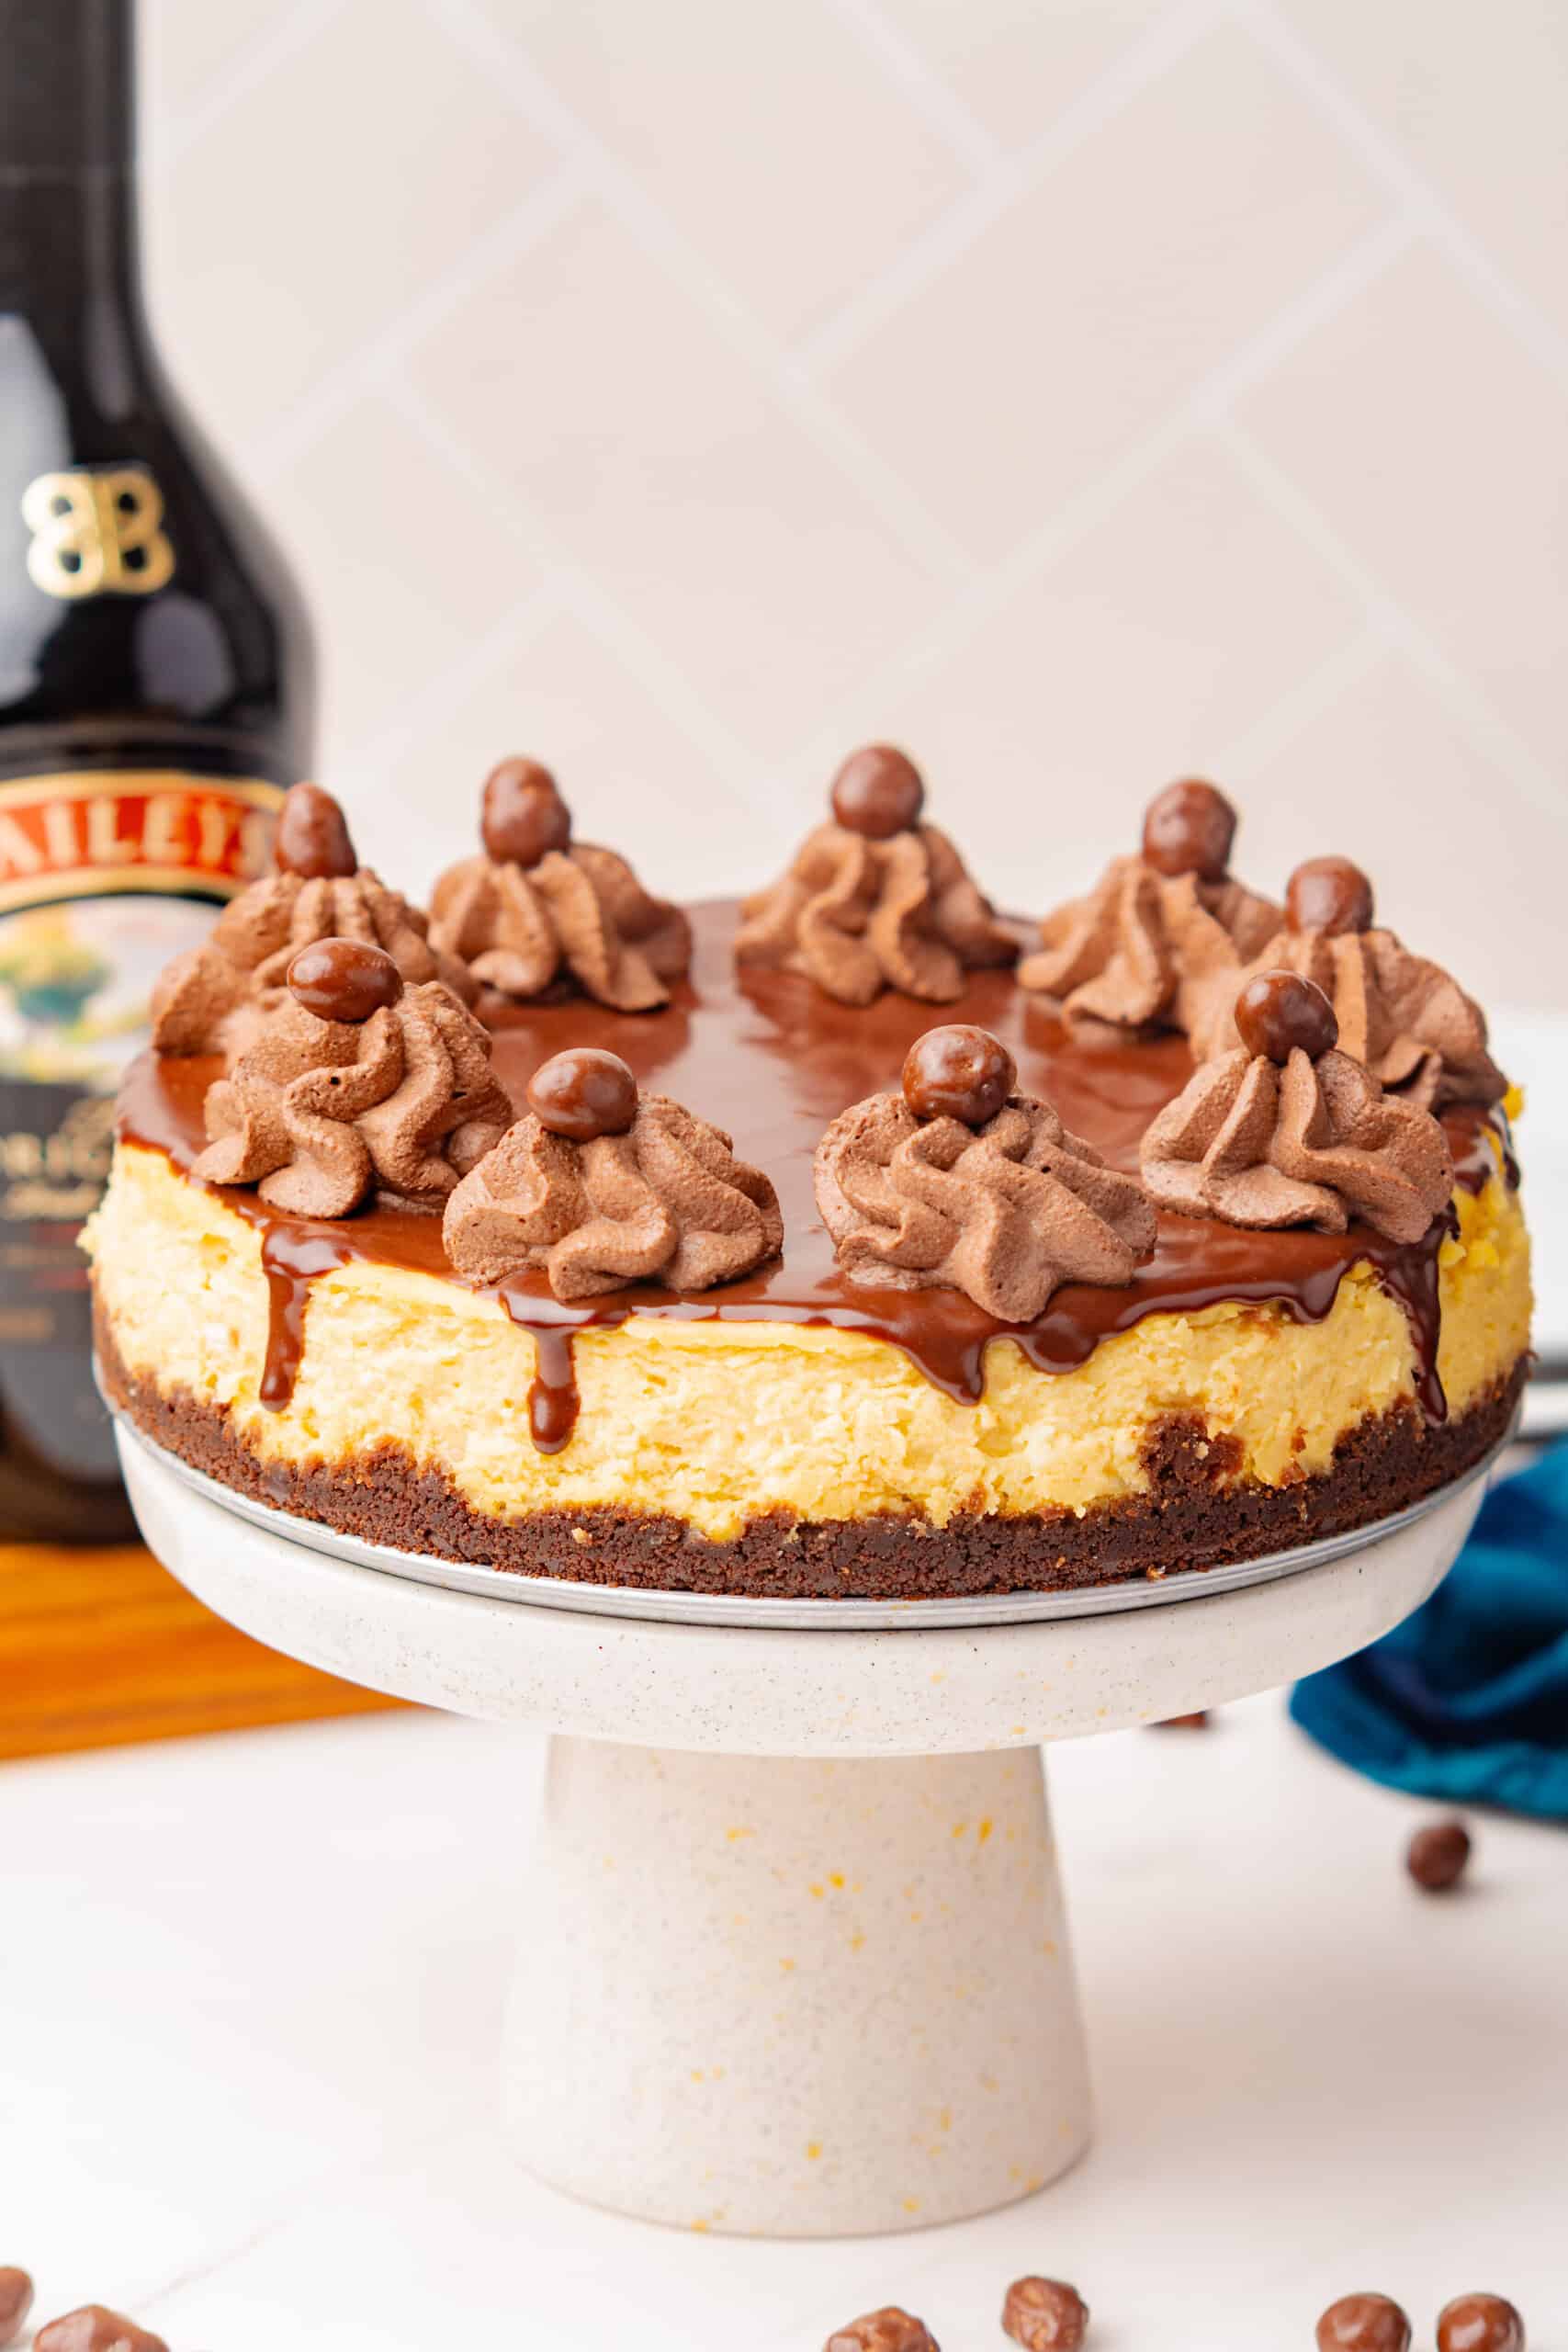
This Baileys Irish Cream Cheesecake is creamy, chocolatey, and packed with that classic Baileys flavor. It starts with a chocolate cookie crust, followed by a smooth Irish cream cheesecake filling and a layer of chocolate ganache on top. It’s a fun one to make for St. Patrick’s Day, the holidays, or anytime you’re craving something a little extra special.
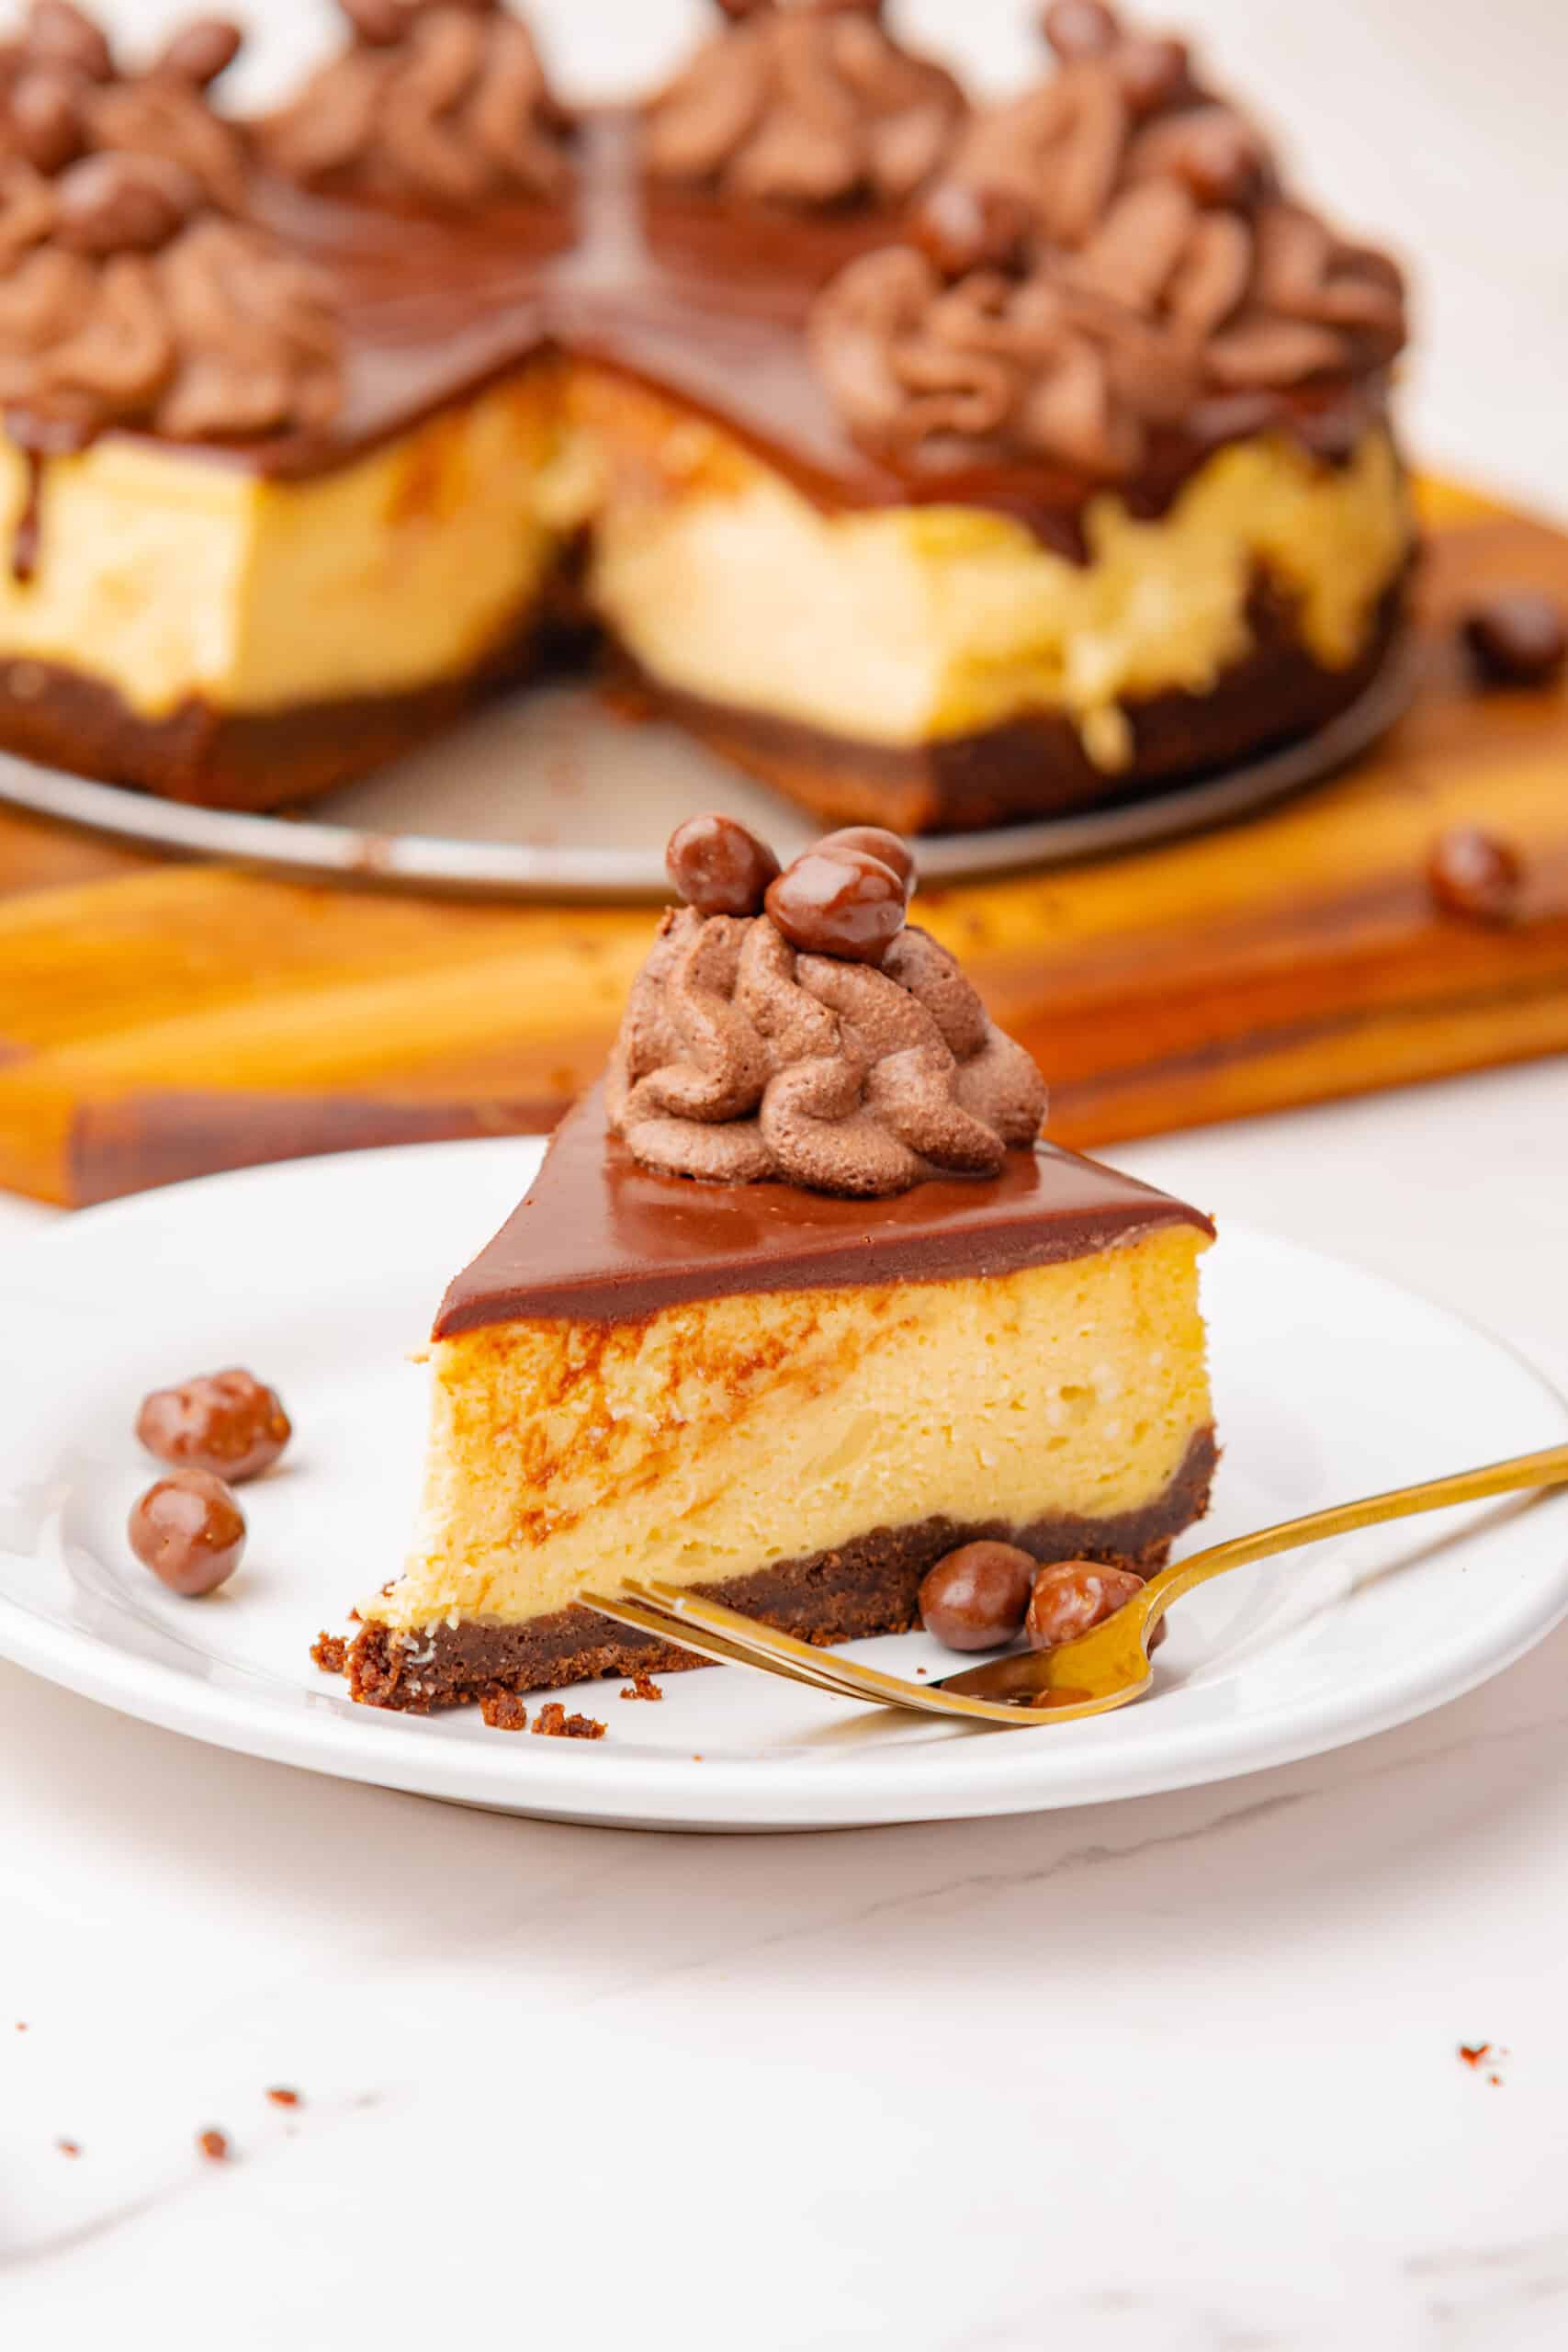
If you’re in the mood for another chocolatey dessert, try my Chocolate Cheesecake next.
What Baileys Irish Cream Adds to Cheesecake
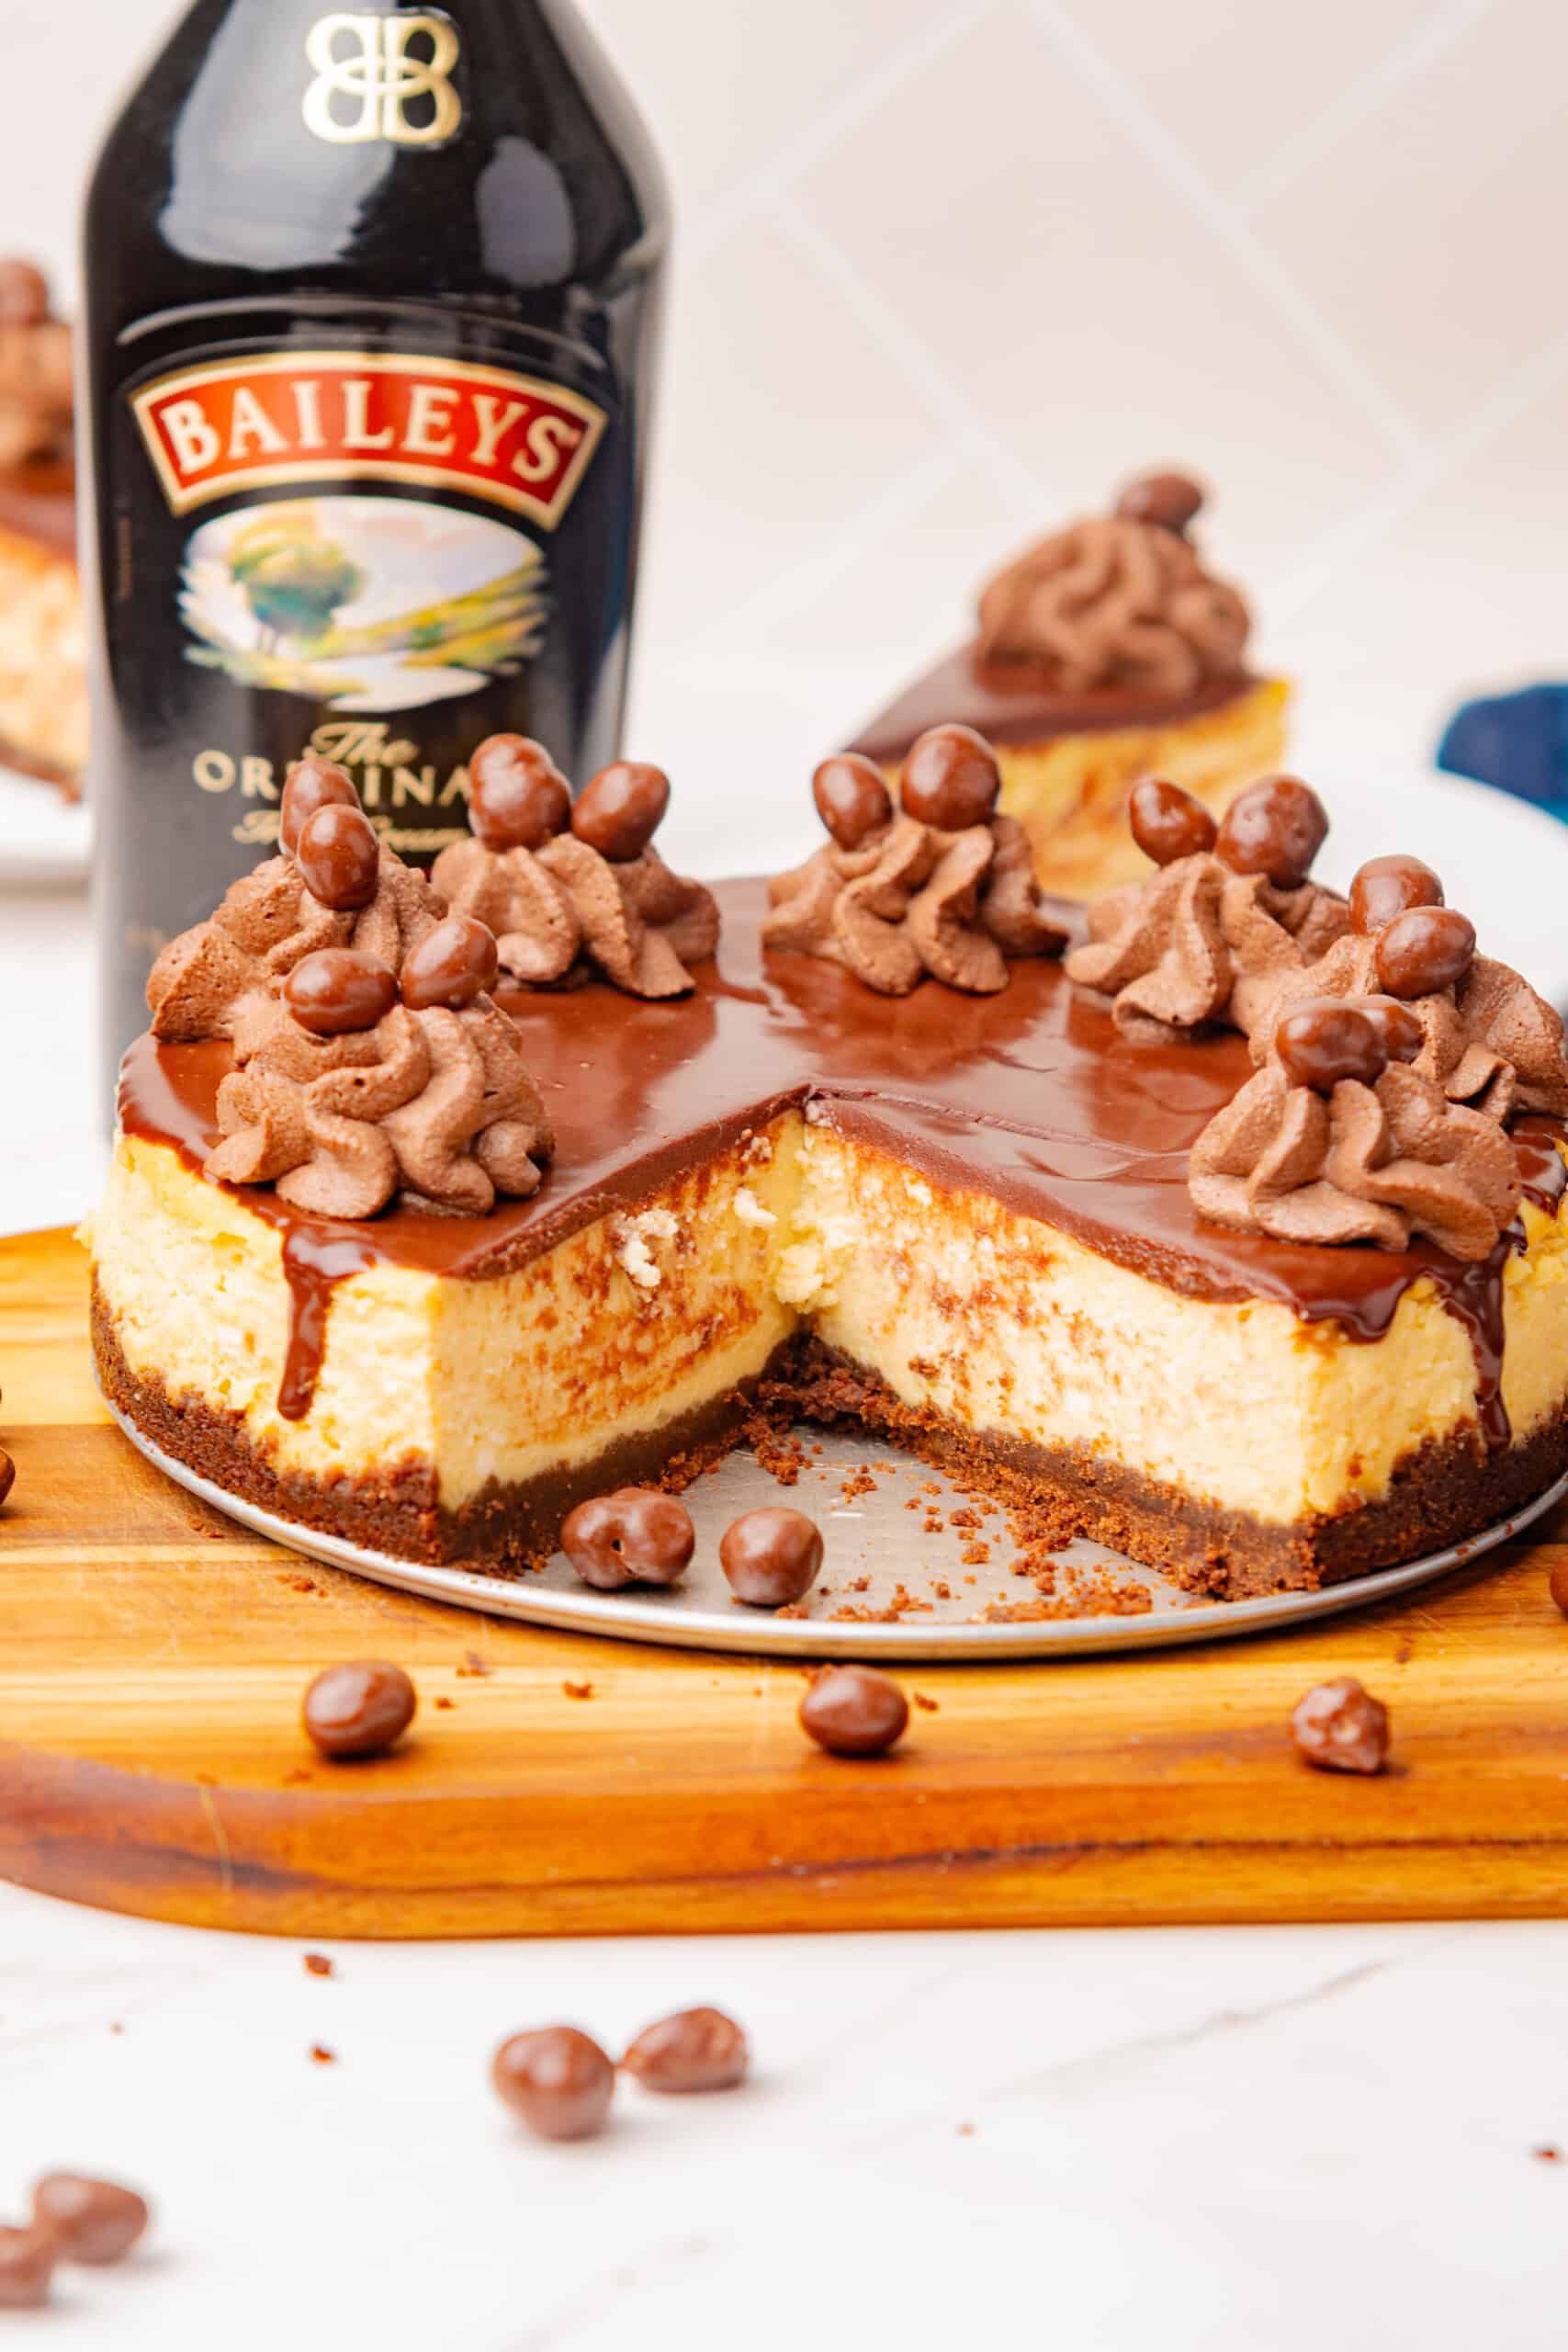
Baileys Irish Cream brings a smooth cream and Irish whiskey flavor to the filling, along with added sweetness. Since it’s mixed directly into the cheesecake batter, the flavor carries throughout the dessert and pairs especially well with the chocolate cookie crust and ganache.
Ingredient Notes
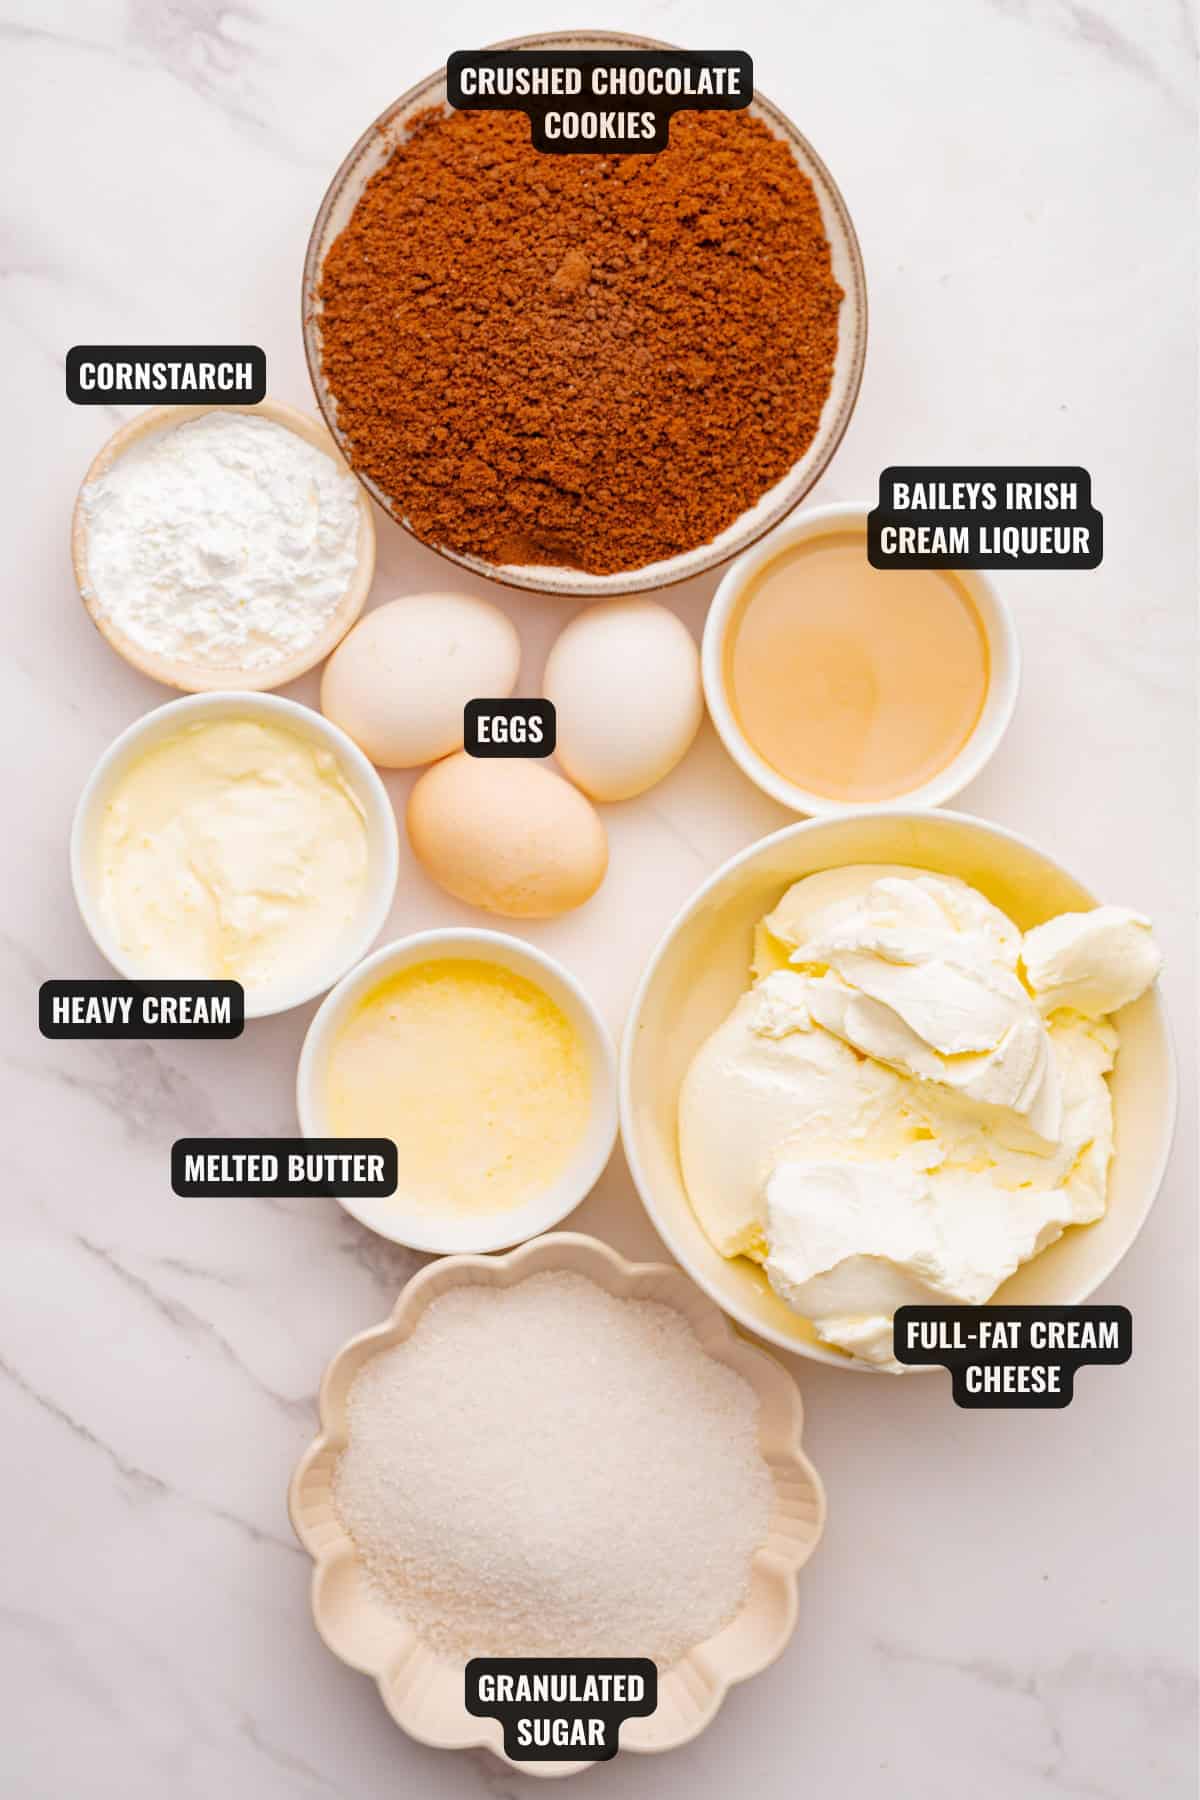
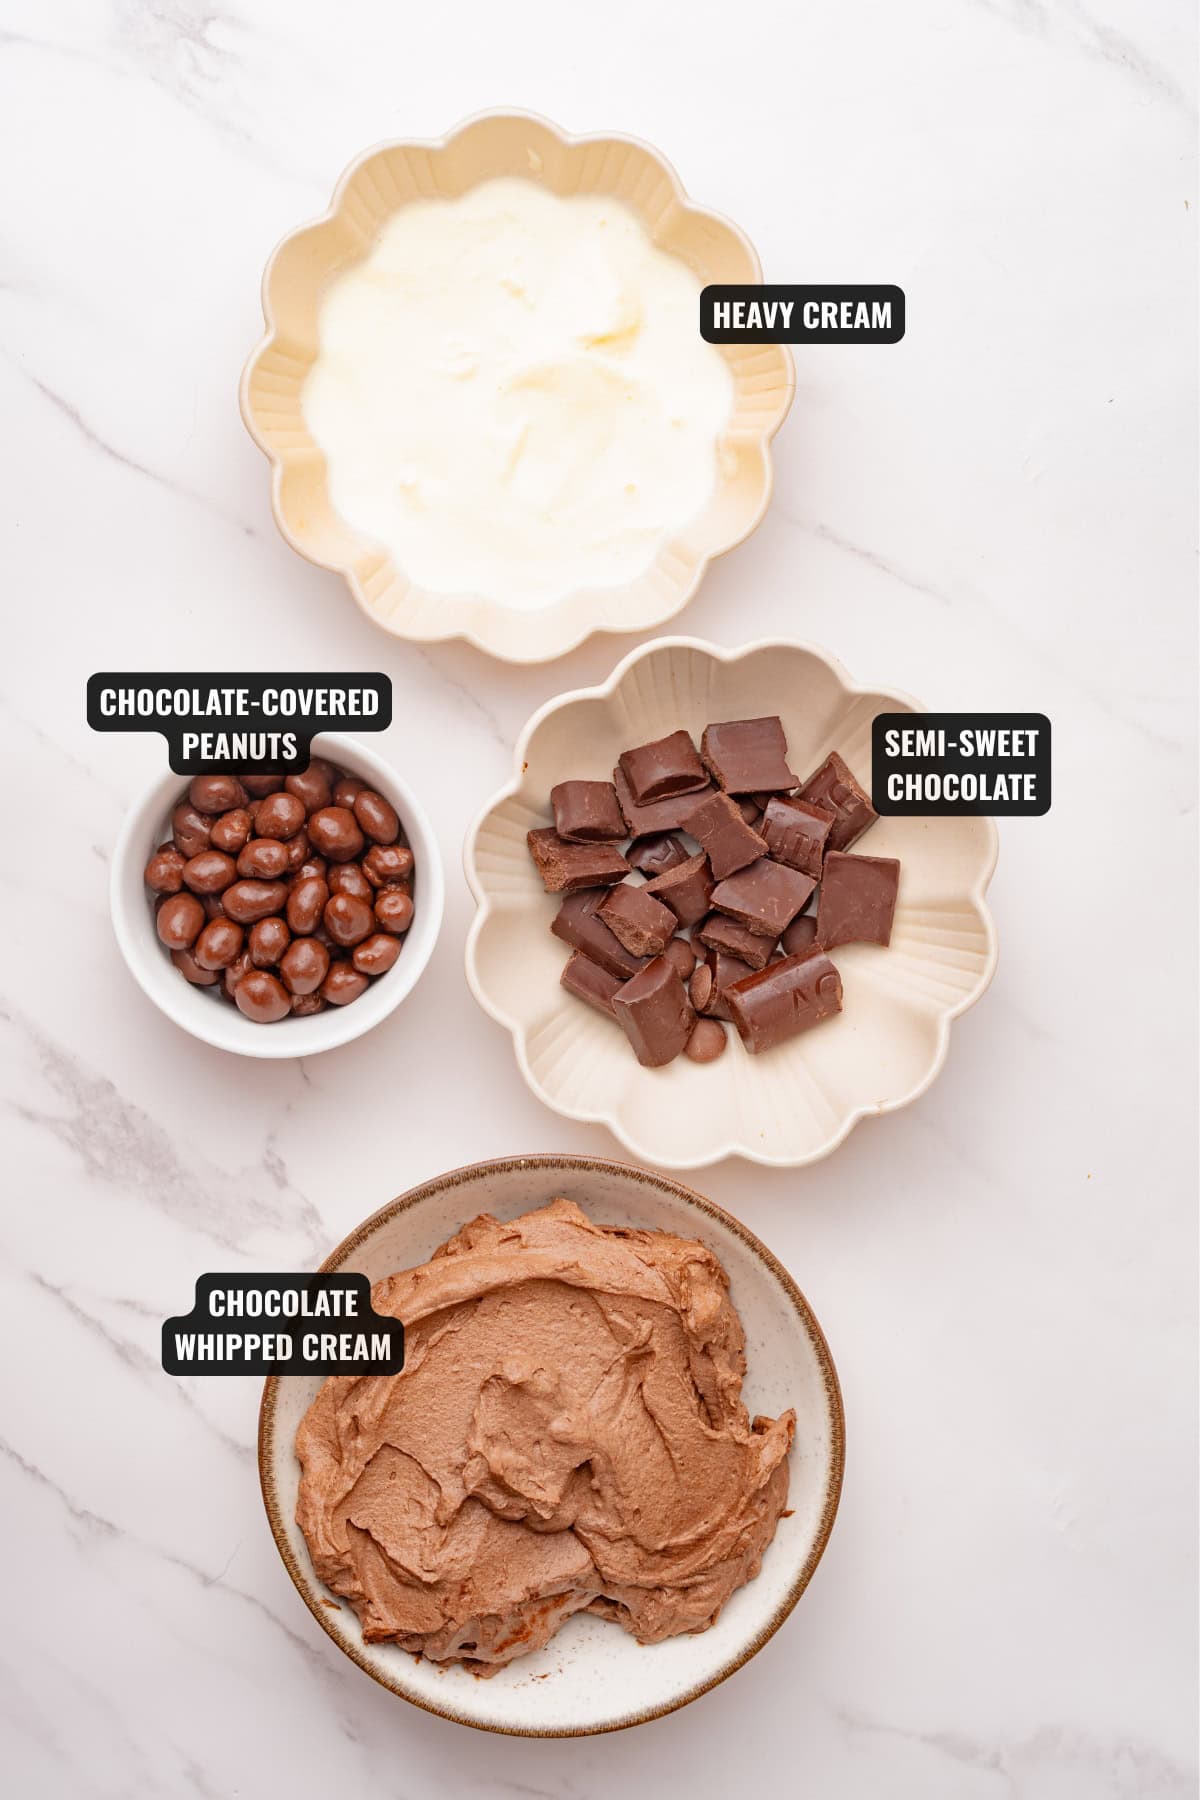
Here’s a quick look at the ingredients that make this Baileys Irish Cream Cheesecake creamy, chocolatey, and rich.
For the Chocolate Cookie Crust:
- Chocolate cookies: Use your favorite chocolate sandwich cookies or chocolate cookies, crushed into fine crumbs for the crust.
- Unsalted butter: Melted butter holds the cookie crumbs together and gives the crust a rich, buttery texture.
For the Irish Cream Cheesecake:
- Full-fat cream cheese: Gives the cheesecake its rich, creamy texture and helps it set properly.
- Granulated white sugar: Sugar adds sweetness and helps balance the tanginess of the cream cheese.
- Eggs: Help bind the filling together and give the cheesecake a smooth, firm texture as it bakes.
- Heavy cream: Adds extra richness and helps keep the cheesecake filling silky and creamy.
- Baileys Irish cream liqueur: Adds that familiar Baileys flavor and a hint of sweetness to the cheesecake.
- Cornstarch: A little cornstarch helps the cheesecake set while keeping the filling soft and creamy.
For the Chocolate Ganache:
- Heavy cream: Creates a smooth, pourable ganache when combined with the chocolate.
- Semi-sweet chocolate, finely chopped: Makes a rich ganache that adds plenty of chocolate flavor without being overly sweet.
Optional Decoration:
- Chocolate whipped cream: Adds a creamy chocolate topping and makes each slice look extra special.
- Chocolate-covered peanuts or chocolate candies: Adds a little crunch and extra chocolate flavor on top.
How to Make Baileys Irish Cream Cheesecake
This recipe comes together with a chocolate cookie crust, creamy Baileys filling, and chocolate ganache on top. For the full recipe and exact measurements, see the recipe card below.
Step 1: Make the Chocolate Cookie Crust
Preheat the oven to 120°C (250°F).
Crush the chocolate cookies into fine crumbs. Mix with the melted butter until it looks like wet sand and holds together when pressed. Press the mixture firmly into the bottom of a cake pan or springform pan. Set aside.
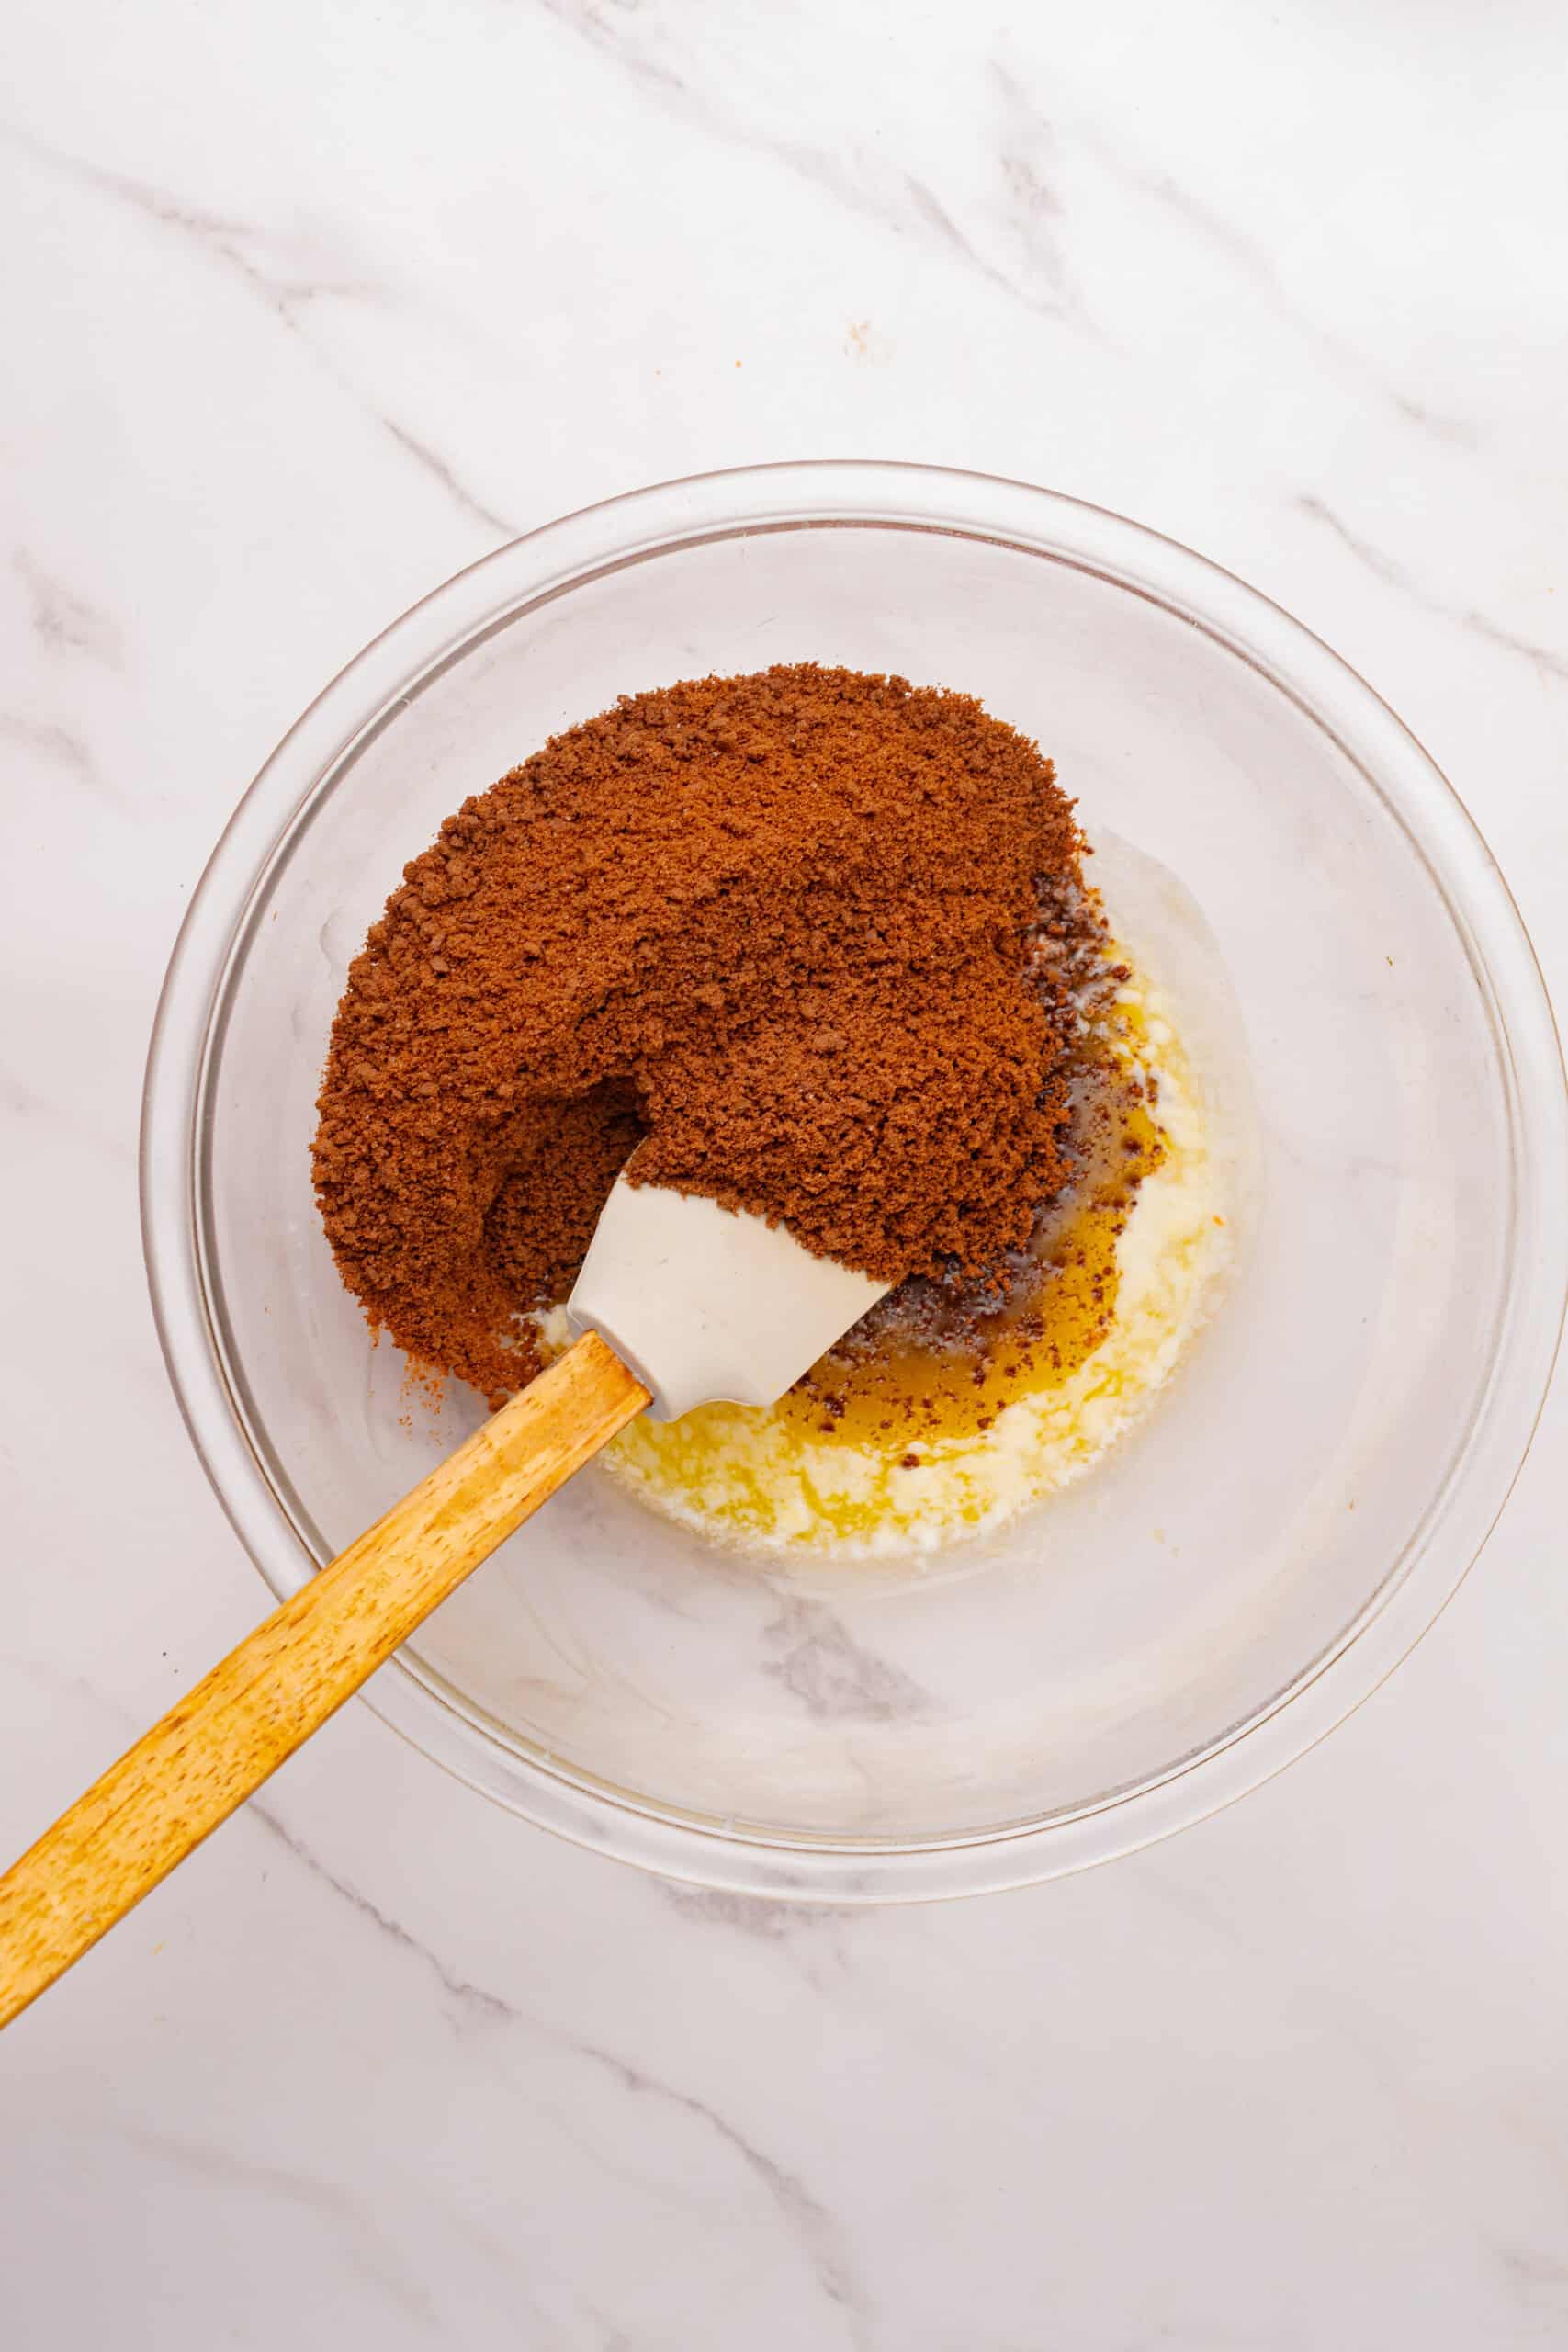
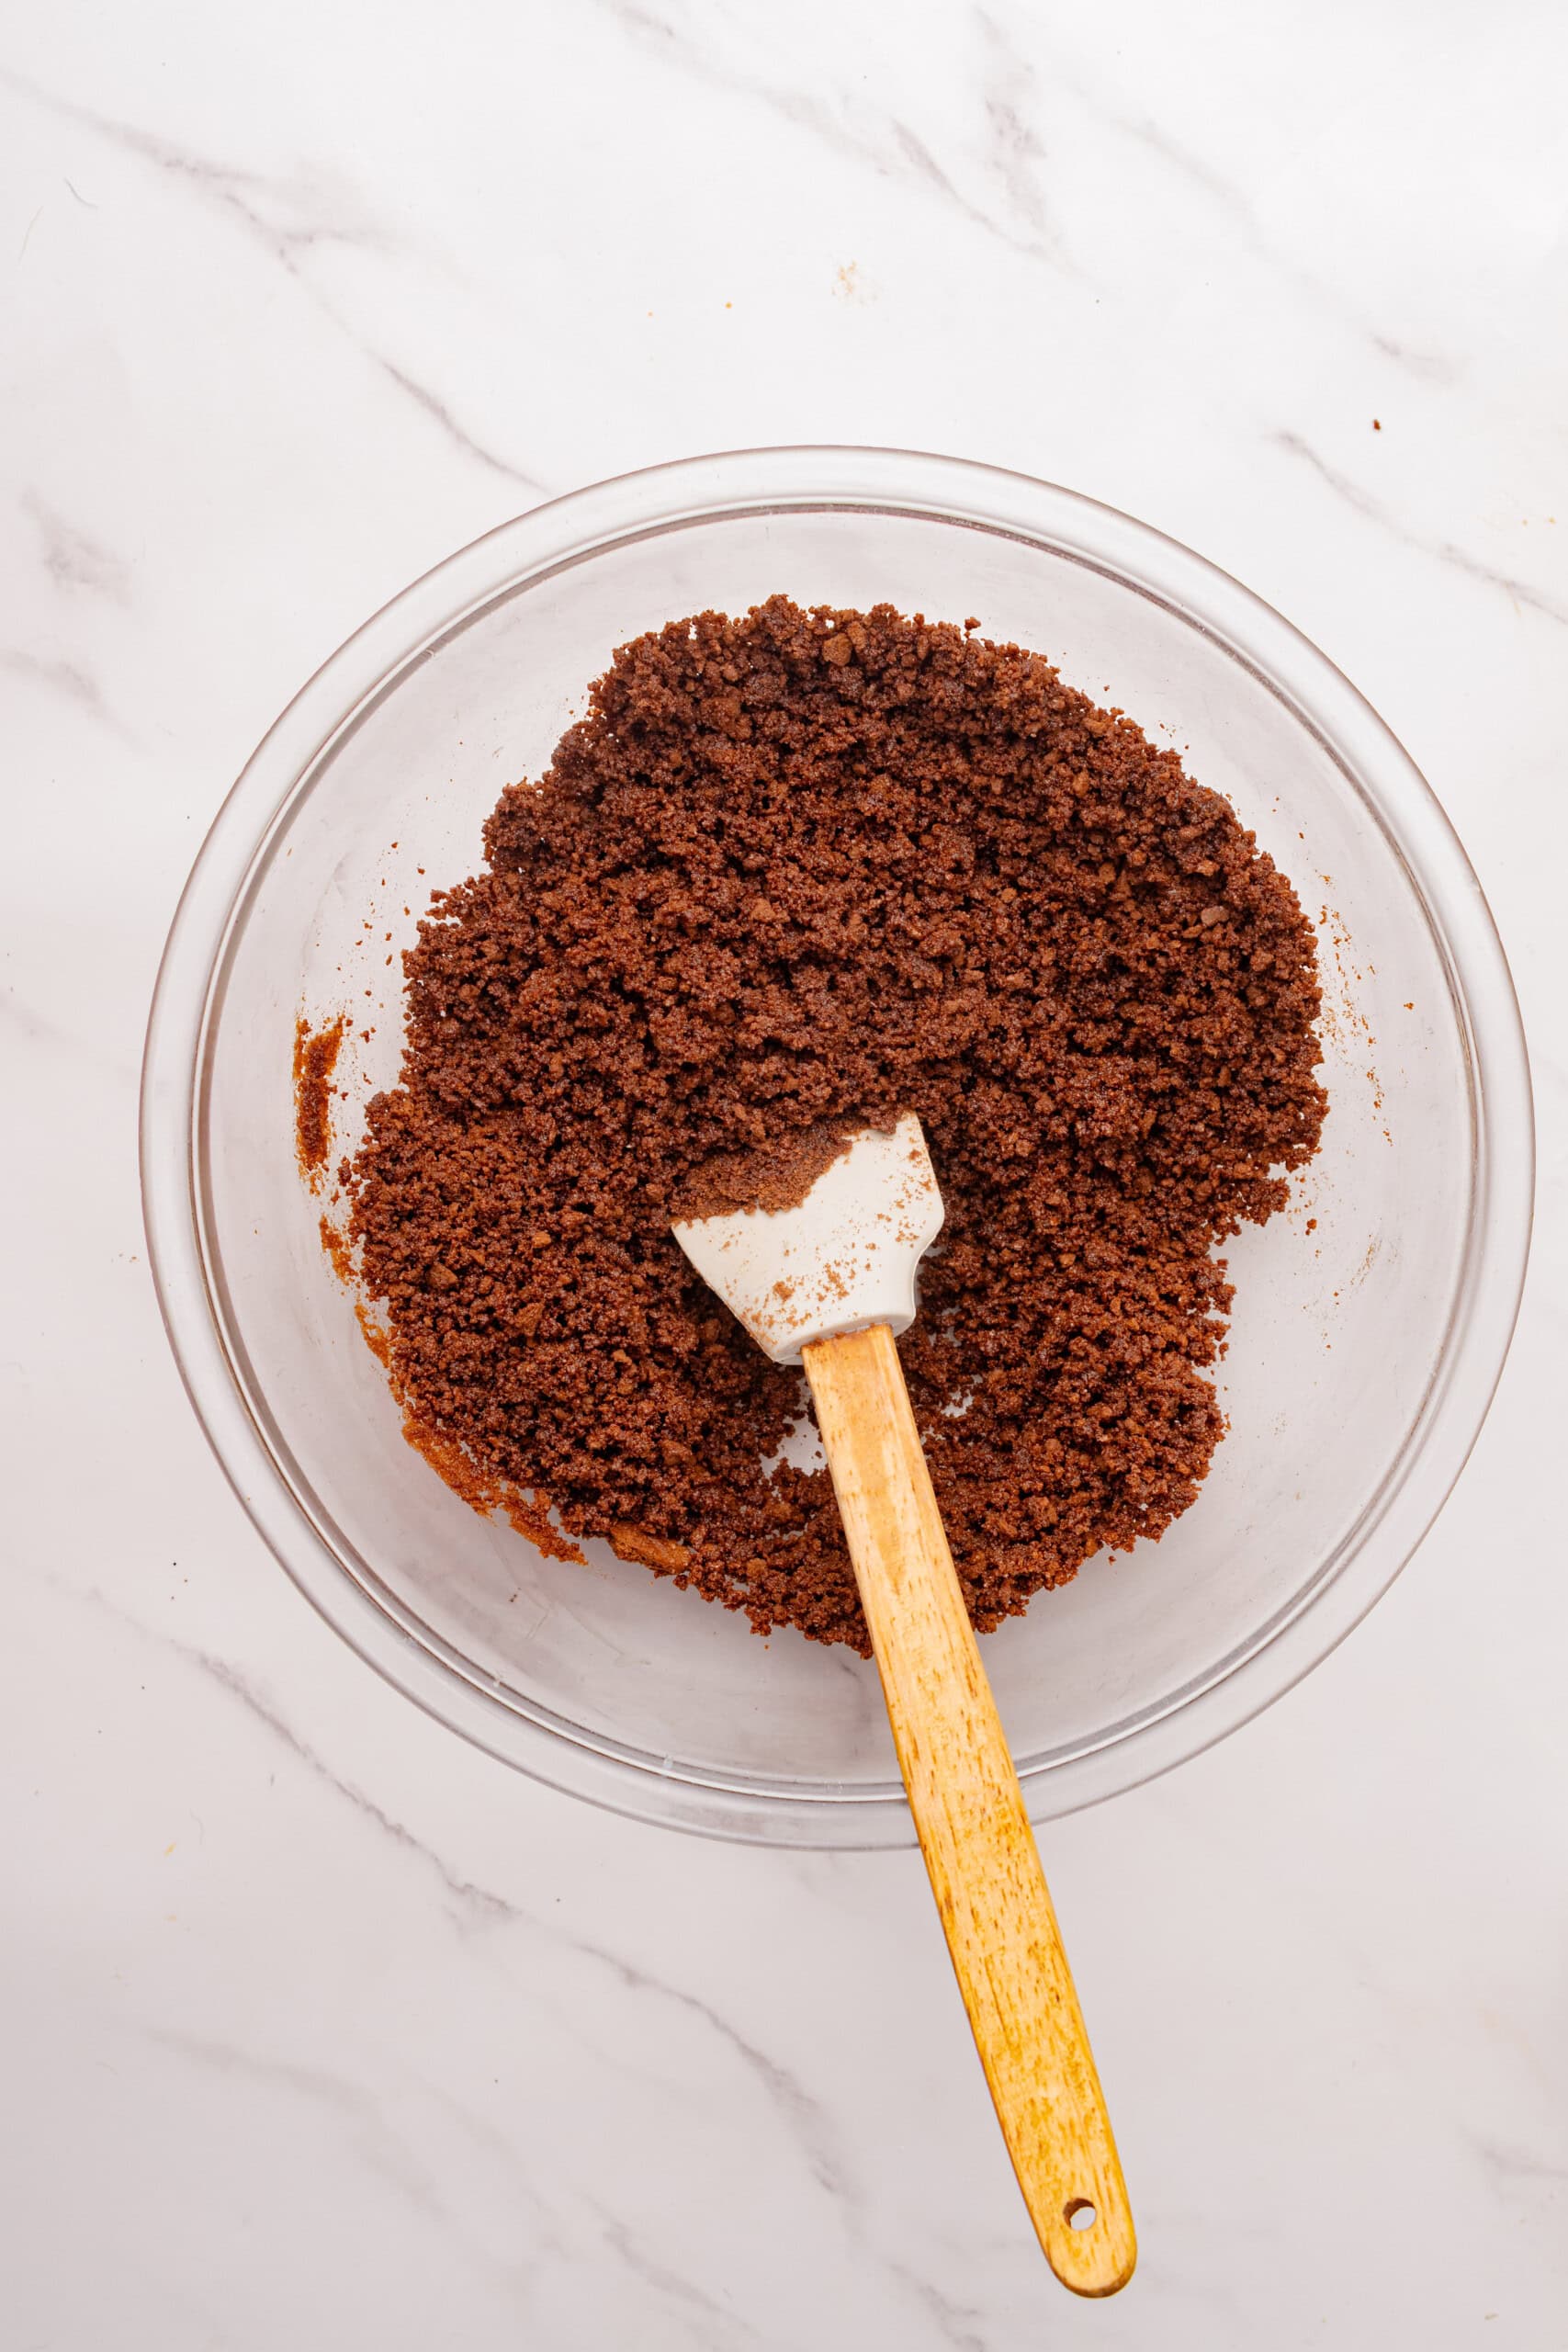
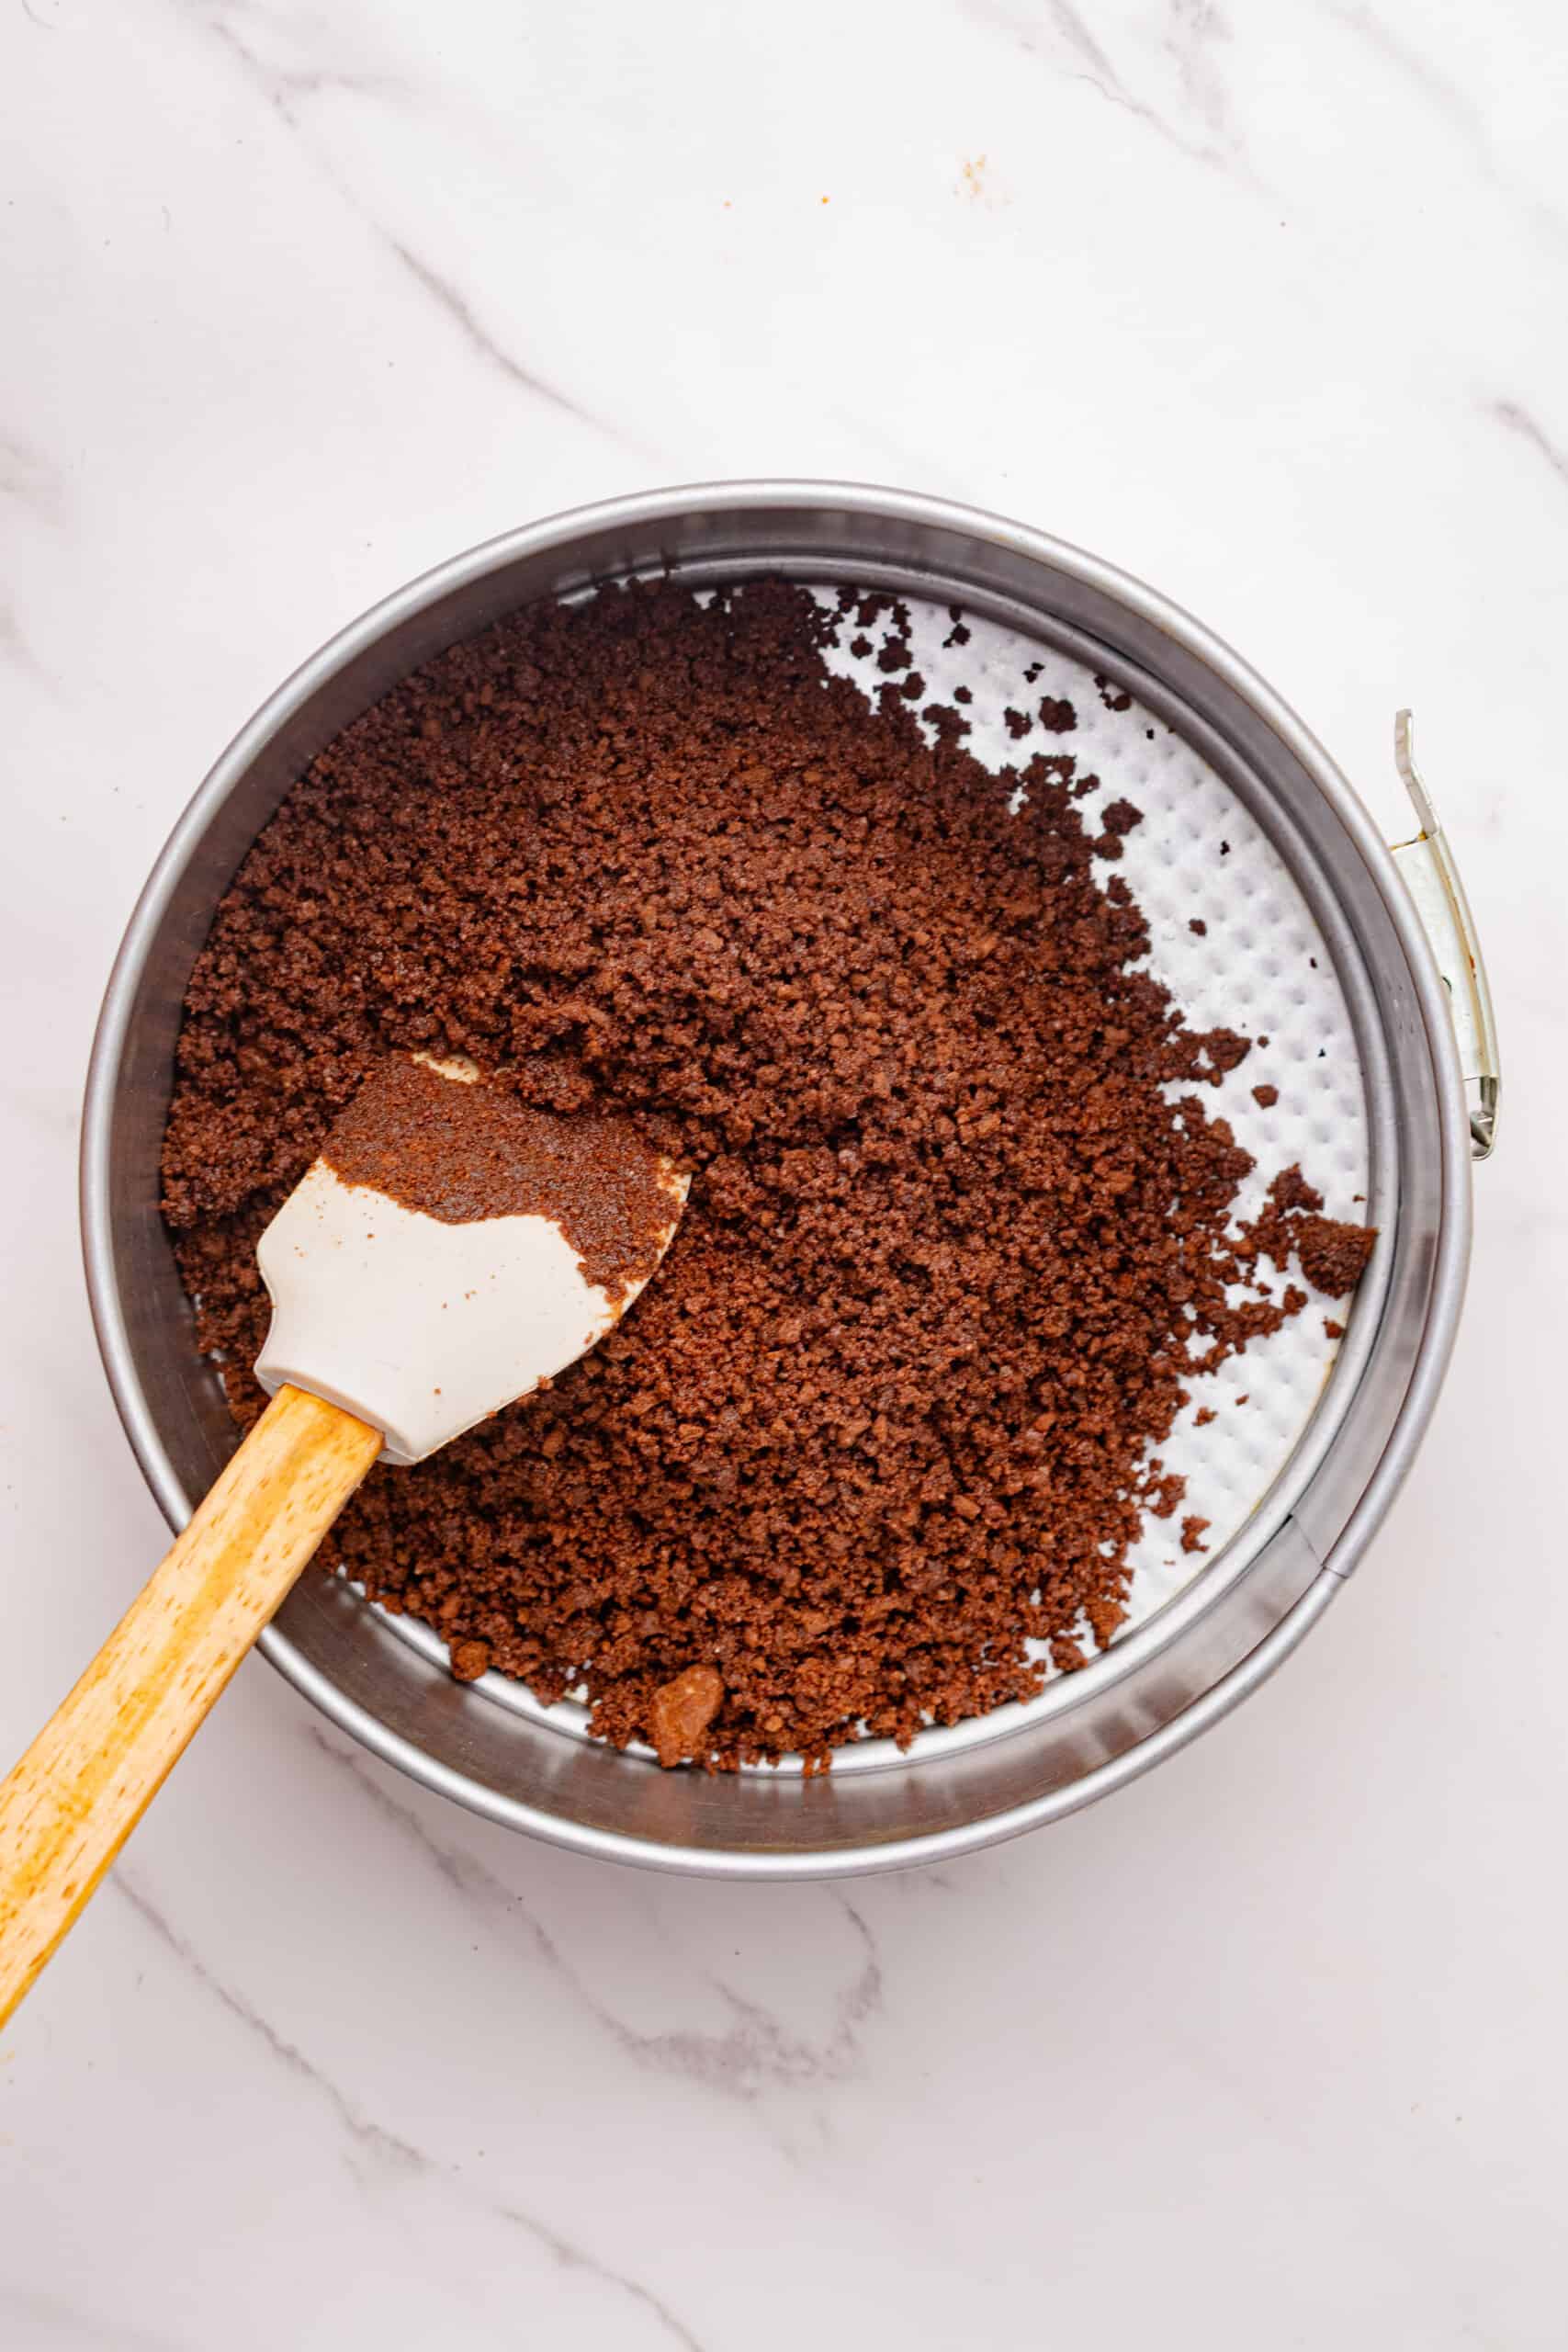
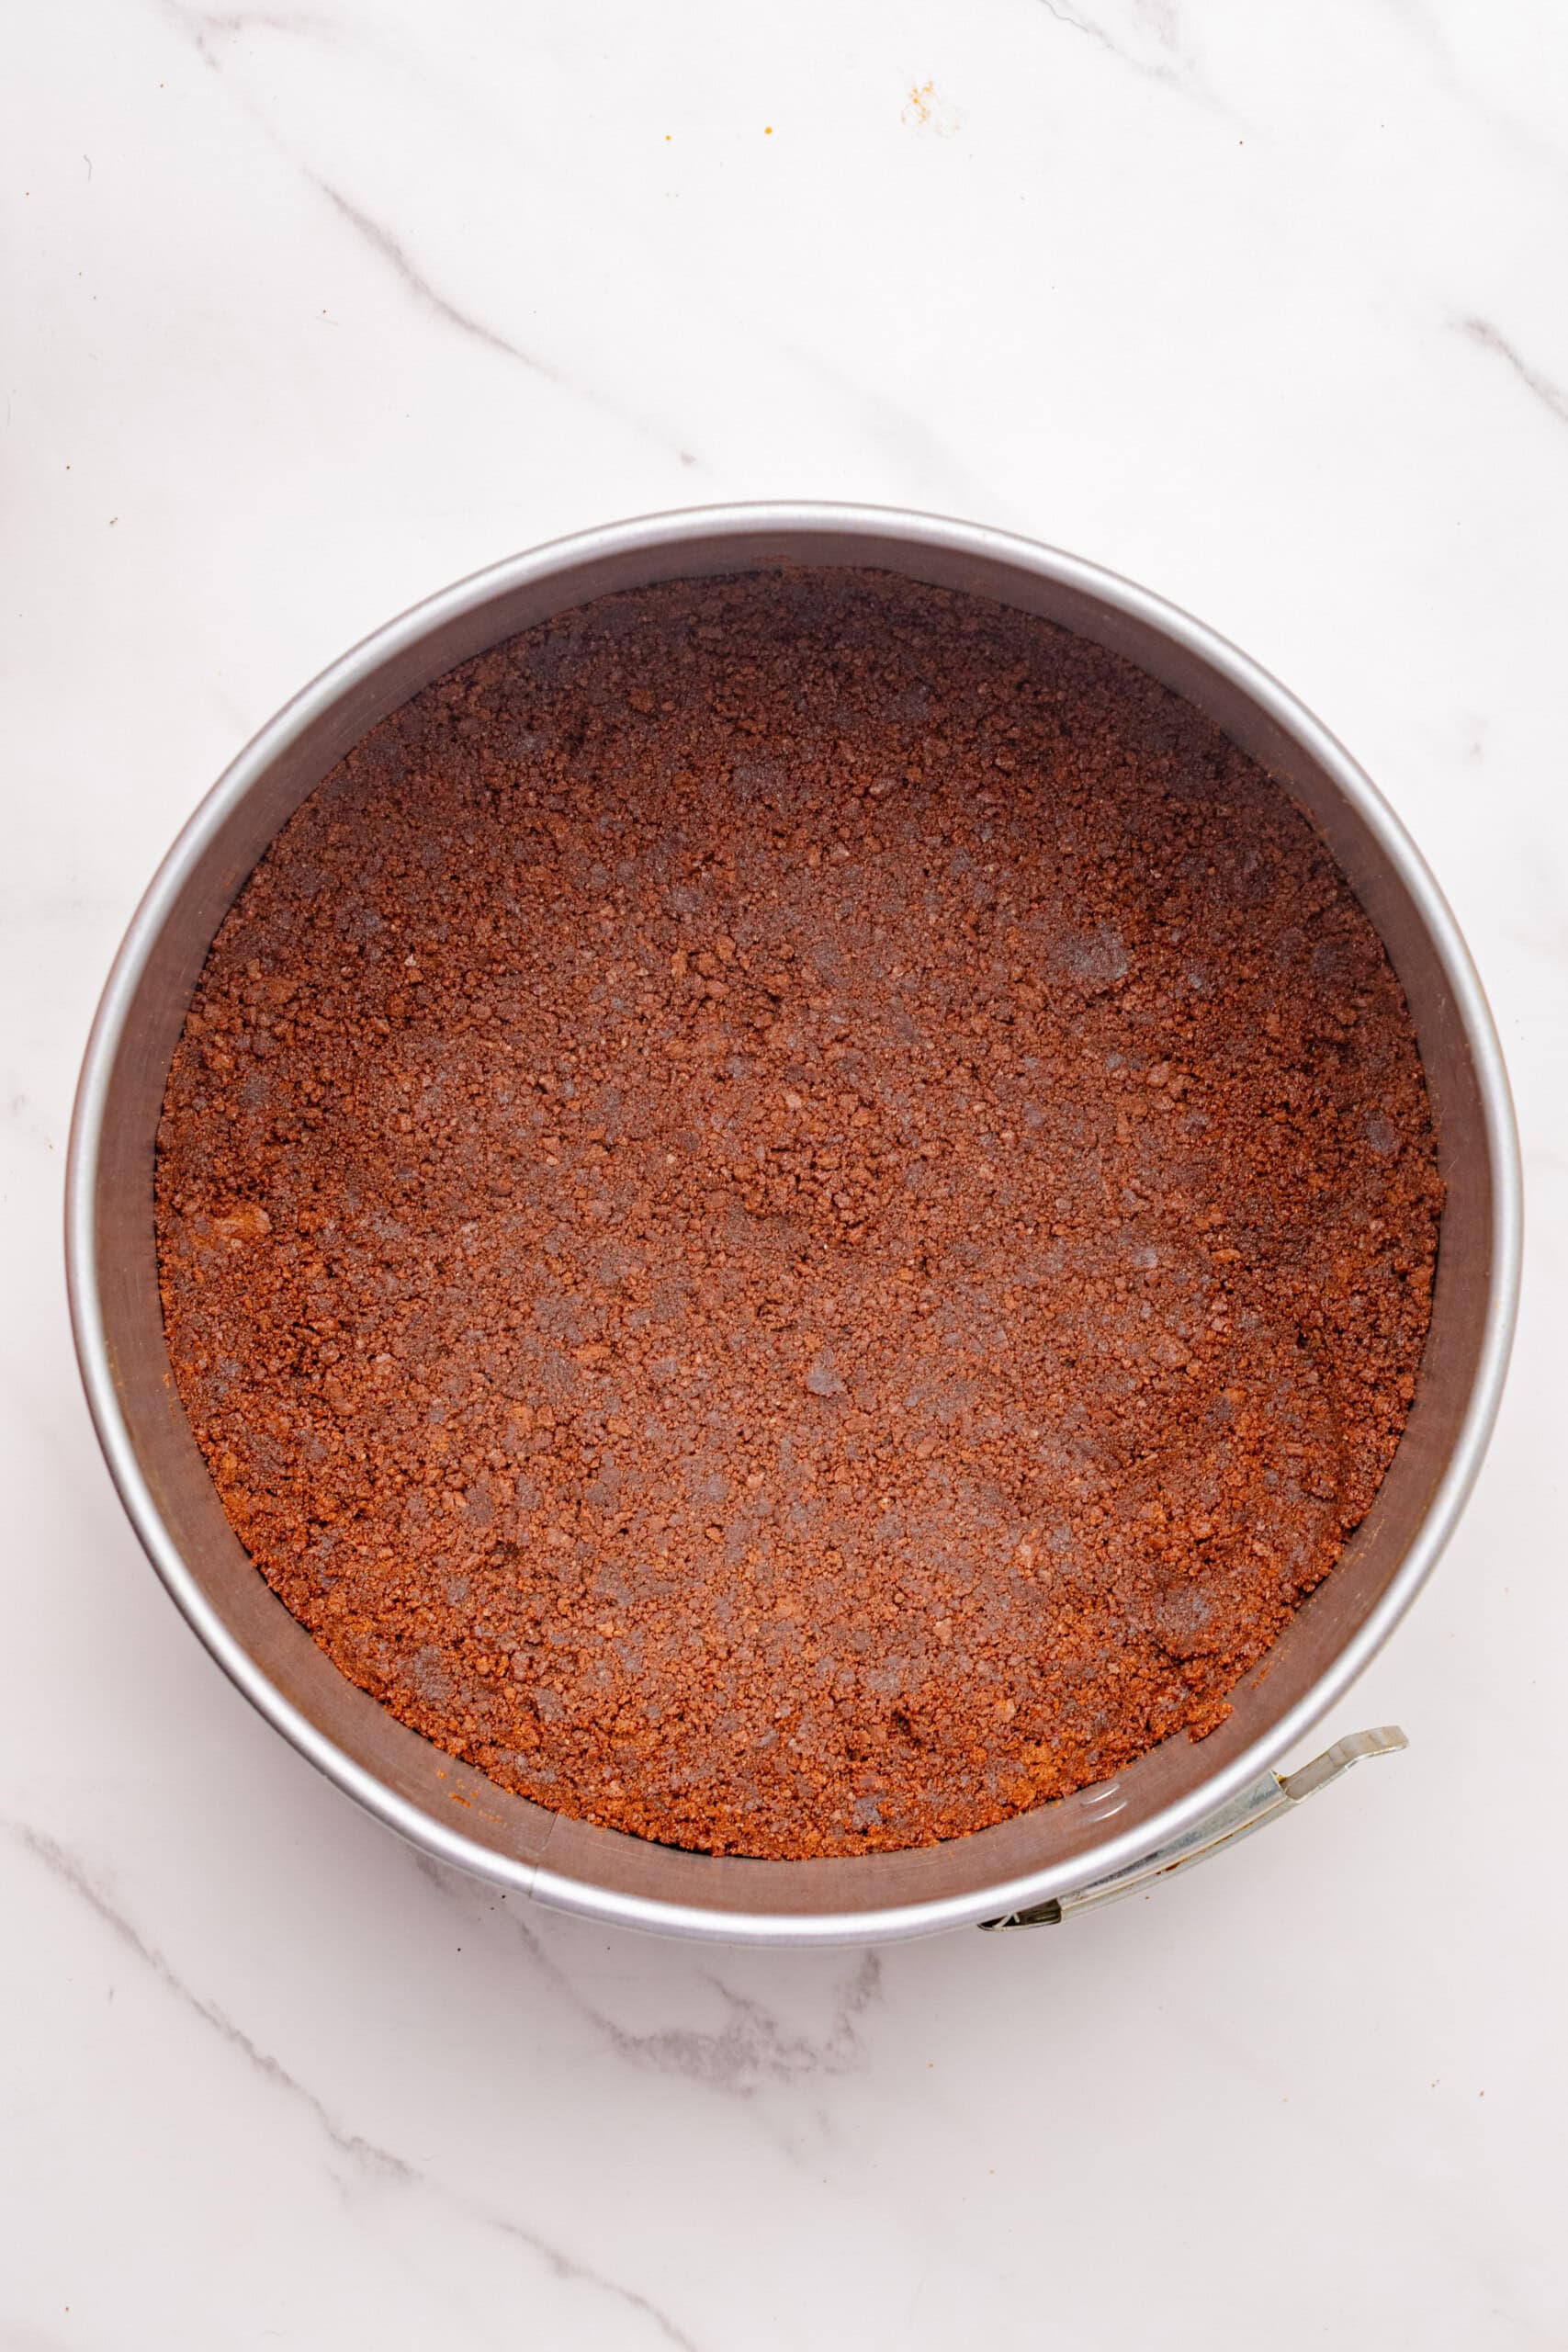
Pro Tip: Different cookie brands can have different moisture and fat content, so the exact amount of butter needed can vary slightly. This hand test will help you determine whether the mixture has the right consistency.
Step 2: Make the Irish Cream Cheesecake Filling
Beat the cream cheese for a few seconds, just until softened. Add the sugar and blend until well incorporated.
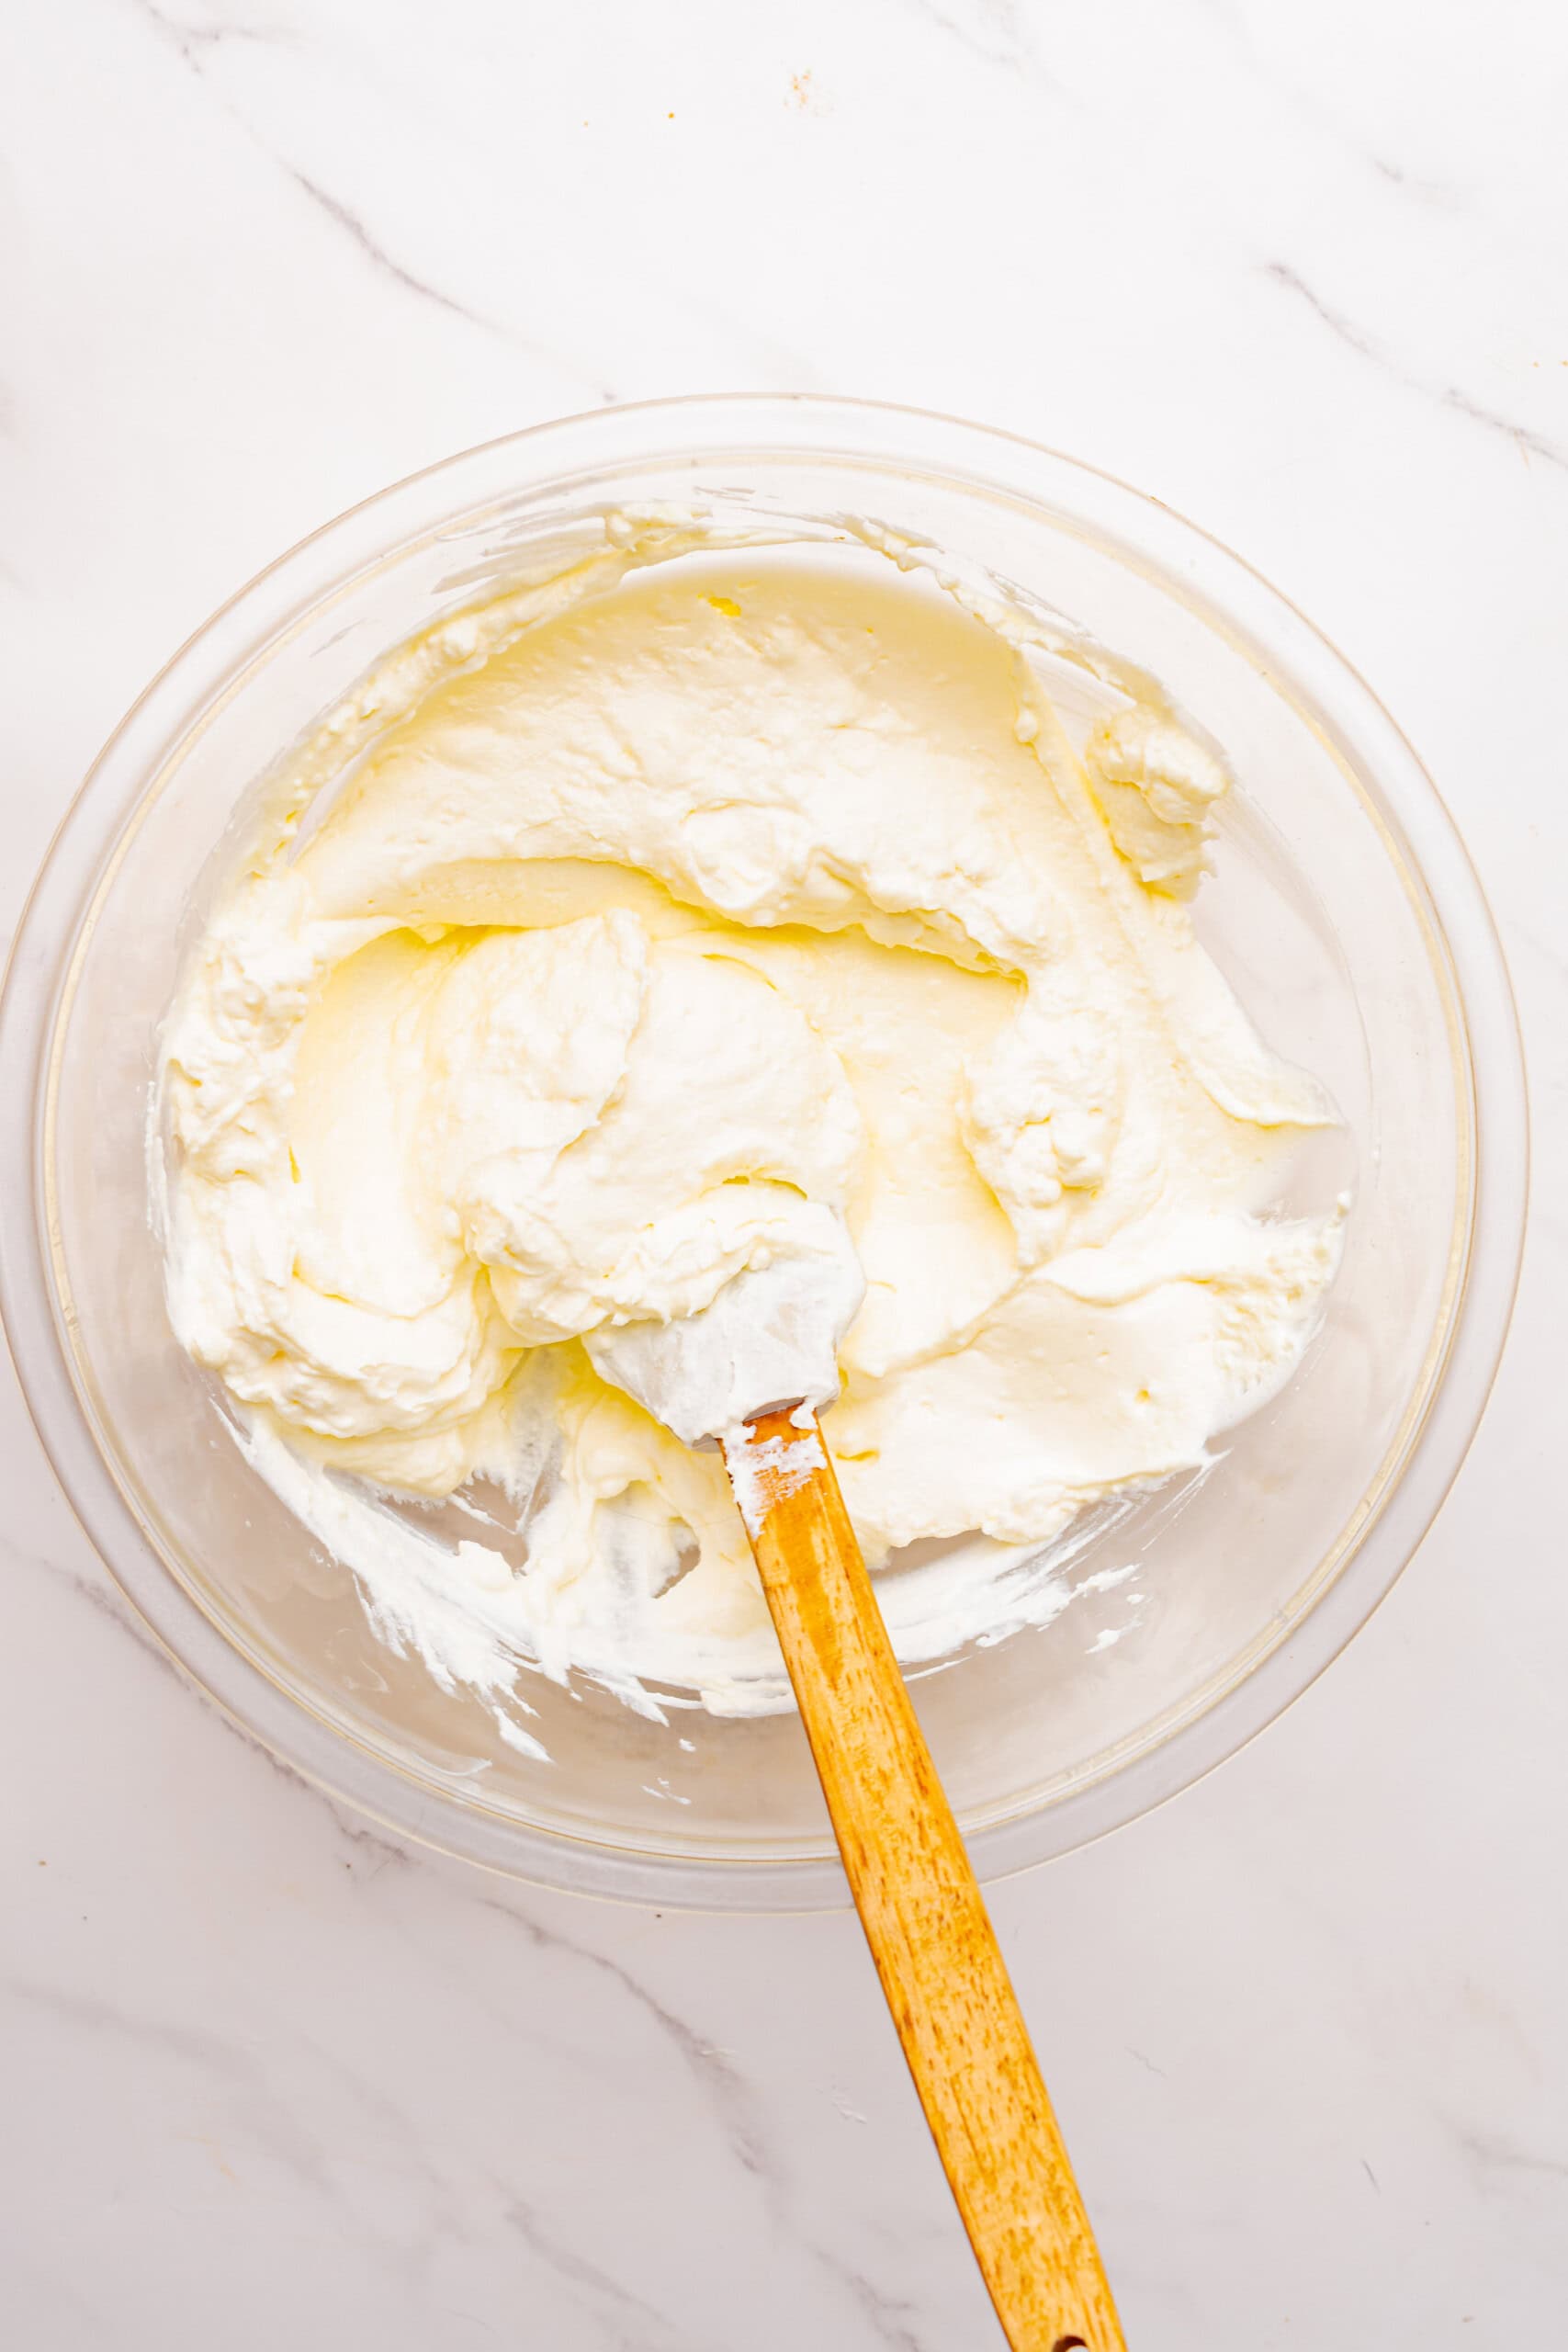
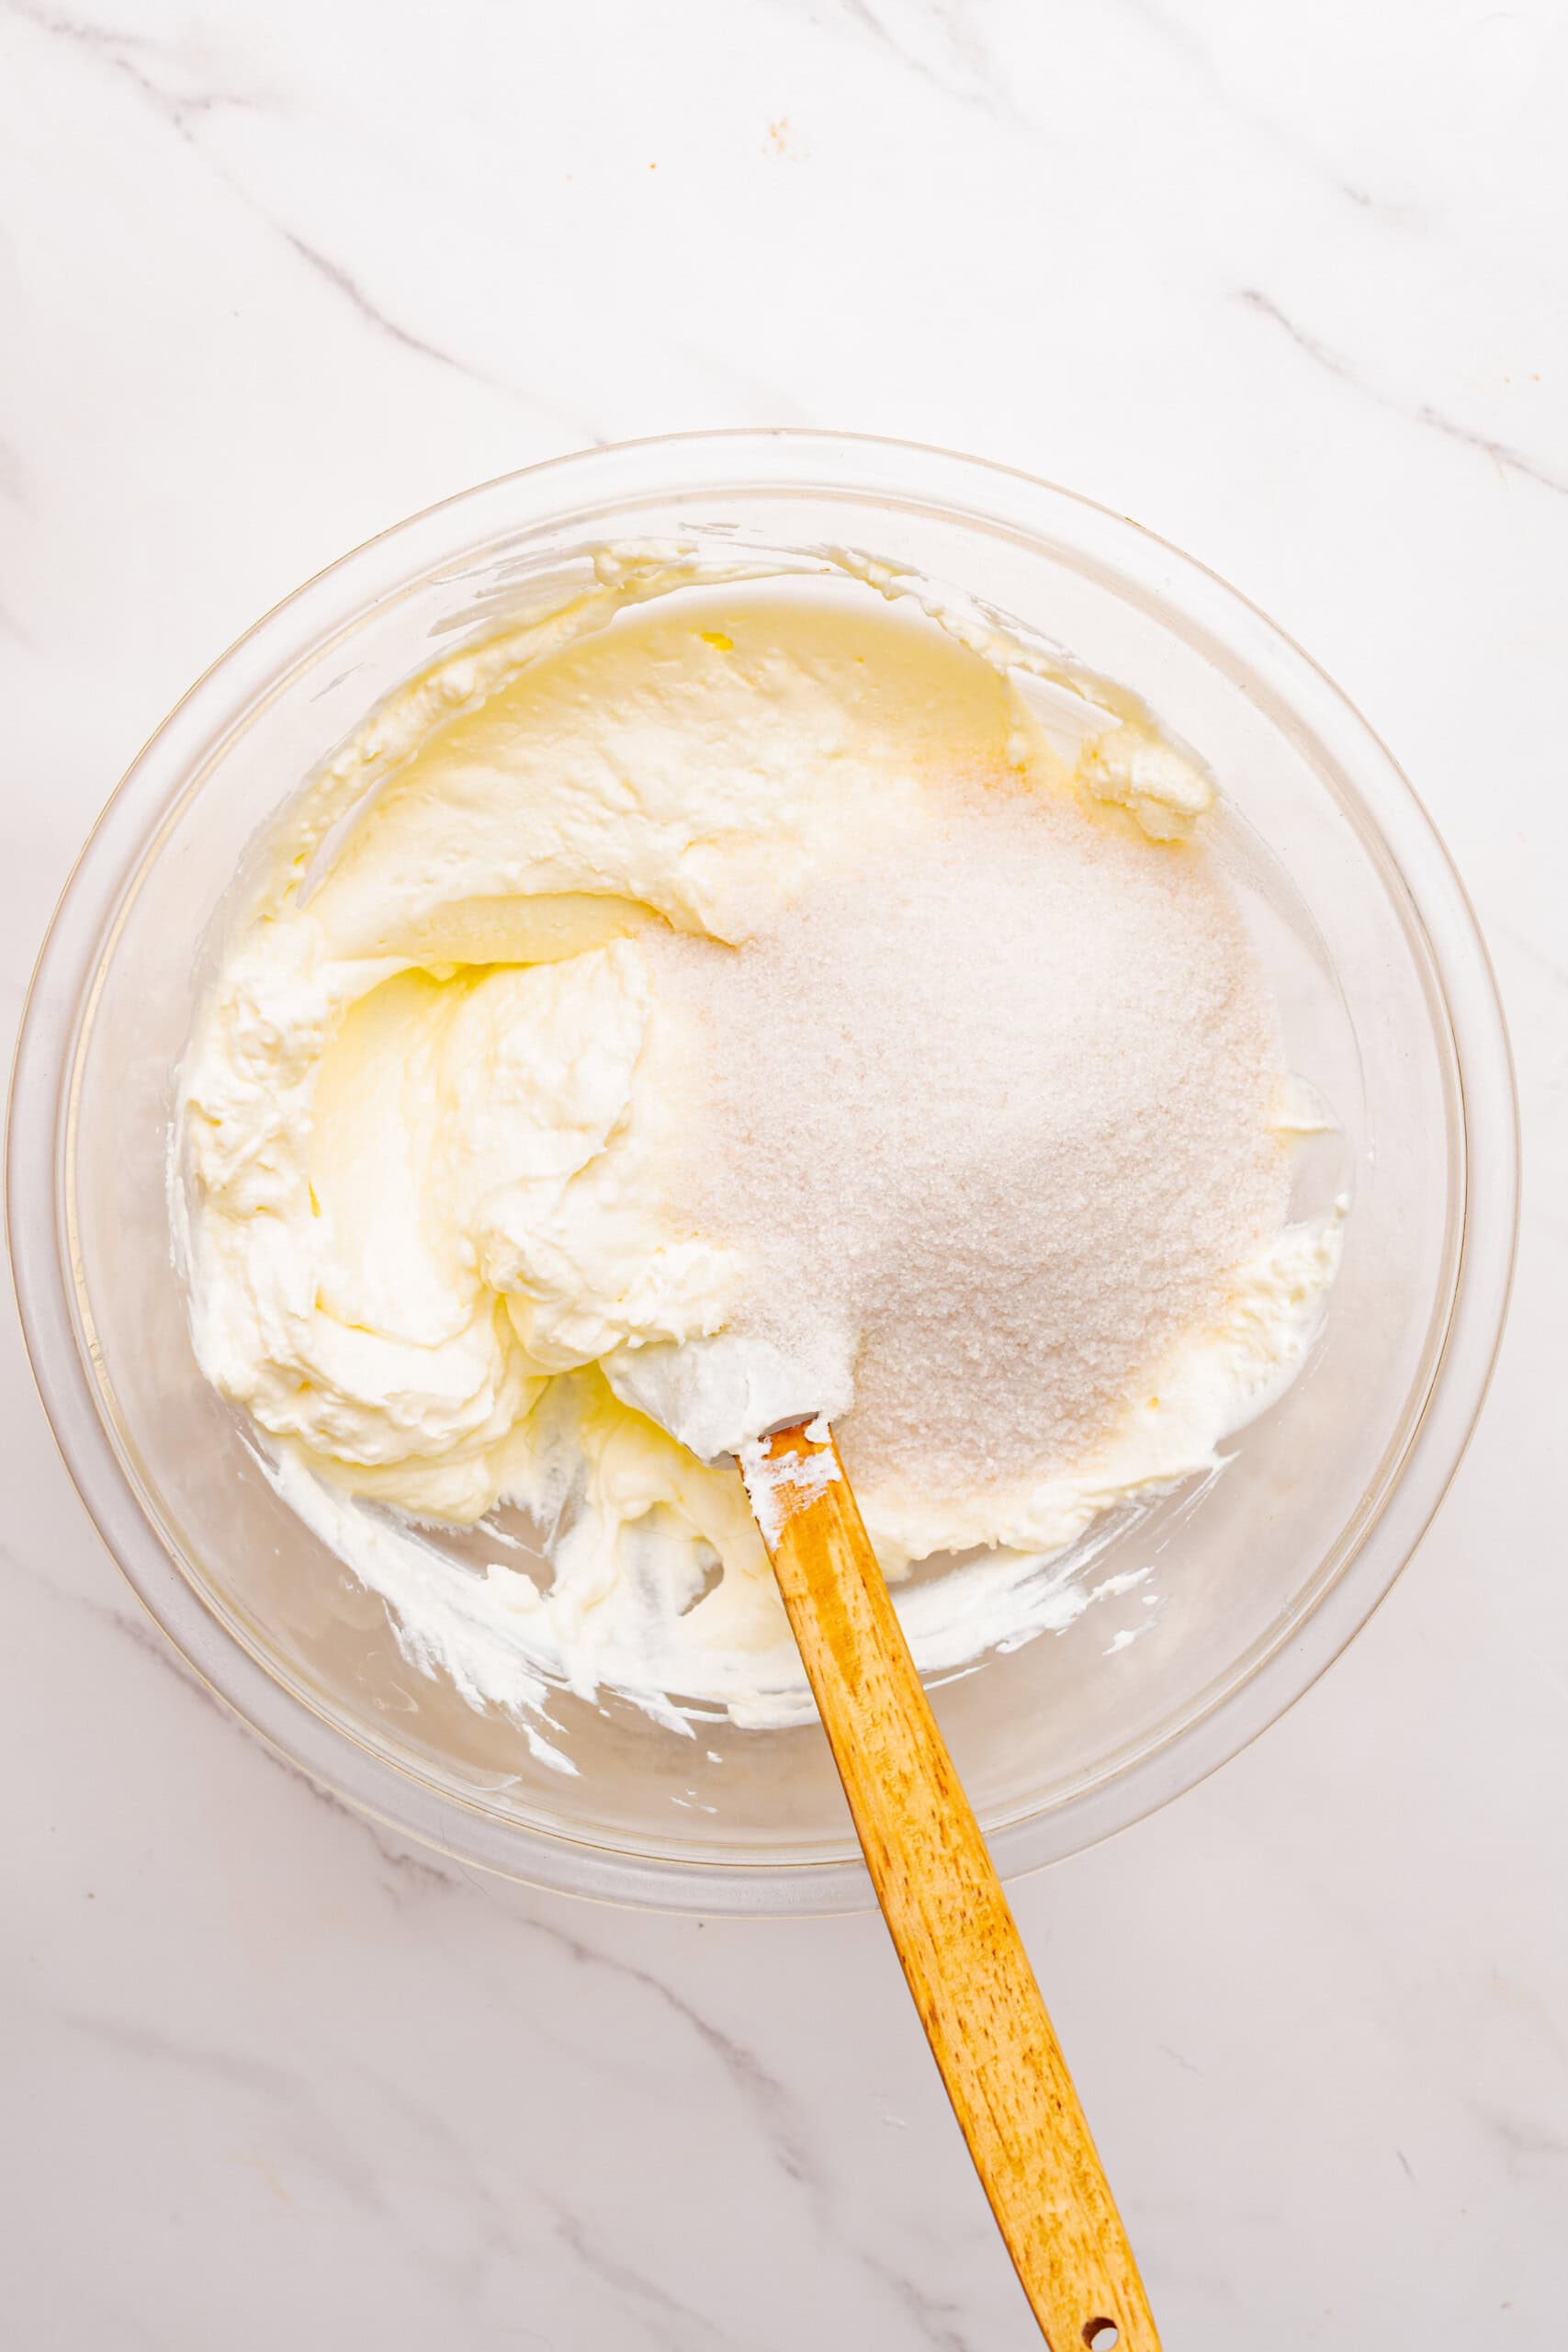
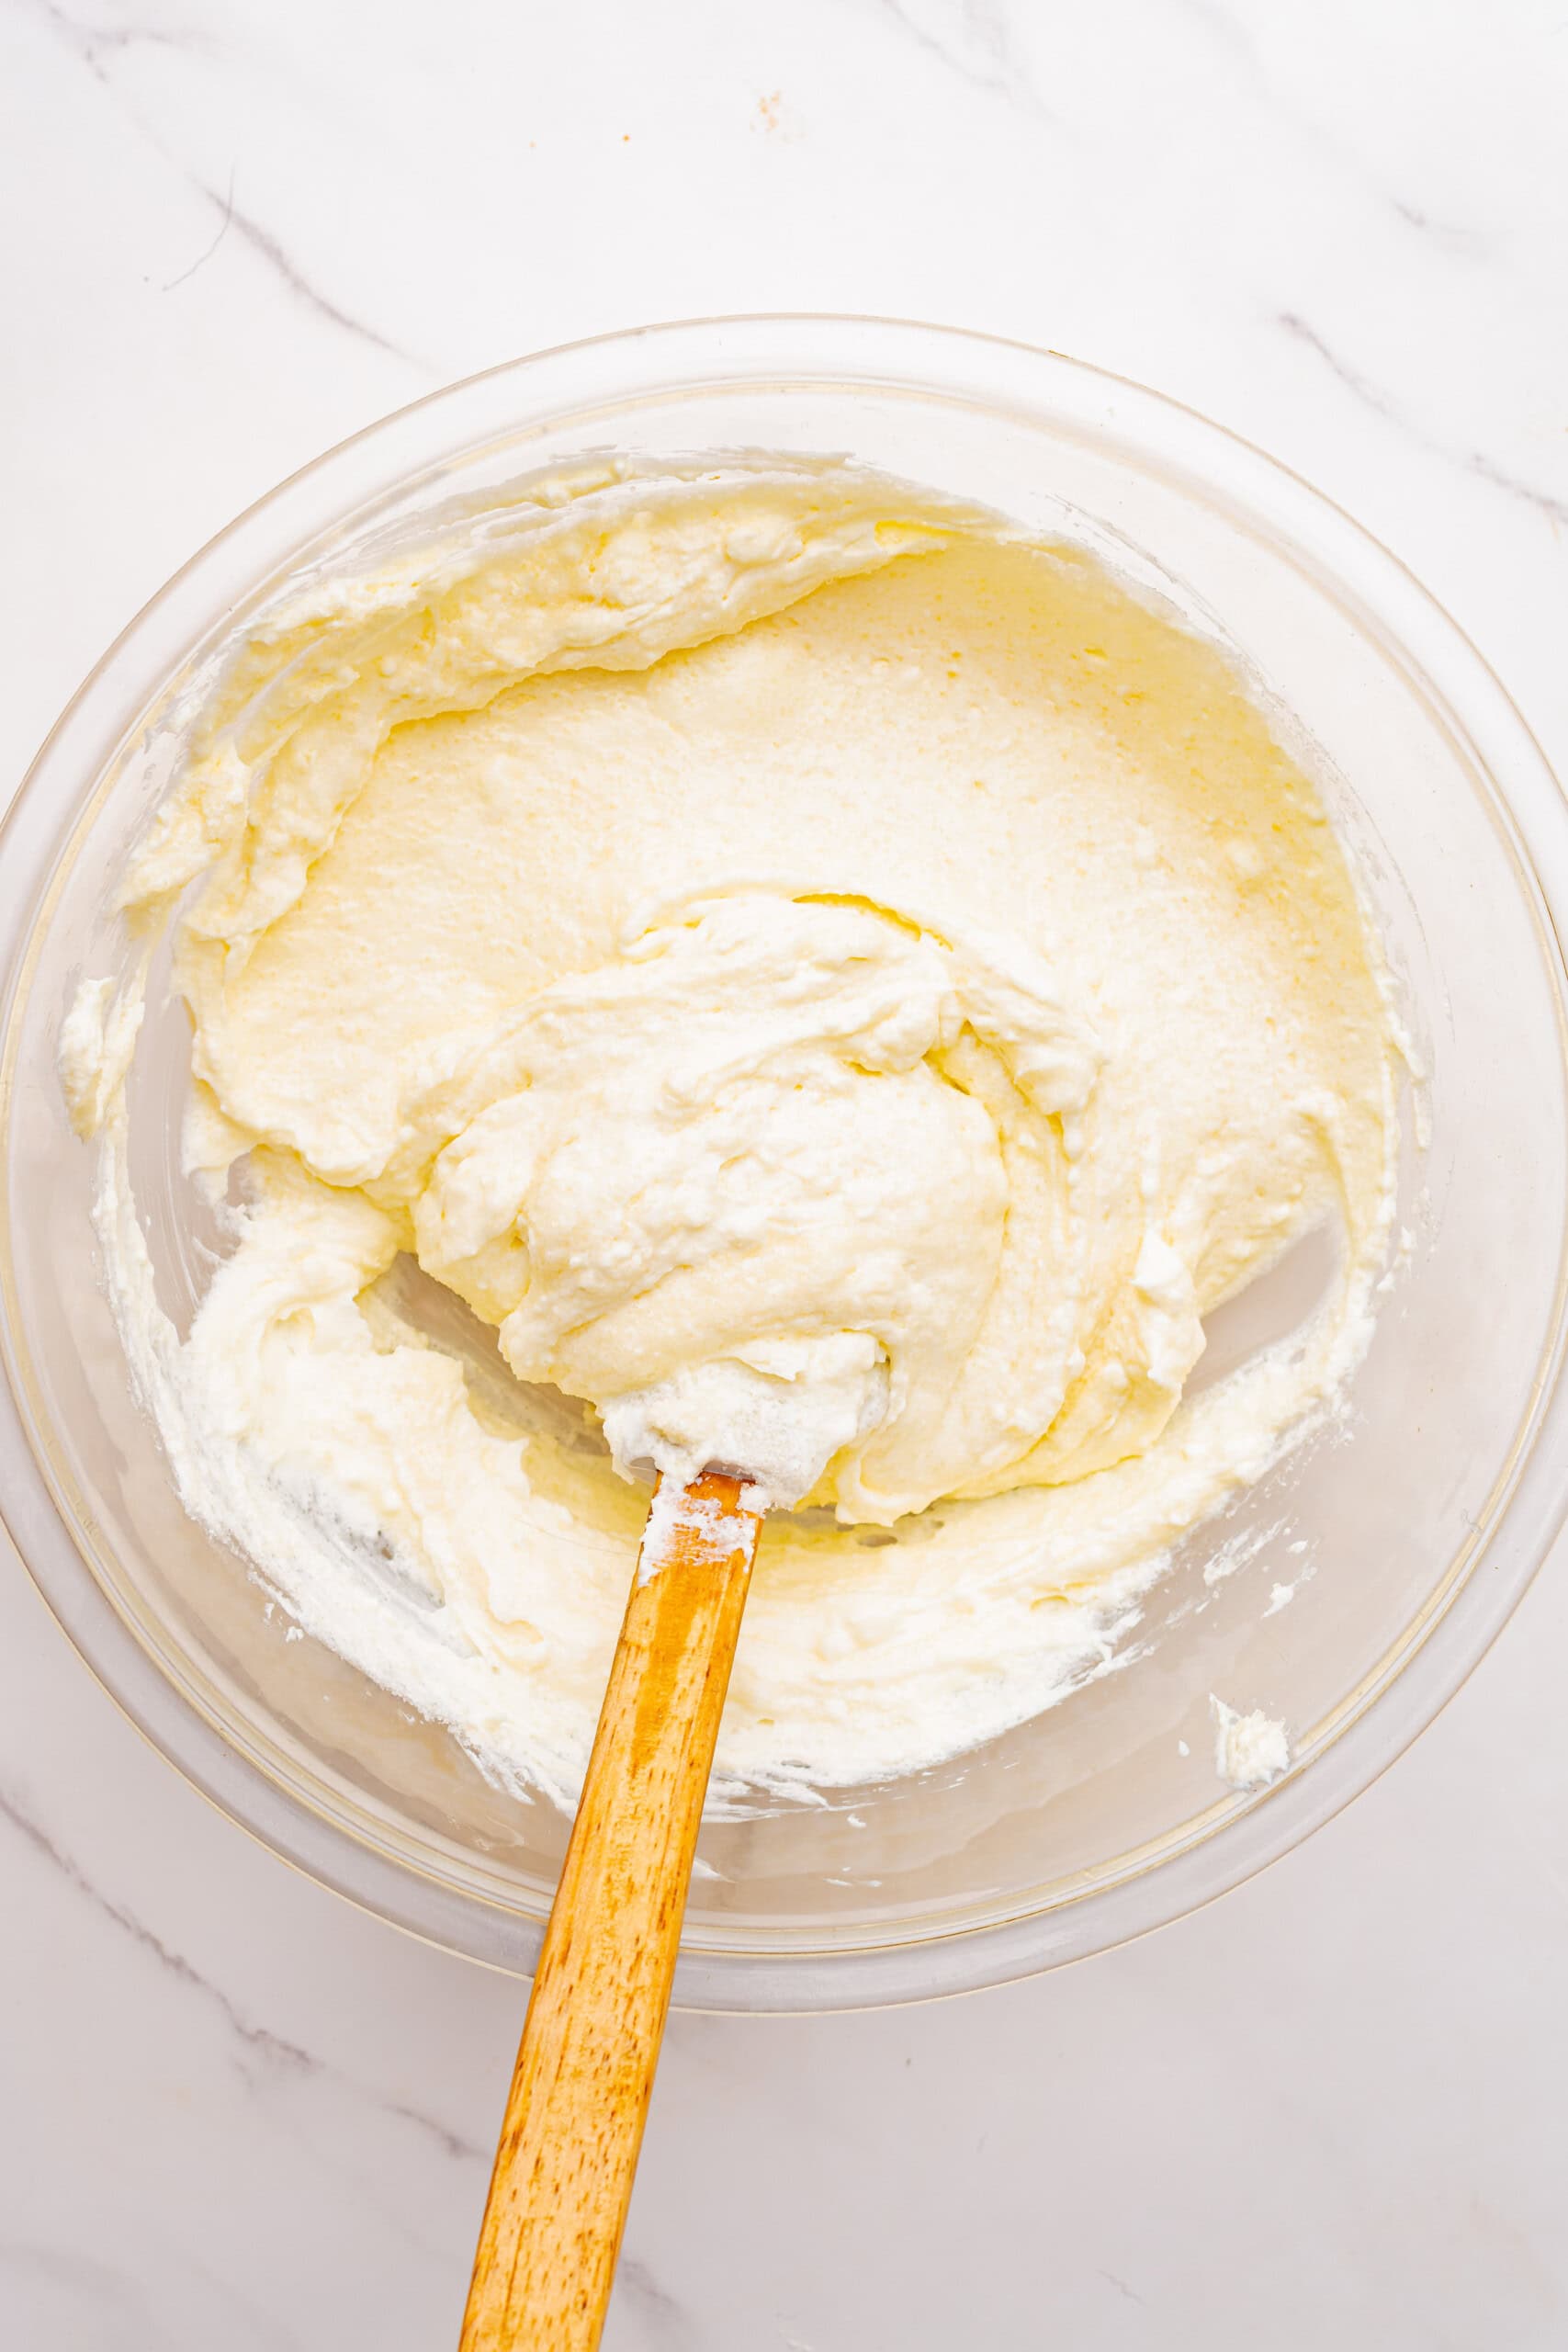
Add the eggs individually, gently incorporating each before adding the next. Pour in the heavy cream and Irish cream, then stir until the filling is creamy and smooth.
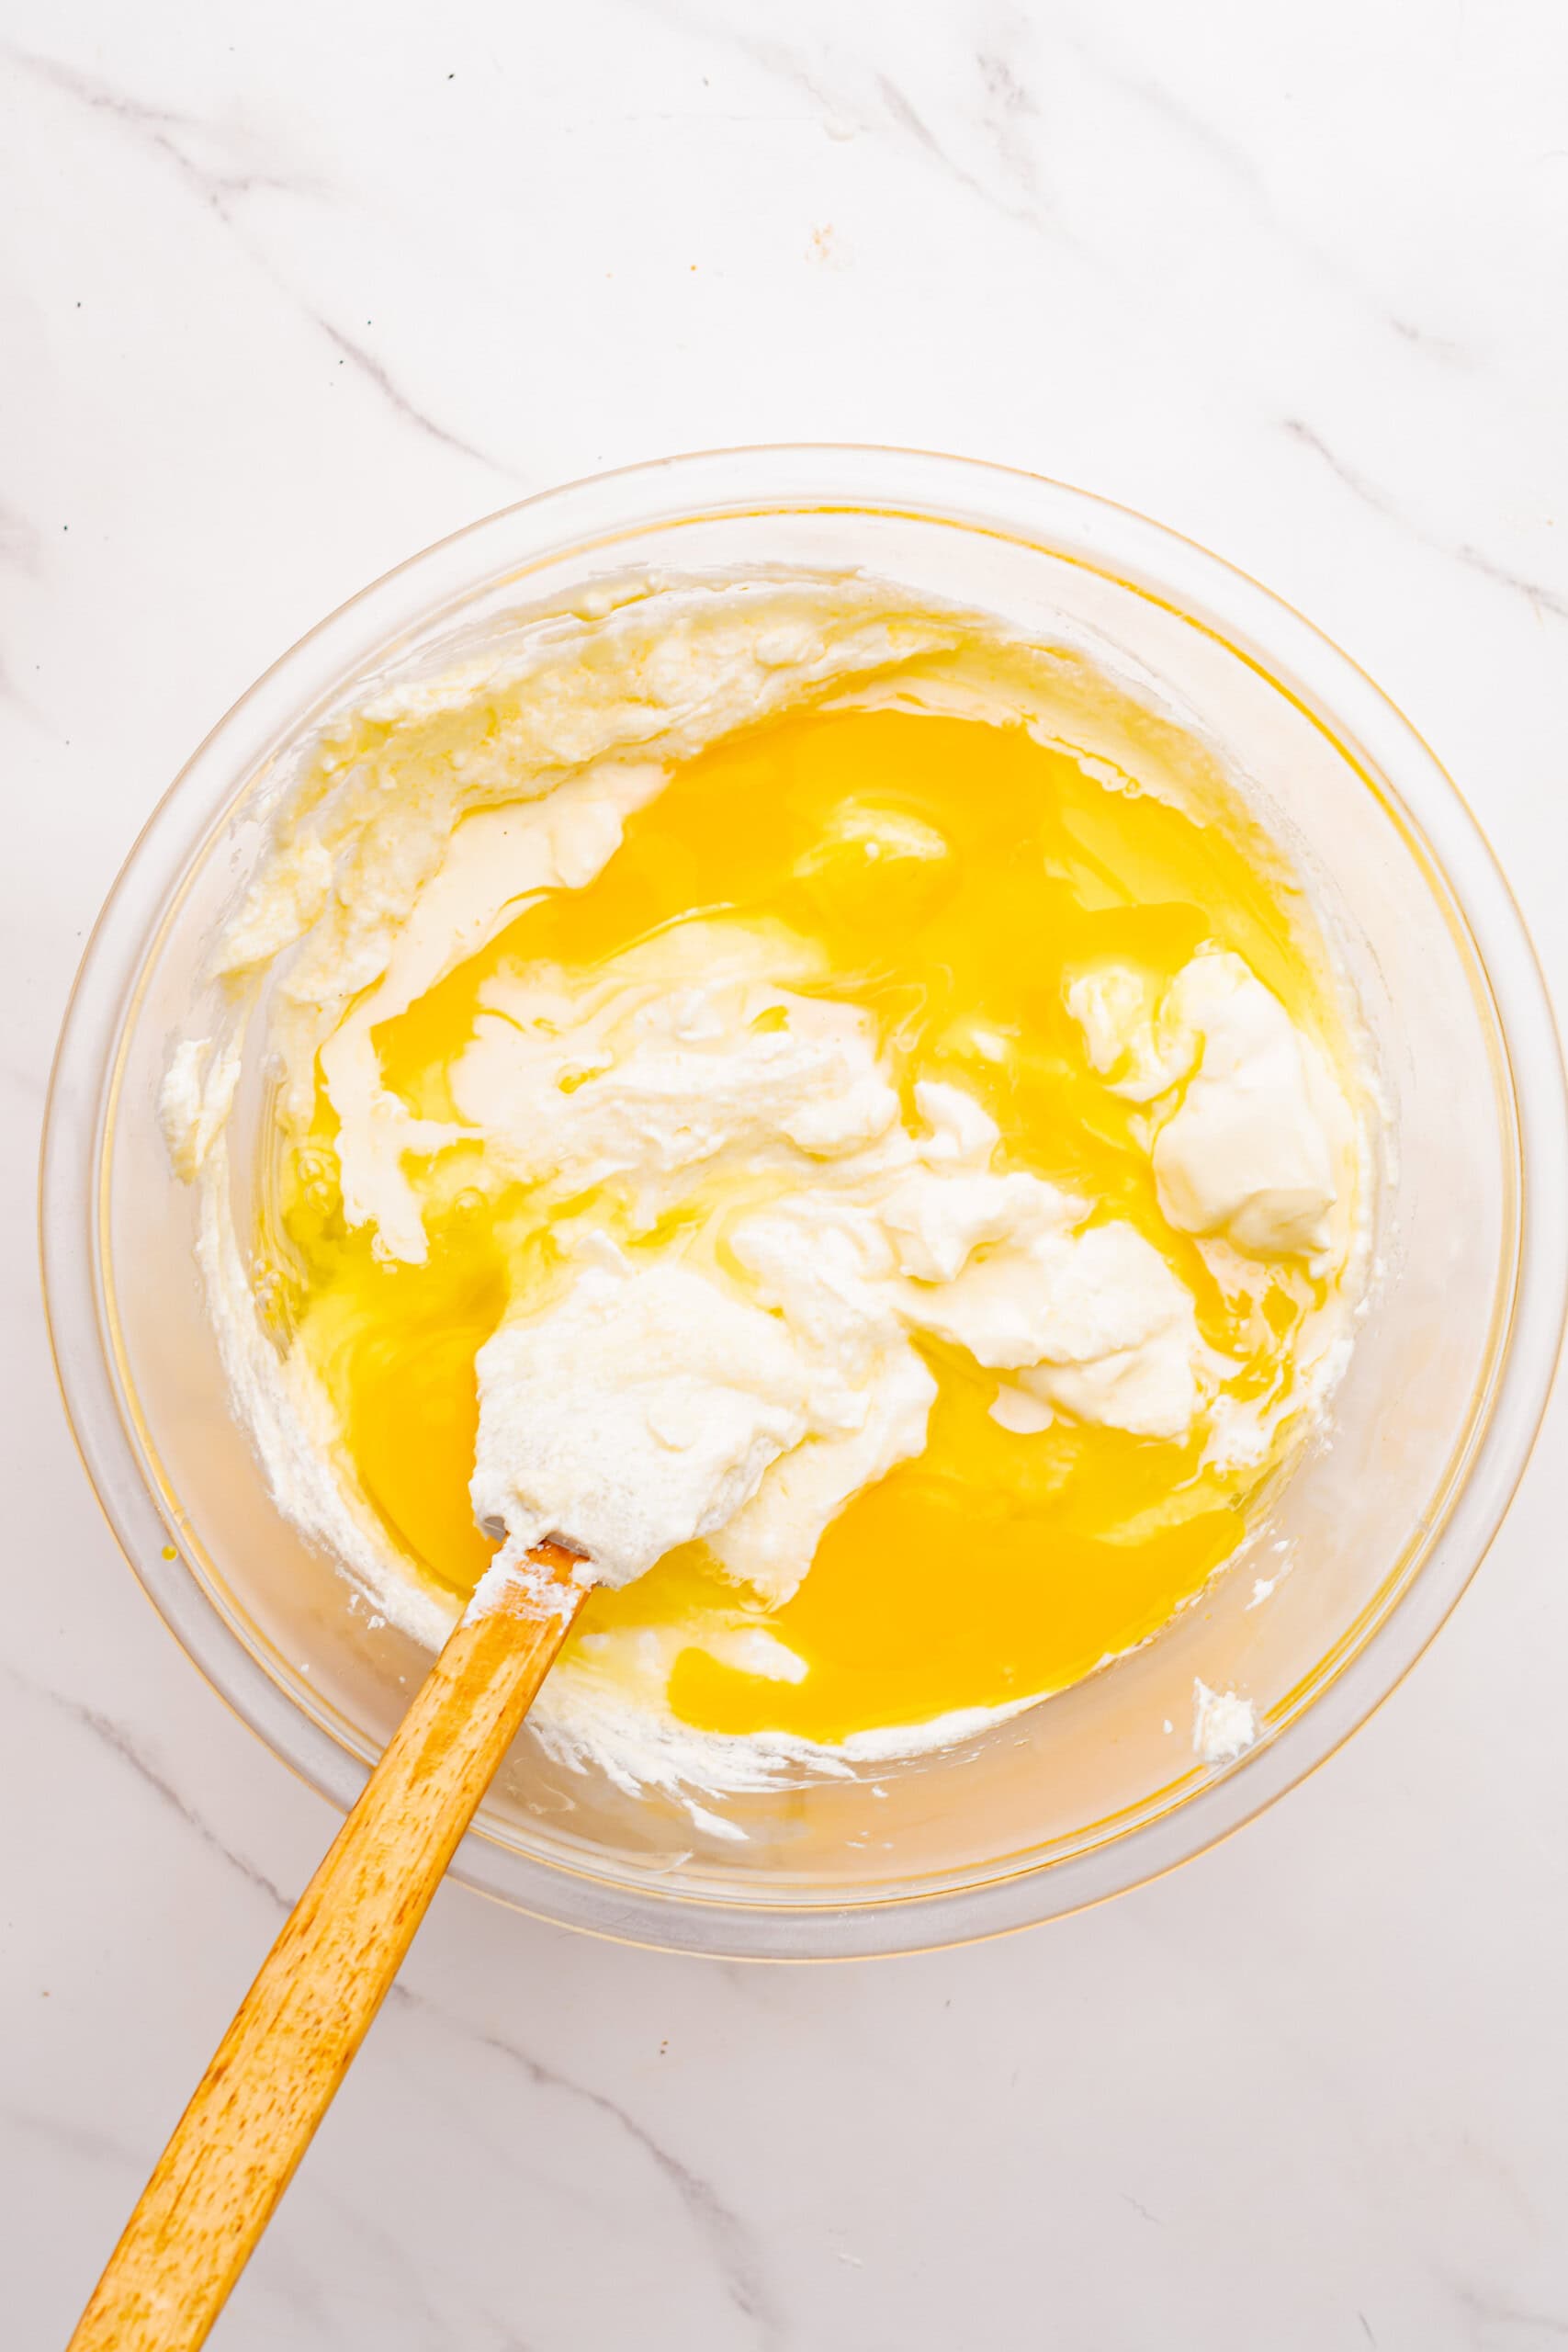
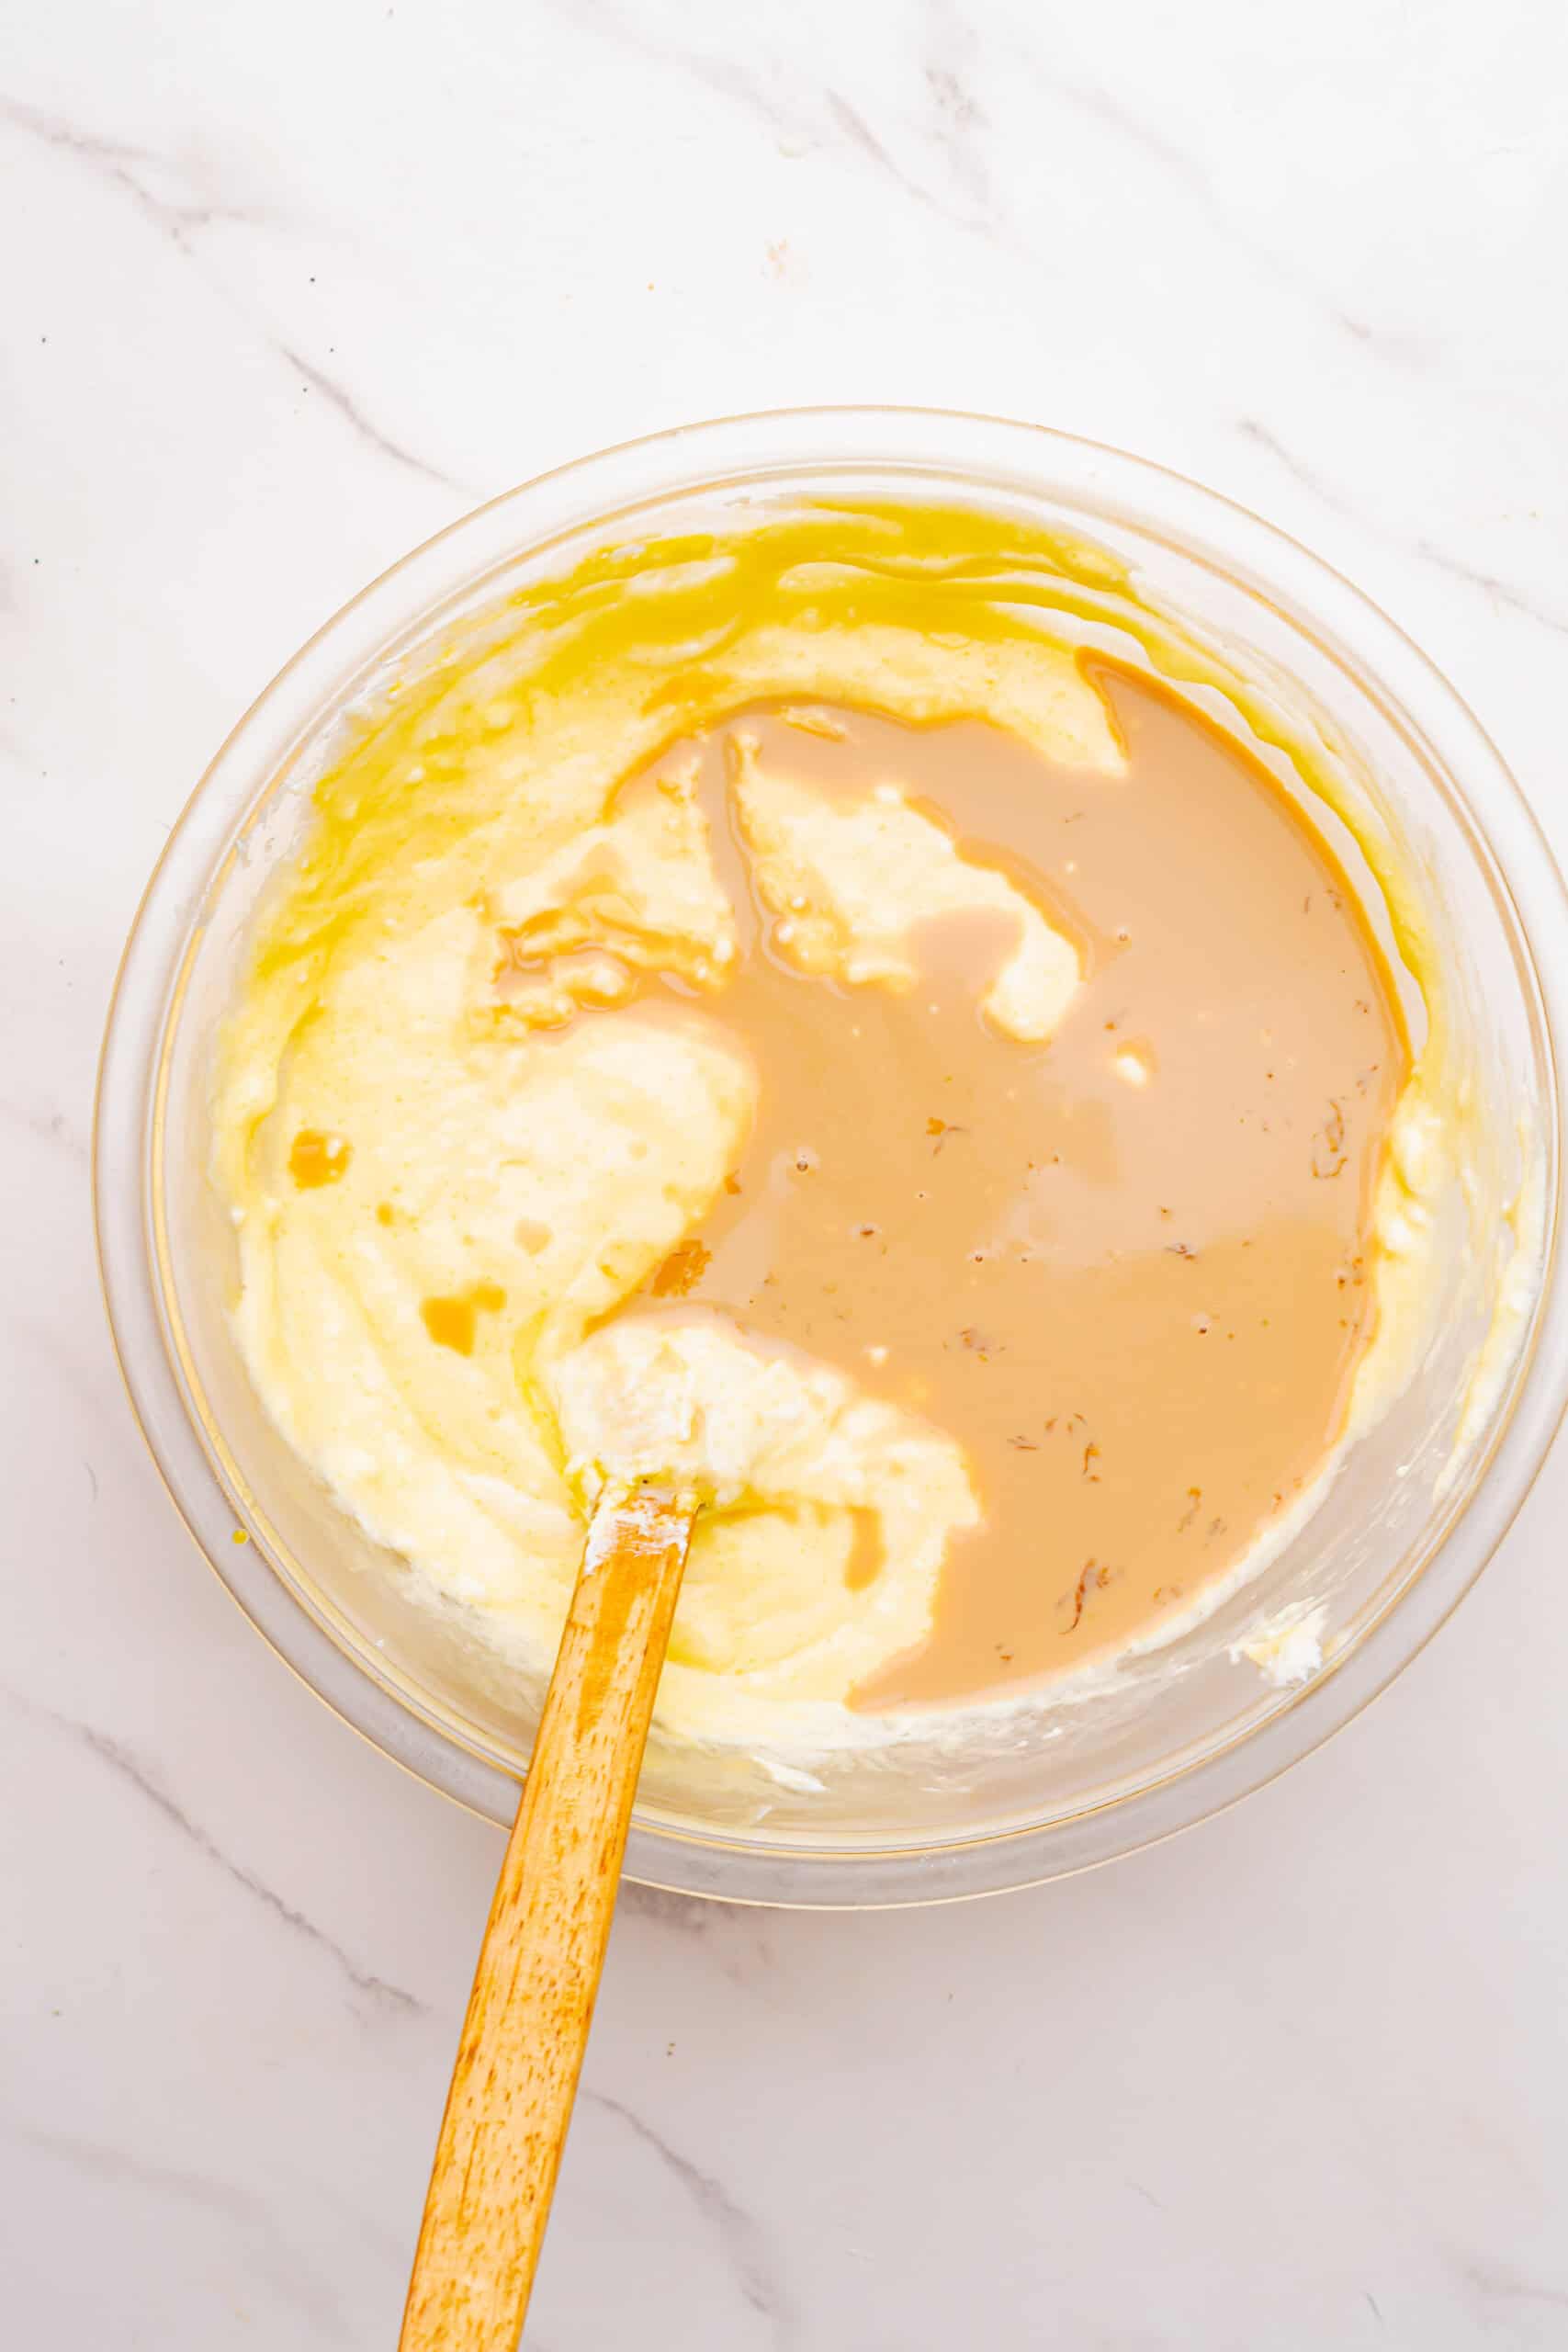
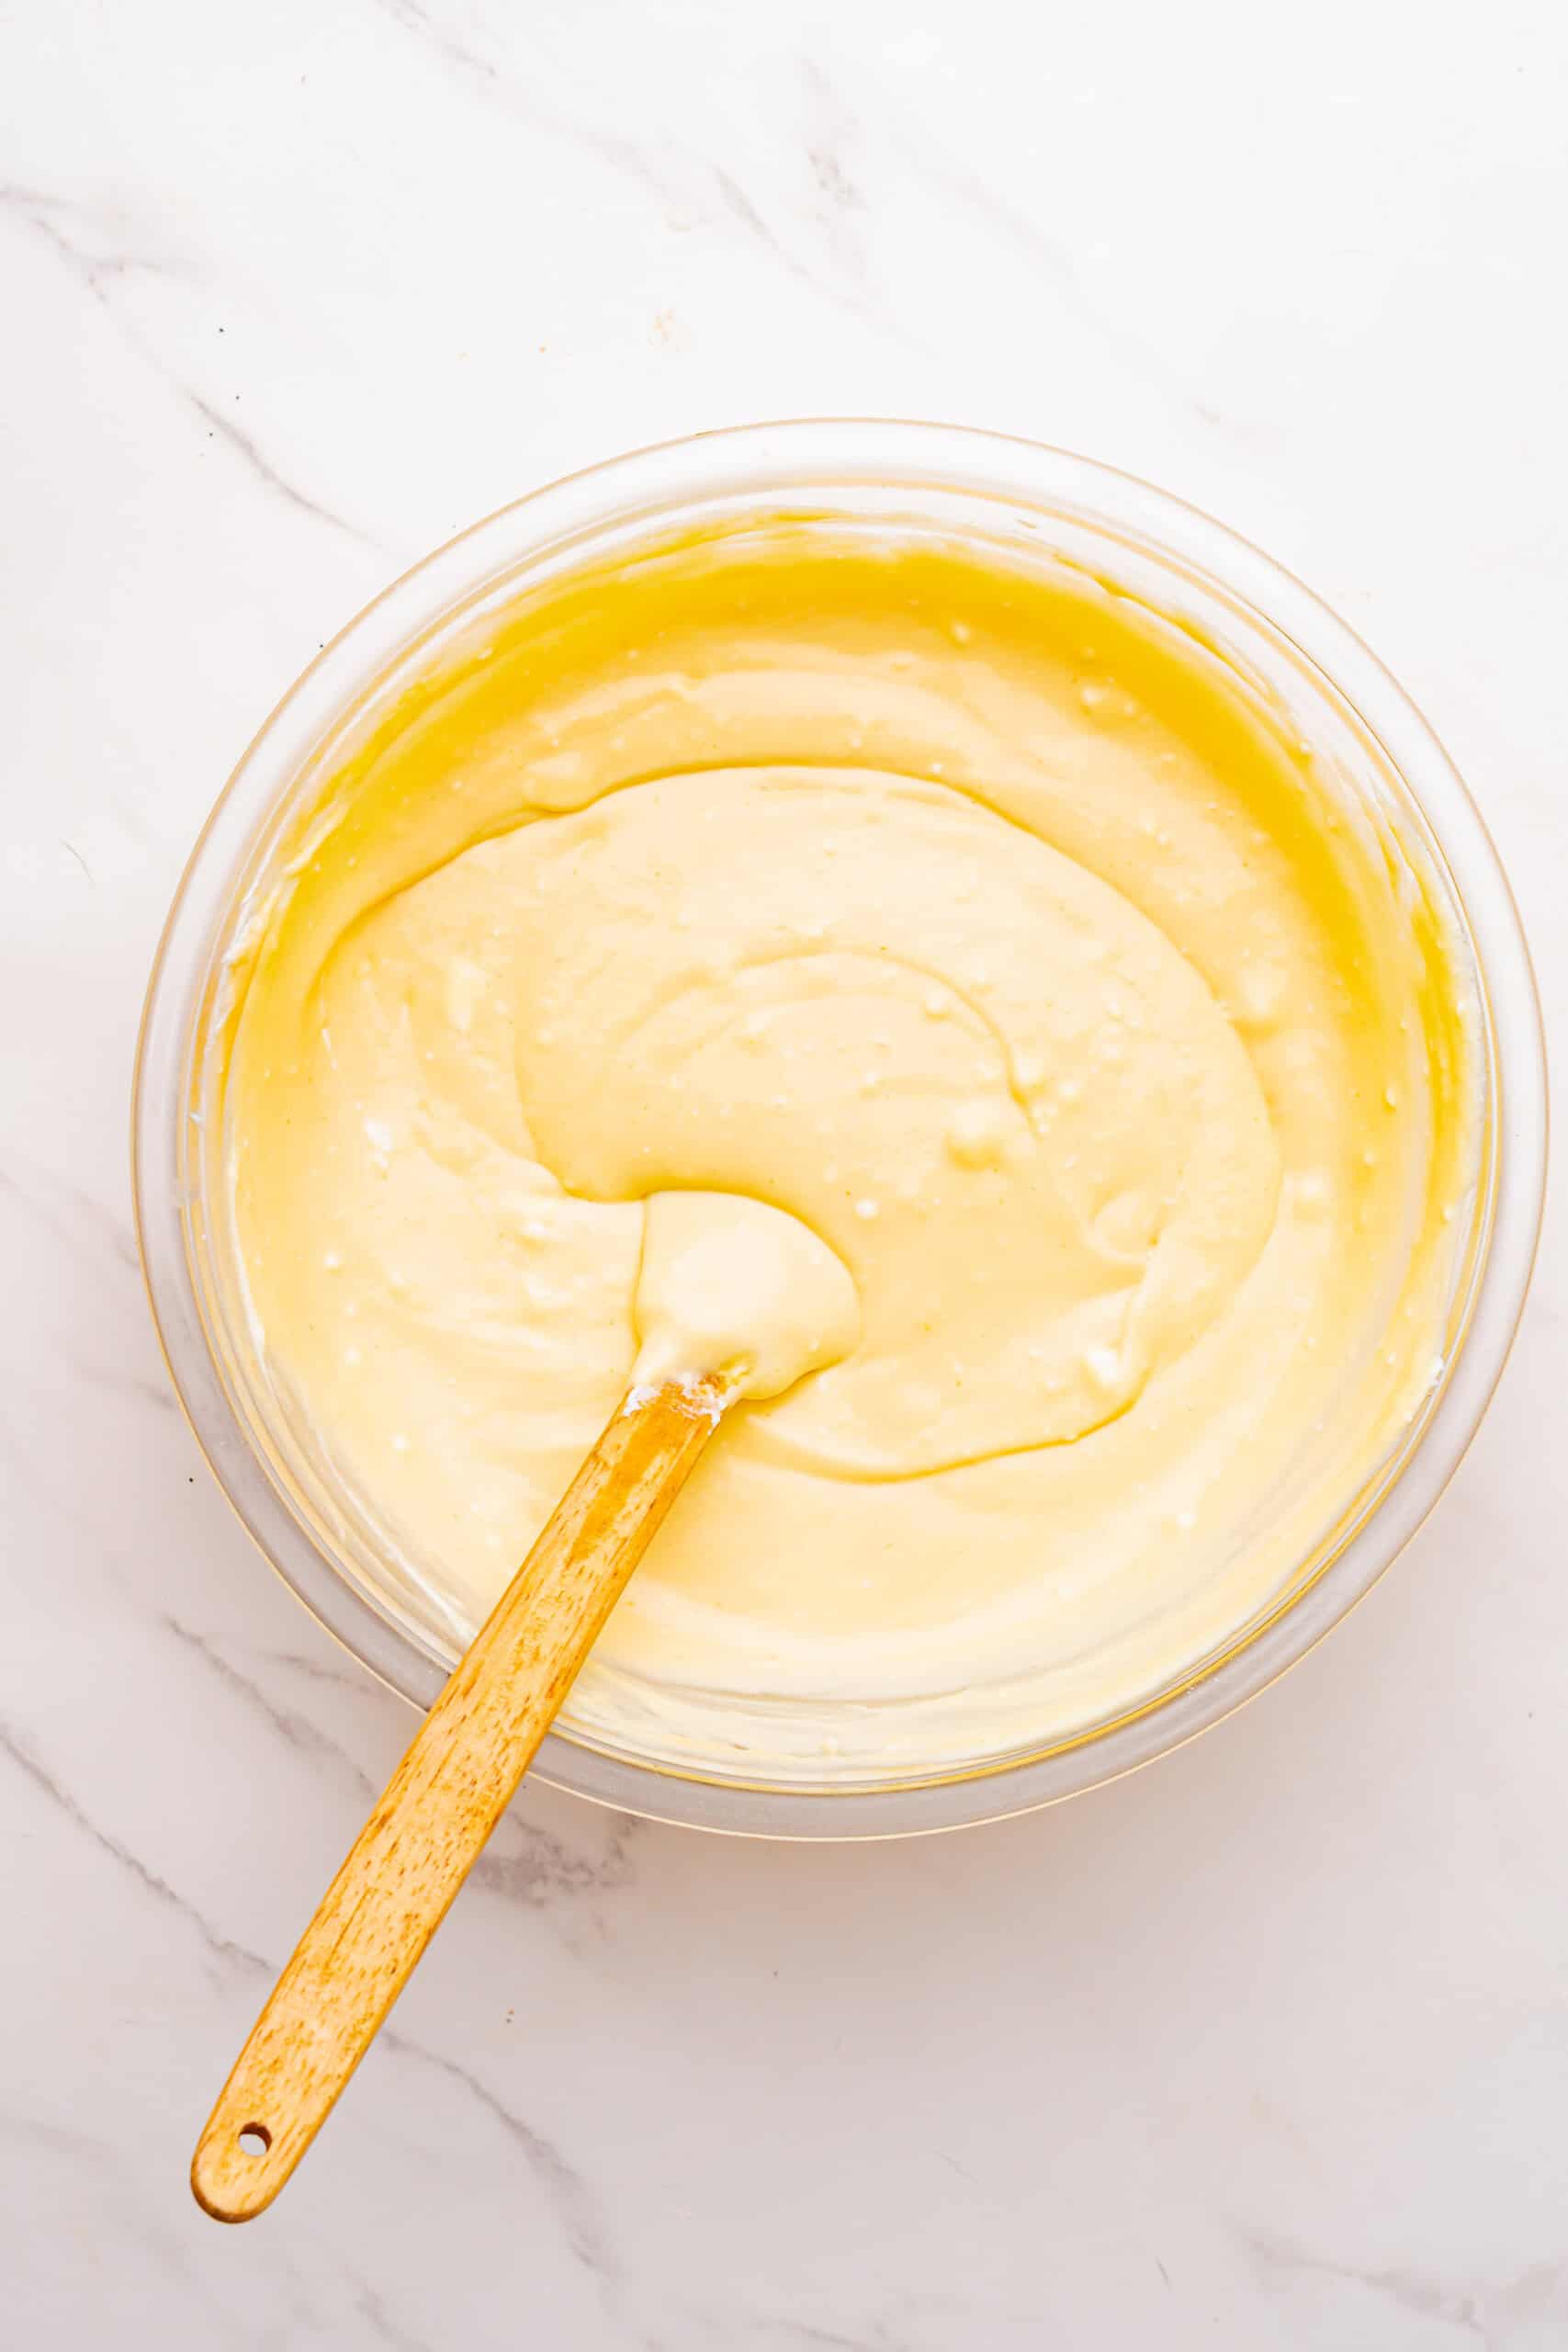
Pro Tip: Crack each egg into a small separate bowl before adding it to the cheesecake mixture. This way, if an egg is spoiled or contains a shell fragment, it won’t ruin the entire batter.
Sift the cornstarch over the mixture and fold until no dry spots remain.
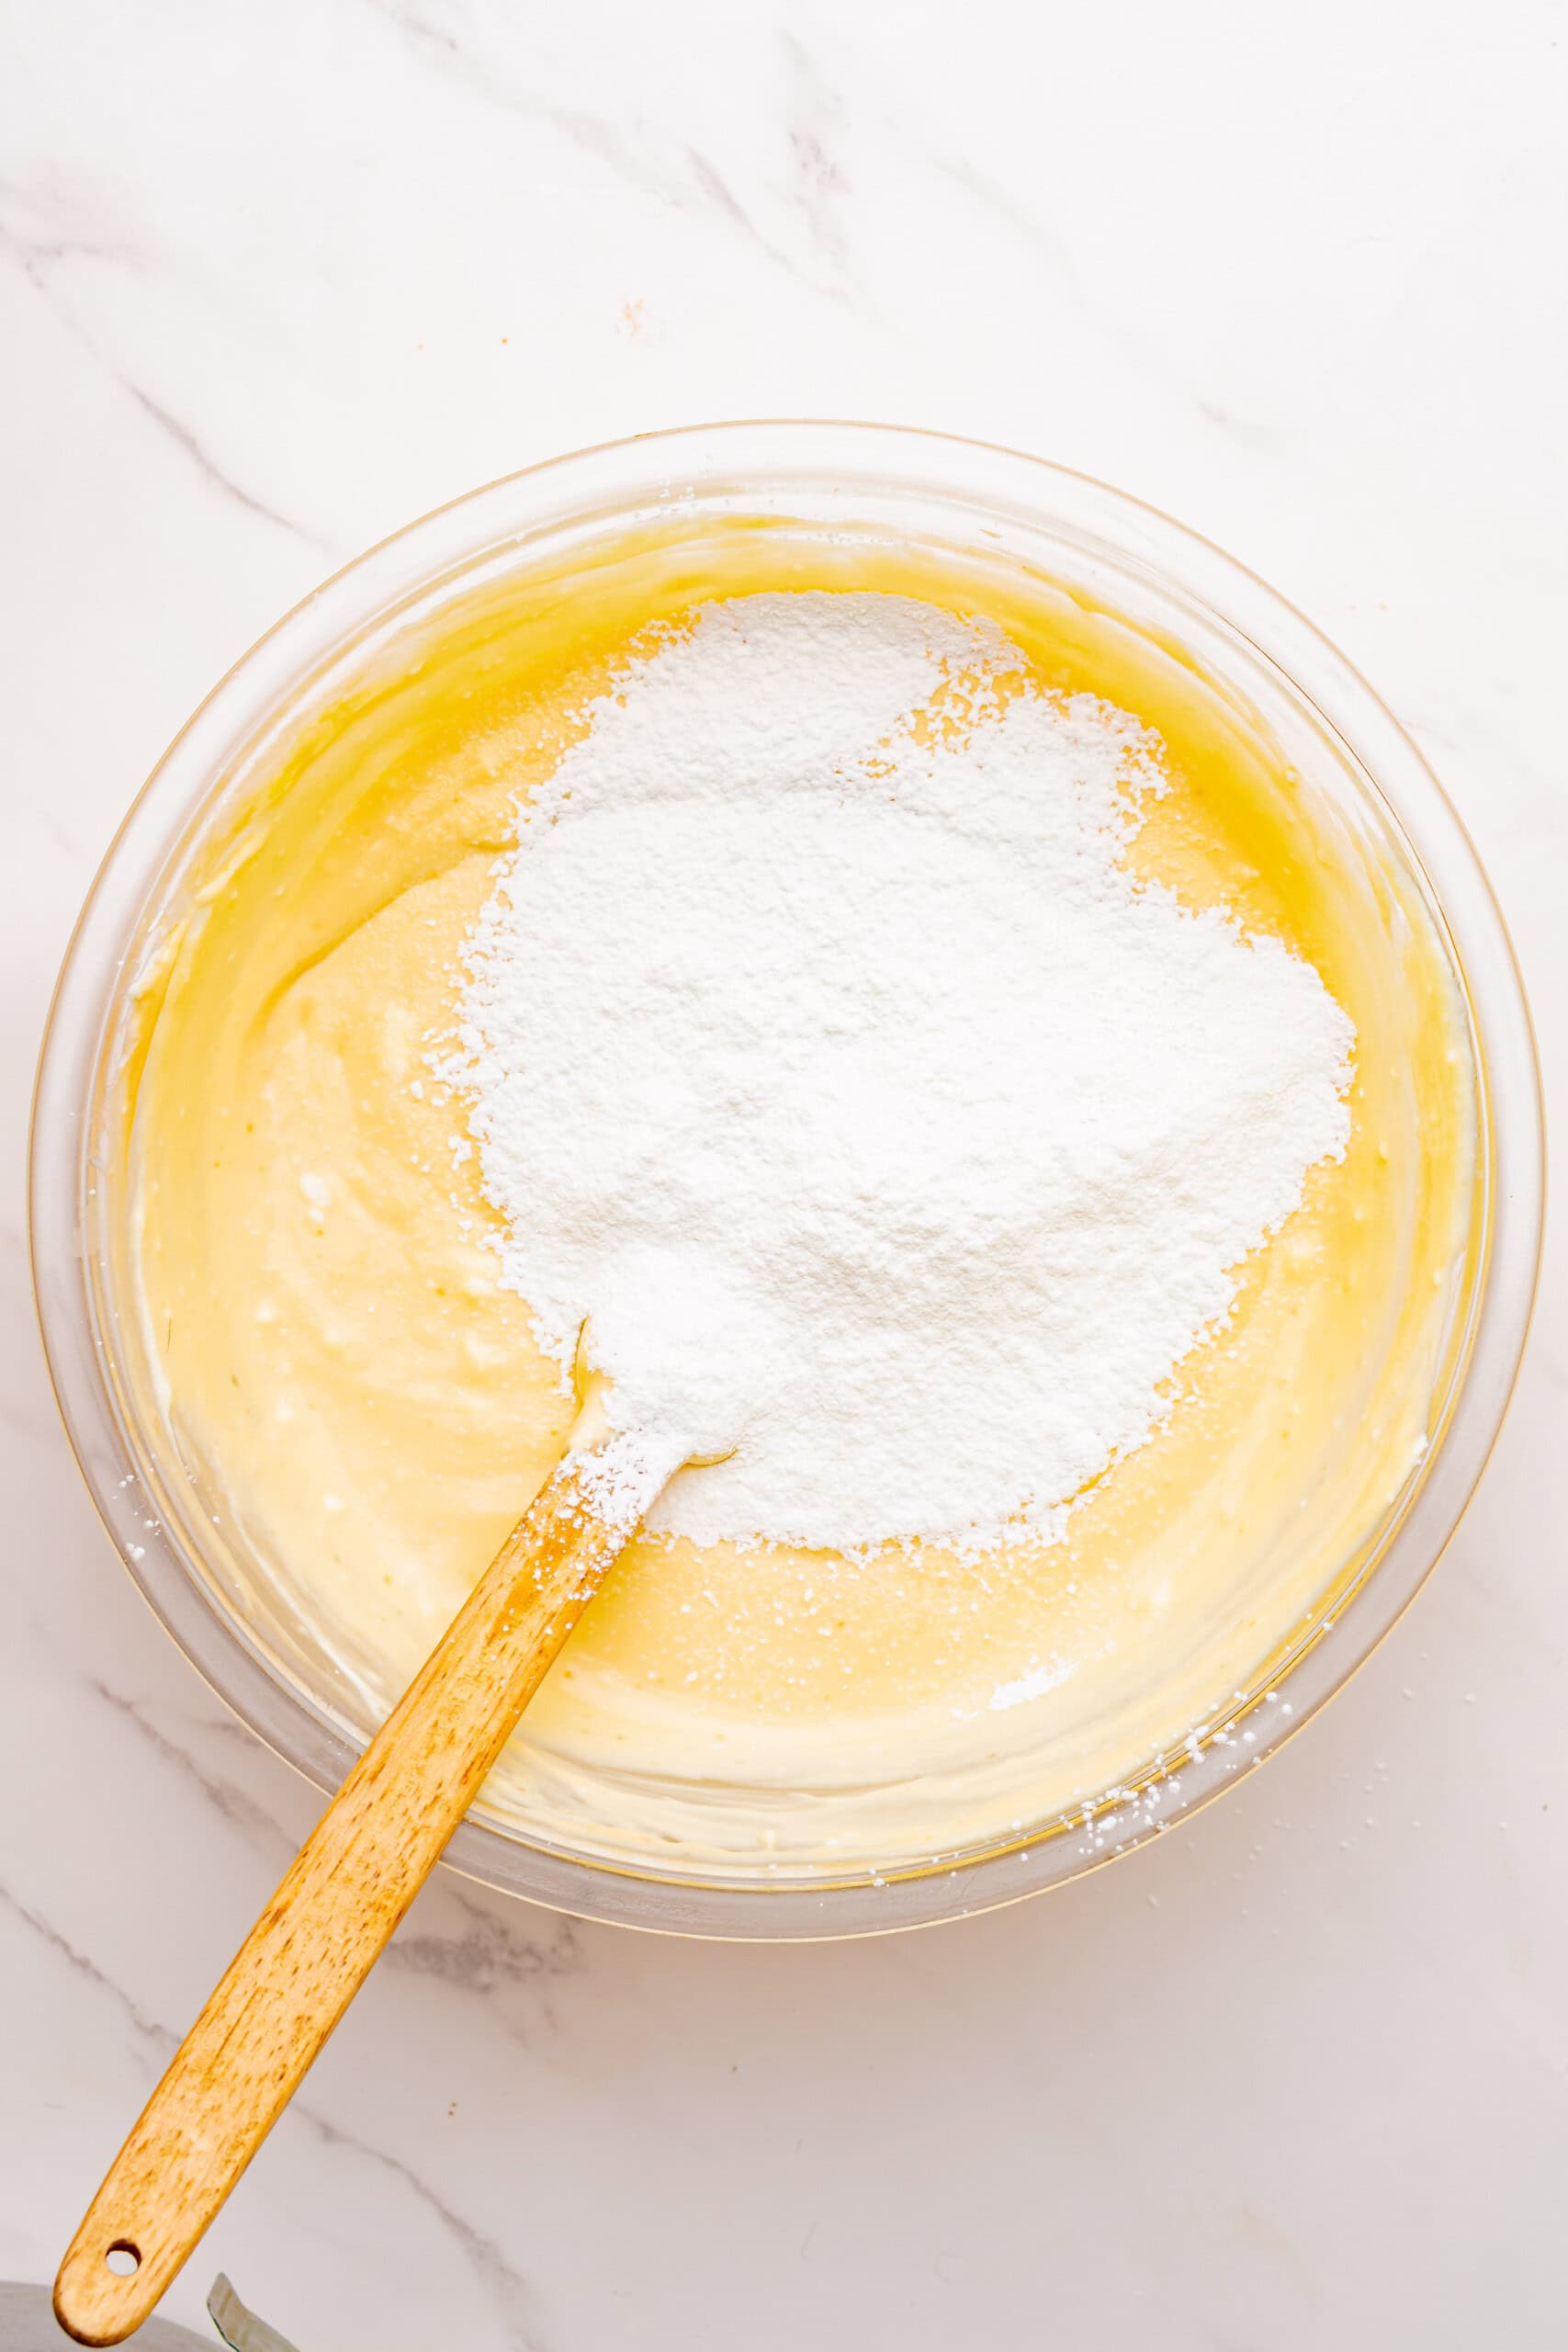
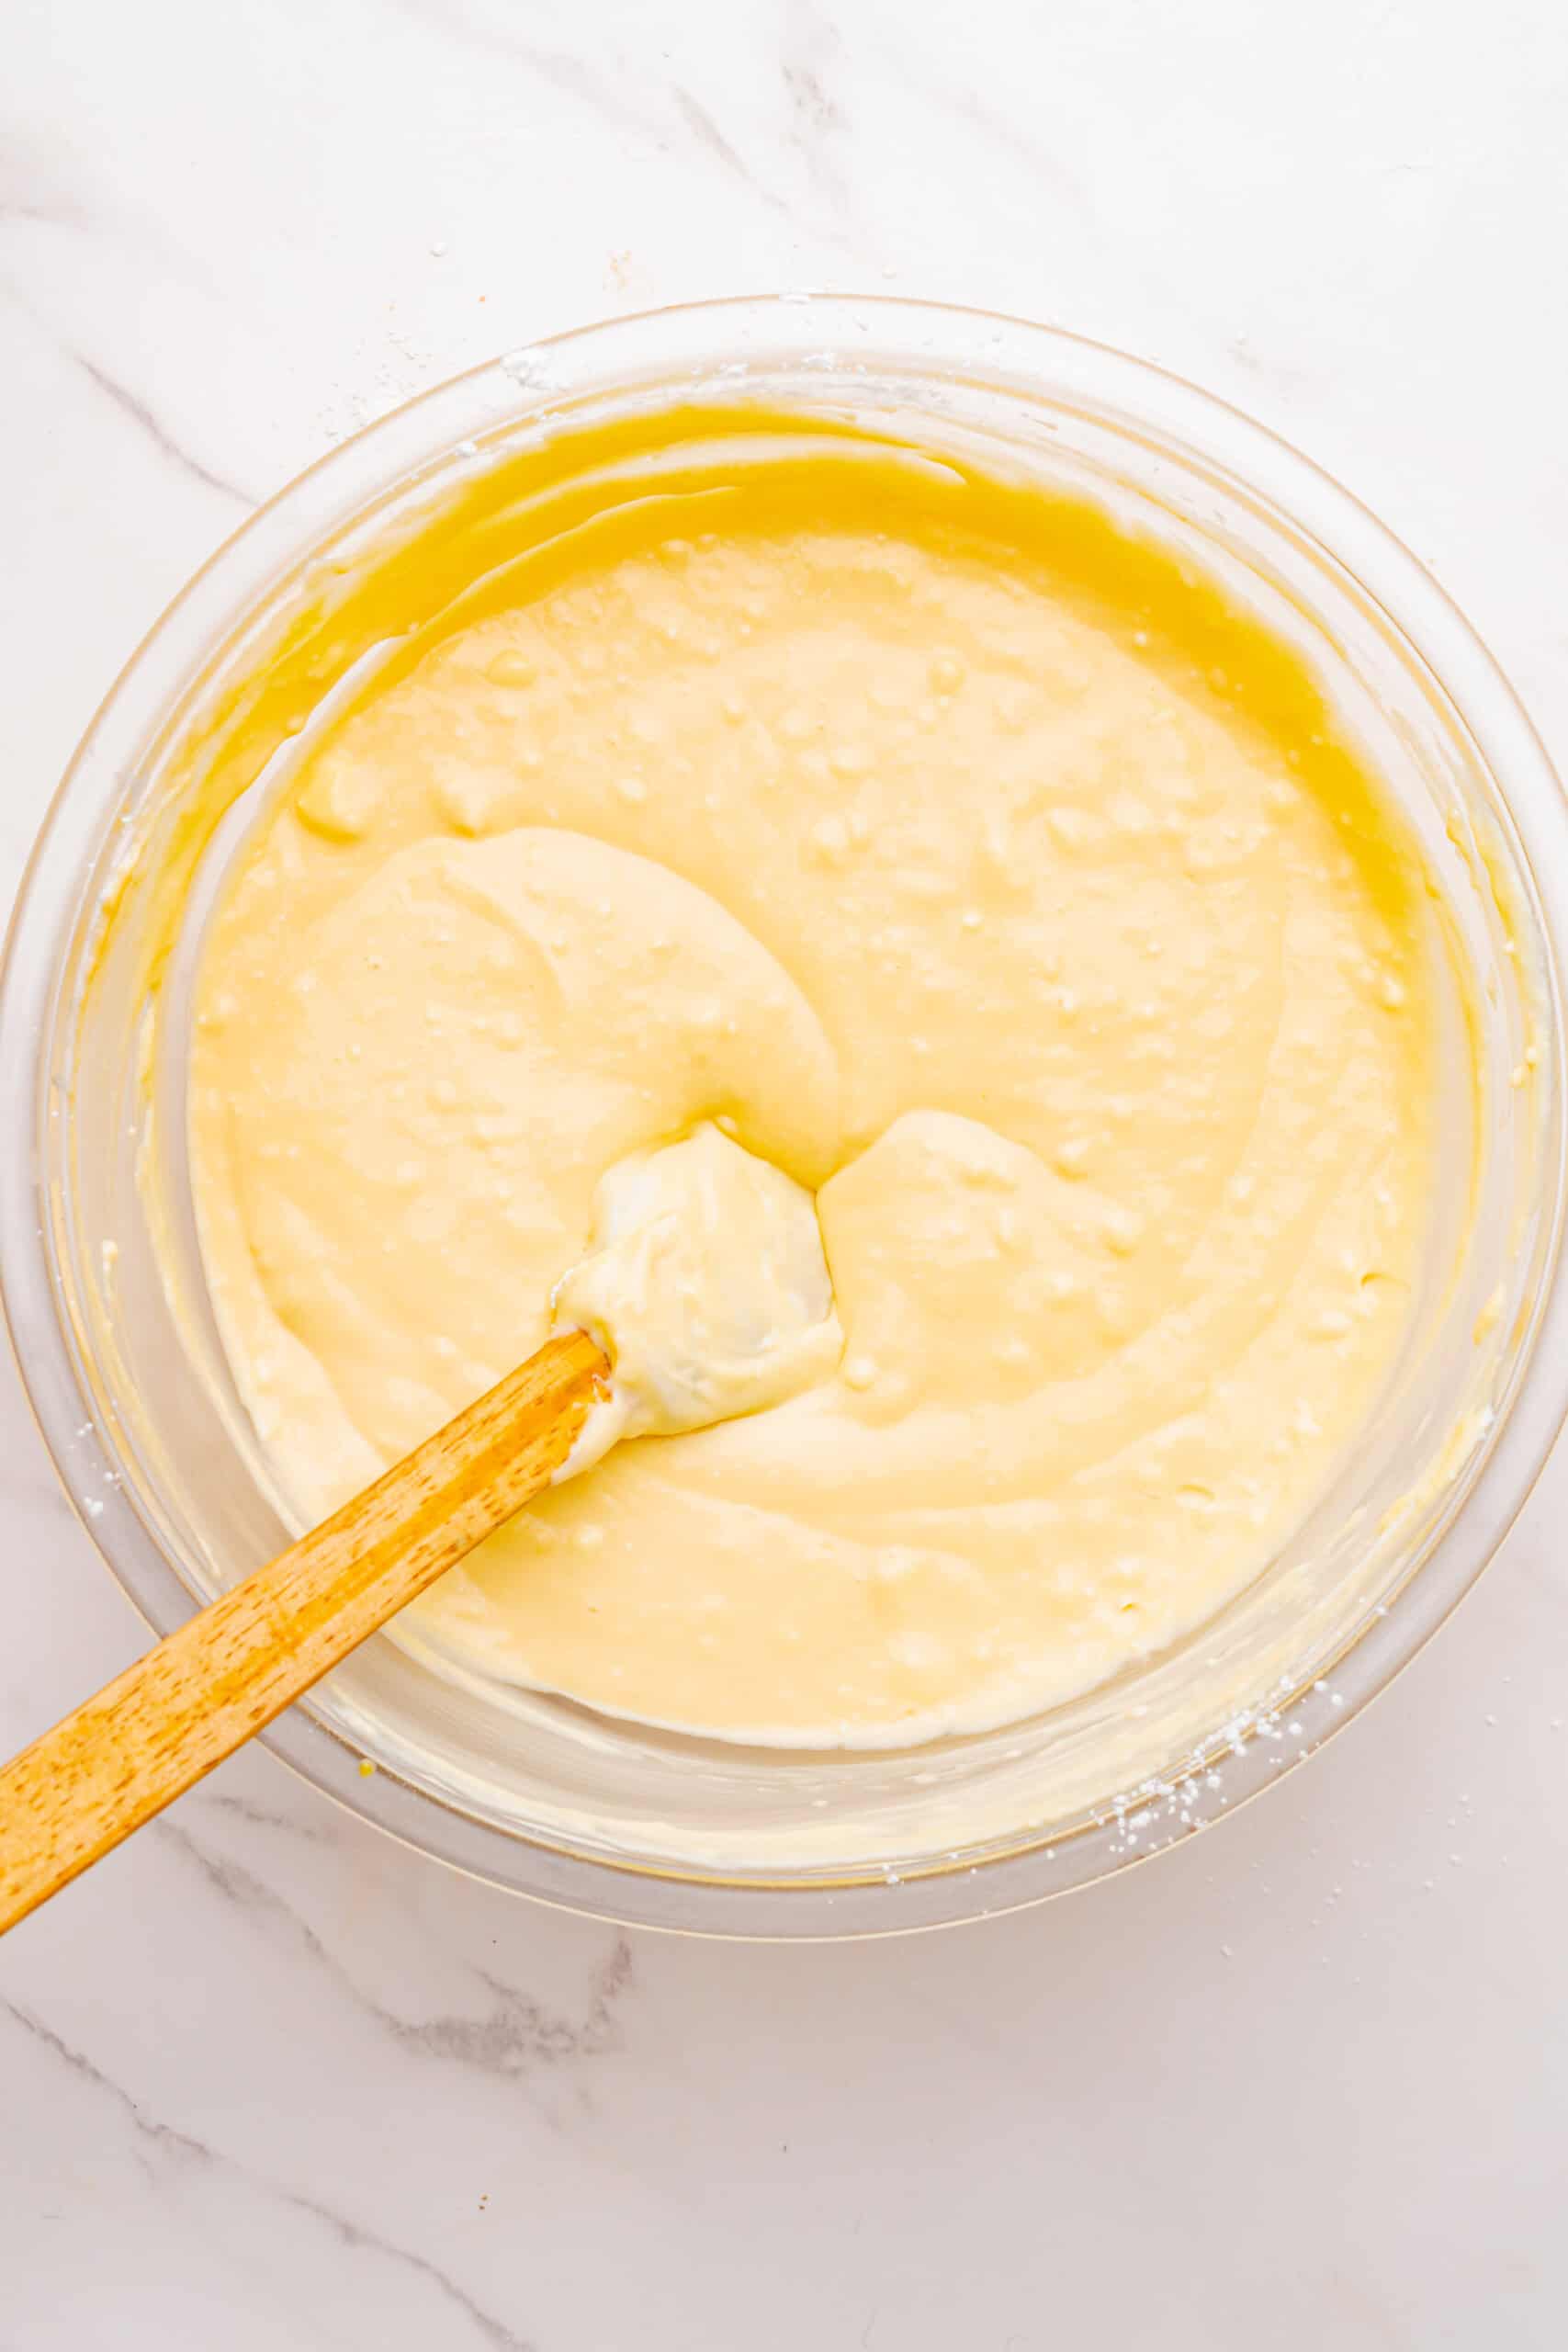
Note: Avoid overmixing the Irish cream cheesecake filling, as too much air can cause cracks while baking.
Step 3: Prepare the Water Bath
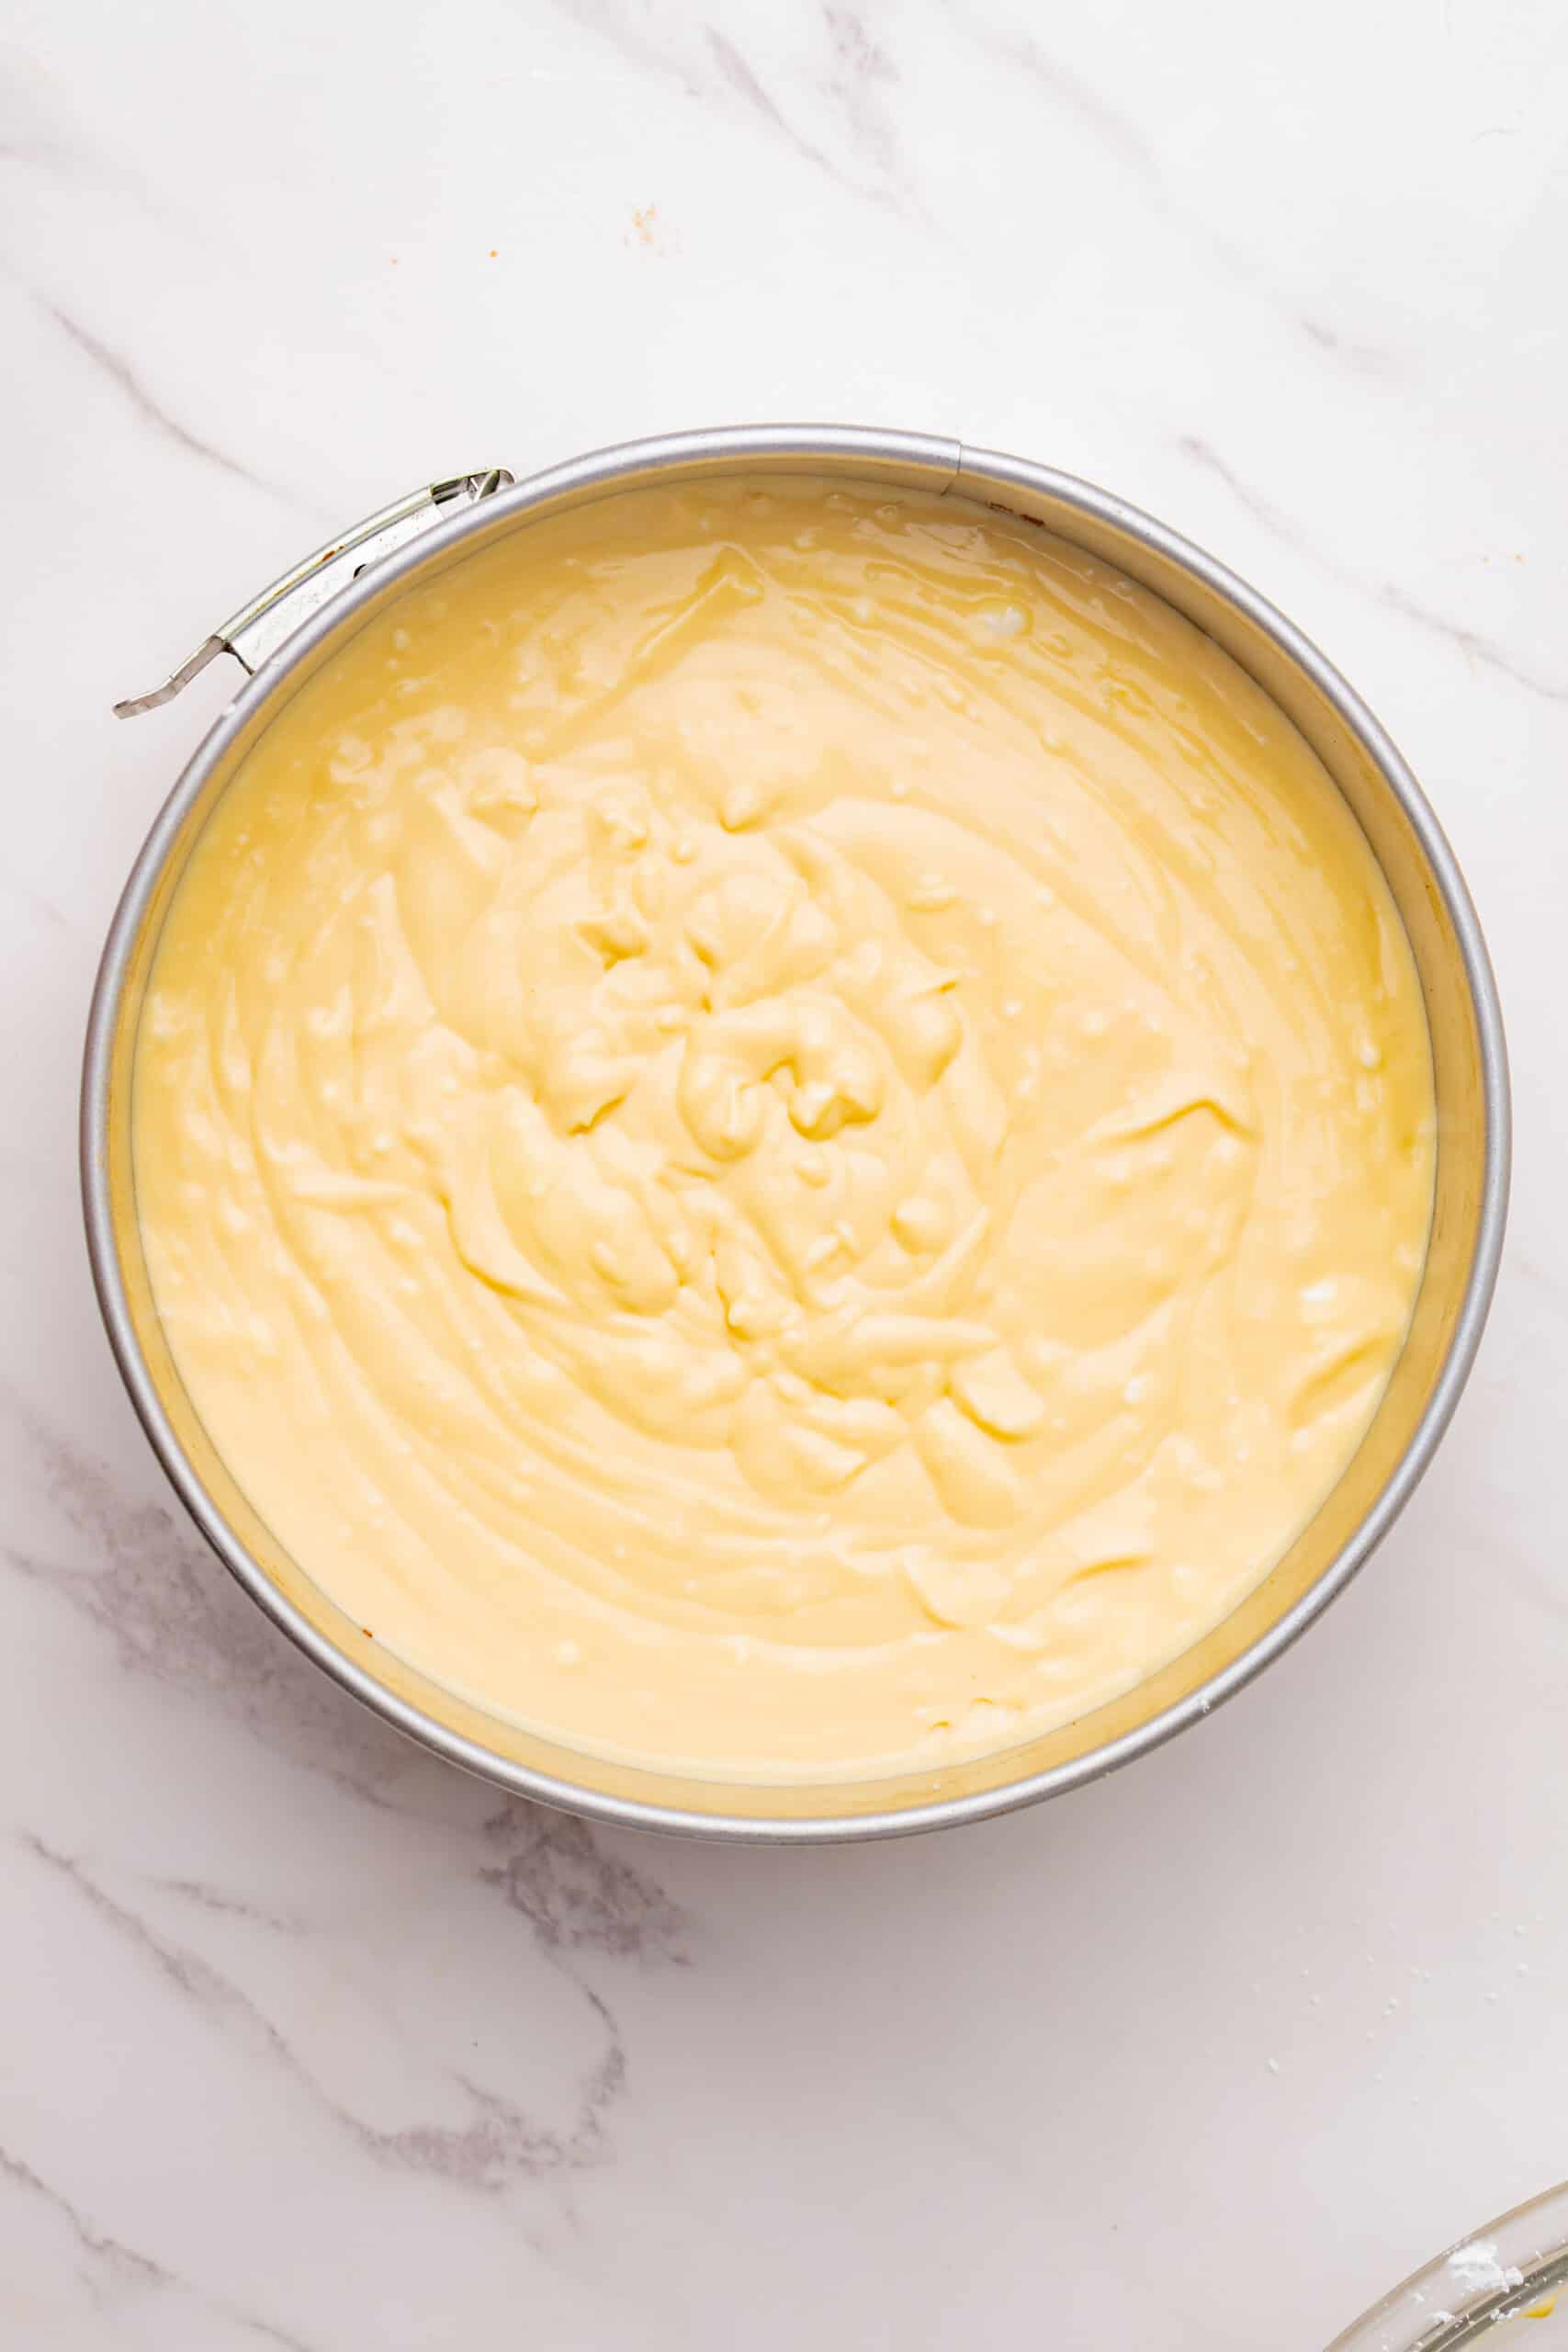
Pour the cheesecake batter over the cookie crust and smooth the top.
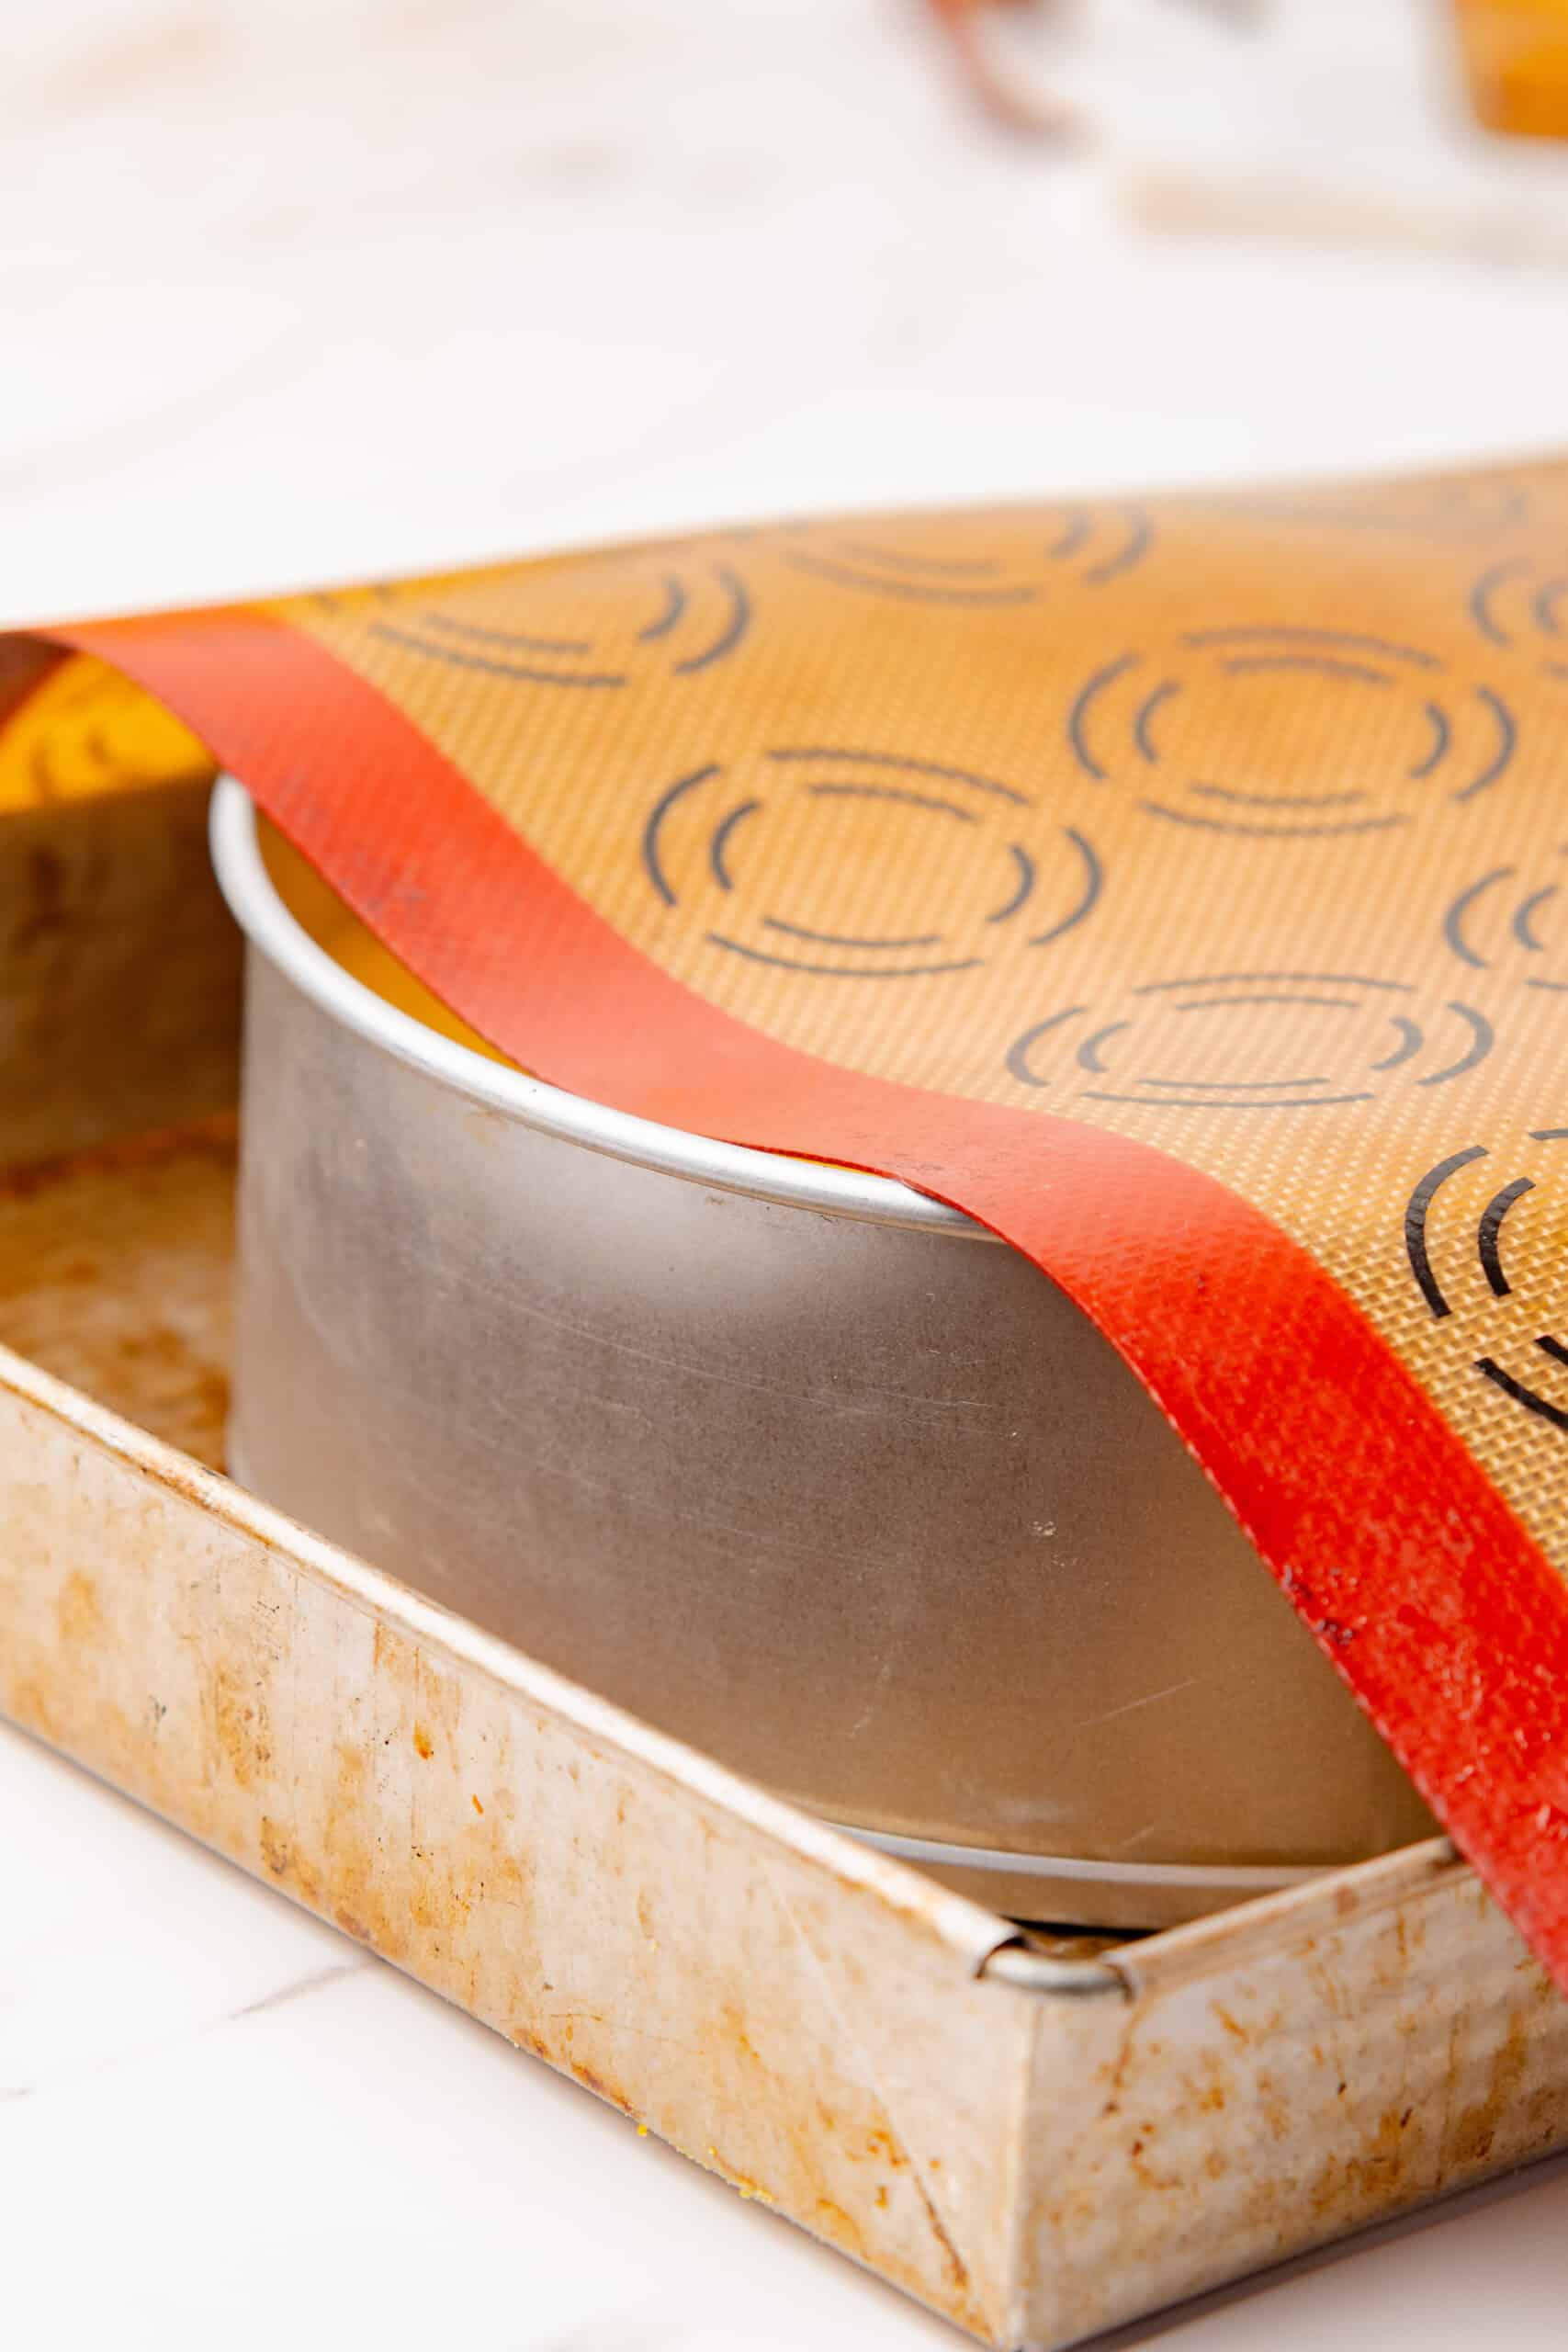
Place the pan inside a large, deep baking dish. Pour warm water into the dish until it reaches halfway up the sides of the cheesecake pan.
Cover the cheesecake with aluminum foil or an oven-safe silicone baking mat.
Step 4: Bake the Irish Cream Cheesecake
Bake at 120°C (250°F) for 1½ to 1¾ hours (90–105 minutes).
The cheesecake is ready when the edges are set, and the center still has a slight jiggle.
Let it cool in the pan for about 1 hour.
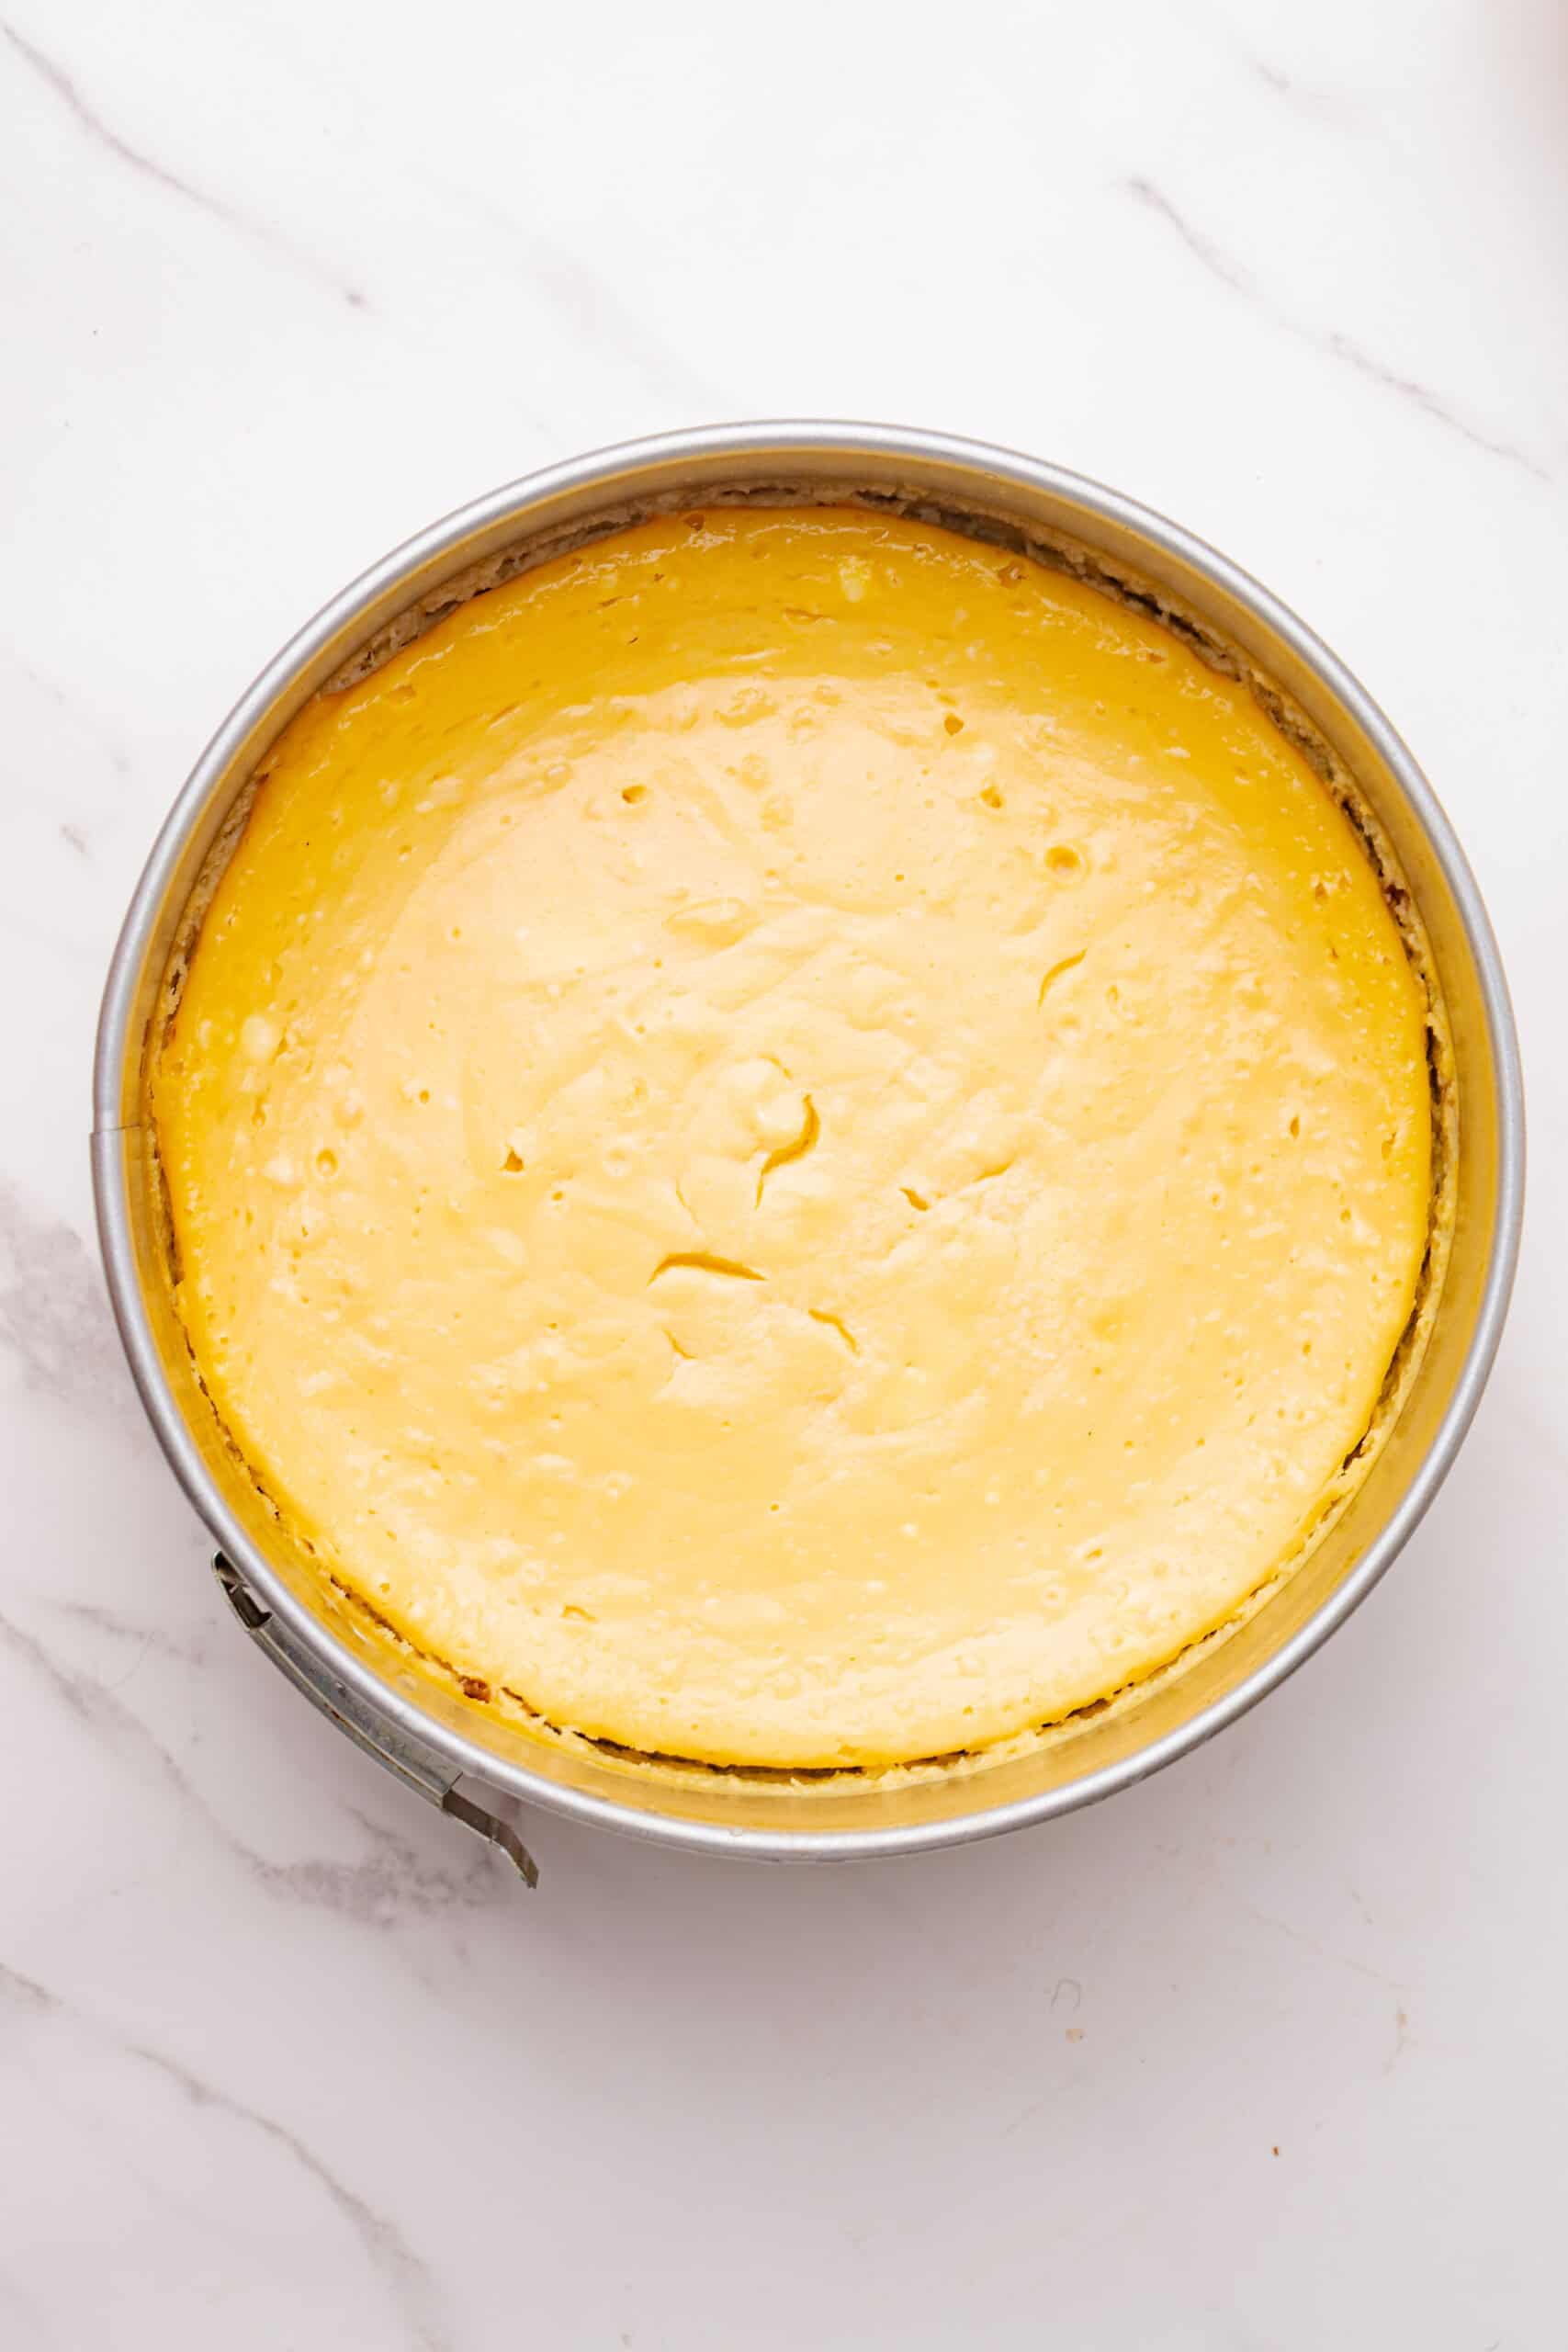
Note: The center should not look completely liquid, but it should still have some movement. Do not wait until the cheesecake is completely firm in the oven, as it will continue to set while cooling and chilling.
Step 5: Chill the Cheesecake
Cover the cheesecake and refrigerate for at least 8 hours, preferably overnight.
For the best texture, let the Irish cream cheesecake chill for up to 24 hours before decorating.
The extended chilling time allows the cheesecake to fully set while maintaining a creamy, smooth texture. It also helps the cheesecake become firm enough to slice cleanly without falling apart.
Step 6: Make the Chocolate Ganache
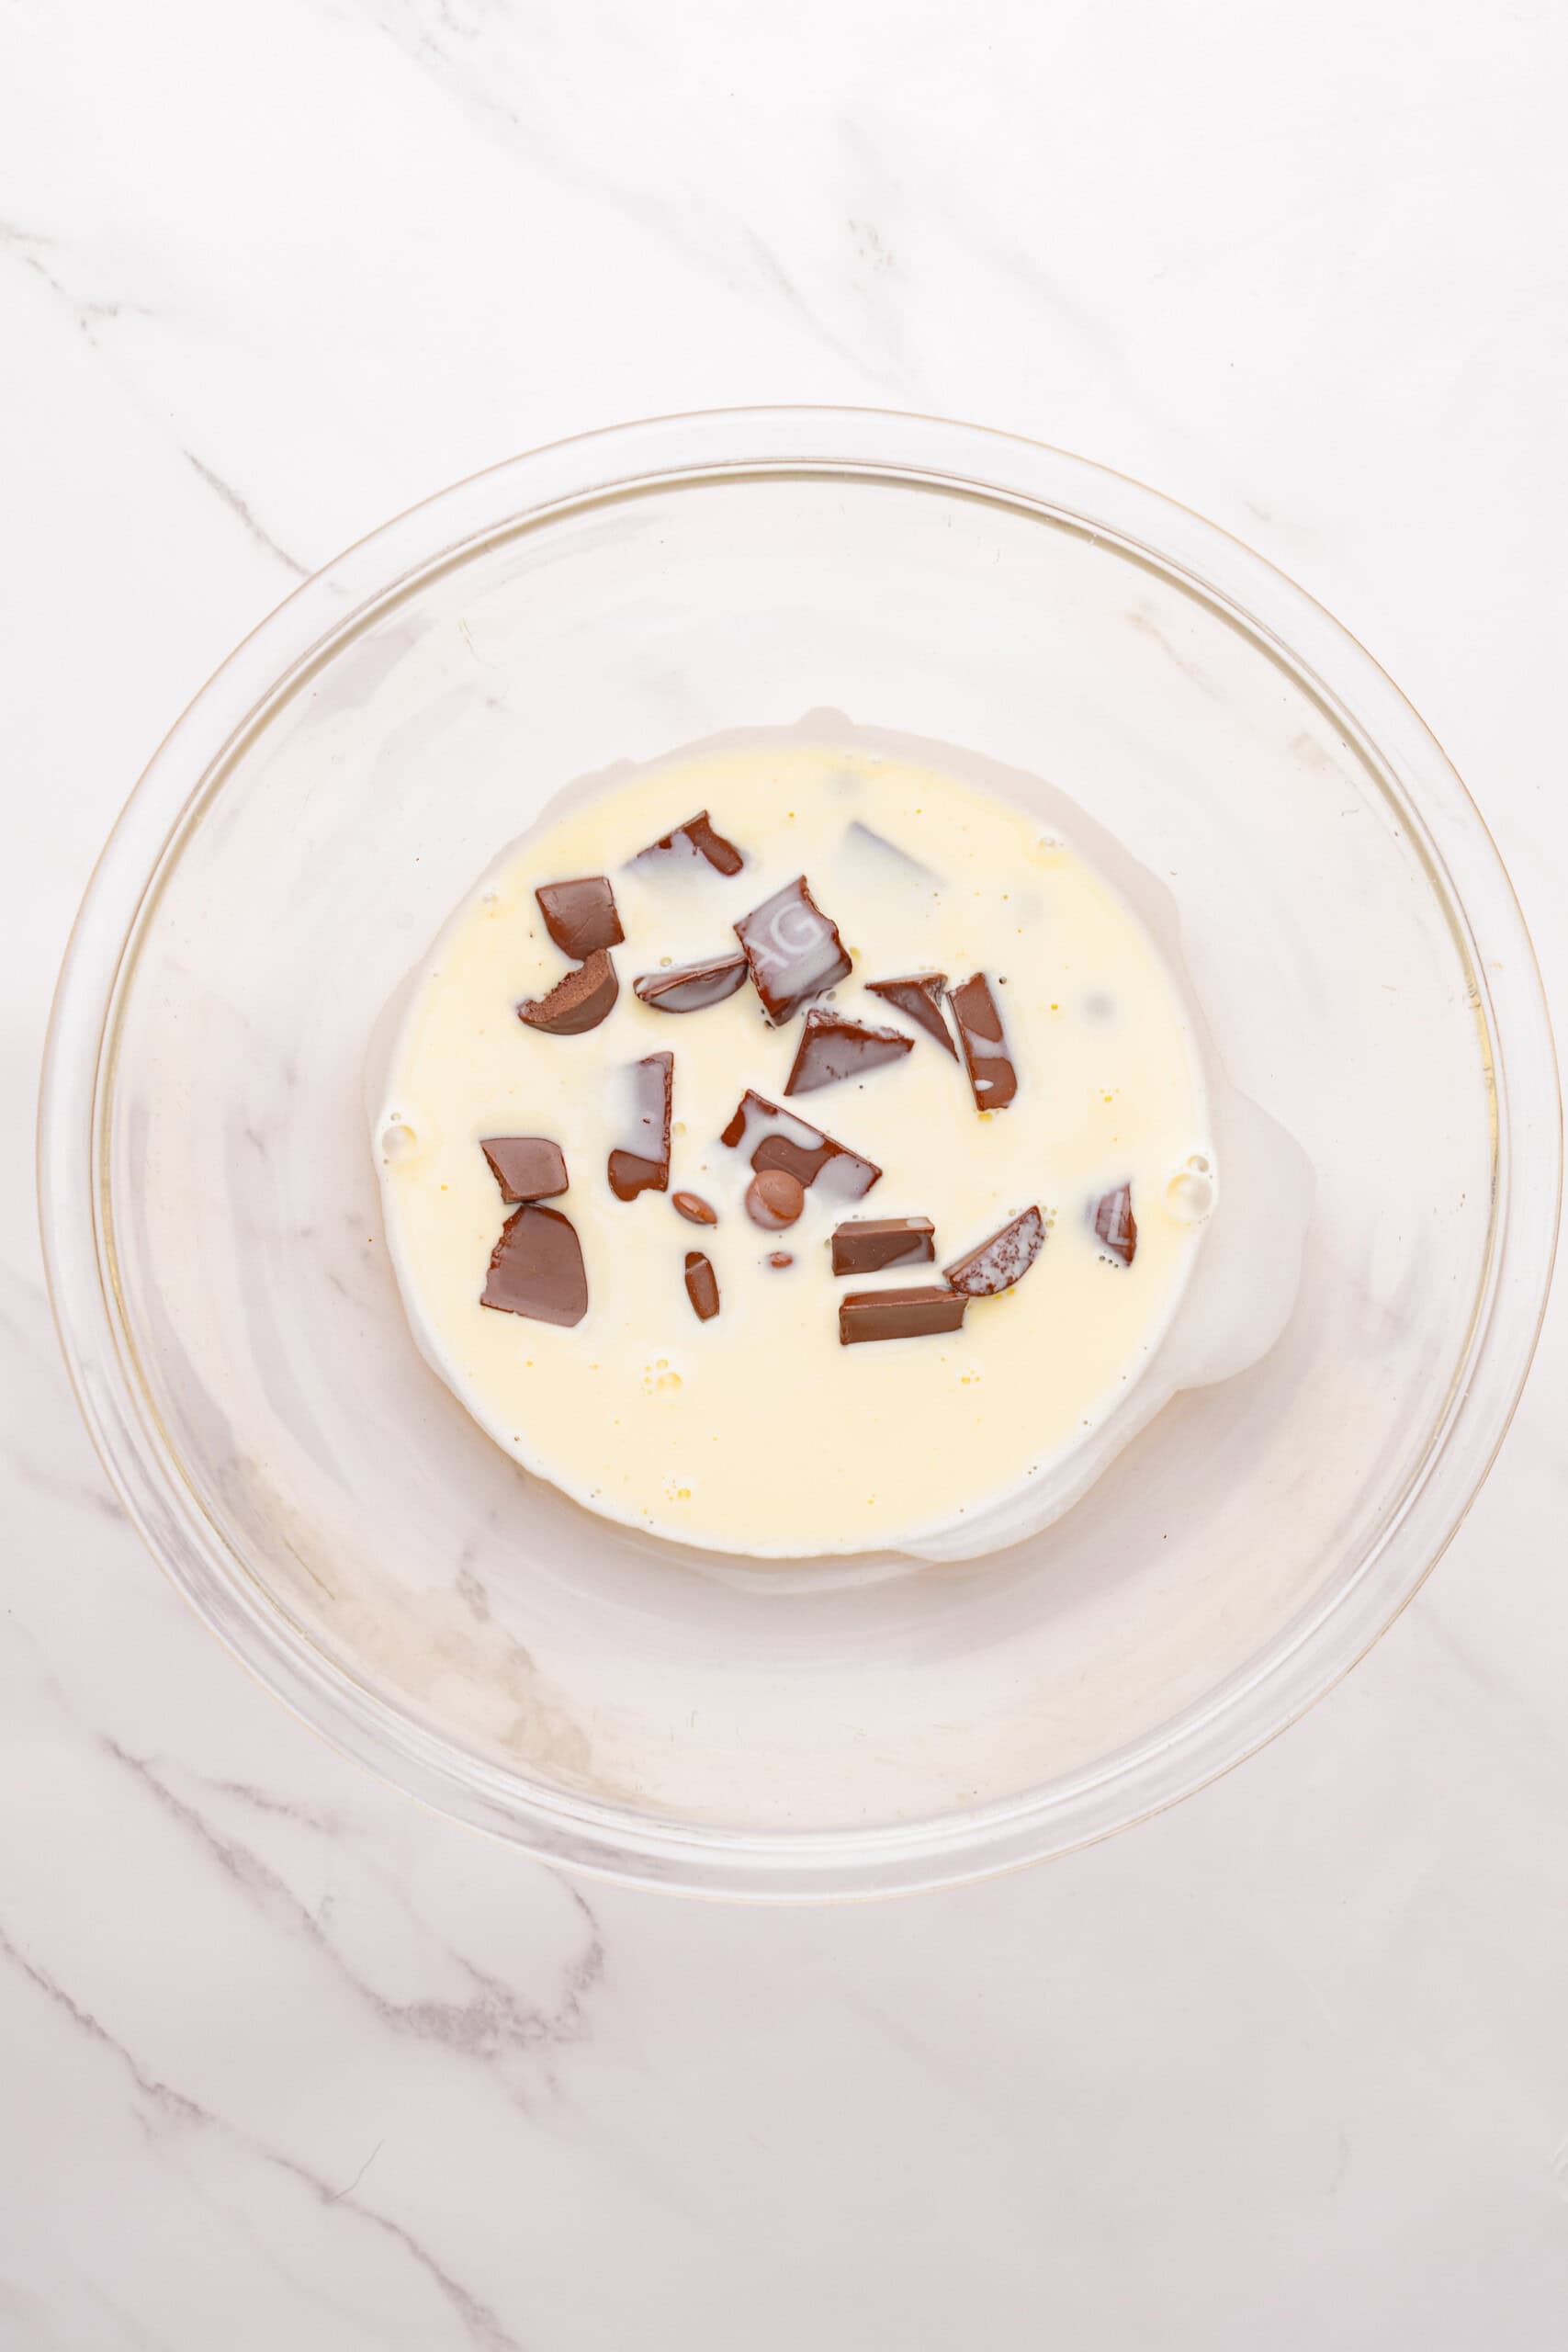
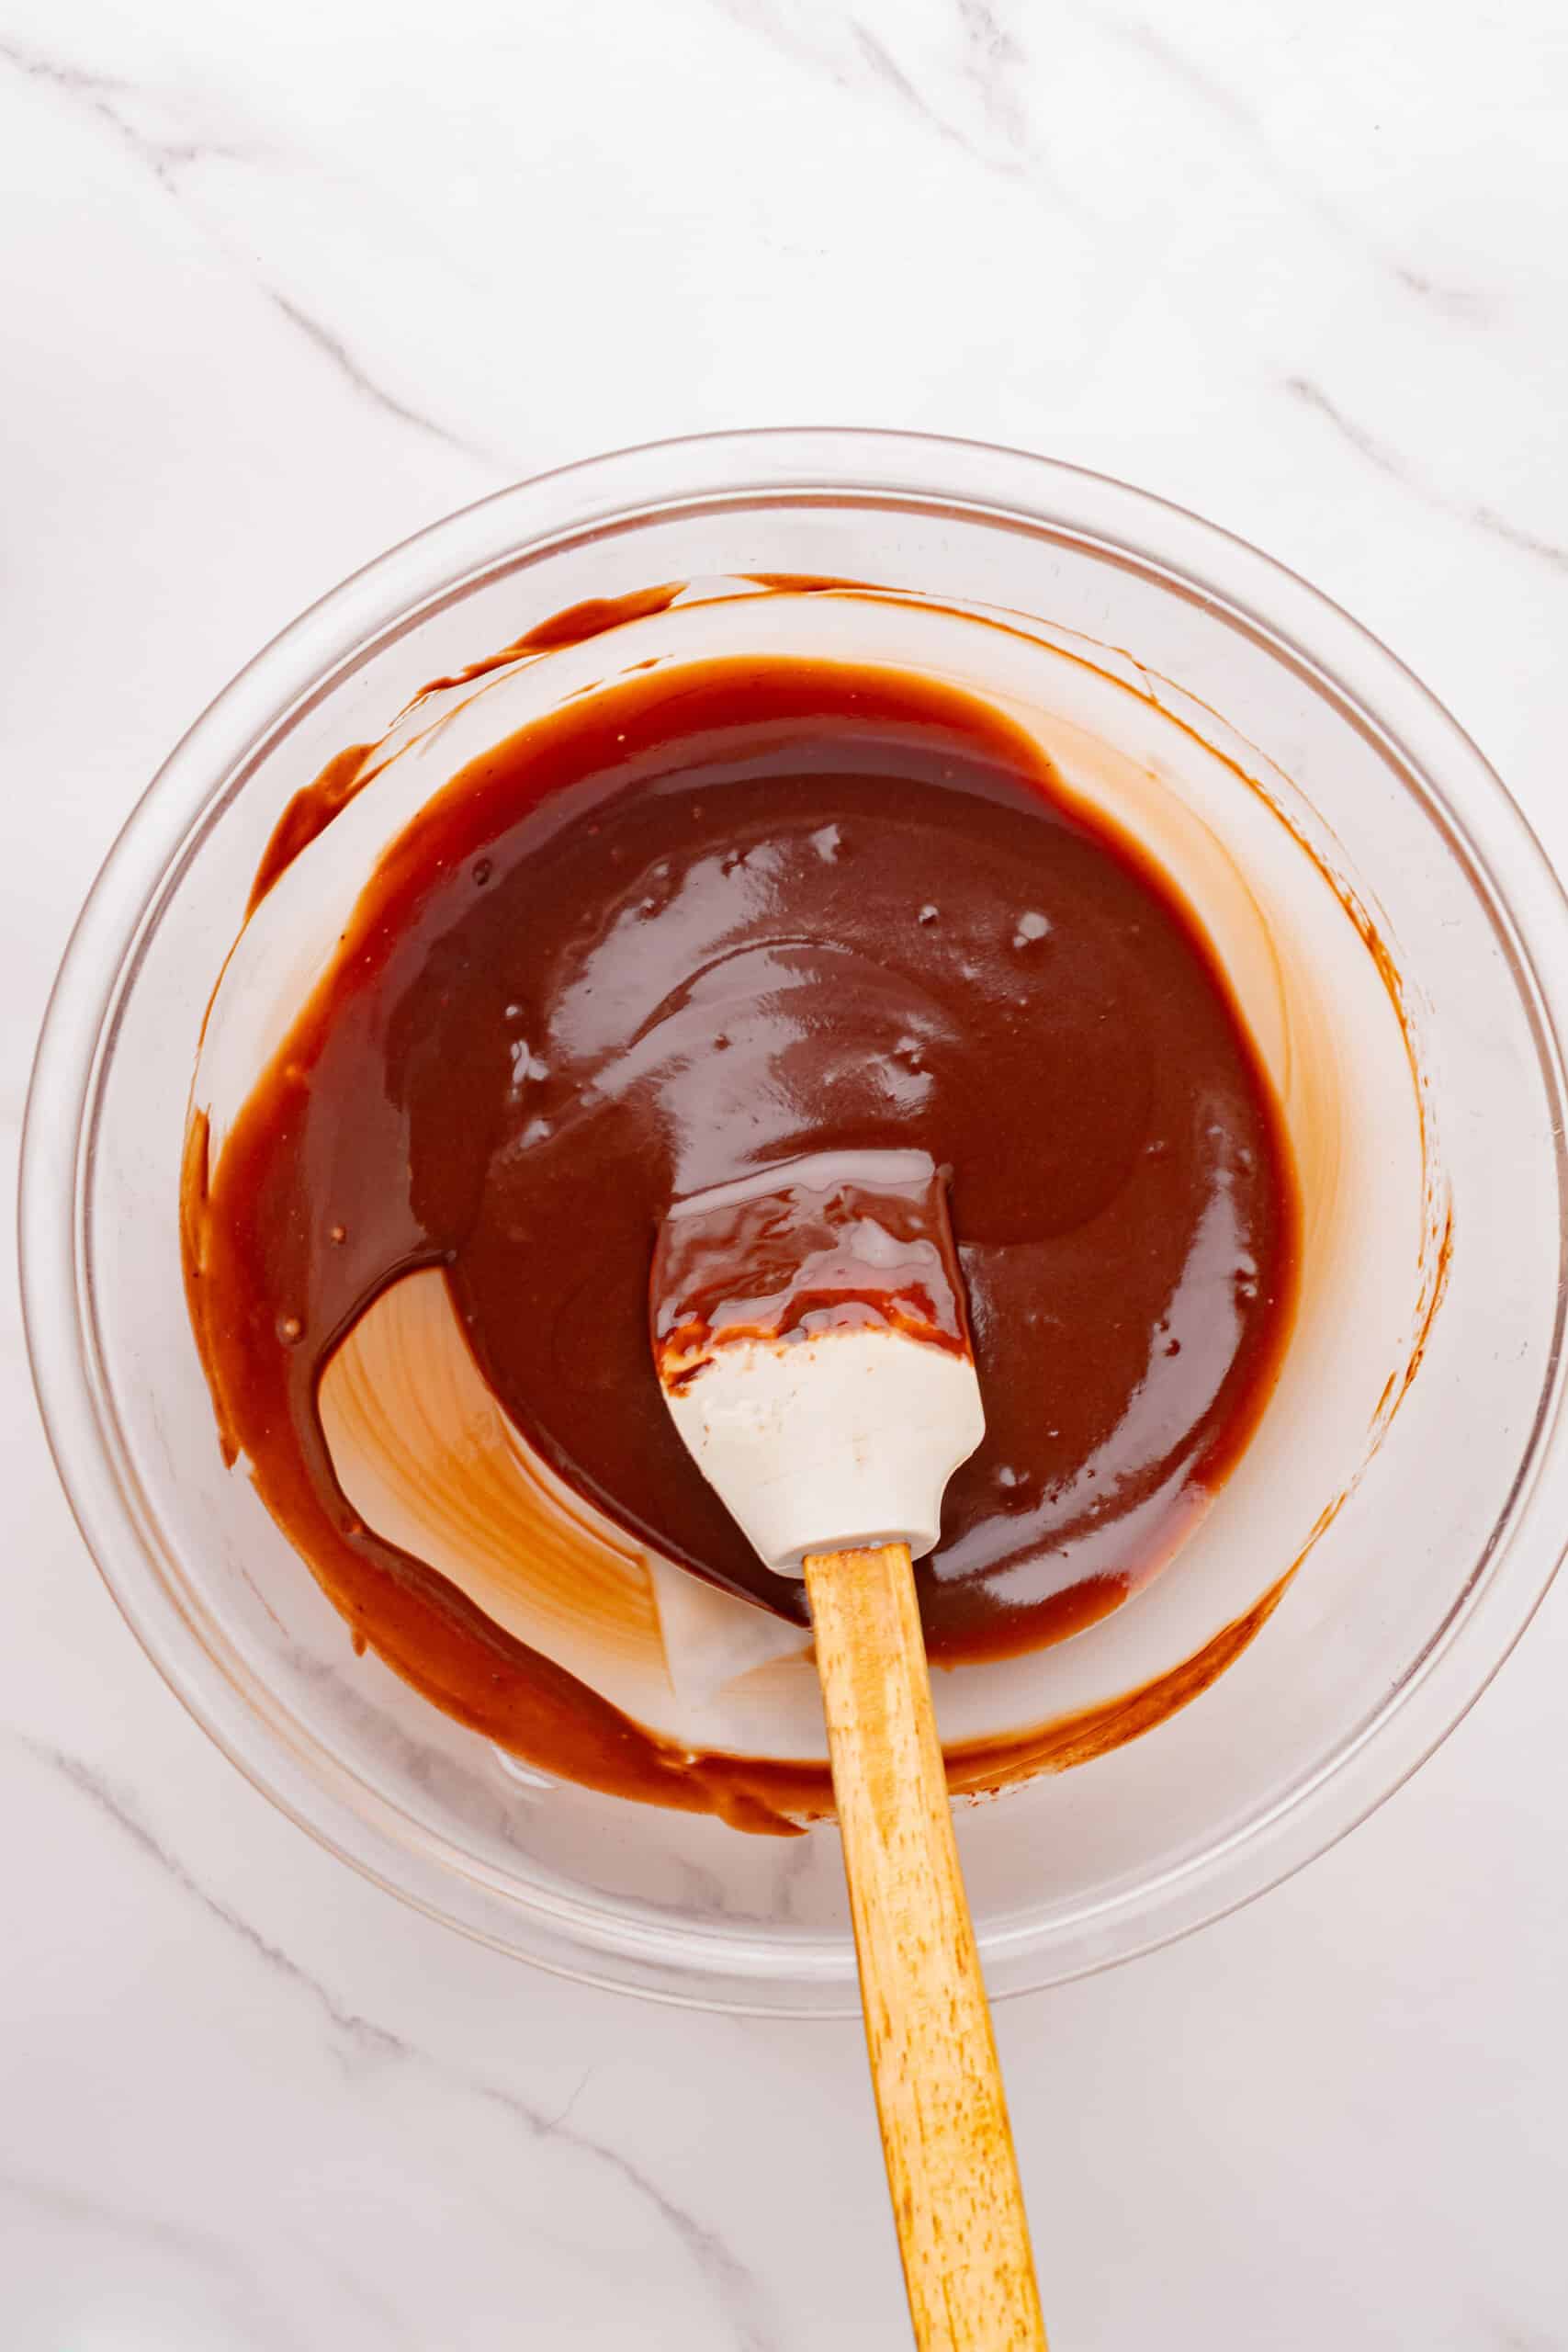
Place the chopped chocolate in a heatproof bowl. Heat the heavy cream in a saucepan until it comes to a boil. Pour it over the chocolate and let it sit for 1–2 minutes. Stir until smooth and glossy.
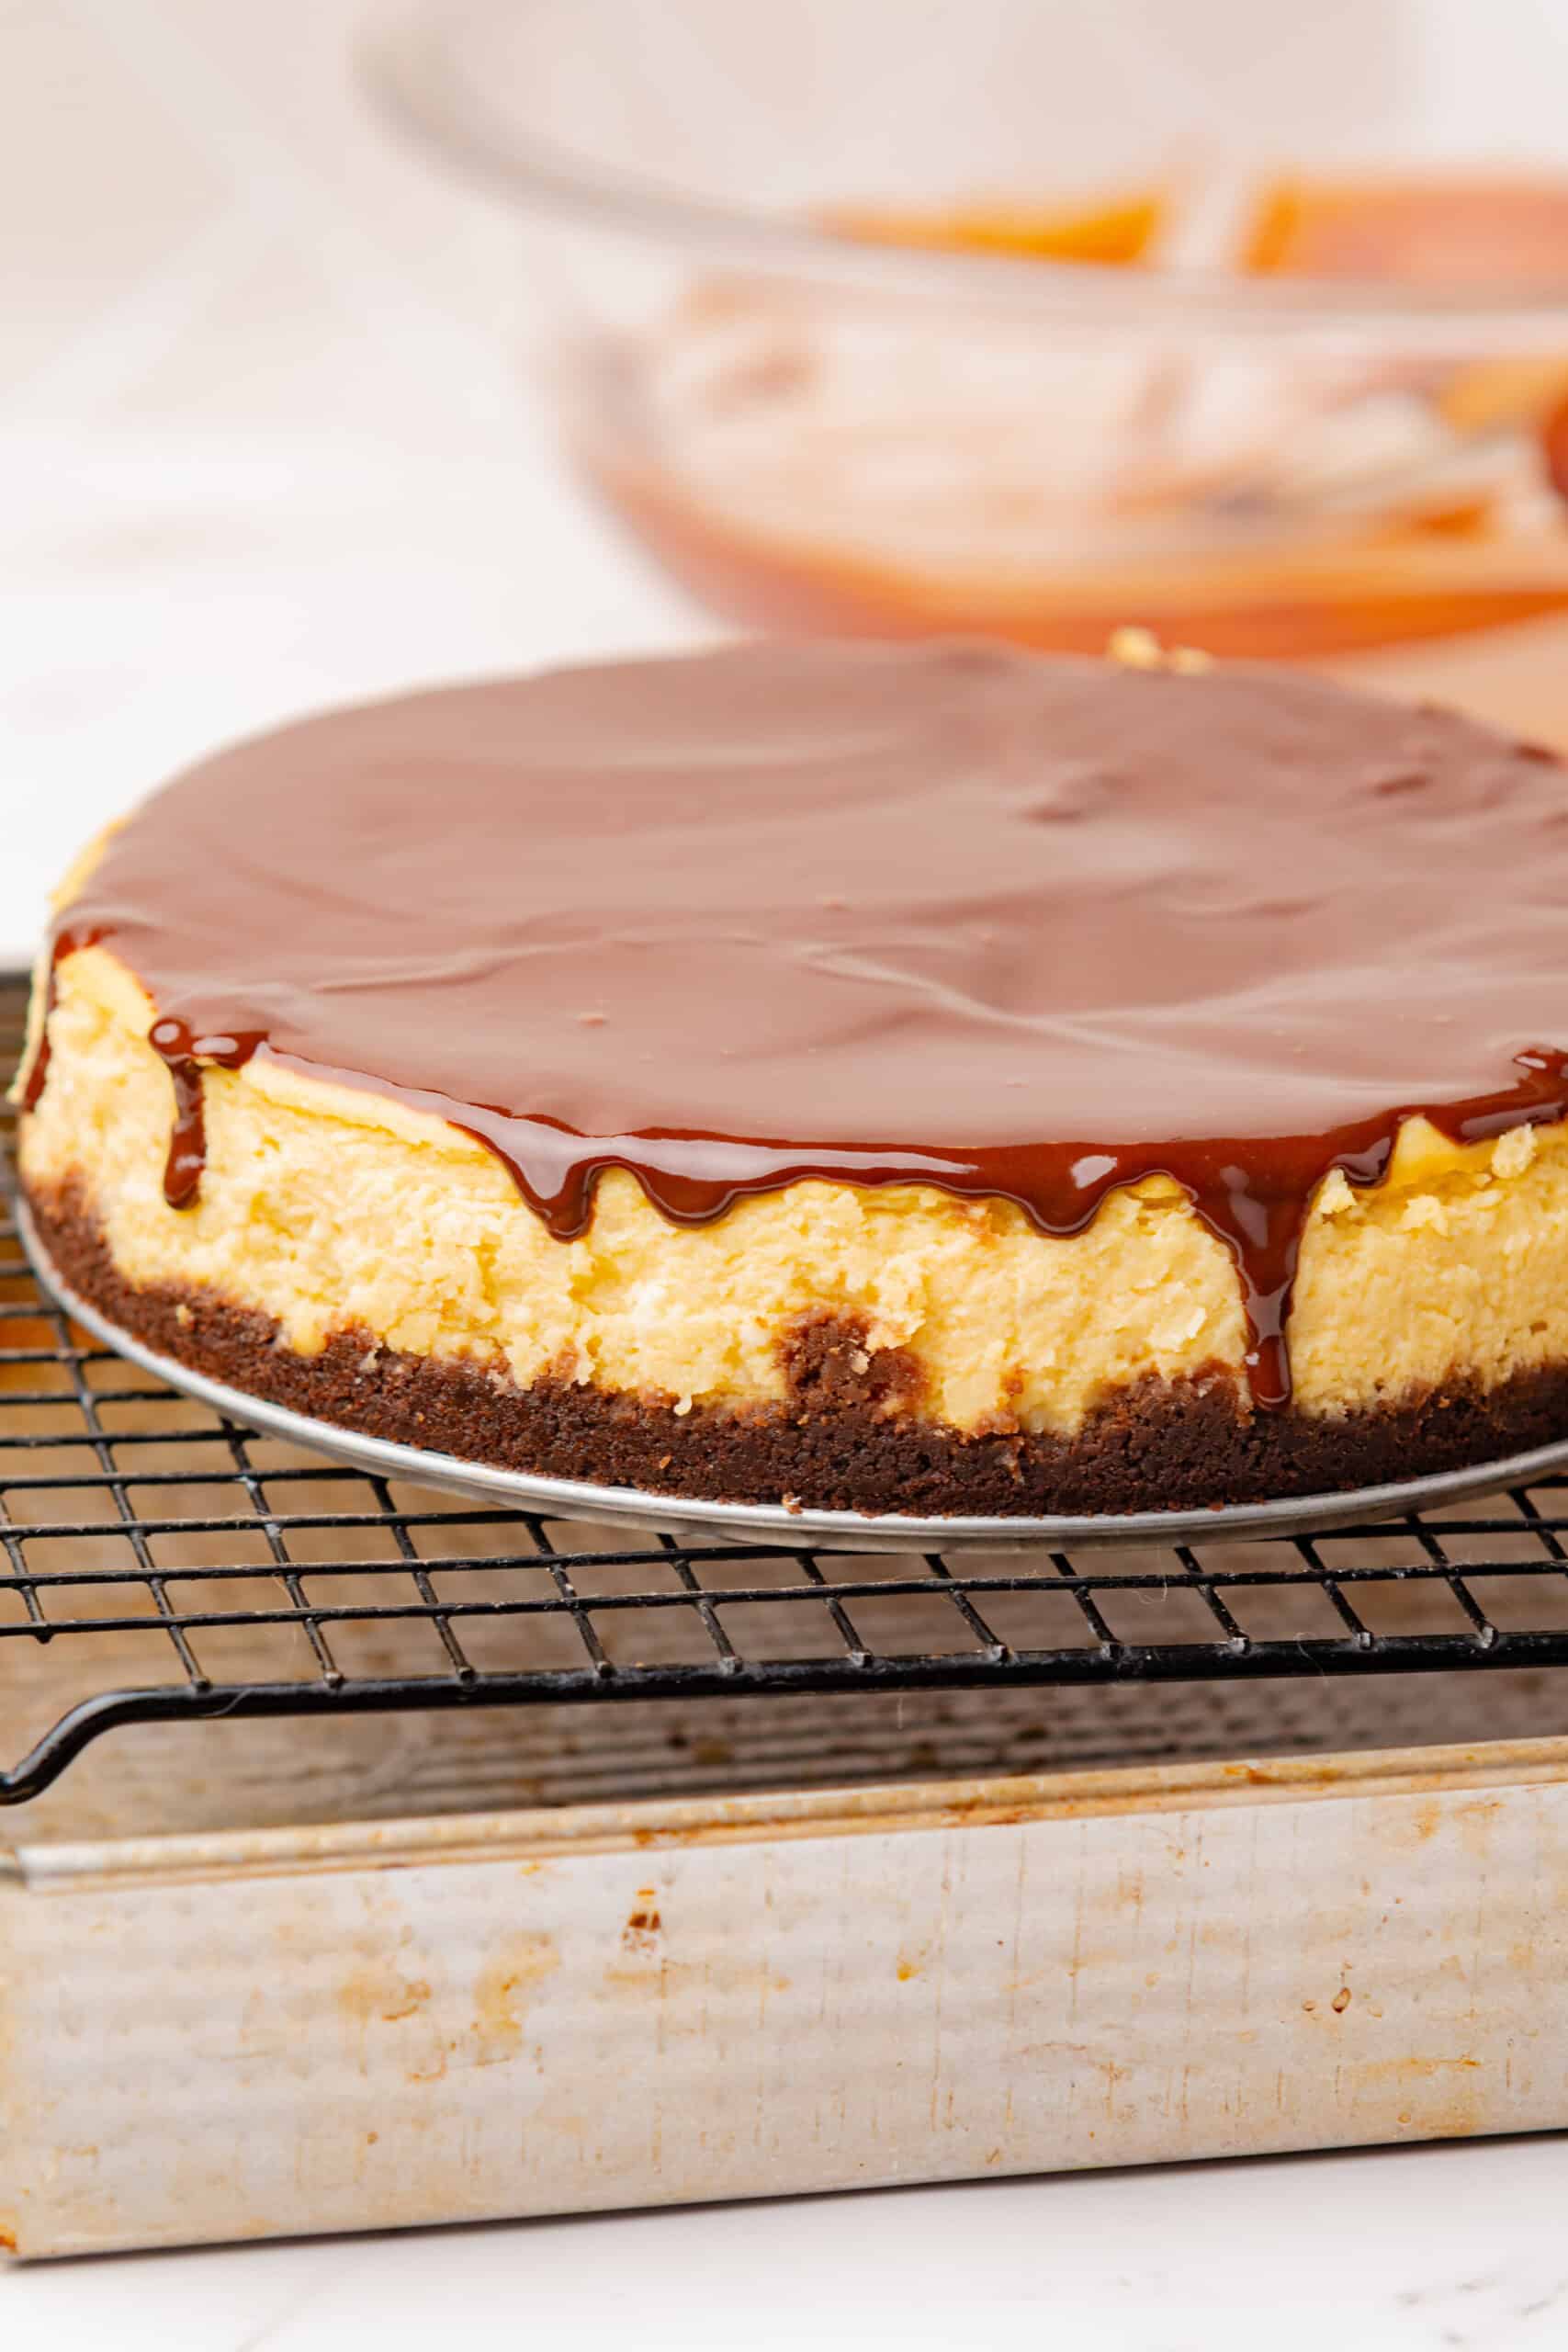
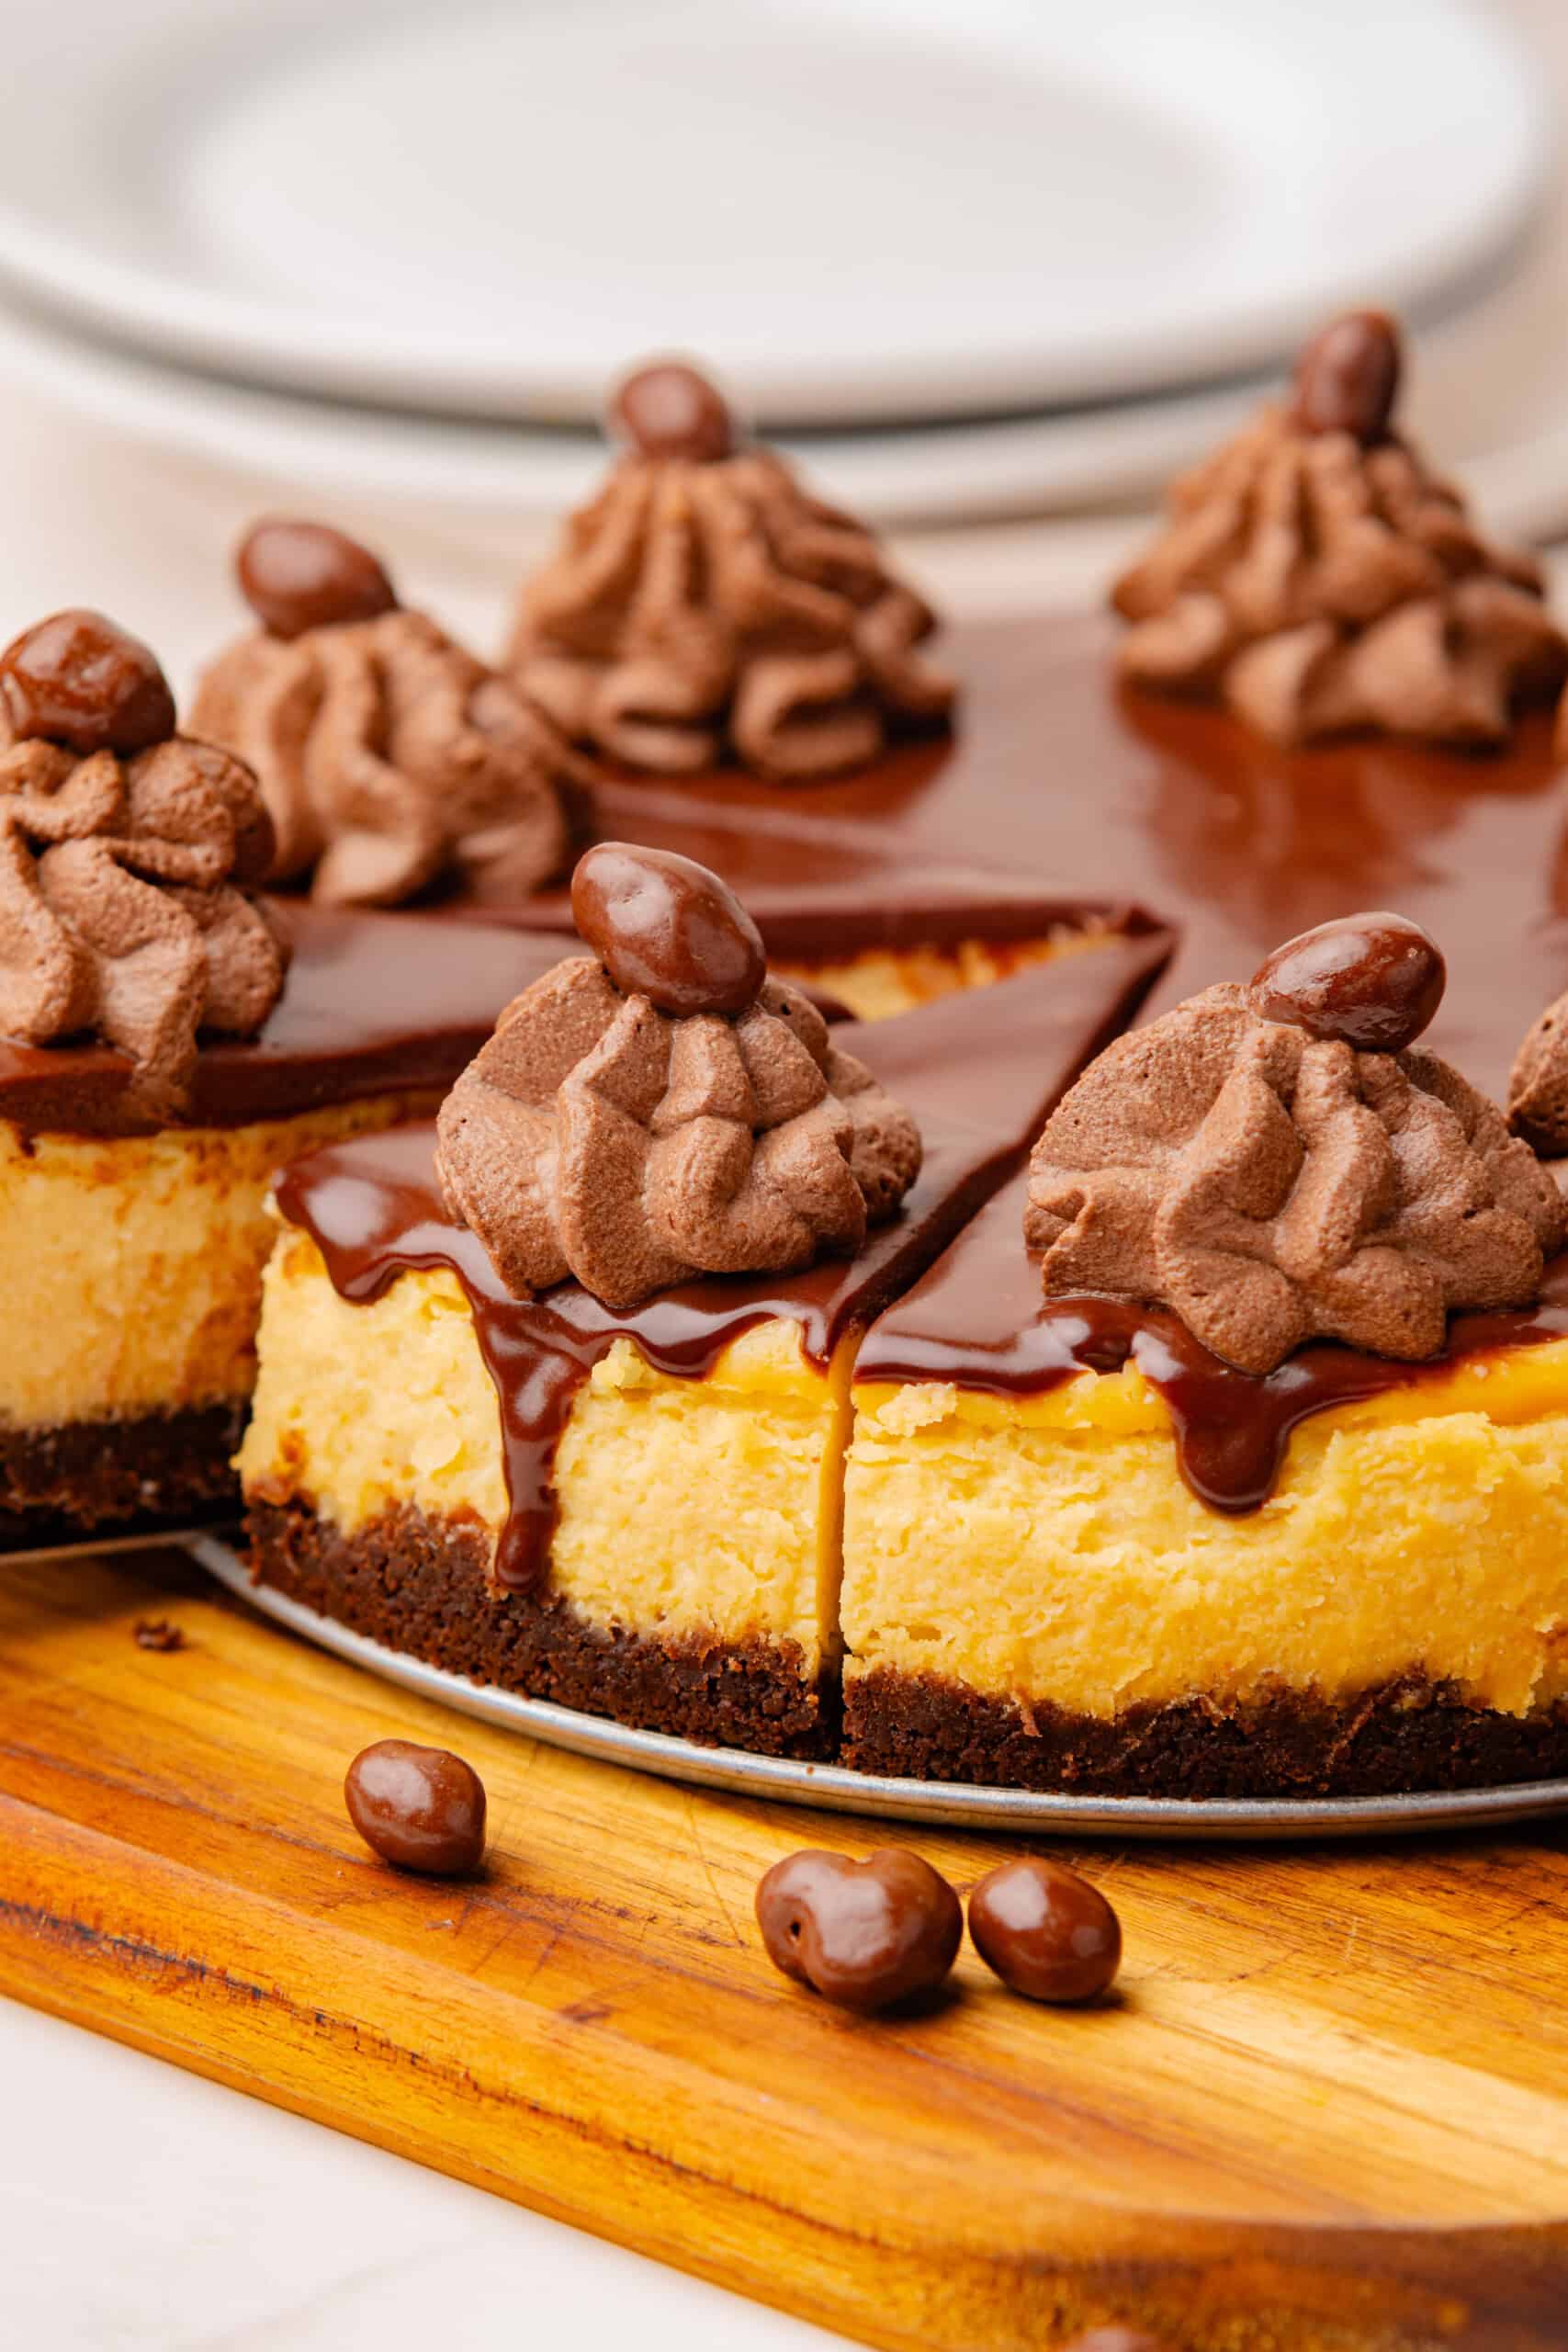
Let the ganache cool for a few minutes, then pour it over the chilled cheesecake. Refrigerate for about 20 minutes, or until the ganache is set.
Step 7: Decorate and Serve
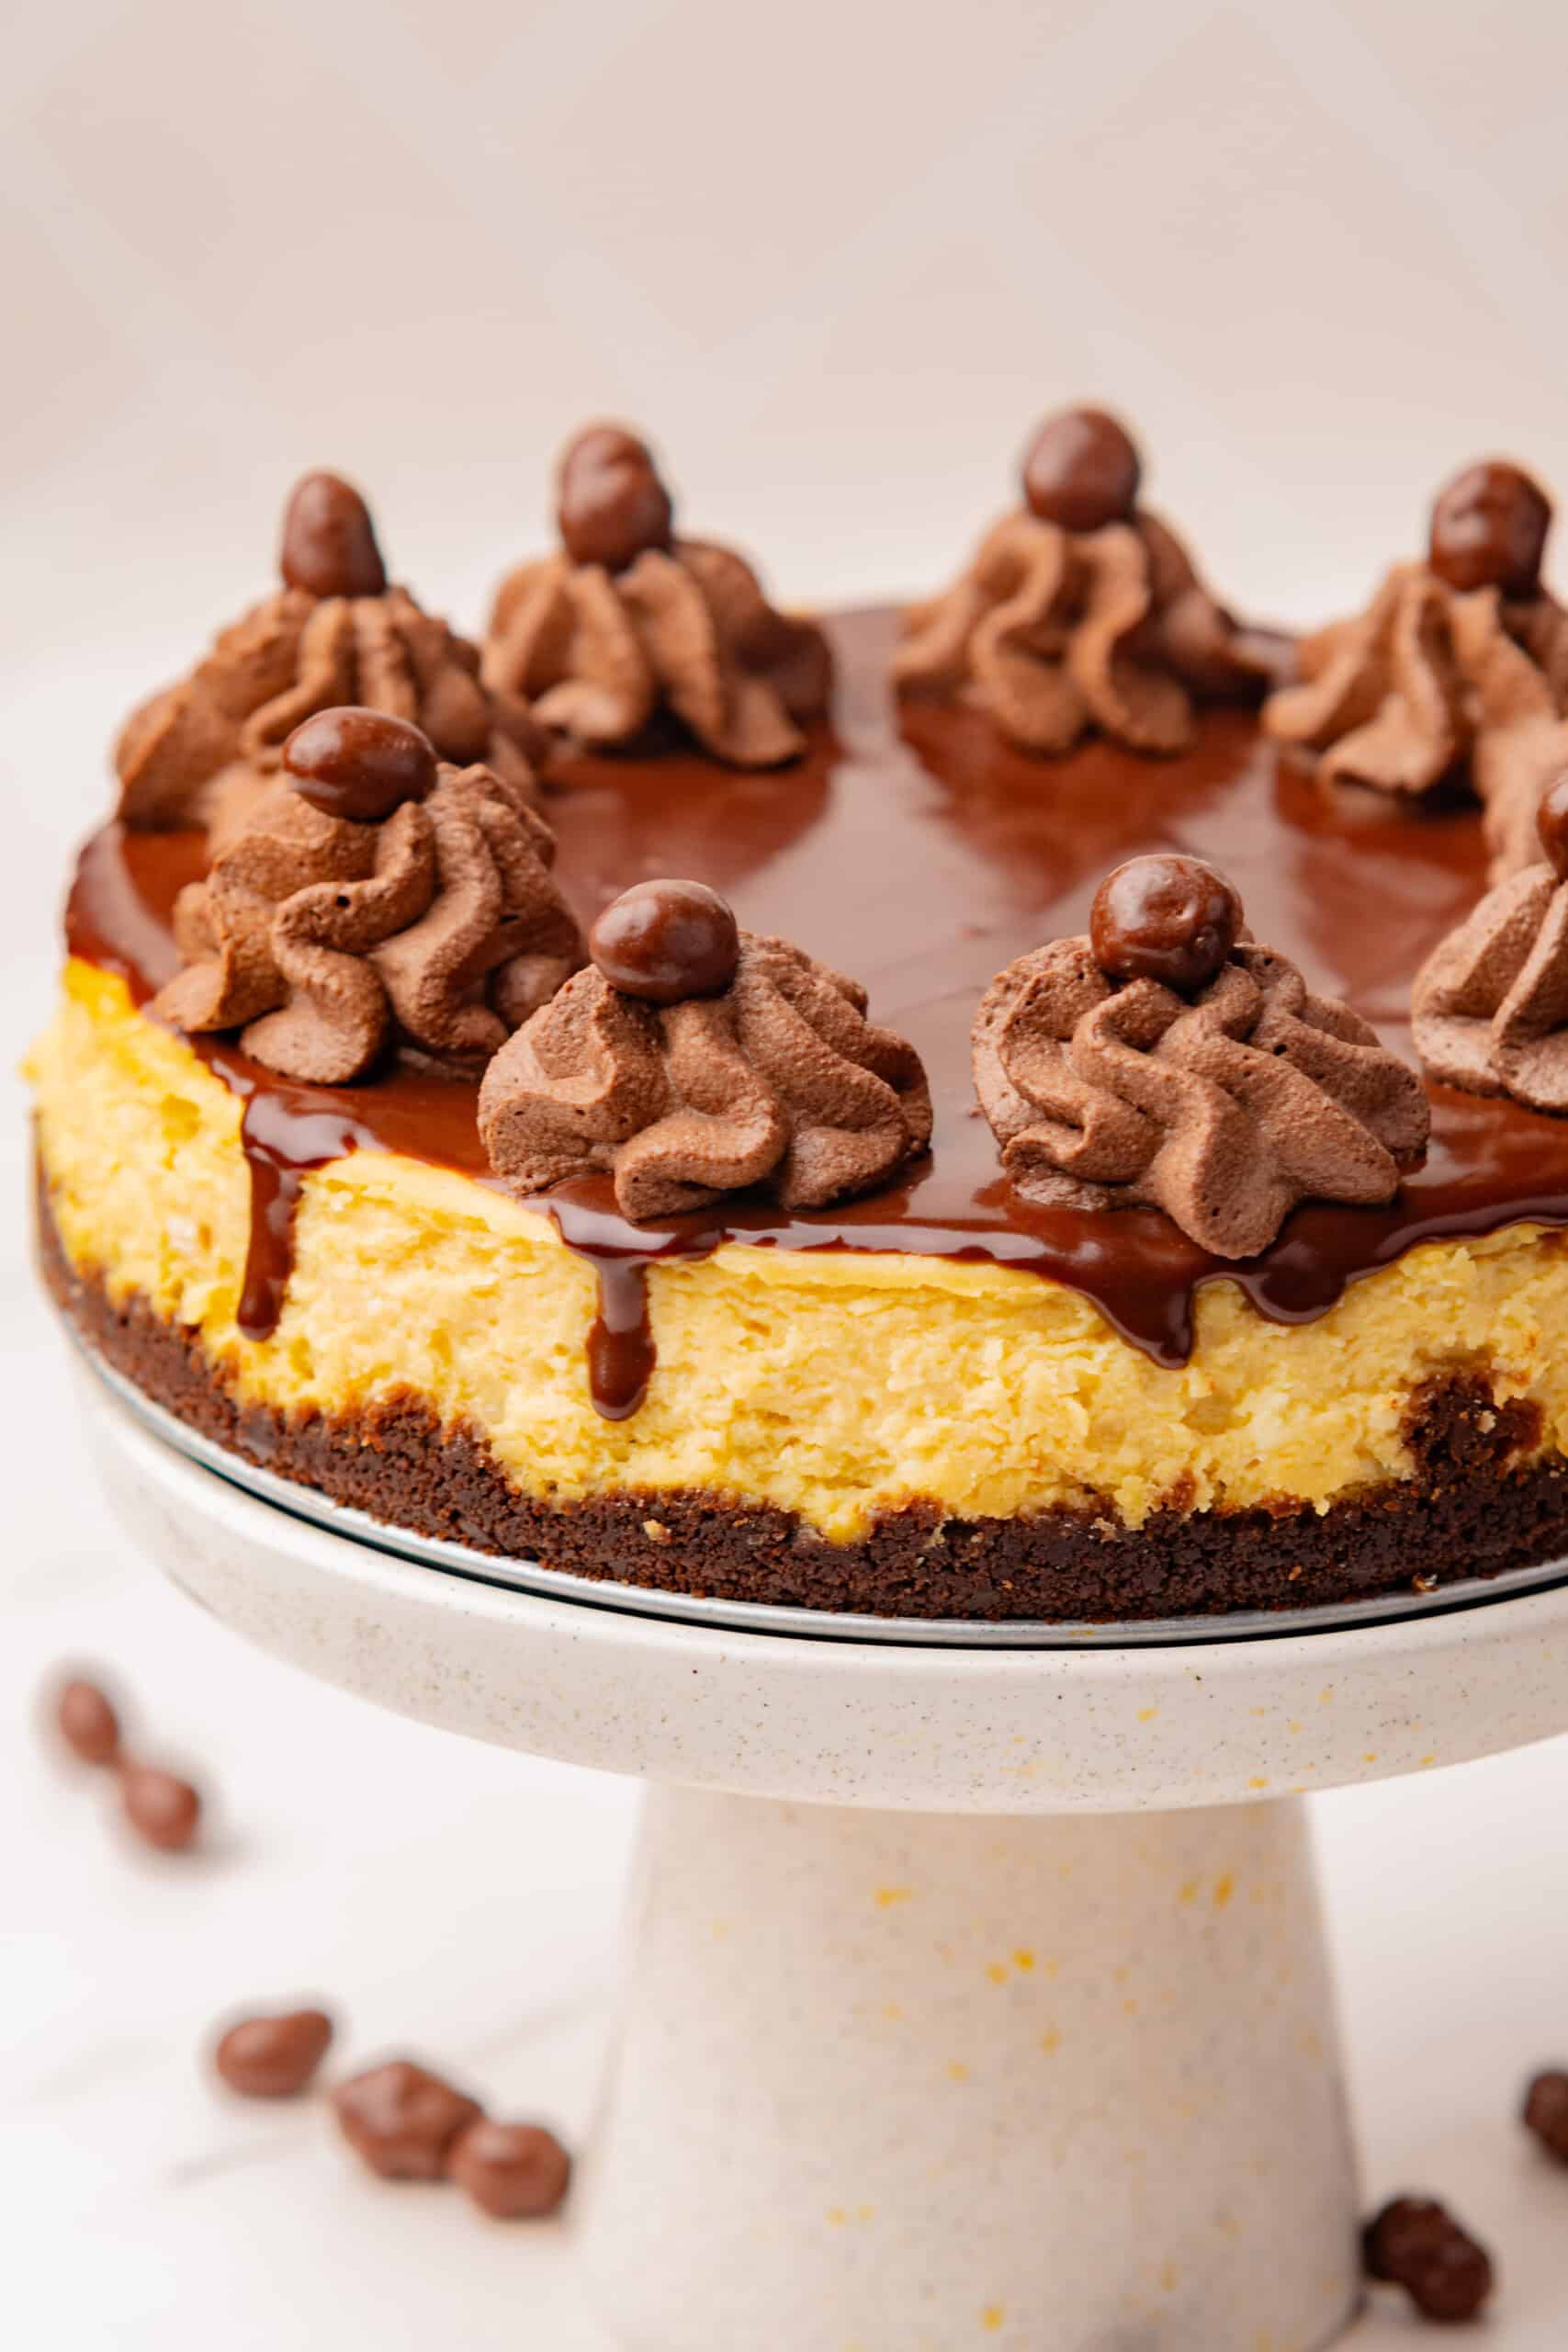
Decorate the Irish cream cheesecake with chocolate whipped cream and chocolate-covered peanuts or chocolate candies, if desired.
Keep refrigerated until ready to serve. Slice and serve chilled.
Tips for Success
A few simple tips can help you get a smooth, creamy cheesecake with a clean finish and well-set layers.
- Use a springform pan if you have one. The removable sides make it much easier to release the cheesecake without disturbing the crust or ganache.
- Keep the water level steady. If the water bath starts to evaporate during baking, add a little more warm water so the pan stays surrounded by gentle heat.
- Watch the center, not the clock. Oven temperatures can vary, so use the slight jiggle in the center as your main cue for doneness.
- Cool it before refrigerating. Moving a hot cheesecake straight into the fridge can create condensation on the surface and affect the texture.
- Let the ganache cool slightly before pouring. If it’s too hot, it can soften the chilled cheesecake and make the topping runny.
- Use a warm knife for clean slices. Dip the knife in hot water, wipe it dry, then slice. Repeat between cuts for neat layers.
What to Serve With Baileys Irish Cream Cheesecake
Since this cheesecake is rich and chocolatey, lighter or coffee-inspired recipes make nice pairings.
- Homemade Whipped Cream – Add a little extra whipped cream alongside each slice for a light, creamy finish.
- Irish Coffee – A warm coffee with whipped cream pairs naturally with the Irish cream flavor in the cheesecake.
- Cheesecake Ice Cream – Serve a small scoop alongside the cheesecake for an extra creamy dessert plate.
- Chocolate Cheesecake – For a full chocolate dessert spread, this makes a fitting addition with its cookie crust and chocolate filling.
- Caramel Sauce – Drizzle a little over the plate for another layer of sweetness.
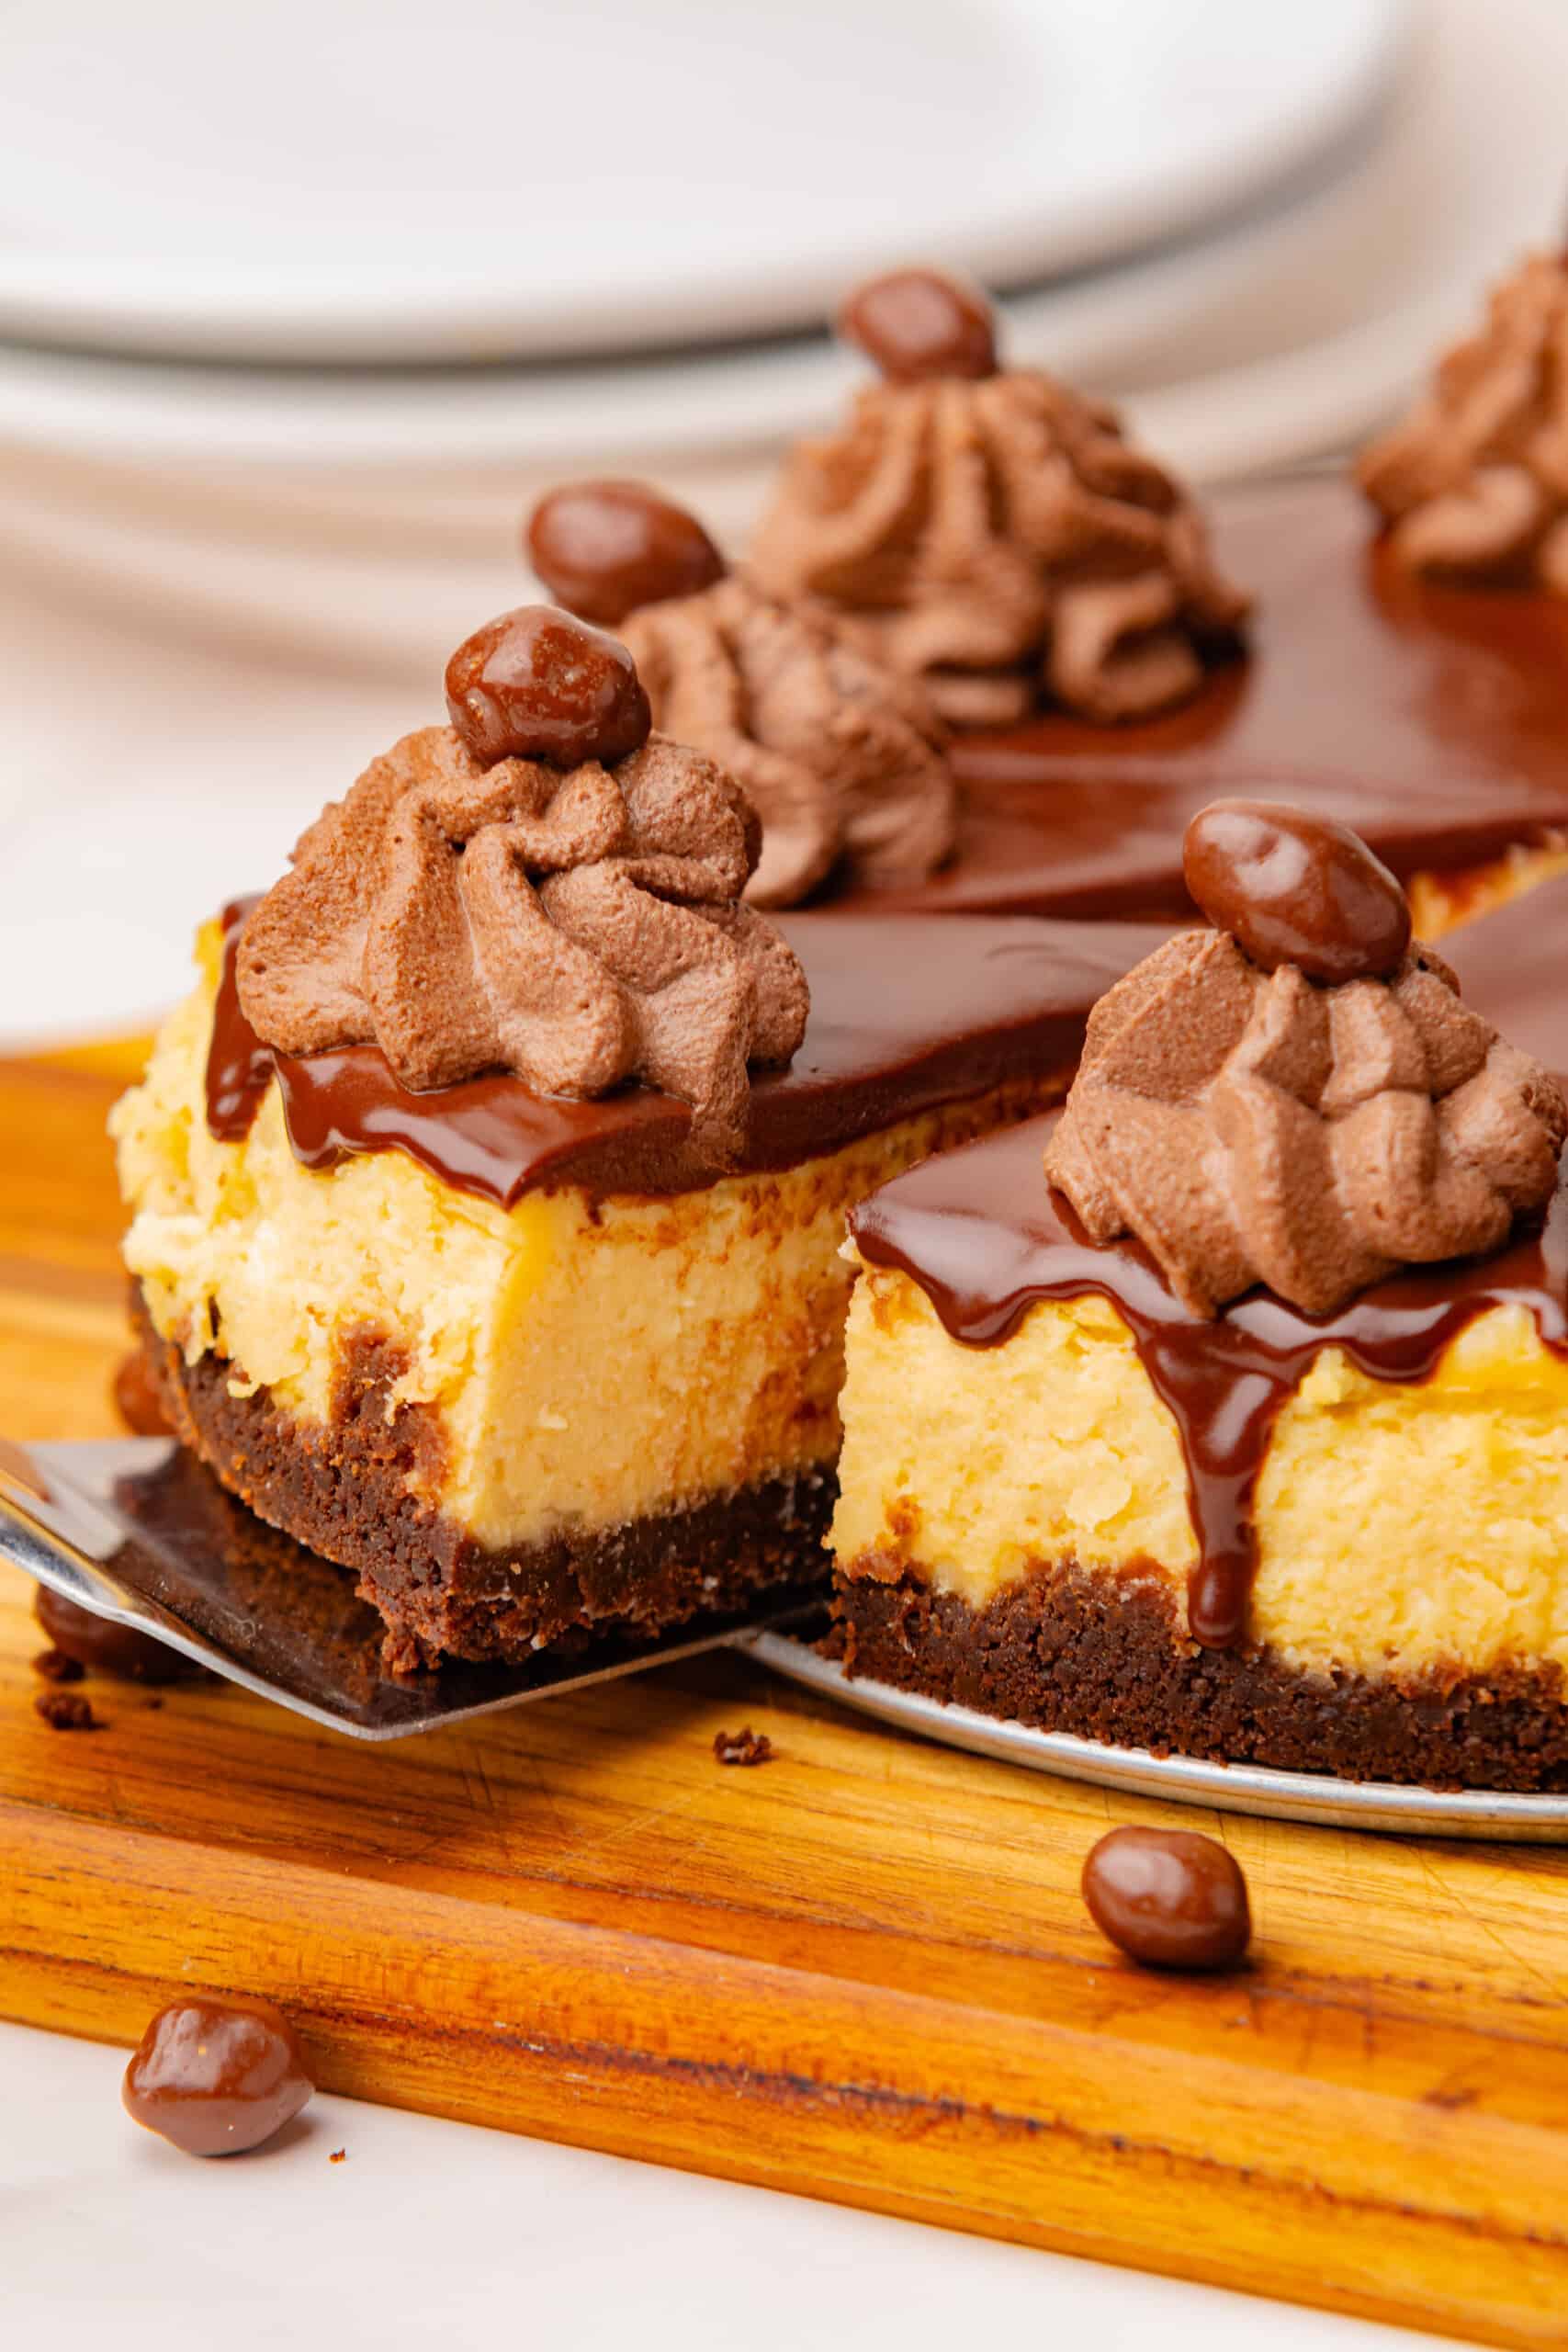
I hope you enjoy this creamy Baileys cheesecake! It’s a simple dessert for special occasions or whenever you’re craving something chocolatey. The printable recipe card is below.
Baileys Irish Cream Cheesecake
This Irish Cream Cheesecake has a smooth, creamy filling flavored with Irish cream liqueur, a chocolate cookie crust, and a rich chocolate ganache topping. It’s a great make-ahead dessert for holidays, celebrations, or anytime you want something extra special.
Ingredients
For the Chocolate Cookie Crust
- 7 ounces chocolate cookies (200 g), crushed
- 5 tablespoons unsalted butter (70 g), melted
For the Irish Cream Cheesecake
- 21 ounces full-fat cream cheese (600 g), firm
- 1 cup + 1 tablespoon granulated white sugar (220g)
- 3 large eggs
- 1/3 cup + 1 tablespoon heavy cream (100 ml)
- 1/2 cup Irish cream liqueur (120 ml), such as Baileys
- 1/4 cup cornstarch (30 g)
For the Chocolate Ganache
- 1/2 cup heavy cream (100 ml)
- 3 ounces semi-sweet chocolate (85 g), finely chopped
Instructions
Prepare the Chocolate Cookie Crust
- Preheat oven to 250°F (120°C).
- Crush the chocolate cookies into fine crumbs using a food processor or place them in a sealed bag and crush with a rolling pin.
- Combine the cookie crumbs and melted butter until the mixture resembles wet sand.
- Test the mixture by squeezing a small amount firmly in your hand. It should hold together when released. If it crumbles apart, mix in a little more melted butter.
- Transfer the mixture to a cake pan or springform pan. Press firmly and evenly into the bottom using a flat-bottomed glass, spatula, or similar utensil.
- Set aside.
Prepare the Cheesecake Filling
- Place the cream cheese in a large bowl. Mix for just a few seconds with a hand mixer or spatula until slightly smoother.
- Add the sugar and mix until well combined and smooth.
- Add the eggs one at a time, gently mixing after each addition. Avoid overmixing to prevent adding too much air to the batter.*
- Add the heavy cream and Irish cream one at a time, gently mixing with a spatula until smooth and creamy.
- Sift the cornstarch directly into the cheesecake mixture. Gently fold until completely incorporated and no dry spots remain.
Prepare the Water Bath
- Pour the cheesecake batter over the prepared chocolate cookie crust and smooth the surface.
- Place the cake pan inside a large, deep baking dish.
- Carefully pour warm water into the baking dish until it reaches approximately halfway up the sides of the cheesecake pan.
- Cover the cheesecake with an oven-safe silicone baking mat or aluminum foil.*
Bake the Cheesecake
- Carefully transfer the cheesecake to the preheated 250°F (120°C) oven.
- Bake for 1 hour 30 minutes to 1 hour 45 minutes
- Check for doneness by gently shaking the pan. The cheesecake should move as a whole with a soft, controlled jiggle, similar to flan or gelatin.
- The center should still have some movement but should not look liquid. Avoid baking until completely firm, as the cheesecake will continue to set as it cools and chills.
Cool and Chill
- Remove the cheesecake from the water bath and let it cool at room temperature for about 1 hour.
- Once cooled, cover and refrigerate for at least 8 hours, preferably overnight or up to 24 hours.*
Make the Chocolate Ganache
- Finely chop the semi-sweet chocolate and place it in a large heatproof bowl.
- Heat the heavy cream in a small saucepan over low heat, stirring occasionally, until it comes to a full boil.
- Immediately pour the hot cream over the chopped chocolate and let it sit for 1–2 minutes. Gently stir until the chocolate is completely melted and the ganache is smooth and glossy.
- Let the ganache cool for 2–3 minutes, until still warm and pourable but no longer very hot.
- Pour the ganache over the fully chilled cheesecake, gently spreading it toward the edges as needed.
- Refrigerate for about 20 minutes, or until the ganache is set.
Decorate and Serve
- Once the ganache has set, decorate the cheesecake with chocolate whipped cream and chocolate-covered peanuts or chocolate candies, as desired.
- Keep refrigerated until ready to serve.
- Slice and serve chilled.
Notes
*Crack each egg into a small separate bowl before adding it to the cheesecake mixture. This way, if an egg is spoiled or contains a shell fragment, it won’t ruin the entire batter.
*The water bath creates gentle, even heat and adds moisture to the oven, helping the cheesecake bake evenly with a smooth, creamy texture while preventing the edges from overcooking.
*For the best texture and cleanest slices, chill the cheesecake for a full 24 hours before decorating and serving. This gives it plenty of time to fully set and allows the flavors to develop.
Nutrition
Calories: 308kcalCarbohydrates: 37gProtein: 3gFat: 17gSaturated Fat: 9gPolyunsaturated Fat: 1gMonounsaturated Fat: 5gTrans Fat: 0.2gCholesterol: 73mgSodium: 119mgPotassium: 108mgFiber: 1gSugar: 28gVitamin A: 457IUVitamin C: 0.1mgCalcium: 28mgIron: 1mg
Rate This RecipePlease consider Leaving a 5-Star Review!
Tools You’ll Need
A few basic kitchen tools are all you need to make this cheesecake from start to finish.
- 9-inch springform pan – Makes it easier to remove the cheesecake once it has chilled and set.
- Large deep baking dish – Holds the water bath while the cheesecake bakes.
- Hand mixer or hand whisk – Helps combine the filling without adding too much air.
- Heatproof bowl – Needed for making the chocolate ganache.
More Cheesecake Recipes to Try
- Vanilla Bean Cheesecake
- Oreo Cheesecake
- Pecan Pie Cheesecake
- Lemon Meringue Cheesecake
- Nutella Cheesecake
- Pumpkin Cheesecake Cake
How to Store Irish Cream Cheesecake
Refrigerate: Cover the cheesecake tightly with plastic wrap or place it in an airtight container and refrigerate for up to 4–5 days. Keep it chilled until ready to serve.
Freeze: To make it ahead, freeze the cheesecake without the ganache or decorative toppings. Wrap it tightly in plastic wrap, then foil, and freeze for up to 1 month for the best quality.
Thaw: Transfer the cheesecake to the refrigerator and let it thaw overnight. Add the ganache and decorations once fully thawed, then keep refrigerated until serving.
If you make this recipe, I would really appreciate it if you would give it a star rating and leave your review in the comments! If you have a picture of your finished dish, post it on Instagram using the hashtag #laurenslatest and tag me @laurens_latest.



Could you clarify the amount of heavy cream? Is it 1/3 cup plus 1 tablespoon?
Yes, Shirley, you are correct. Thanks for the comment! This recipe has been updated for clarity. Happy Baking 🙂