You have 0 items in your cart
Vanilla Bean Cheesecake
This post may contain affiliate links. View my privacy policy and disclosure policy for more details.
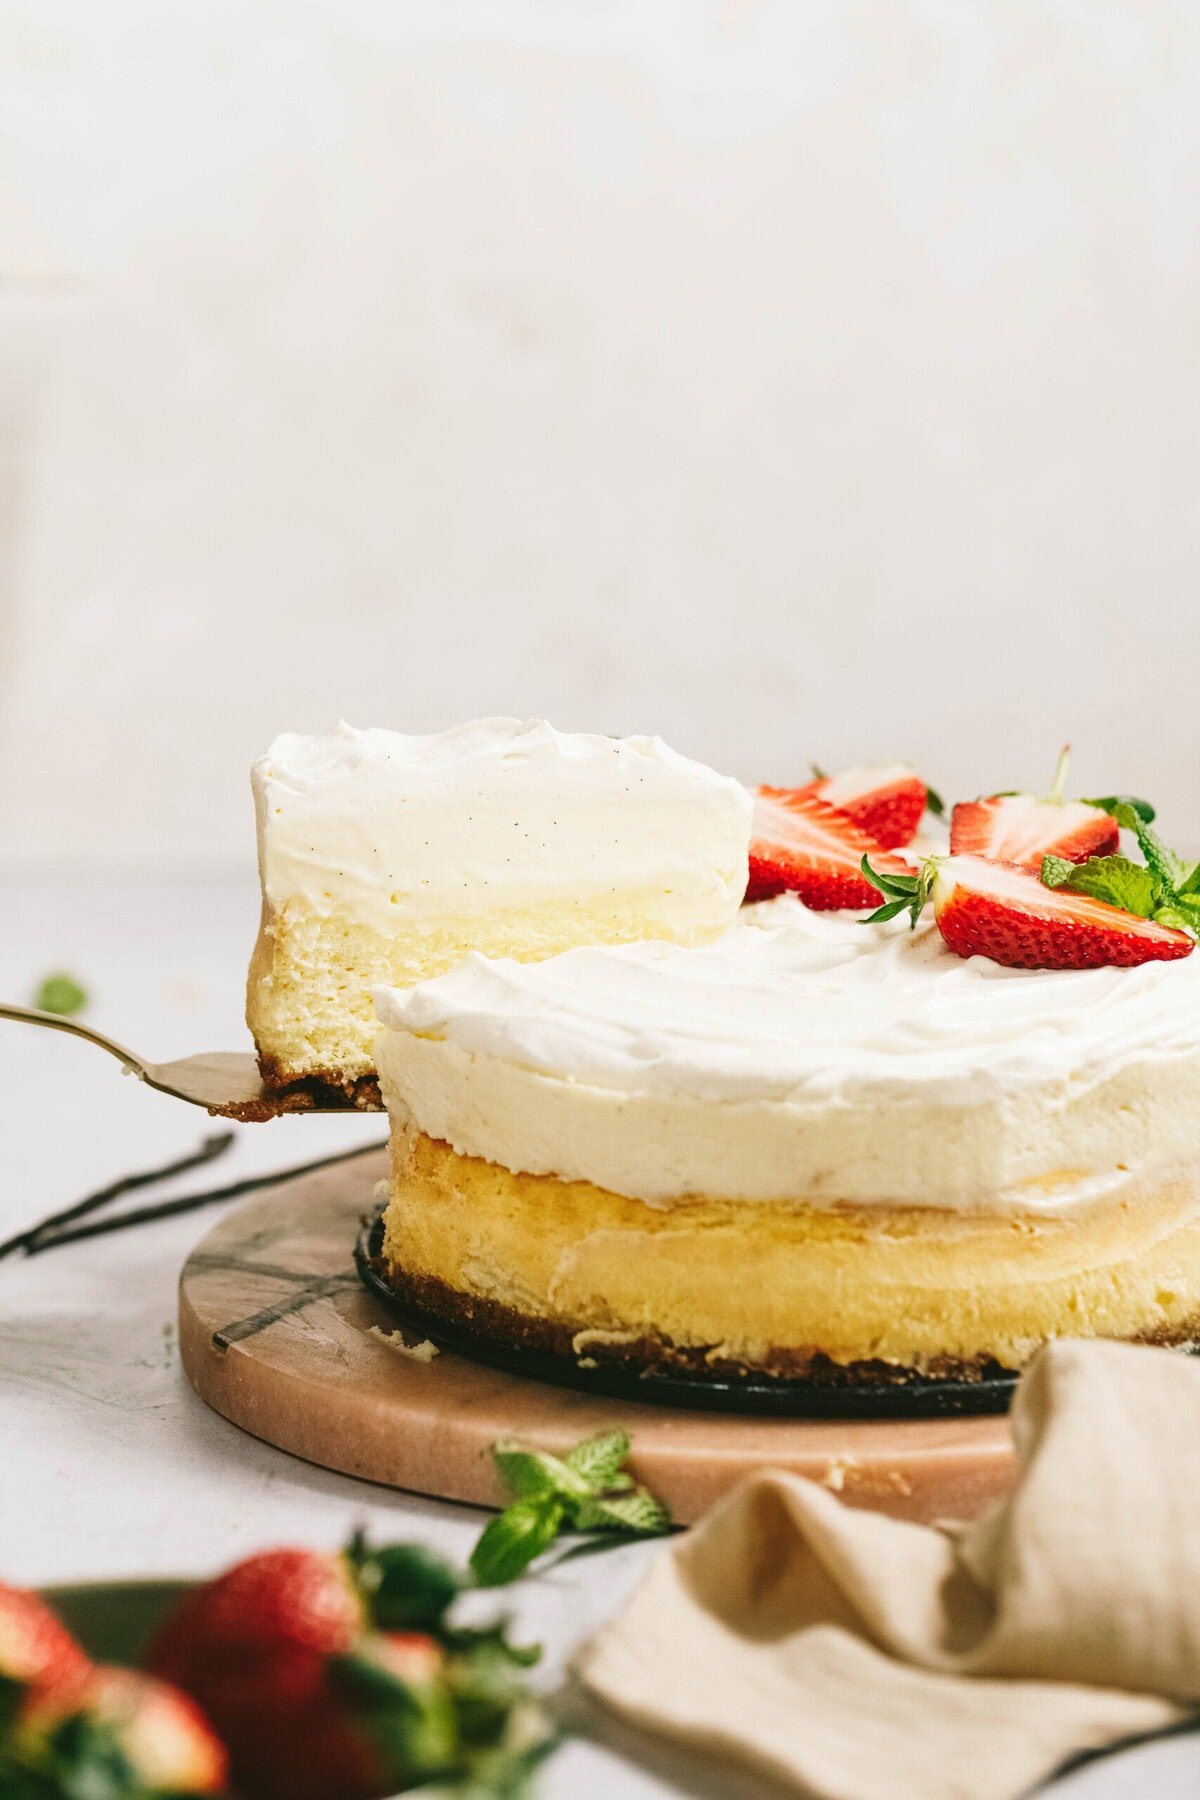
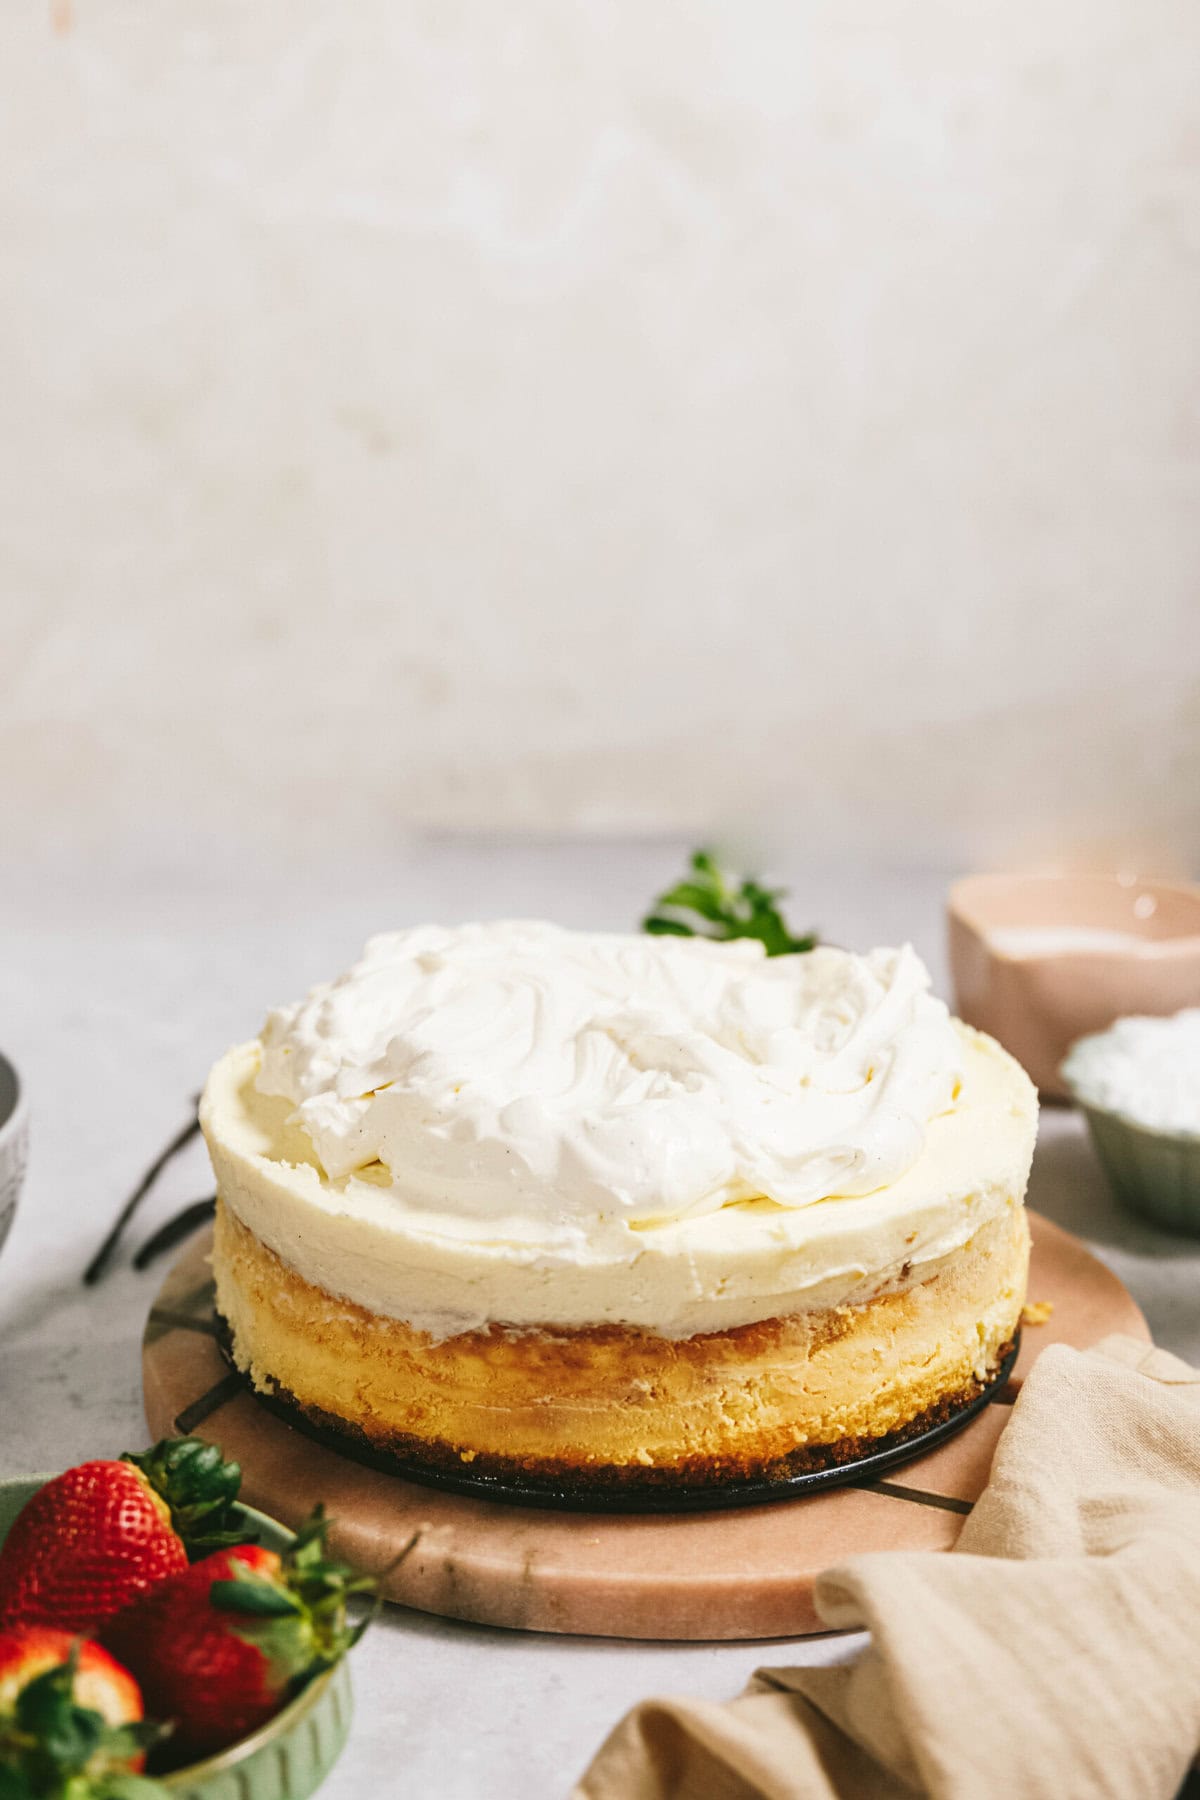
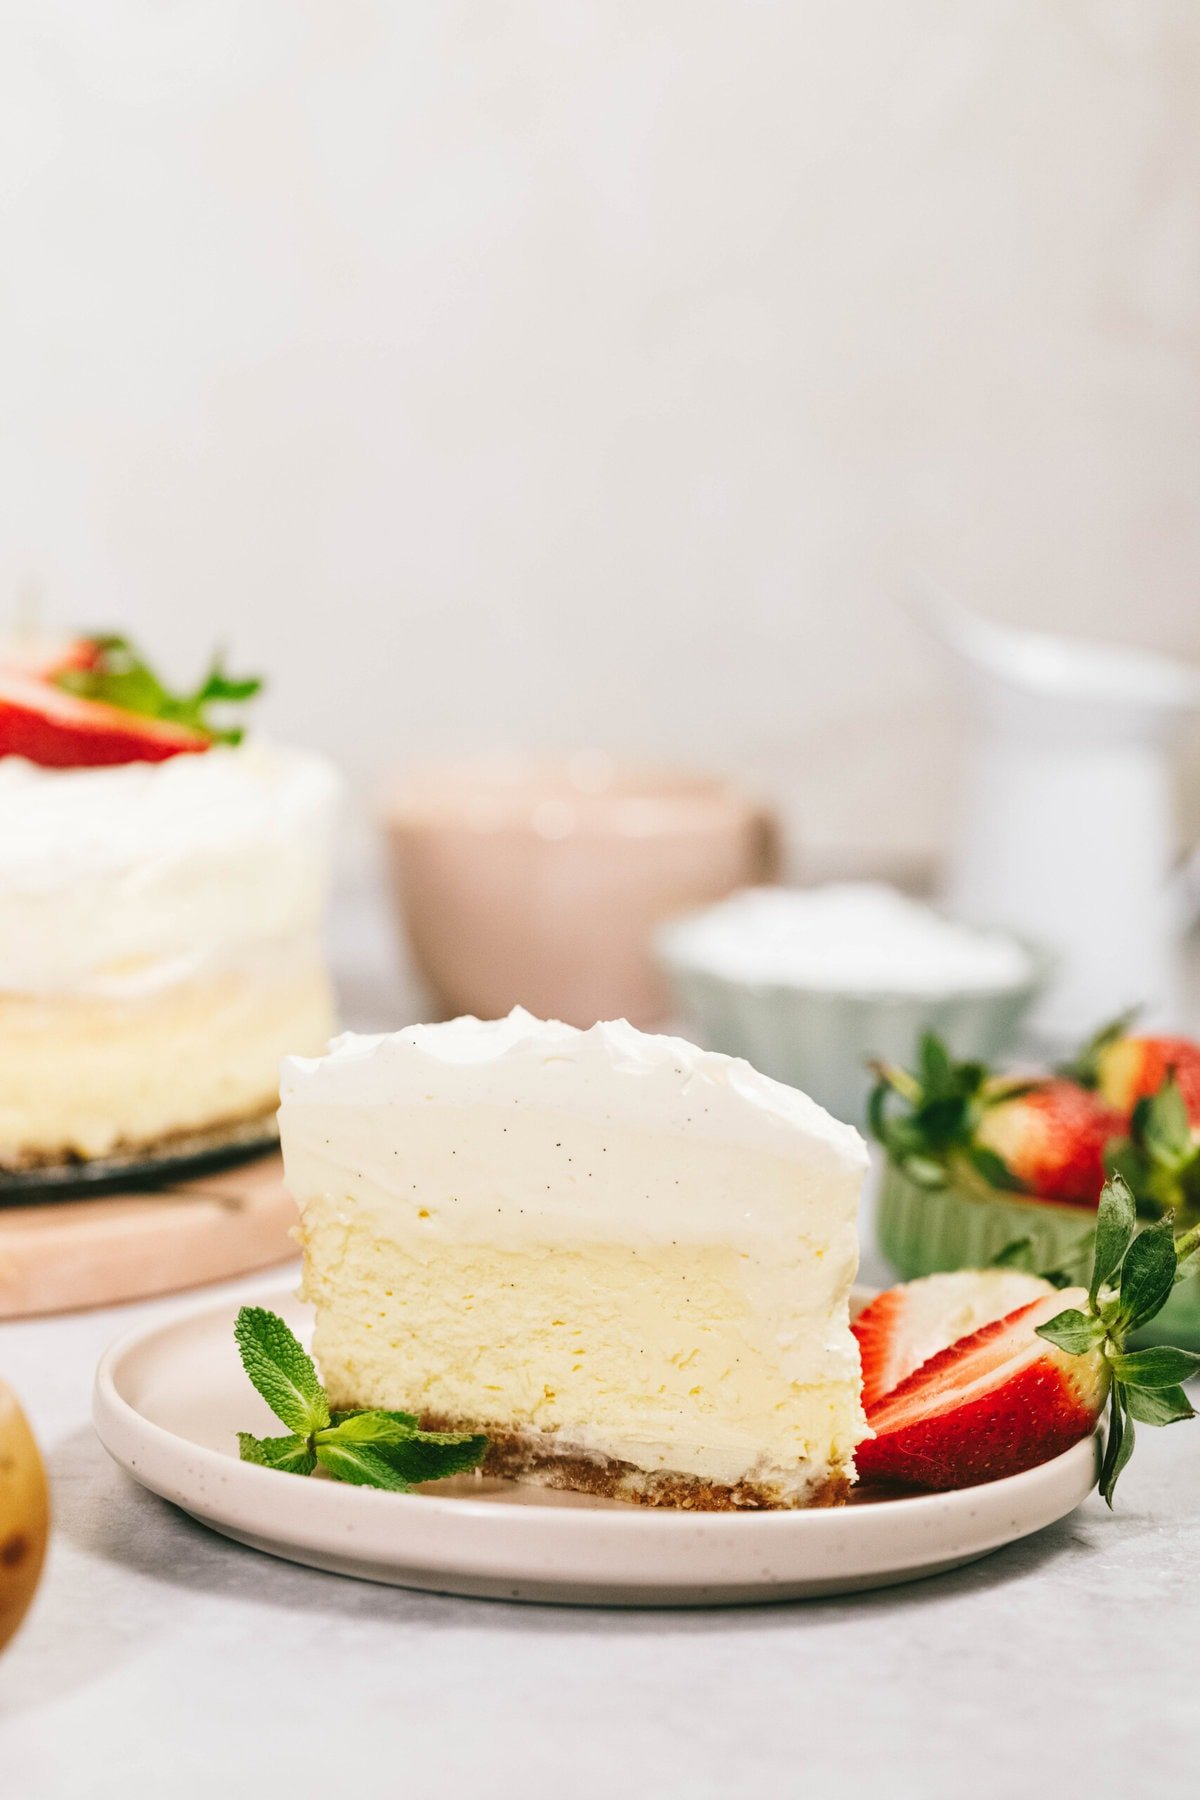
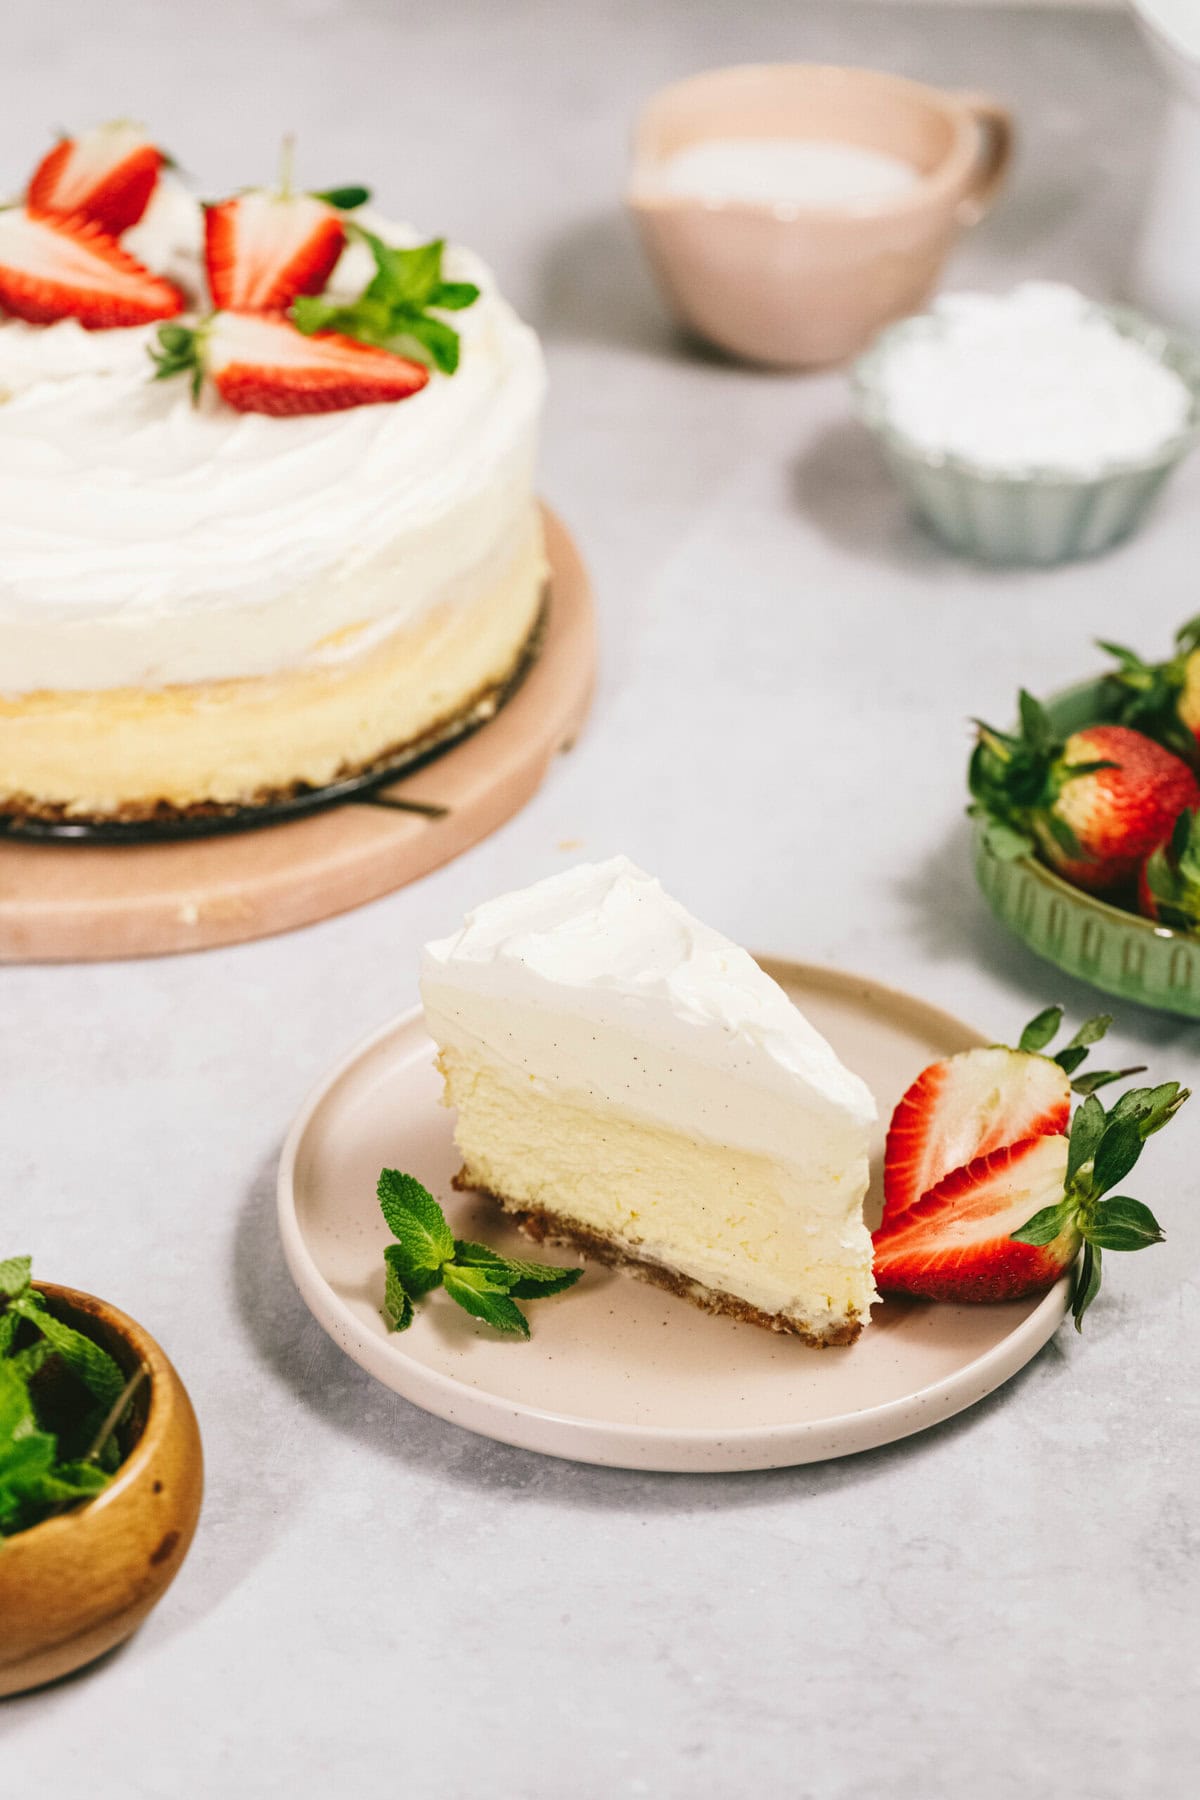
This copycat Cheesecake Factory Vanilla Bean Cheesecake is absolutely out of this world delicious! Made with layers of graham cracker crust, creamy vanilla bean cheesecake, white chocolate mousse and homemade whipped cream, PLUS no water bath needed using my proven method! Want a no-bake cheesecake option? Try my No-Bake Cheesecake recipe!
You’ll Love This Vanilla Bean Cheesecake
I have been making this cheesecake for special occasions for the last 4 years and every time I do, everyone…and I mean EVERYONE, says it is the best cheesecake they have ever had followed by lots of moaning “MMMMMMs”. I finally had time to document the process and I’m thrilled to be sharing it with you. The best part is this recipe requires NO WATER BATH, using my fail proof method.
What Are The 4 Layers of Cheesecake Factory Vanilla Bean Cheesecake Recipe?
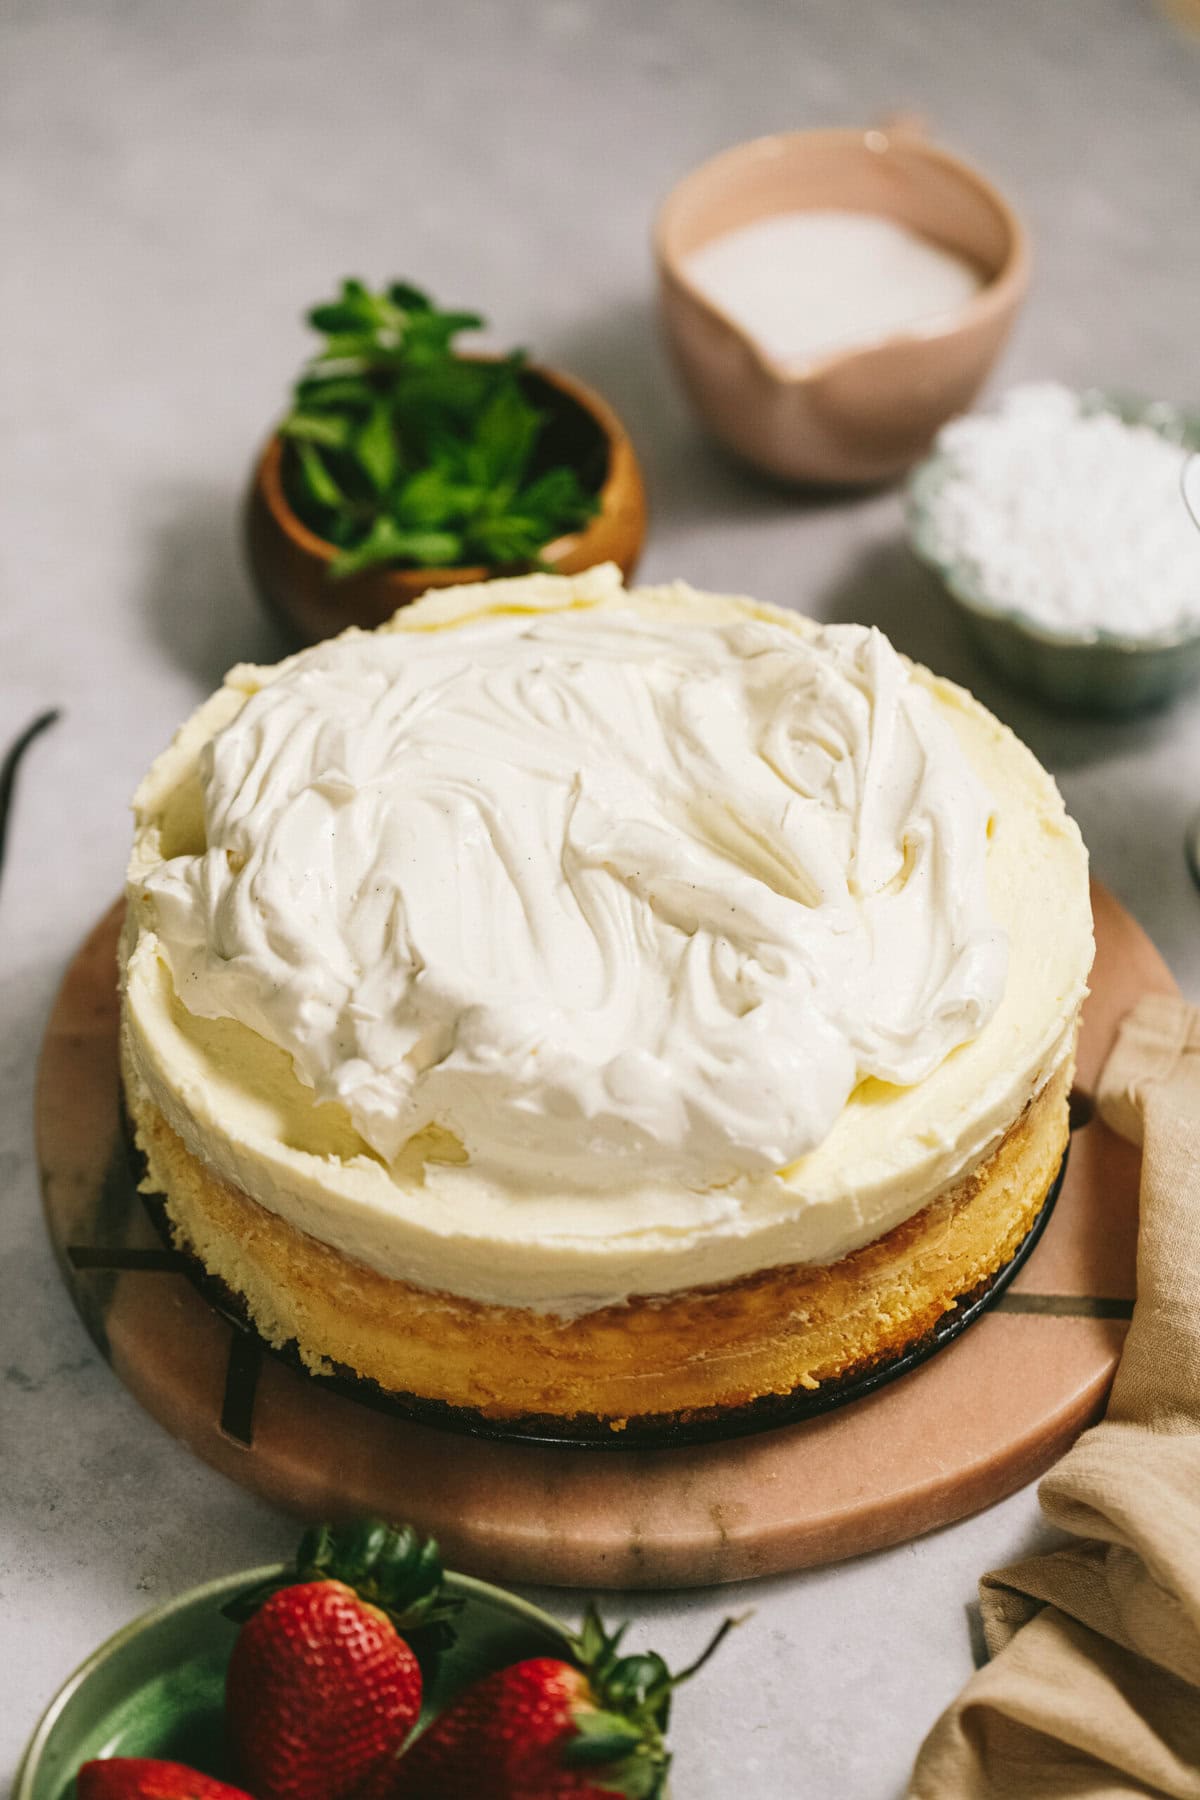
This cheesecake is a labor of love…but OH SO worth it. Read through the entire recipe and make sure you give yourself at least 2 days before you plan to make this for your loved one for their next birthday or even Thanksgiving and Christmas. You will get extra bonus points from everyone in your life. It is 4 layers of deliciousness:
- Graham Cracker Crust
- Vanilla Bean Cheesecake
- White Chocolate Mousse (with more vanilla bean)
- Homemade Whipped Cream (with even more vanilla bean!)
Plan Ahead For Success
As mentioned above, this cheesecake is a labor of love and does require some planning if you’re going to pull it off successfully. Here are a few pointers for how to plan for this recipe.
- Make sure you have the right equipment. This recipe calls for 1- 9″ Springform pan. These are not expensive and something every baker should have in their arsenal.
- Plan for your ingredients to be at room temperature. I pull my cream cheese out the night before and everything else at least 2 hours beforehand.
- Give yourself 2 days to make this recipe. The first and second layers need a total of 12 1/2 hours for prep, cook, rest and refrigeration time.
- Do the third layer the next day and give yourself another 15 minutes to prep and at least 1 1/2 hours for refrigeration.
- The final whipped cream layer can be done right before serving and comes together in about 5 minutes.
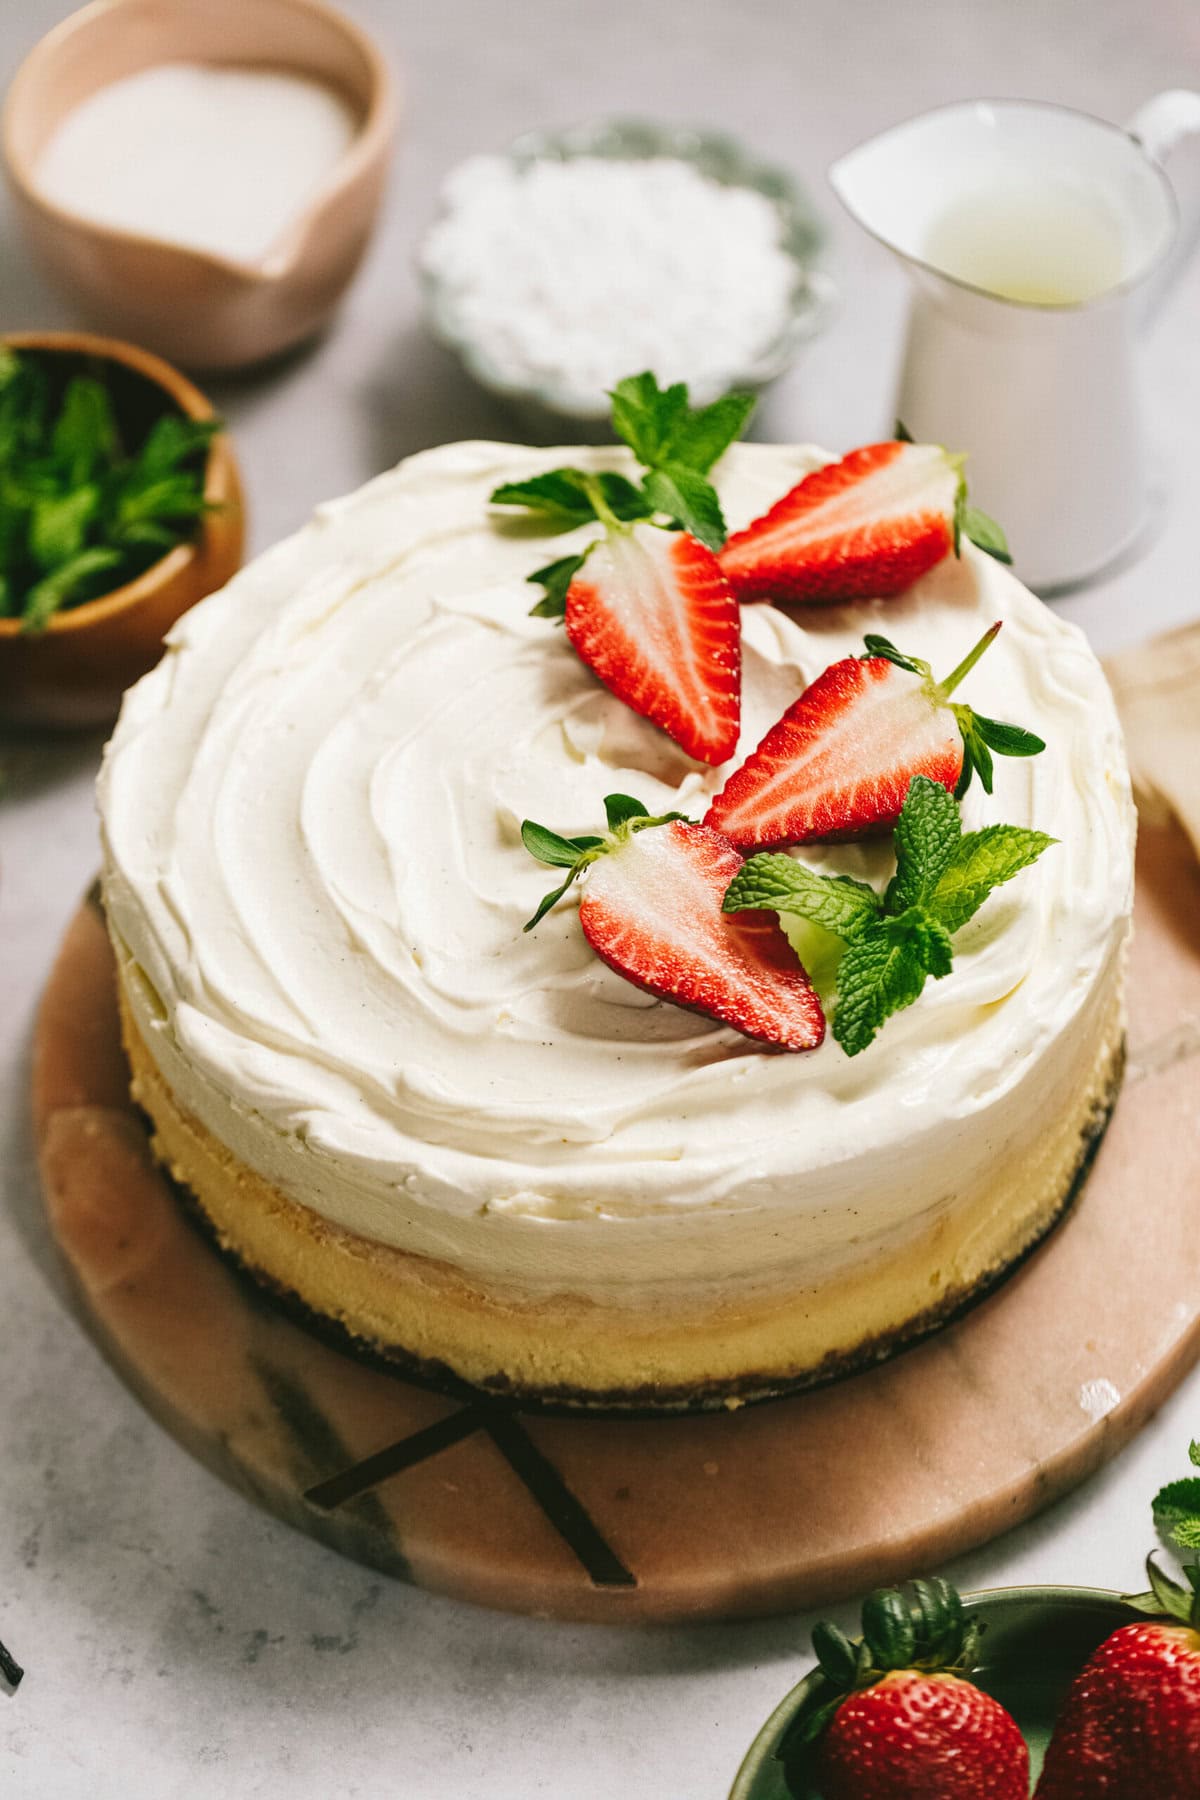
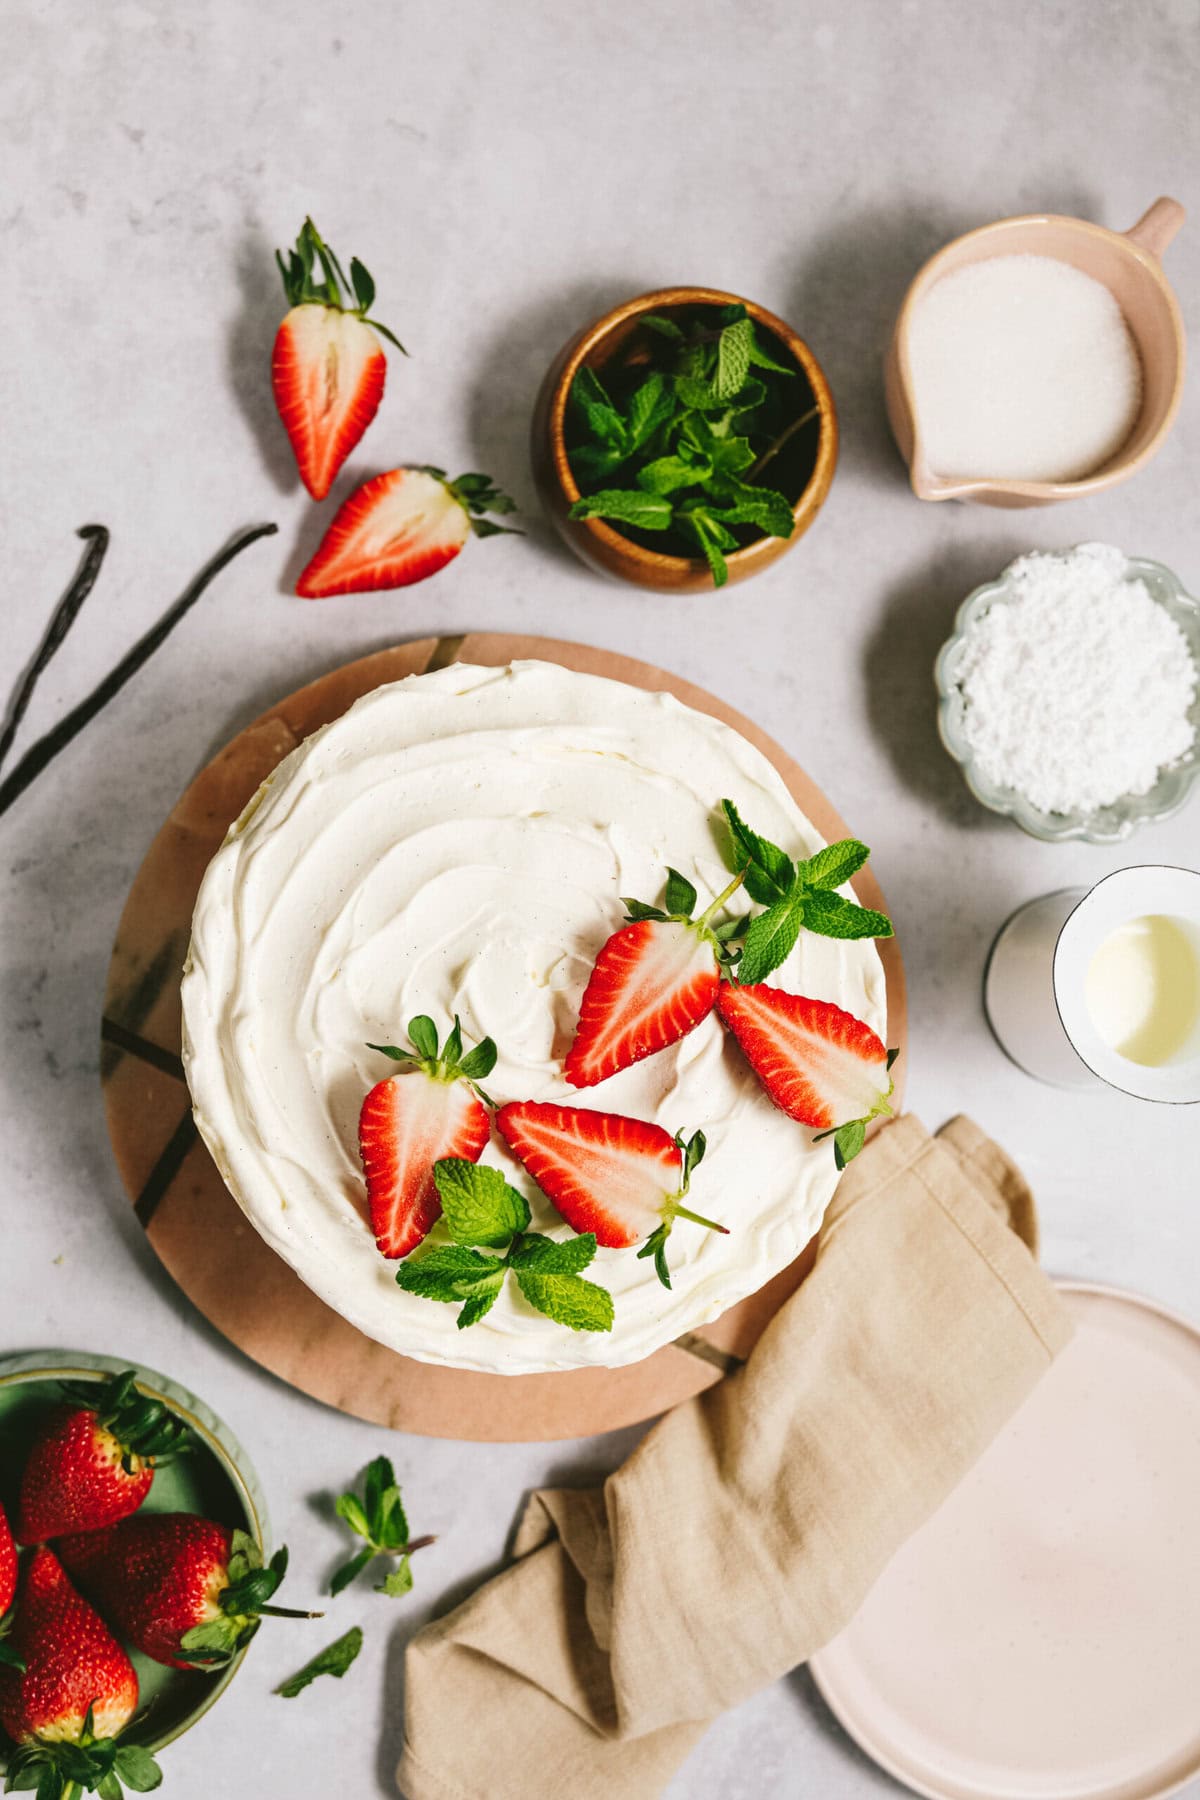
- Give yourself time to decorate too, if that’s your plan! You can add fruit, fruit sauce, chocolate sauce, fancy whipped cream rosettes and more!
What is Vanilla Bean?
Vanilla beans come from particular kinds of orchids that are carefully grown in very specific growing conditions, then harvested, dried, cured and aged before they are ready to become a kitchen ingredient. The intense aroma and flavoring whole vanilla beans offer are unmatched, plus the little specks of black are a beautiful addition to any cream recipe. Because they are such a delicate spice to grow and care for, they are one of the most expensive spices you’ll find in your spice cupboard, but totally worth it. 😉 Due to being on the expensive side, I reserve this recipe for special occasions only.
How do I remove Vanilla Bean seeds?
When you’re looking for vanilla beans at the grocery store, you want to look for ones that are more plump and full looking and have a glossy sheen. Wait to scrape the seeds out until you’re ready to add them to your recipe. Here’s the brand I purchase often and they are great quality. Although the whole vanilla bean is packed with flavor, it’s the coveted seeds inside that we want for this recipe.
First, you want to split the bean down the center with a paring knife. Working with one side at a time, and holding one end of the pod against the cutting board, you want to use the dull side of the paring knife (or butter knife, or a cheese board knife like I used) to scrape the seeds out. You’ll scrape the entire length of the pod. Then repeat with the other side. Usually the amount of seeds you get from a pod is the equivalent to 3 teaspoons of vanilla extract.
Do you love Cheesecake? Try my other amazing cheesecake recipes: The BEST Cheesecake Recipe, No Bake Blueberry Cheesecake, Nutella Cheesecake, Oreo Cheesecake, Pumpkin Cheesecake, Lemon Meringue Cheesecake, and many more! Check out my entire archive of cheesecake recipes!
How to Make Vanilla Bean Cheesecake
I’ve divided these directions up into smaller sections- make the crust, then the cheesecake layer, white chocolate mousse layer, and whipped topping. I hope this helps break it down a bit and not be overwhelming. For full recipe details, including and ingredients list and measurements, see the printable recipe card down below. Here is step by step what to expect when making this copycat Cheesecake Factory recipe:
1. Make the Graham Cracker Crust
Place oven racks in the center of the oven. Preheat oven to 350° F.
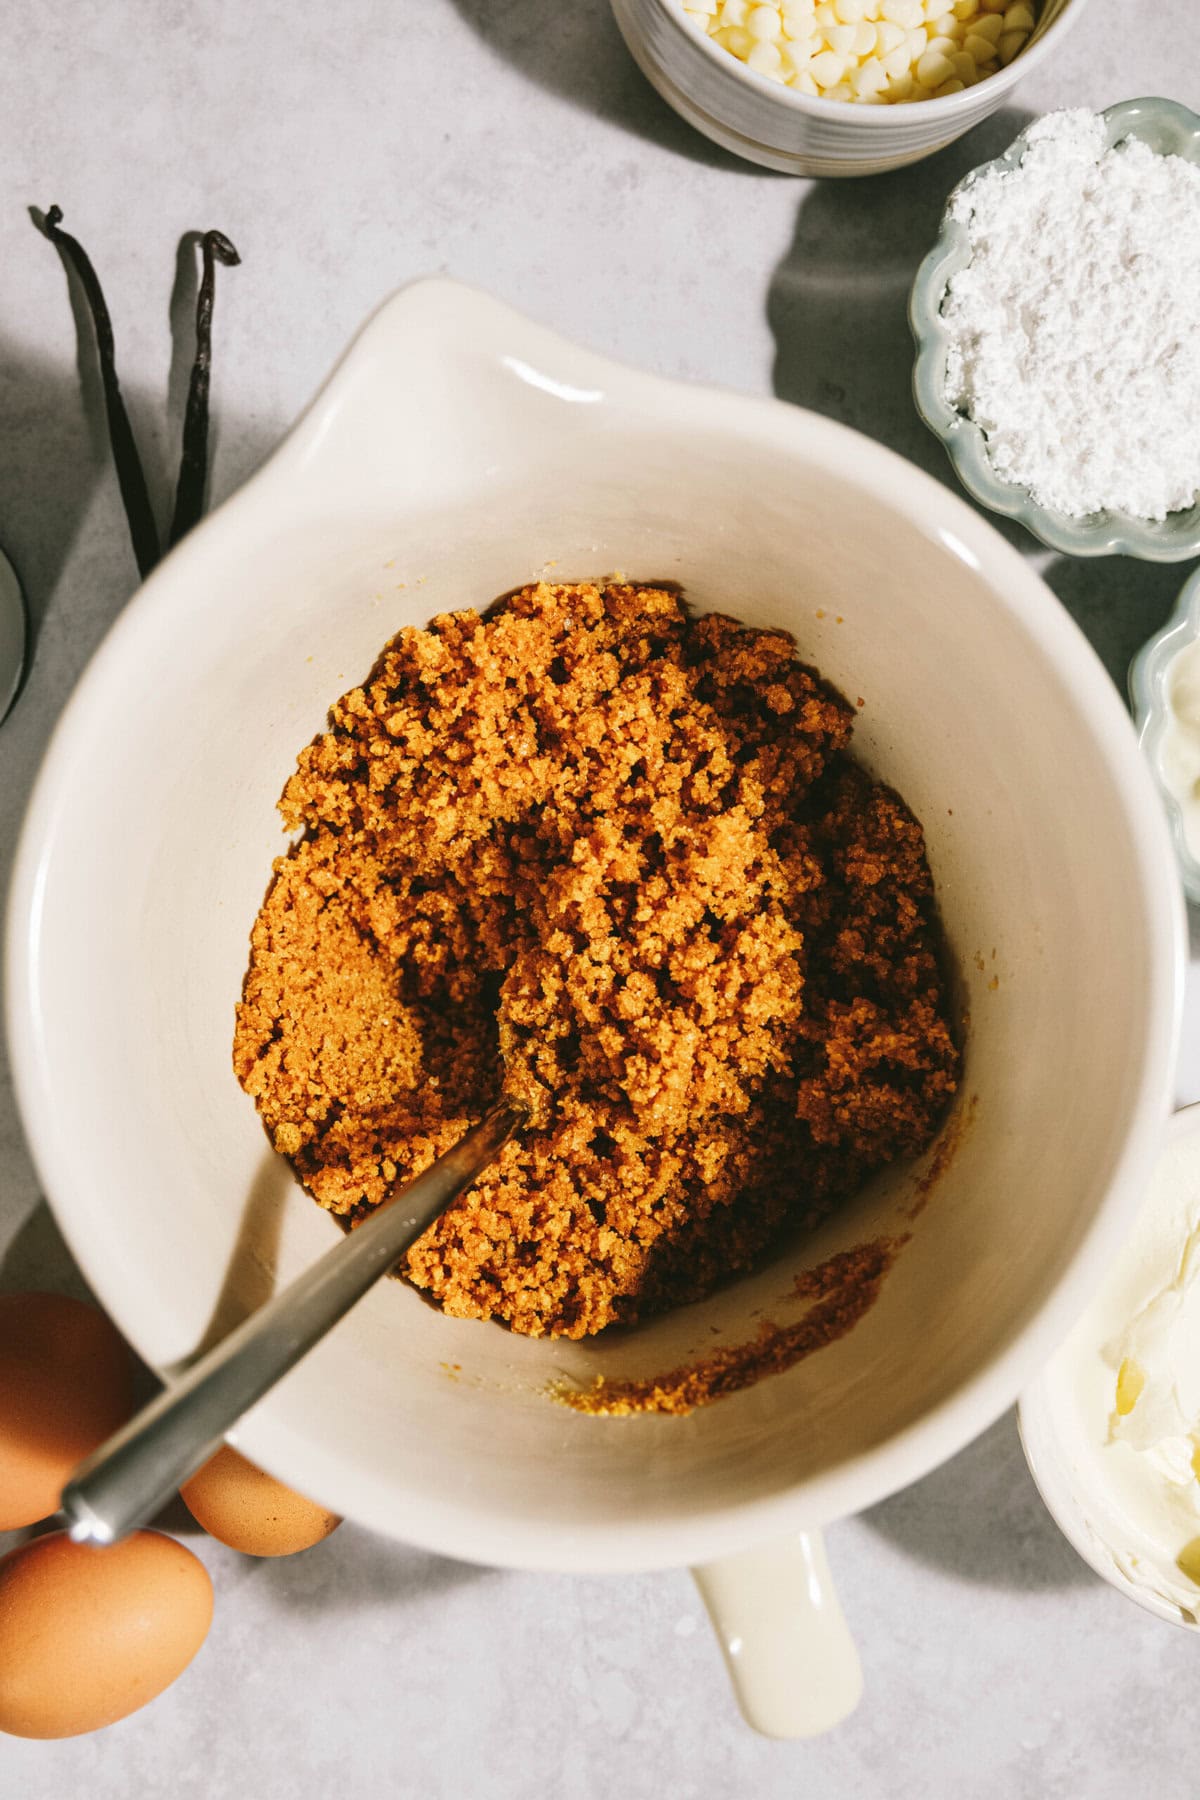
In a medium sized bowl, stir graham cracker crumbs together with sugar and melted butter until well incorporated and mixture looks like damp sand. Using the bottom of a measuring cup, press crust into the bottom and half way up the sides of a 9-inch springform pan.
Bake for 7 minutes. Remove from oven and set aside. Reduce oven temperature to 325° F.


2. Make the Cheesecake Layer
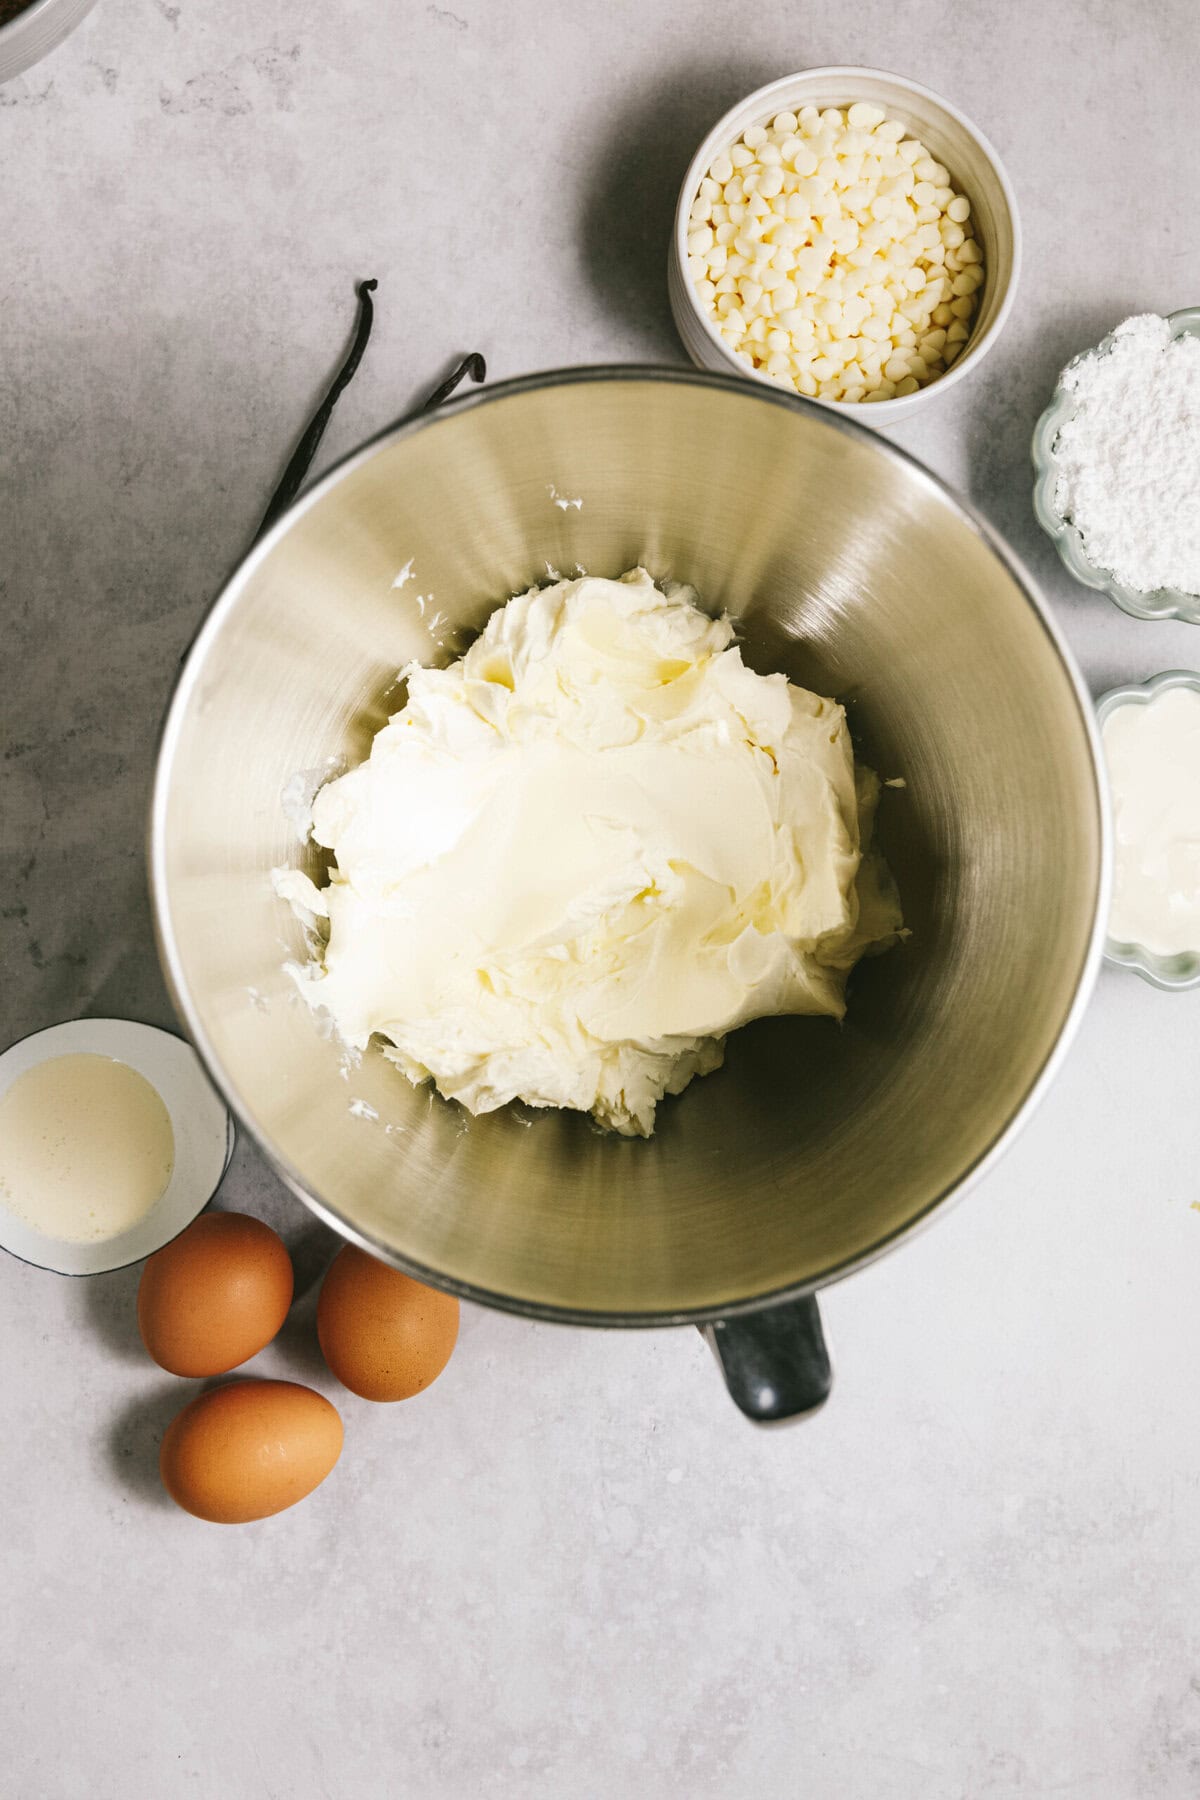
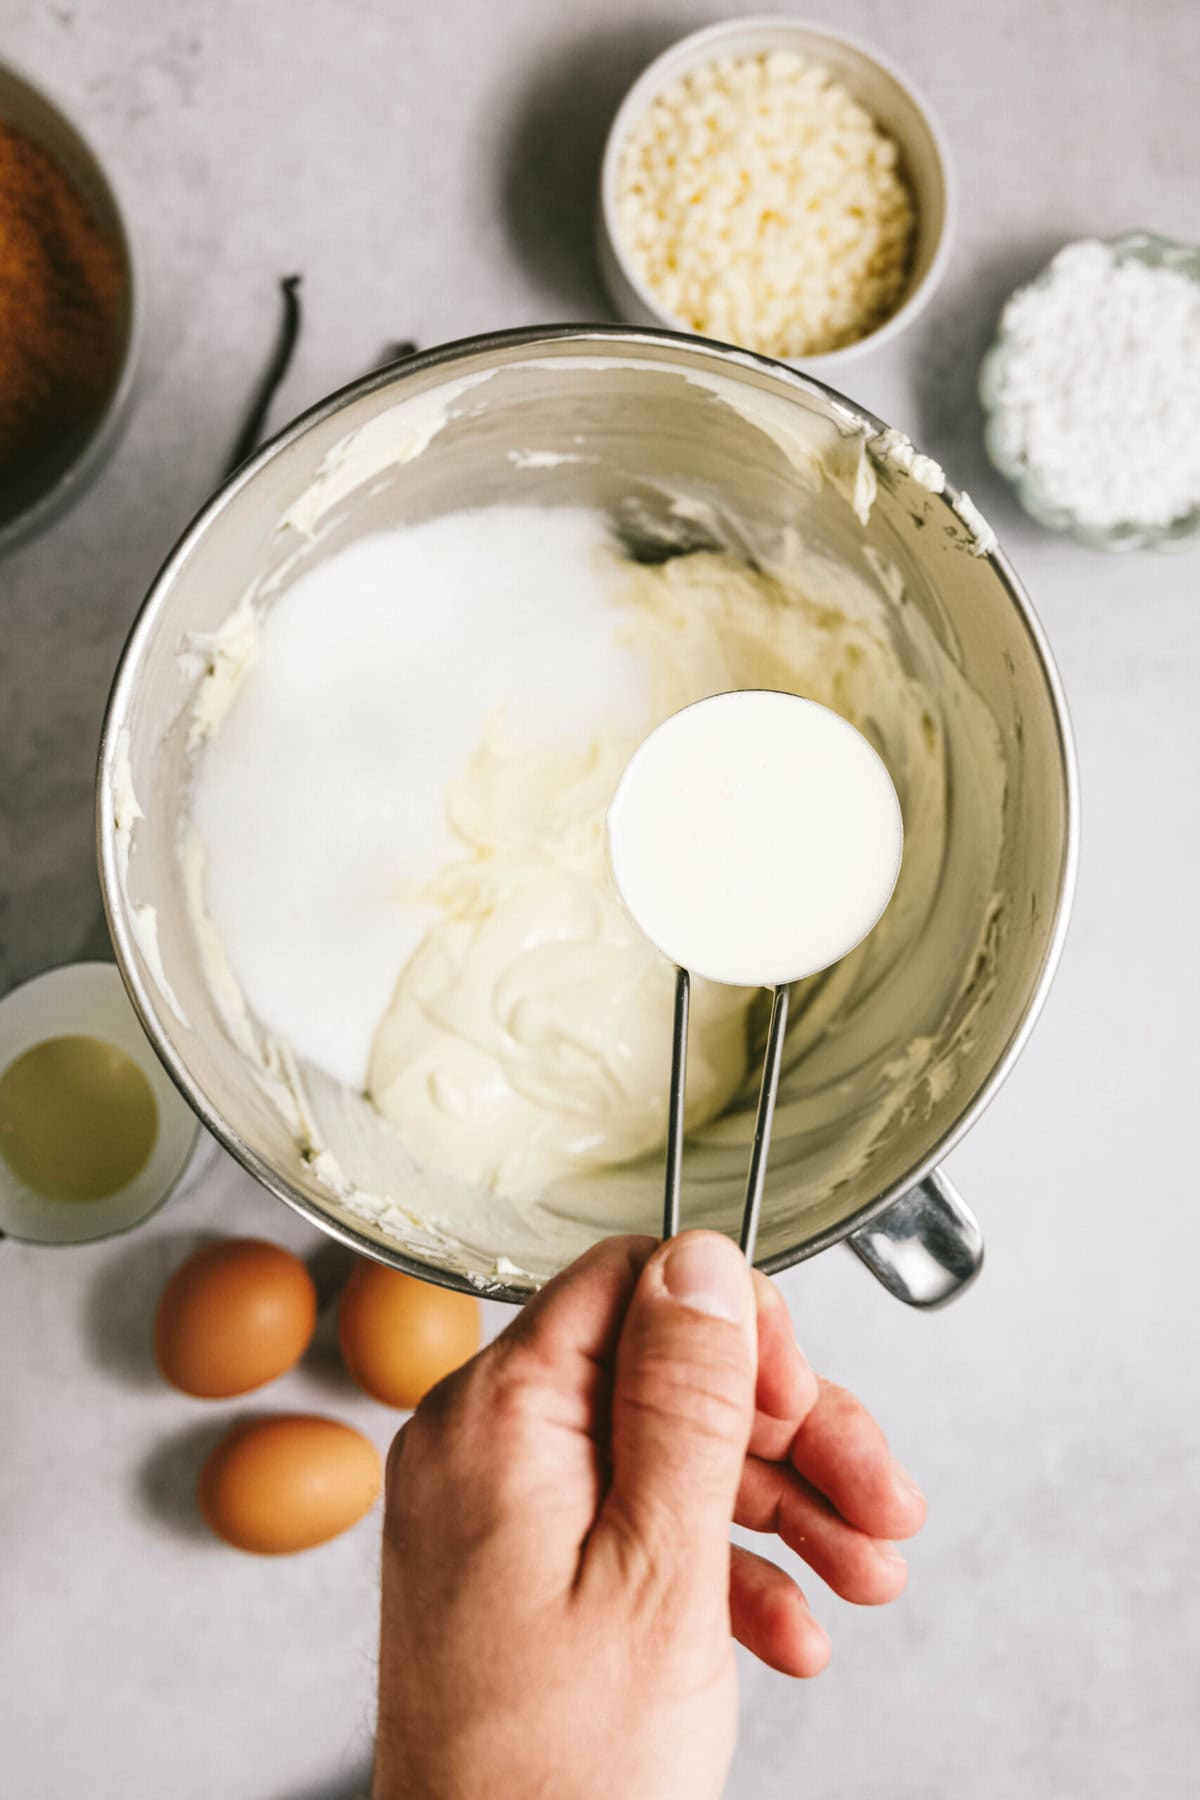
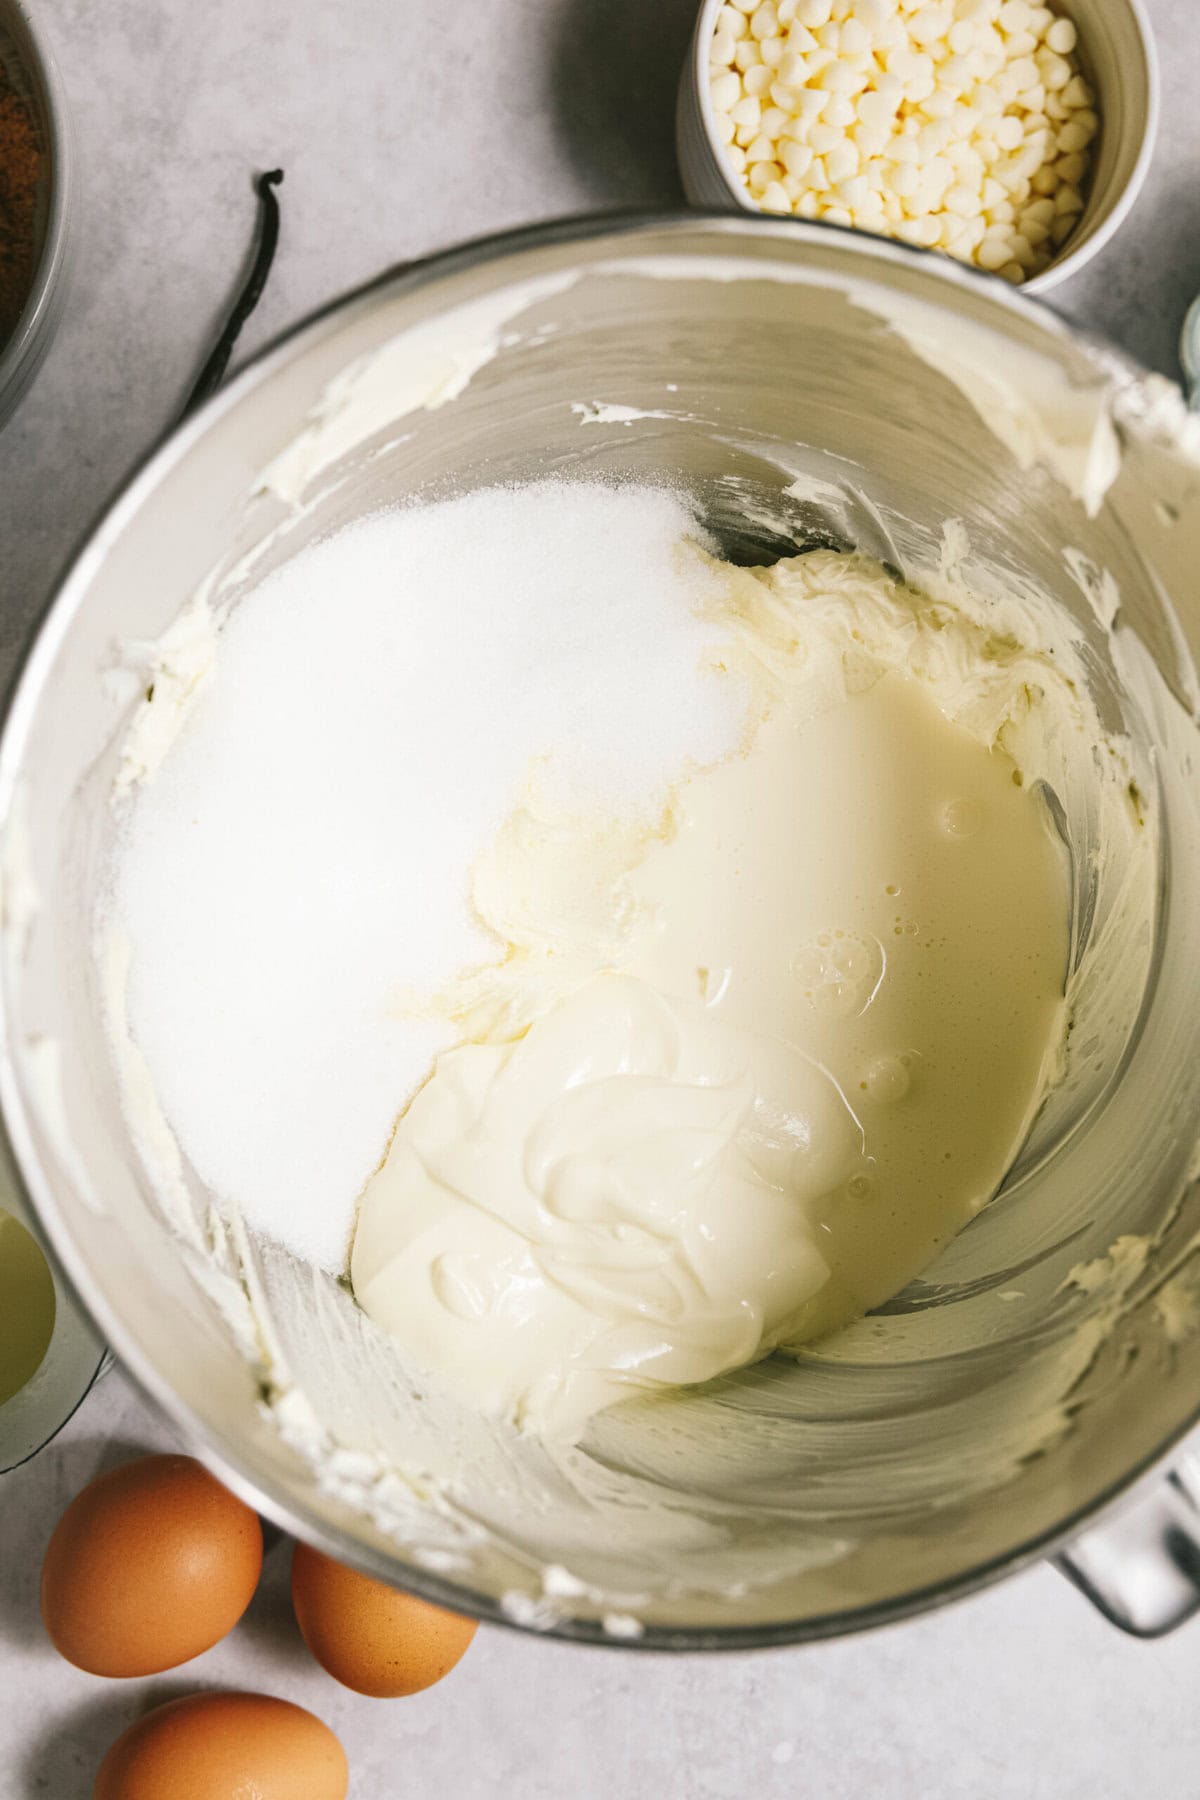
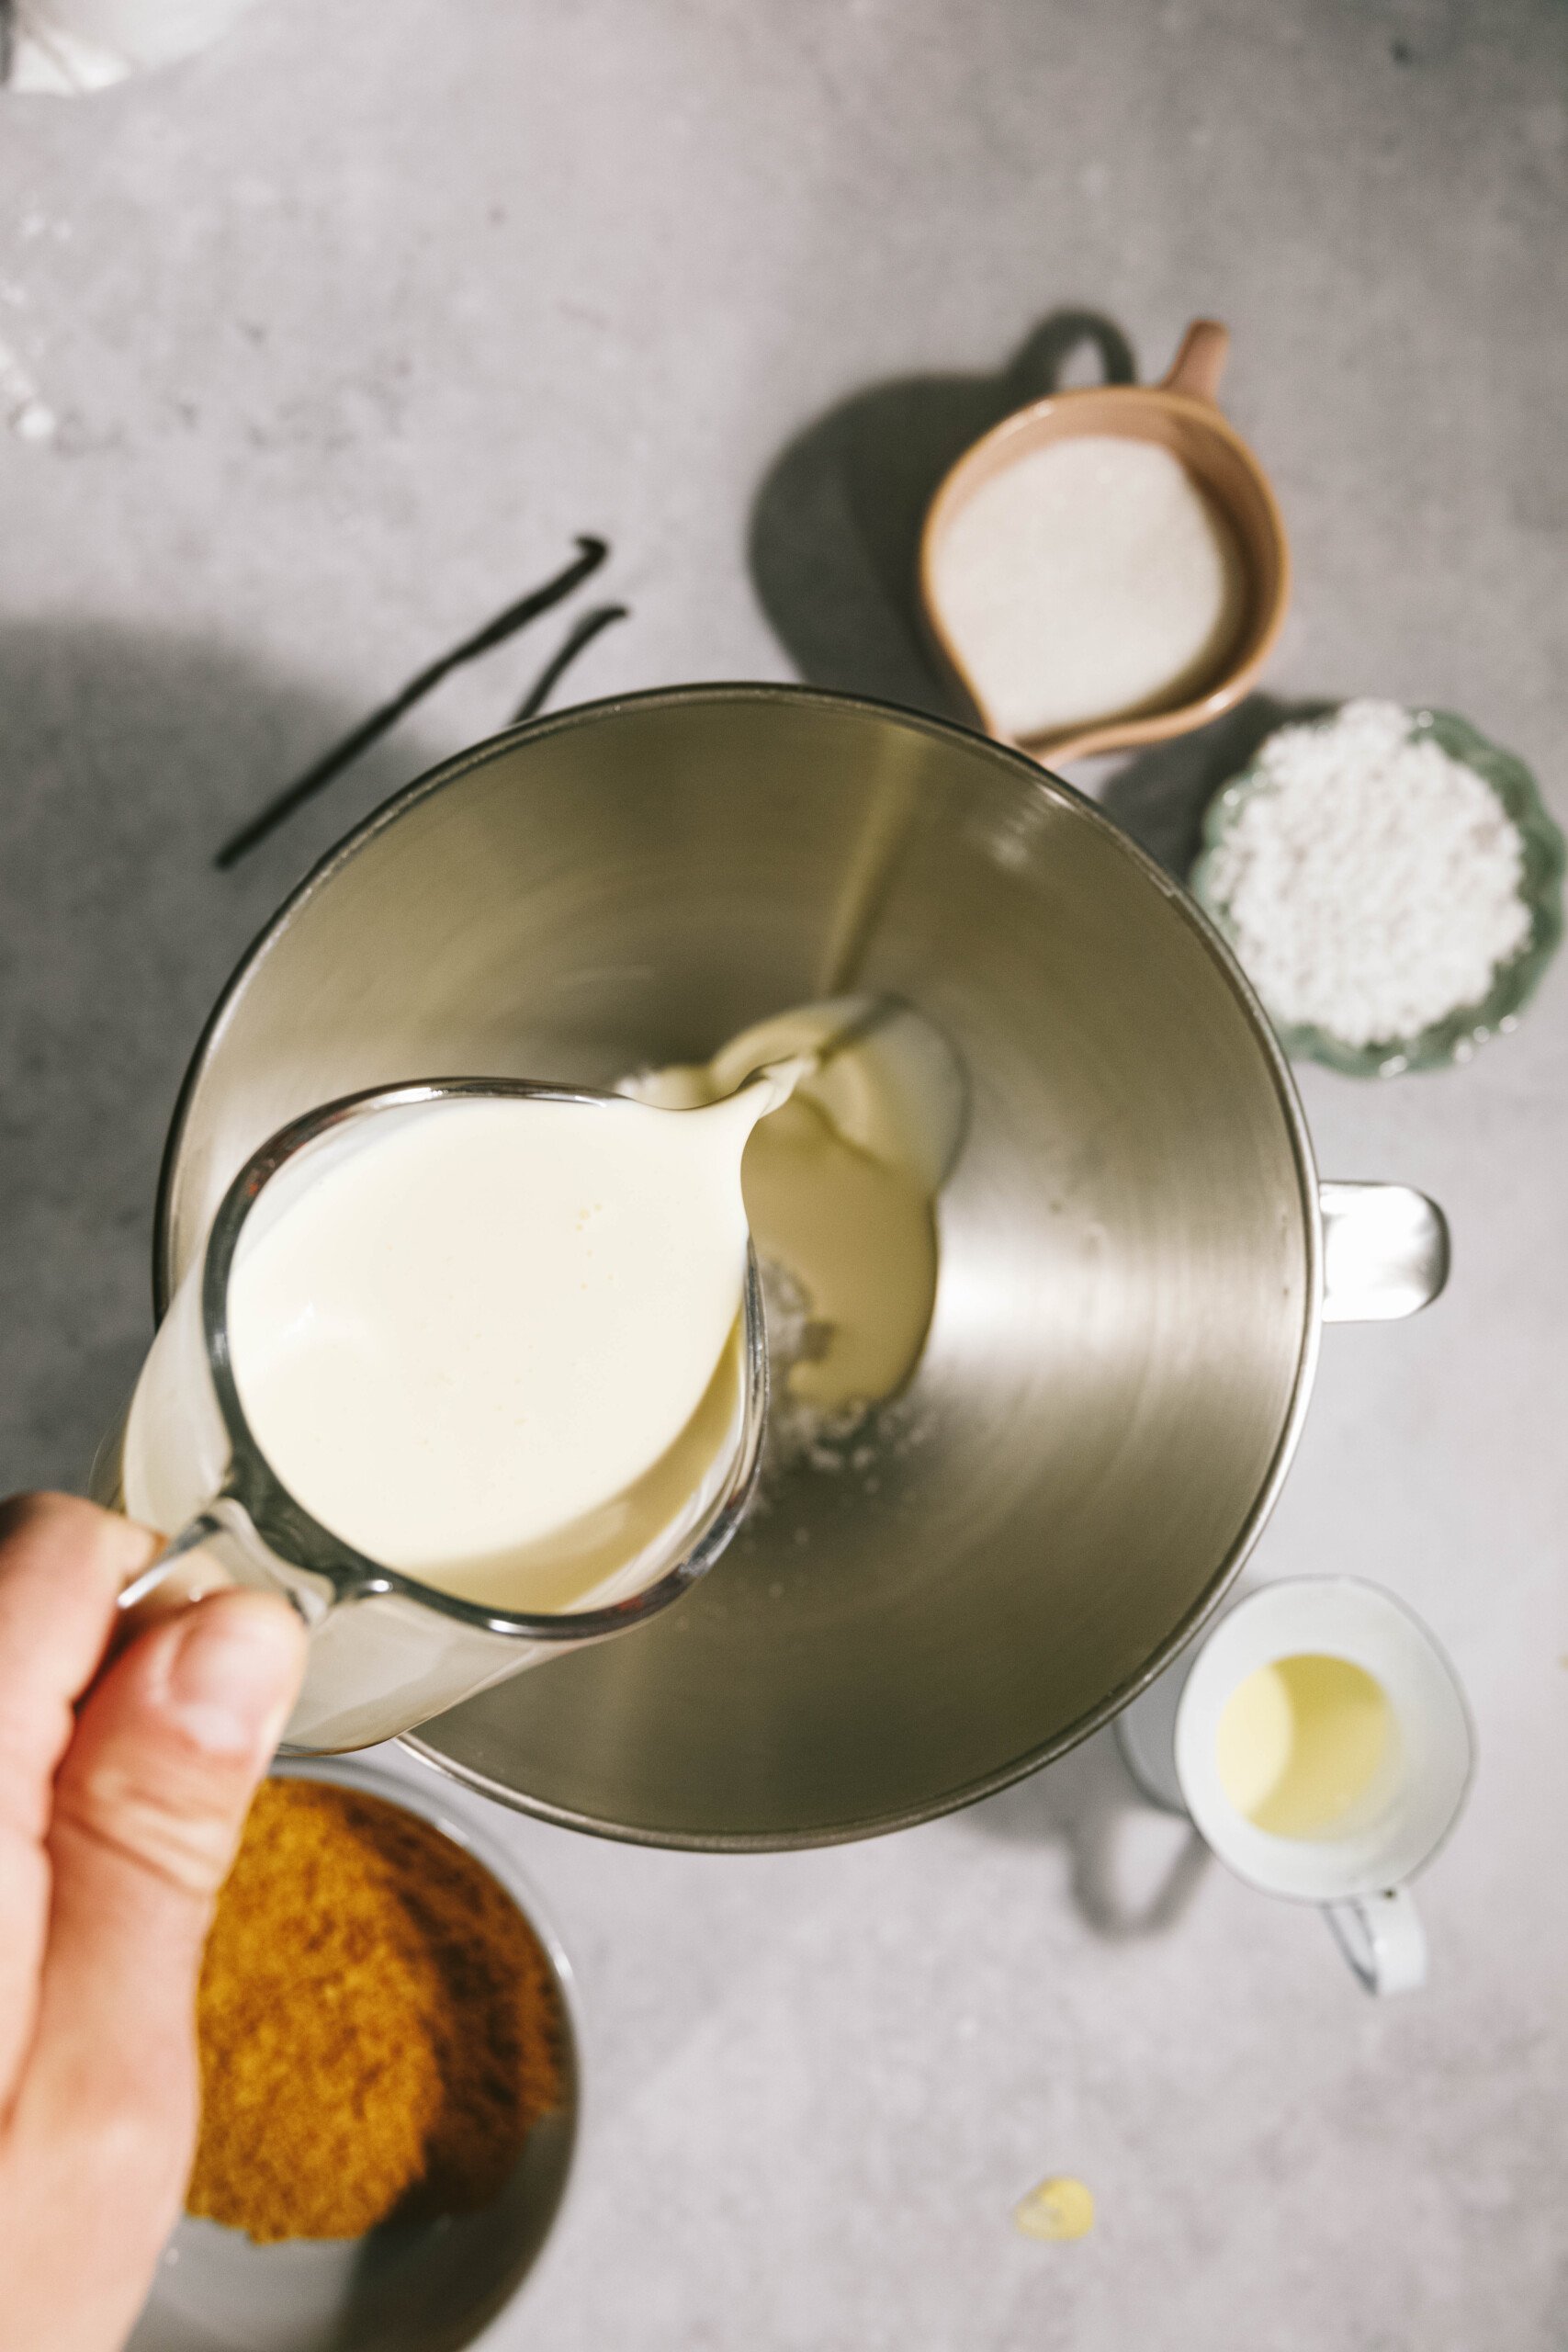
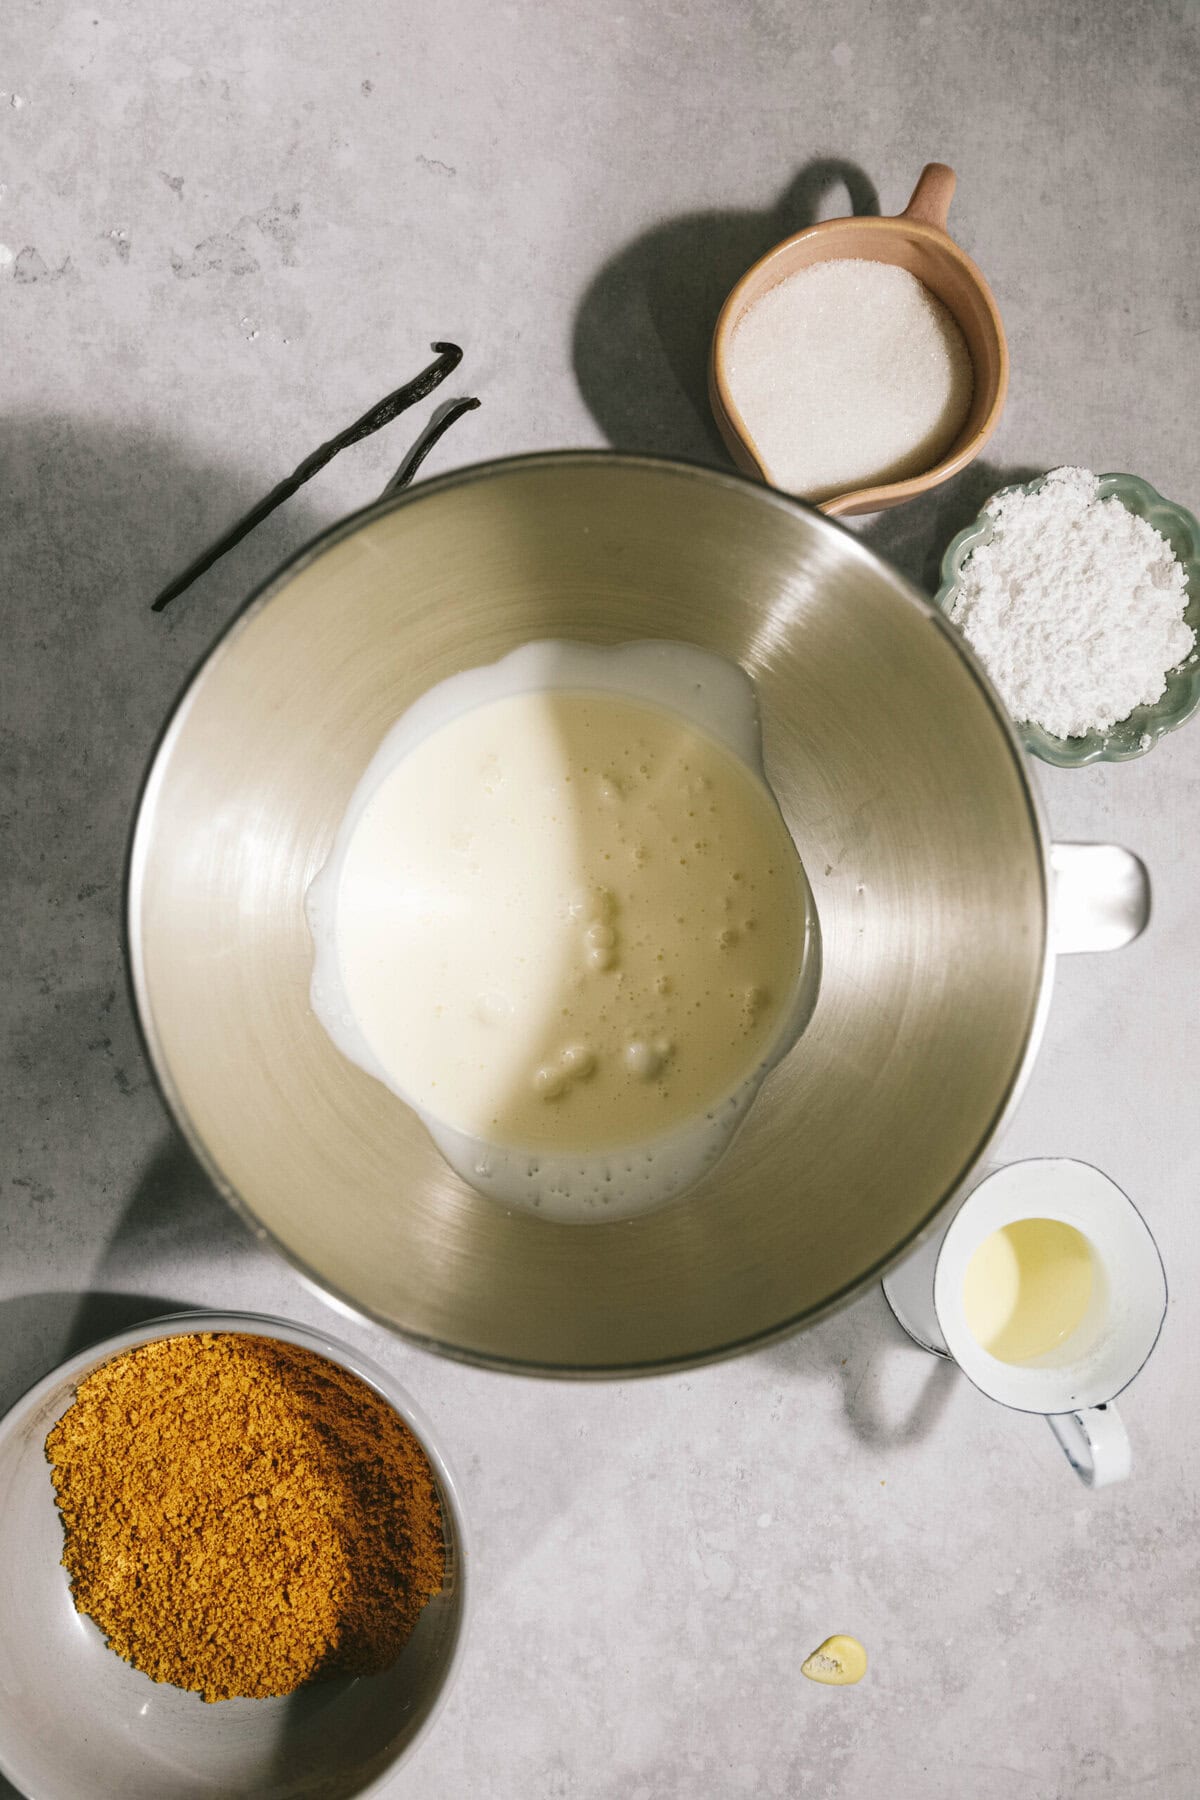
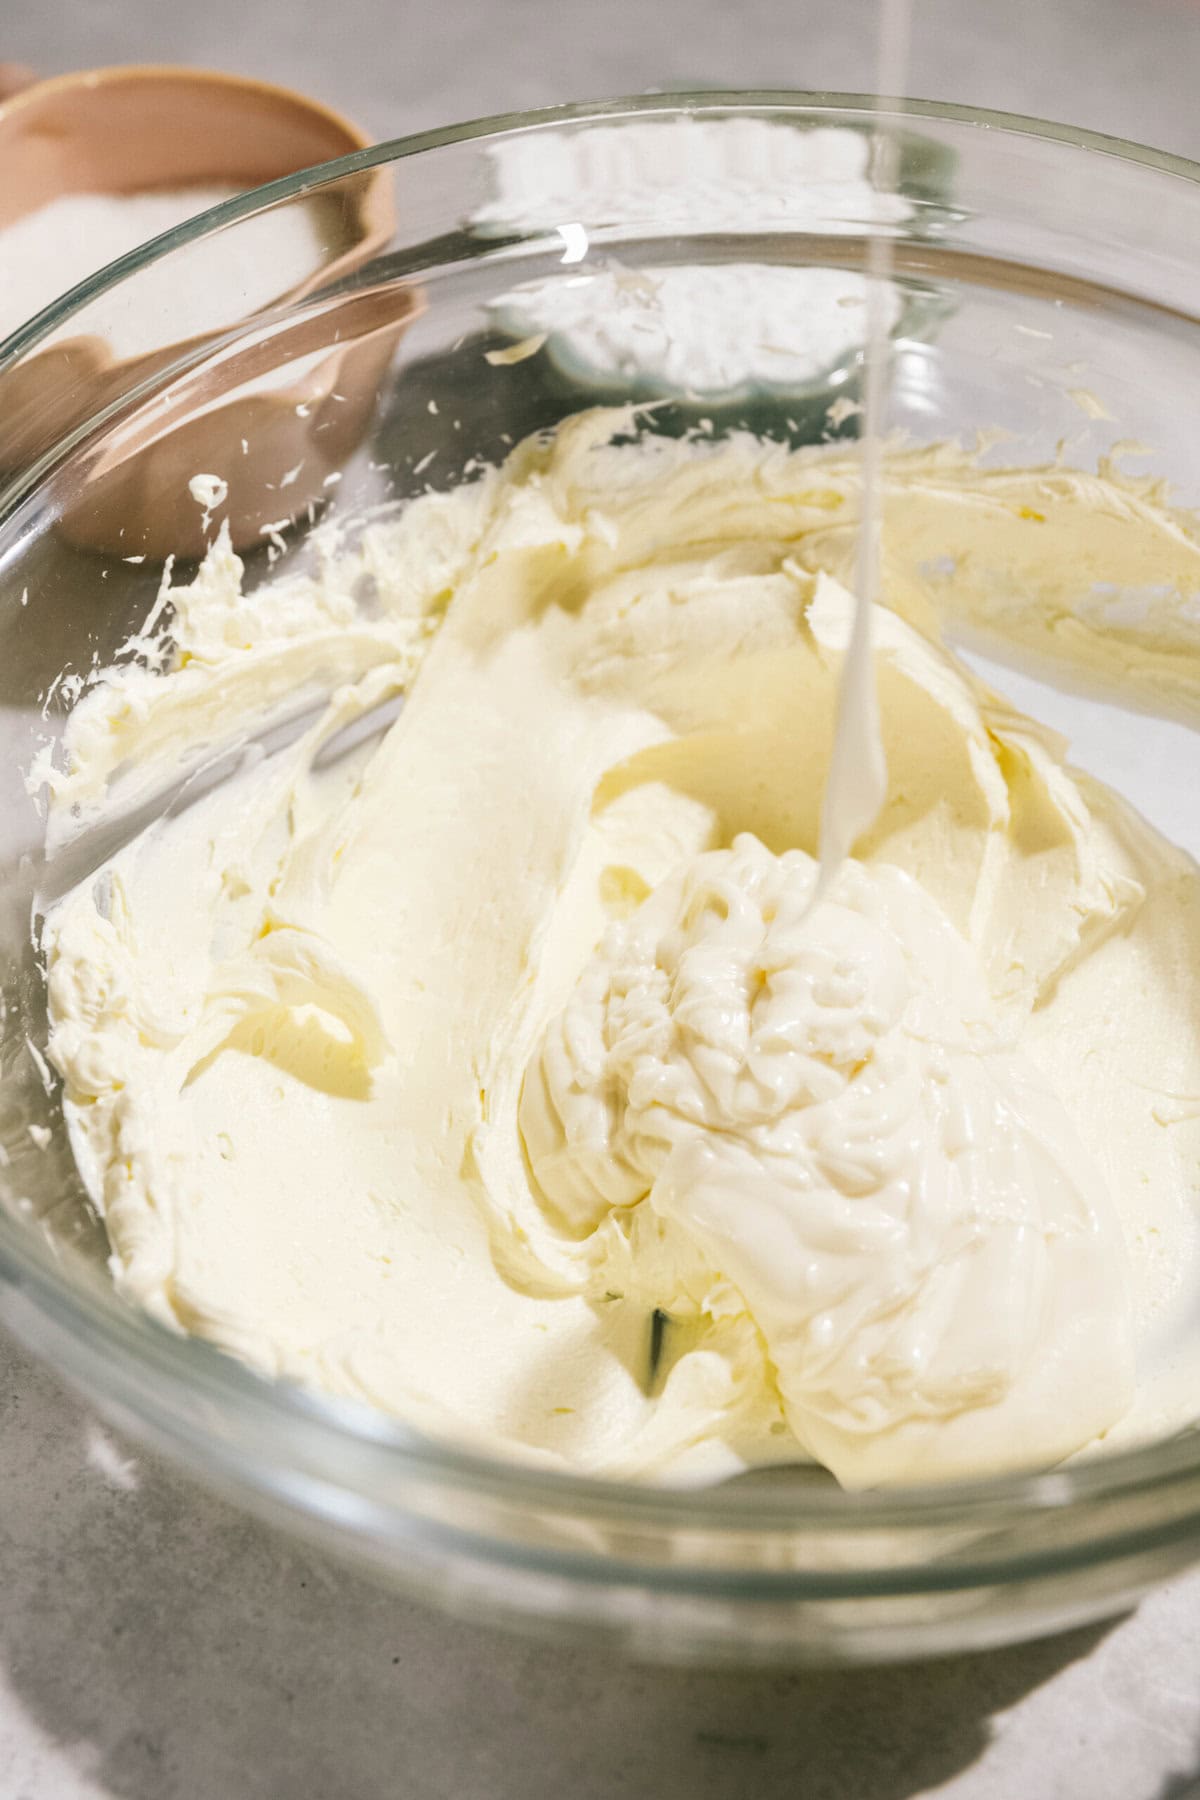
In a large bowl or bowl of a stand mixer, mix cream cheese for 30 seconds until smooth. Scrape the sides and bottom of the bowl and add in granulated sugar, sour cream, heavy whipping cream and vanilla beans. Mix again until incorporated. Scrape the sides and bottom of the bowl VERY WELL and mix again briefly.
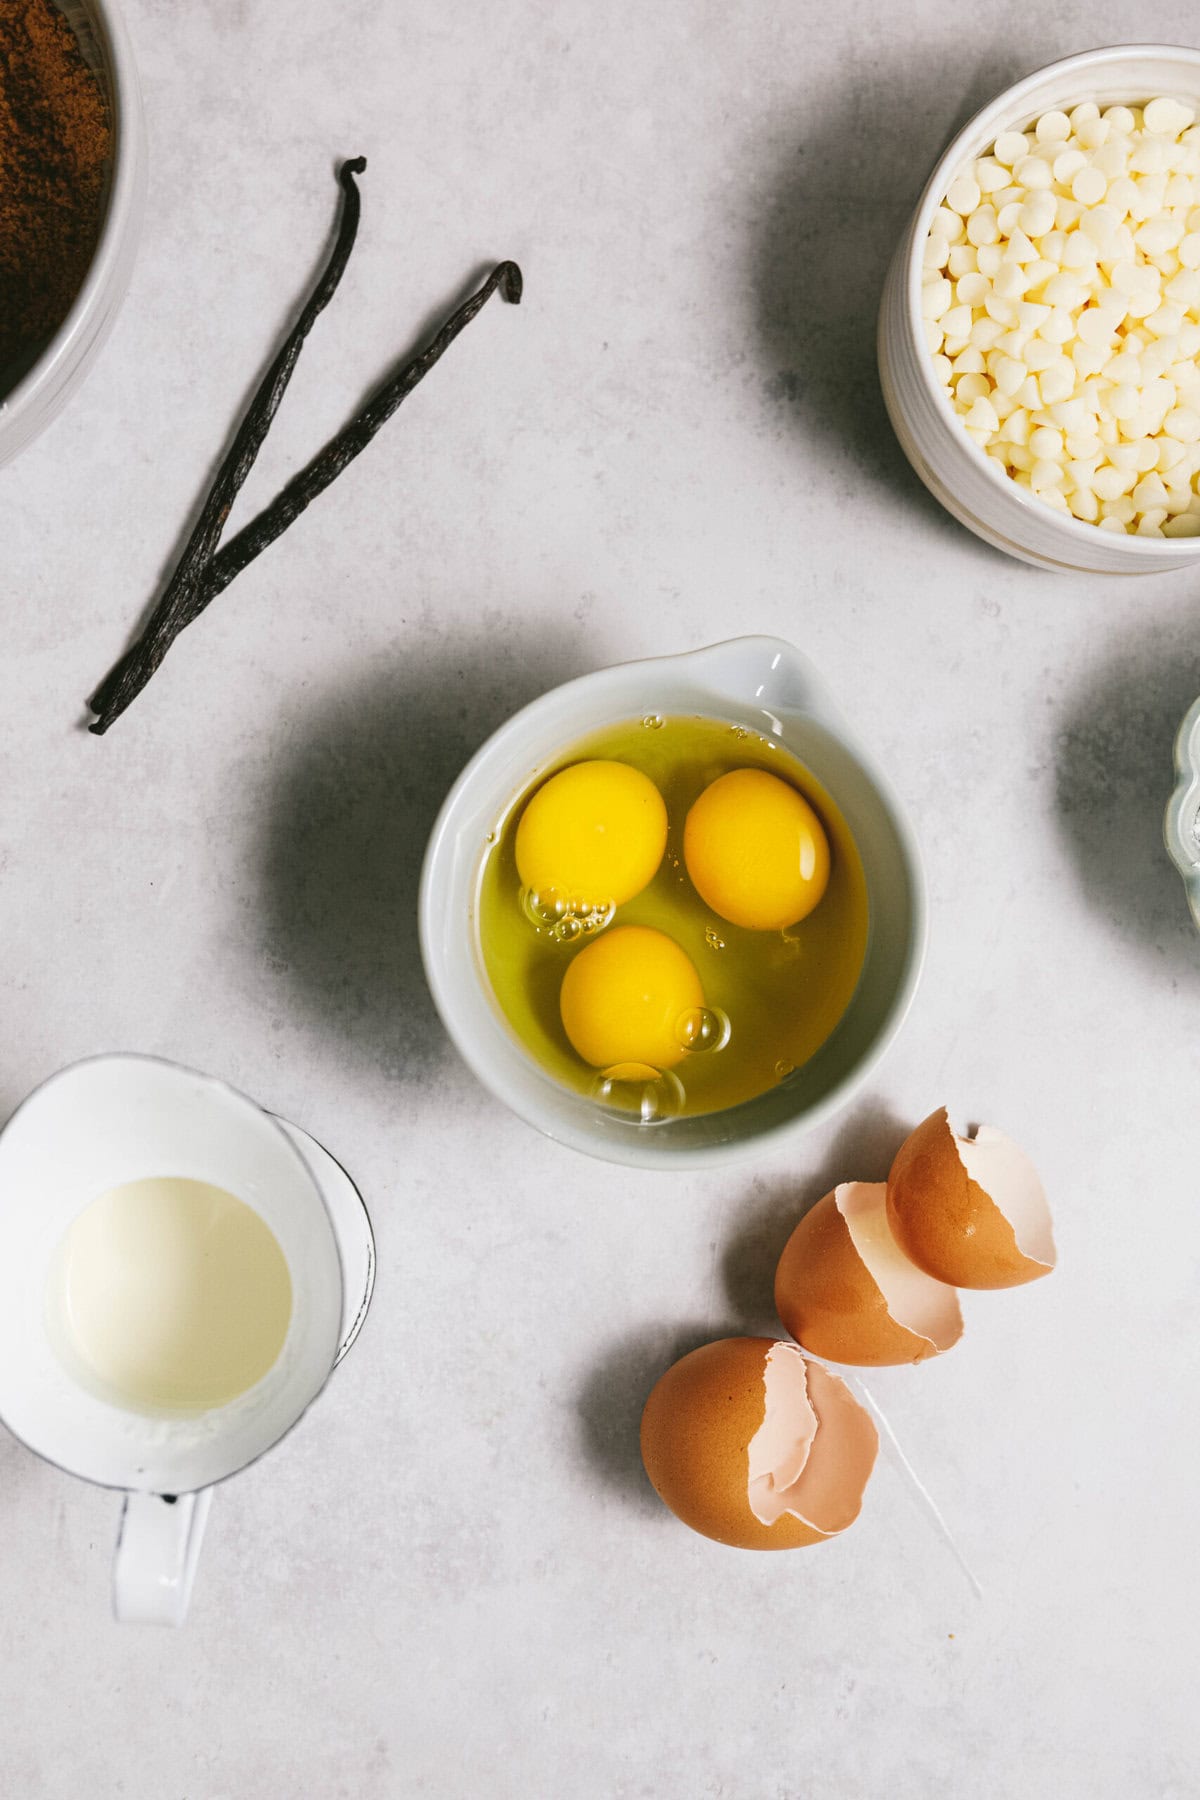
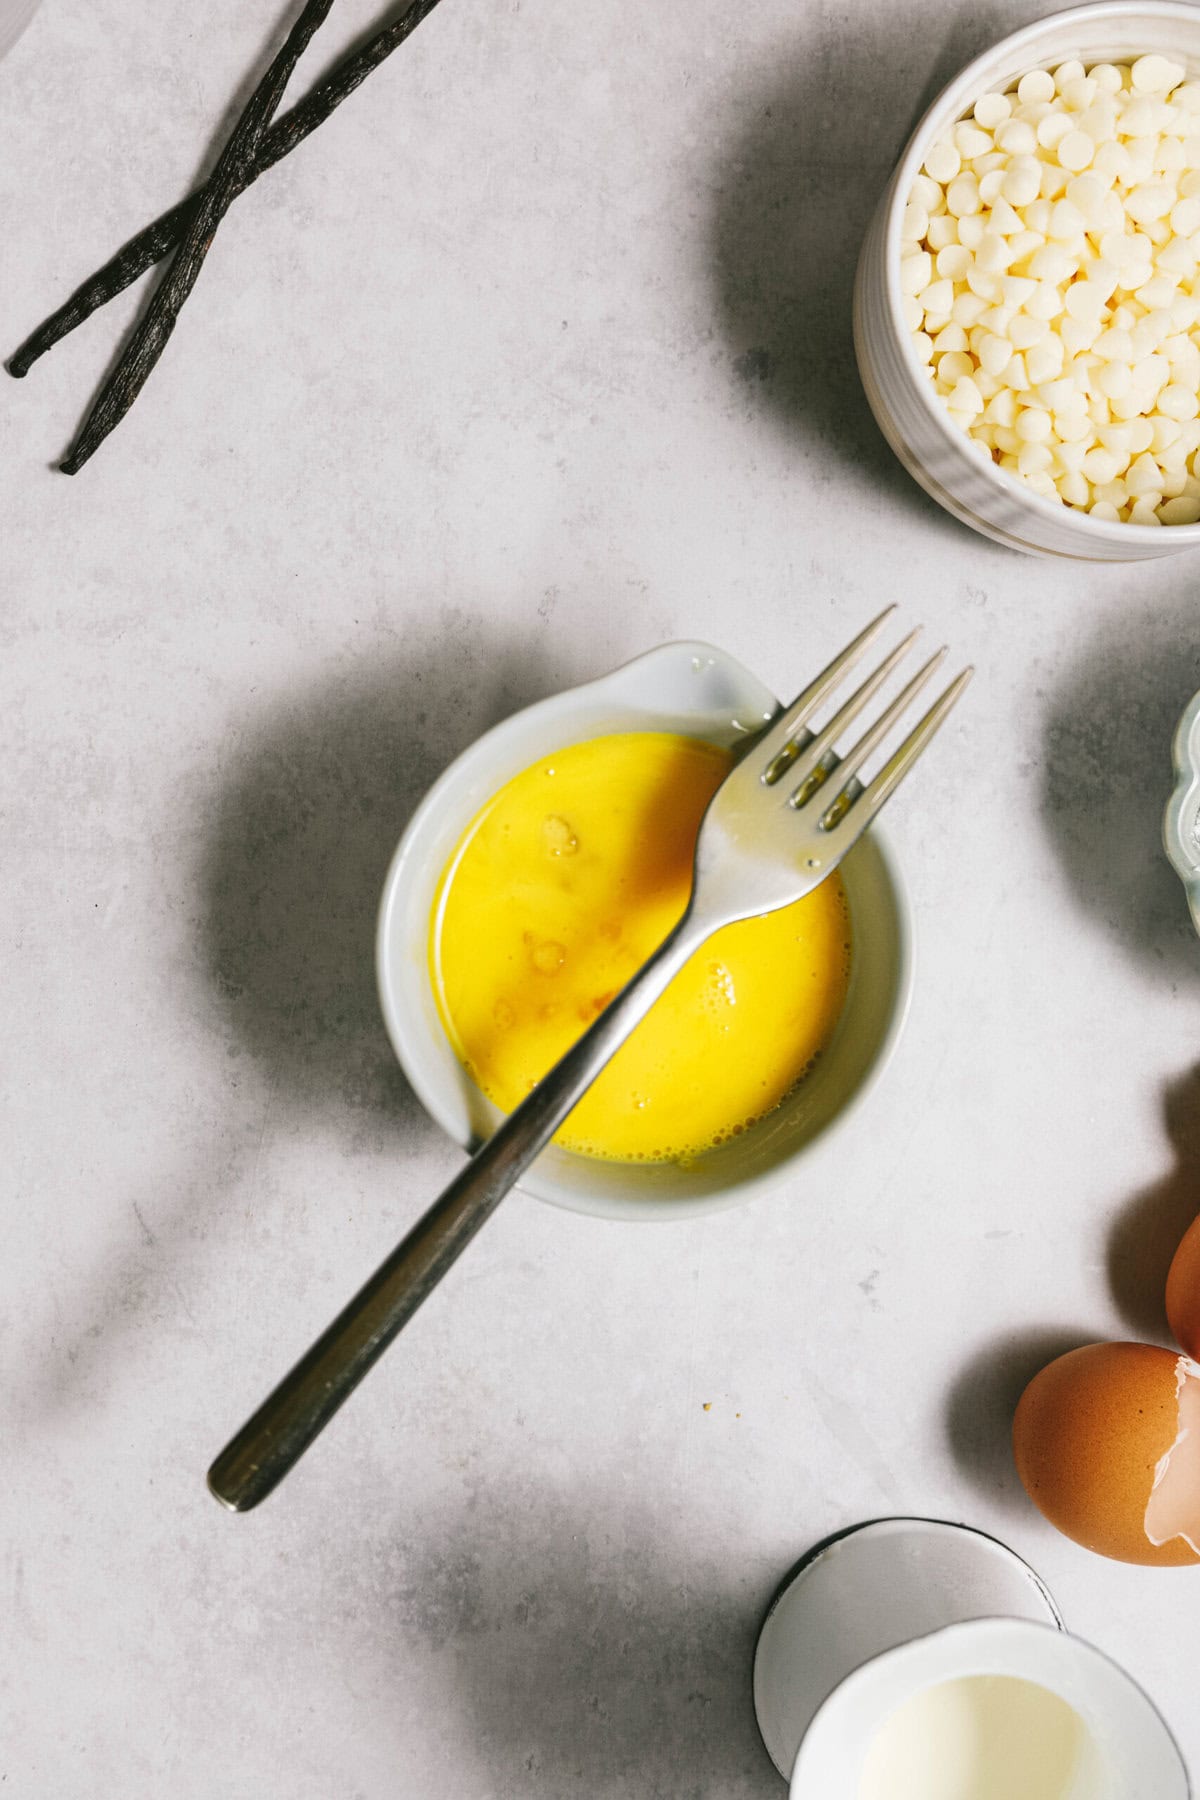
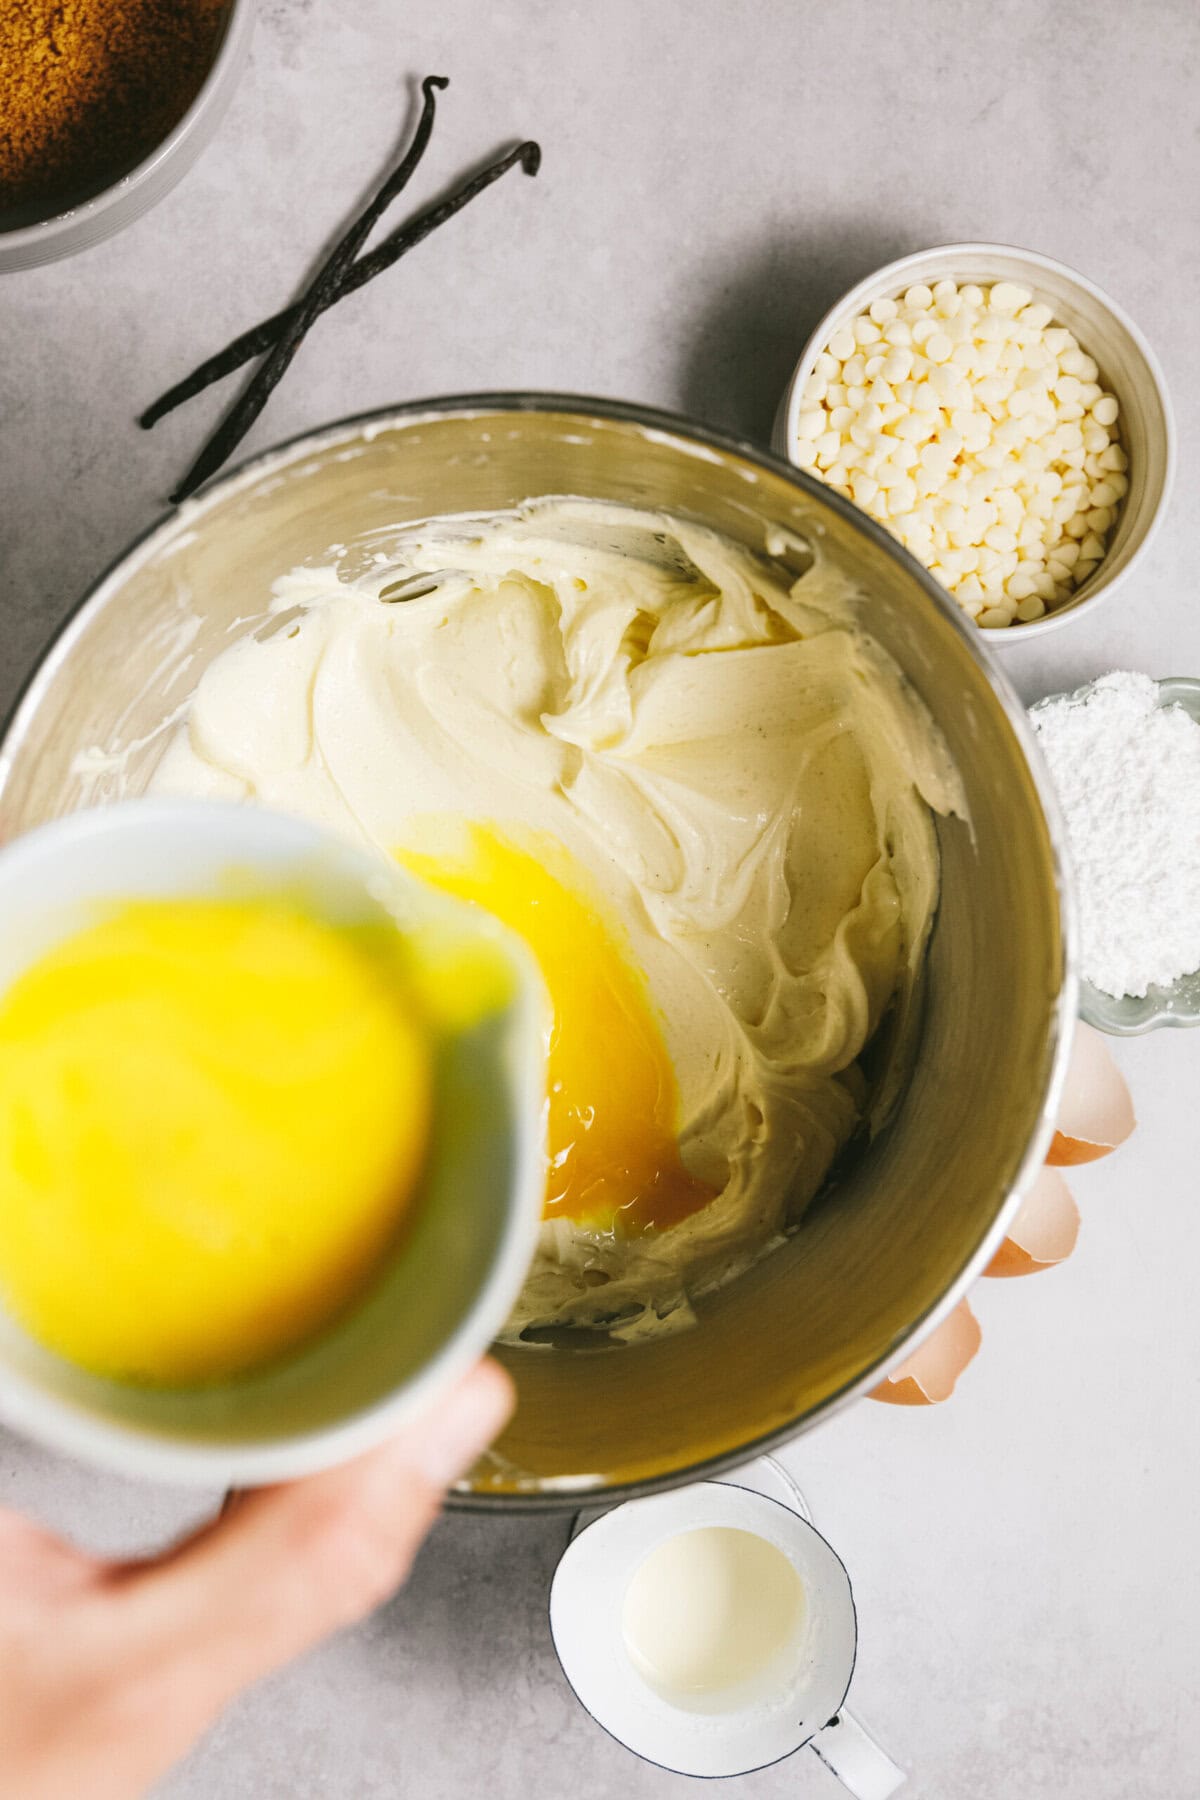
Crack eggs into a liquid measuring cup and using a fork, beat until well scrambled. With the mixer on low, slowly pour in the eggs into the cream cheese mixture and stop stirring once egg has been incorporated. Remove bowl from mixer and scrape the sides and bottom again, ensuring the entire mixture is smooth. If there are a few small lumps, try to fold in using the rubber scraper.
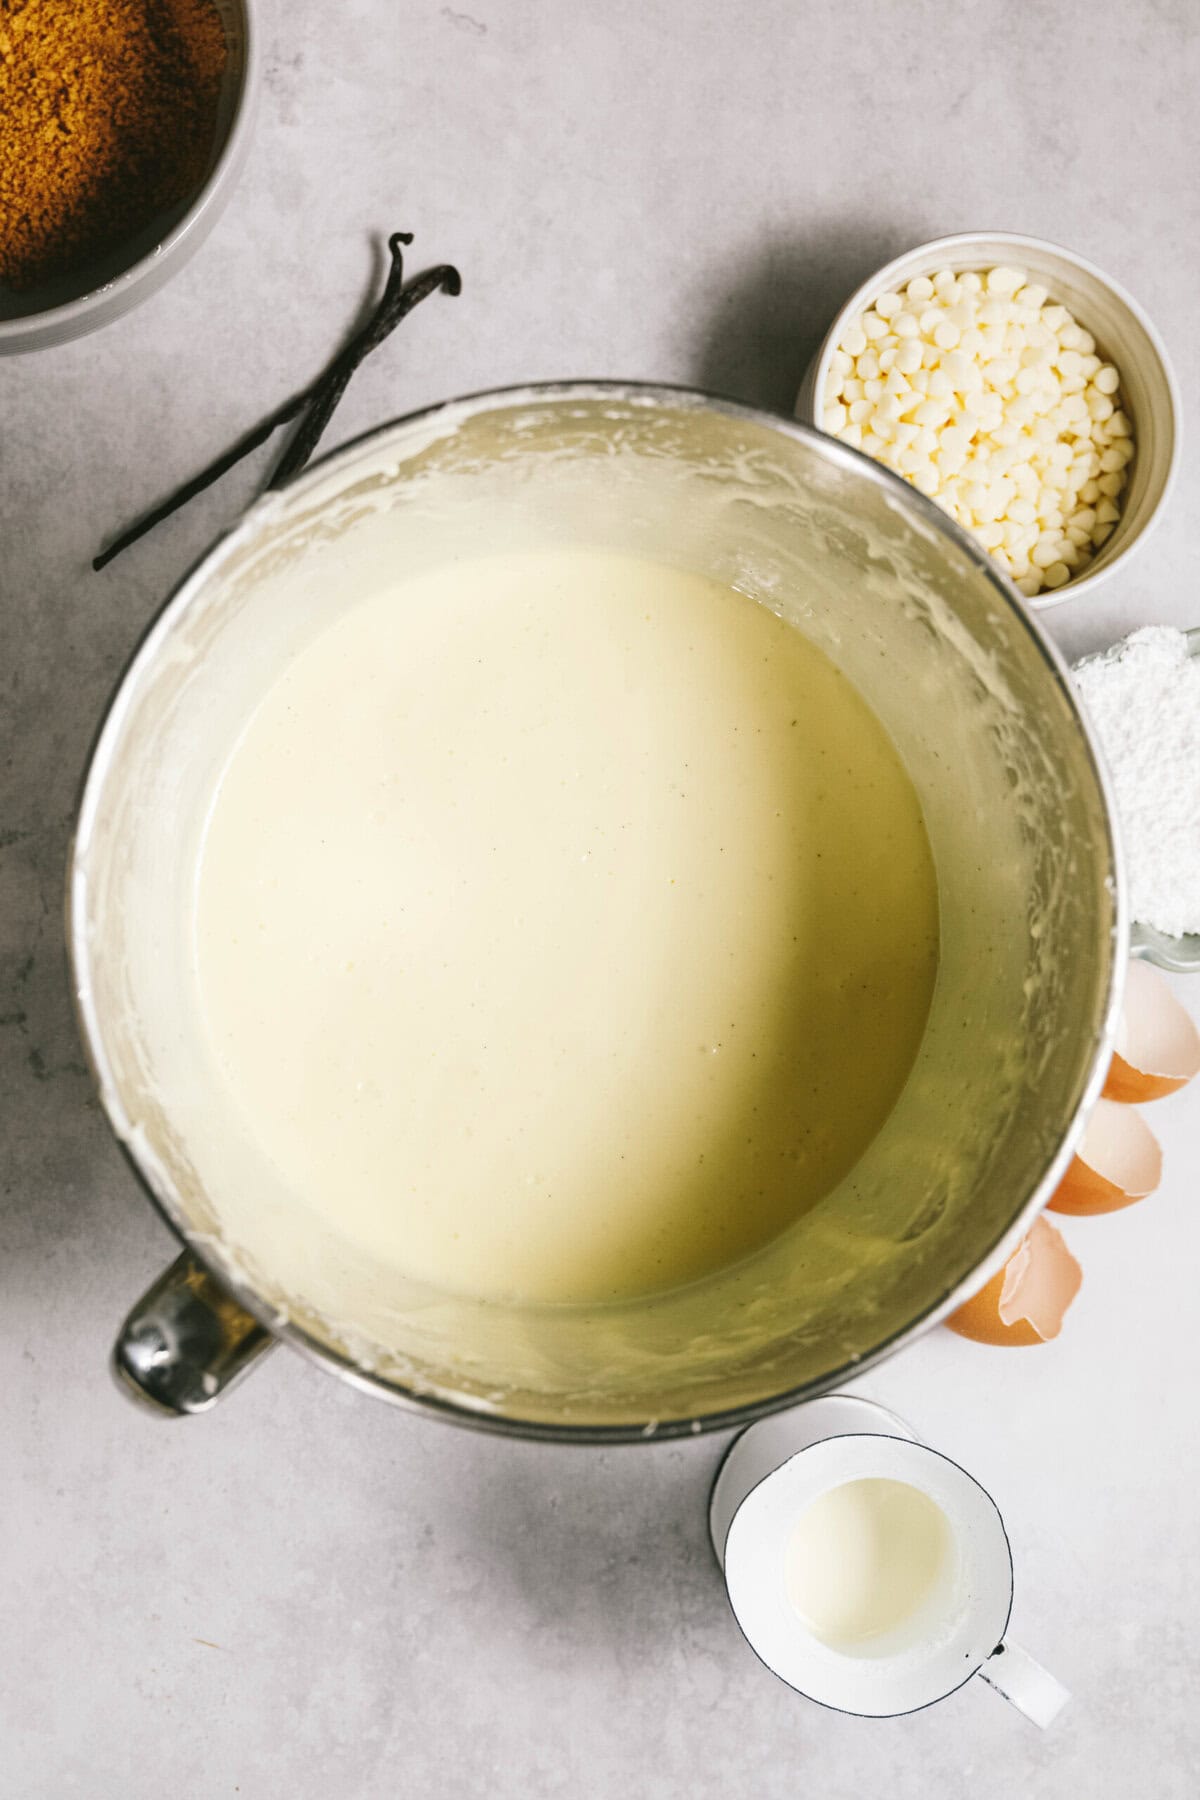
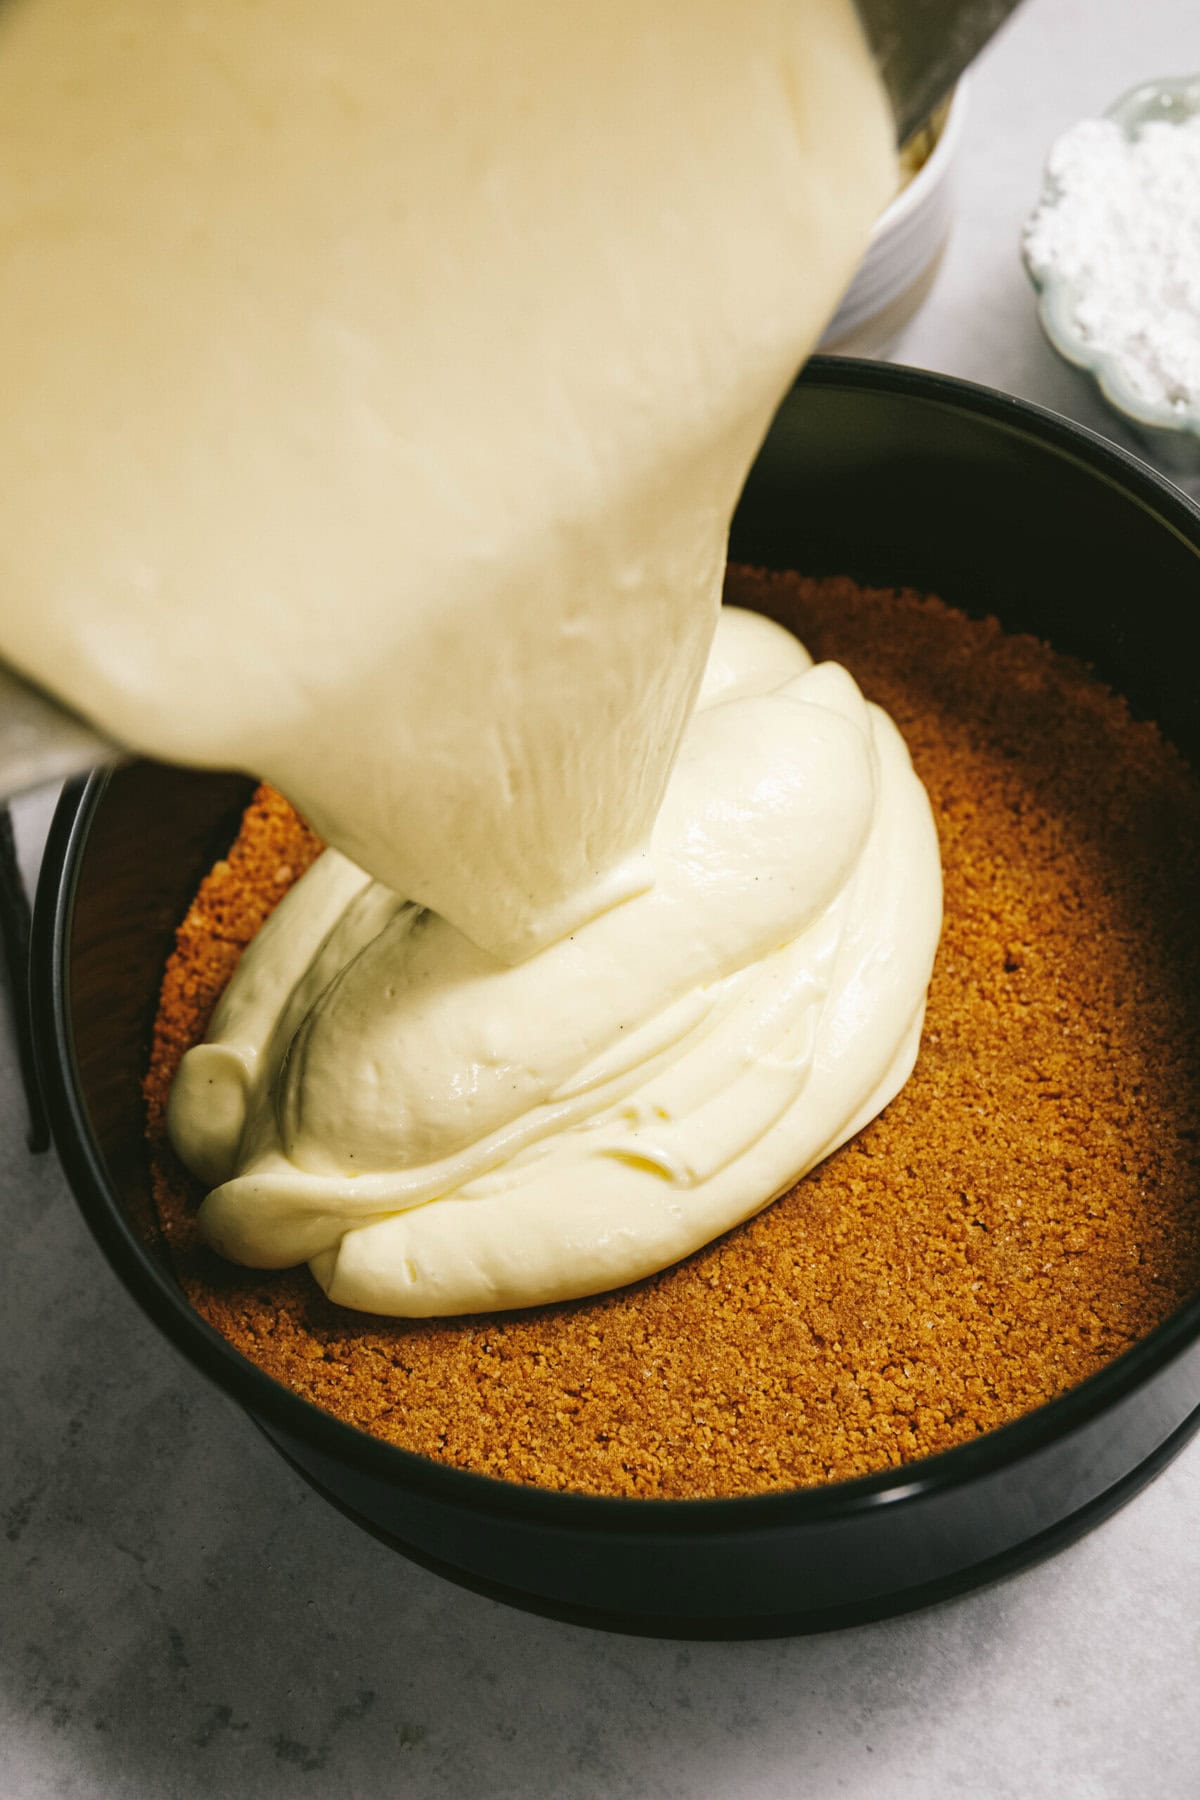
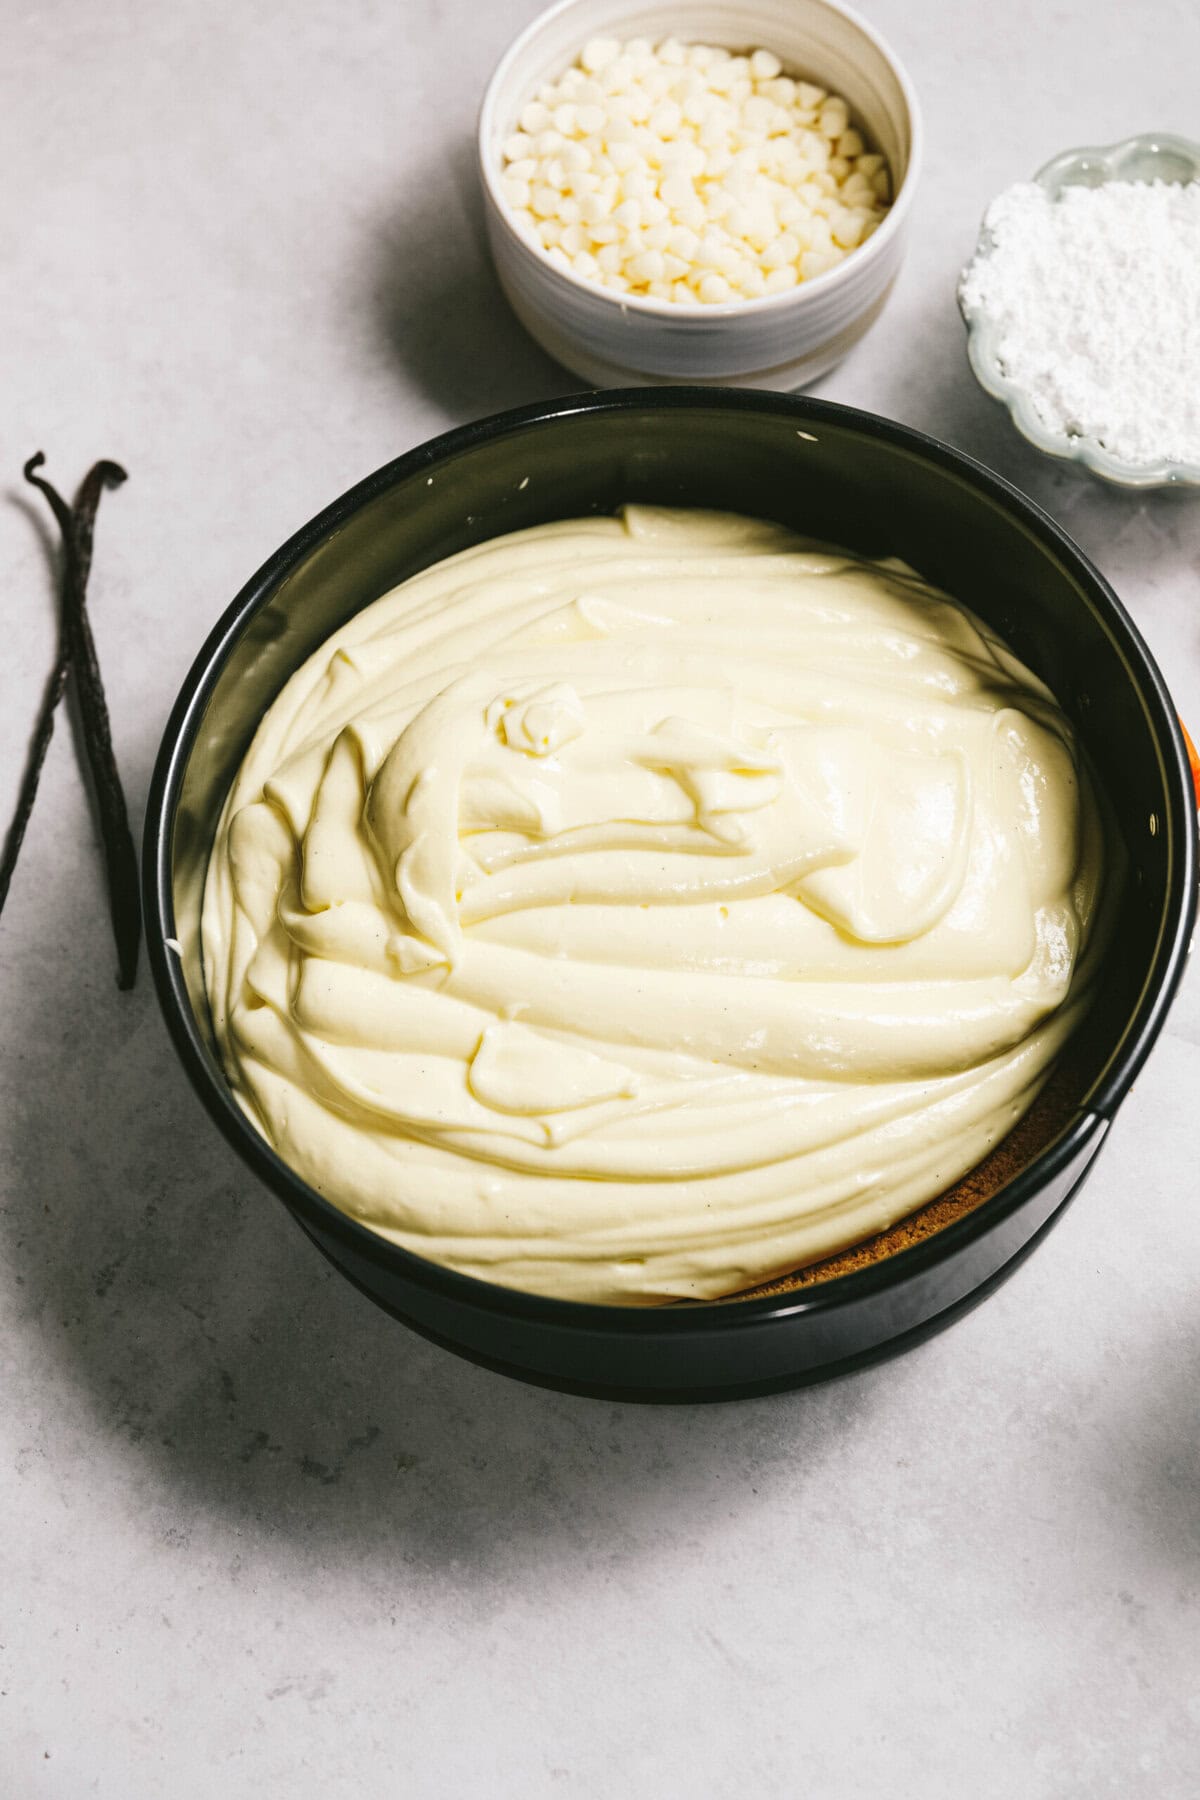
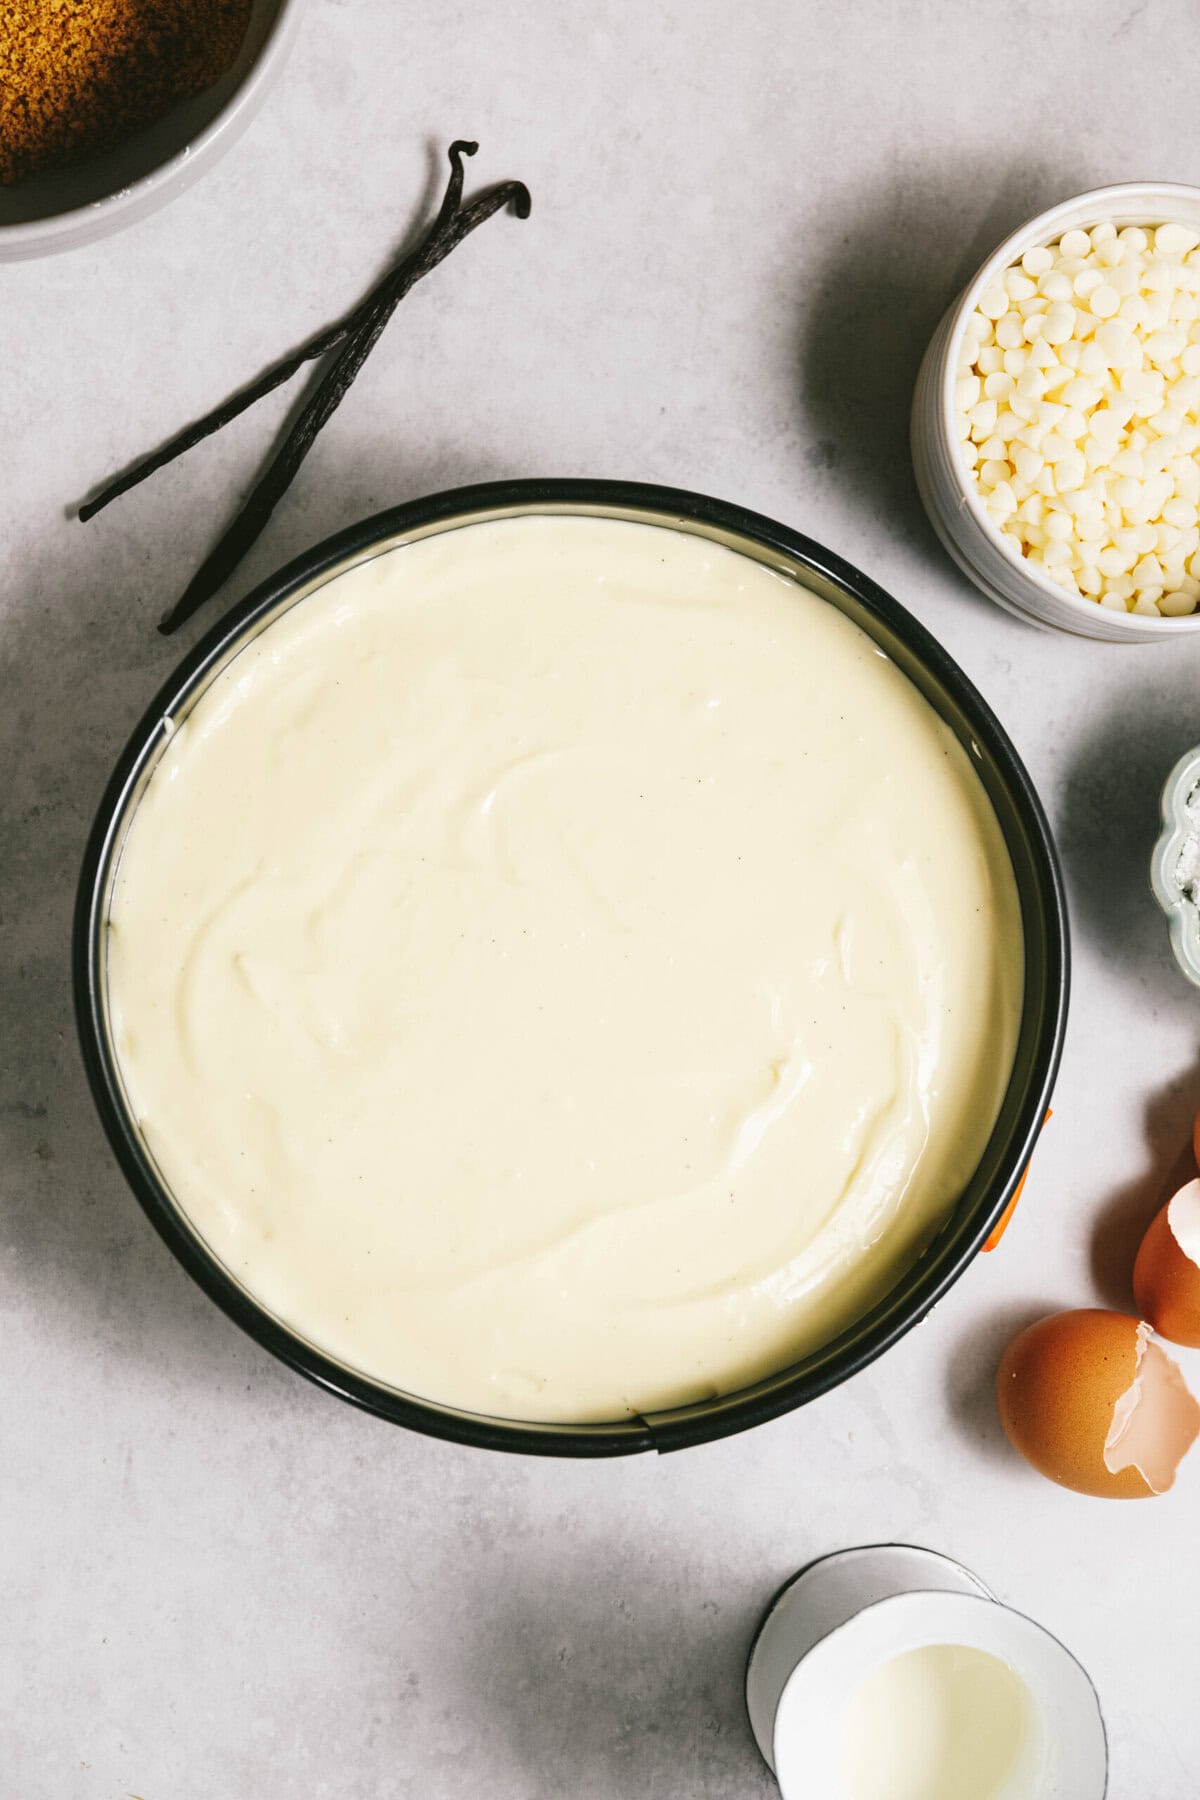
Once the batter is completely smooth and ready, tap the bowl on the counter for 30-45 seconds to remove as many air bubbles as possible. You should see them popping on the surface as you tap the bowl. Pour filling into the center of the graham cracker crust and gently smooth the top if needed.
3. Bake
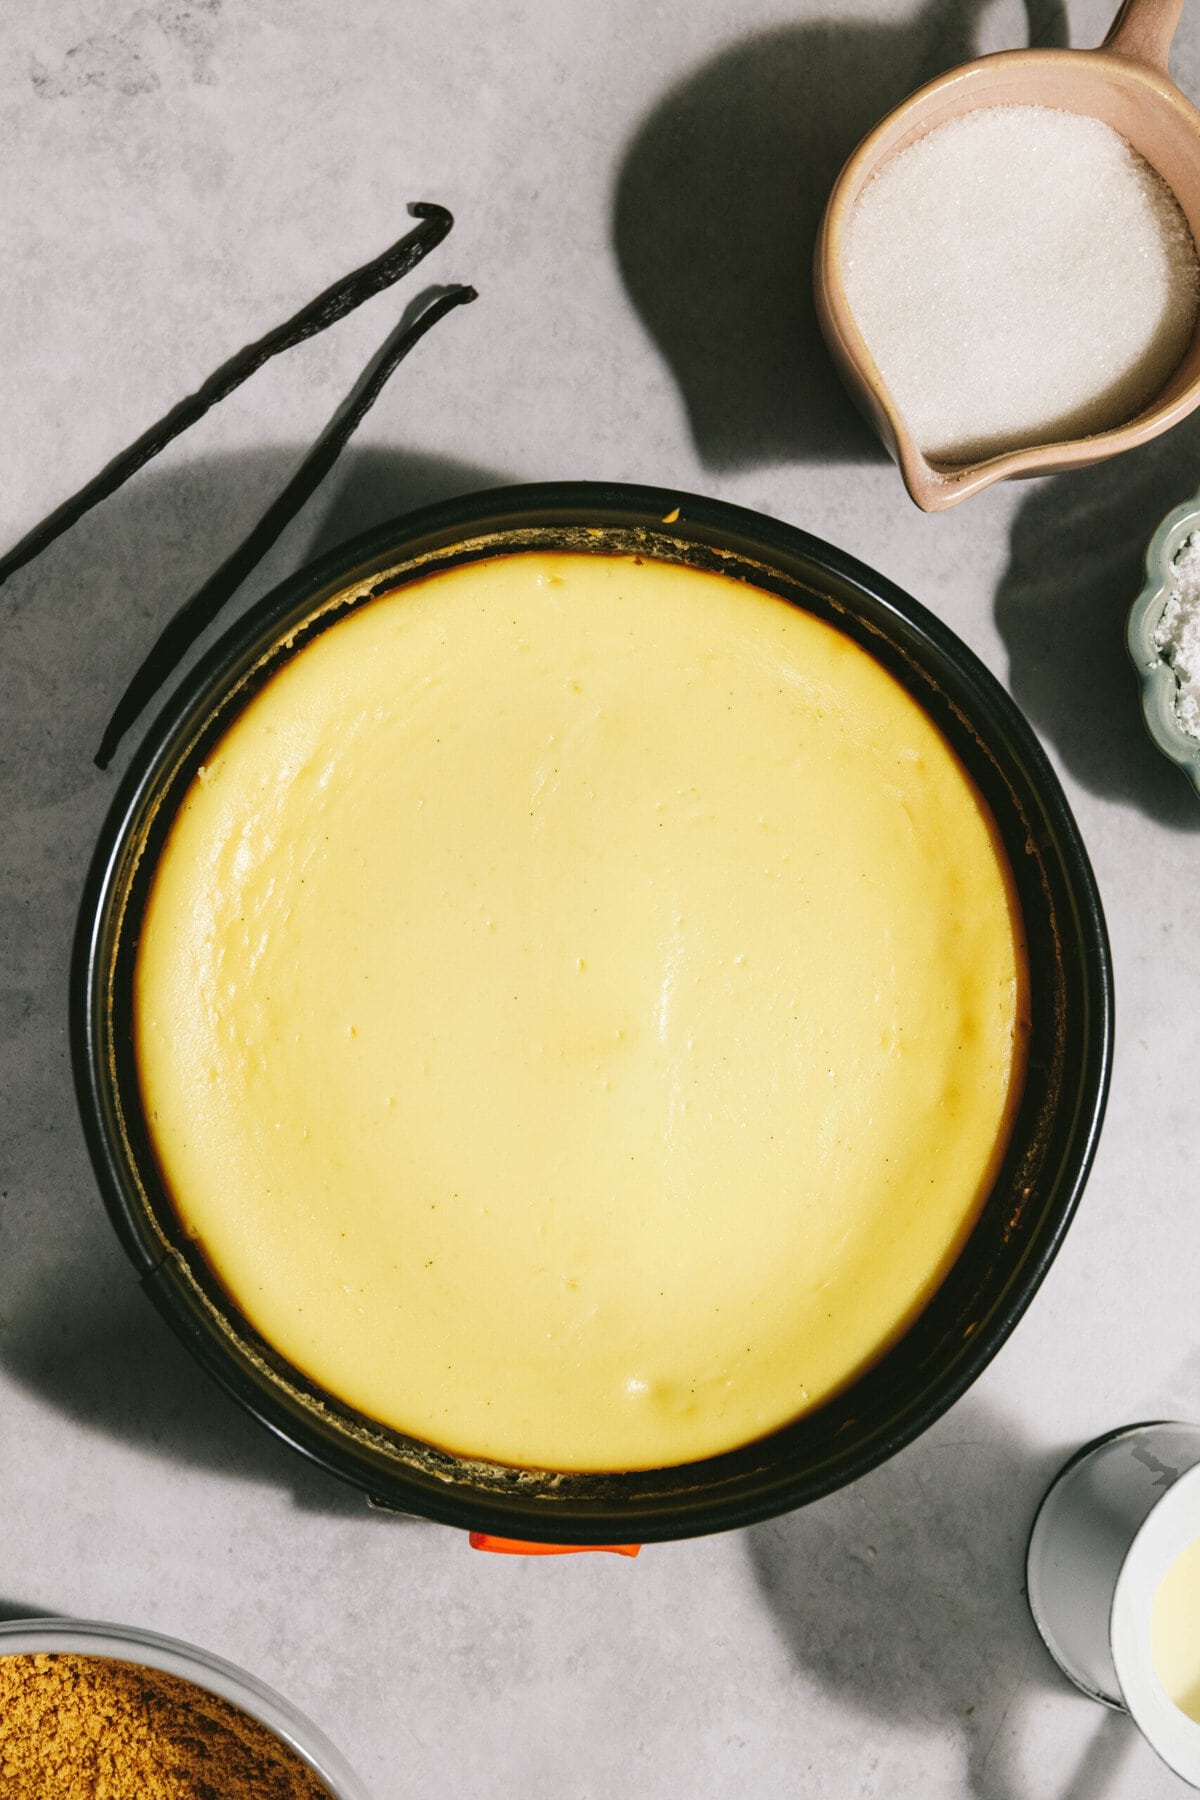
Bake for 30 minutes at 325° F. Reduce temperature to 250° F and continue cooking for 45 minutes more.
Turn Off the Oven–DO NOT TAKE THE CHEESECAKE OUT OF THE OVEN YET
Once this time has elapsed, turn oven off and keep cheesecake inside for another 30 minutes for some carryover cooking without opening the oven door.
After 30 Minutes, Crack Oven Door Open to Cool for 1 Hour. Slowly Bring to Room Temperature, Then Refrigerate.
Crack oven door to let cheesecake cool slowly for 1 hour before removing. At this point, cheesecake should be slightly warm.
Bring cheesecake to room temperature on the counter (3-4 hours) before covering with plastic wrap and transferring to the fridge.
Refrigerate until chilled completely (6 hours to overnight).
4. Making the White Chocolate Mousse Layer
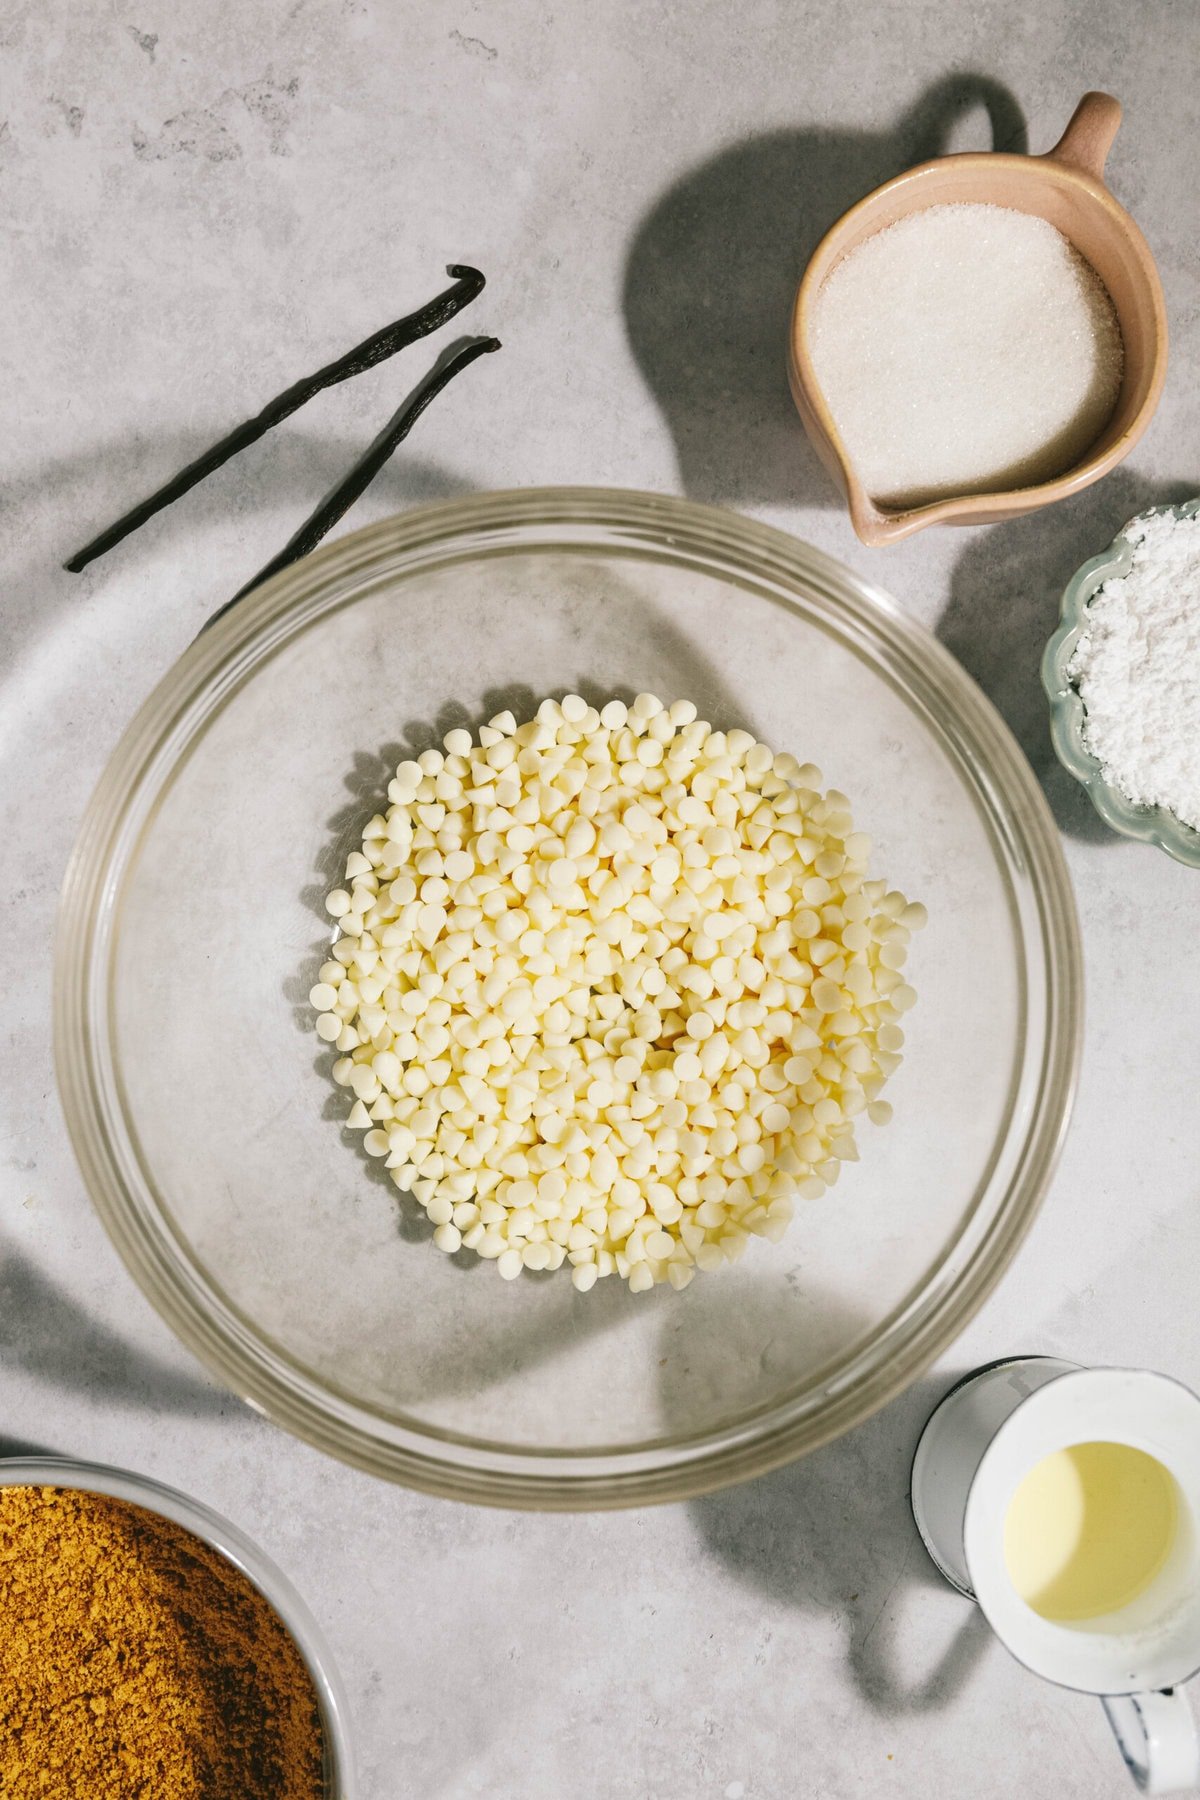
Place white chocolate chips in a double boiler over low heat, stirring constantly until melted. Alternatively, you can place in a microwave safe bowl and microwave in 10-15 seconds stirring in between until melted. Set aside and let cool a bit.
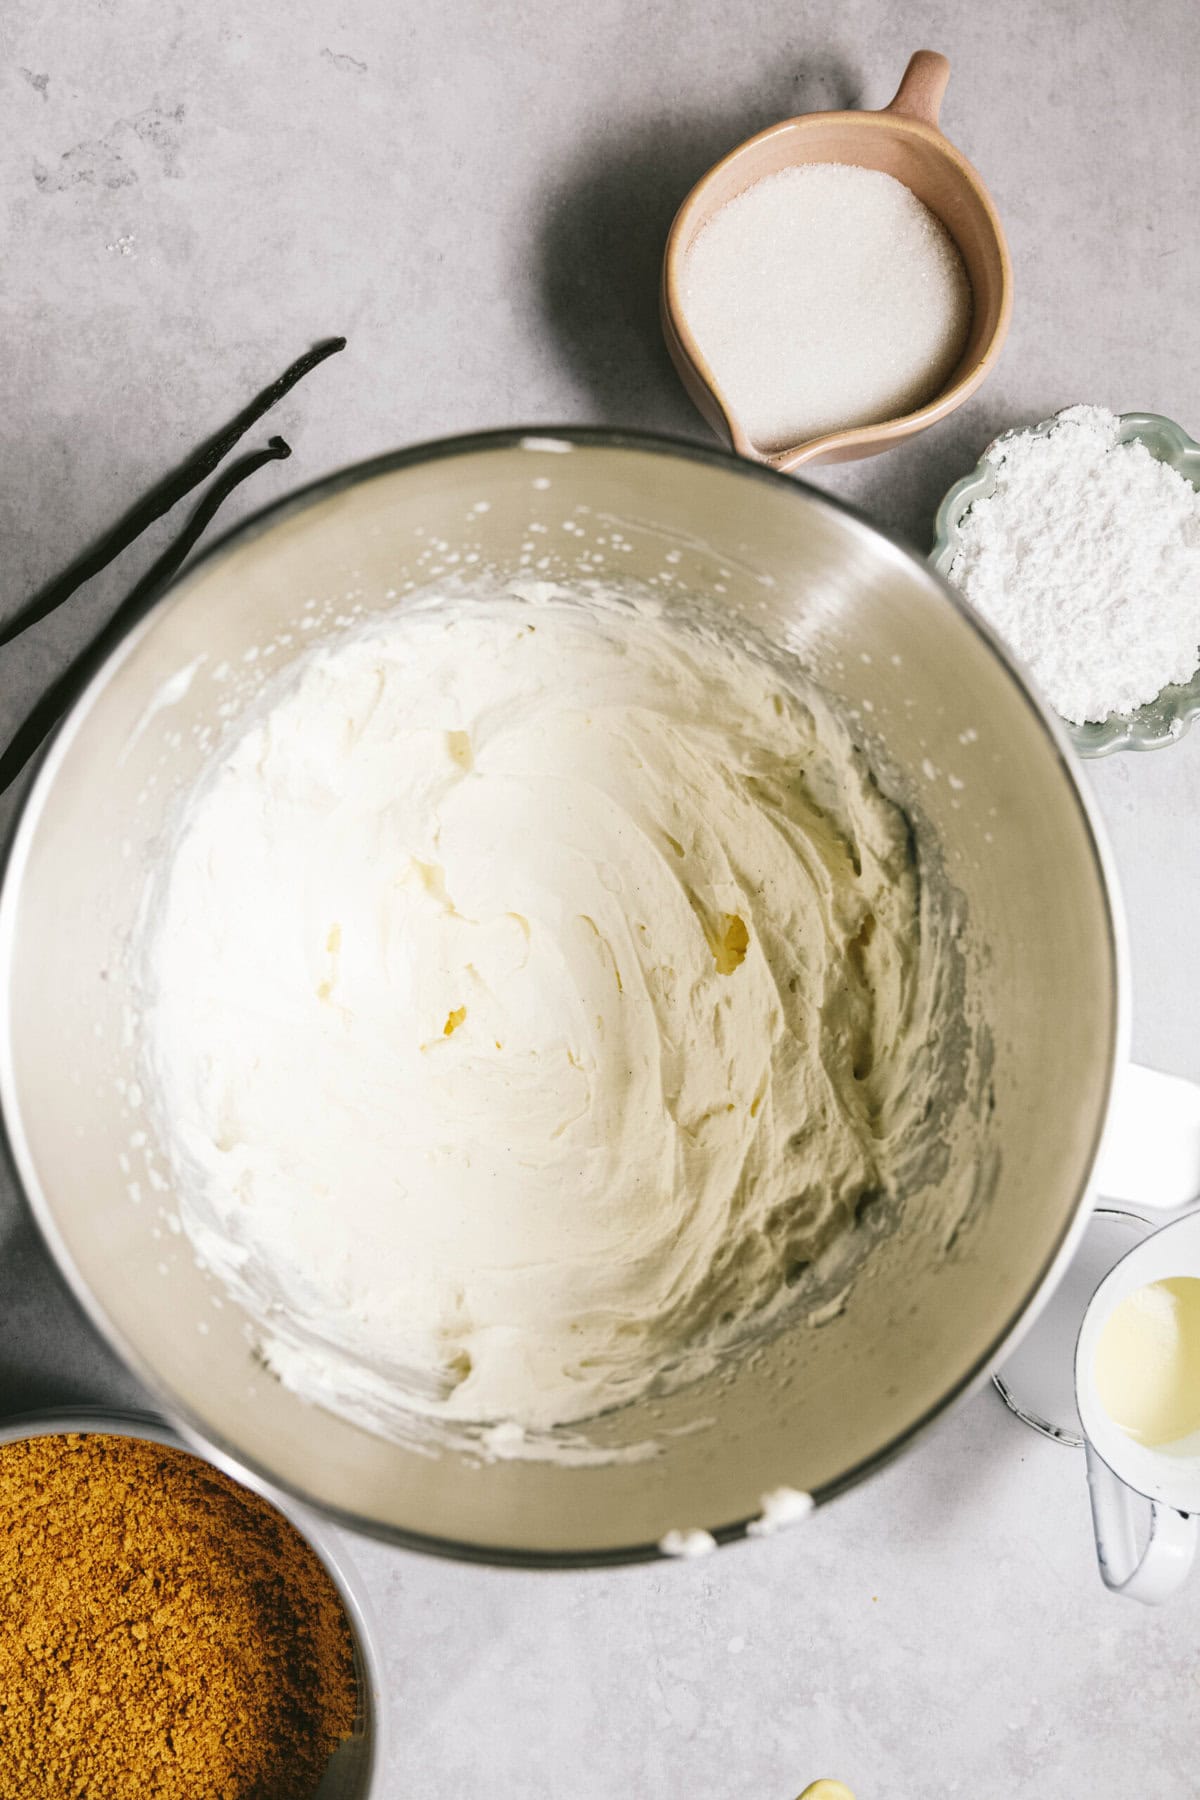
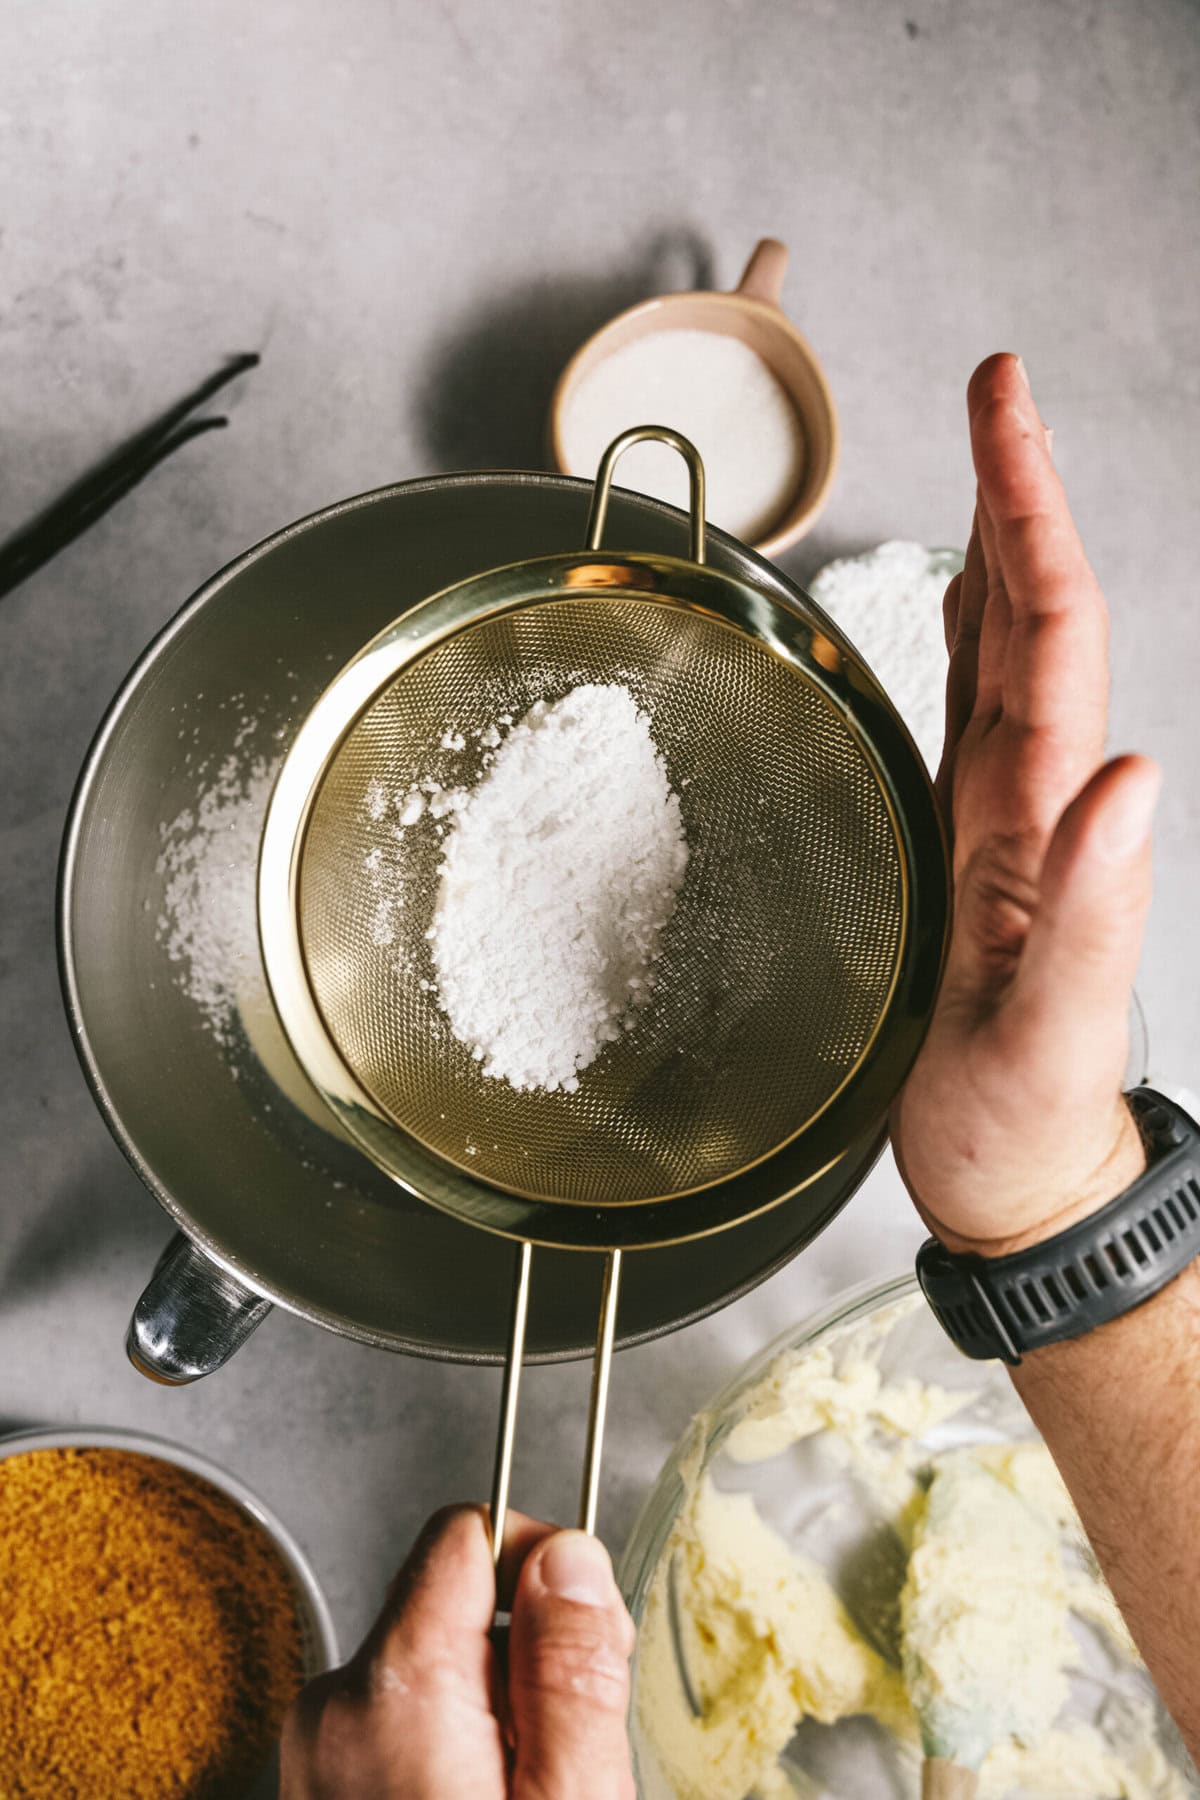
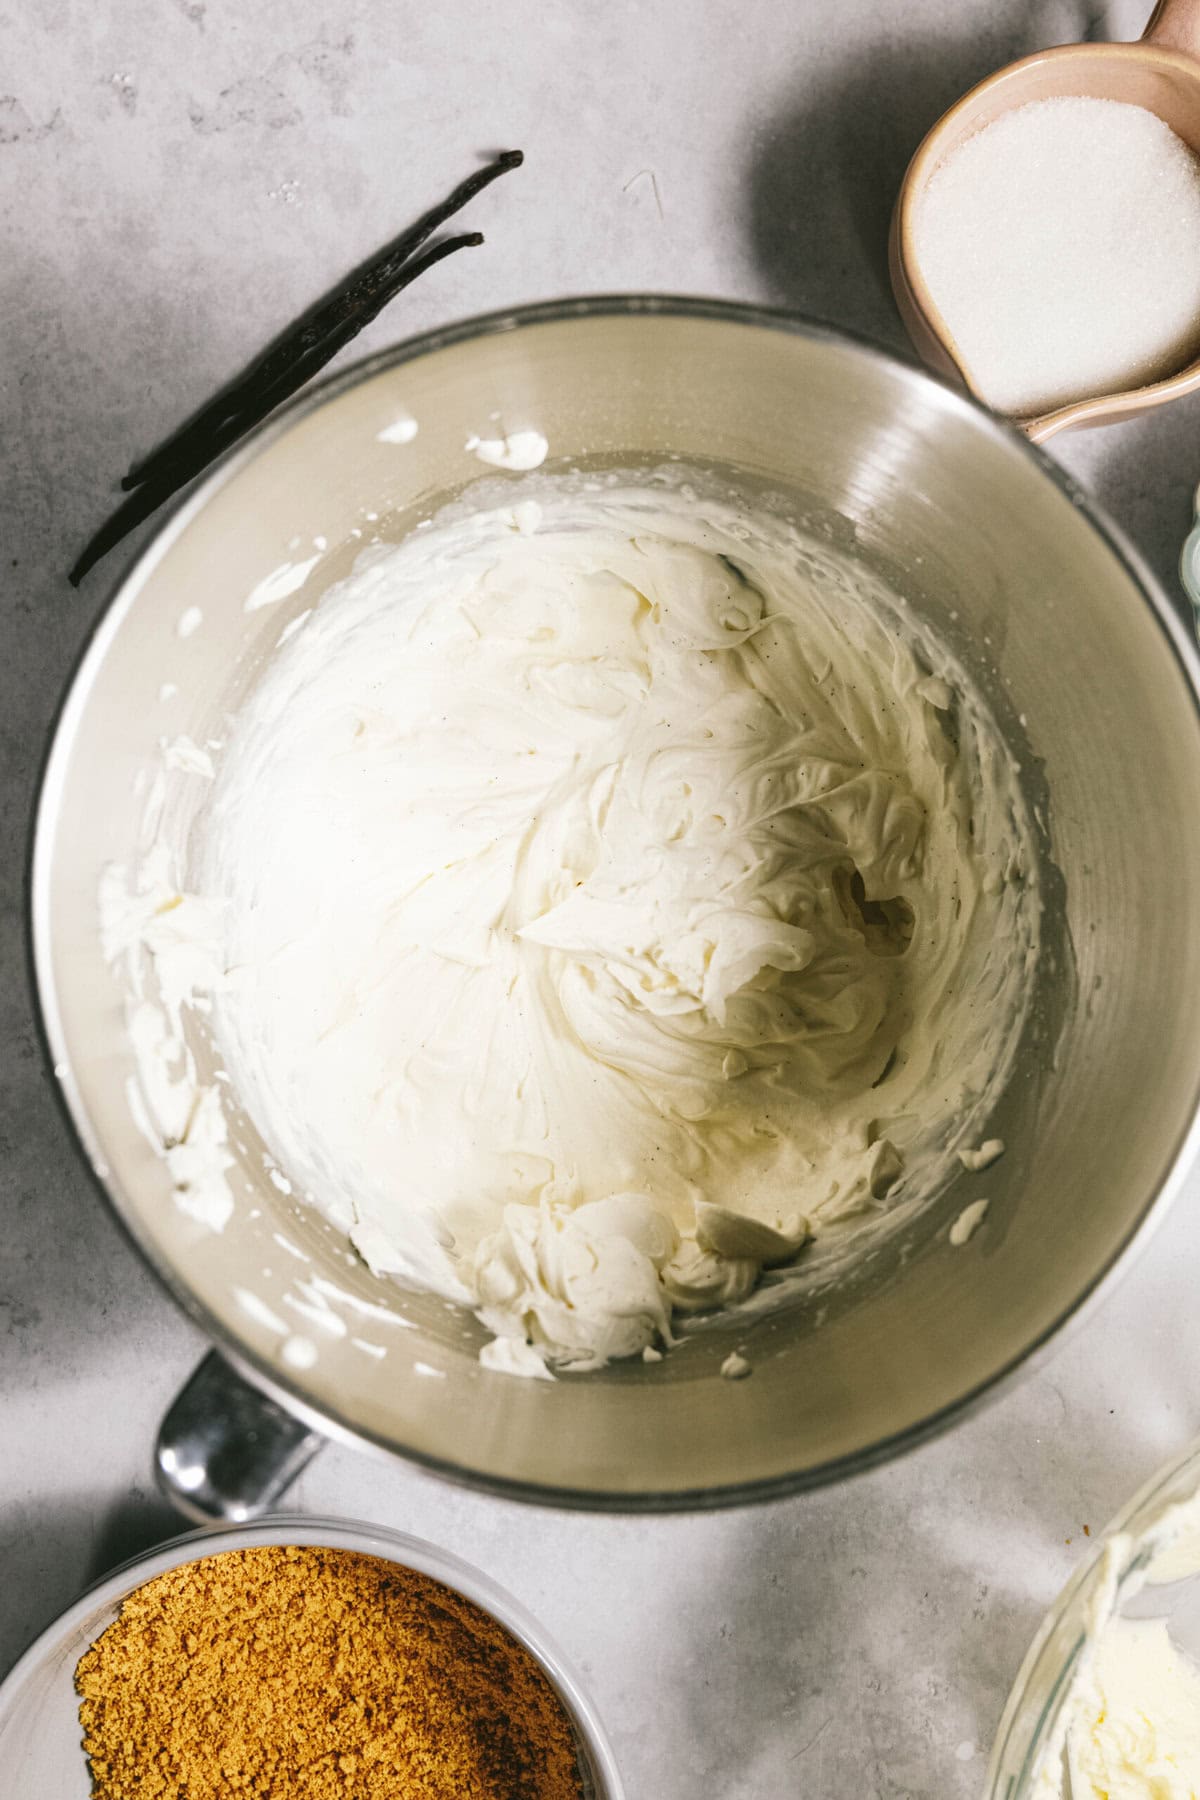
In a chilled bowl, add in heavy whipping cream, sugar and vanilla bean seeds and whip until stiff peaks form. You can use a stand mixer, hand mixer or whisk by hand.
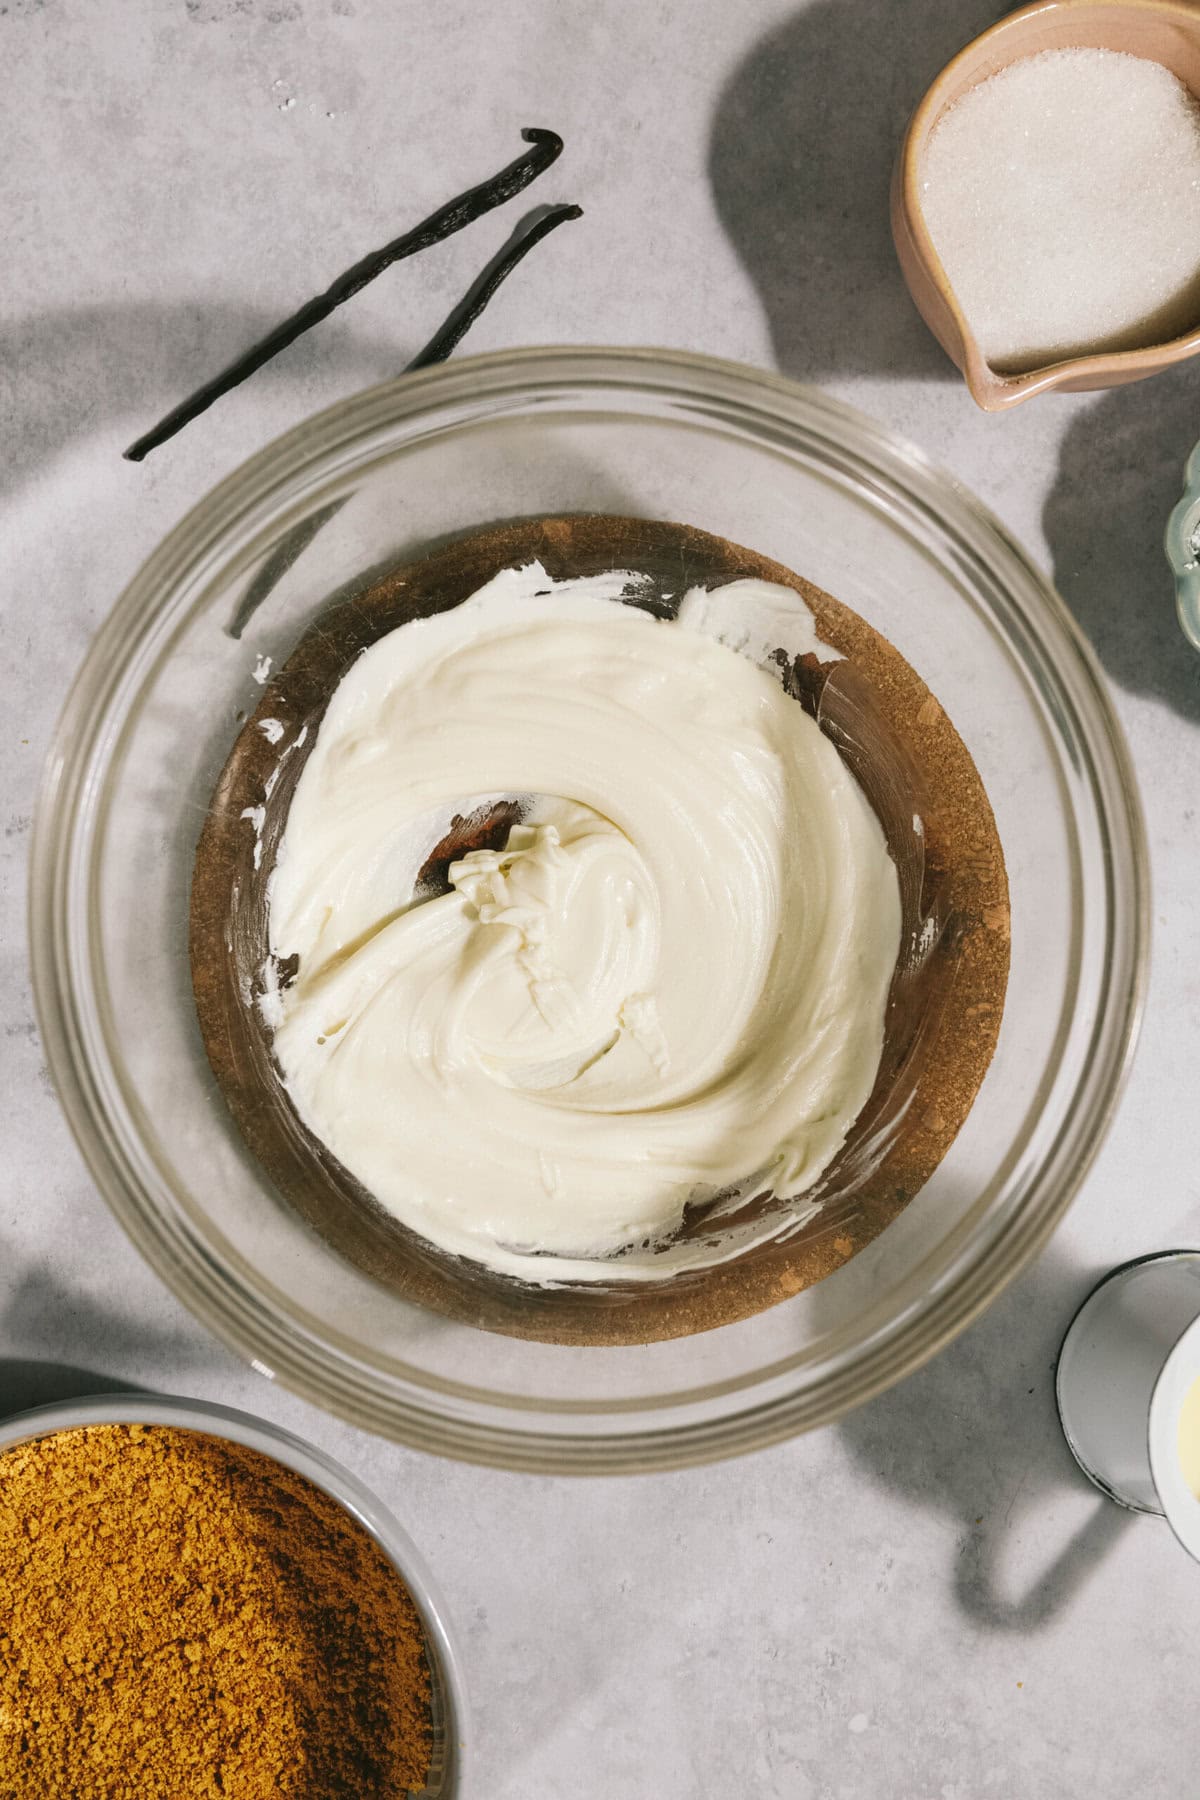
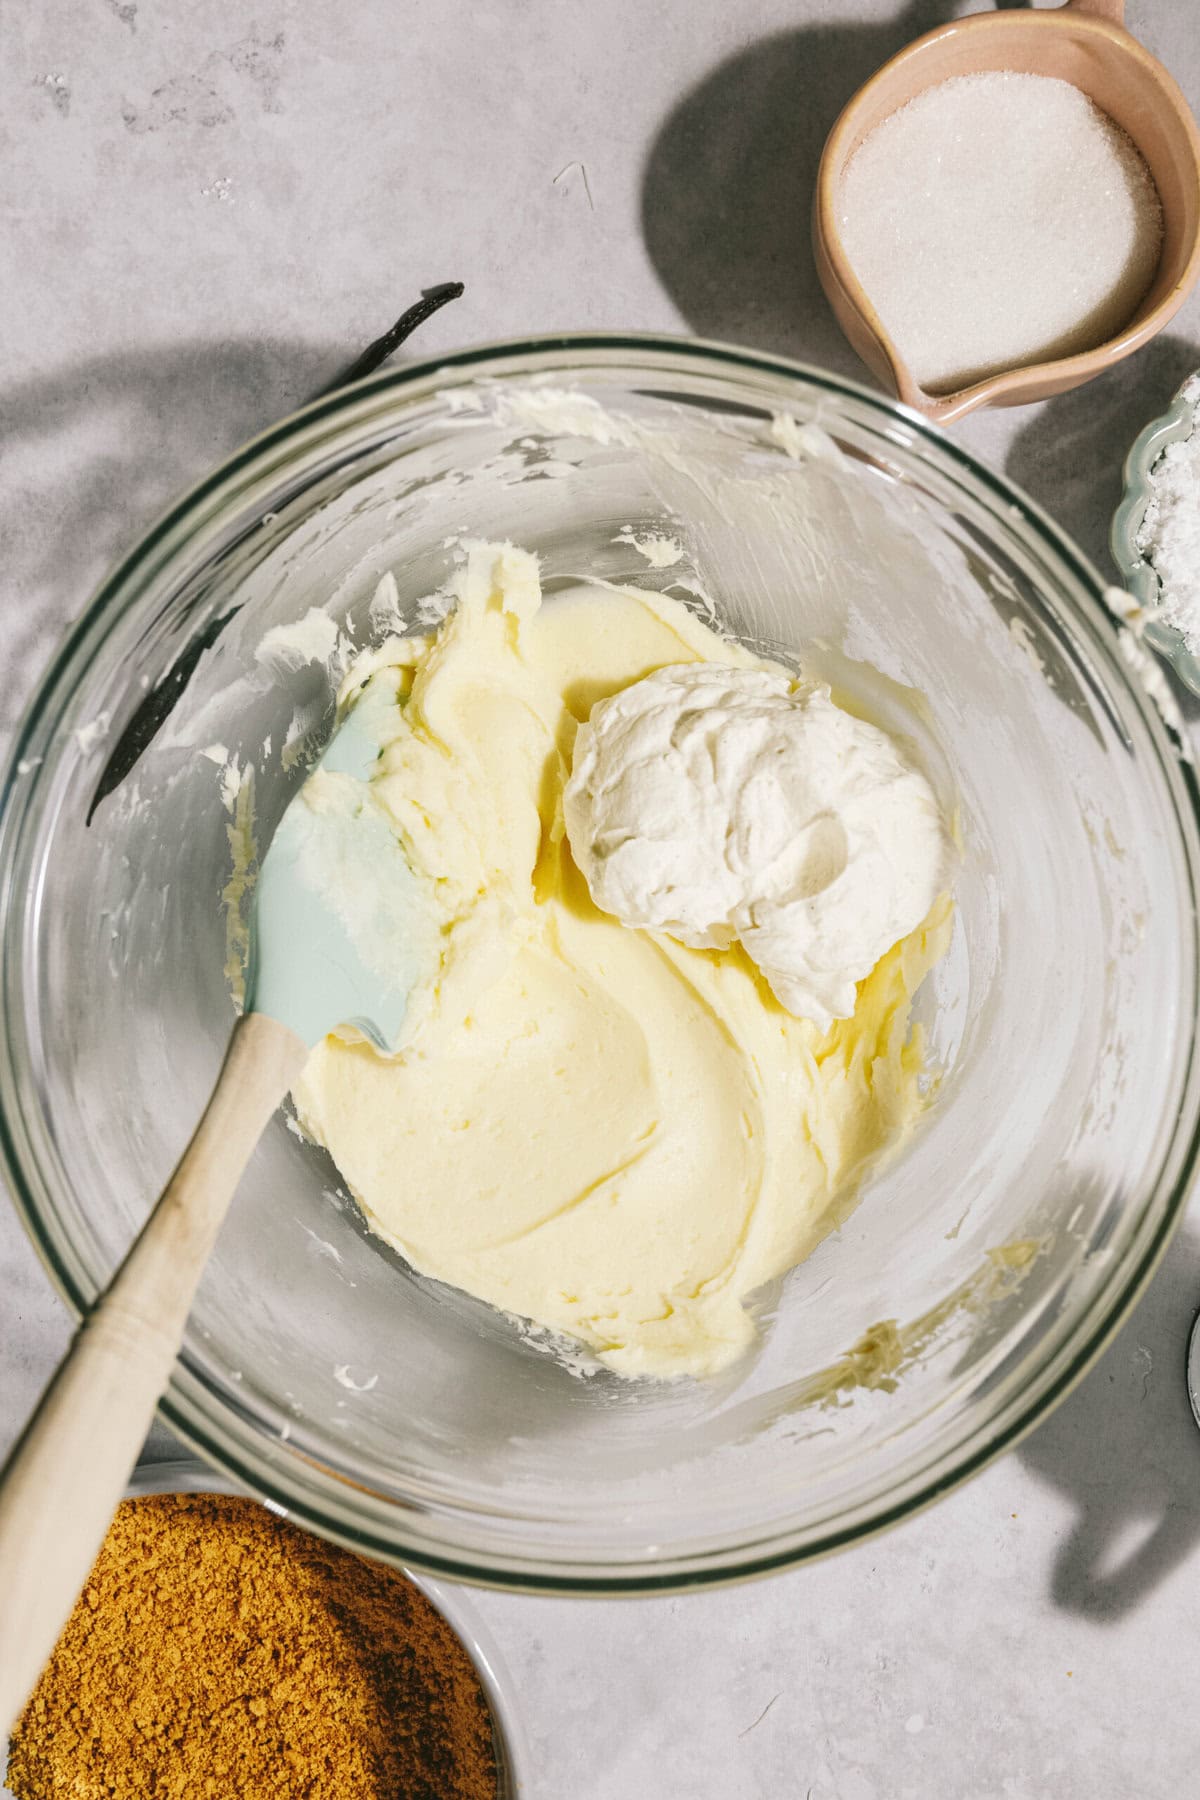
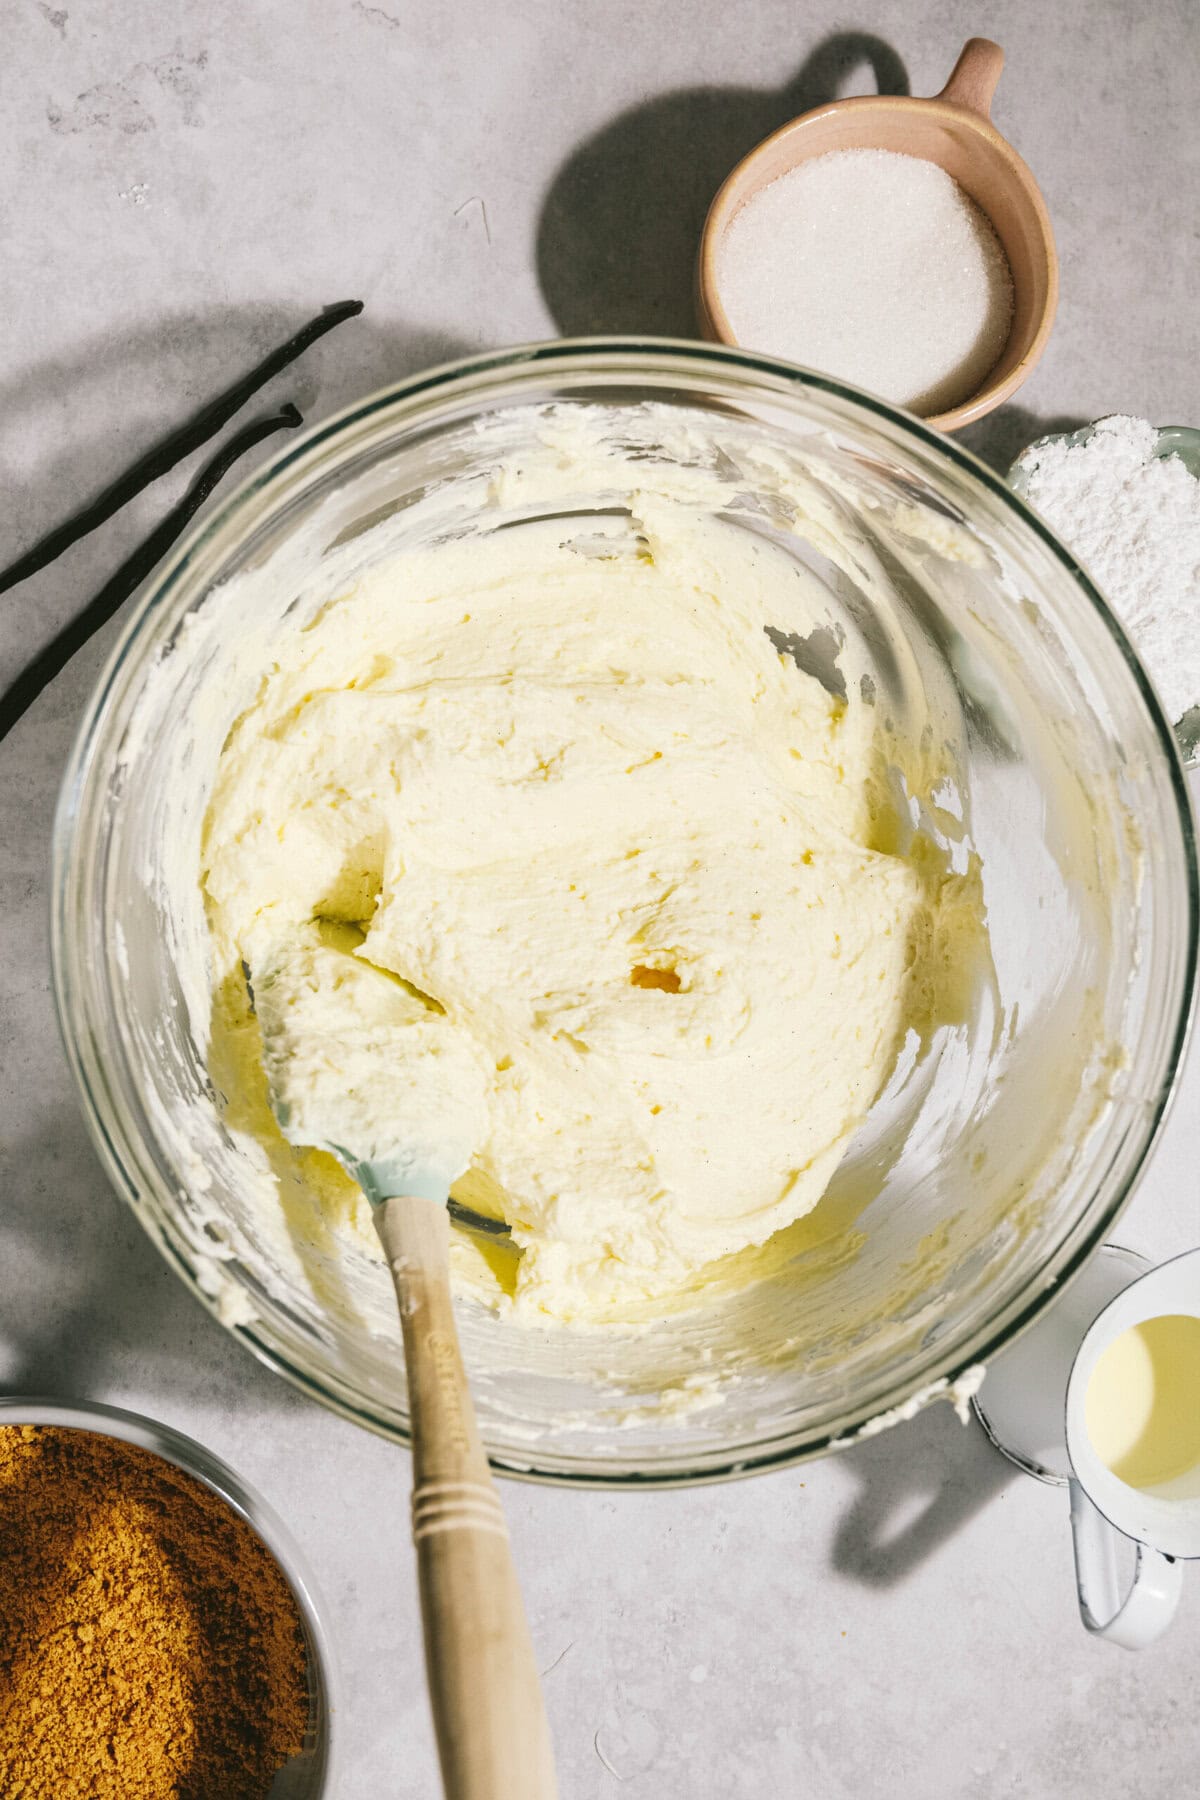
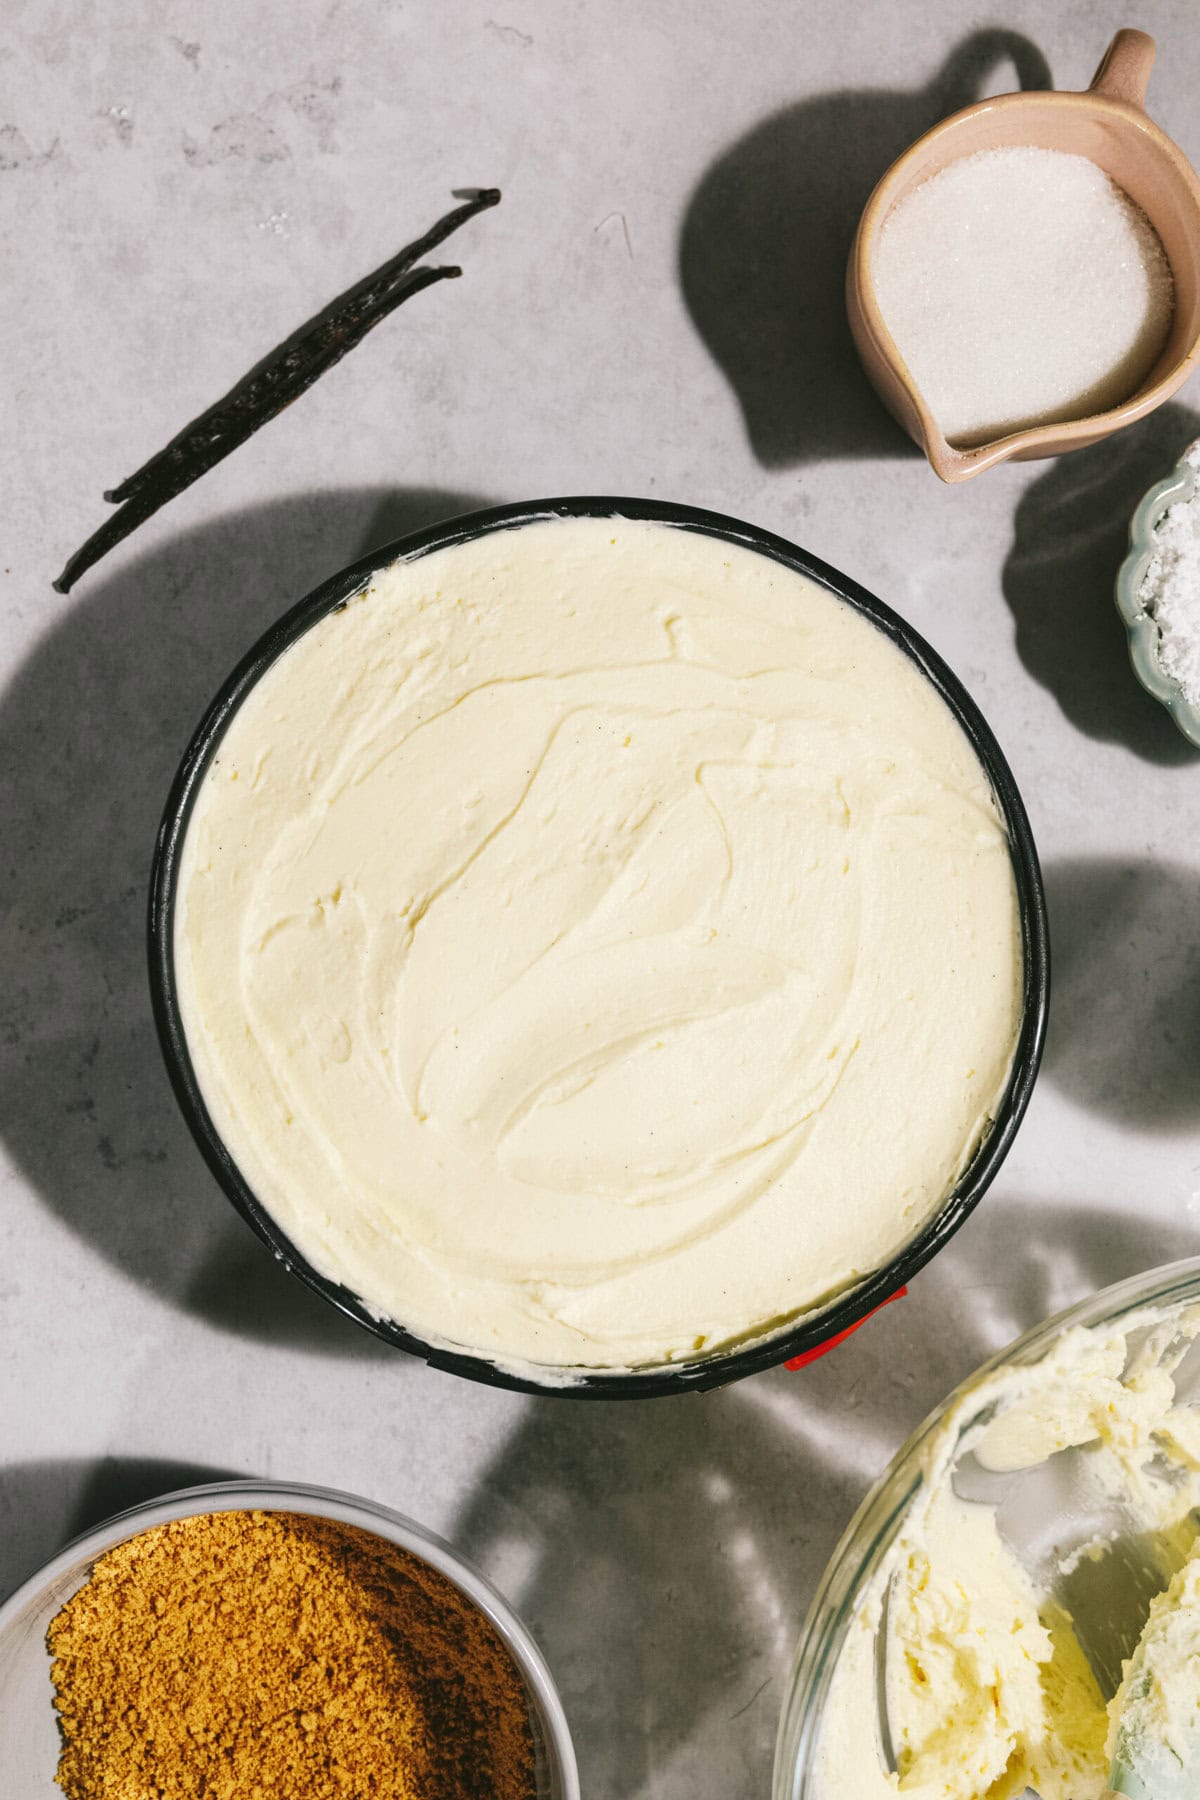
In a separate bowl, whip cream cheese until smooth. Add melted white chocolate and mix until combined. Gently fold in the whipped cream mixture a few spoonfuls at a time until no streaks remain.
5. Spread Layer Over Chilled Cheesecake
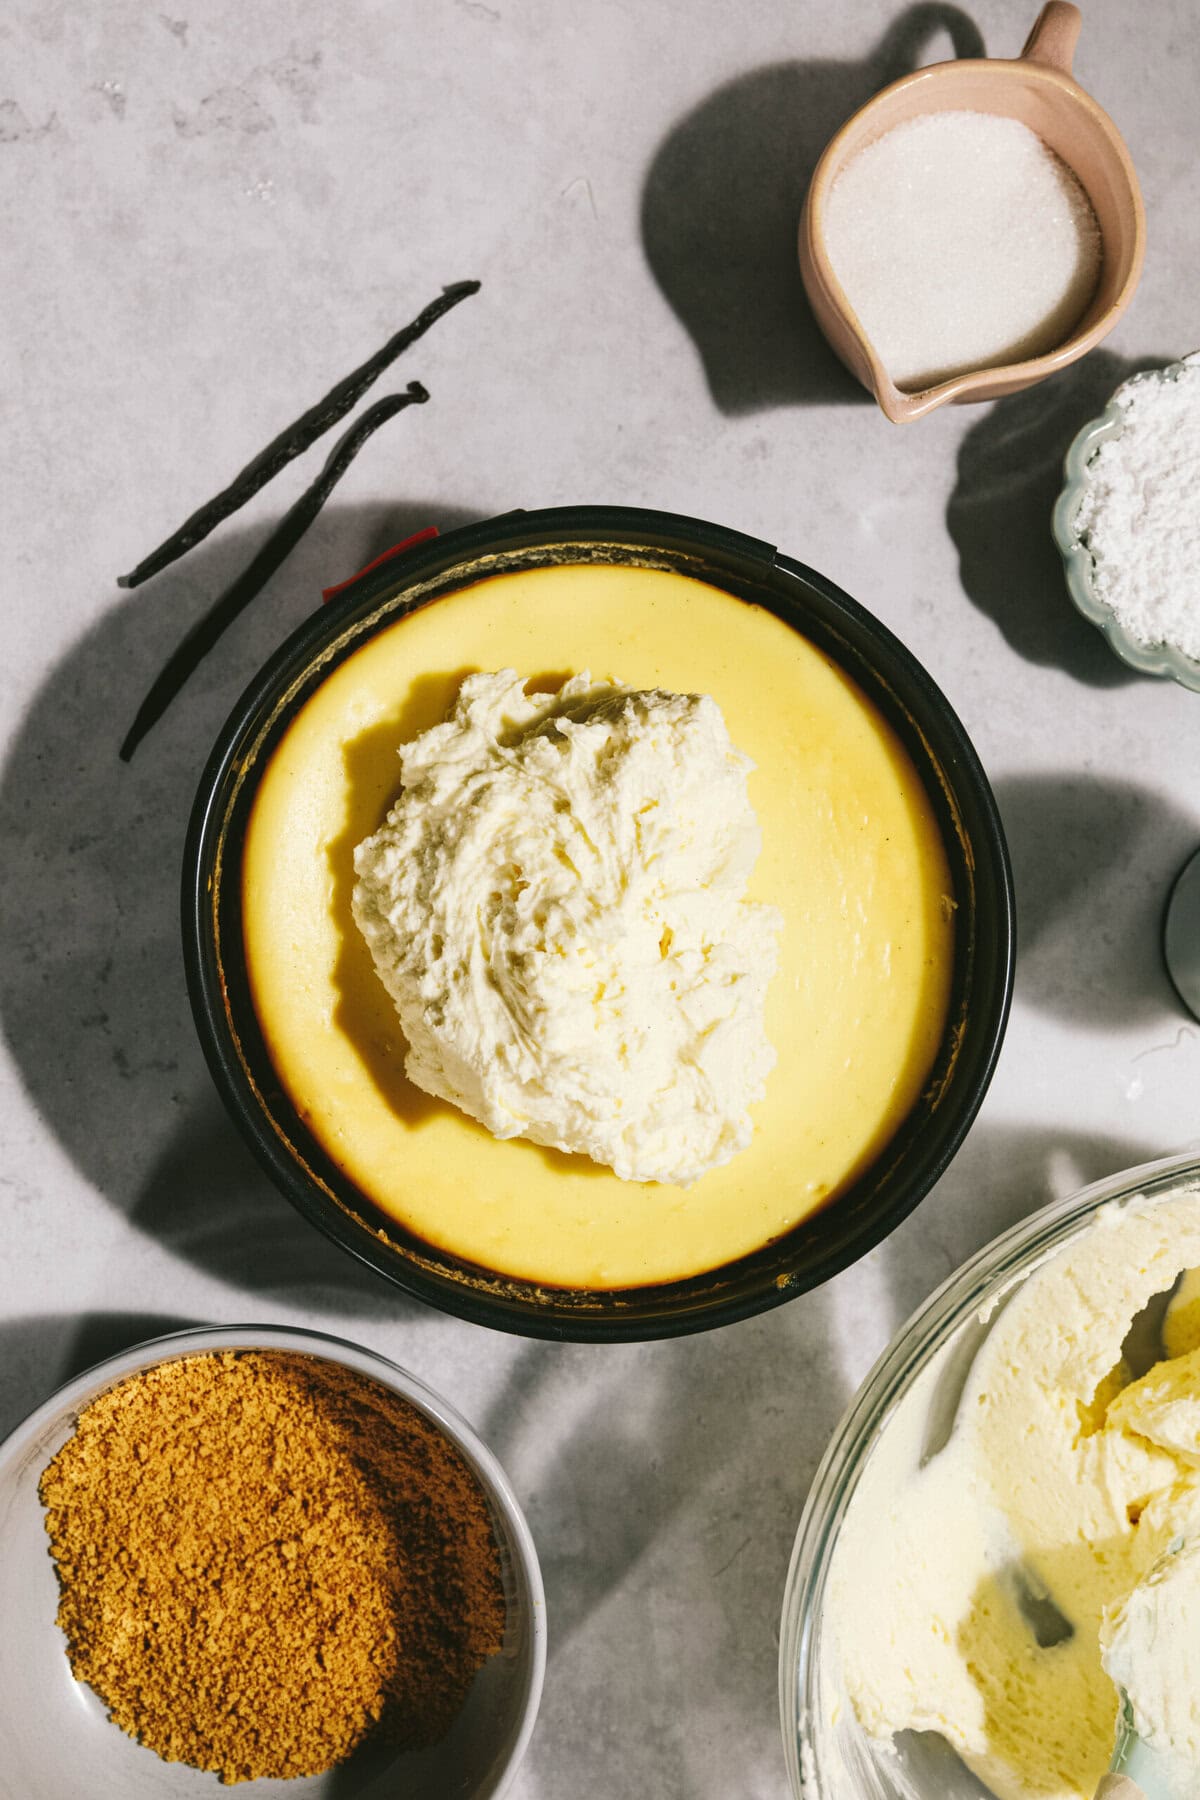
Remove chilled cheesecake from refrigerator and spread the white chocolate mixture over top, smoothing out evenly. Cover loosely with foil or plastic wrap and chill for at least 1 1/2 hours.
6. Make the Whipped Cream Topping (within 2 hours of serving your cheesecake)
In a chilled bowl, add in heavy whipping cream, sugar and vanilla beans and whip until stiff peaks form. You can use a stand mixer, hand mixer or whisk by hand.
Spread evenly overtop mousse layer. Serve immediately or refrigerate until ready.

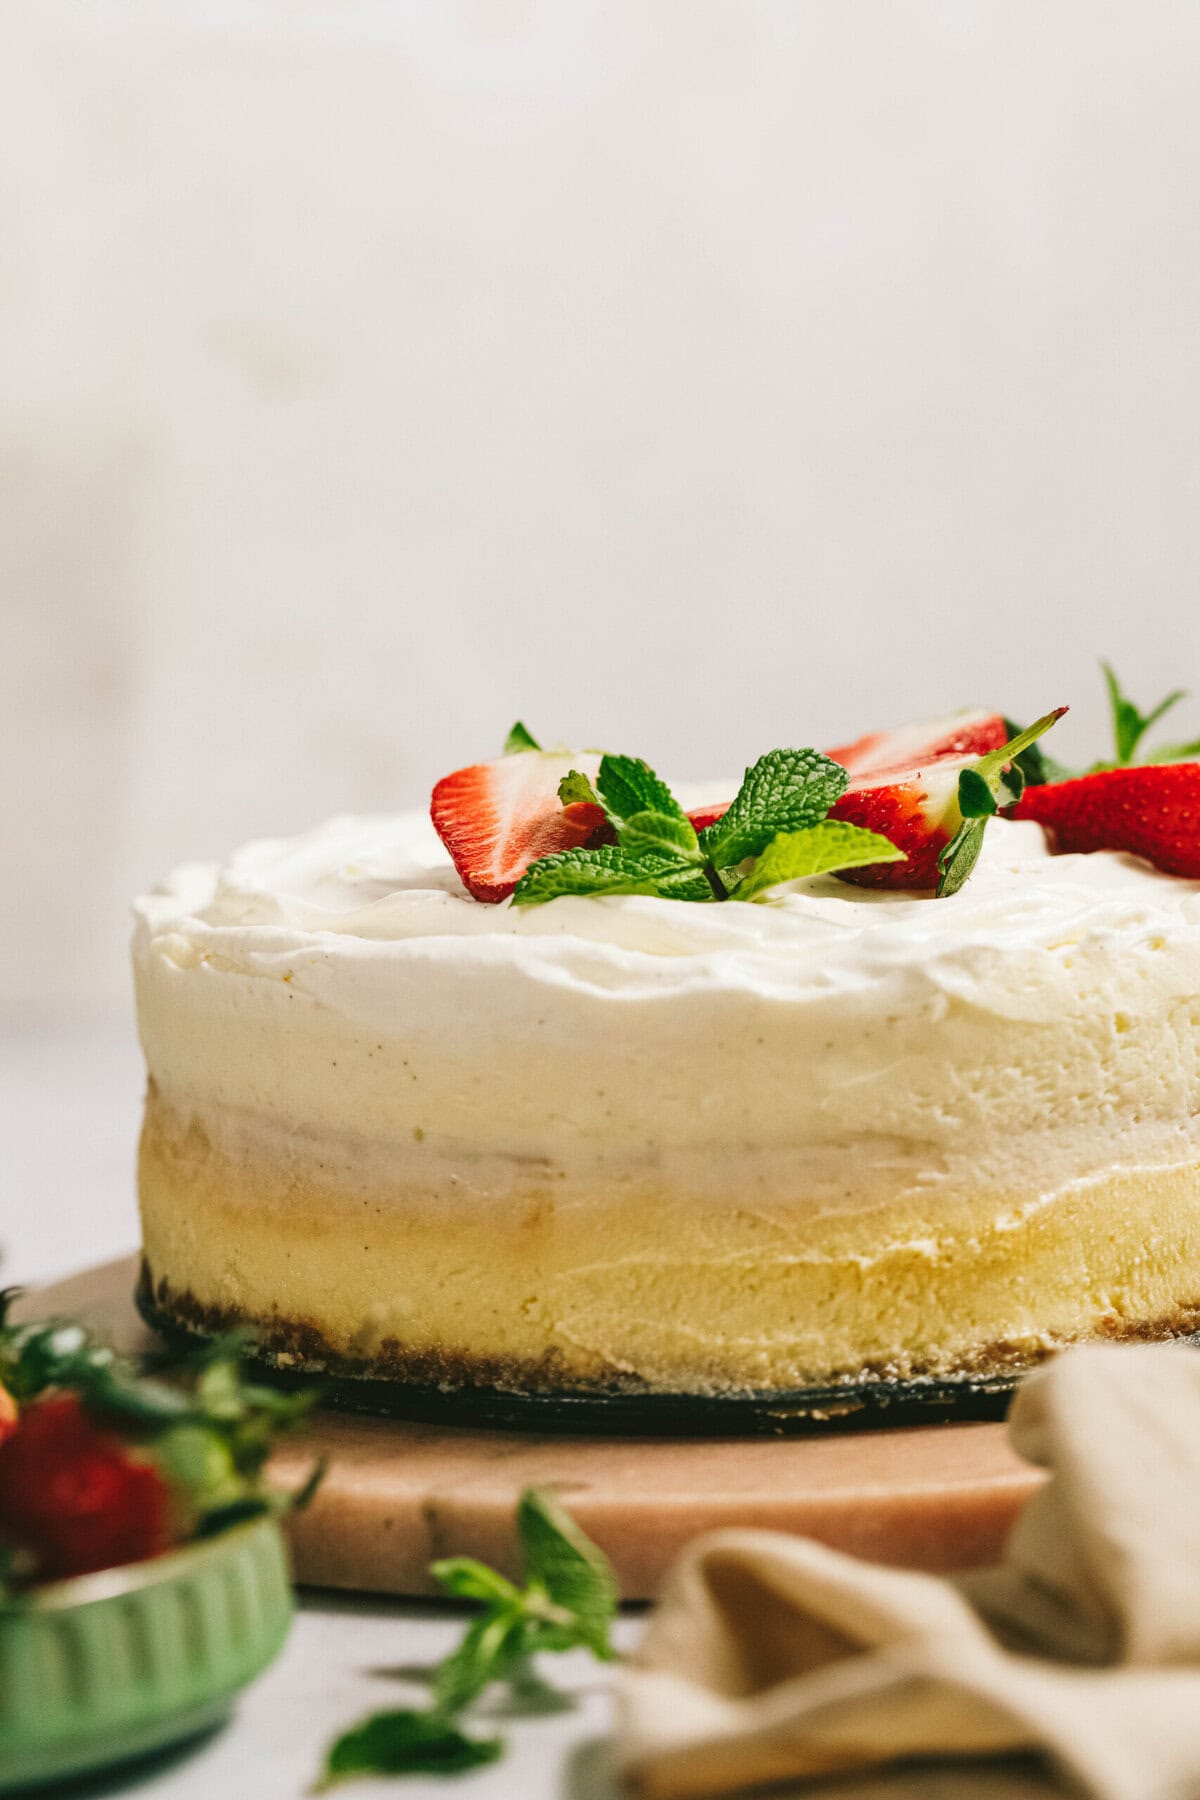
7. Remove Springform Pan, Decorate + Serve
Open springform pan and remove collar. Decorate as desired. Dip a sharp knife into hot water, wipe off any excess water and slice. I like to dip my knife in water between each slice to get really clean-looking pieces. ENJOY!
Storing Vanilla Bean Cheesecake
Cheesecakes make for a great make-ahead dessert, and this one is no exception. They store wonderfully in the fridge or freezer! Here’s how to do it:
In the fridge: After your cheesecake has completely cooled to room temperature, store leftovers covered and in the fridge. Cheesecake will stay fresh in the fridge for about a week!
In the freezer: If you are a kitchen expert, you’ll know cream cheese by itself doesn’t freeze well but baked it does! Cheesecake is a perfect candidate for freezing! First, un-mold cheesecake from the springform pan. Place into the freezer uncovered for about 4 hours or until it’s mostly solid. Remove springform bottom and wrap the cheesecake well in two layers of plastic wrap or aluminum foil. It will stay good for up to 3 months in the freezer.
To thaw: To defrost, simply unwrap and transfer to a plate. Cover gently with plastic wrap and transfer to the fridge to defrost overnight. Once defrosted, cut into slices and serve.
Frequently Asked Questions + Baking Tips about Cheesecake
Do I have to use a springform pan?
The best baking pan for this cheesecake recipe is a 9-inch springform pan and I don’t have a suggestion for an optional pan to use instead. You can definitely put this into a 10-incher, but definitely won’t fit into an 8. Splurge and get the springform pan. Or find a friend and borrow one.
Can I use vanilla extract if I don’t have vanilla bean?
Yes, you can use 1-3 tsp of either vanilla extract per vanilla bean or follow the directions on your vanilla paste jar as those can vary.
Why did my cheesecake crack?
There are several reasons why cheesecakes can get a grand canyon-sized crack down the center and I’ve found the main three reasons are: air bubbles, lumps in the batter and baking and cooling. Here’s how I’ve dealt with and adjusted my recipe to ensure these three things don’t cause any issues:
Air Bubbles: When you are using a hand or stand mixer, it has a tendency to incorporate air into any batter you make, not just cheesecake. Particularly after you add in eggs. When eggs get whipped, they hold that volume. So, we want to reduce the mixing time after we add in the eggs and remove any extra air bubbles. How do we do this? Crack all four eggs into a bowl and whisk with a fork before adding them into the cheesecake batter. Then, stir in the eggs last and mix until they are just incorporated. Then before pouring the batter into the graham cracker crust, tap the bowl on the counter for 30 to 45 seconds to remove as many air bubbles as possible.
Lumps in the Batter: Using room temperature cream cheese, eggs, heavy cream and sour cream makes everything incorporate easier, thus more of a lump-free batter. Also, be diligent in scraping the sides of the bowl. You want to ensure the cheesecake batter is lump-free before adding in the eggs.
Baking + Cooling: Baking a cheesecake in a water bath helps moderate oven temperatures not only for baking but for cooling too. Since this recipe doesn’t use a water bath, the key was baking at a lower oven temperature for a longer period and also cooling very slowly. Once baking is finished and the oven gets turned off, you’ll notice the cheesecake still spends over an hour in the hot oven, not only to help finish baking it (called carryover cooking) but also to cool it gently and slowly. This is what gets you that beautiful, crack-free top.
What do I do with my used vanilla bean pods?
Once you’ve scraped all of the seeds out of your vanilla pods, do NOT throw them away! They are still packed with so much flavor! You can dry your spent vanilla beans and put them in sugar for “vanilla sugar”, or place them in oil for a “vanilla-infused oil”, make homemade vanilla extract, add them to cocktails and so much more! A simple google search will lead you in the right direction here.
More Tasty Cake Recipes to Try!
- Black Forest Cake Recipe
- Flourless Chocolate Cake
- Coconut Cake
- Strawberry Cake
- Ritz Cracker Salted Caramel Ice Box Cake
Love Vanilla? Try These Recipes!
- Vanilla Bean Cut-Out Sugar Cookies
- Vanilla Buttercream Frosting
- Vanilla Bundt Cake
- Homemade Vanilla Ice Cream
- Homemade Vanilla Cake
Pin it, print it, and bookmark this page, because you are gonna want to have this recipe on hand for a special occasion. If you make this recipe, I would really appreciate it if you would give it a star review! If you have a picture of your finished dish, post it on Instagram using the hashtag #laurenslatest and tagging me @laurens_latest.

Vanilla Bean Cheesecake (Cheesecake Factory copycat)
This Vanilla Bean Cheesecake is absolutely out of this world delicious! Who needs to pay Cheesecake Factory prices when you can have 4 layers of brilliance in your very own kitchen!
Equipment
- 1 9" Springform Pan
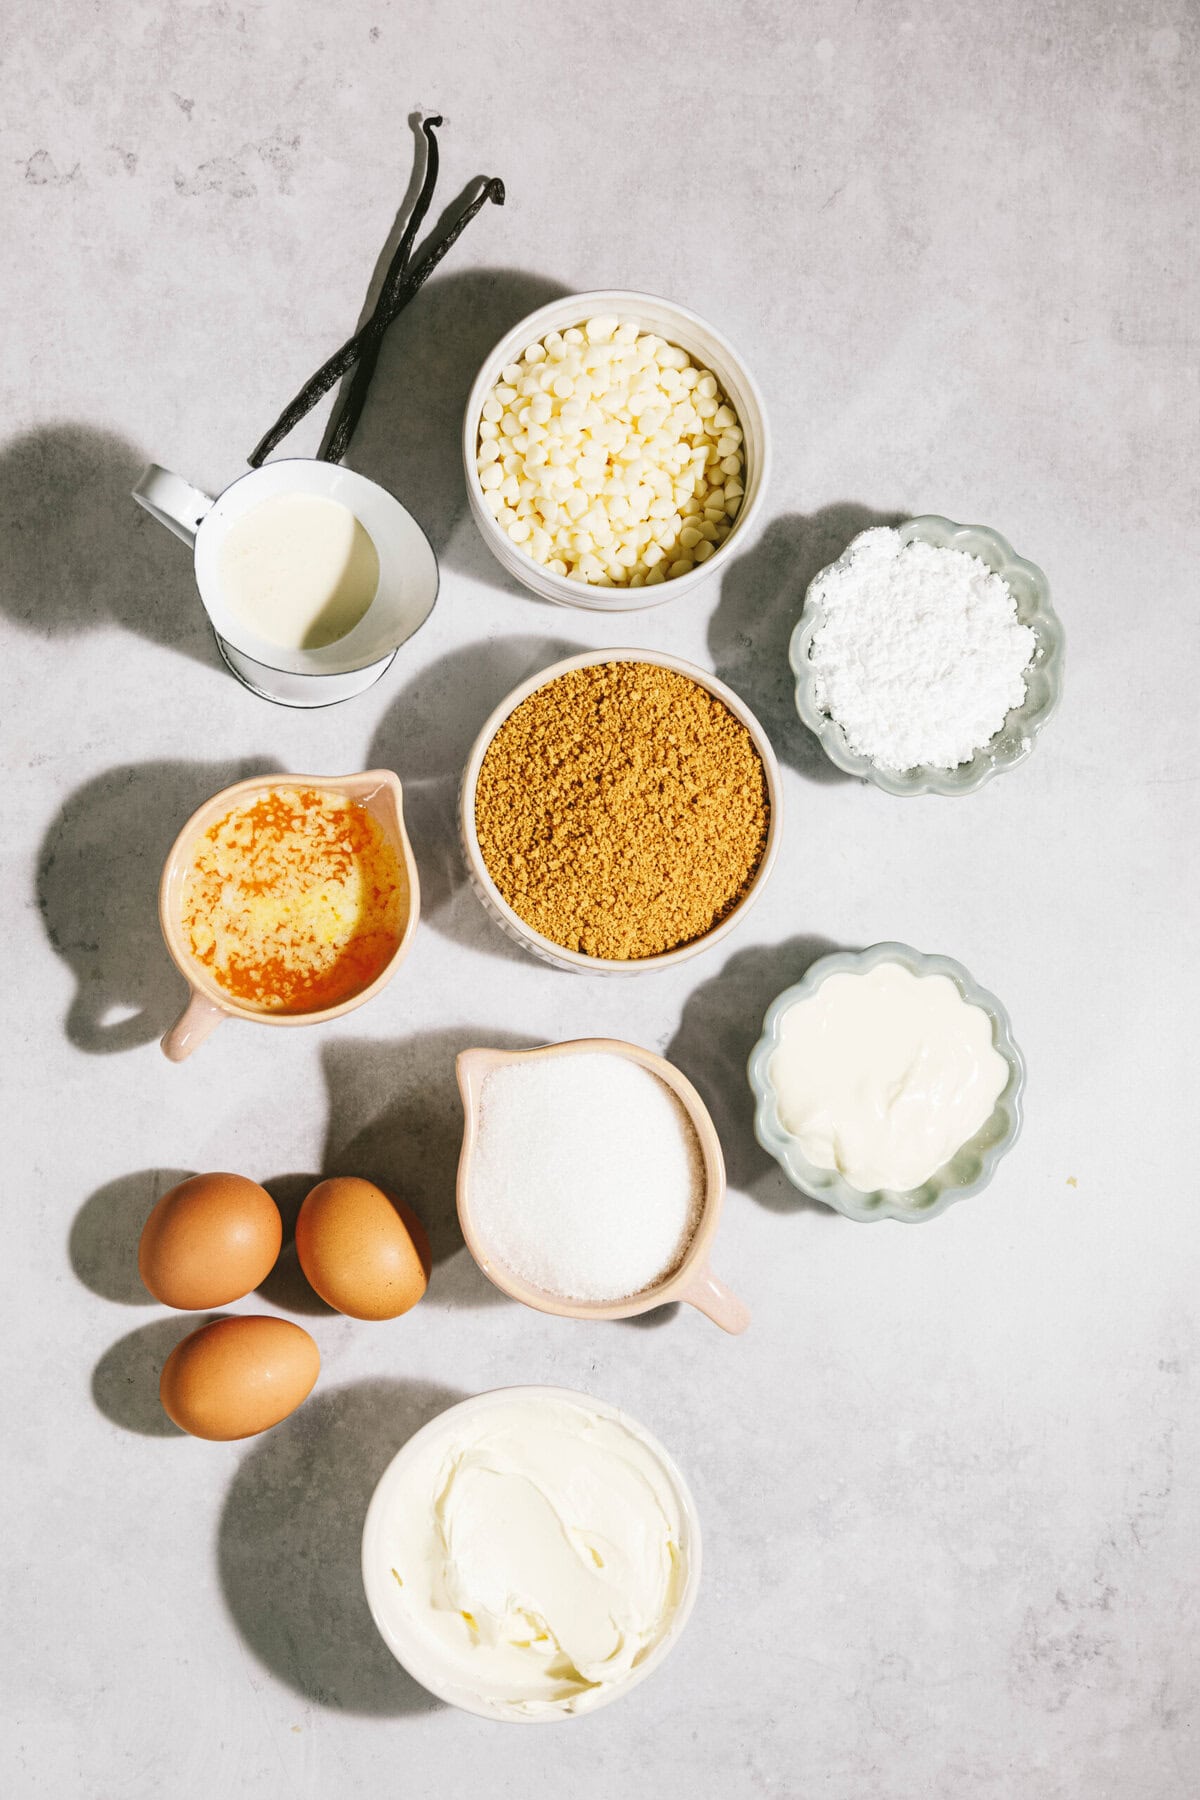
Ingredients
for graham cracker crust-
- 1 1/4 cups graham cracker crumbs
- 1/4 cup granulated sugar
- 1/3 cup melted butter
for cheesecake layer-
- 24 oz cream cheese at room temperature (three 8 oz packages)
- 3/4 cup sour cream at room temperature
- 1/3 cup heavy whipping cream at room temperature
- 1 cup granulated sugar
- 2 vanilla beans seeds only
- 3 large eggs at room temperature
for white chocolate mousse layer-
- 7 oz white chocolate chips or white chocolate bar, roughly chopped
- 1 1/2 cups heavy whipping cream cold
- 1 tablespoon powdered sugar
- 1 vanilla bean seeds only
- 8 oz cream cheese at room temperature
for whipped cream topping-
- 1 cup heavy whipping cream cold
- 1/4 cup powdered sugar
- 1 vanilla bean seeds only
Instructions
for graham cracker crust-
- Place oven racks in the center of the oven. Preheat oven to 350° F.
- In a medium sized bowl, stir graham cracker crumbs together with sugar and melted butter until well incorporated and mixture looks like damp sand. Using the bottom of a measuring cup, press crust into the bottom and half way up the sides of a 9-inch springform pan. Bake 7 minutes. Remove from oven and set aside.

- Reduce oven temperature to 325° F.

for cheesecake layer-
- In a large bowl or bowl of a stand mixer, mix cream cheese 30 seconds until smooth. Scrape the sides and bottom of the bowl and add in granulated sugar, sour cream, heavy whipping cream and vanilla beans. Mix again until incorporated. Scrape the sides and bottom of the bowl VERY WELL and mix again briefly.
- Crack eggs into a liquid measuring cup and using a fork, beat until well scrambled. With the mixer on low, slowly pour in the eggs into the cream cheese mixture and stop stirring once egg has been incorporated. Remove bowl from mixer and scrape the sides and bottom again, ensuring the entire mixture is smooth. If there are a few small lumps, try to fold in using the rubber scraper.
- Once the batter is completely smooth and ready, tap the bowl on the counter for 30-45 seconds to remove as many air bubbles as possible. You should see them popping on the surface as you tap the bowl. Pour filling into the center of the graham cracker crust and gently smooth the top if needed.
- Bake for 30 minutes at 325° F. Reduce temperature to 250° F and continue cooking for 45 minutes more. Once this time has elapsed, turn oven off and keep cheesecake inside for another 30 minutes for some carryover cooking without opening the oven door. Crack oven door to let cheesecake cool slowly for one hour before removing. At this point, cheesecake should be slightly warm. Bring cheesecake to room temperature on the counter (3-4 hours) before covering with plastic wrap and transferring to the fridge.
- Refrigerate until chilled completely (6 hours to overnight).

for white chocolate mousse layer-
- Place white chocolate chips in a double boiler over low heat, stirring constantly until melted. Alternatively, you can place in a microwave safe bowl and microwave in 10-15 seconds stirring in between until melted. Set aside and let cool a bit.
- In a chilled bowl, add in heavy whipping cream, sugar and vanilla bean seeds and whip until stiff peaks form. You can use a stand mixer, hand mixer or whisk by hand.
- In a separate bowl, whip cream cheese until smooth. Add melted white chocolate and mix until combined.
- Gently fold in the whipped cream mixture a few spoonfuls at a time until no streaks remain.
- Remove chilled cheesecake from refrigerator and spread the white chocolate mixture over top, smoothing out evenly. Cover loosely with foil or plastic wrap and chill for at least 1 1/2 hours.

for whipped cream topping (within 2 hours of serving your cheesecake)-
- In a chilled bowl, add in heavy whipping cream, sugar and vanilla beans and whip until stiff peaks form. You can use a stand mixer, hand mixer or whisk by hand.
- Spread evenly overtop mousse layer. Serve immediately or refrigerate until ready.
to serve-
- Open springform pan and remove collar. Decorate as desired. Dip a sharp knife into hot water, wipe off any excess water and slice. I like to dip my knife in water between each slice to get really clean-looking pieces. ENJOY!
Nutrition
Calories: 768kcalCarbohydrates: 47gProtein: 10gFat: 62gSaturated Fat: 37gPolyunsaturated Fat: 3gMonounsaturated Fat: 16gTrans Fat: 0.2gCholesterol: 206mgSodium: 386mgPotassium: 251mgFiber: 0.3gSugar: 41gVitamin A: 2153IUVitamin C: 1mgCalcium: 173mgIron: 1mg
Rate This RecipePlease consider Leaving a 5-Star Review!


This in unbelievably good! I have made this several times. Everyone was very impressed. Definitely will make this again and again.
Thanks for the recipe
Cary
this cheesecake turned out amazing!! will definitely bake again 🙂
This is the best cheesecake recipe I’ve ever made. Thanks so much. It was a perfect texture and wonderful flavour. It’s our new family favourite.
I’m so glad to hear that Shona! 🙂 It’s a lot of work but so worth it!