This post may contain affiliate sales links. Please read my disclosure policy.
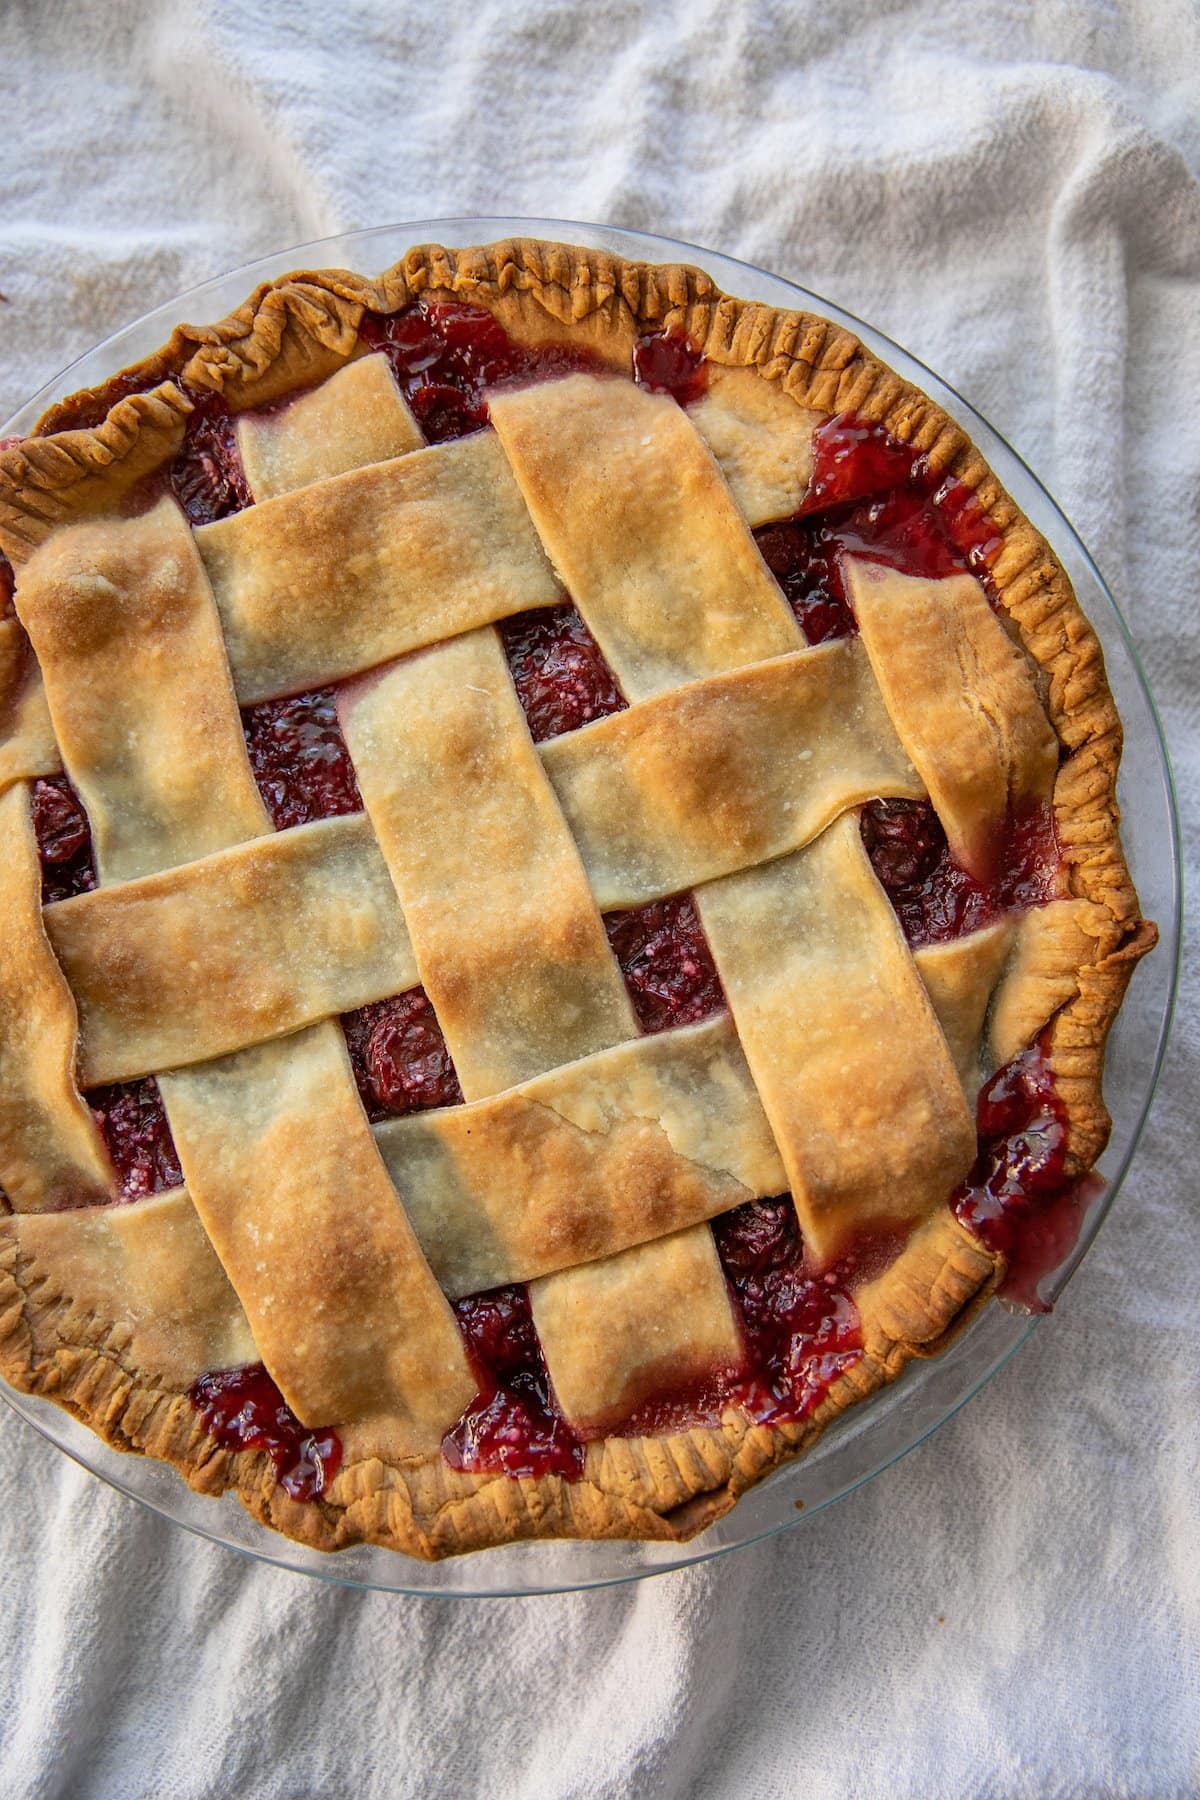
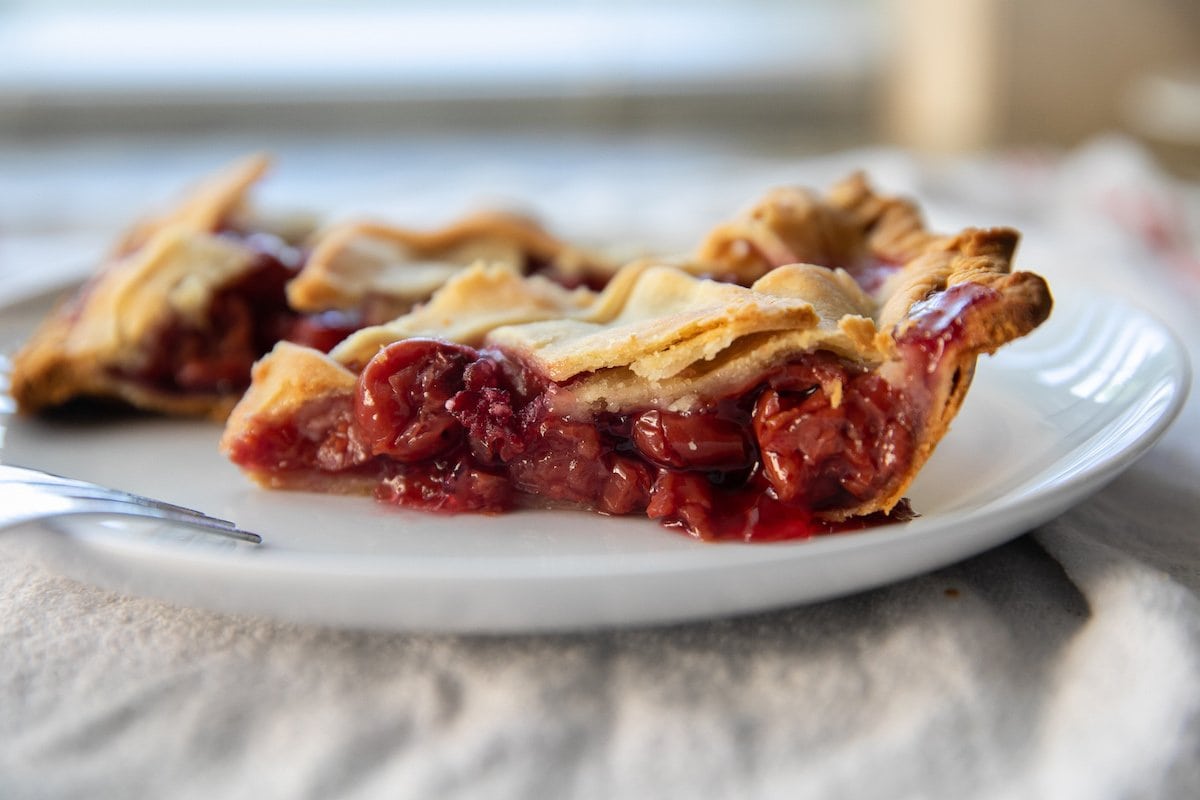
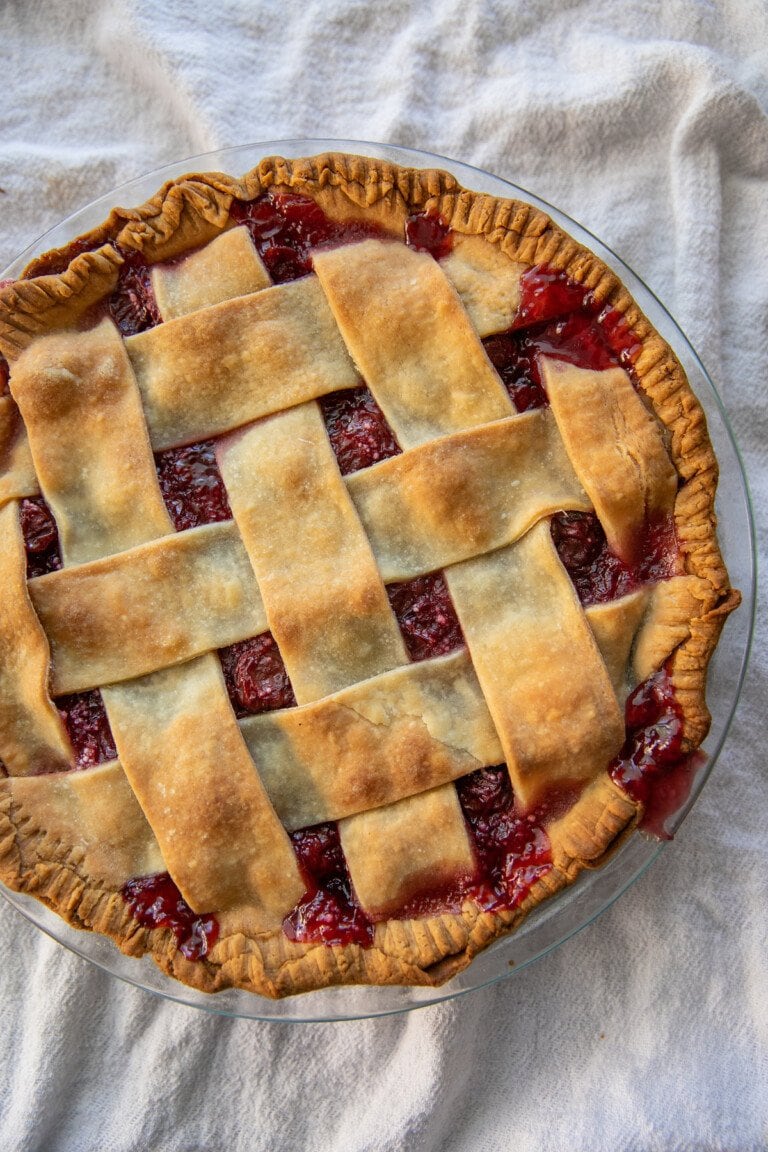
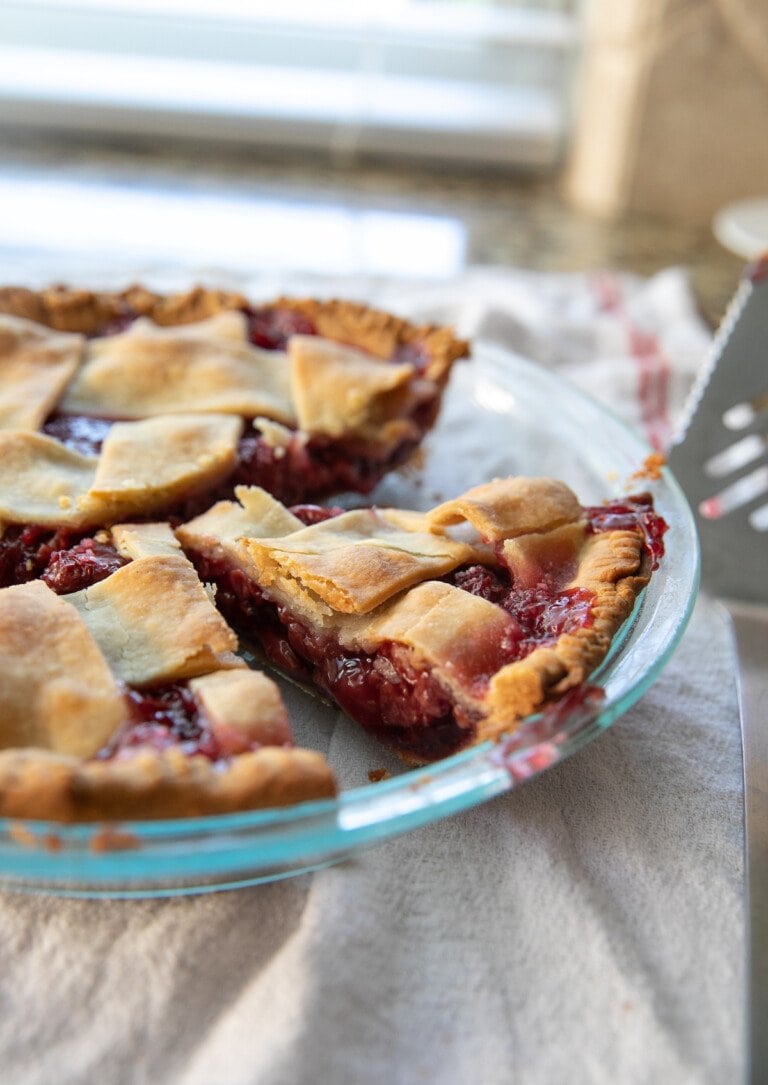
An old-fashioned Tart Cherry Pie made easy by using tapioca! Topped with a gorgeous lattice this homemade pie is perfect for summer! Or if you’re looking for a Sweet Cherry Pie <— see here!
Tart Cherry Pie | Made with Tapioca
Homemade, reliable, easy, and delicious, this Tart Cherry Pie takes some pointers from Grandma! Using tapioca as the pie filler is an old-fashioned strategy that yields a perfectly gooey cherry pie filling, every single time. No need to fuss with flour or cornstarch. Plus this recipe is perfect all year round because you can use canned or frozen cherries! The perfect blend of sweet-tart flavors surrounded by a flakey pie crust, make this recipe soon!
Main Ingredients Needed
Here are all of the ingredients you’ll need for this Tart Cherry Pie and what they’re used for.
- Pie Crust – two pie crusts to be exact. One for the top and one for the bottom. Feel free to use store-bought dough or use one of my recipes: All Butter Pie Crust or Crisco Pie Crust.
- Tart Cherries – I used canned tart cherries, drained. You could use sweet cherries but then it wouldn’t be a tart cherry pie recipe!
- Sugar – to sweeten of course! This also helps the filling gel.
- Almond + Vanilla Extract – both bring a lot of flavor to the pie. Feel free to use all vanilla if you don’t like almond extract.
- Minute Tapioca – some people use flour or cornstarch to thicken their pie fillings but I used tapioca, a tried and true old fashioned way of doing things. I used the Kraft brand.
- Red Food Coloring – this is optional but creates a more red color for the filling.
Can I use frozen cherries?
You can absolutely use frozen cherries instead of canned cherries! The only change might be to leave the pie in the oven for a little longer. If the crust is getting too brown, lightly cover with foil.
Pie Topping Options
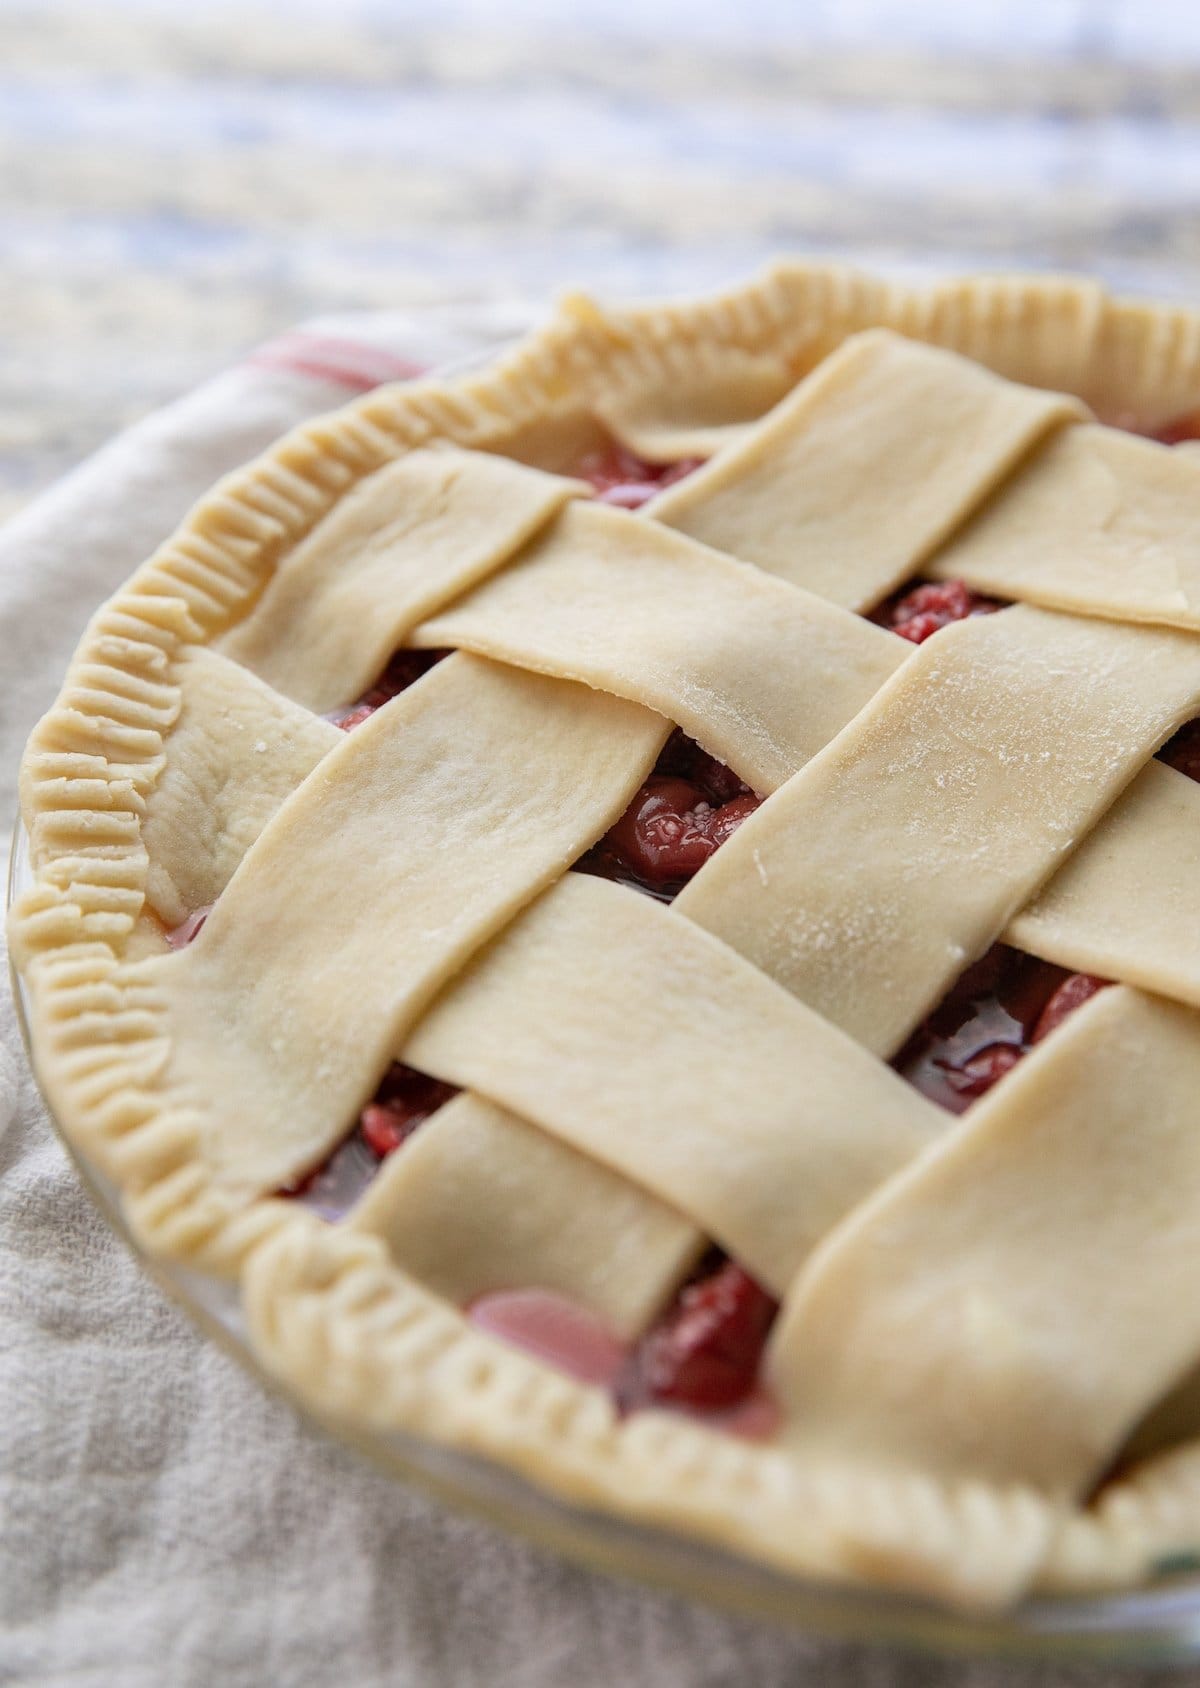
I kept this tart cherry pie classic by creating a lattice top (that’s what you see pictured above). However, you’ve got some options when it comes to decoration. You could create a lattice, like me, or keep it simple by just rolling out and laying the pie dough on top. Cut a few slits in the top to let the pie vent and voila! Done!
Another option is to skip the pie dough top altogether and instead create a crumble topping. That’s what I did for this Blueberry Pie and it was incredible! The recipe for the crumble can be found in that post and can easily be used for this cherry pie as well. Whatever you choose, you’ll love the end results!
How to Make a Tart Cherry Pie
For full details on how to make this Tart Cherry Pie, see the recipe card down below 🙂
Step 1: Preheat + Prep
Preheat the oven to 425 degrees F. Line the bottom of a 9-inch pie dish with pie crust. Refrigerate.
Step 2: Make Pie Filling
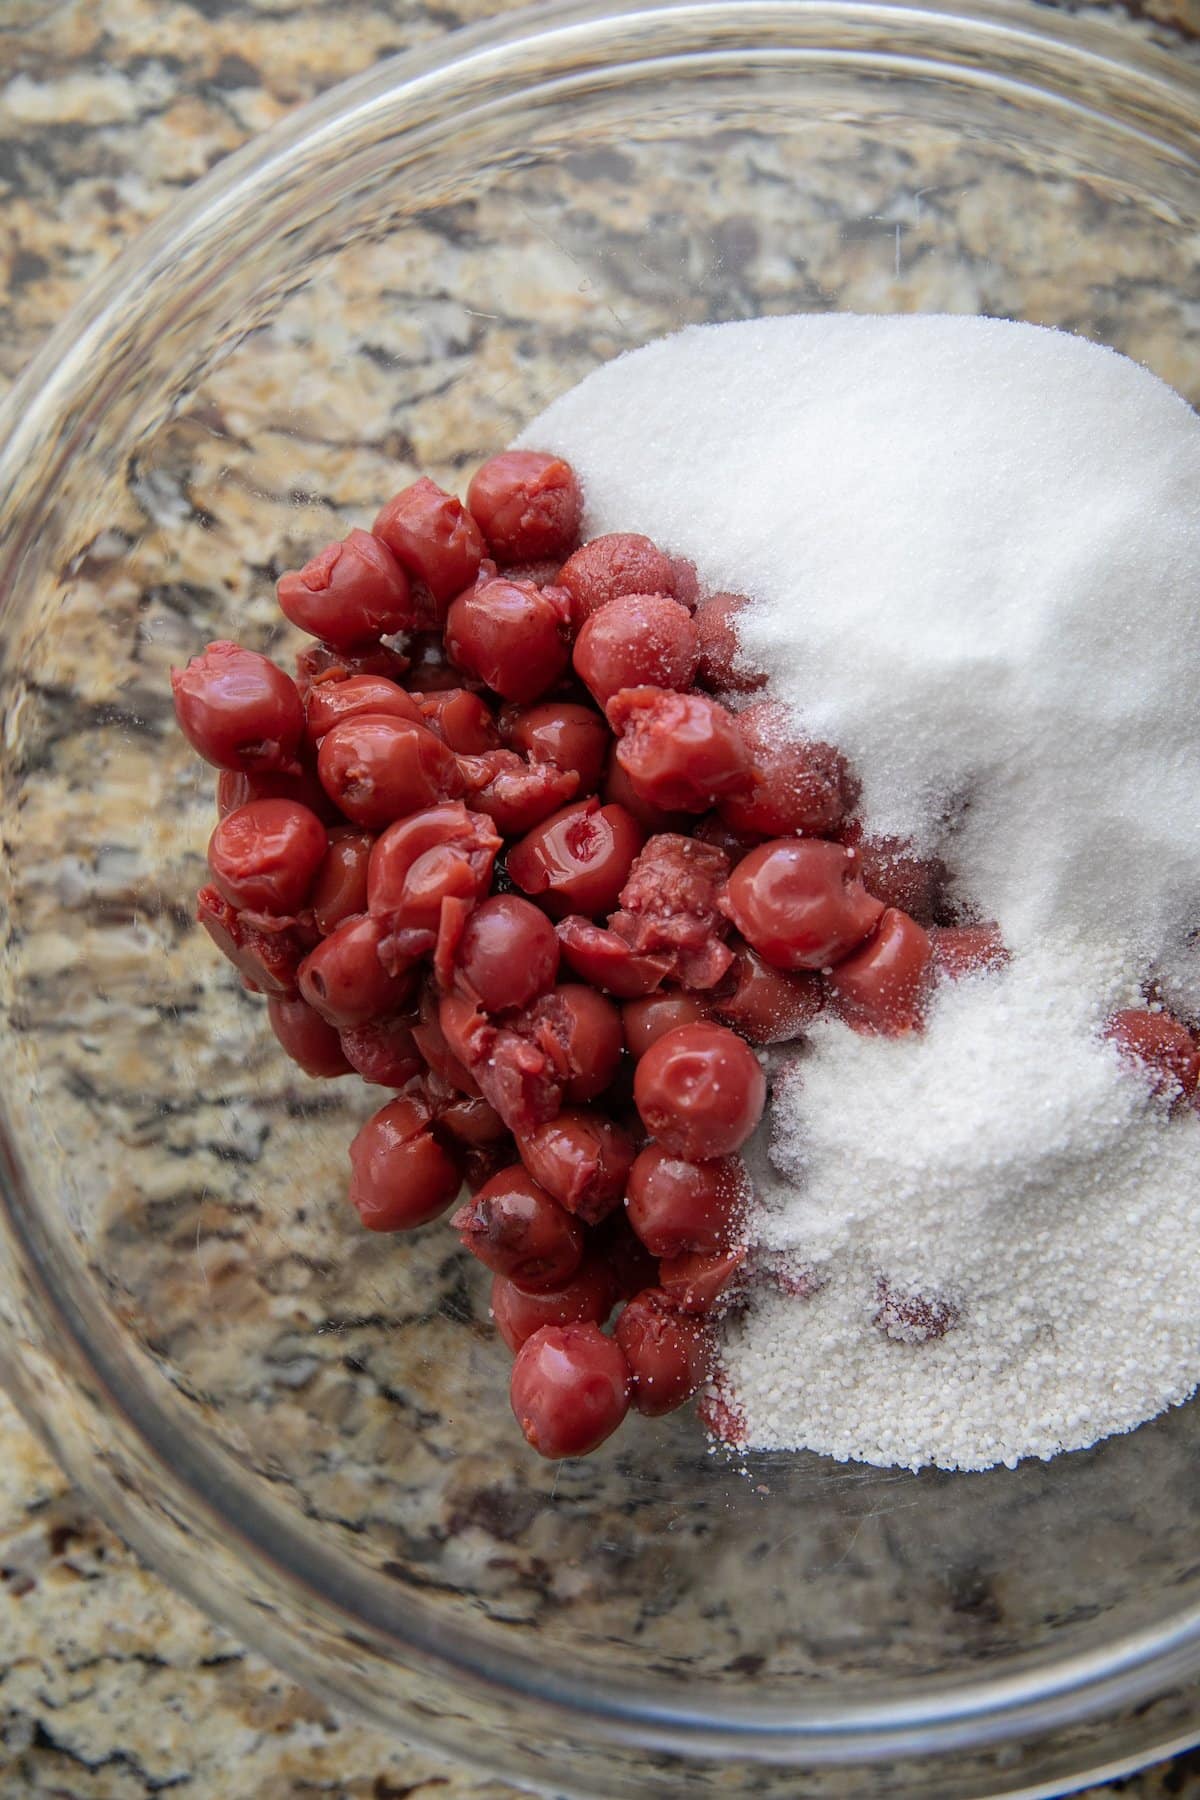
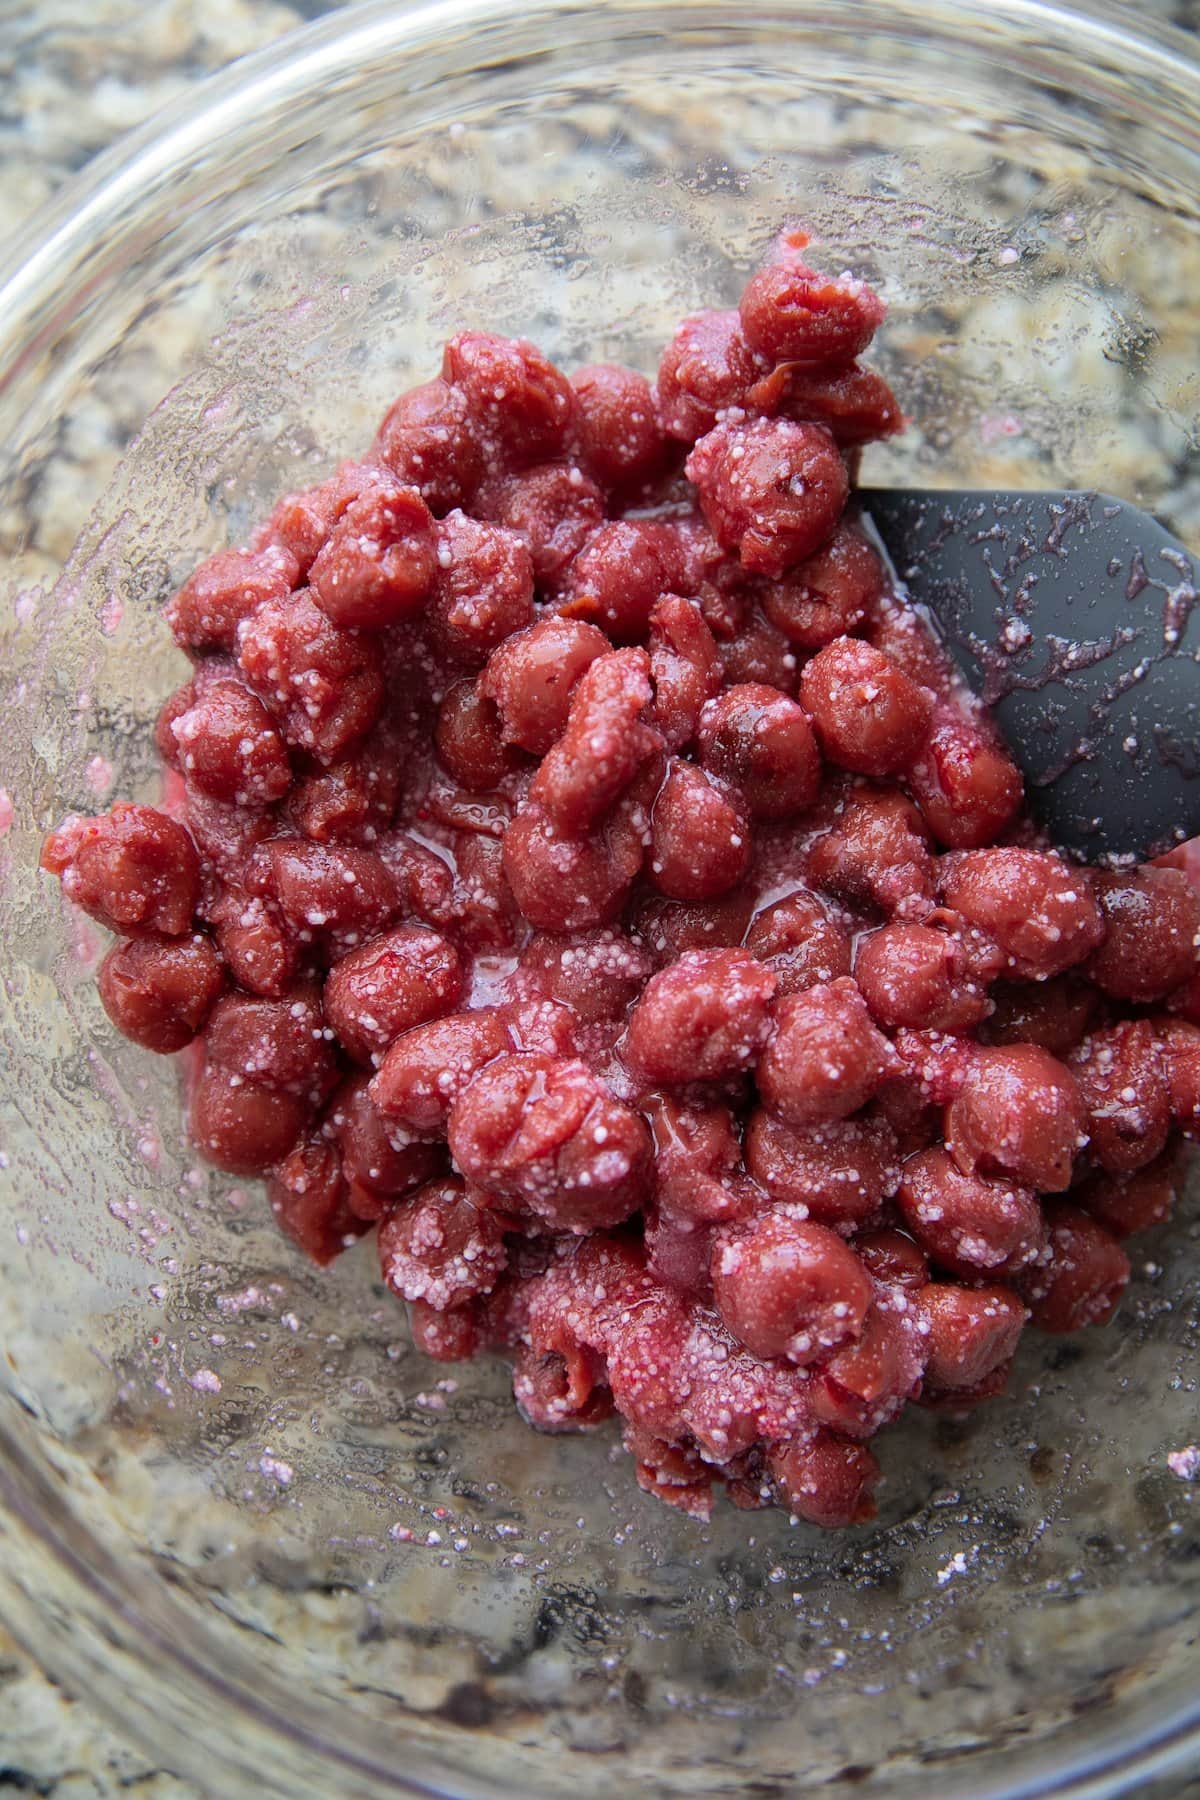
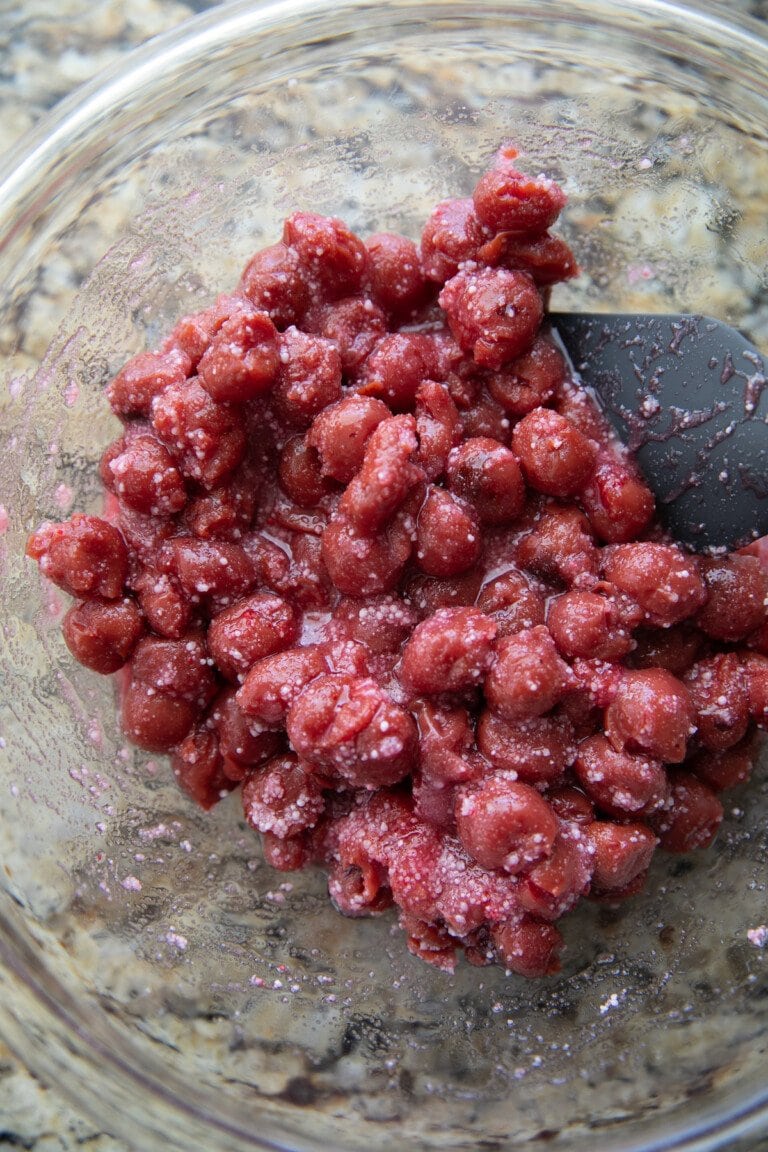
In a large bowl, stir together drained tart cherries, sugar, almond and vanilla extracts, tapioca, and food coloring. Let stand for 15 minutes then stir again.
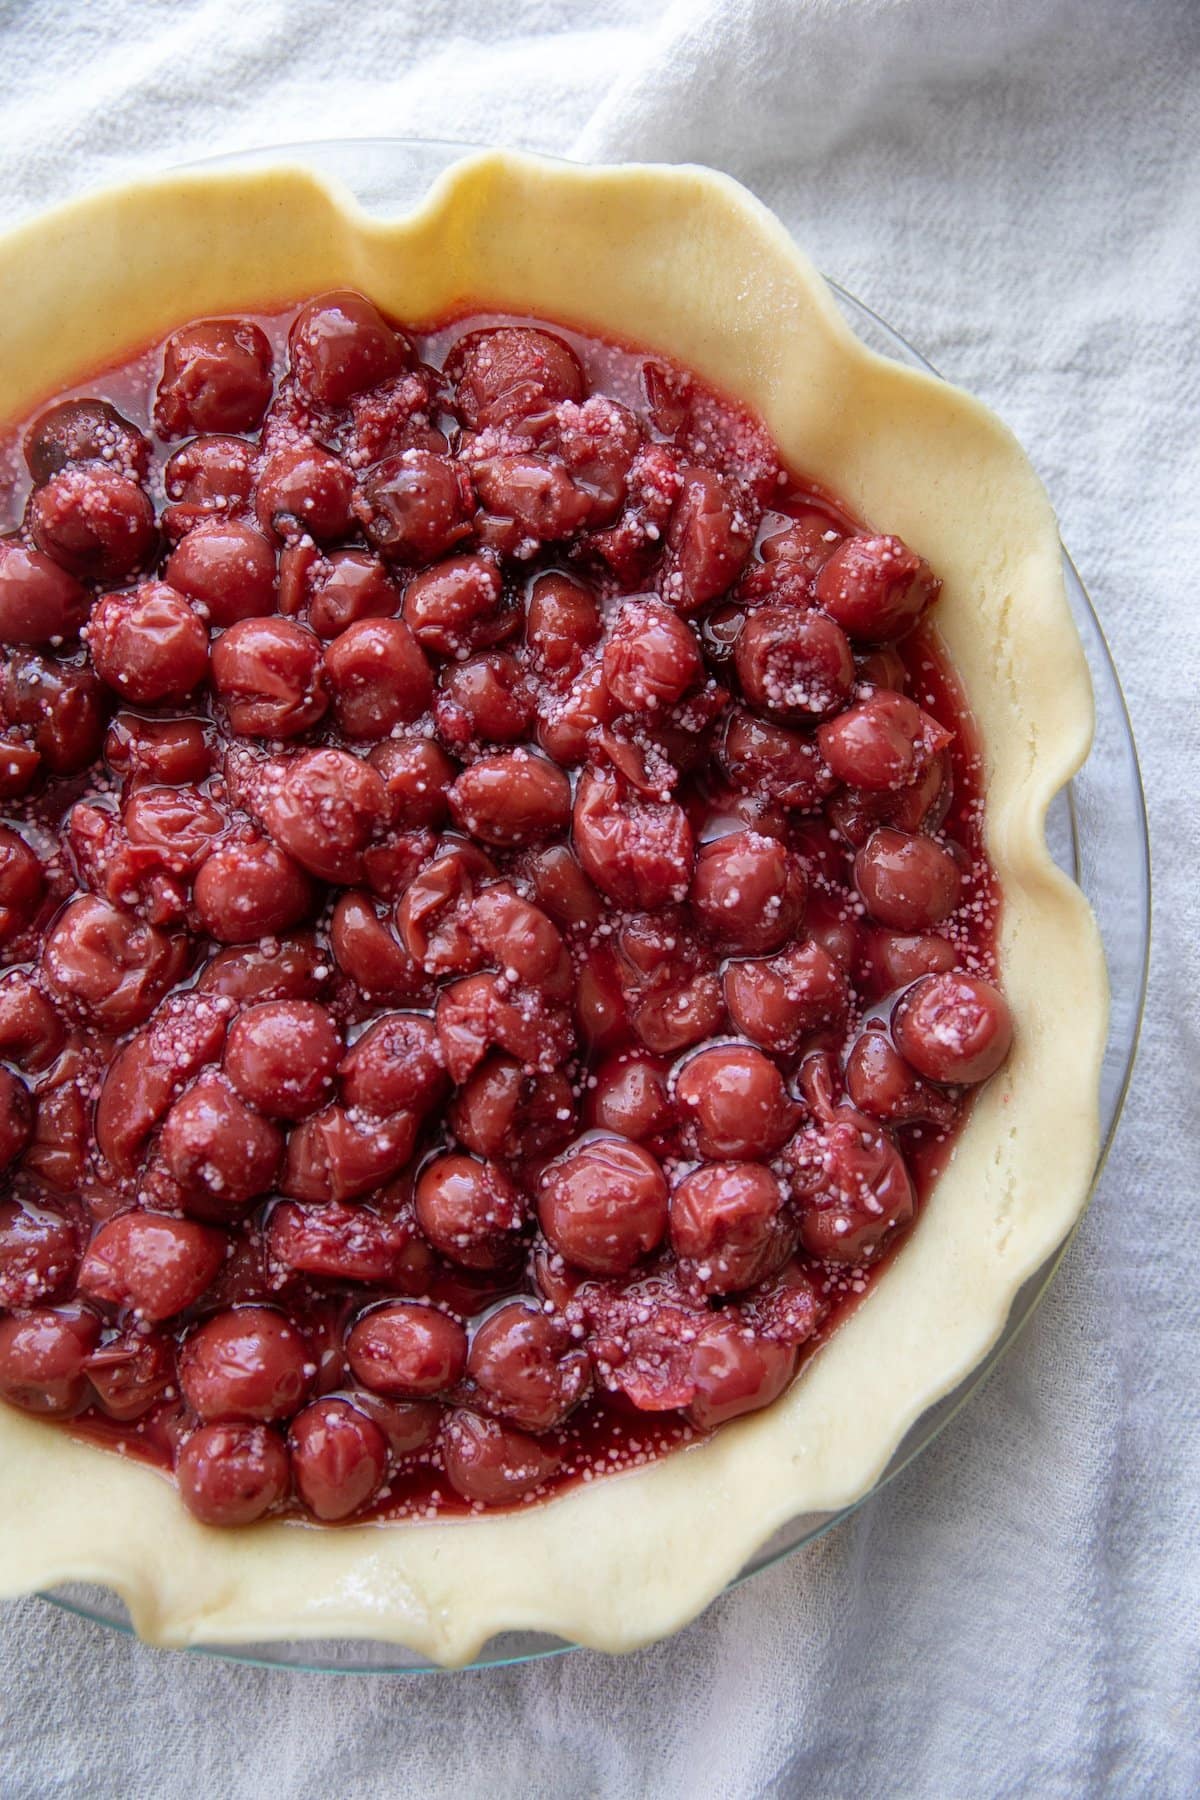
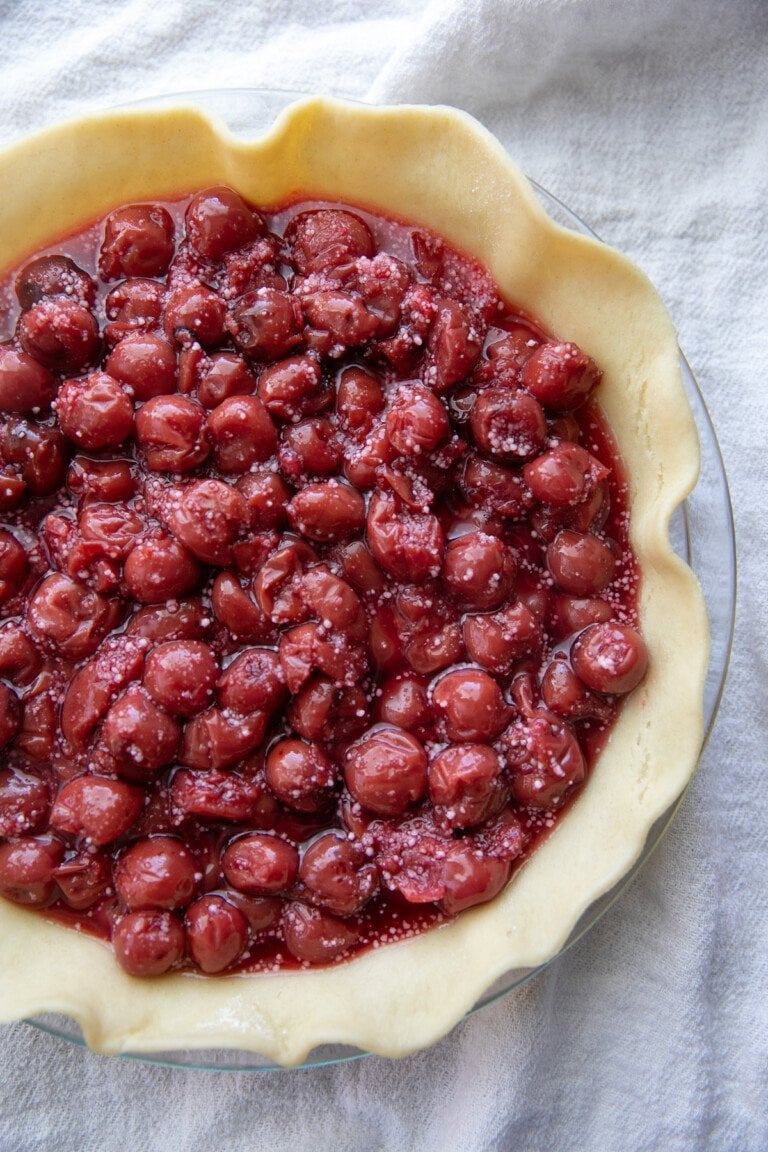
Pour into the prepared pie crust.
Step 3: Create Lattice
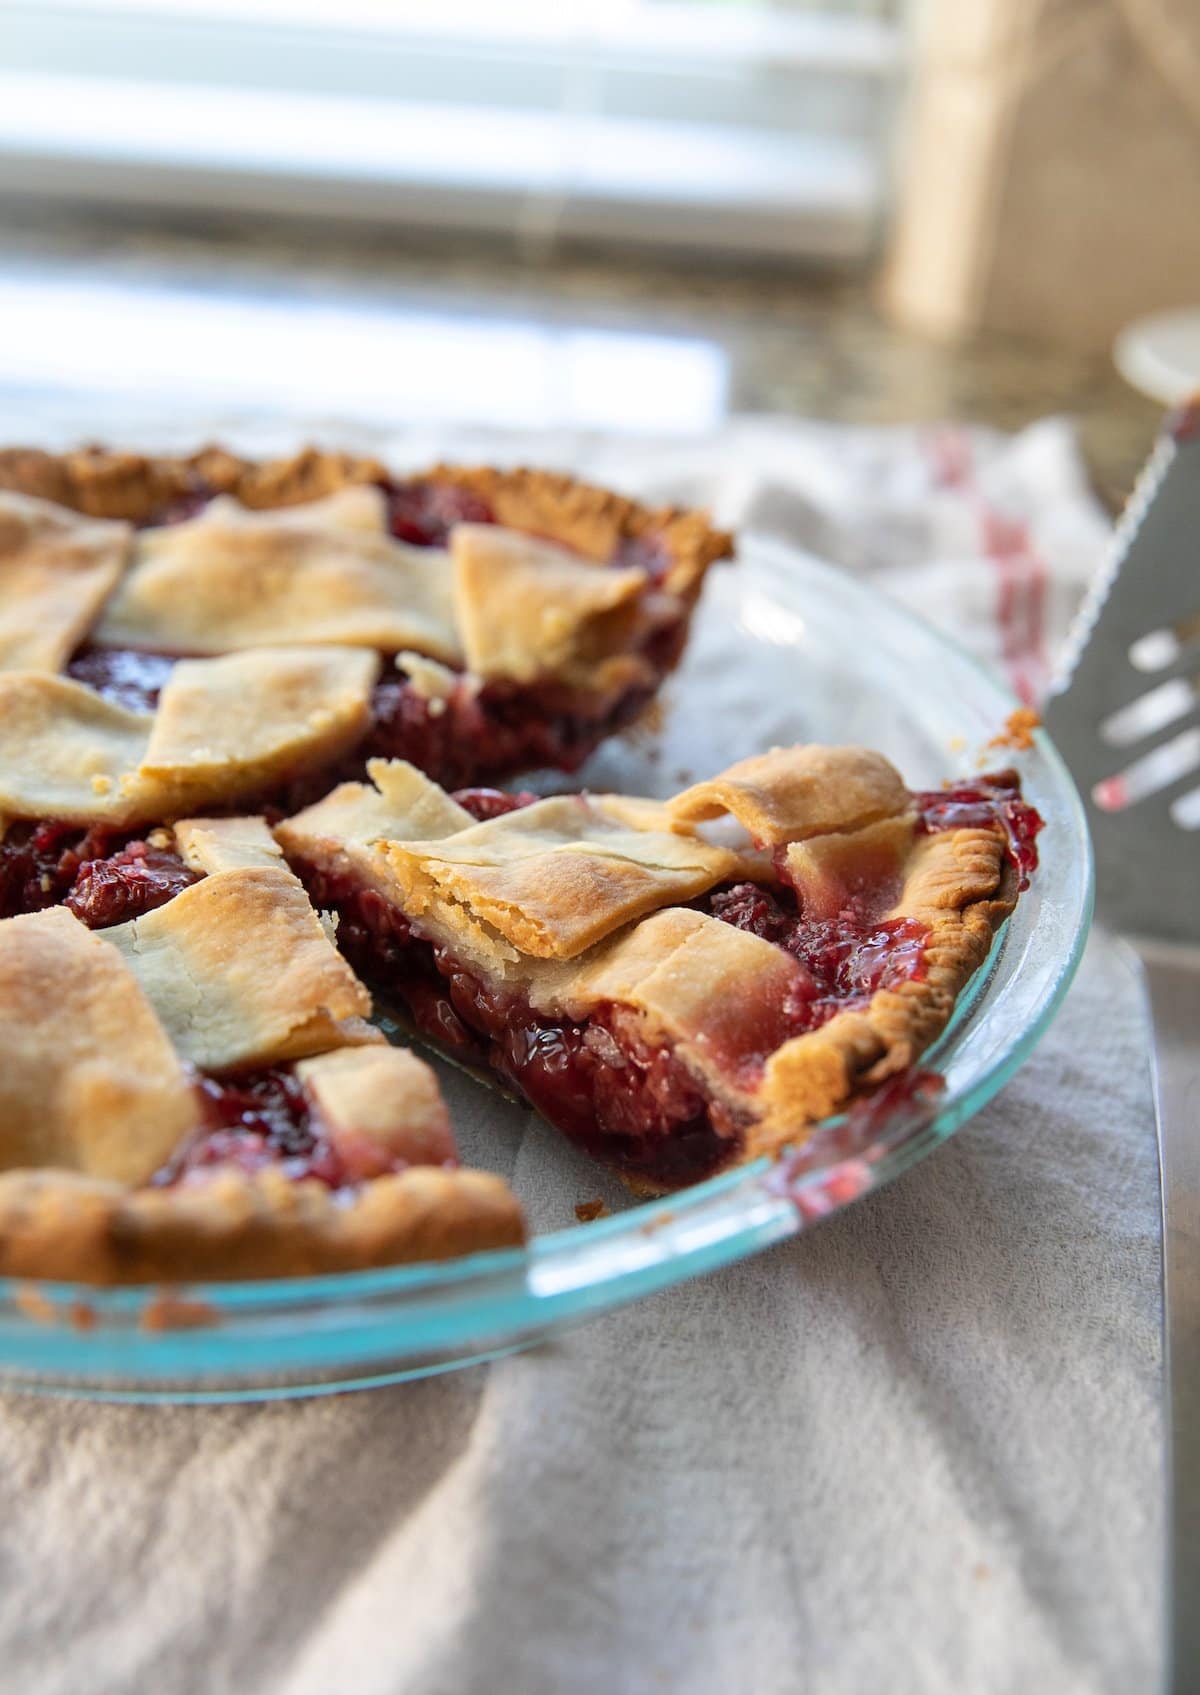
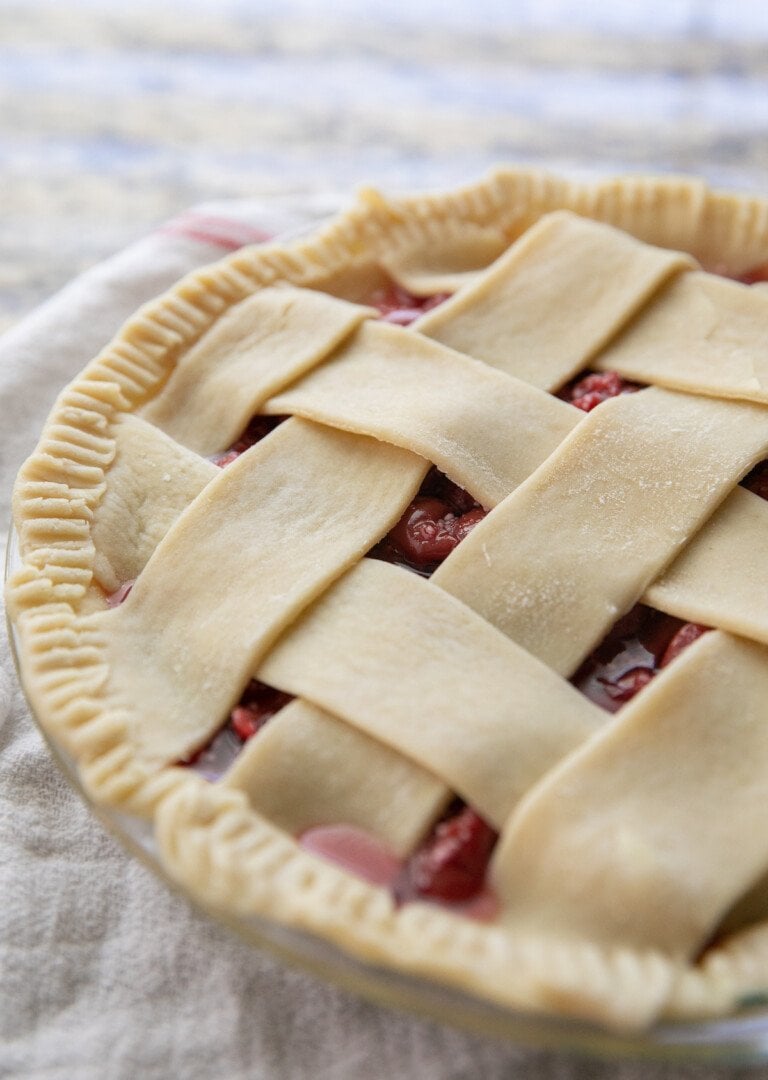
With the other pie crust, cut into 1 1/2 inch strips. Create a lattice on top of pie filling then crimp the edges with a fork.
Step 4: Bake + Cool
Bake for 20 minutes then reduce the oven temperature to 350 degrees F. Bake for another 35-40 minutes.
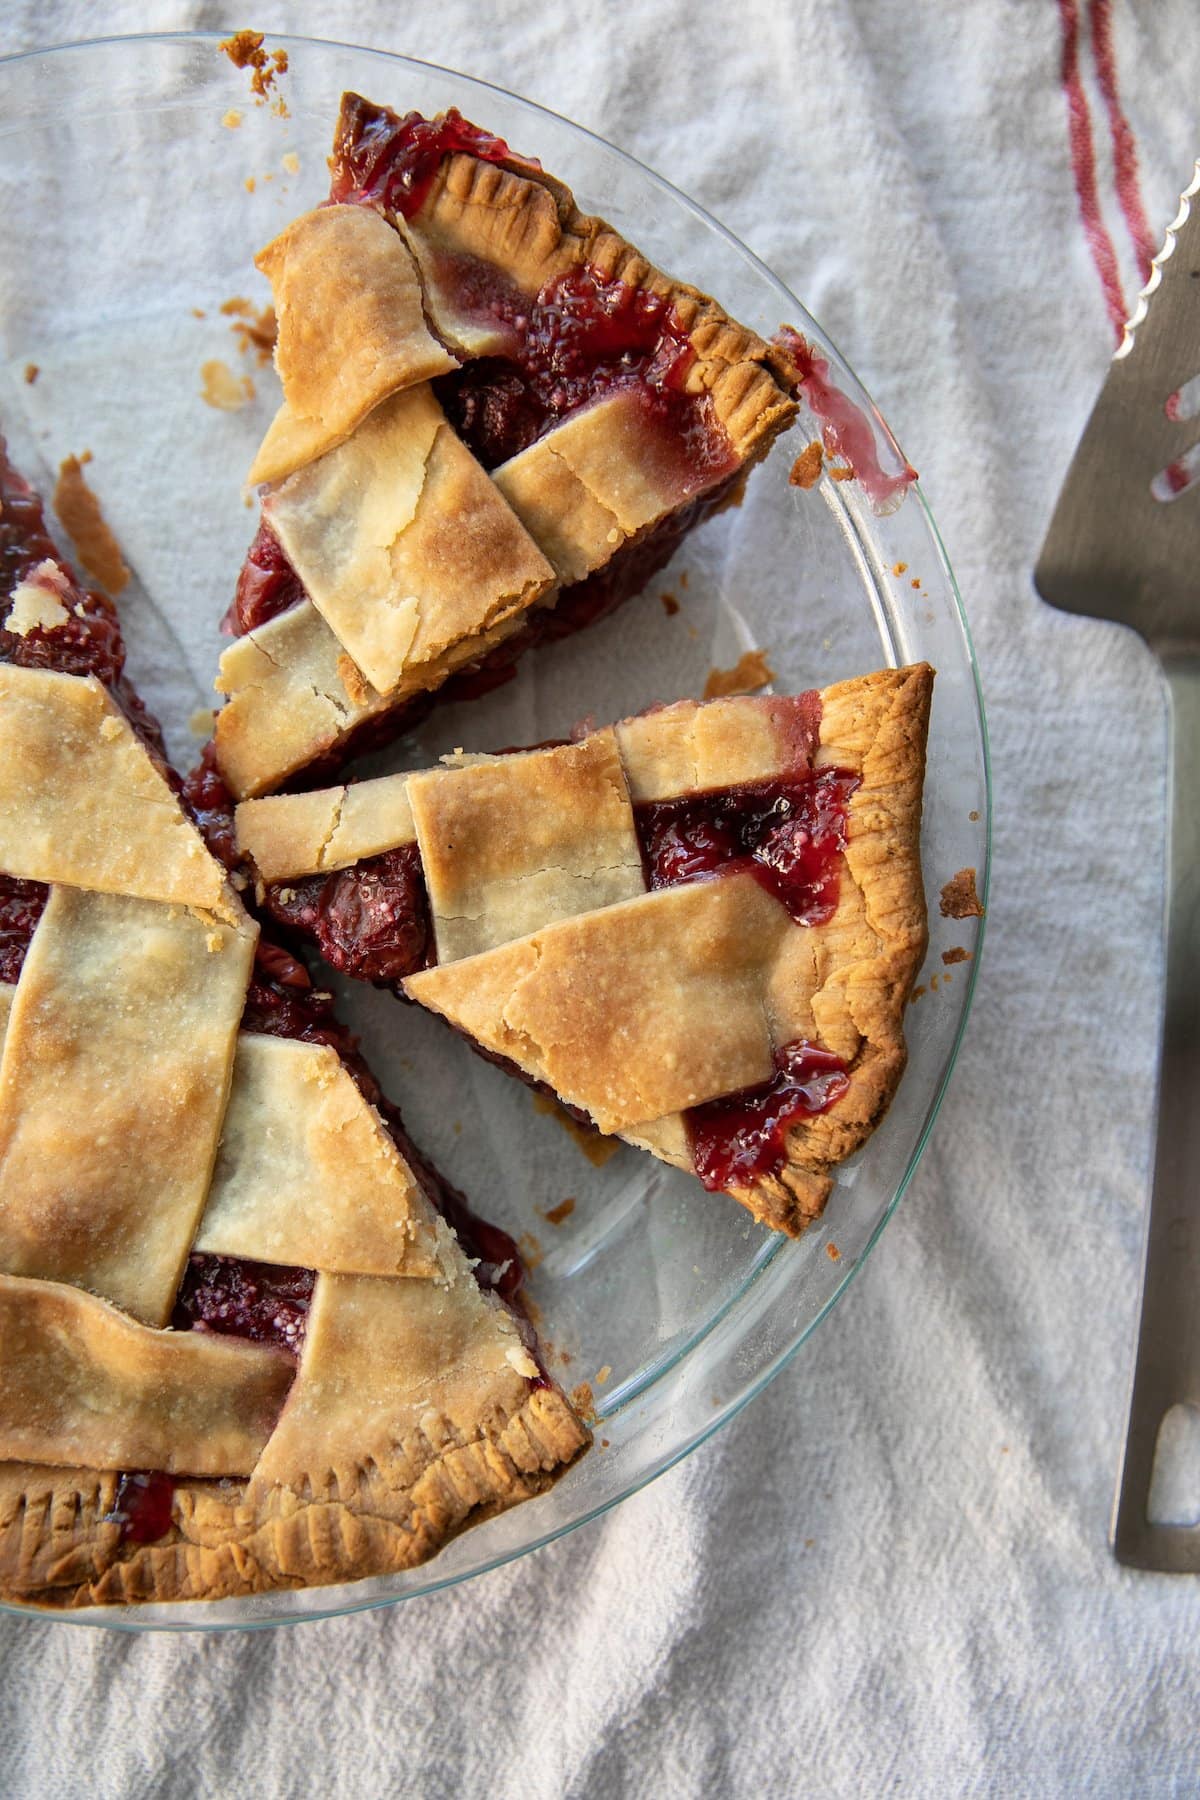
Cool completely before cutting and serving.
Storing Tart Cherry Pie
Store any leftover pie in the fridge, covered loosely with plastic wrap, for up to 5 days! I’d recommend enjoying this treat within the first three days if you can, after that the crust could get a little soggy. Enjoy leftovers cold or heated up in the oven or microwave!
Freezing Instructions
Bake and cool completely. Cover tightly in foil then store in a freezer-safe storage bag. This method allows you to save this tart cherry pie for up to three months! When you’re ready to serve, thaw in the fridge overnight and, if desired, warm in the oven.
More Cherry Recipes to Try!
- Chocolate Cherry Cheesecake Dip
- Old-Fashioned Mini Cherry Pies
- Black Forest Cake
- Cherry Almond Cookies
- Cherry Coconut Muesli
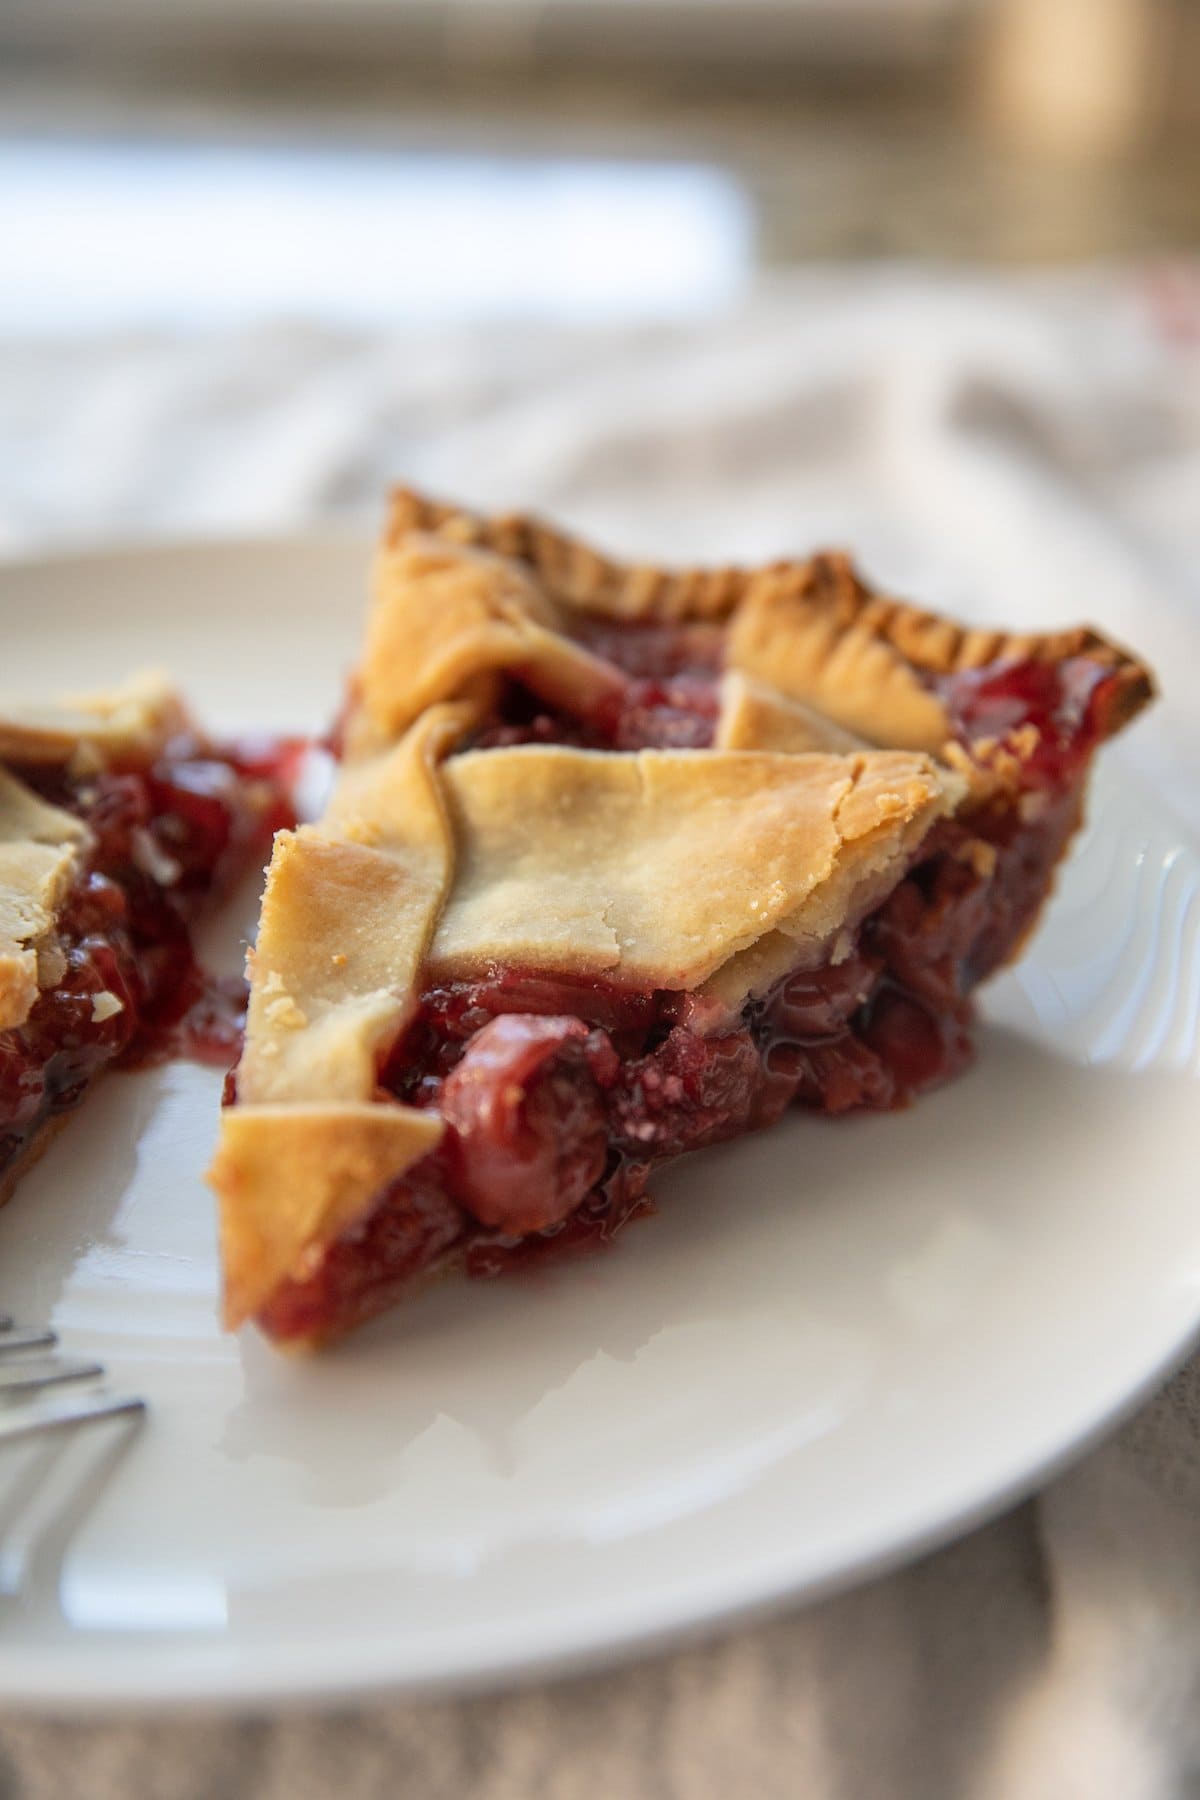
We love cherries around here! And we especially loved this Tart Cherry Pie. Give it a whirl soon, okay, friends?
The printable recipe card is down below, enjoy 🙂
Tart Cherry Pie
Ingredients
- 2 pie crusts one for the bottom and top
- 29 oz tart cherries drained well (two 14.5 oz cans)
- 2/3 cup granulated sugar
- 1/2 teaspoon almond extract
- 1/4 teaspoon vanilla extract
- 1/4 cup minute tapioca I used Kraft brand
- 2 drops liquid red food coloring
Instructions
- Preheat the oven to 425 degrees F. Line the bottom of a 9-inch pie dish with pie crust. Refrigerate.
- In a large bowl, stir together drained tart cherries, sugar, almond and vanilla extracts, tapioca, and food coloring. Let stand for 15 minutes then stir again.
- Pour into the prepared pie crust.
- With the other pie crust, cut into 1 1/2 inch strips. Create a lattice on top of pie filling then crimp the edges with a fork.
- Bake for 20 minutes then reduce the oven temperature to 350 degrees F. Bake for another 35-40 minutes.
- Cool completely before cutting and serving.



Thank you for the recipe. It turned out great. I left about two tablespoons of juice with the cherries to help dissolve the tapioca.
After resting for fifteen minutes, the mixture seemed really runny. I was concerned it wouldn’t thicken enough but it turned out perfectly.
I made two minor changes. No red food coloring and a regular crust on top, not lattice.
Thanks again!
Marie, glad it turned out great for you! 🙂
Made this pie using Tapioca Flour . It turned out delicious .
I followed the recipe to the letter except I did 1/4 tsp almond and 1/2 tsp vanilla and maybe a drop or 2 more of food coloring because sometimes canned cherries look pretty gray in a pie. On the top of the pie I could see some undissolved tapioca that was pretty crunchy. I picked them off with a toothpick. They dissolved on the interior BUT the pie came out quite firm once it cooled. I could eat the slice by hand with no fear of the filling dripping. I will try a bit less next time, I think.
You can grind tapioca in a coffee meal or spice grinder
Are you supposed to make the tapioca first or not? And are you using already prepared pie crusts?
I added it in straight from the box and it worked just fine for me! But have had a few readers complain about this method…even though on the tapioca box itself has directions for using it to thicken pies. Soooo, I guess enter at your own risk?
Thanks for the recipe, Lauren. ?❤️ Perhaps people run into trouble in interpreting “drained” cherries? If *thoroughly* drained, there may not be enough juice for the tapioca to absorb. Mixing the tapioca and sugar, then stirring in 1/3 cup of juice, before stirring in the cherries and (crucially!) resting the mixture for 15 minutes, would solve readers’ problems?
I’m an experienced berry pie baker, and far prefer tapioca for thickening. The resulting filling has a far-superior texture, and it’s both easier and less messy than the stove-top starch-cooking method.
I was glad to find your recipe! I make huge, deep-dish pies, & adapted amounts accordingly. I’ll let you know how it turns out!
Lauren, you never mention that the tapioca has to be prepared first. I used it as a dry ingredient. It’s ruined my pie.
The tapioca does not have to be prepared first! I use it dry!
The apple pie sounds great. I am going to try it.