You have 0 items in your cart
Easy No-Bake Cheesecake Recipe
This post may contain affiliate links. View my privacy policy and disclosure policy for more details.
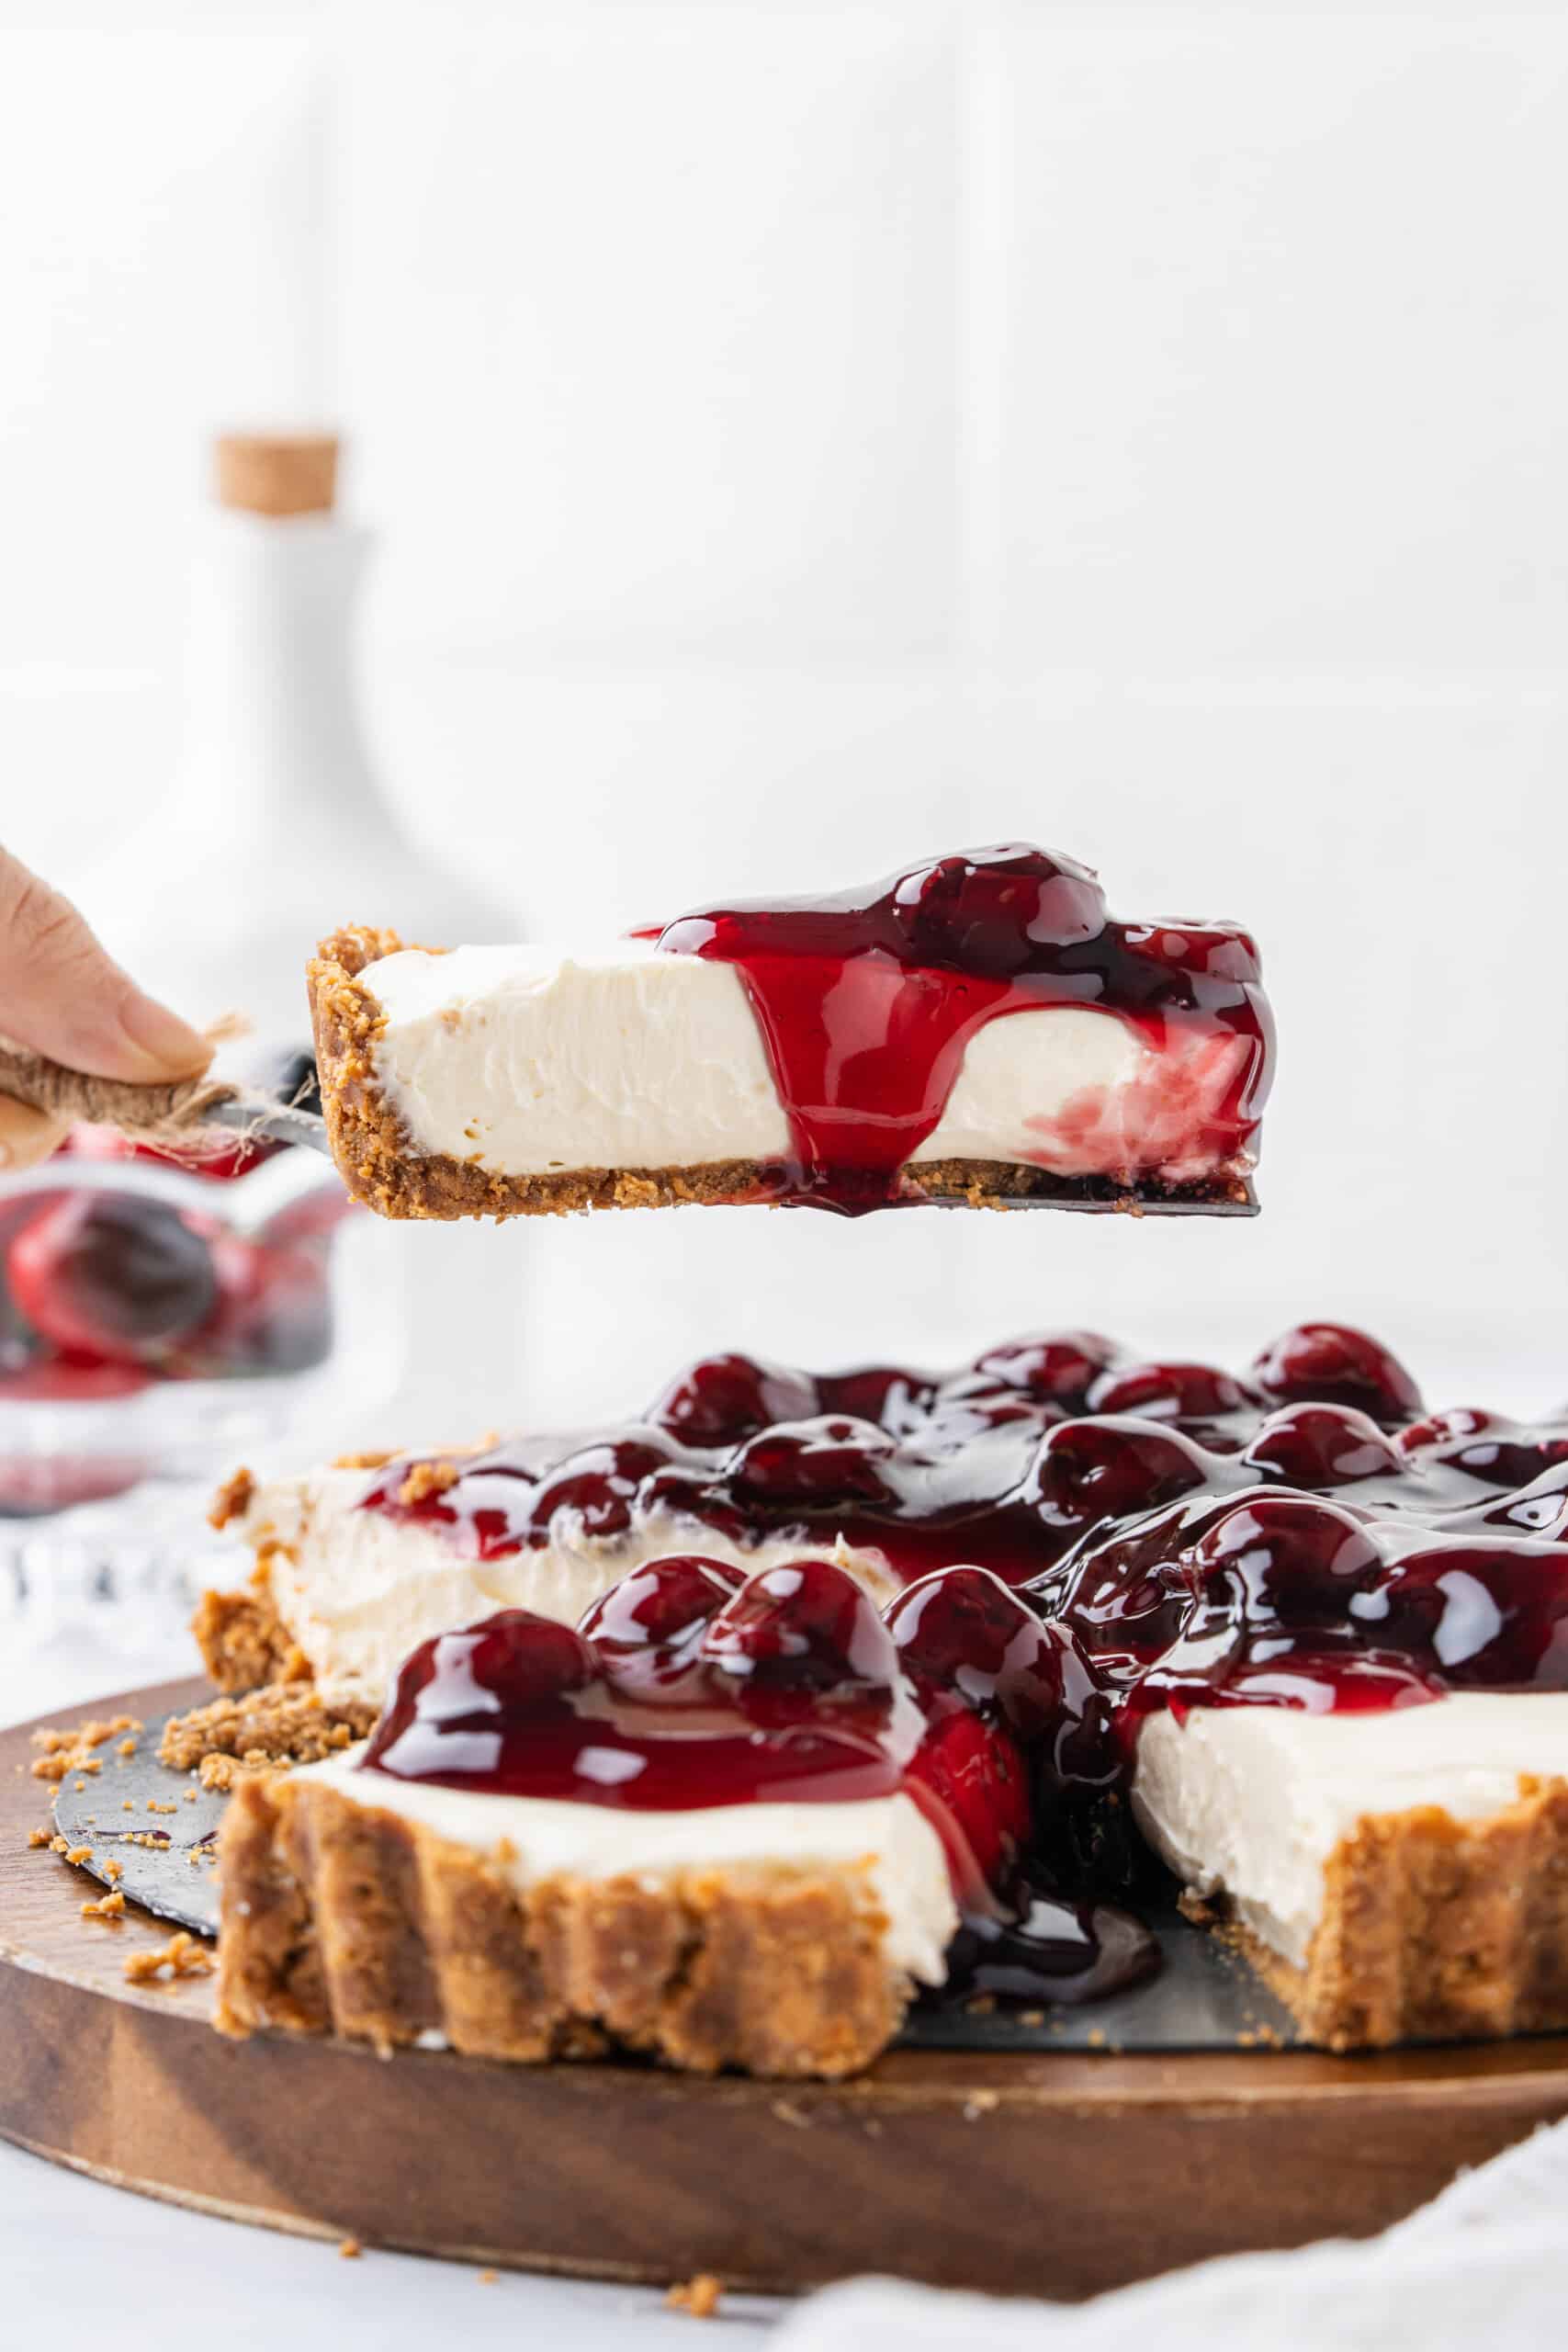
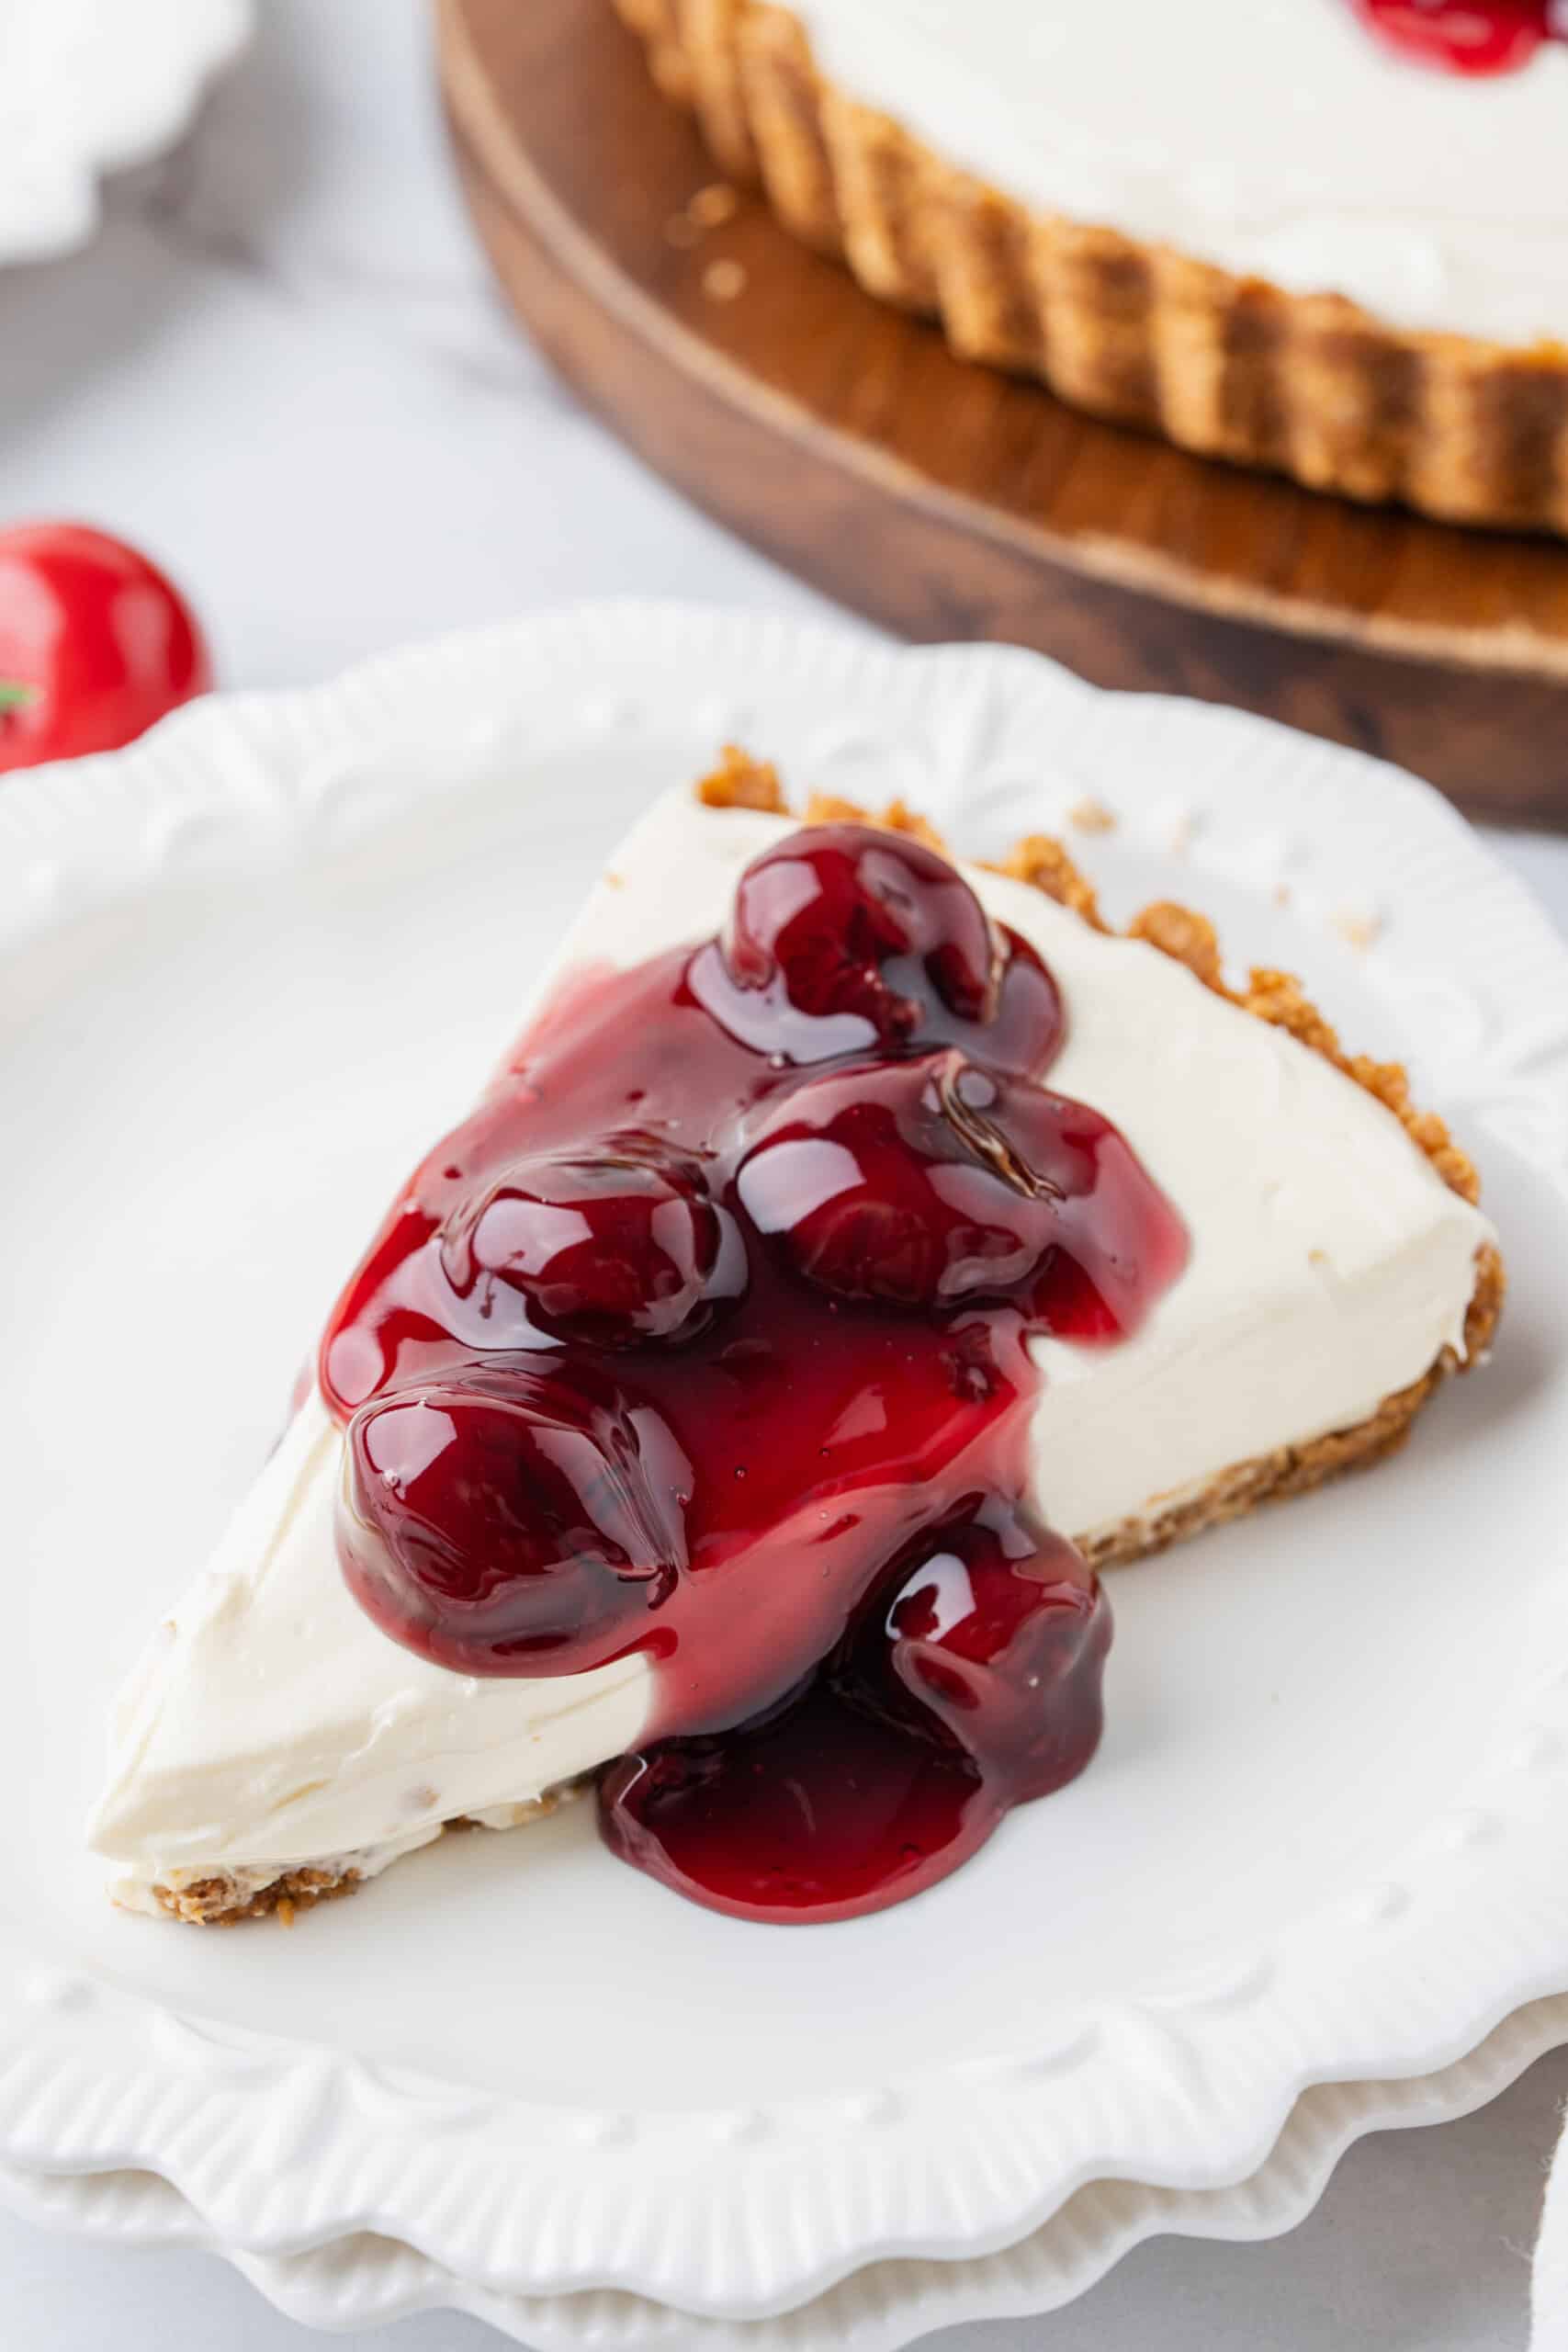
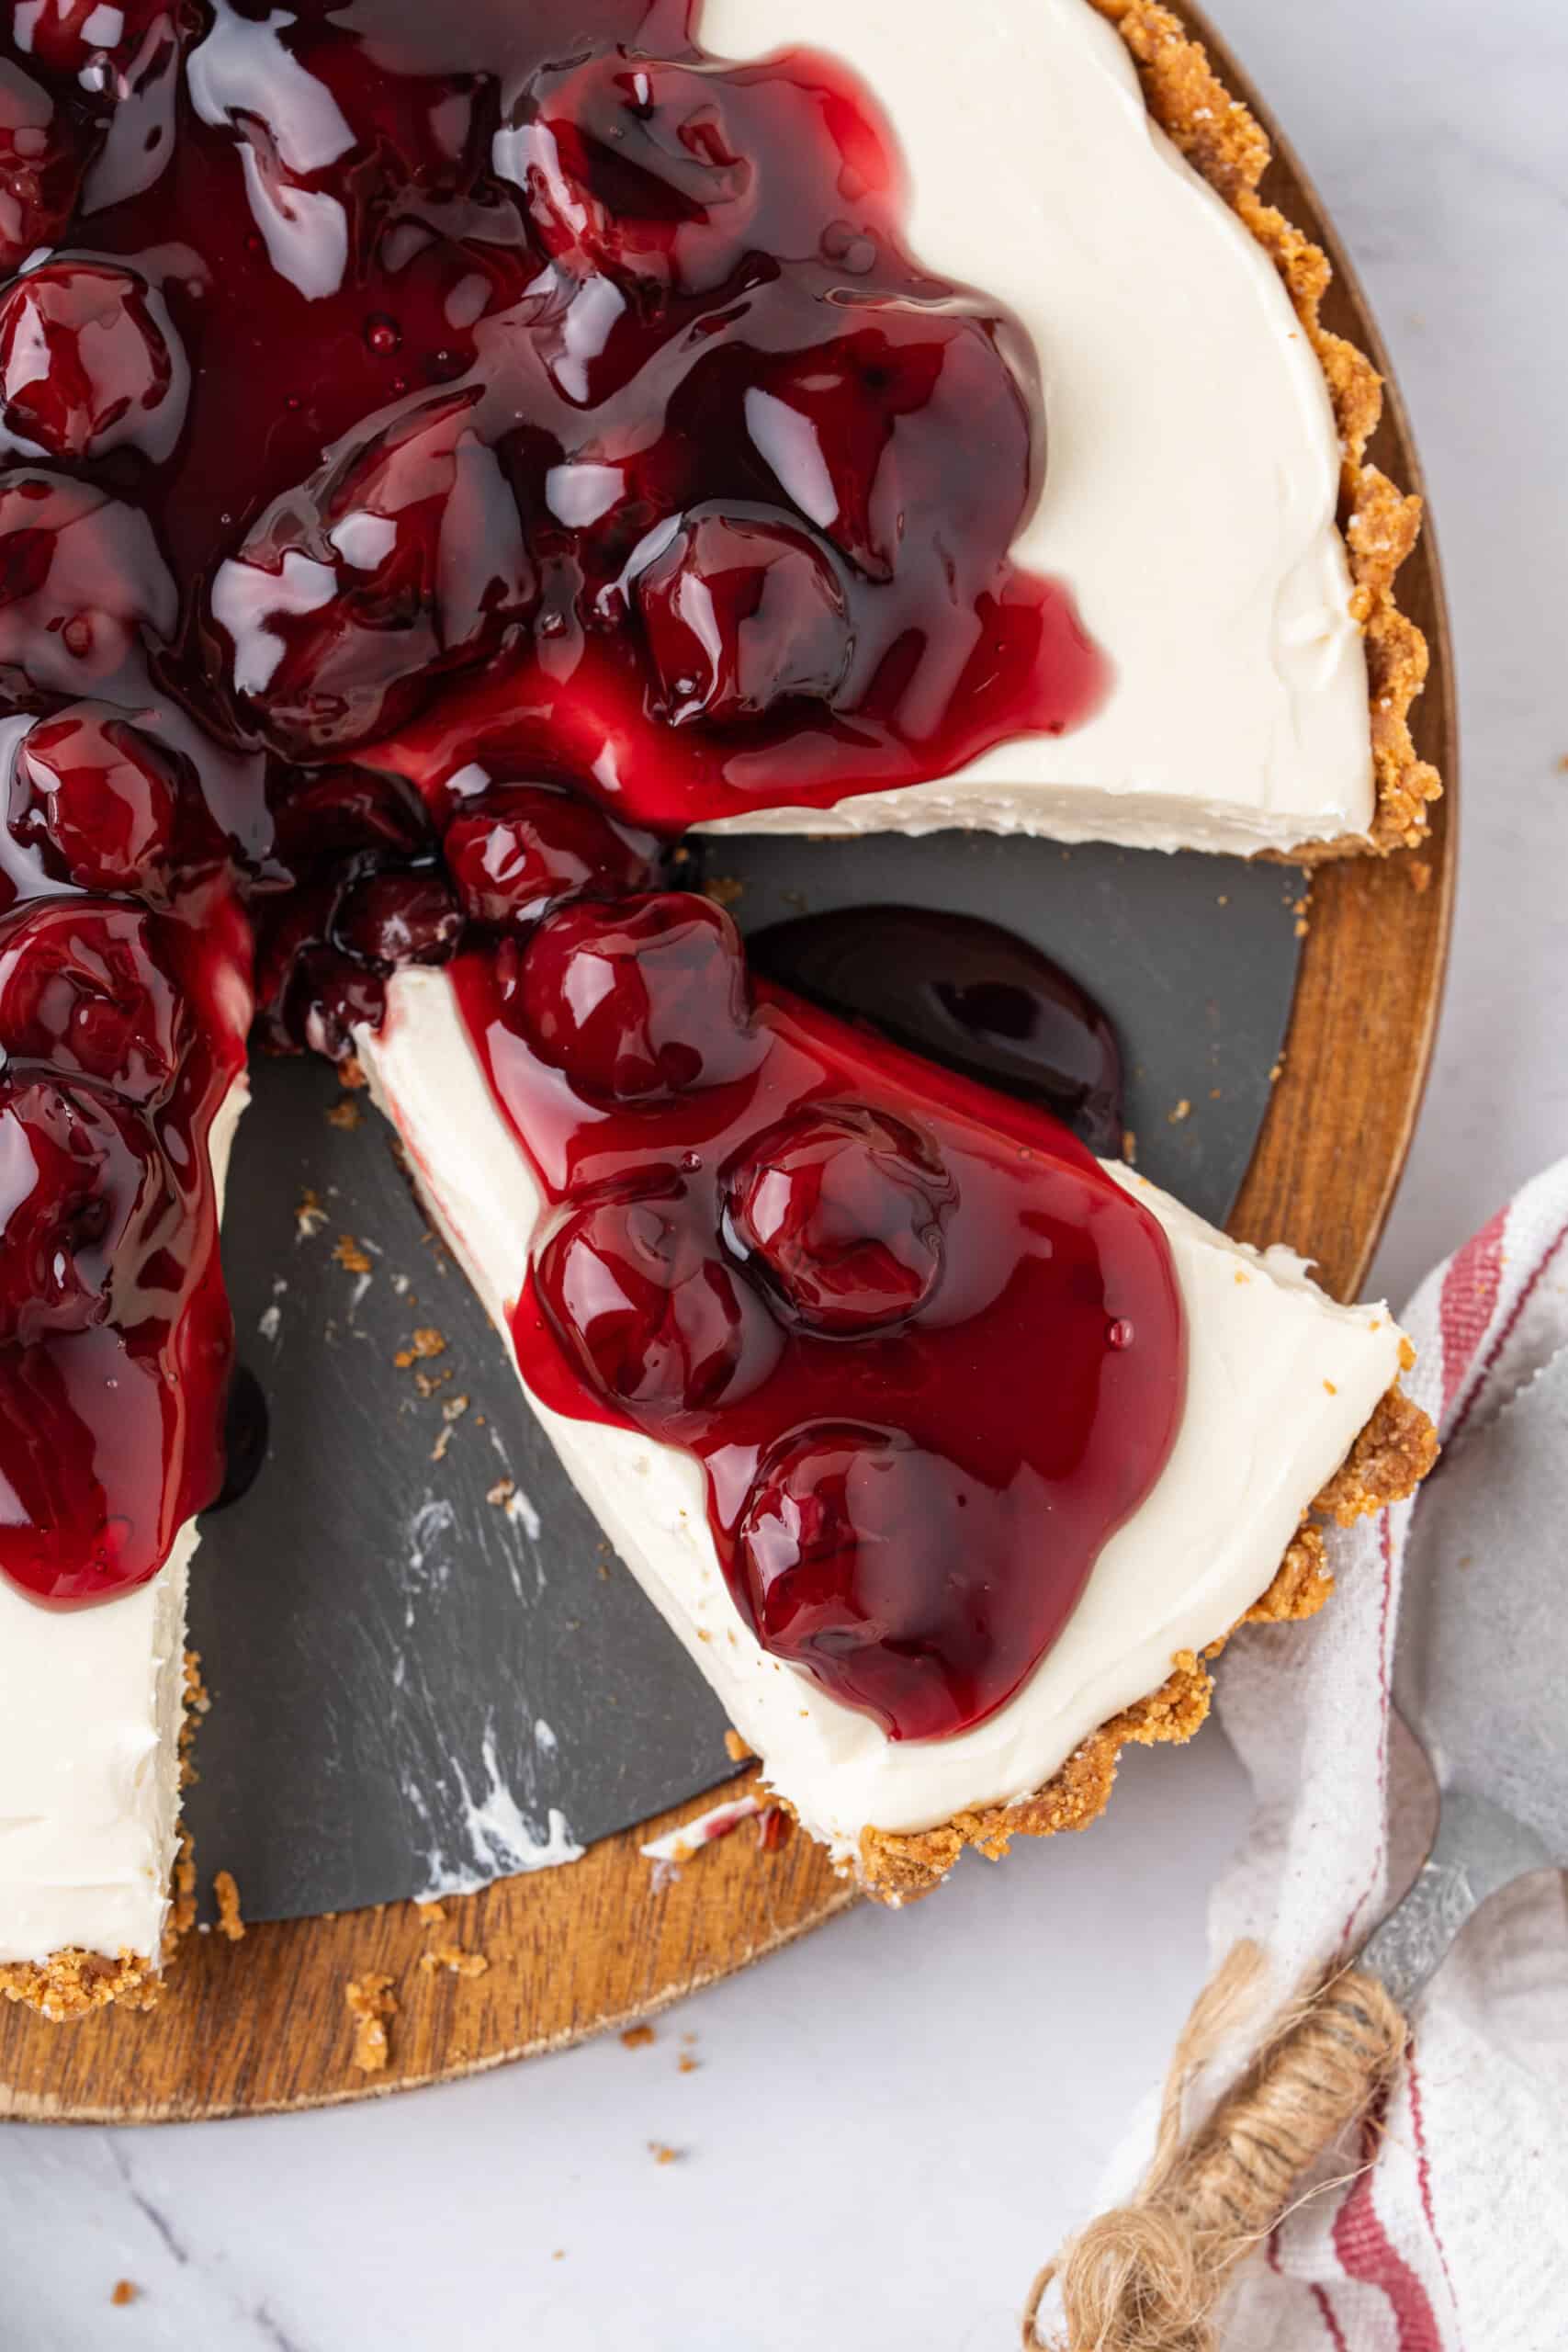
No-Bake Cheesecake has never been so easy or delicious! A silky smooth cream cheese filling surrounded by a buttery graham cracker crust. I’ve tested the heck out of this one, so you don’t have to. It sets up like a dream and tastes even better. It’s the perfect dessert if you need a quick treat for a crowd without turning the oven on. Just mix, chill, and serve.

Table of Contents
The graham cracker crust nor the filling requires any baking which means there are no eggs in this recipe and there is no extended baking or cooling times required. A no-bake cheesecake is truly the fail-proof way to make cheesecake. No cracking, no baking, no water bath…BOOM, no worries!
Ingredient Notes
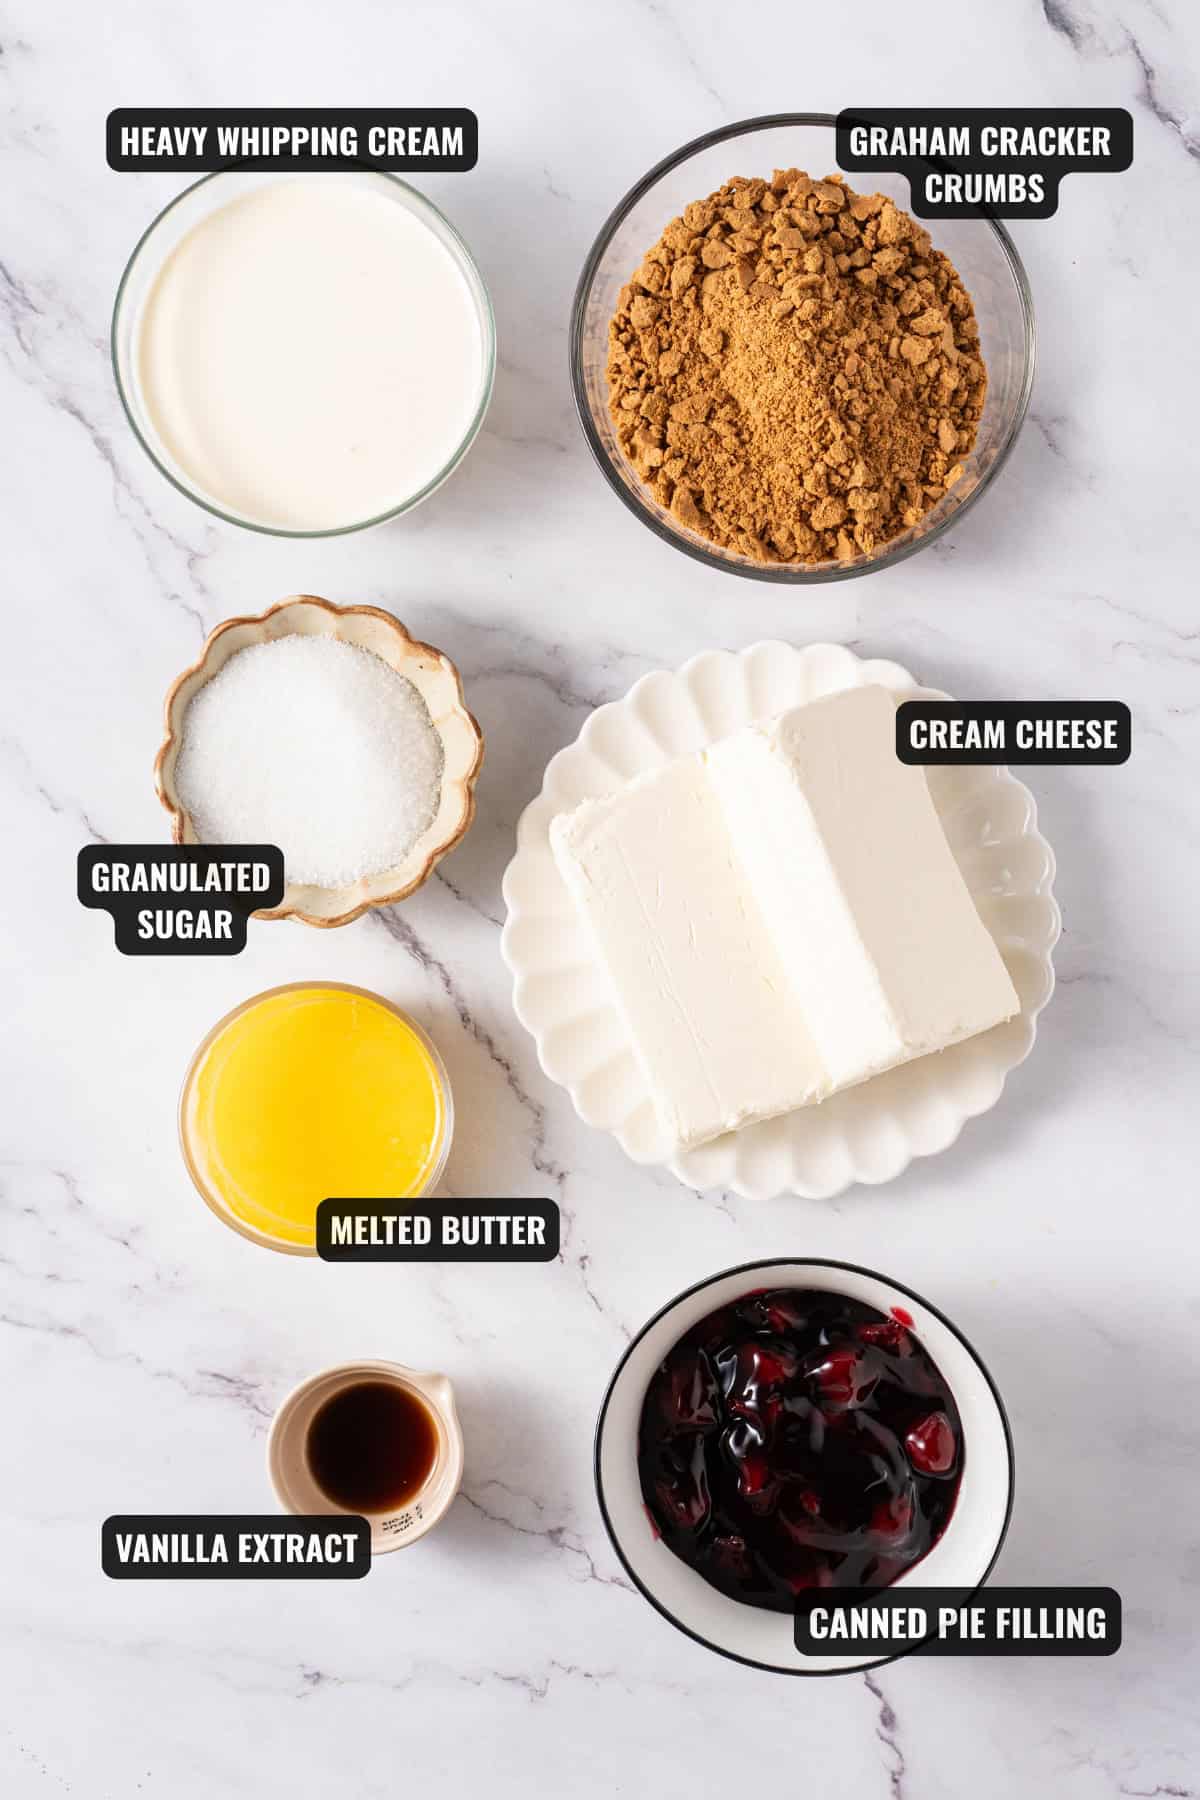
Just like my Classic Cheesecake recipe, you’ll only need a few basic ingredients for this. Nothing surprising here. Here’s what you’ll need:
- Graham cracker crumbs – Use a food processor to pulse graham crackers into fine crumbs for the base.
- Melted butter – Helps the graham crumbs stick together and form an even layer.
- Cream cheese – I prefer Philadelphia brand because I think it’s a little more tangy than the other no-name brands out there. Be sure this is at room temperature to avoid lumps.
- Granulated sugar – Sweetens the cheesecake without overpowering it.
- Vanilla extract – Adds extra flavor and enhances the overall taste.
- Heavy whipping cream – Whipped to stiff peaks to lighten the rich cheesecake mixture.
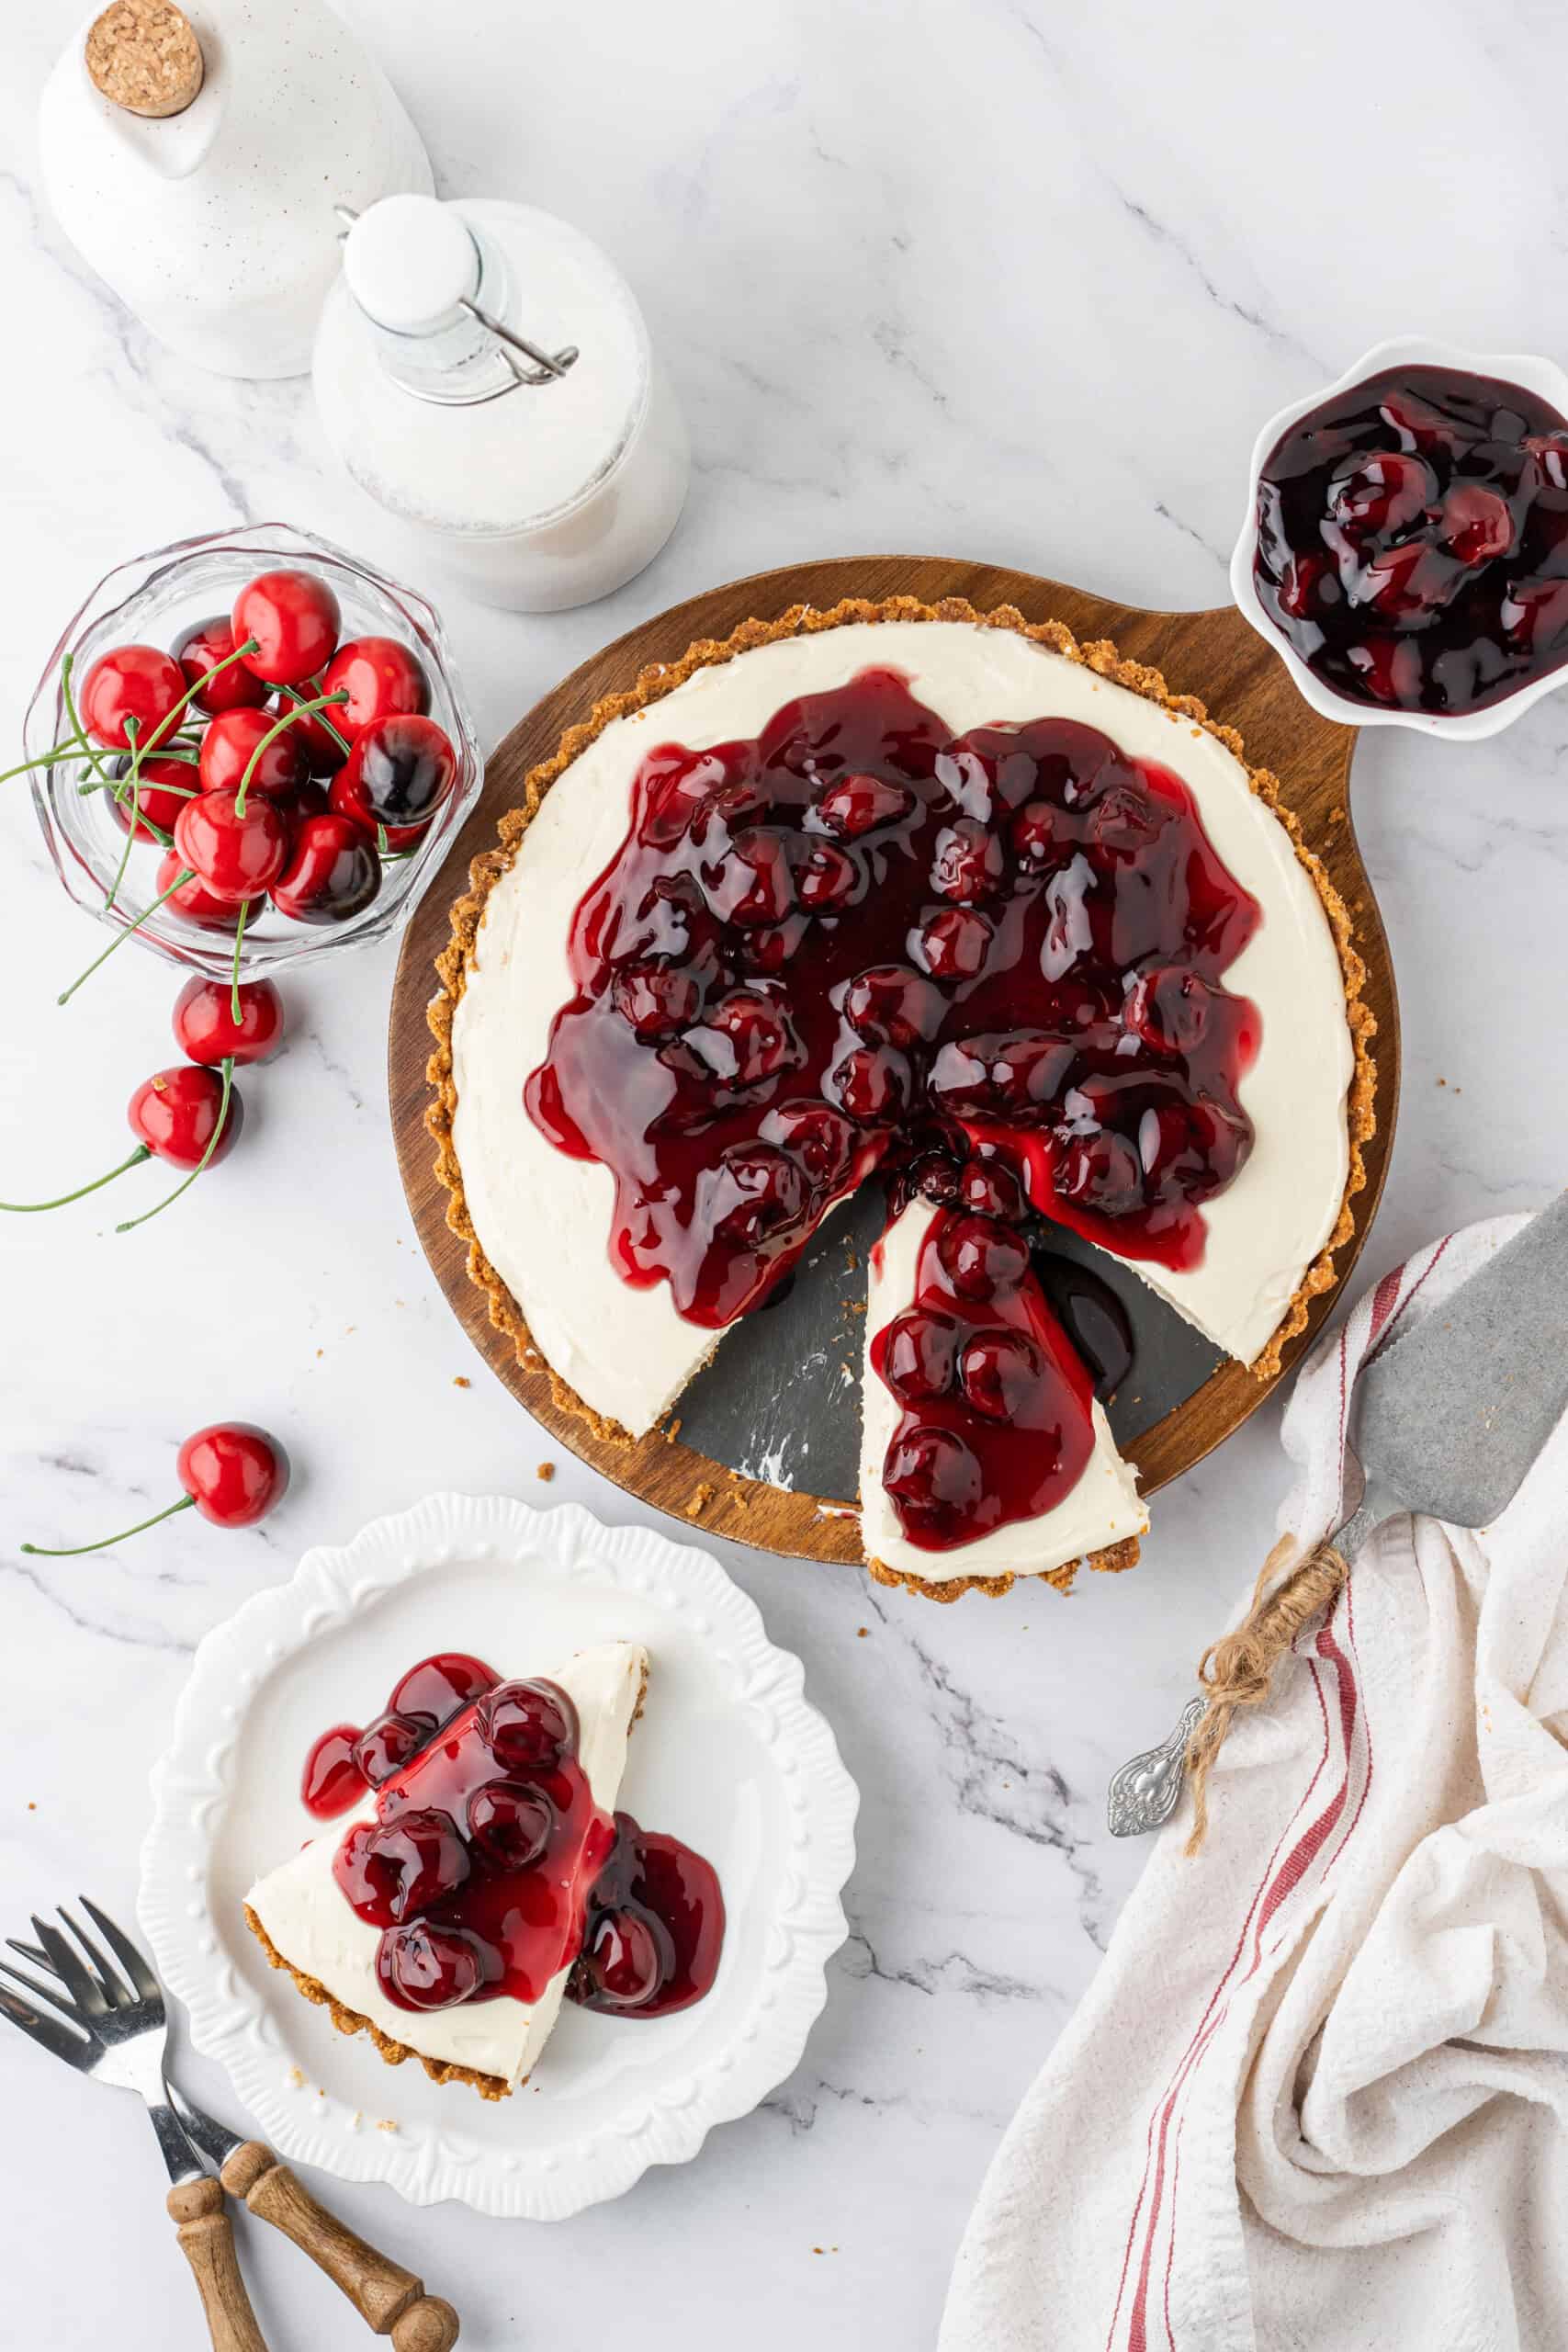
- Canned pie filling – Cherry pie filling, blueberry, or any flavor you prefer for topping.
How to Make Easy No-Bake Cheesecake
There are only a few steps and a little refrigeration time standing between you and this no-bake cheesecake recipe! It really is as easy as can be! For full recipe details, including ingredient measurements, see the printable recipe card at the bottom of this post. Here are my step-by-step directions:
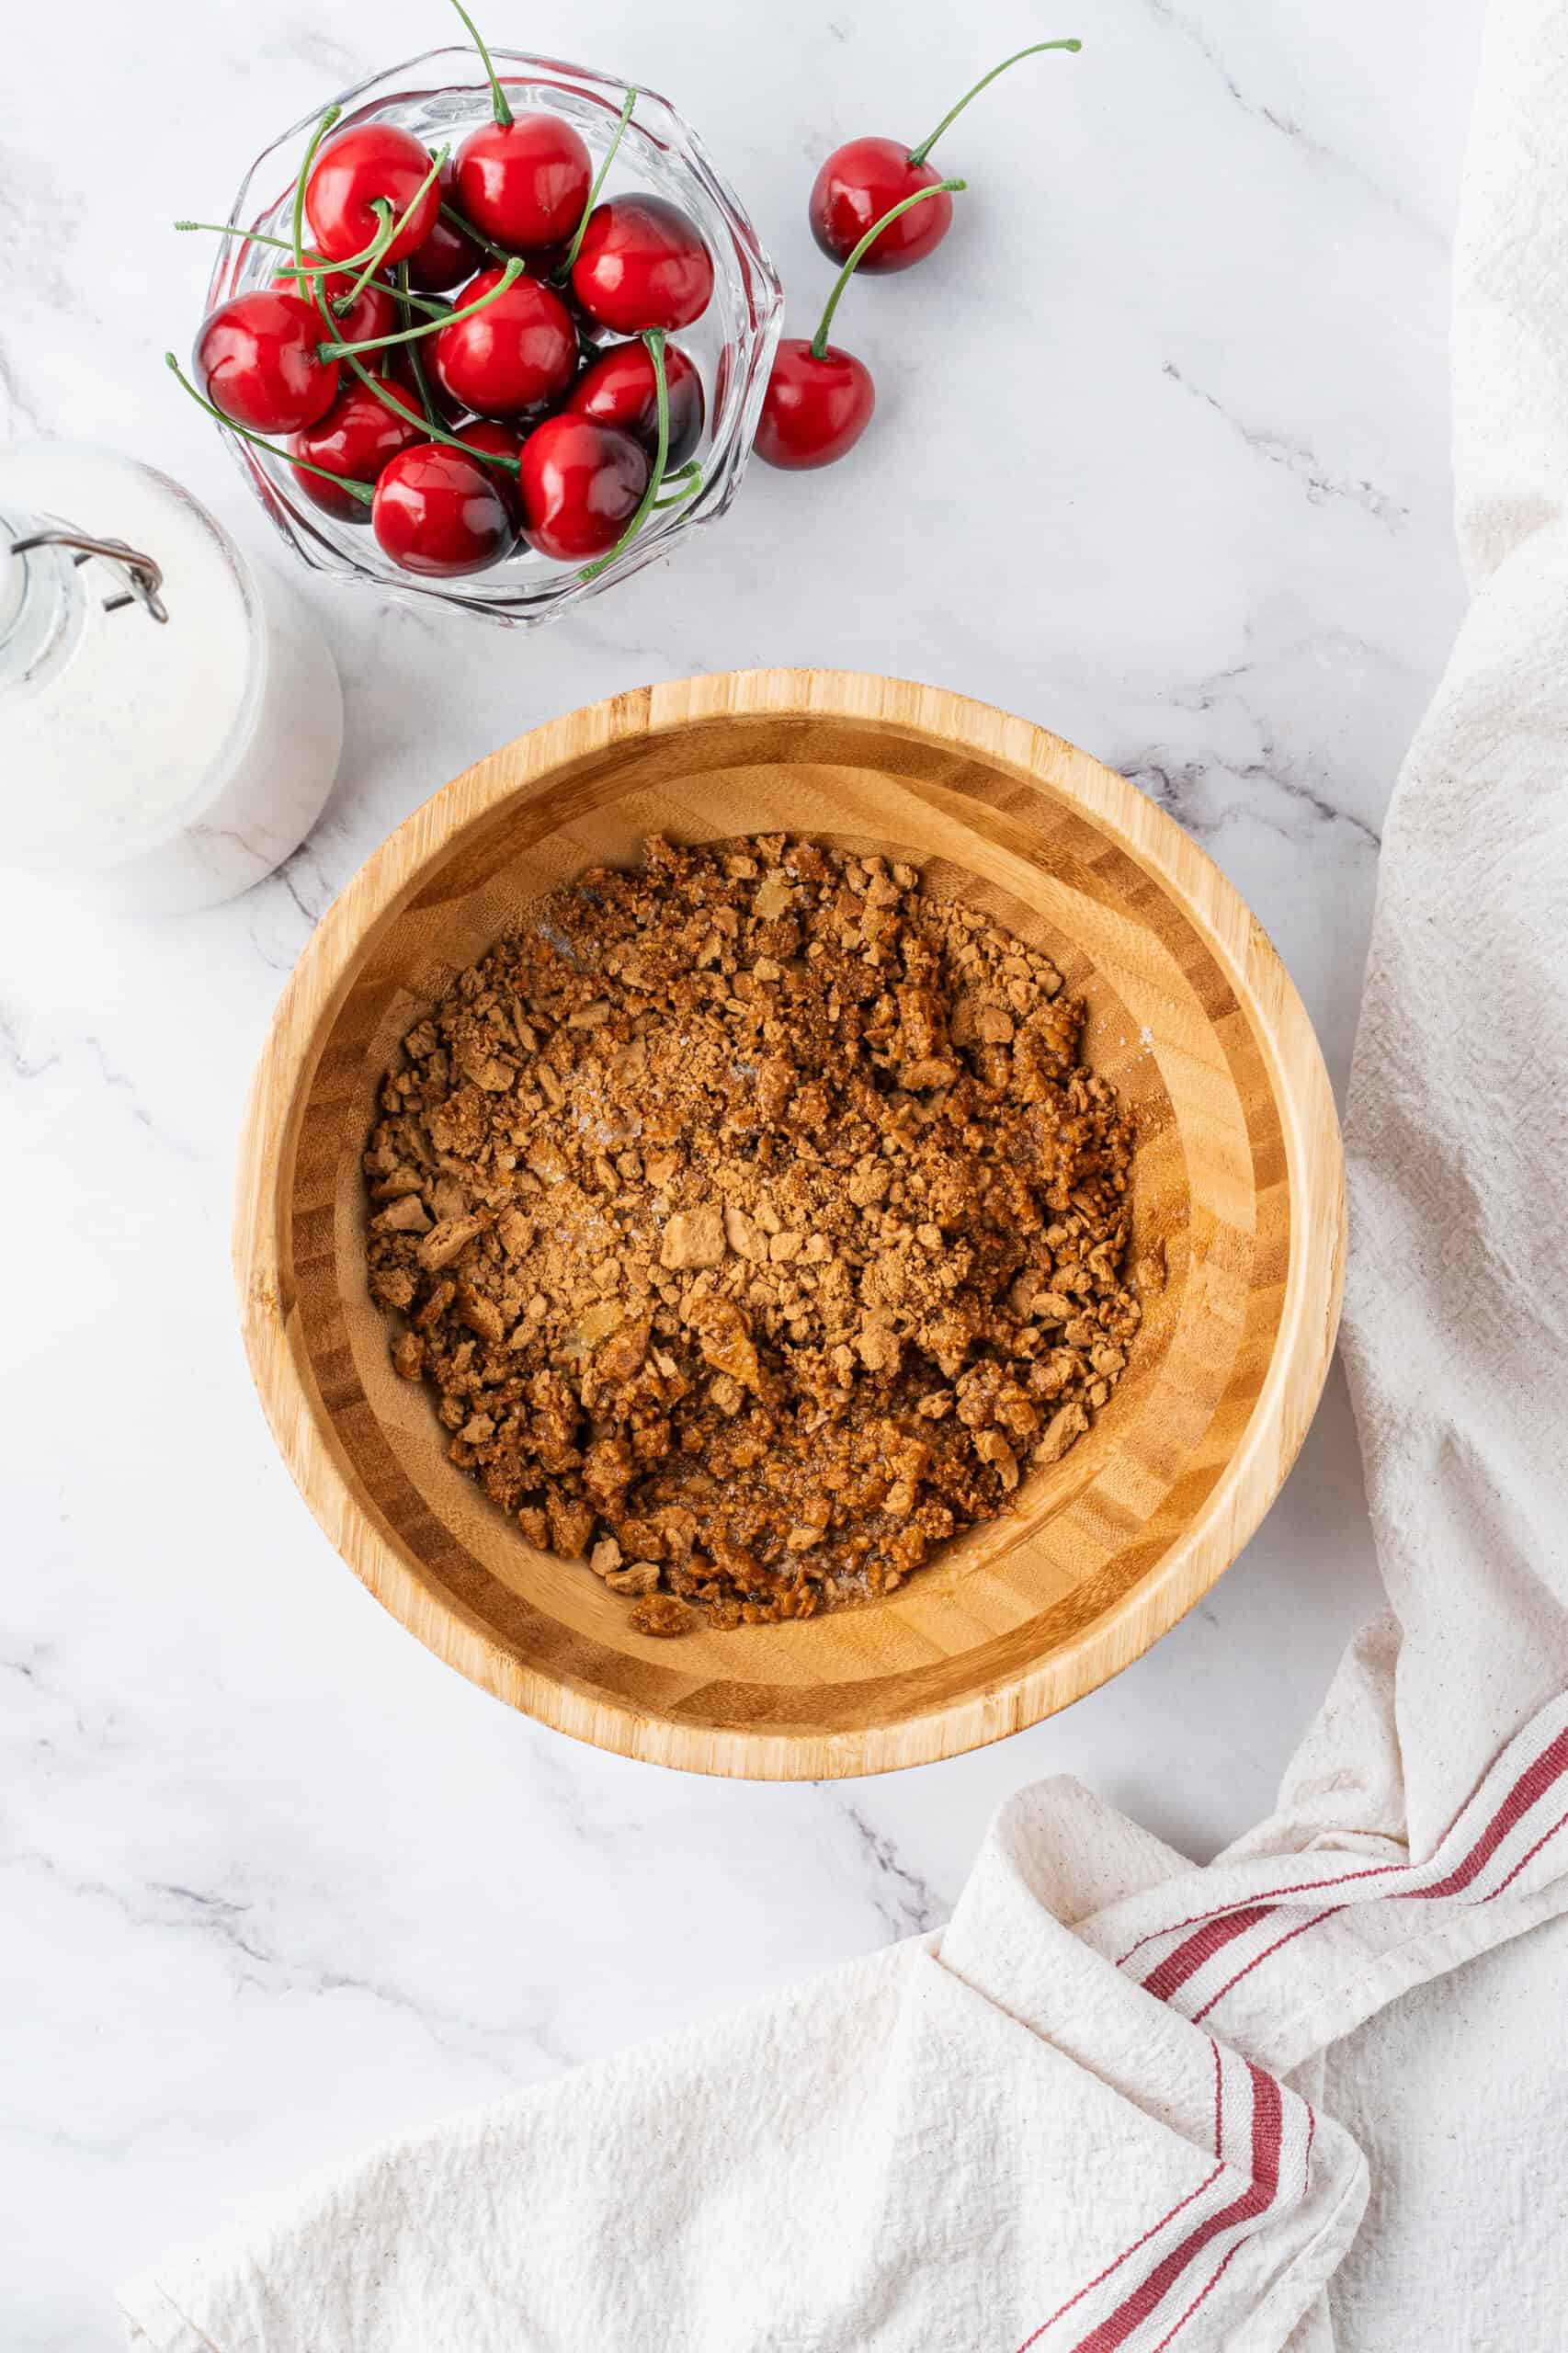
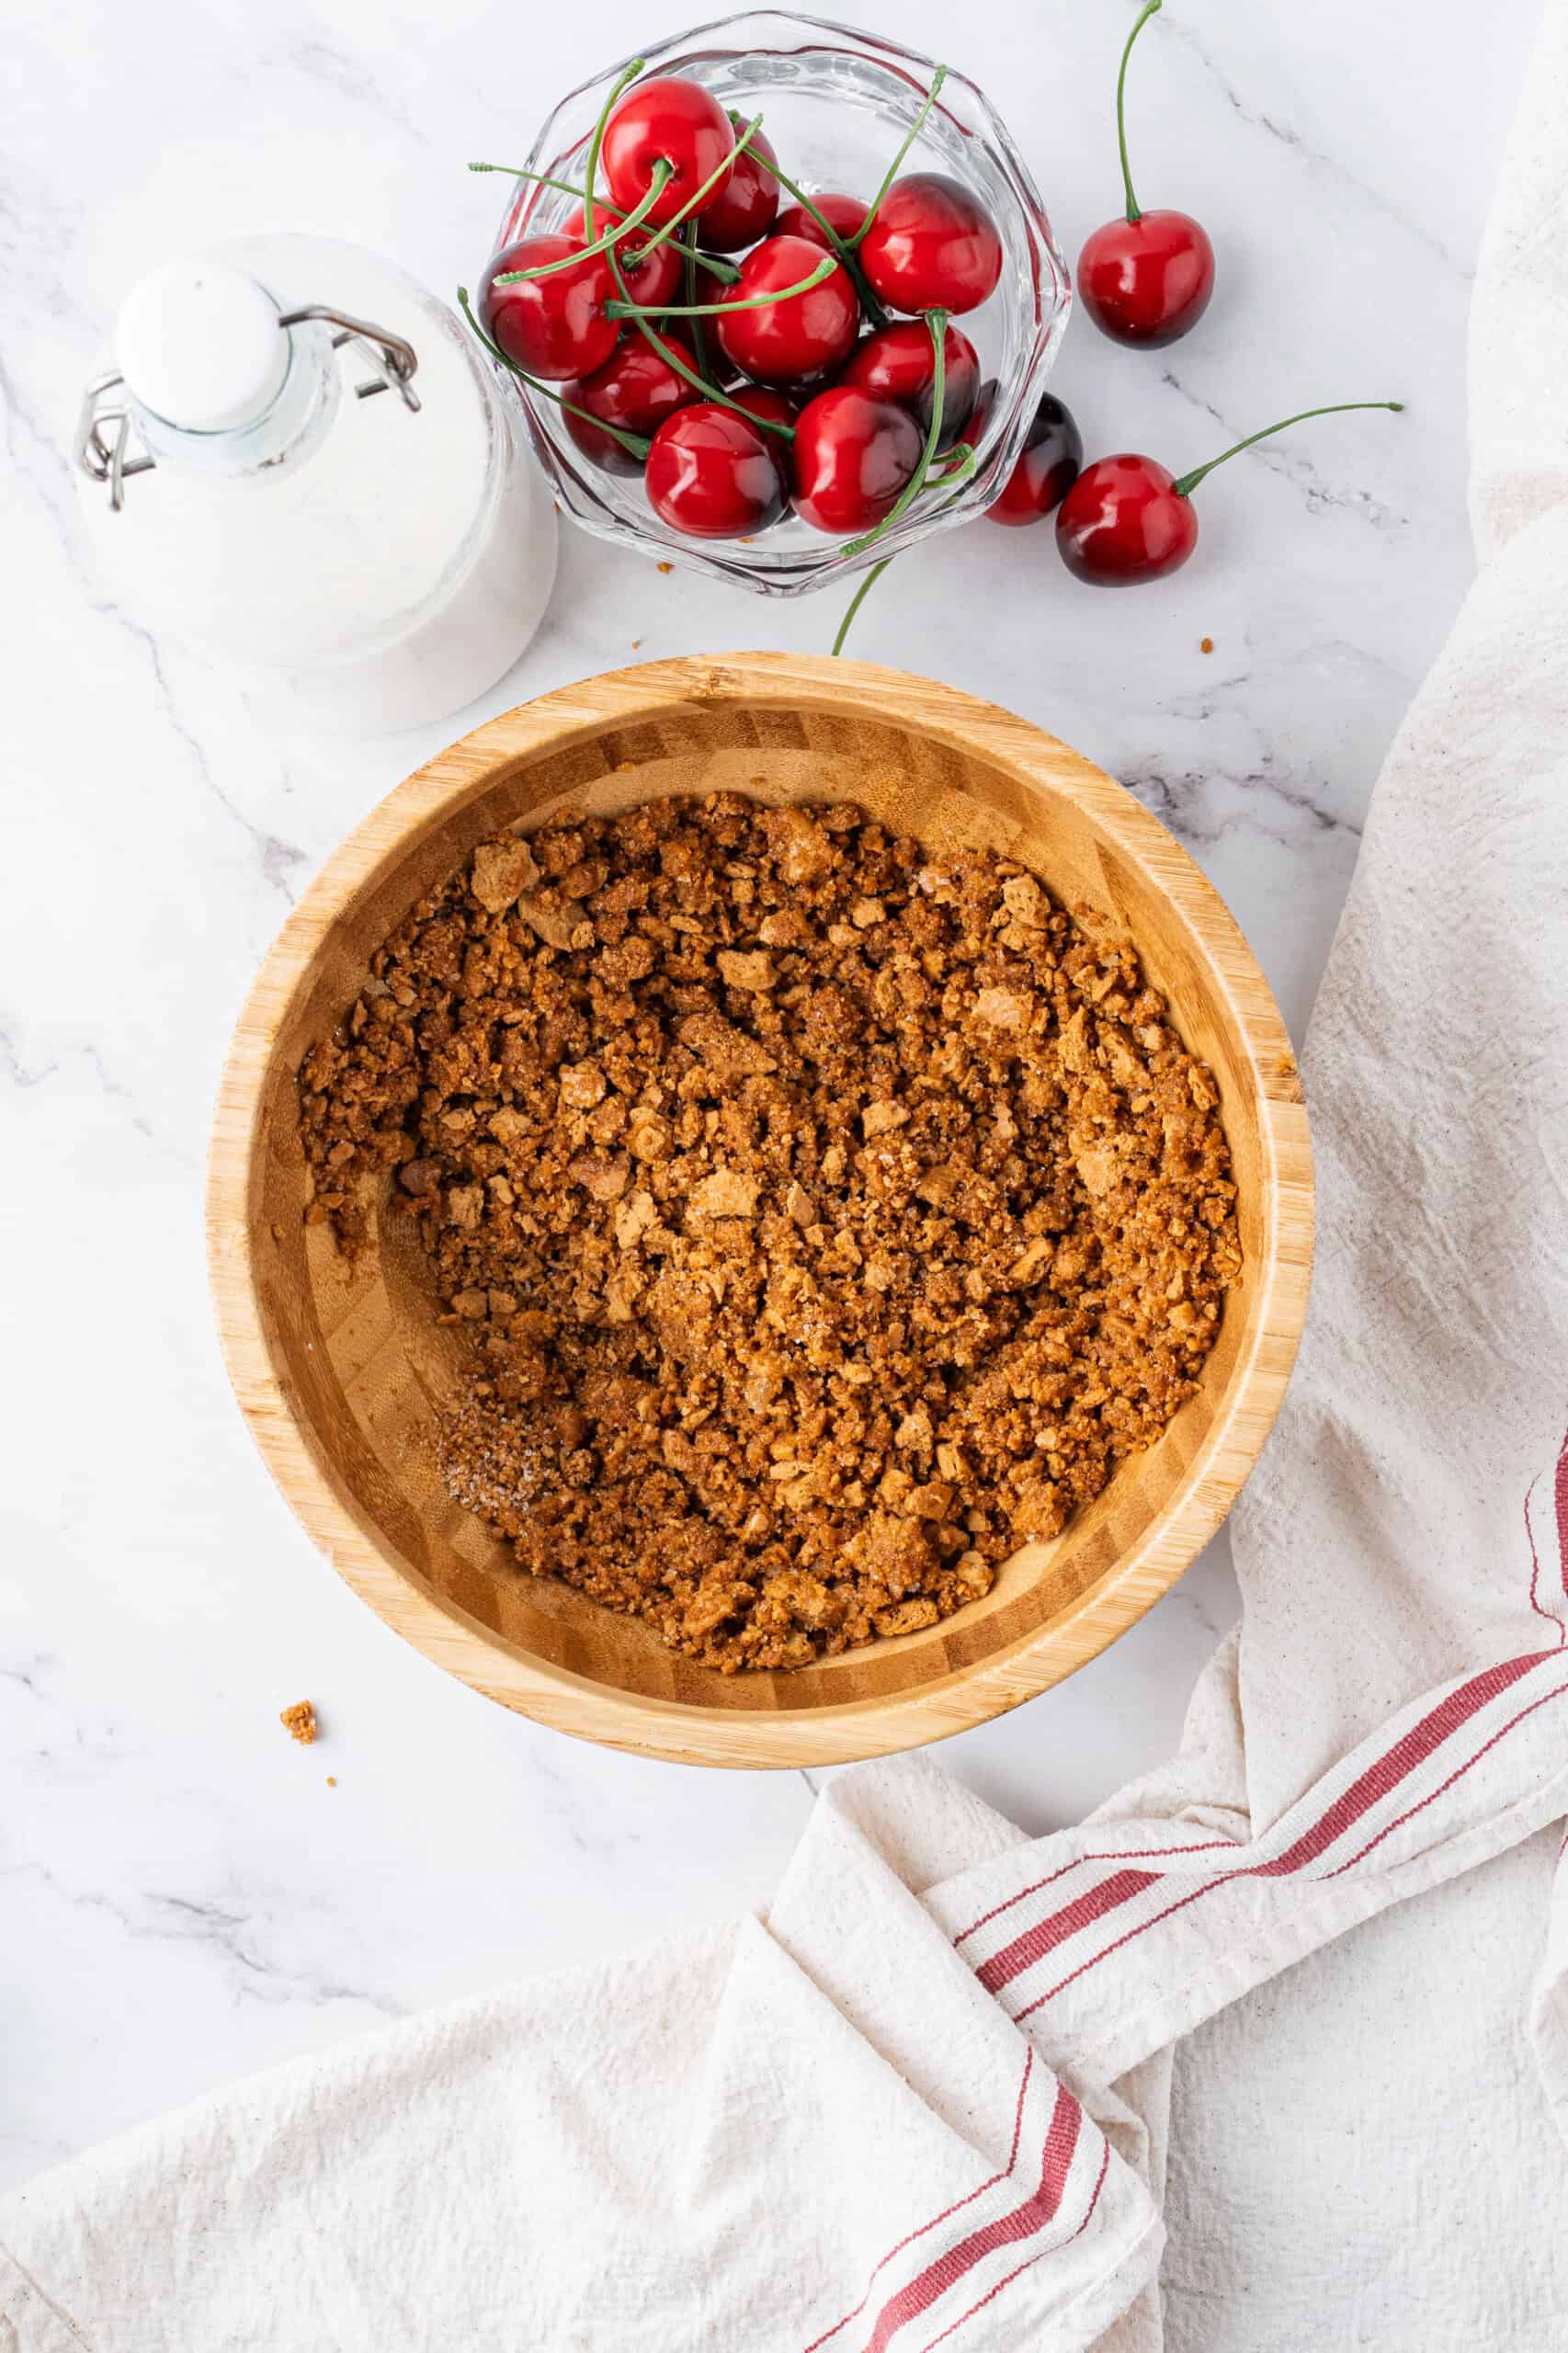
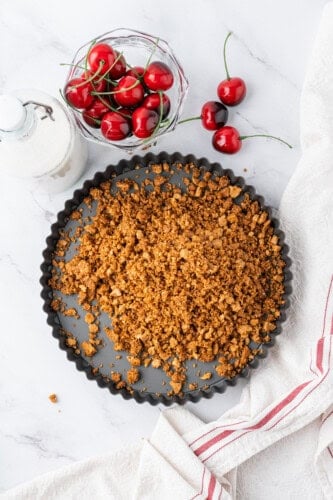
Step 1: Make the Crust
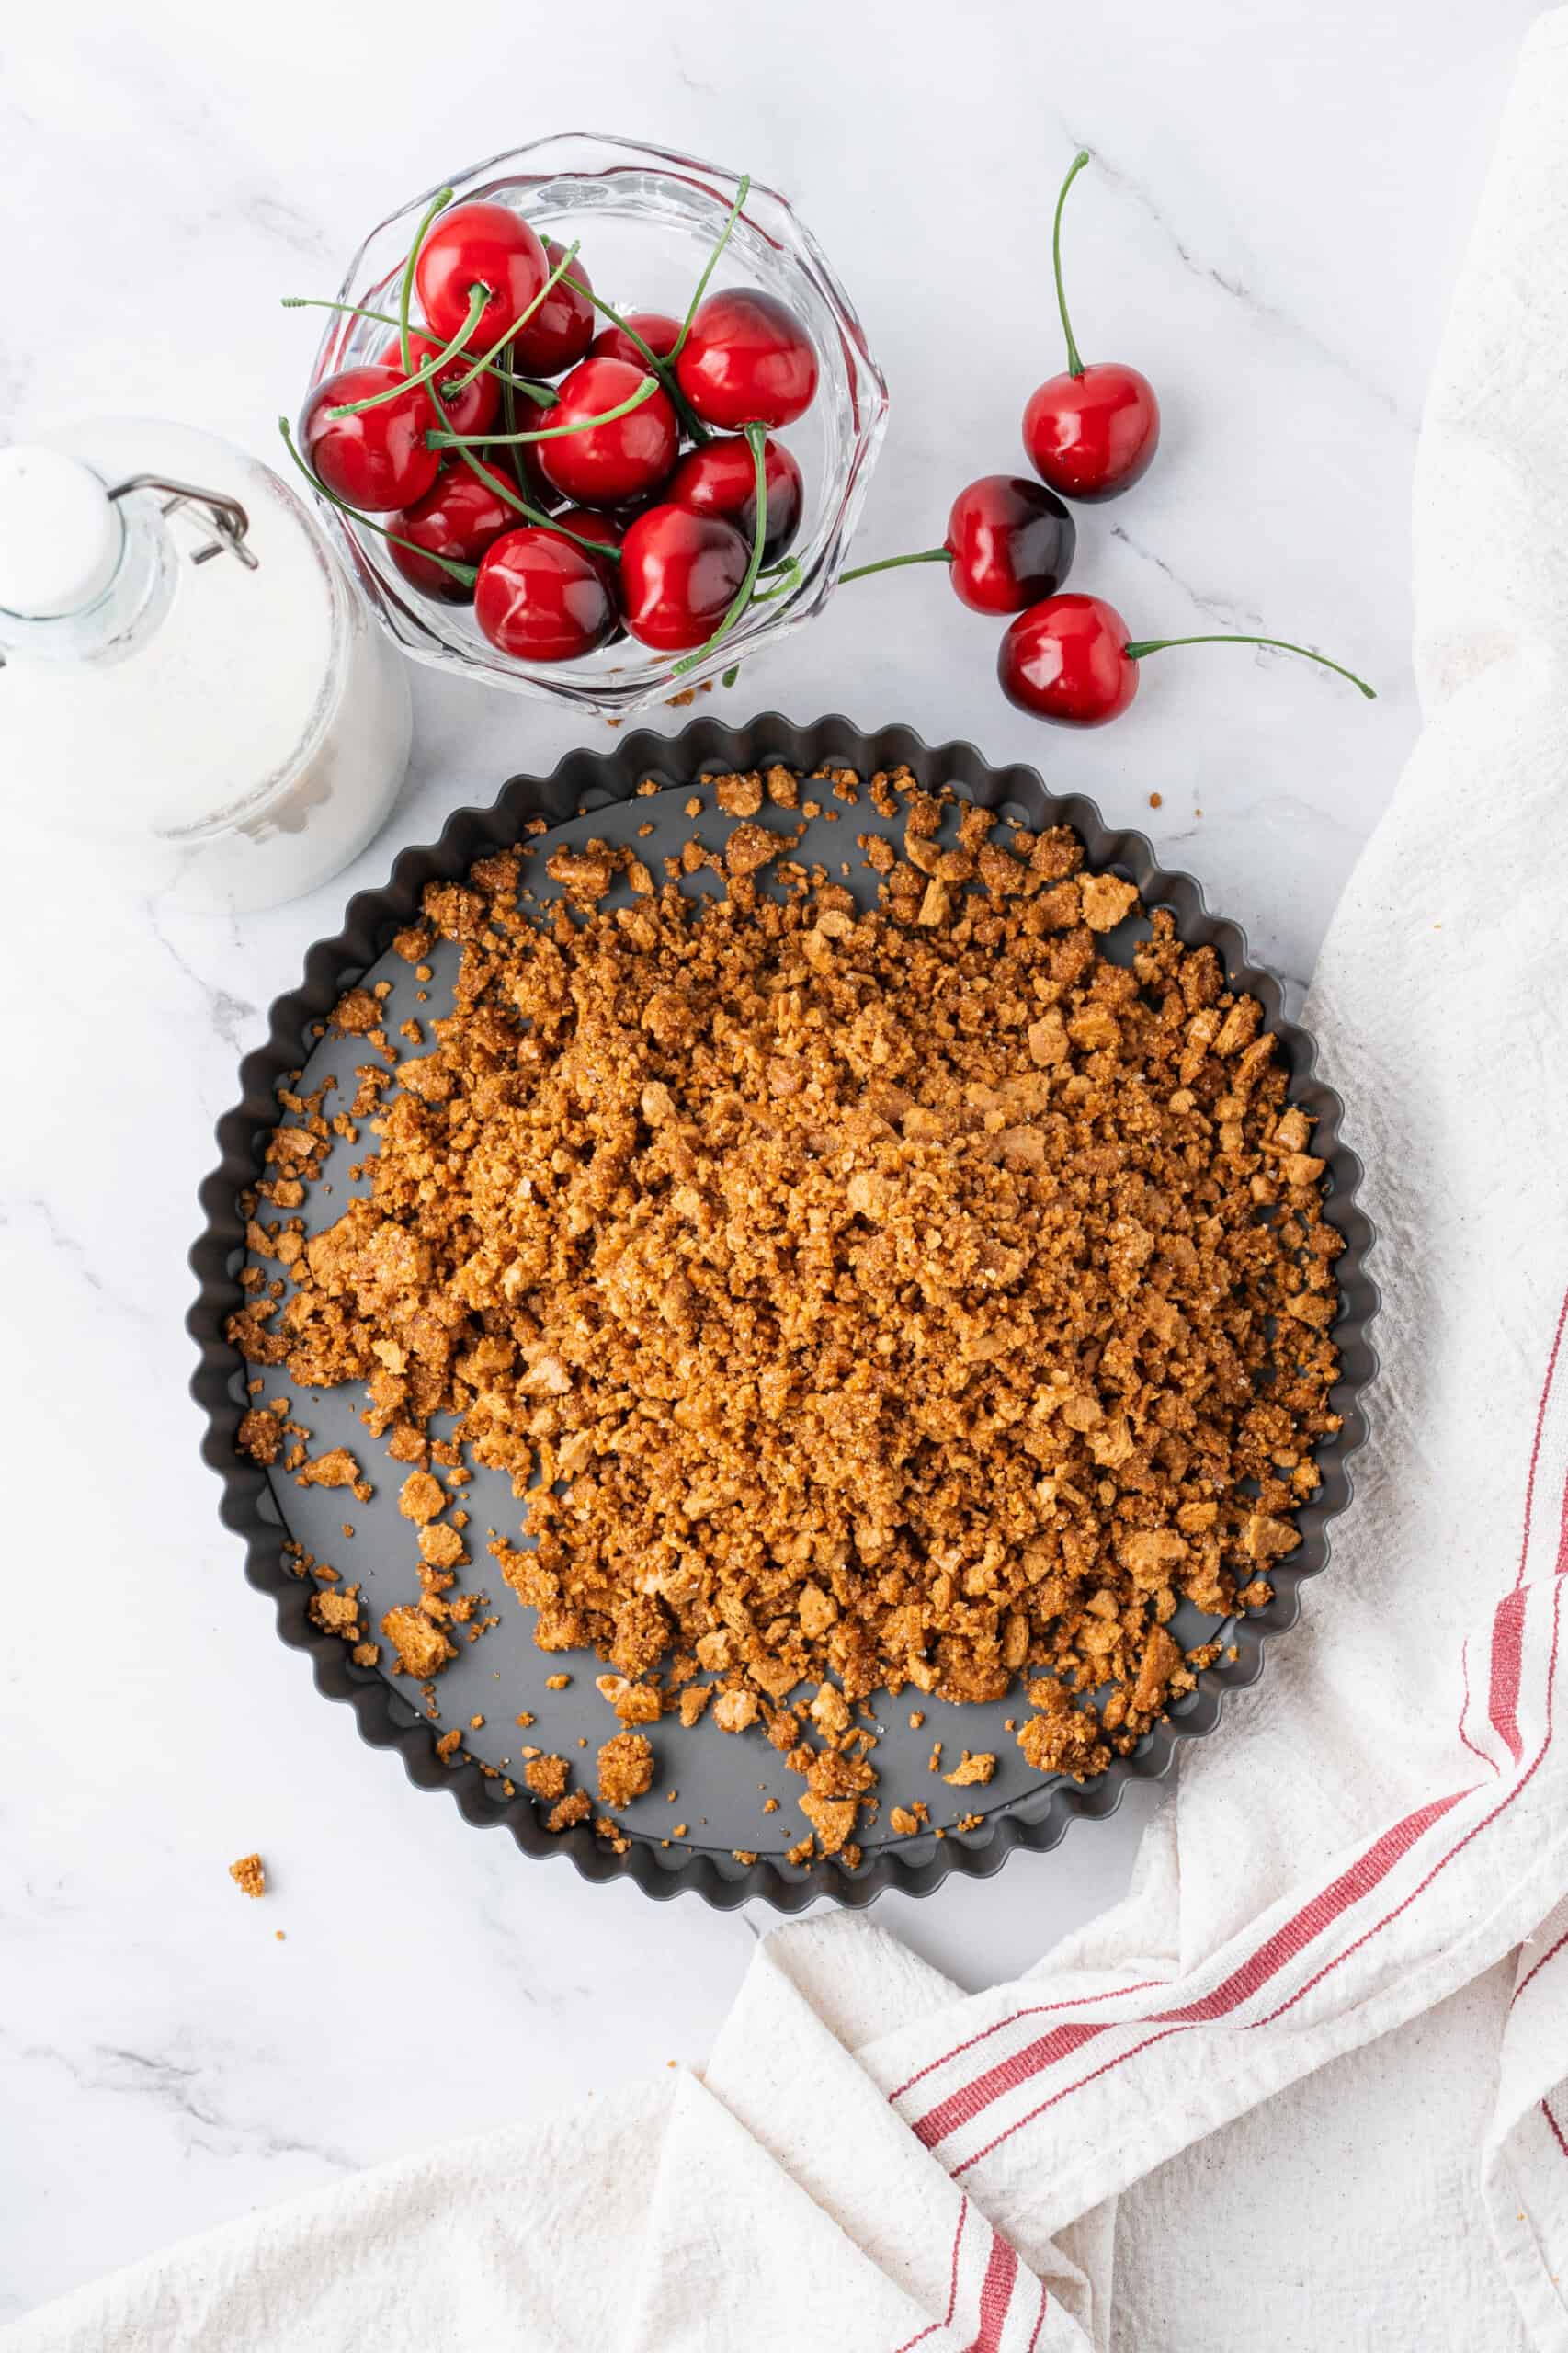
Stir melted butter together with graham cracker crumbs and a touch of sugar. Be sure every crumb is coated in butter to ensure your crust sticks together. Press into a pie pan and refrigerate. This is super easy to do with the bottom of a measuring cup.
Do I have to bake the graham cracker crust? A traditional cheesecake does call for pre-baking the crust, but I find it isn’t necessary for a no-bake cheesecake because the melted butter works as glue to hold the graham cracker crumbs together for neat and tidy slices. The melted butter hardens in the refrigerator and works perfectly. I wouldn’t bother baking the crust. It’s an extra step that I think is unnecessary in this situation.
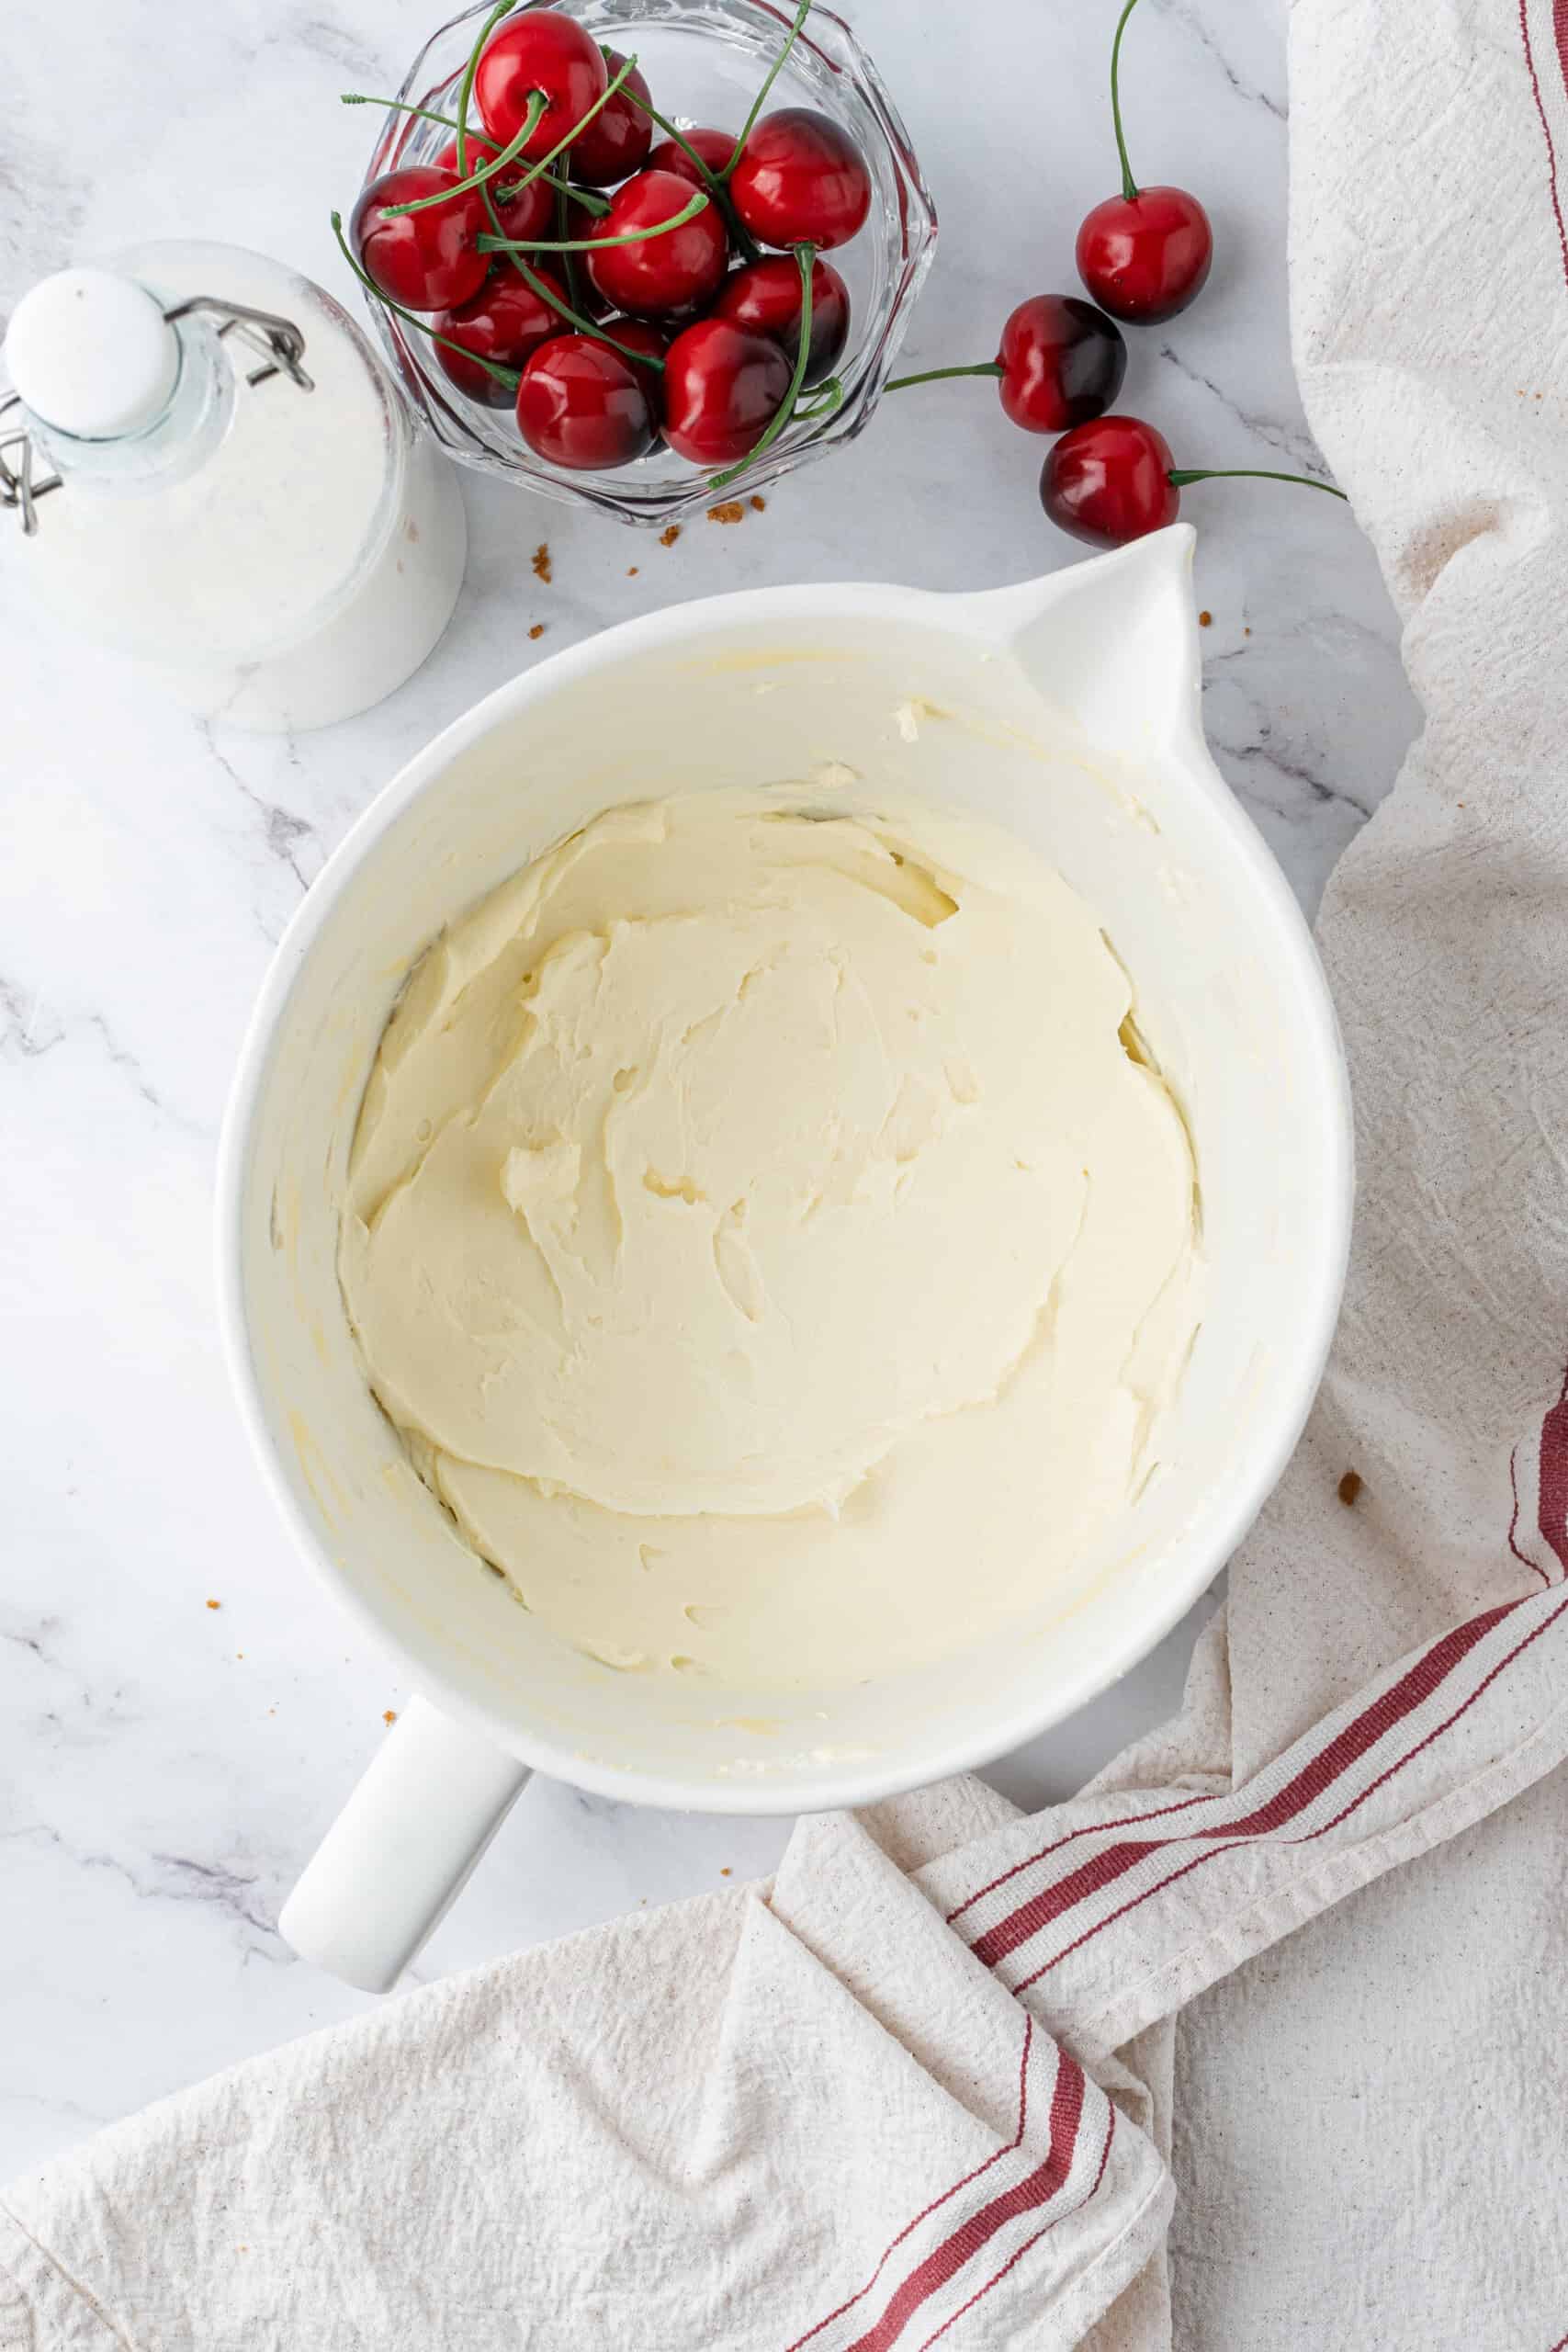
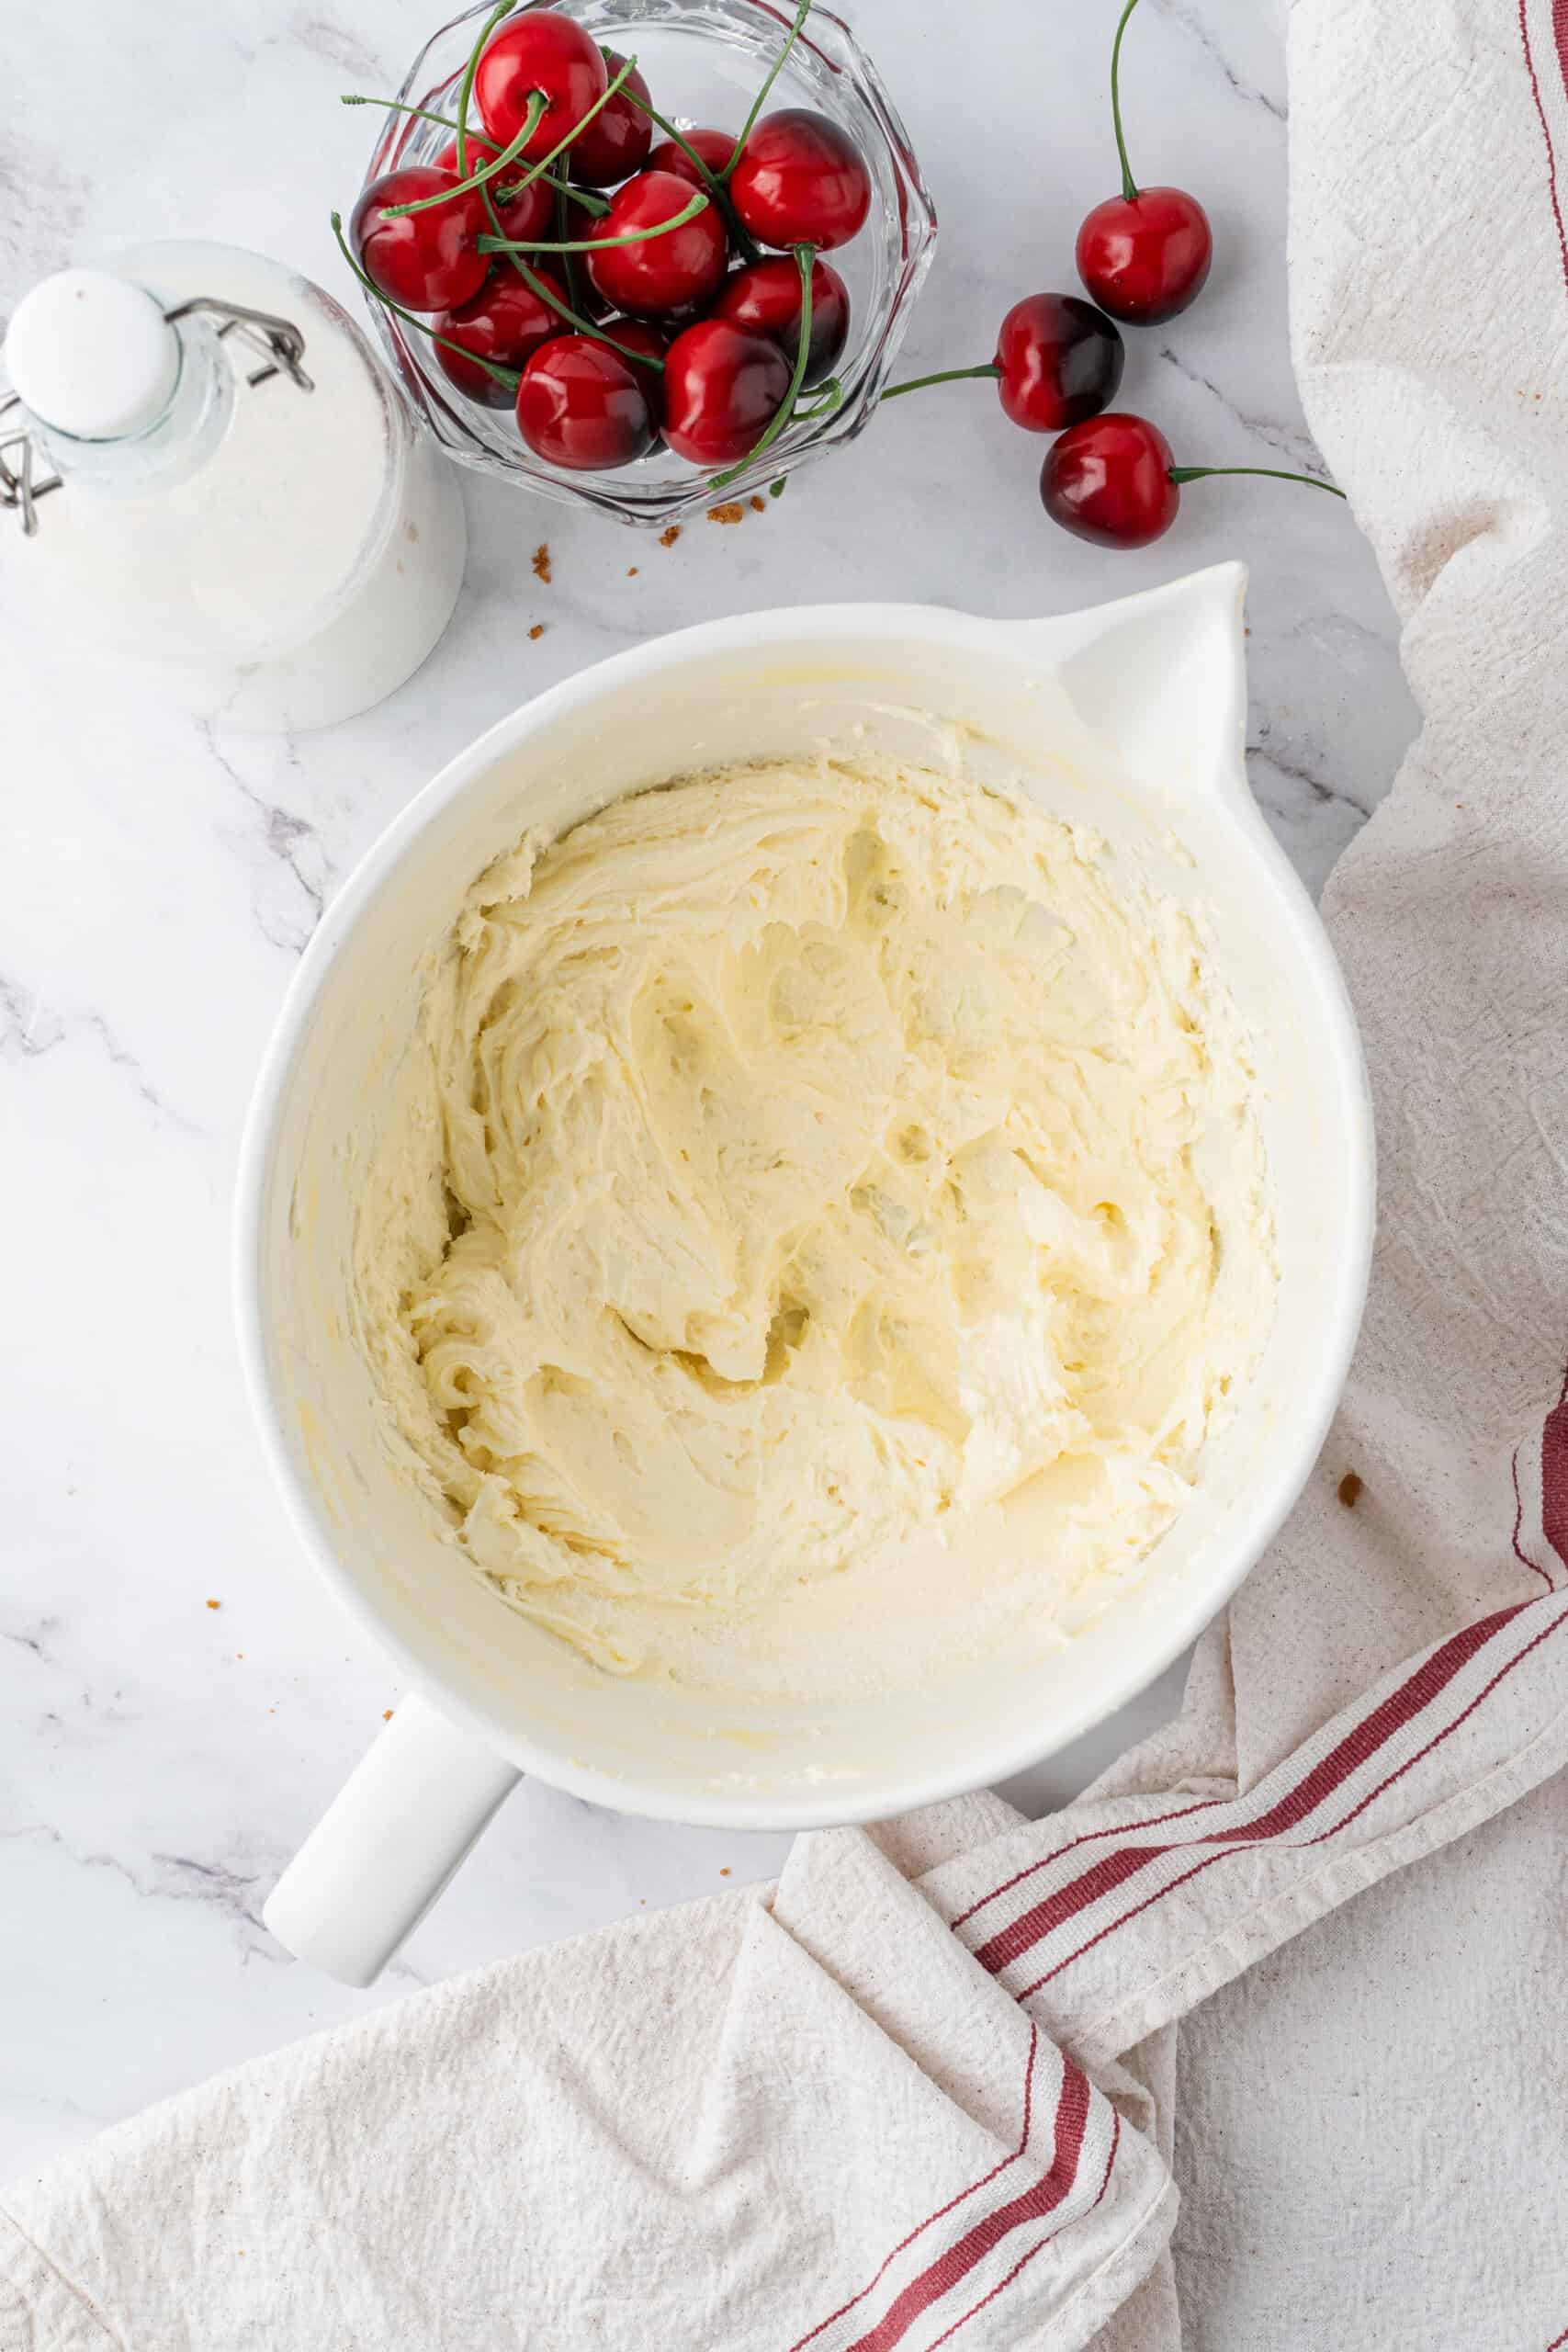
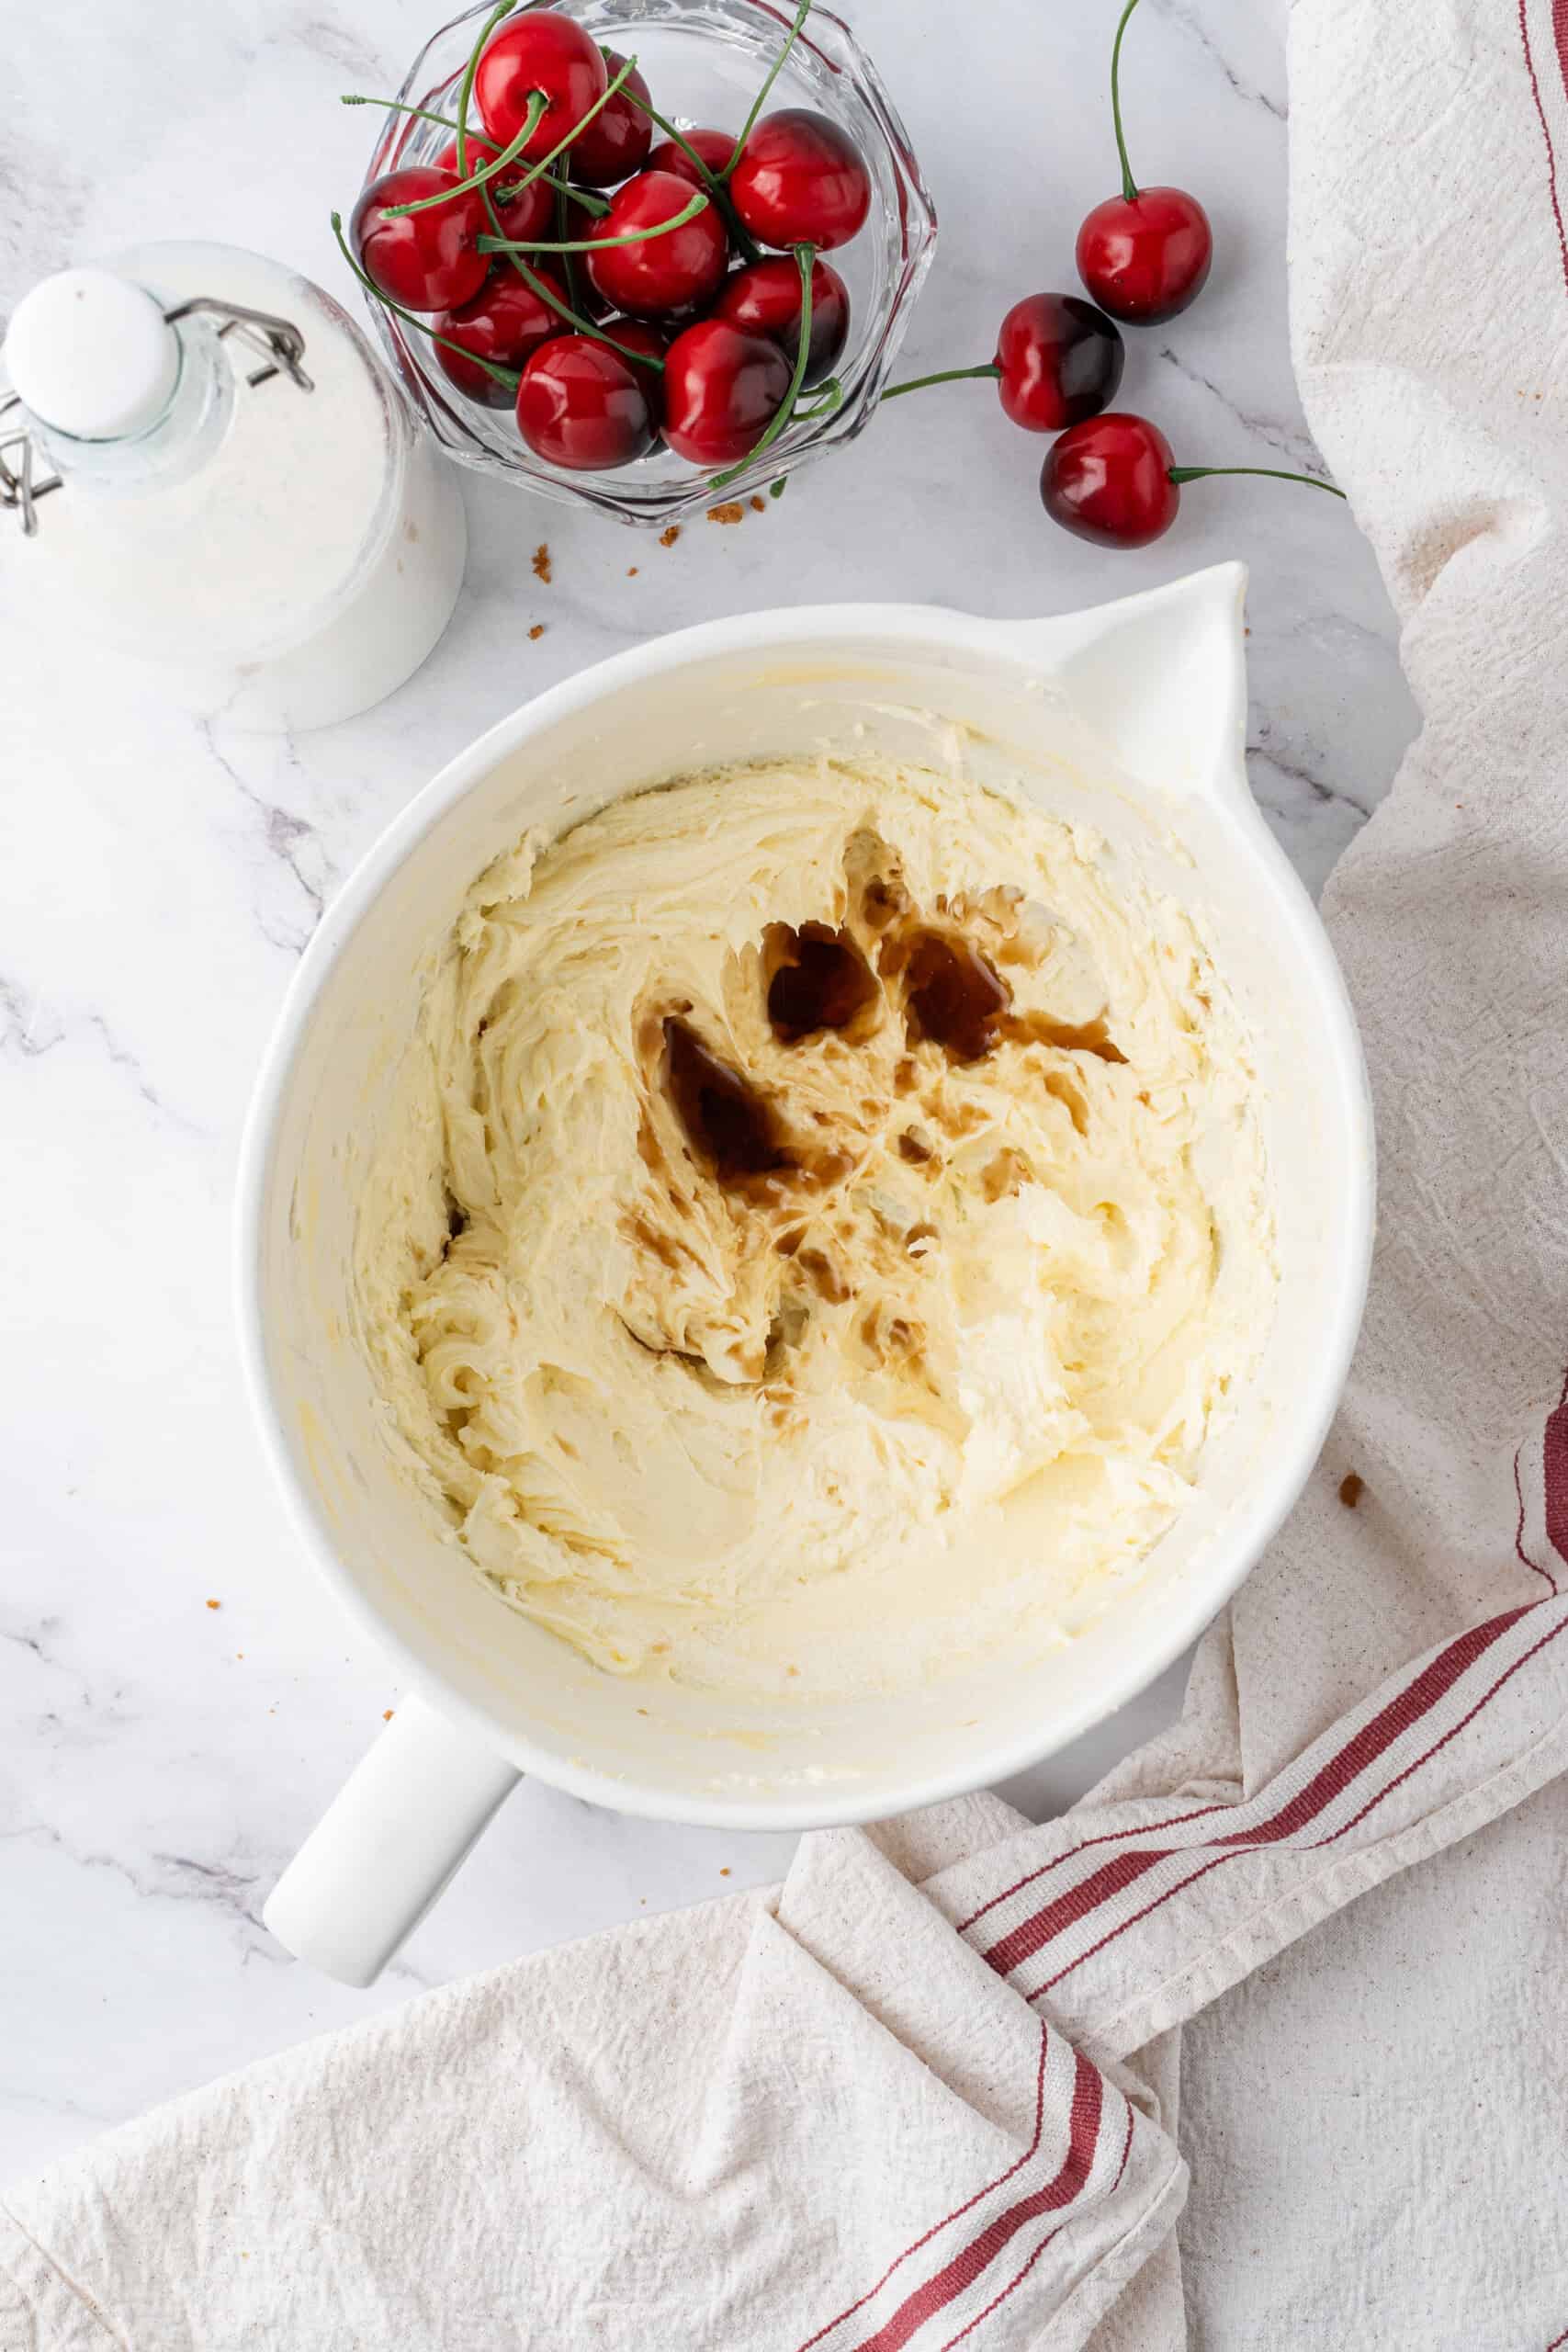
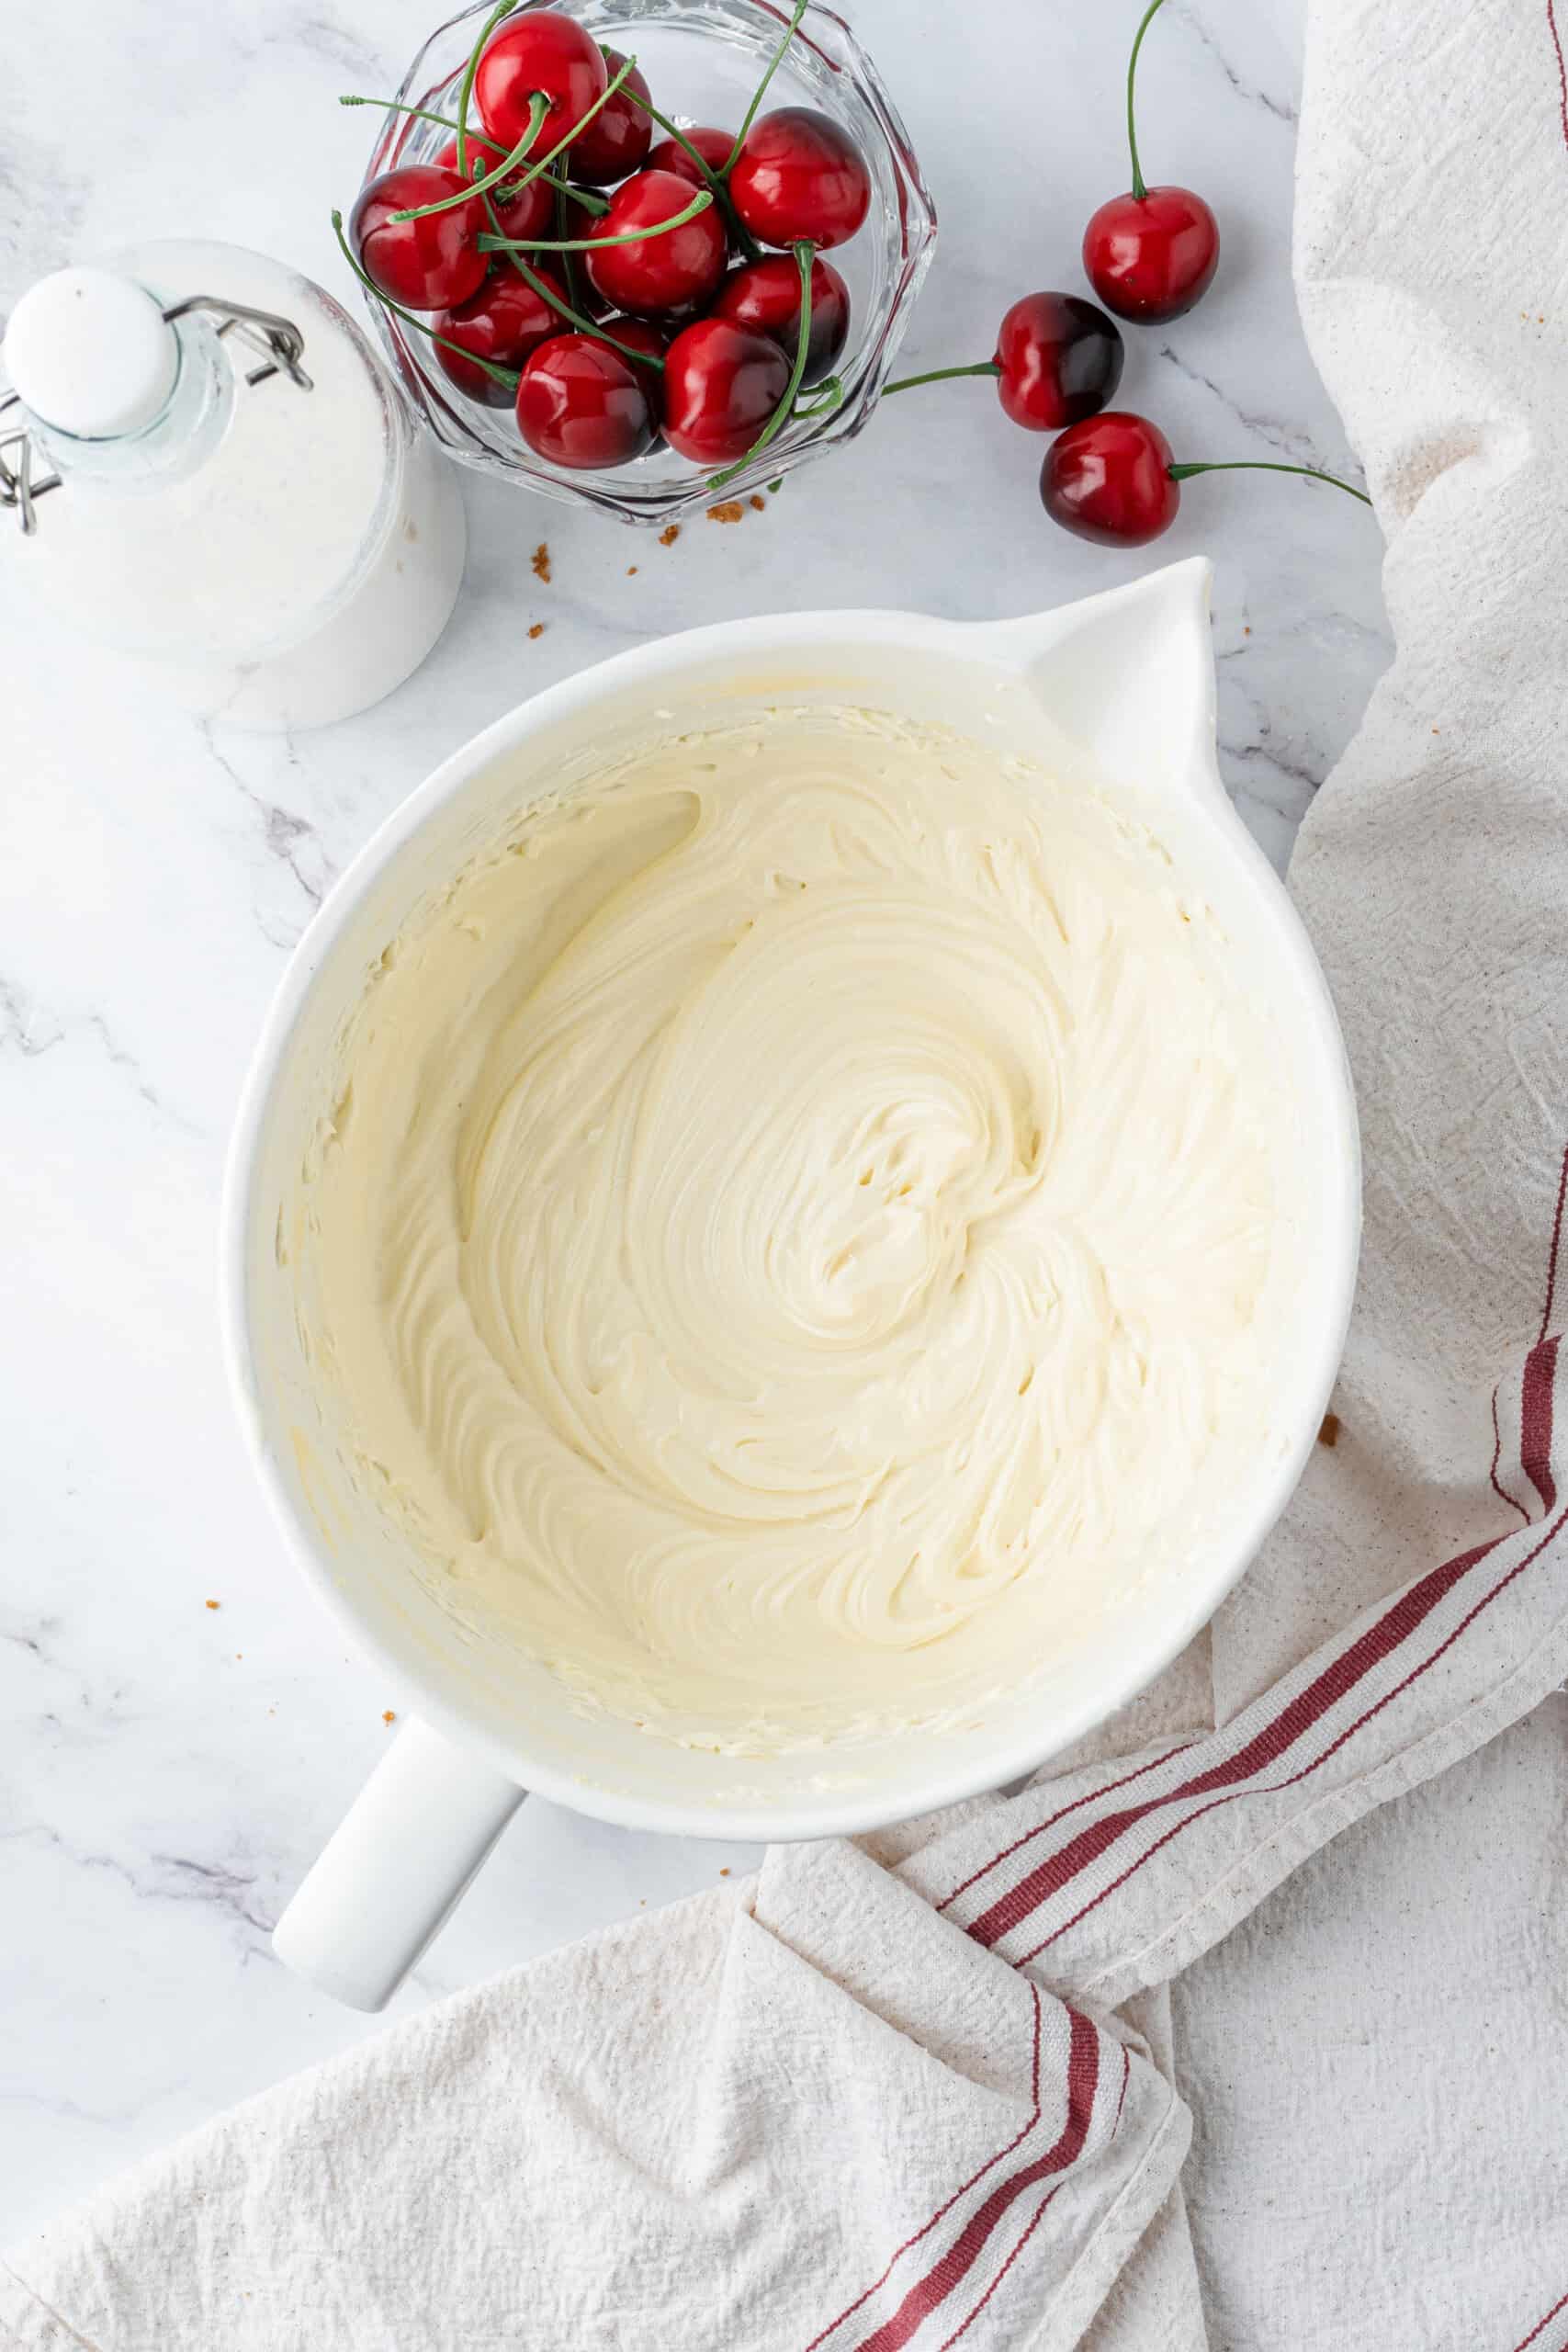
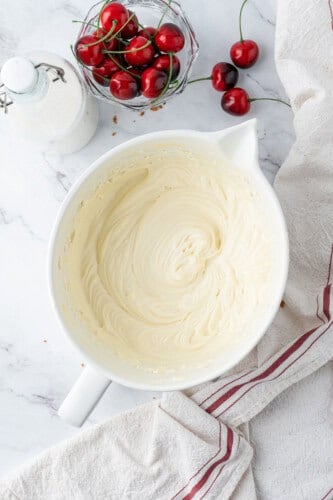
Step 2: Make the Filling
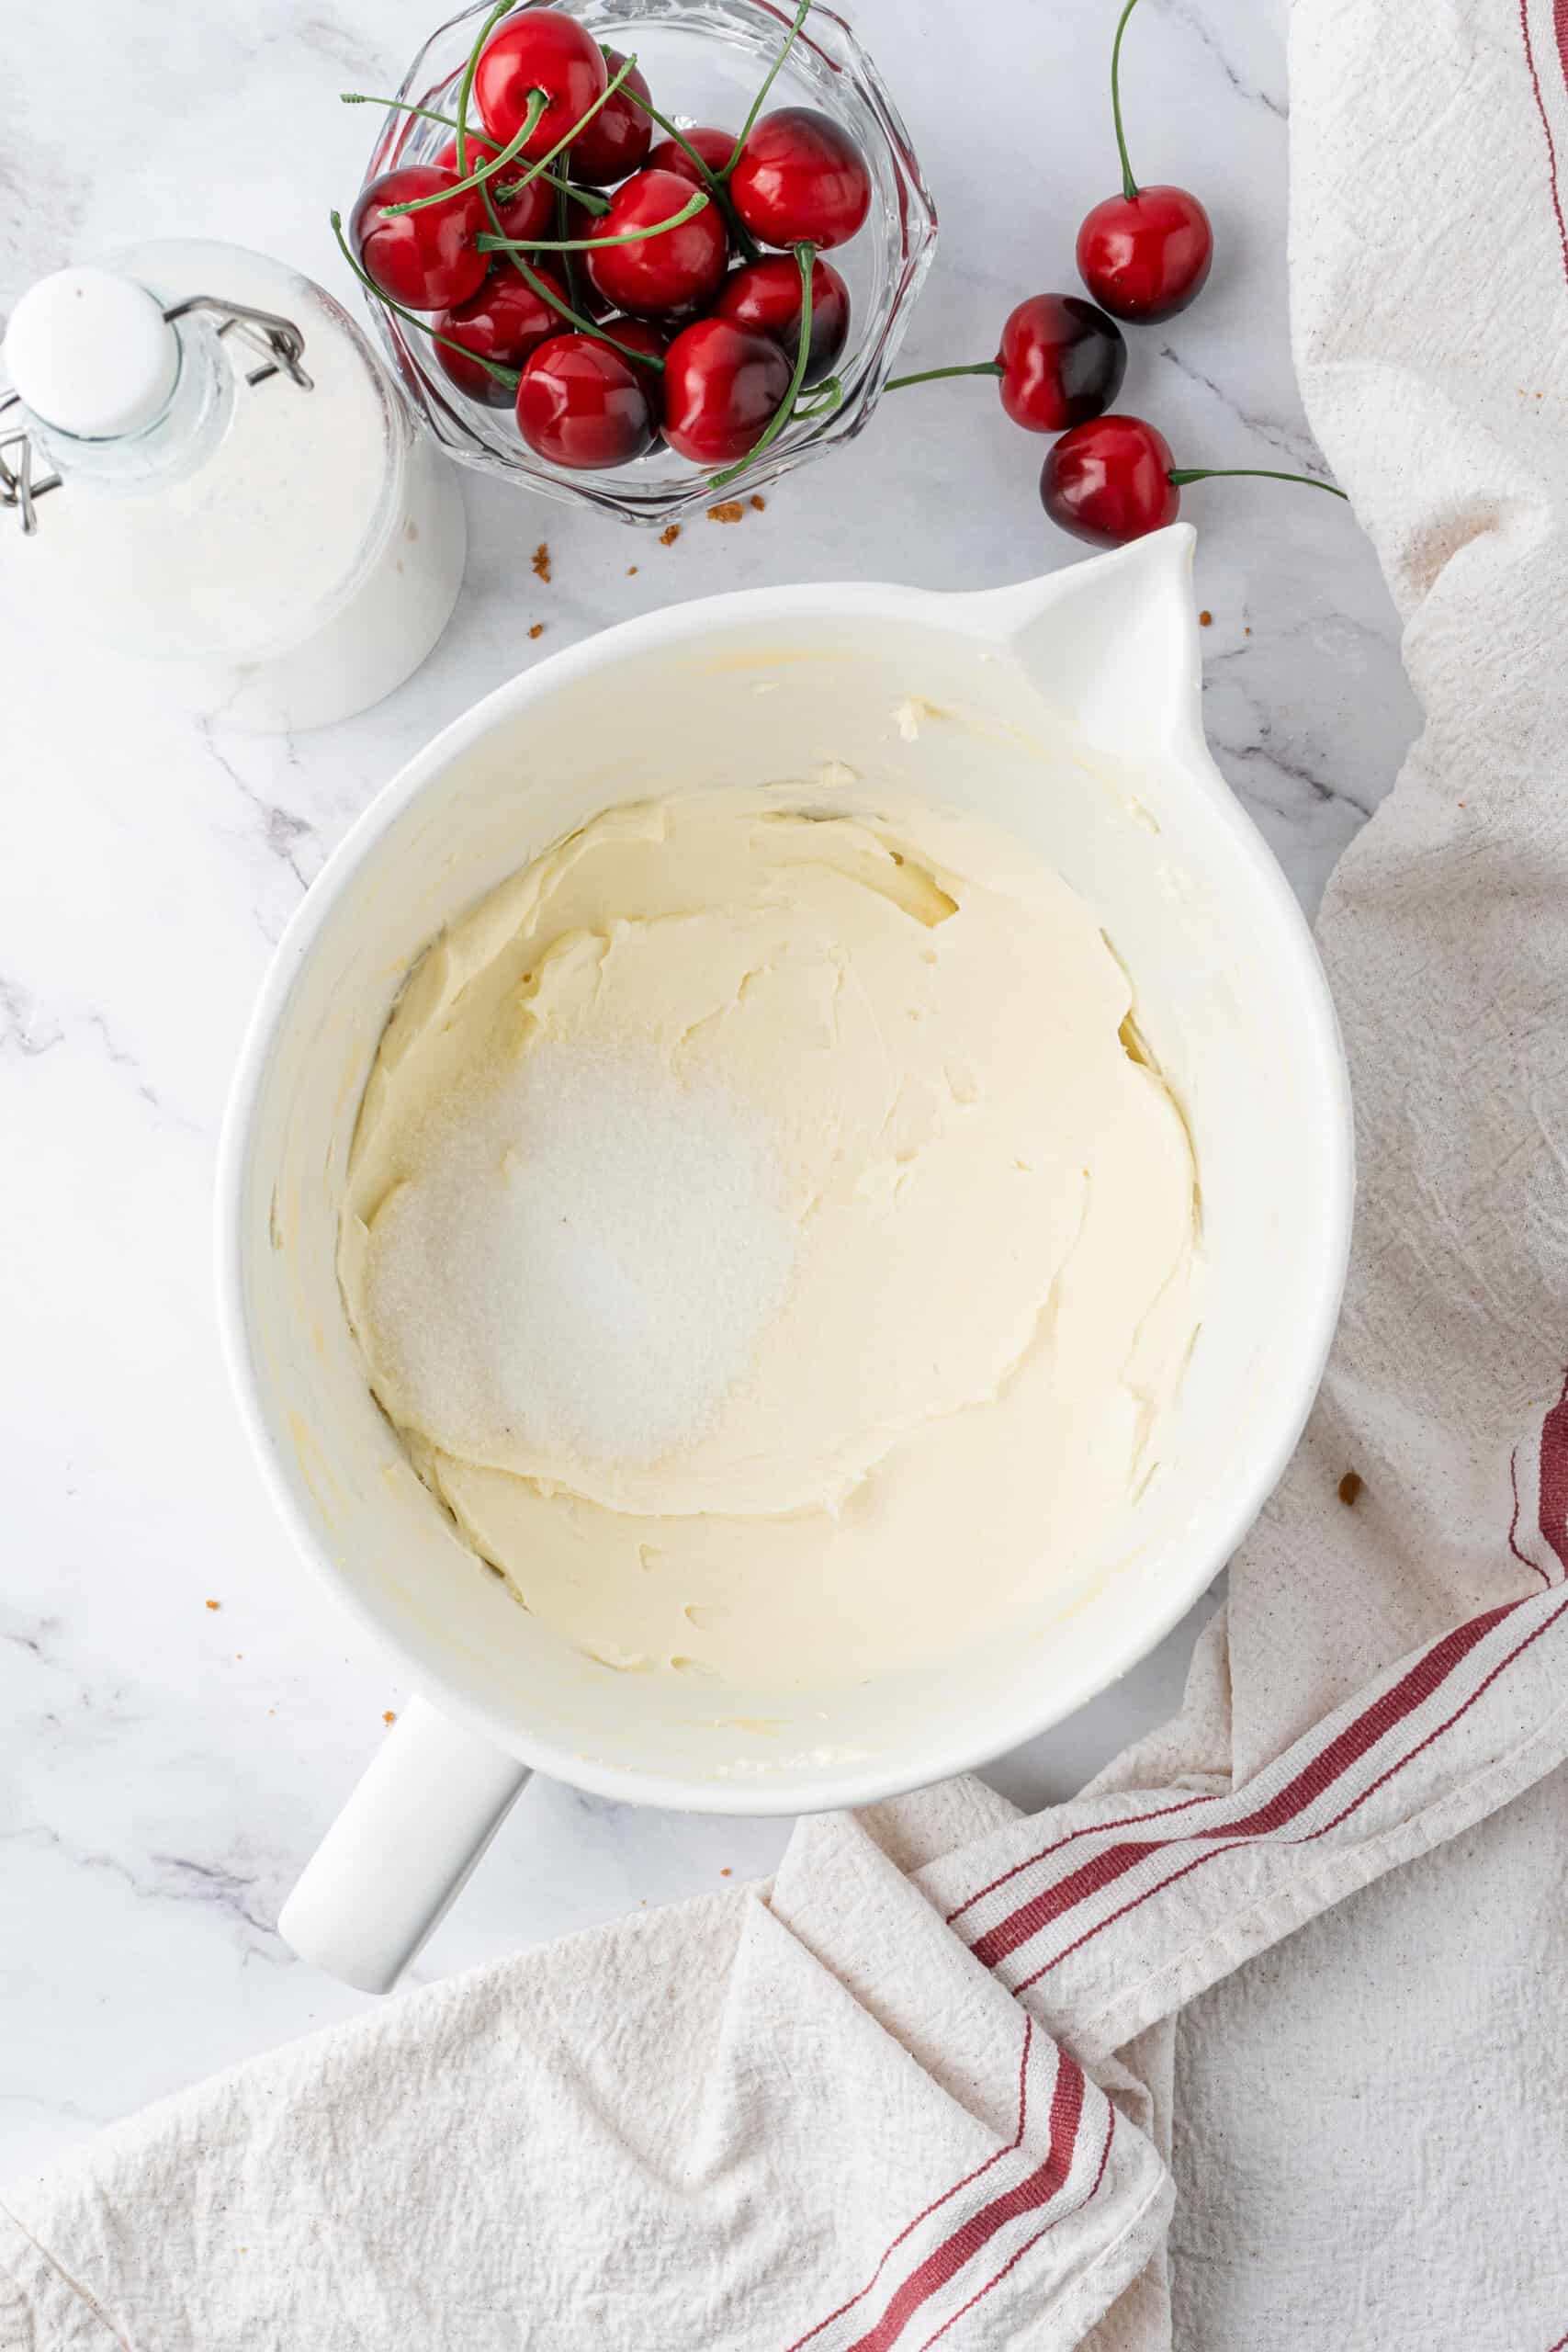
In a large separate bowl, beat cream cheese, sugar, and vanilla extract until smooth using a stand mixer with paddle attachment or handheld mixer (this helps quickly break down the cream cheese for a silky, lump-free texture). Scrape the sides and mix again to ensure there are no lumps.
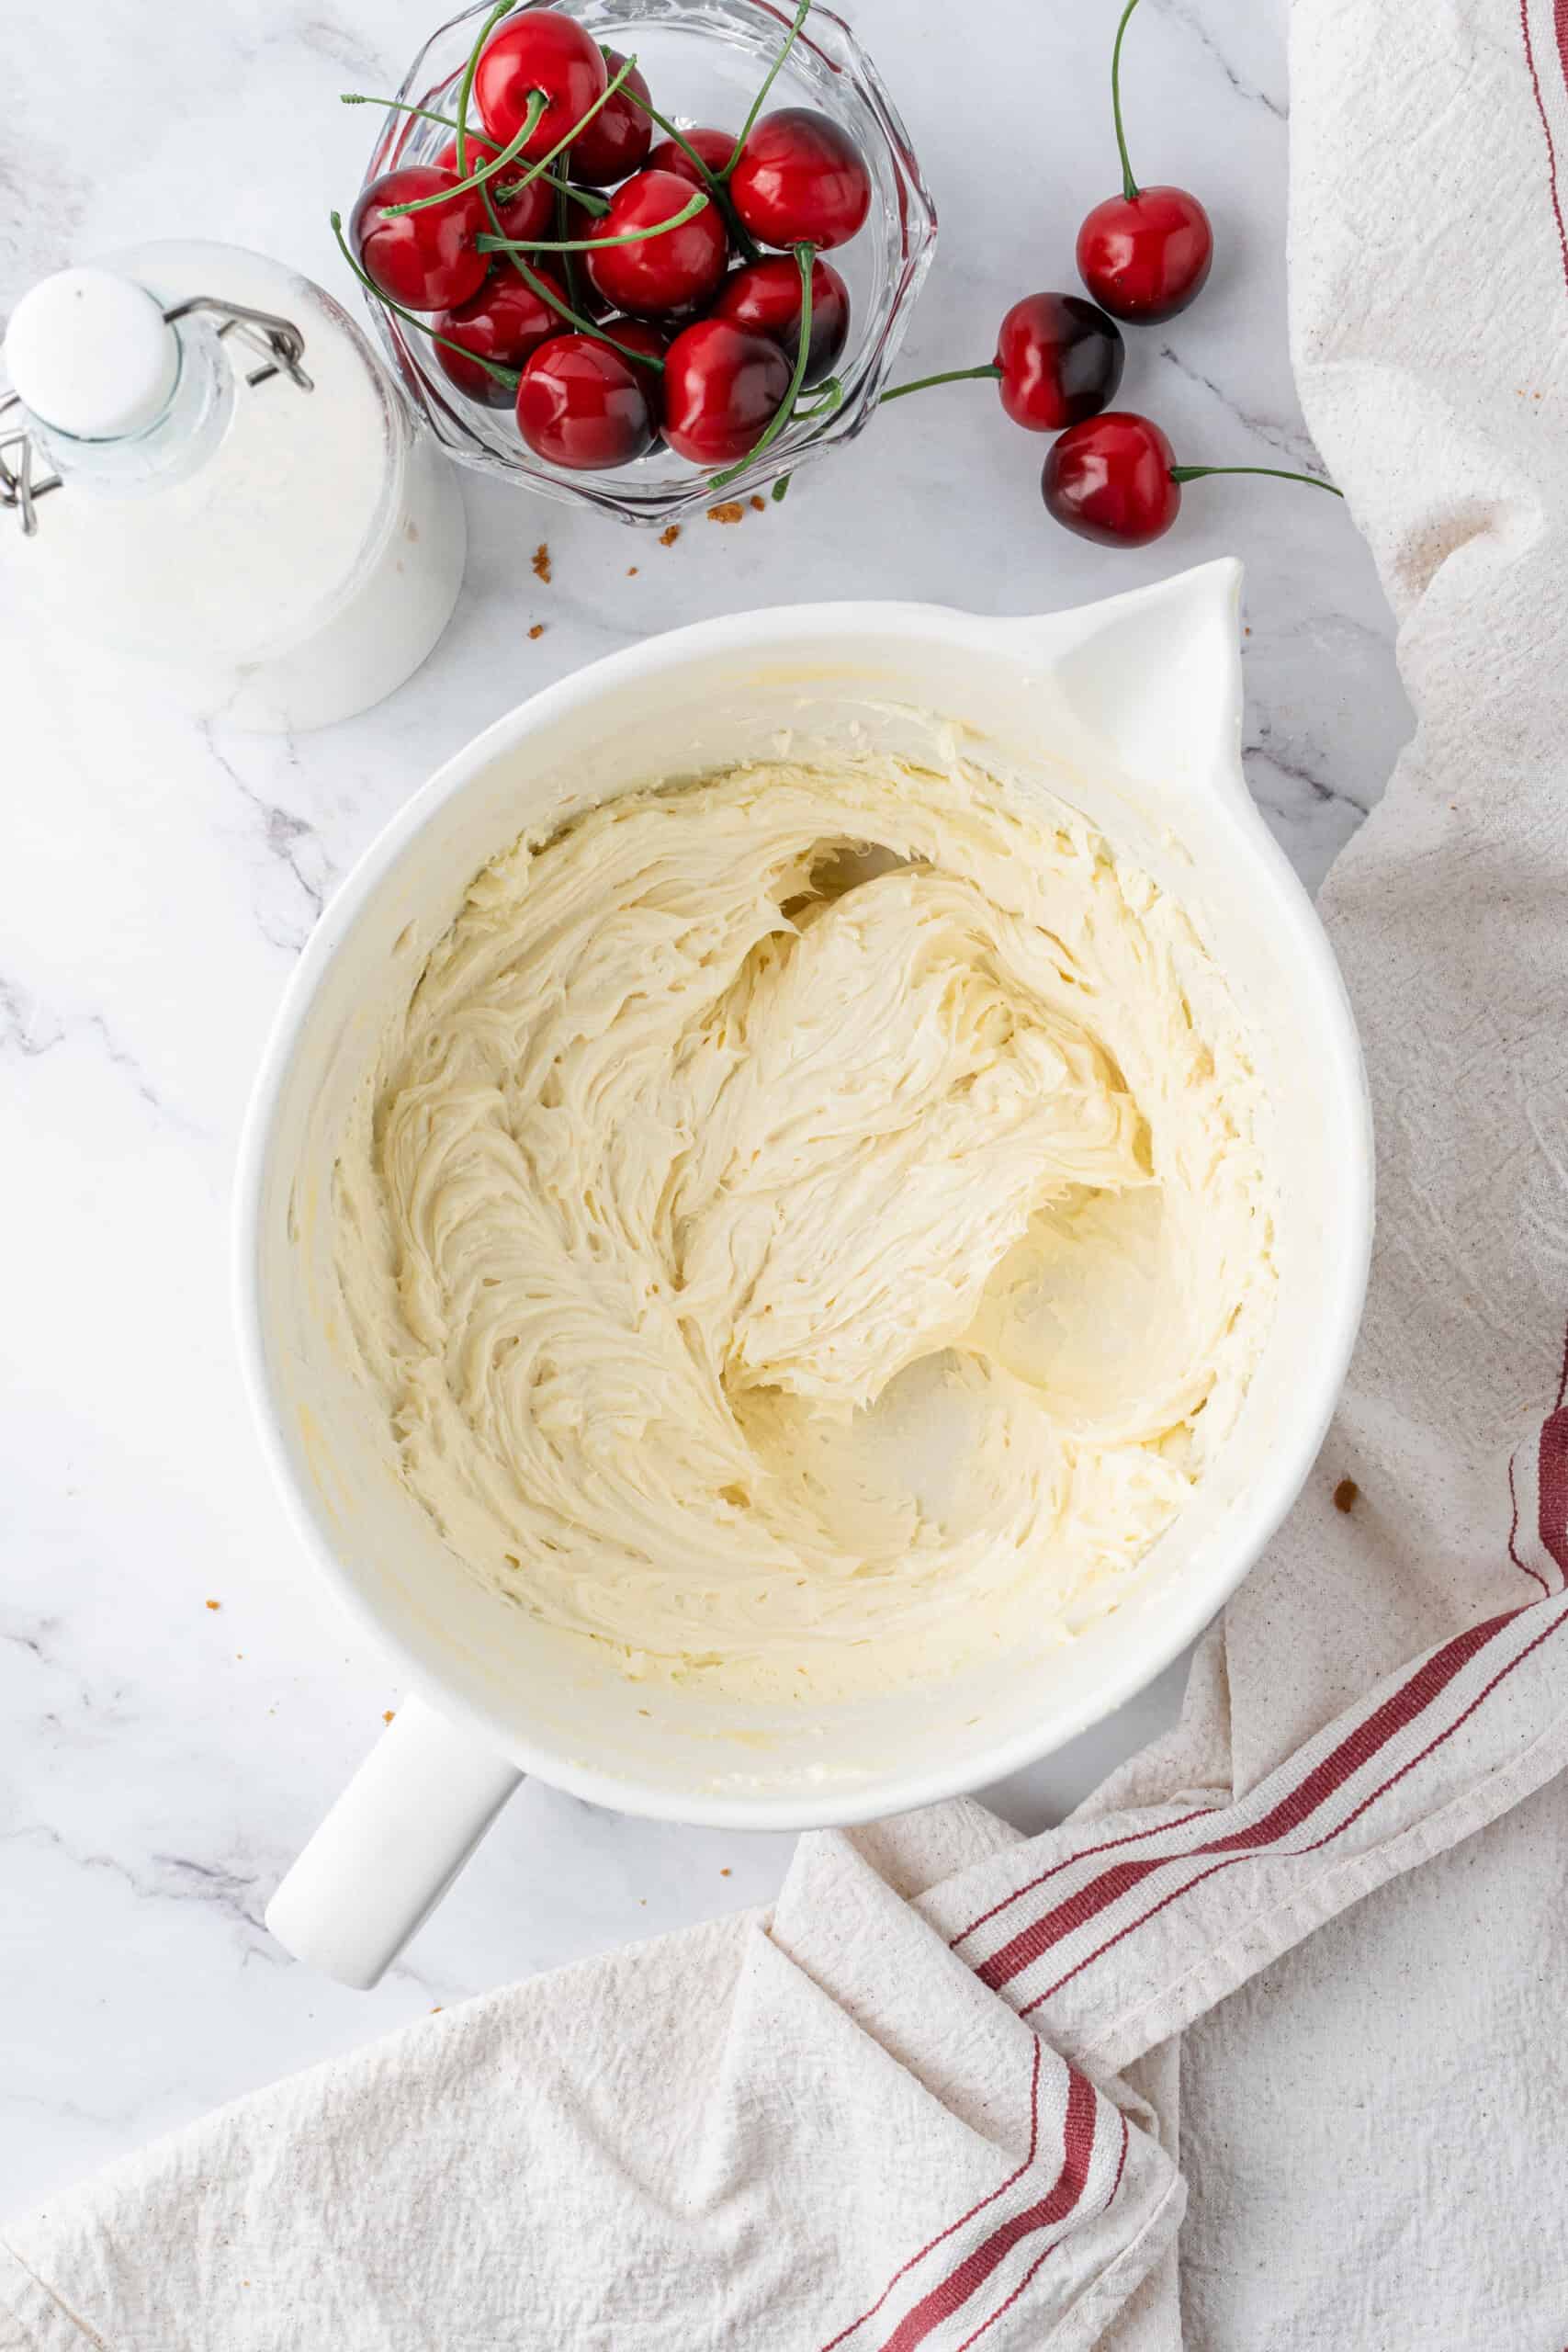
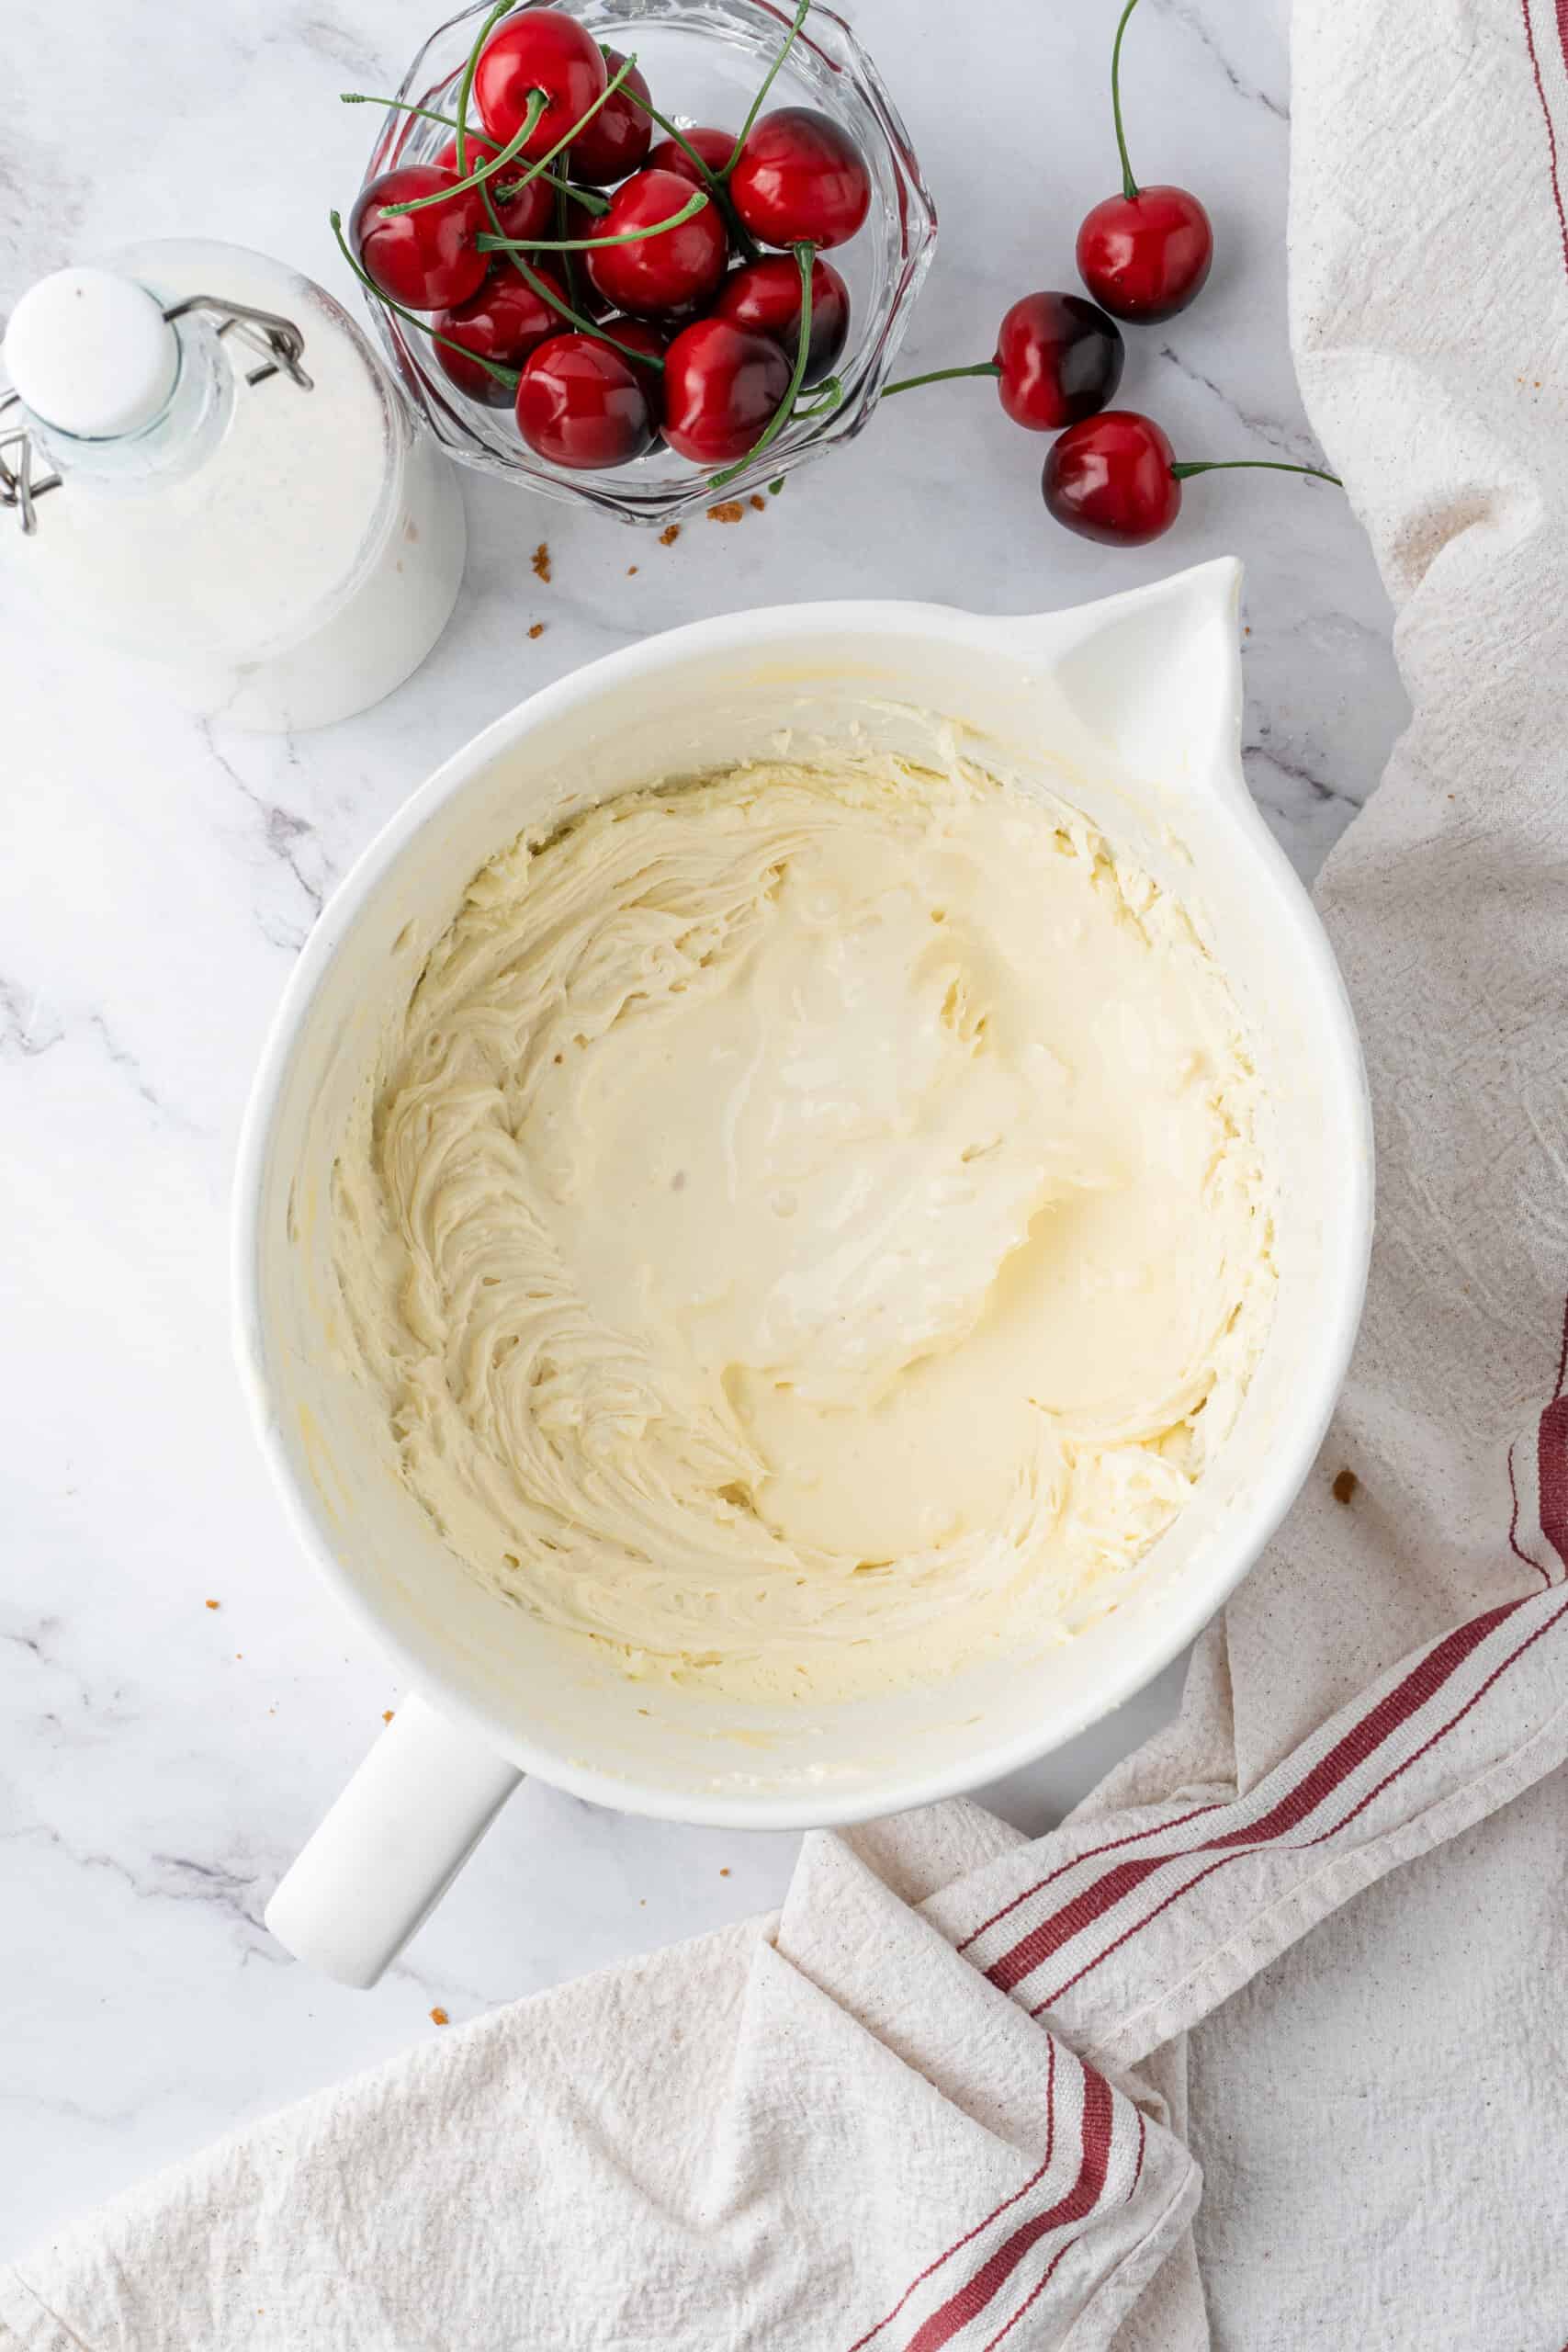
Step 3: Add the Heavy Cream
With the mixer on, add heavy cream in four increments, letting it whip into the cream cheese after each addition. Whip 1 minute until thick and light. Scrape the sides to ensure even mixing and whip again if needed.
Pro Tip: Be sure not to over beat! If you beat it too long, it will go from thick back to thin and won’t set.
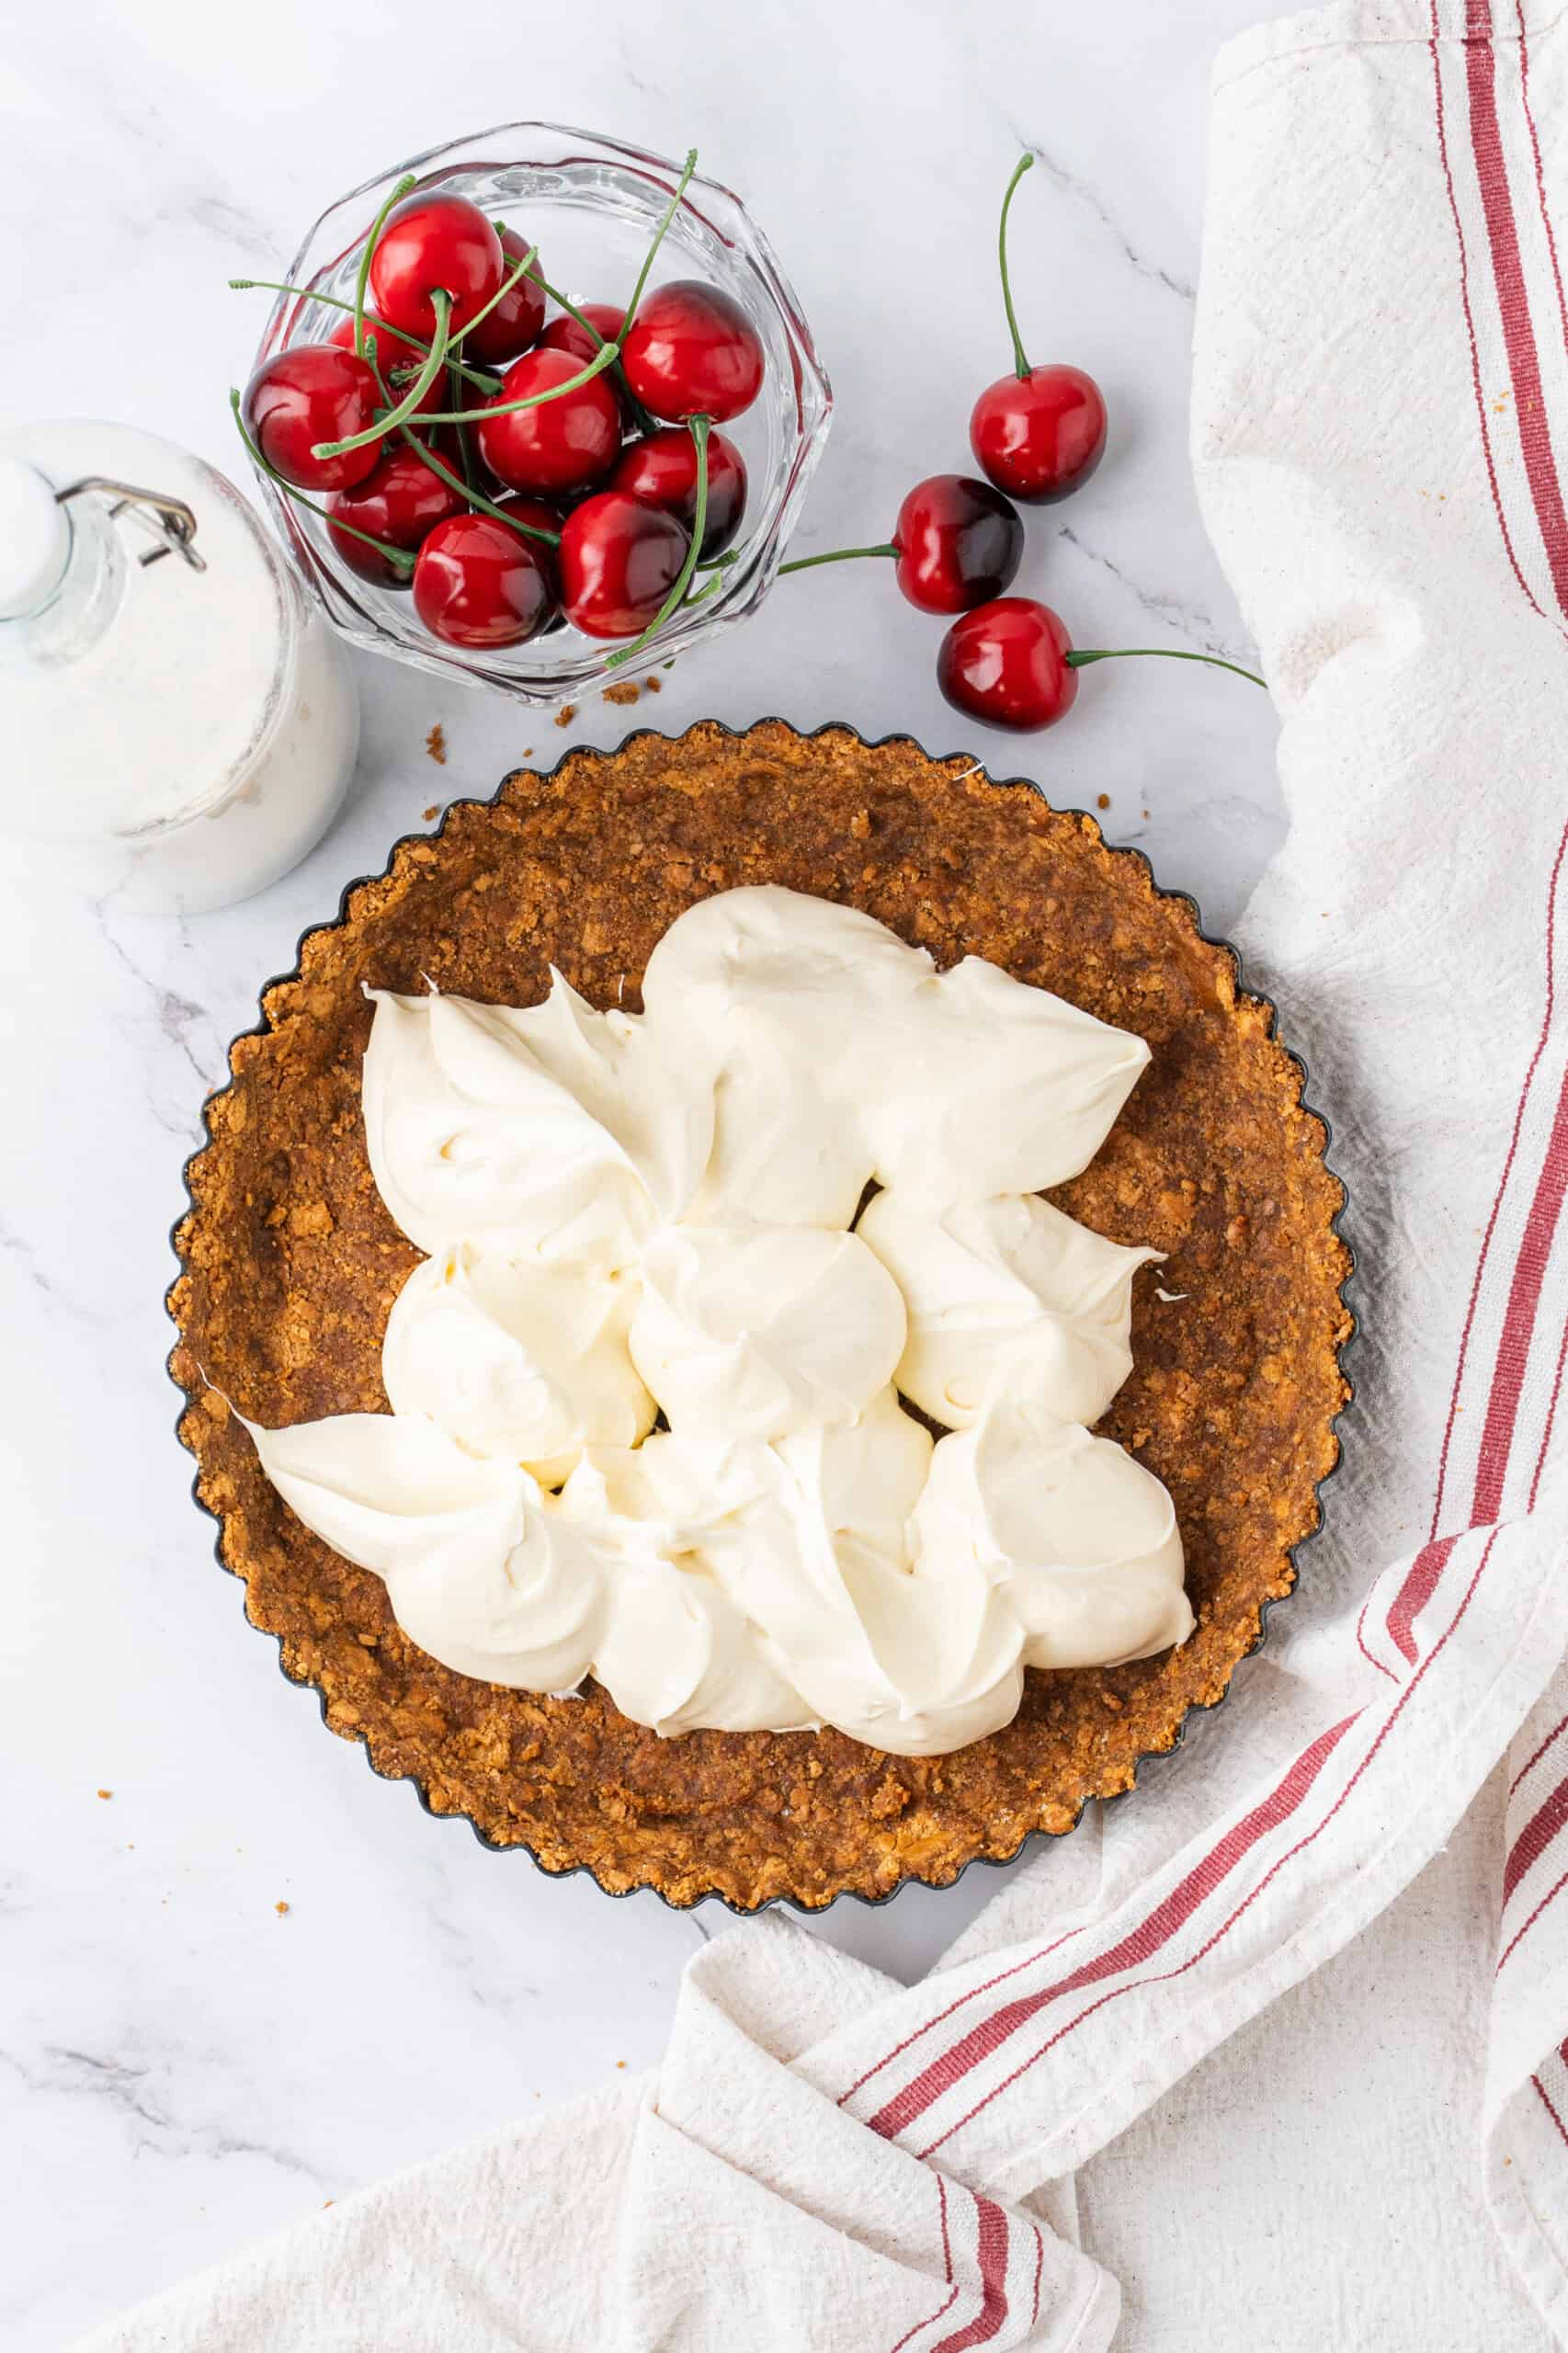
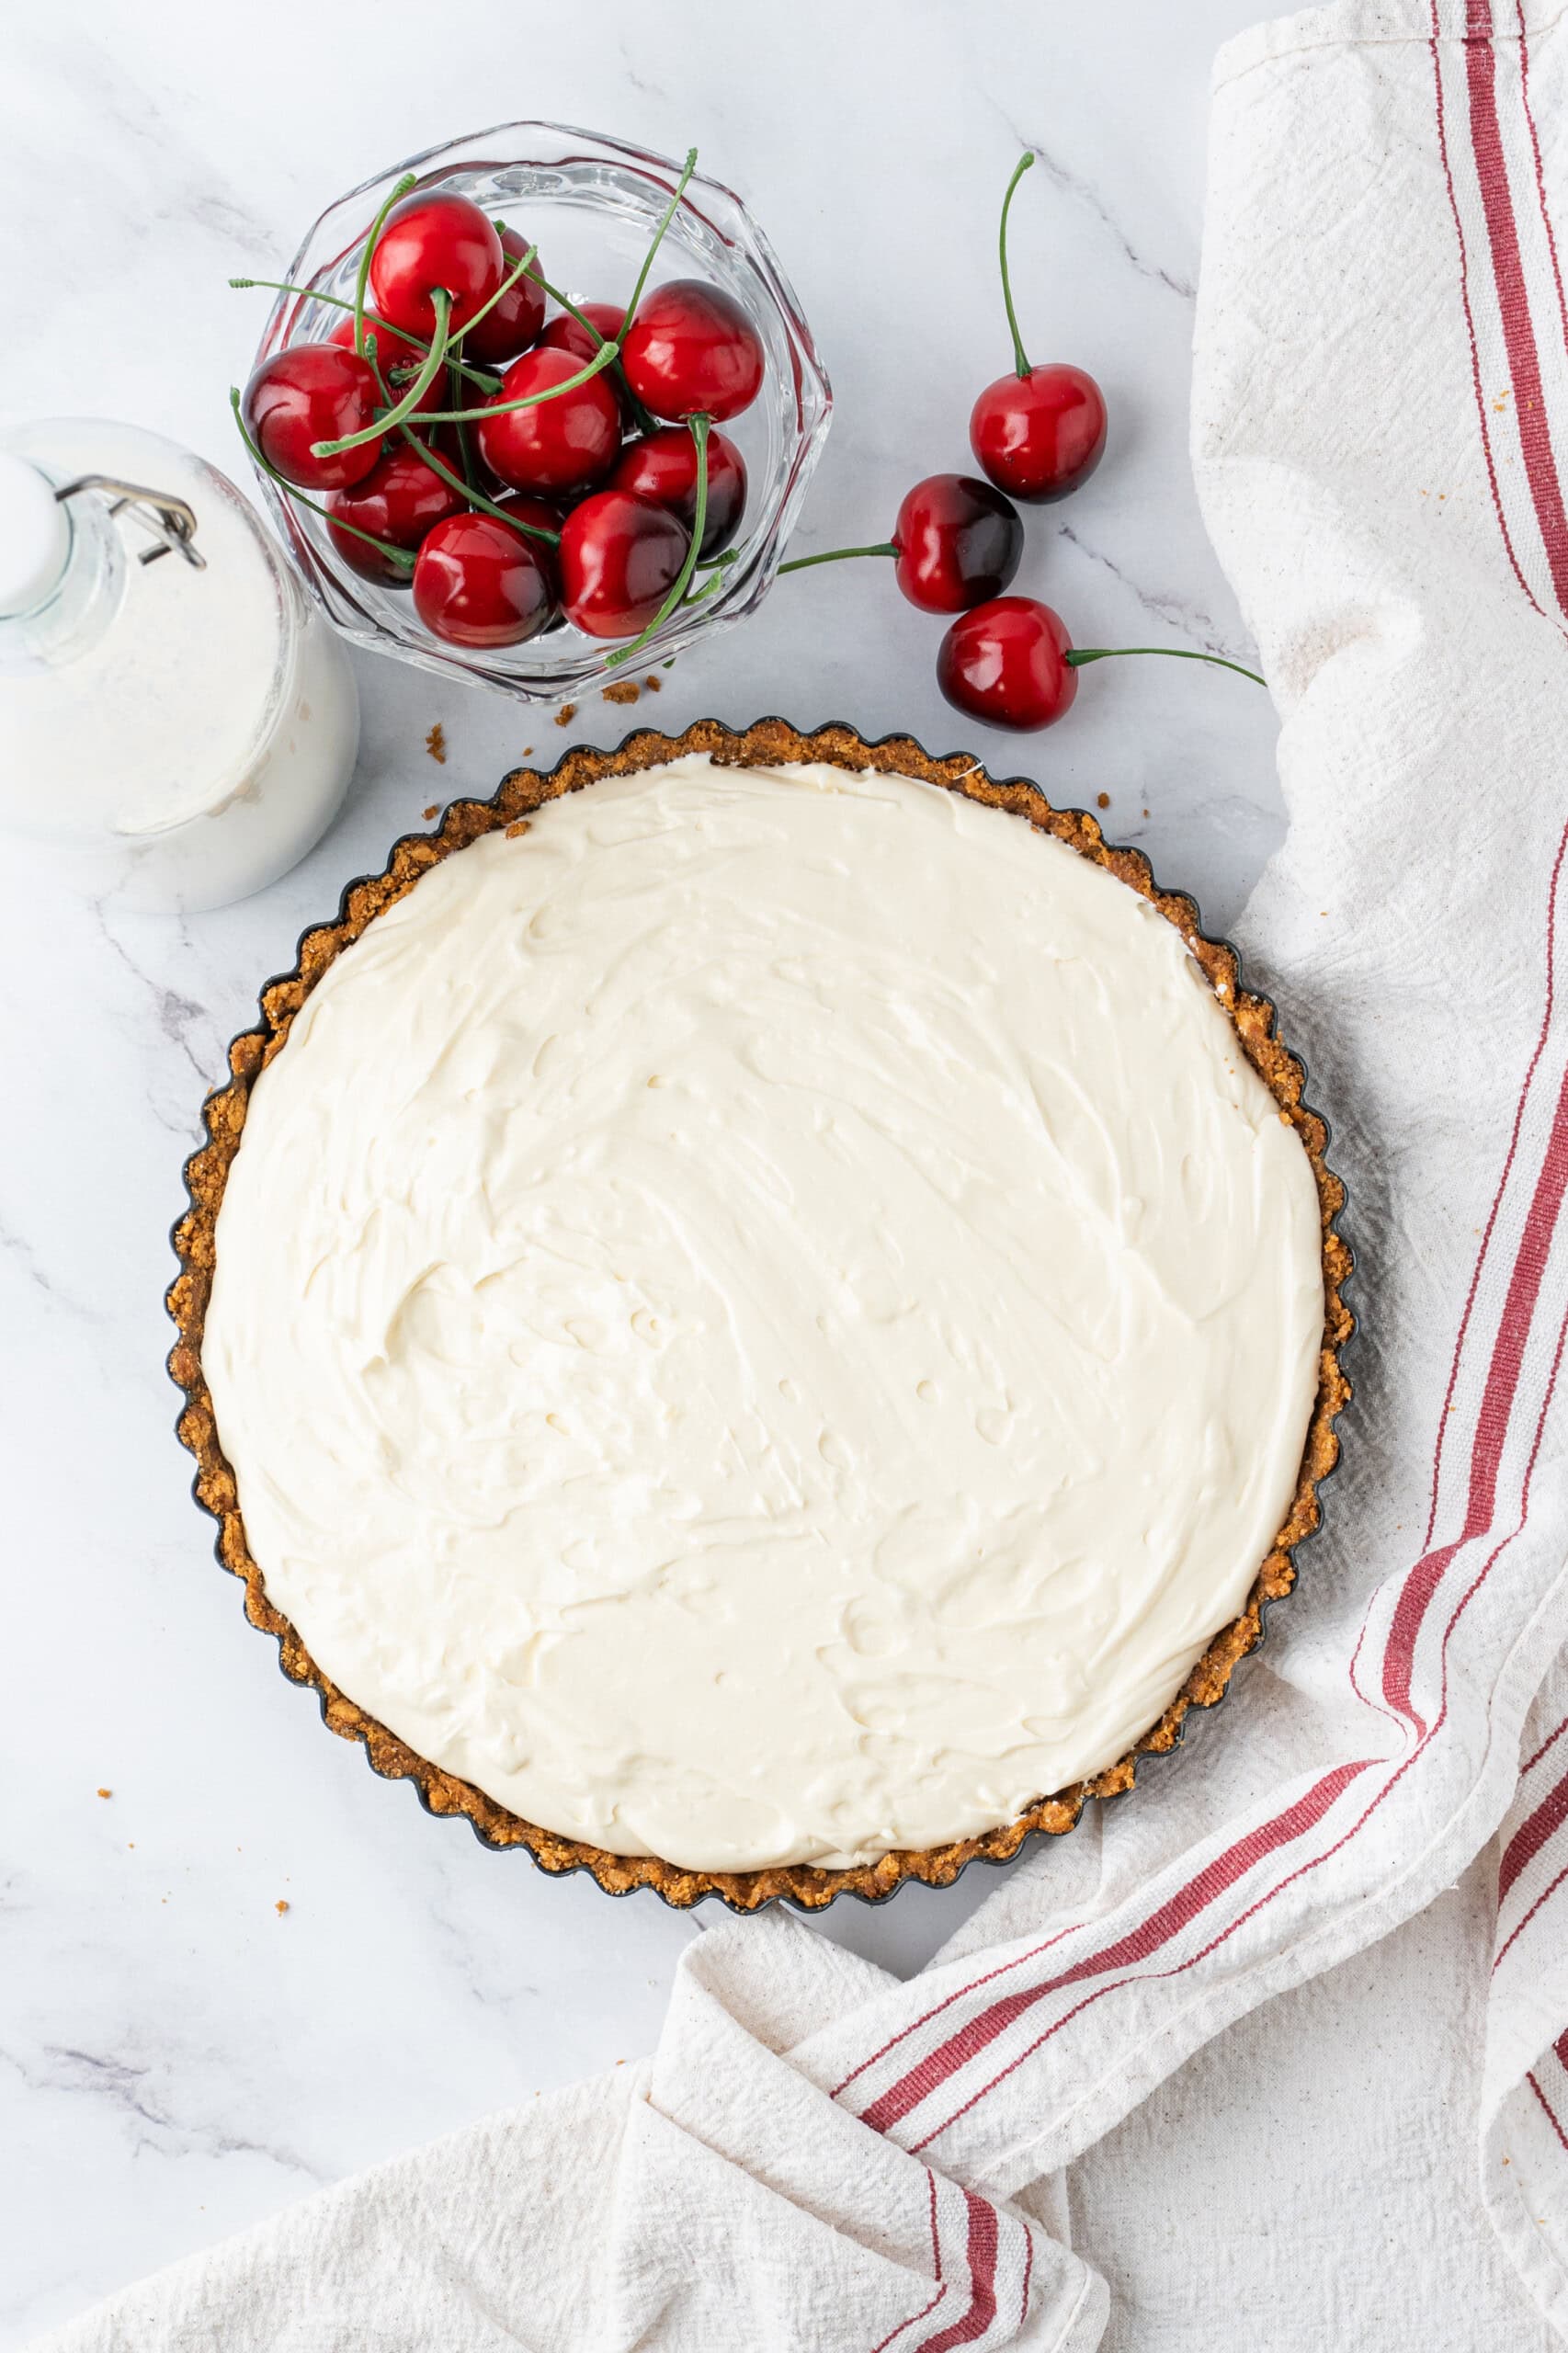
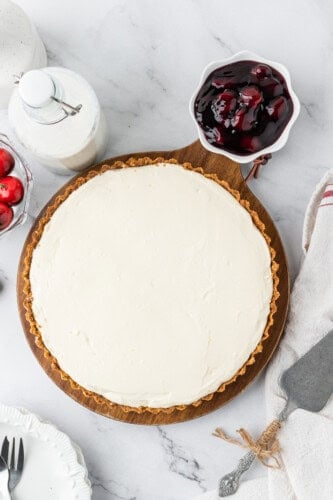
Step 4: Pour Filling into Crust + Chill
Pour into prepared pie shell, smooth the top, and cover in plastic wrap. Refrigerate 2 hours to overnight.
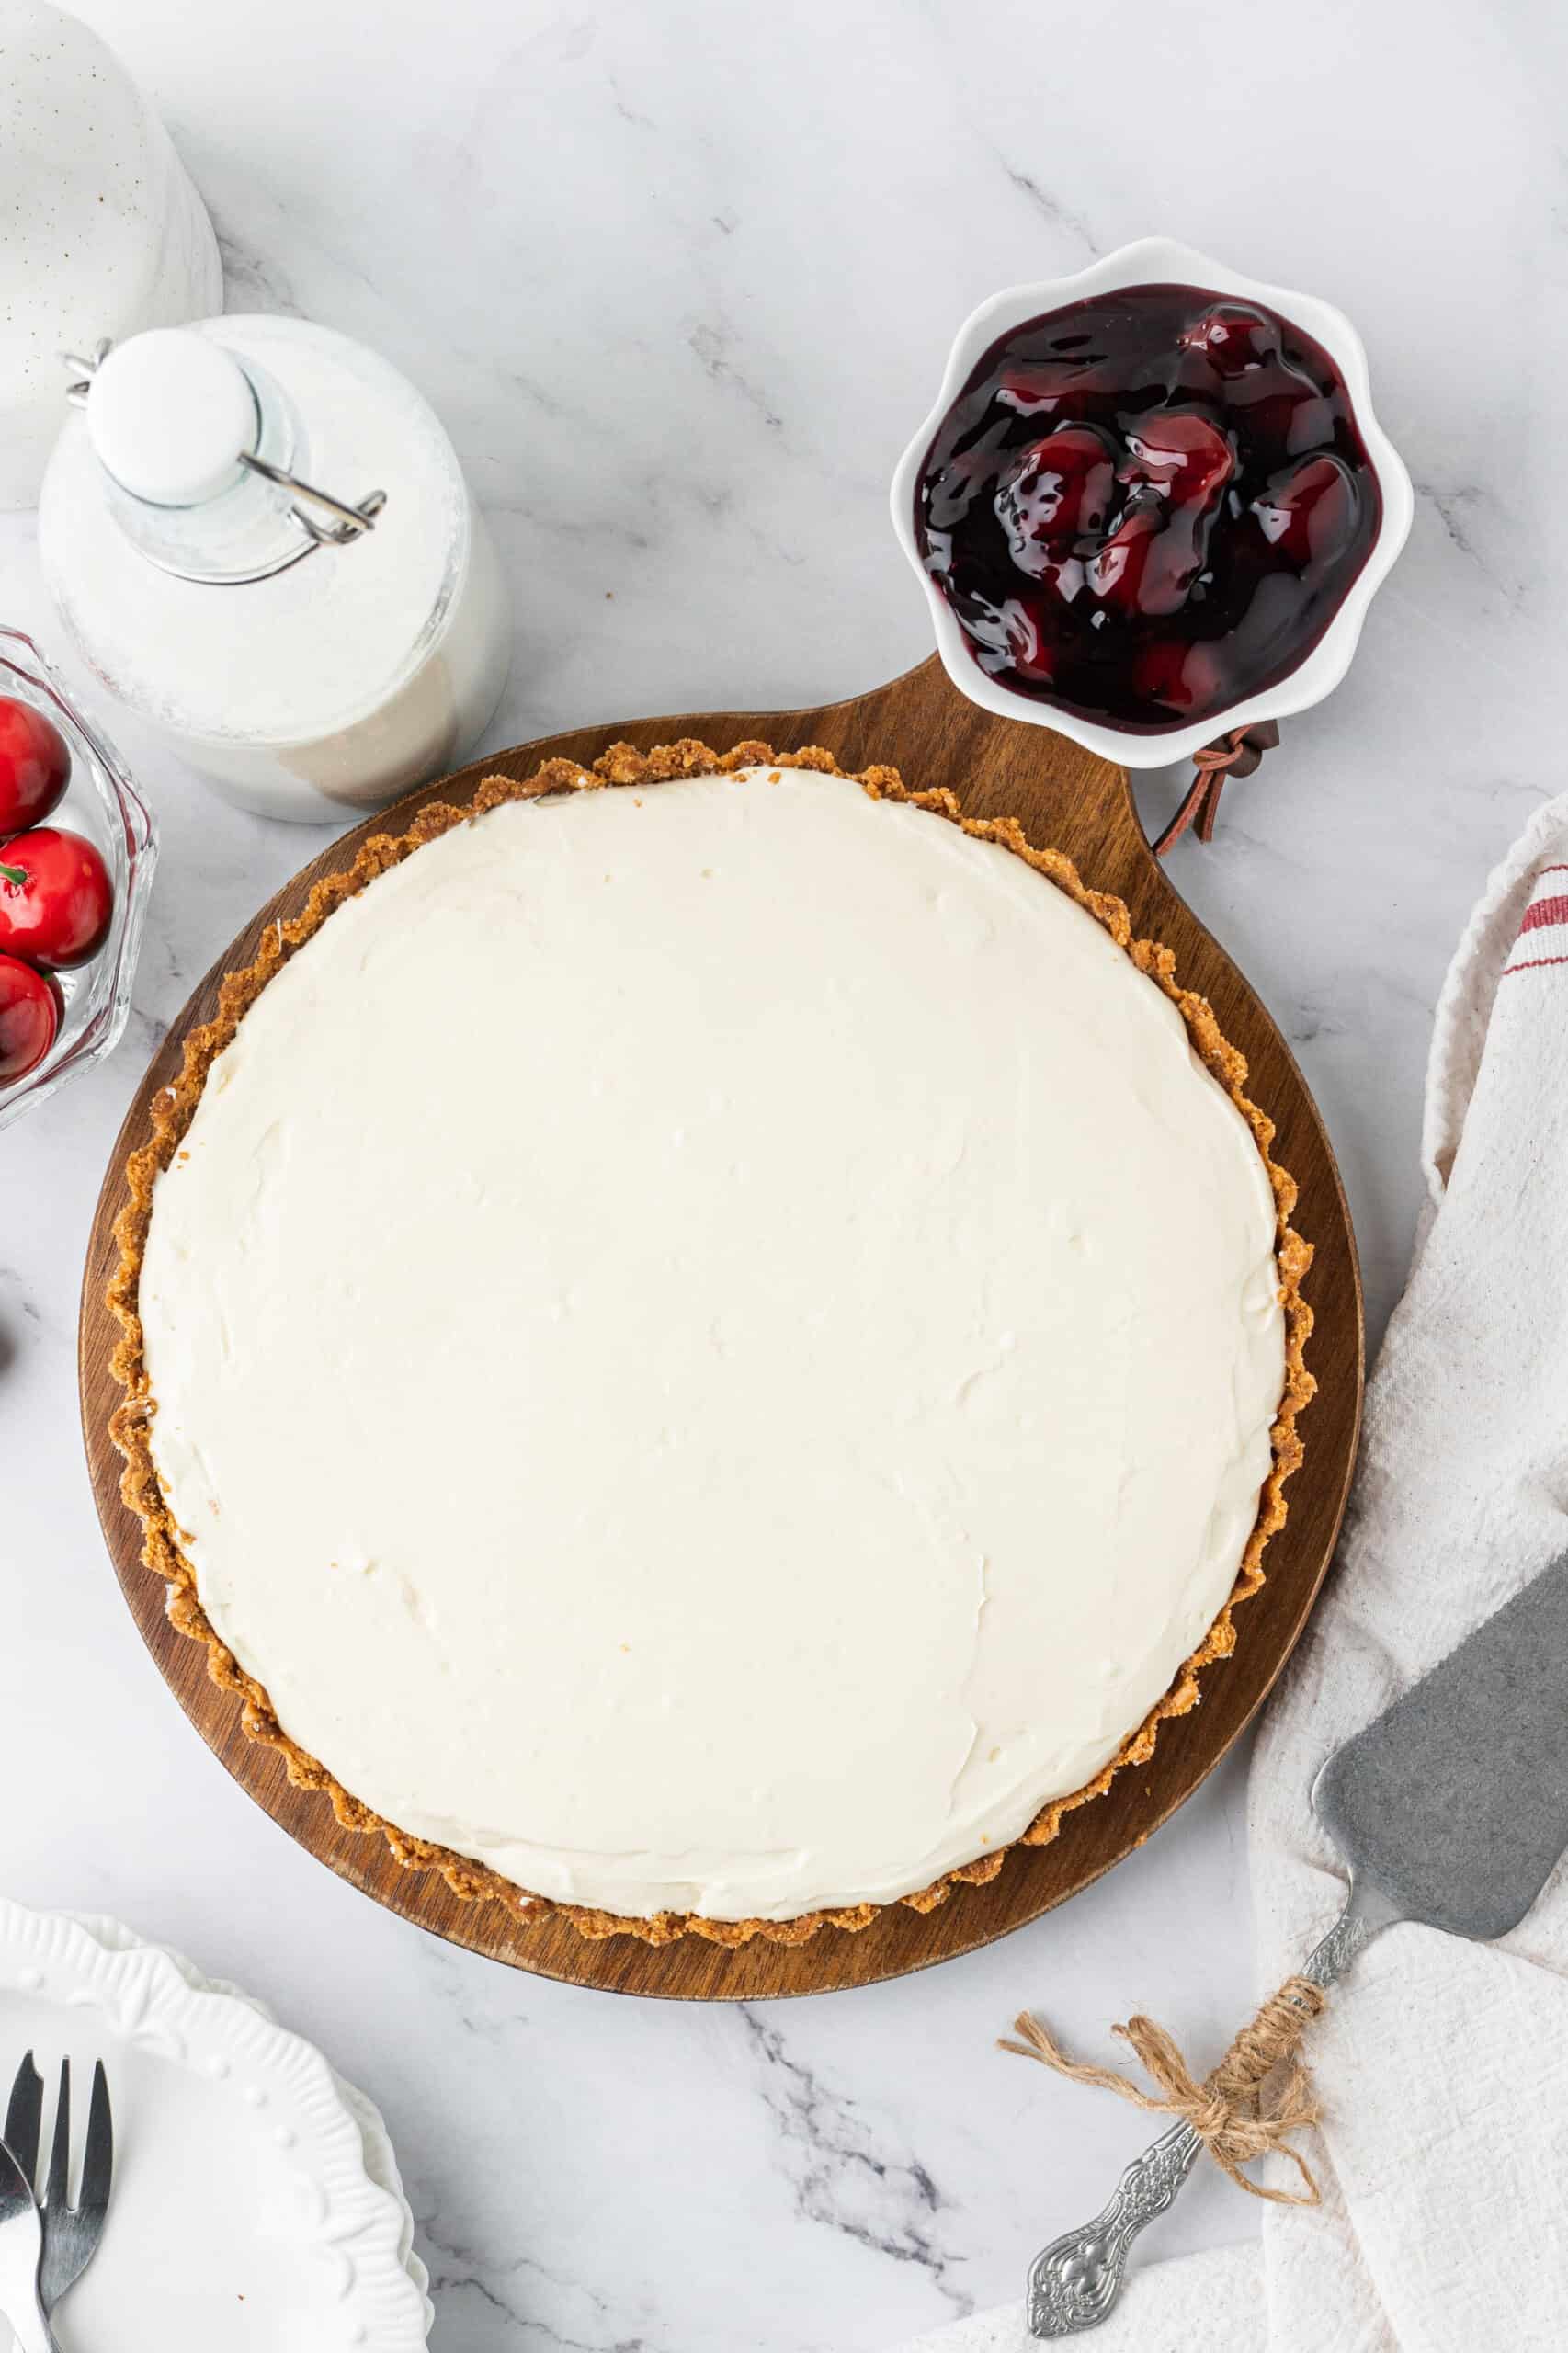
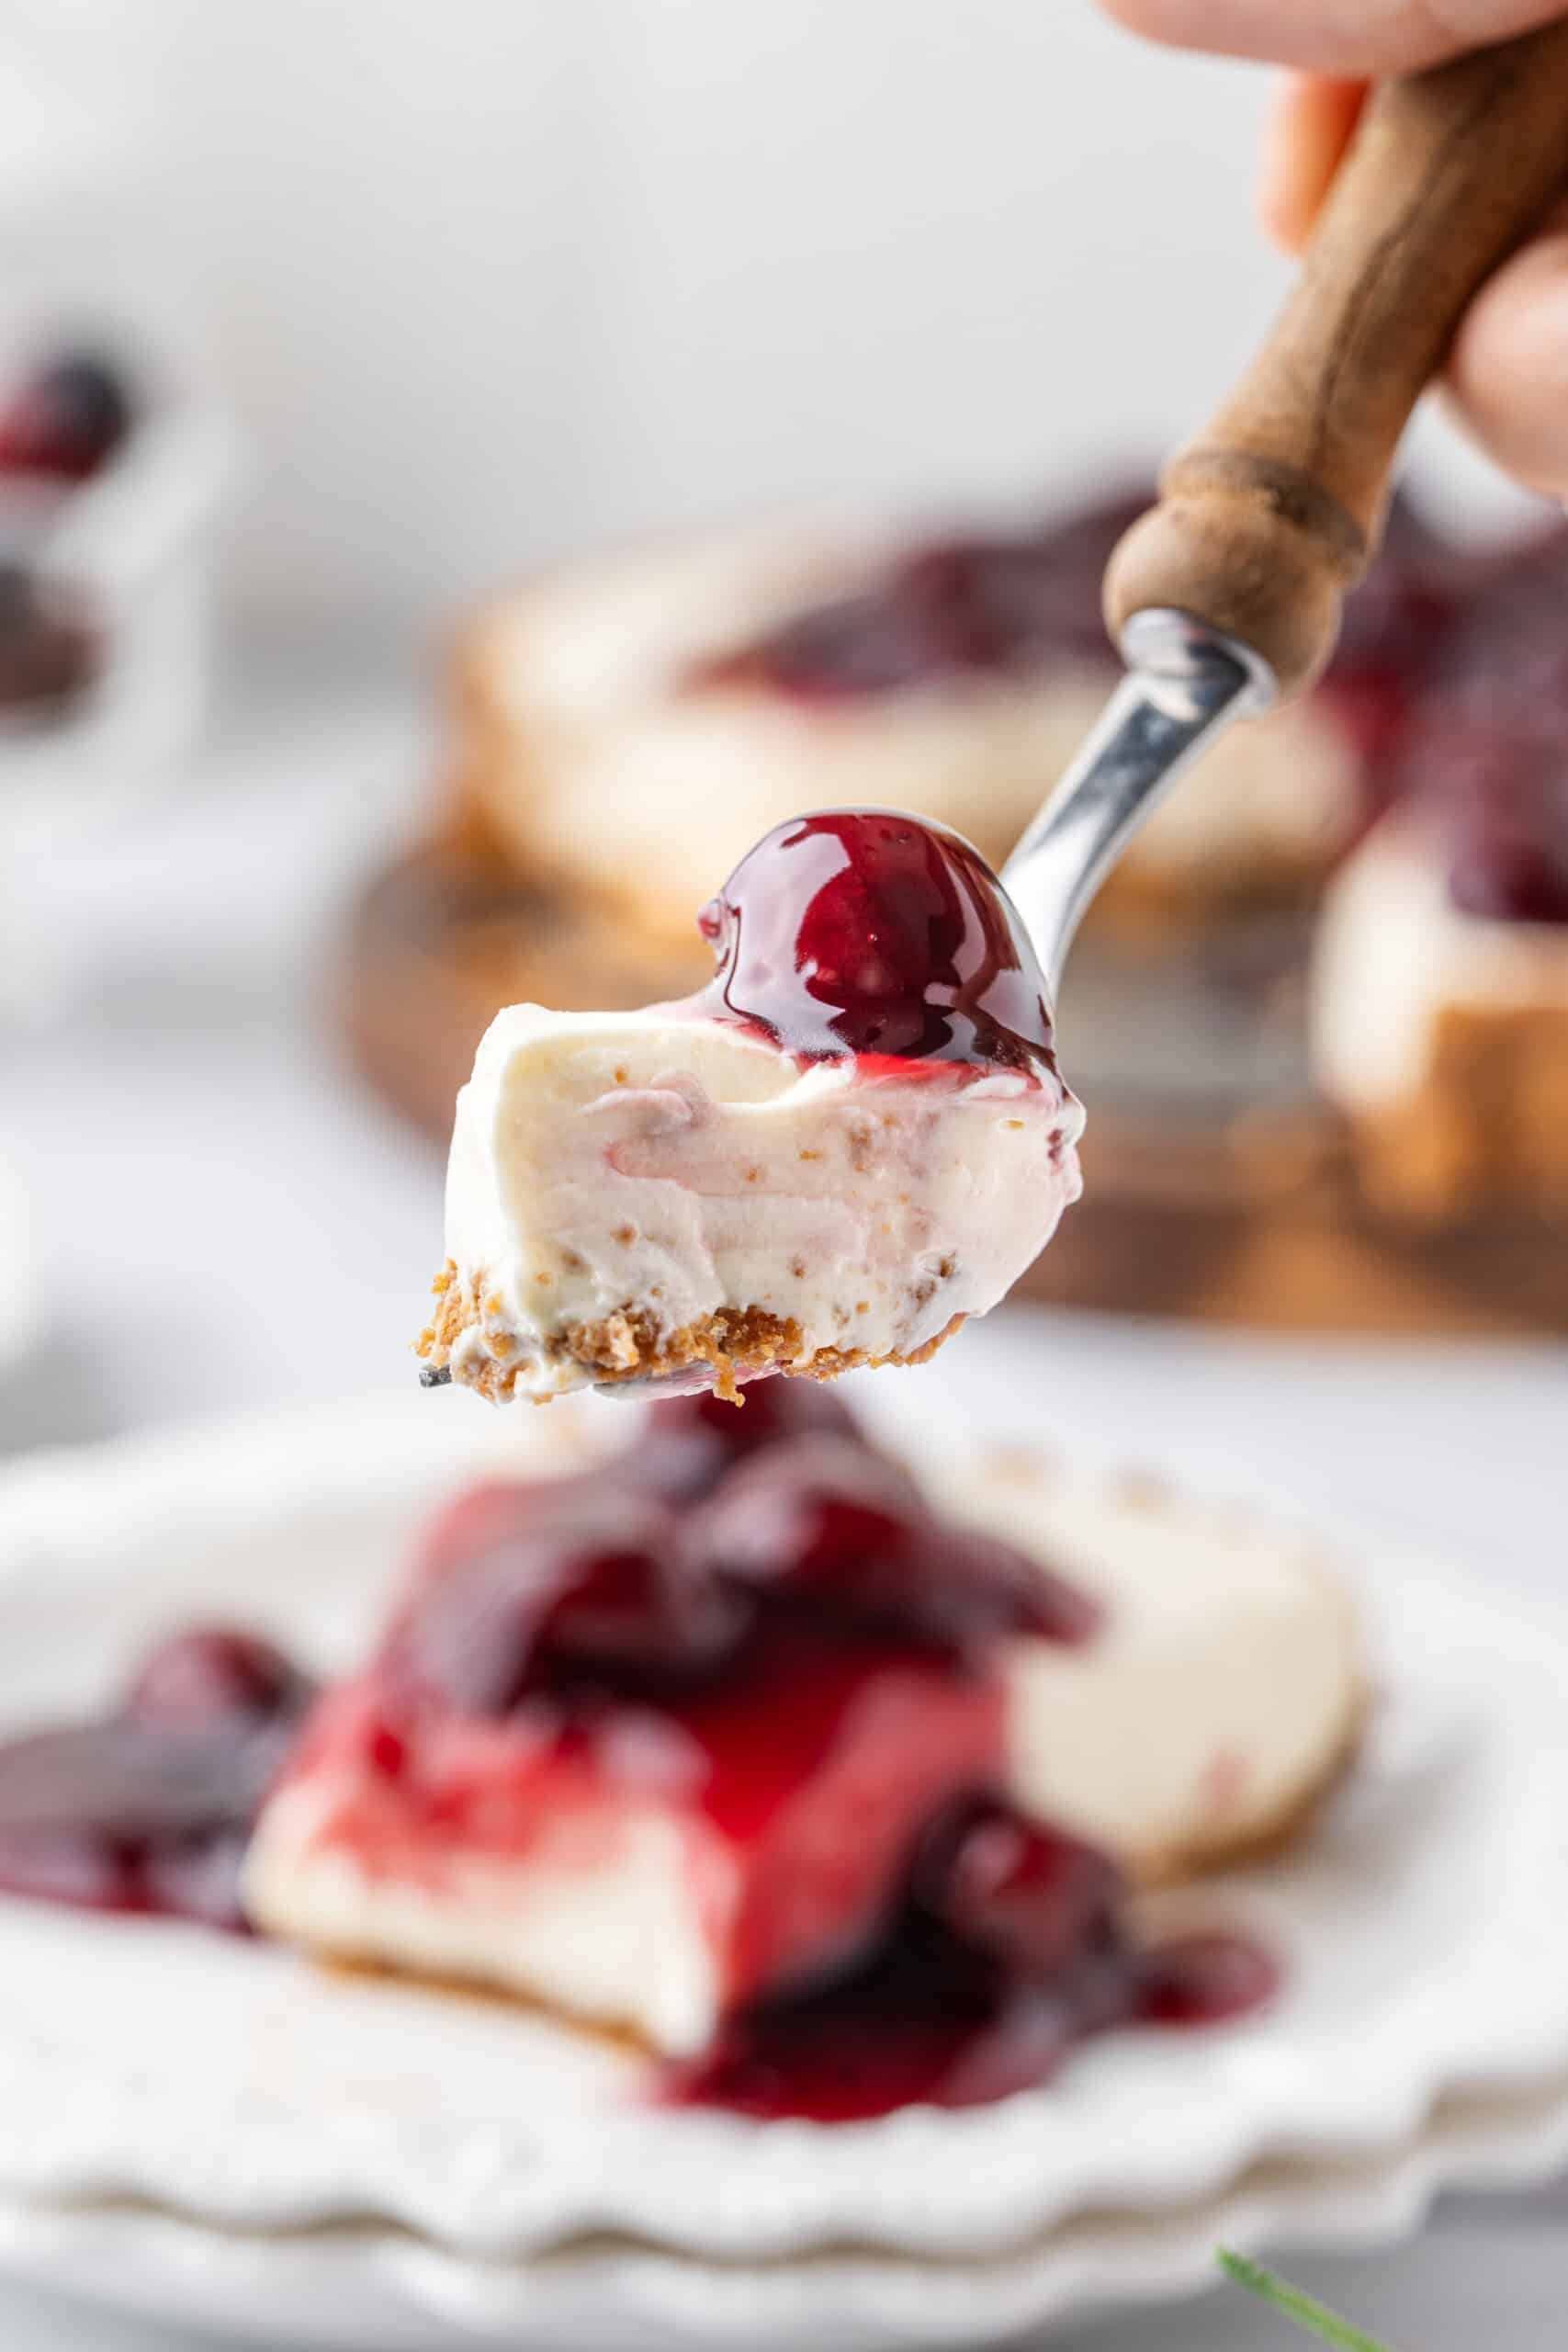
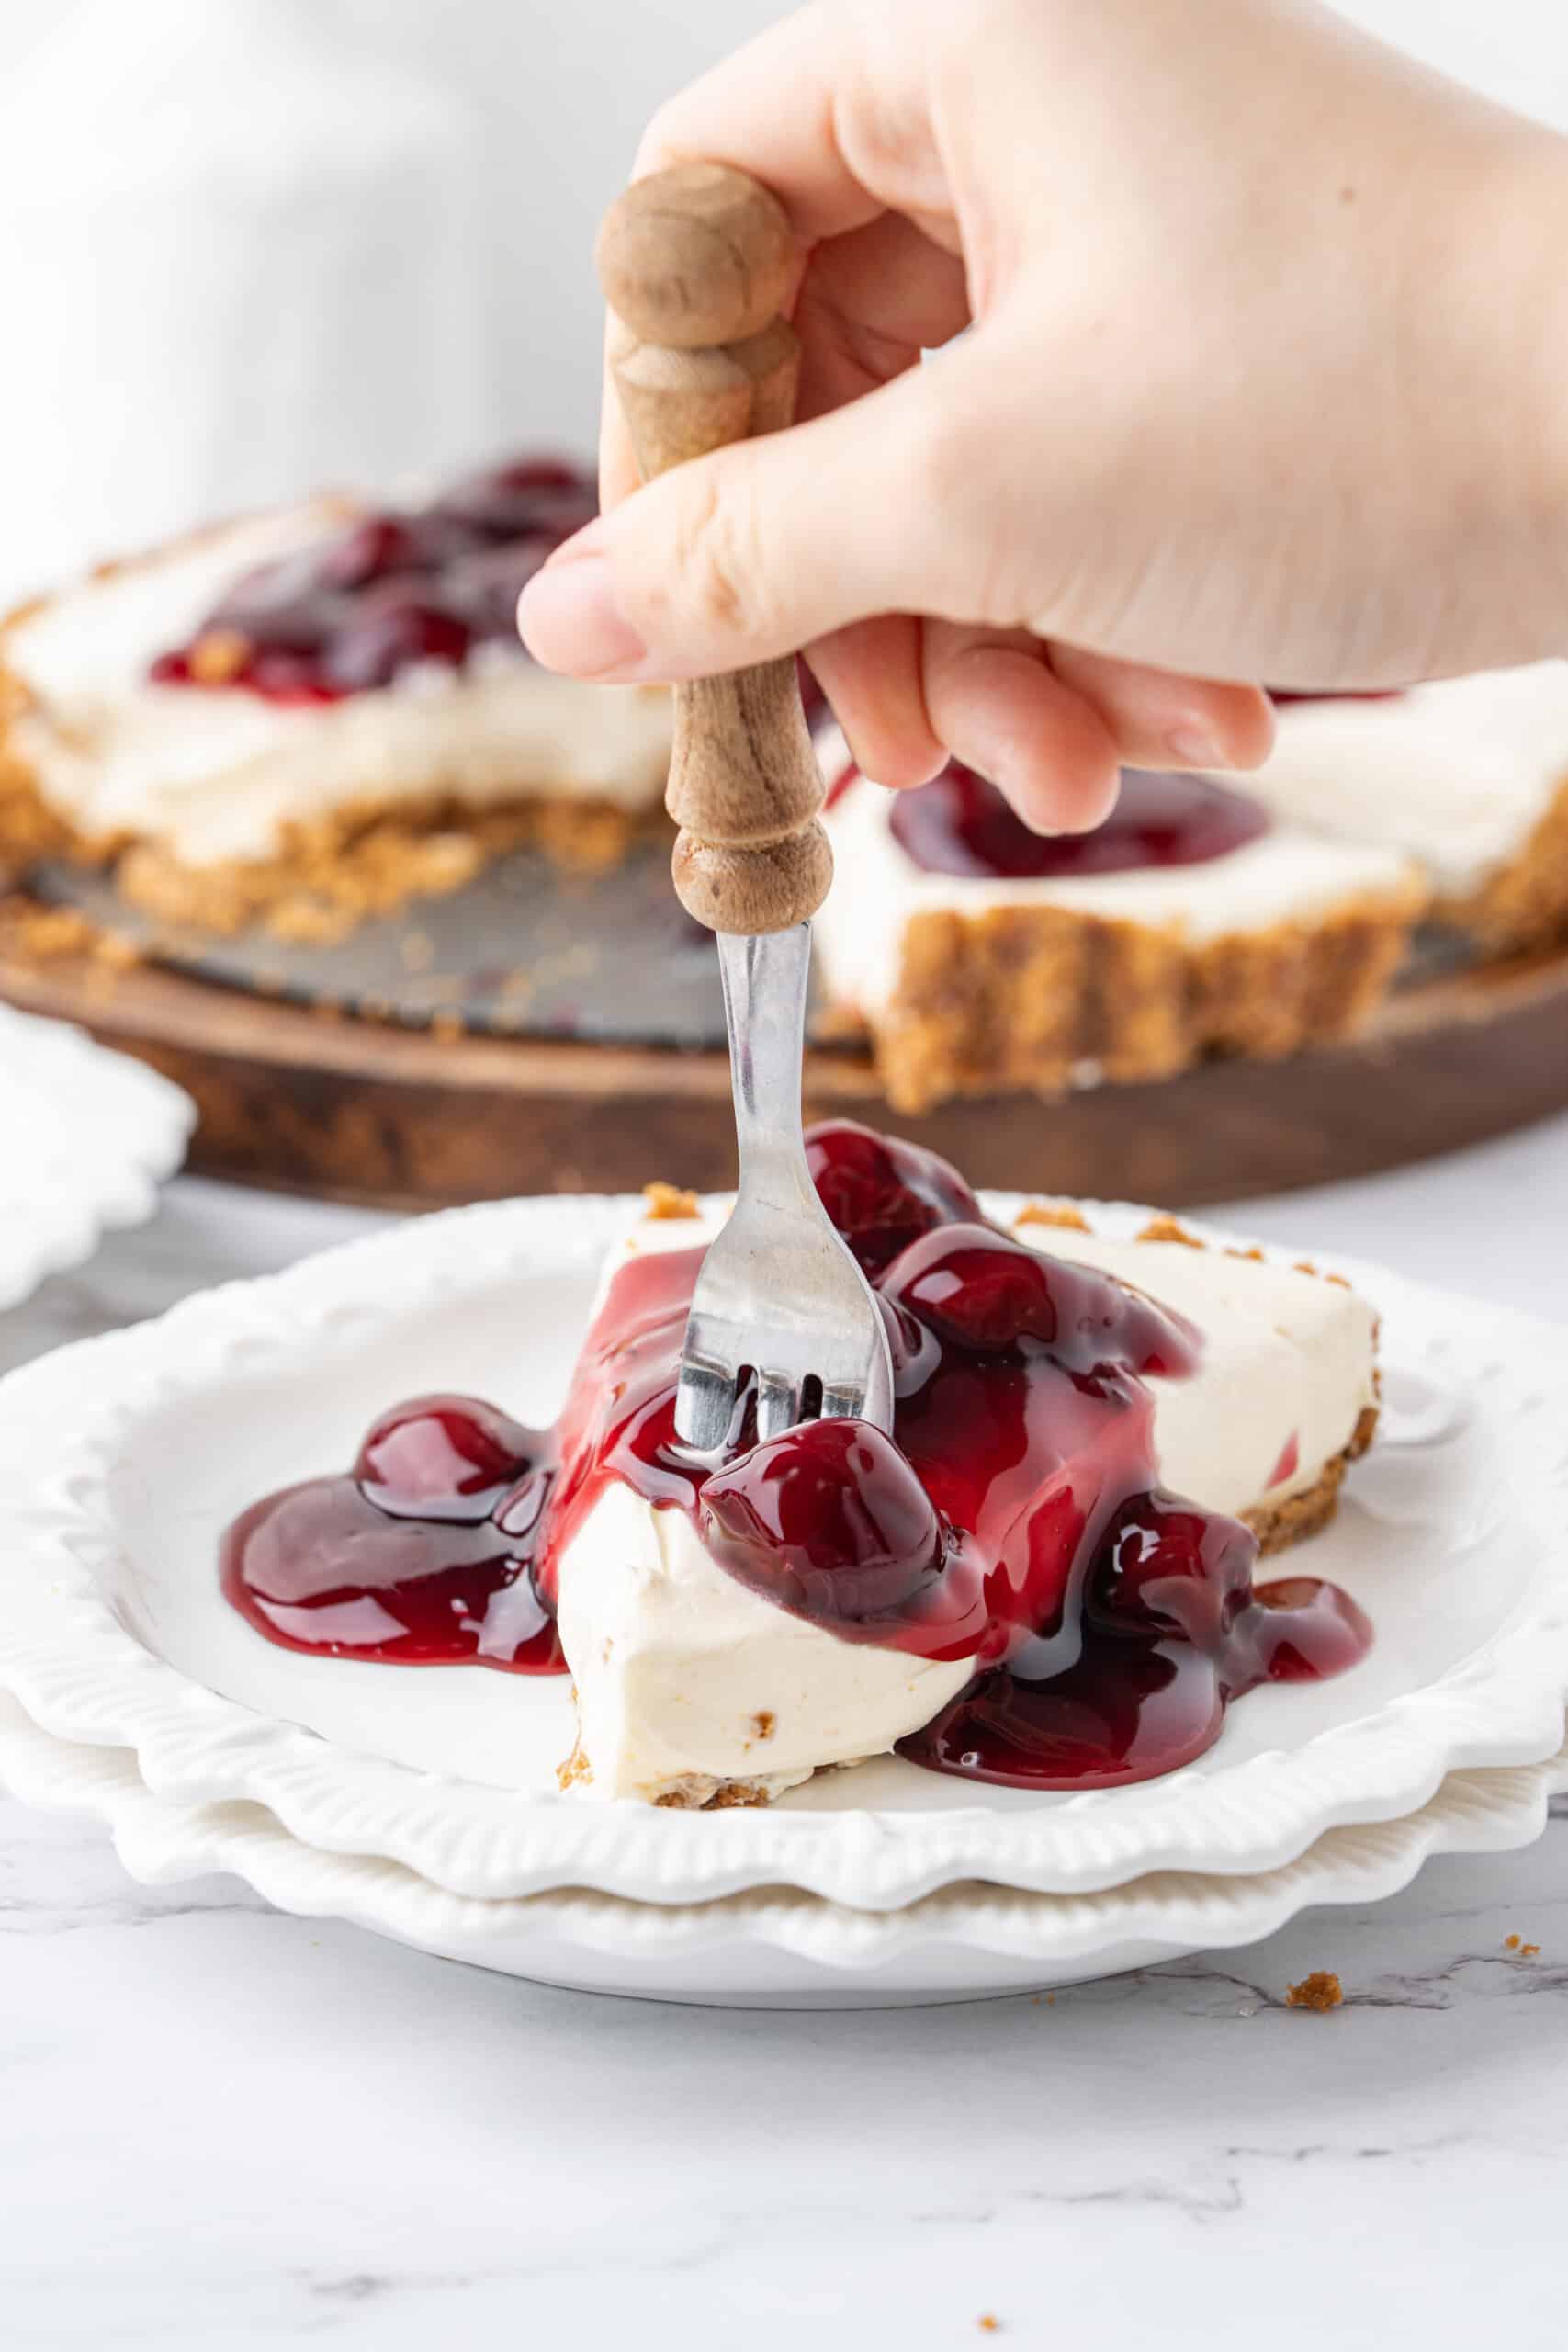
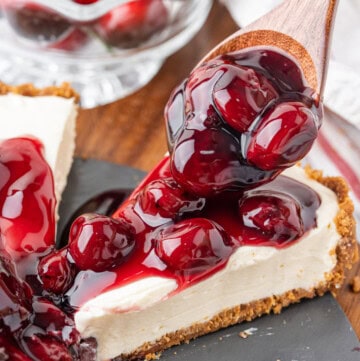
Step 5: Serve
Cut into pieces and top with two tablespoons of pie filling (or whipped cream) if desired.

No-Bake Cheesecake Toppings
Of course, this cheesecake is delicious as is with no toppings whatsoever, but here are some topping ideas.
- Cherry pie filling (what most no-bake cheesecakes call for)
- Blueberry pie filling or blueberry sauce
- Fresh strawberries or raspberries
- Raspberry or strawberry sauce
- Blackberry sauce
- Mixed berry sauce
- Chocolate shavings
- Peppermint chocolate sauce
- Nutella hot fudge sauce
- Whipped cream
- Lemon curd
- Chocolate ganache
- Salted caramel sauce
Phew! I started out with a small list and just couldn’t STOP… so many topping options for this delicious dessert!
Tools You’ll Need
You don’t need any special equipment for this, but a few basic tools will make the process easier and help everything come together smoothly:
- Stand mixer or hand mixer – Helps whip the cream cheese and filling until smooth and fluffy for the cheesecake base.
- Mixing bowls – You’ll need a few bowls for mixing and prepping ingredients. Makes it easier to combine everything without making a mess.
- Rubber scraper – Helps scrape down the sides of the bowl to ensure everything is fully mixed. Also useful for getting every bit of filling out.
- Measuring cups and spoons – Keep the ingredient amounts accurate so the cheesecake sets properly and tastes consistent.
- Prep bowls – Great for organizing ingredients before you start mixing. Helps keep the process simple and organized.
Tips for Success
These tips will help you get a thick, creamy filling that holds its shape every time.
What to do if your Easy No-Bake Cheesecake Doesn’t Set
If you are familiar with no-bake cheesecake, you may know that getting a thick, luscious filling can seem harder than all the online folks make it look. It’s not hard; you just need to know how to make your filling properly.
- Be sure to use room-temperature cream cheese and blend it with sugar and vanilla to get a smooth base for mixing the whipped cream into. Next, using COLD heavy whipped cream, slowly incorporate it by thirds into the cream cheese mixture, letting it mix in completely and scraping the sides of the bowl after each addition.
Once all the whipped cream has been incorporated, whip it until it’s thick enough to hold its shape and completely smooth and creamy. You’re essentially whipping the cream within the cream cheese mixture.
As I mentioned above, overmixing can turn your thick filling into soup. Once it’s thick, turn off the mixer and spoon it into your crust.
- Using cold heavy whipping cream is important and helps thicken the filling. (Heavy whipping cream has a higher fat content than just whipping cream, so be sure to find the containers that say “heavy whipping cream” for ultimate success.)

What to Serve with No-Bake Cheesecake
- Strawberry Sauce – Adds a sweet, slightly tangy topping that pairs perfectly with the creamy cheesecake.
- Fruit Salad – A fresh mix of fruit helps balance the richness and keeps each bite light.
- Cranberry Sauce – Brings a tart contrast that works especially well if you like a less-sweet finish.
- Hot Fudge Sauce – Makes the cheesecake extra indulgent with a rich, chocolatey layer on top.
- Whipped Cream – A simple, airy topping that adds extra creaminess without being too heavy.
How to Store No-Bake Cheesecake
Leftover cheesecake should be covered in plastic wrap or an airtight container and stored in the fridge for 3-5 days.
To Freeze: Cheesecake can be frozen as a whole or cut into individual pieces. Be sure to wrap it in plastic wrap and then wrap it in foil before placing it in the freezer. Cheesecake will stay fresh for up to 1 month.
To Thaw: Place the cheesecake in the fridge overnight. The foil can be removed, but leave the plastic wrap on it until ready to serve. You can also microwave individual pieces for about 30 seconds at a time and then check them. I wouldn’t microwave an entire cake though.
FAQs
Can I change the crust?
Yes, you can swap the graham cracker crust for other cookie crusts like Oreos or digestive biscuits. Just keep the butter ratio similar so it still holds together.
Why didn’t my no-bake cheesecake set?
Most of the time, it comes down to under-whipped cream, warm cream cheese, or not enough chill time. It needs to be thick before it goes into the crust, and then fully chilled so it can firm up properly in the fridge.
Why is my filling runny or too soft?
This usually happens if the whipped cream wasn’t whipped to stiff peaks or if the mixture was overmixed and lost its structure. Warm ingredients can also prevent the filling from holding its shape.
Variations
- Crust alternatives: Swap graham crackers for vanilla wafer crumbs, chocolate cookie crumbs, or even shortbread cookie crumbs.
- Topping options: Switch it up however you like! See my extensive list below.
- Flavor boosters: Add a little lemon zest or fresh lemon juice to the cream cheese mixture for a lemon cheesecake twist.
- Mix-ins: Fold in mini chocolate chips or small dollops of lemon curd for extra flavor.
More Cheesecake Recipes to Try!
- Chocolate Cheesecake
- Pumpkin Cheesecake
- Lemon Meringue Cheesecake
- Strawberry Cheesecake
- Cheesecake Factory Vanilla Bean Cheesecake
- Cheesecake Factory Godiva Dark Chocolate Cheesecake
The combination of creamy texture, simple ingredients, and endless topping possibilities makes it one of those great recipes you’ll want to save and make again next time. It’s another great one to add to your repertoire! The printable recipe card is below. Enjoy, friends!
No-Bake Cheesecake Recipe
No-Bake Cheesecake has never been so easy or delicious! A silky smooth cream cheese filling surrounded by a buttery graham cracker crust. Enjoy plain or with any desired toppings with no oven required.
Ingredients
- 1 1/4 cups graham cracker crumbs
- 6 tablespoons butter melted
- 16 oz cream cheese softened (two 8 oz packages)
- 1/2 cup granulated sugar
- 2 teaspoons vanilla extract
- 1 cup heavy cream cold
- 1 cup canned pie filling cherry, blueberry, etc. (or topping of choice)
Instructions
- In a small bowl, stir graham cracker crumbs and melted butter together to moisten. Press into an 8 or 9-inch glass pie plate and refrigerate.

- In a large bowl, mix cream cheese and granulated sugar together until smooth and well combined. Scrape the sides and mix again to ensure there are no lumps. Stir in vanilla extract.
- With the mixer on, add cream in four increments, letting it whip into the cream cheese after each addition. Whip 1 minute until thick and light. Scrape the sides to ensure even mixing and whip again if needed.
- Pour into prepared pie shell and smooth the top. Refrigerate 2 hours to overnight, covered in plastic wrap.
- To serve, cut into pieces and top with two tablespoons of pie filling (or whipped cream) if desired.


Video
Nutrition
Calories: 516kcalCarbohydrates: 35gProtein: 5gFat: 40gSaturated Fat: 24gPolyunsaturated Fat: 2gMonounsaturated Fat: 10gTrans Fat: 0.3gCholesterol: 113mgSodium: 346mgPotassium: 162mgFiber: 1gSugar: 19gVitamin A: 1522IUVitamin C: 1mgCalcium: 91mgIron: 1mg
Rate This RecipePlease consider Leaving a 5-Star Review!
If you make this recipe, I would really appreciate it if you would give it a star rating and leave your review in the comments! If you have a picture of your finished dish, post it on Instagram using the hashtag #laurenslatest and tagging me @laurens_latest.


Loved every bite of it!🤭
This no bake recipe is so easy and delicious! My family all loved it! I did cheat and bought a pre-made graham cracker crust though 😉
😘😘😘😘😘😘😘😘😘👙❣️❤️❤️❣️❤️❣️❣️❤️
I was blown away by how good this is. For being so simple. I made a couple of changes added lemon zest and vanilla paste. Soon good!!
Doesnt get old the best esp when it calls for occassions!!! Thanks!!!❤️
For several years now I have taken just the cream cheese part of this recipe and layered it on top on a Costco pumpkin pie. It goes beautifully and is so tasty. Sometimes I make a caramel sauce to go on top.
Since finding this recipe a couple years ago I have made it whenever I need to please a crowd. It’s so good!
easy to make and delicious
This is by far the best cheesecake recipe I’ve ever made! The only thing I added was 1/4 cup brown sugar to the crust. Amazing, thank you!!
Great recipe. Thank you
You’re very welcome Heather. Thank you for the 5-star review! 🙂
Great recipe!! I purchased a shortbread crust and added a little more sugar to the recipe since I don’t use fruit filling and it was excellent!! Thank you so much for sharing!! I’ve looked for a recipe for several days before finally deciding on this one. ❤️ Best decision I made!!
Can you double this and make in a casserole dish?
Hey there, is there a way you can make this sugar free ?
This was delicious…my husband loves cheesecake and he gave this one 2 ??…I will definitely be making this again, but I think I will tweak it a bit by adding a little sugar to the graham crackers along with the butter and then bake it a bit…thank you for sharing this recipe…Deb
I just made this today, but used Swerve instead of granulated sugar and it turned out good!
This was delicious! My husband loved it! I made it for his birthday. Thank you for sharing!
We love it and keep making it. Perfection
I typically don’t like no bake cheesecake but this one changed my mind. It’s delicious but if you’re going to take the time to make it from scratch why not go a step further and make your own topping. I usually make a blueberry topping and it is soooo much better than canned,
Can I omit the whipped cream
This is my favorite Cheese Cake recipe. It is easy to follow. My family loves it.
Can this be made ahead of time and frozen?
Making this for my son’s birthday. Just wondering if it can be made ahead of time and frozen until needed?
Just made it, I subbed 3 tv of sour cream for some of the whip. Added strawberry filling, small ammount on top and used whip to decorate added yellow sugar.
Wonderful dessert, can never go wrong with cheesecake !
I have to admit that I like using Mexican vanilla as gives it that “ what is different” taste, & I like adding a little cinnamon to the Graham cracker crust.
Hands down the best cheese cake recipe
Super easy recipe to make and very scrumptious tasting. Only hard part is waiting for it to chill before eating it. ?
I found your site a month or so ago. Since that time, I have tried at least a dozen or so of your recipes. Everyone has been a big success. Thank you so much for all the recipes – I’m so excited to try this one!
I now know why my chz cake didn’t turn out perfectly. I pour the cream in all at once time. But it had been 40 yrs, since I prepared a homemade chz cake.
Thank y’all for this recipe.
Suzy-Homemaker….from The Beautiful Hill Country….TEXAS
My cheesecake wasn’t thick when I was done. I have it in the refrigerator now and I’ll see if it firms up. What did I do wrong? Is it possible to over mix when adding each addition of whipping cream?
This is my favorite cherry cheesecake recipe. I substitute Splenda Baking for the sugar and it is wonderful!
Husband loved the cheese cake so did a neighbor.
Can I put the topping on and then refrigerate the pie?
I would wait until the cheesecakes sets. At least 4 hours. Then you could put the topping on and return to fridge
The absolute best recipe I’ve used so far! Excellent result and everyone loved it!
I added 2tbs of strawberry jam to give it an extra kick.
My only problem was with the 1 1/4 cups of graham crackers. Not every country has this product and unfortunately cups is a difficult type of measure. Maybe easier to use grams for items that are solid.
I used around 180 grams of digestive cookies (ran them through the blender) for the crust as most grocery stories do not sell graham crackers (I live in Sweden). I think I could have used the whole package though, I’ll try it for next time.
Thanks for sharing!
Anthi
If measurements are in grams, you have to buy a scale to measure. A cup measurement is 250ml. It’s very easy to measure after you grind the cookies. I just baked my own graham crackers because I need gluten free.
Could you share your recipe for the gluten free graham crackers please.
Made this yesterday for our Thanksgiving dinner
It turned out great! Easy to make, and it was DELICIOUS ? whole family loved it!
Thank you for the great recipe ?
Delicious! I doubled this recipe, added 14oz. can sweetened condensed milk, took out 1/2 the granulated sugar added 2 extra tsp. lemon juice. Thank you for giving me the perfect base to use my own creativity. I’m using blackberry pie filling for the topping.
So you basically made a completely different pie. ?. (Sounds good but sweet!)
Best no bake cheesecake ever.
Could you make this a key lime cheesecake?
Great! Quick and easy in under 5 min, my kind of dessert -craving when lazy and want a tasty treat.!
This the 2nd time. No bake taste the best. Next time thinking some lemon juice. THE BESTESS.
Thanks for a great cheese cake recipe have just made this for Christmas Day only change I made was buttersnap biscuit for base and add lemon curd to the mix does taste good so thanks again and merry Christmas to you ?????
I have made this recipe many times, it is delicious!! Not all my Pinterest recipes are keepers but this one is!
Ud love to make this soon. Want to know if non dairy whipping cream can b used.( it’s sweetened)..then do we need to add sugar to the cream cheese ?
Very bland. Next time I will use confectionery sugar and some lemon juice. I also added more butter and sugar to crust mixture.
This was the BEST no bake cheesecake recipe I have ever had!!! This recipe never lasts more than 5 minutes every time I make it.
Thank you for sharing.
It was easy to make and delicious. I used a pre-made graham cracker crust. While mixing I stopped several times to scrape the bowl. After spreading out in pie crust I could see some little pieces of cream cheese in the mix but was unable to see any pieces when serving. I will be making cheesecake more often!
This no bake cheesecake was delicious!
Can sour cream be substituted for the 1 cup heavy cream? If so, how much sour cream should I use? Many years ago I had a recipe similar to this one, except sour cream was added rather than heavy cream. Thank you!
I was wondering do I whip heavy cold cream first til its thick then add to cream cheese?
Thanks in advance, Cheri
If you read the recipe card, it states to whip the cream cheese first and then add in the cream bit by bit.
No mention of whipping the heavy cream before adding it to the cream cheese mixture. You may want to clarify that in the recipe.
I made this cheesecake yesterday and it was amazing! I will definitely make this again!
I made this today and it was super easy! It’s cooking in the refrigerator- I used simply raspberries as the topping – I really liked how it had real whipping cream instead of cool whip – in the past I had a recipe that called for cool whip and confectioners sugar – this recipe is way better!!
I made this last weekend, and it turned out perfect! So delicious!
This was easy and I only have a hand mixer. Used a little less sugar and put in SMALL bell jars for portion control (as if there is something called cheesecake control). So. Very delicious and easy as all your recipes.
What a great idea for personal cheesecakes! I have some little 1/2 cup jars I could use. Thanks for sharing.
Loved this recipe simple & delicious
Definitely will be trying this soon. I love cheesecake.
This looks so Amazing, I want to try it, all your recipe’s look Brilliant.
The ones I have tried so far have been beyond Delicious, Thank you
so much for your wonderful blog.
Teresa
Can’t wait to try. Please confirm it’s granulated sugar and not confectioners sugar used. Does the granulated give a smooth texture?
The recipe calls for granulated sugar, so its granulated sugar! When you beat it into the cream cheese it should dissolve.
Going to make this right now.. Sounds great but it’s one of those lazy days & I happen to have a pre-made oreo cookie crust & smother it in blueberries.
That crust looks so delicious and that is a big part of a cheesecake to me. I love that I don’t have to bake this and heat up my kitchen this time of year. Pinning now to try soon.
This cheesecake is delicious.