
You have 0 items in your cart
Easy Oven Baked Ribs

This post may contain affiliate links. View my privacy policy and disclosure policy for more details.
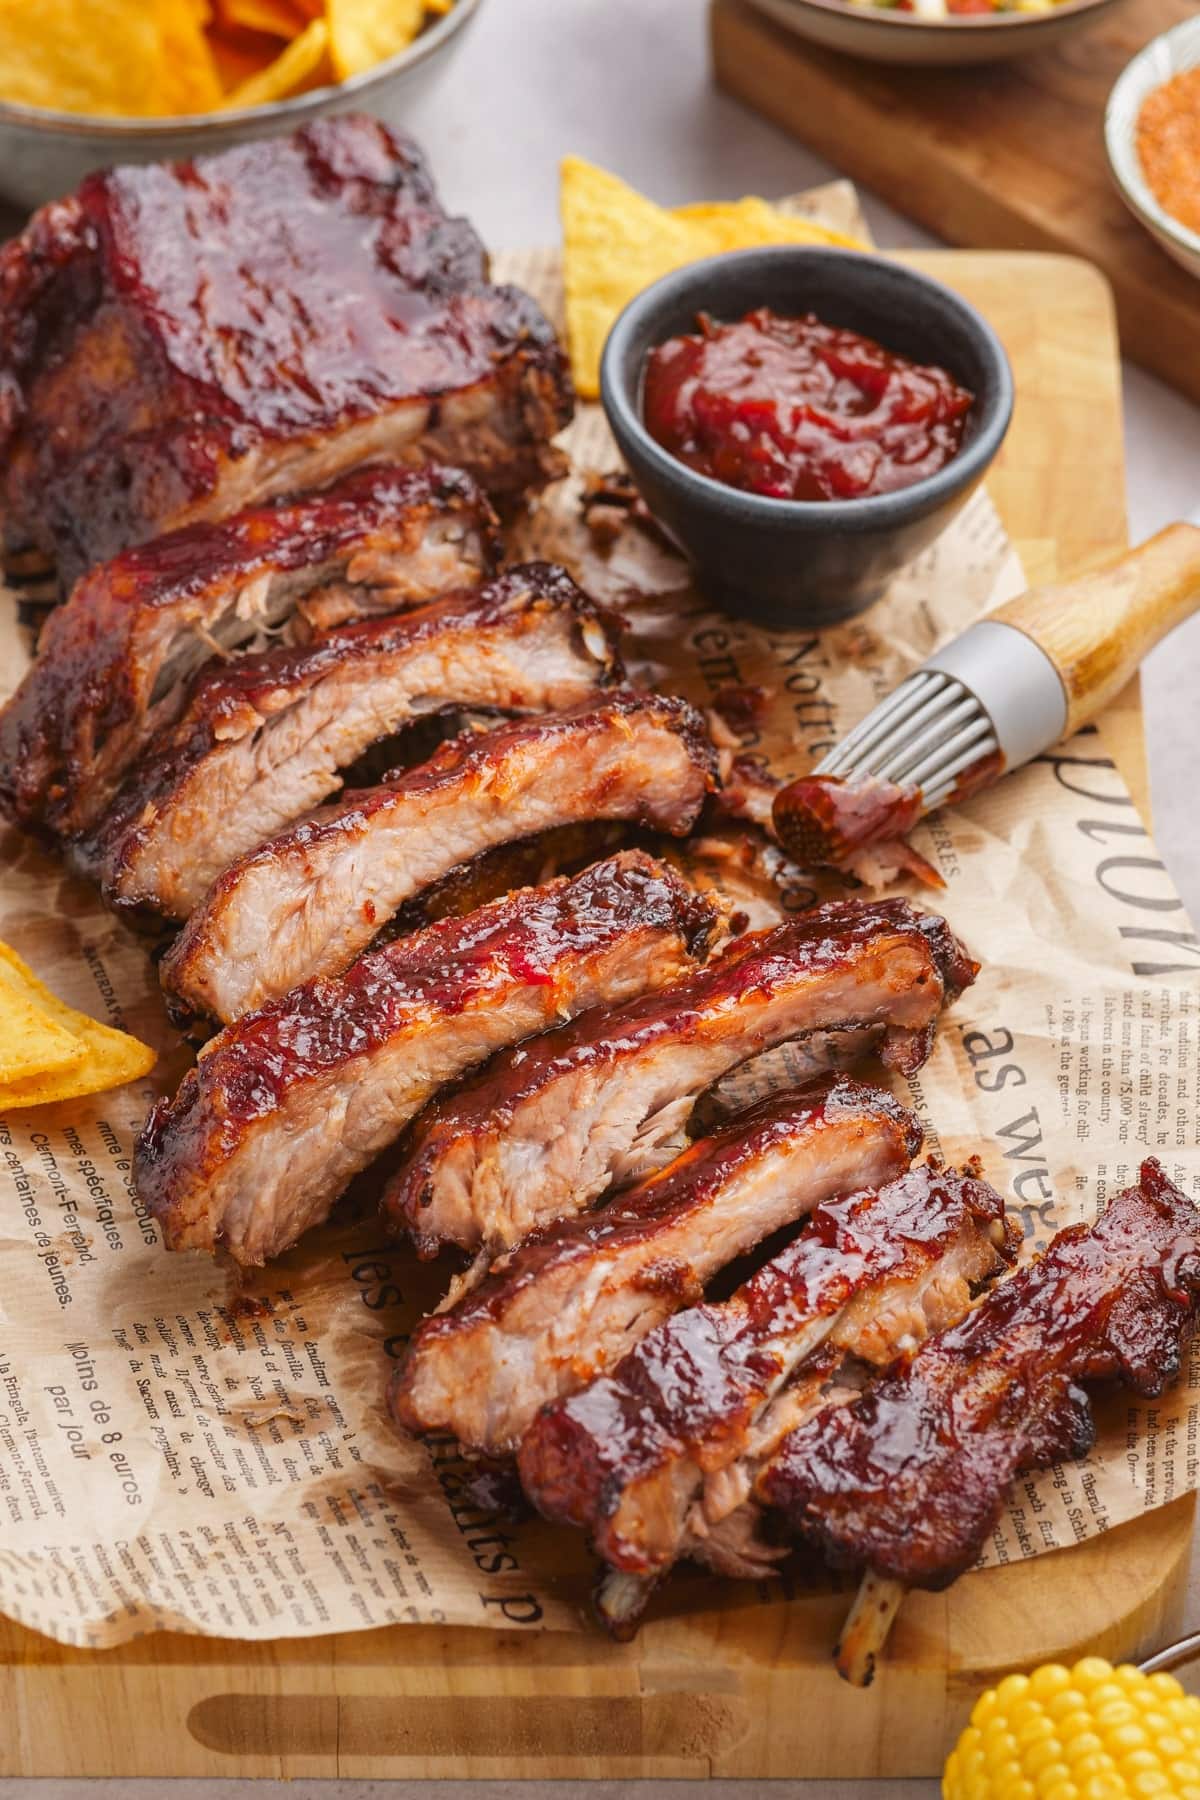
If you want tender, fall-apart ribs without hovering over a grill, this Easy Oven Baked Ribs recipe is your new favorite secret. These ribs cook low and slow until perfectly juicy, then get brushed with sticky BBQ sauce and broiled just enough to caramelize. With flavor that’s deep, smoky, and sweet with a hint of spice from the seasoning, you’ll want extra napkins because things are about to get saucy.
Ingredient Notes
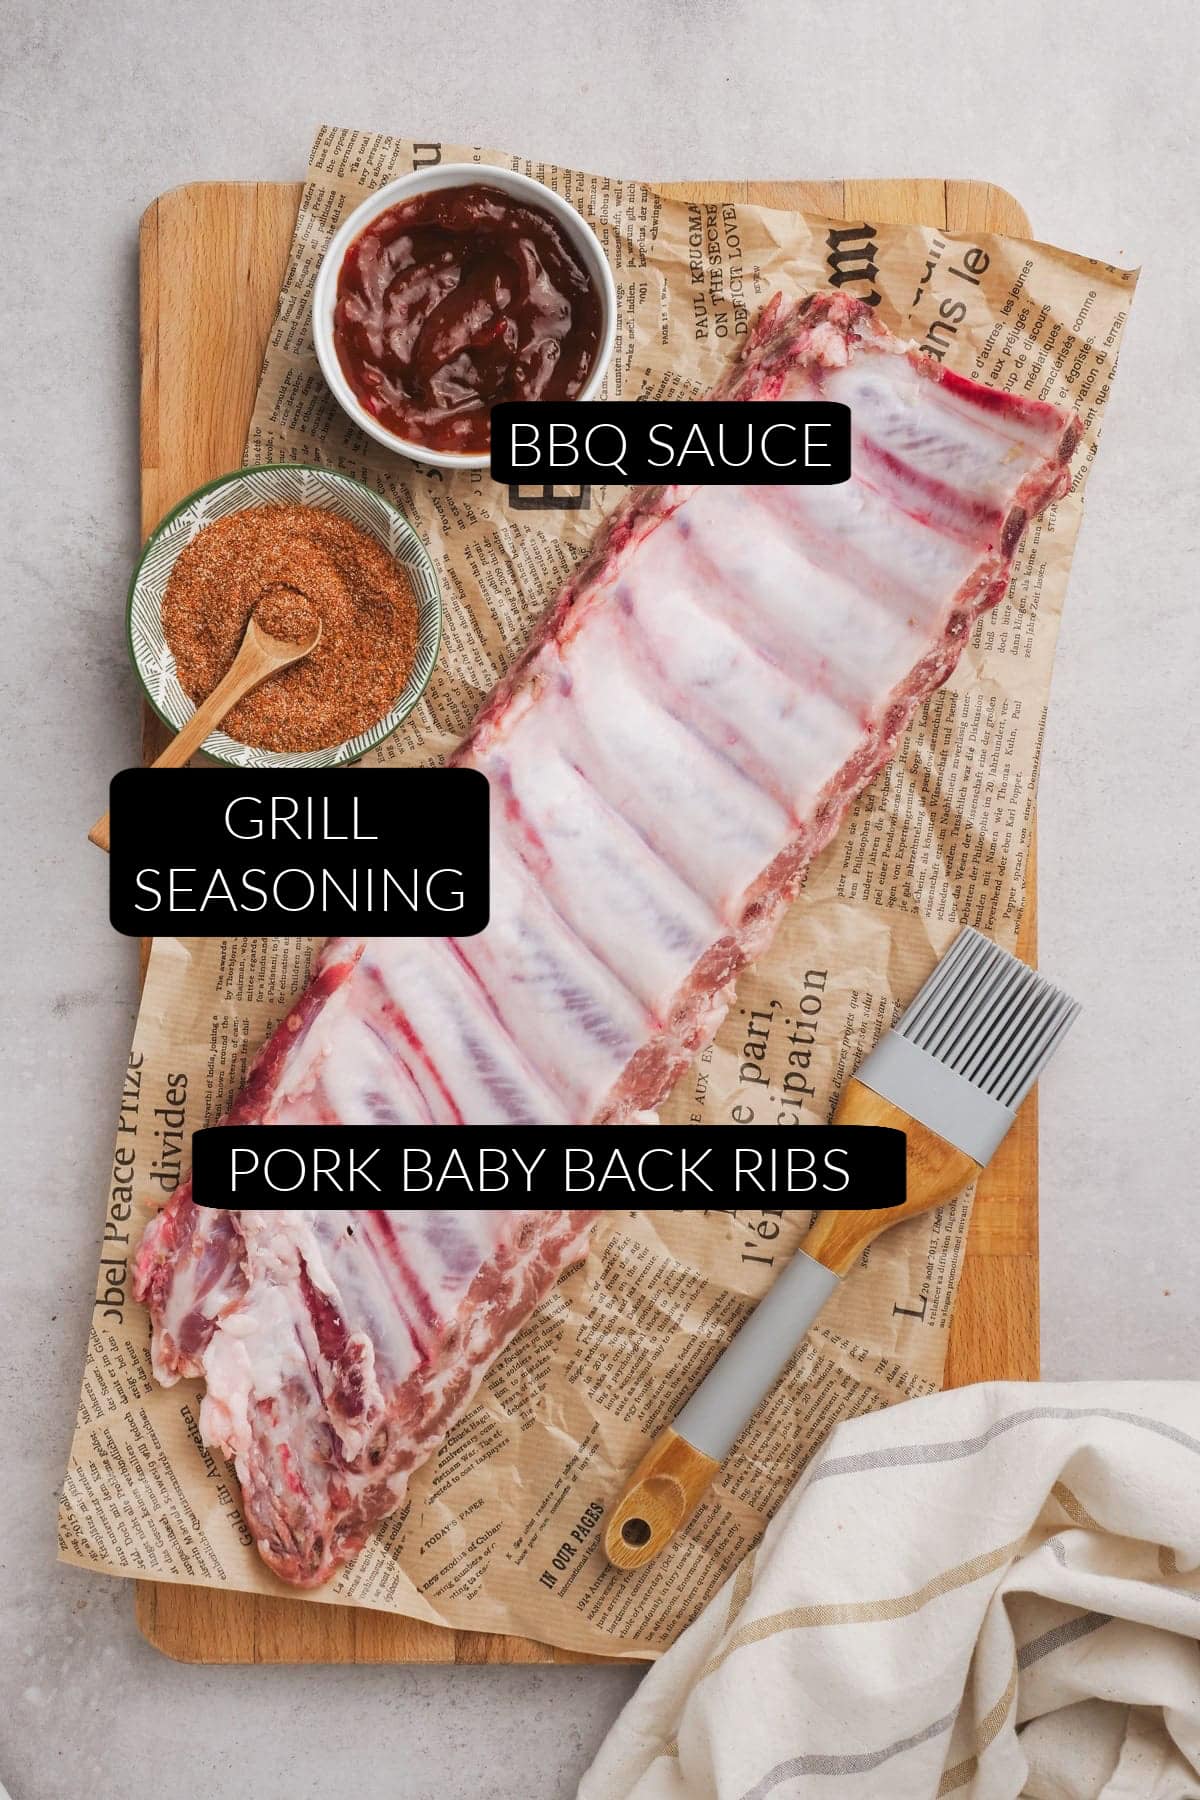
This recipe keeps things simple but delivers big flavor. A rack of baby back ribs, a bold seasoning, and your favorite BBQ sauce are all it takes. Each ingredient has its role, so use good ones and let the oven do the heavy lifting.
- Pork Baby Back Ribs – These are smaller and more tender than spare ribs, which means they cook evenly and stay juicy.
- Grill Seasoning – A smoky maple blend like McCormick Smokehouse Maple adds instant depth. If you prefer homemade, try my Pulled Pork Rub.
- BBQ Sauce – Go for something thick and tangy like Stubbs Original. It caramelizes beautifully under the broiler. Homemade BBQ Sauce is also a great option if you have a few extra minutes.
How to Make Oven Baked Ribs
Season your meat well, wrap in foil, bake your baby back ribs in the oven, then baste with good BBQ Sauce. Right out of the oven, you get juicy and smoky ribs just by seasoning well and finishing under the broiler or on the grill. I make ribs in the oven year-round, but they are particularly tasty in the summer.
For full recipe details, including ingredients and measurements needed, see the printable recipe card down below.
Step 1: Preheat Oven + Prep Pan
Preheat the oven to 300° F and line a baking sheet with foil. Lightly spray it with nonstick spray so cleanup is painless.
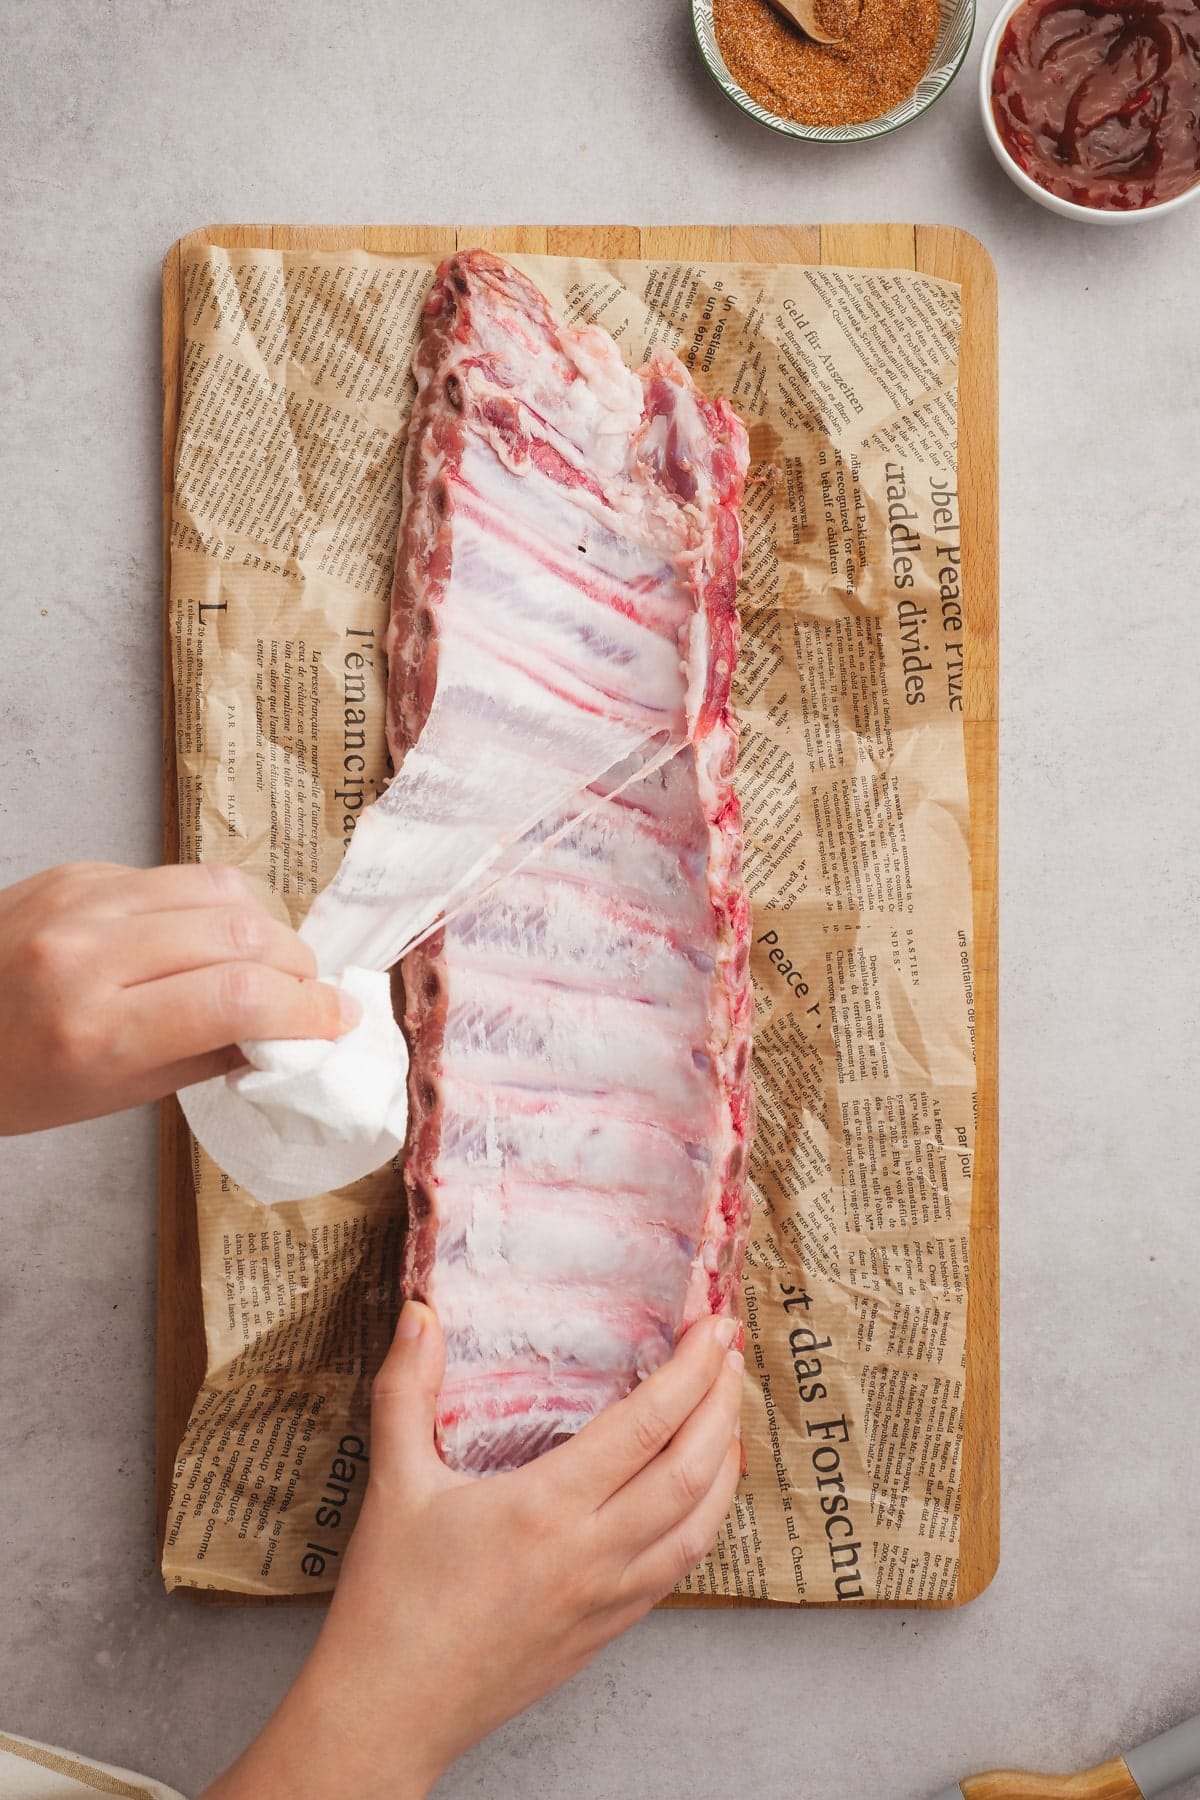
Step 2: Remove Silverskin
Removing the silverskin membrane is actually so much easier than you think! It seems like it would be intimidating, but couldn’t be simpler.
- Turn your rack of ribs over so the back, bonier side is face up.
- Starting at the smaller, narrower end, use a small knife or kitchen shears to slide under the edge of silverskin and get a little flap to grab.
- Using a paper towel, grip the flap you created and pull off. It should come off in one long sheet, but if it doesn’t, use the knife to pull up another section and start pulling again.
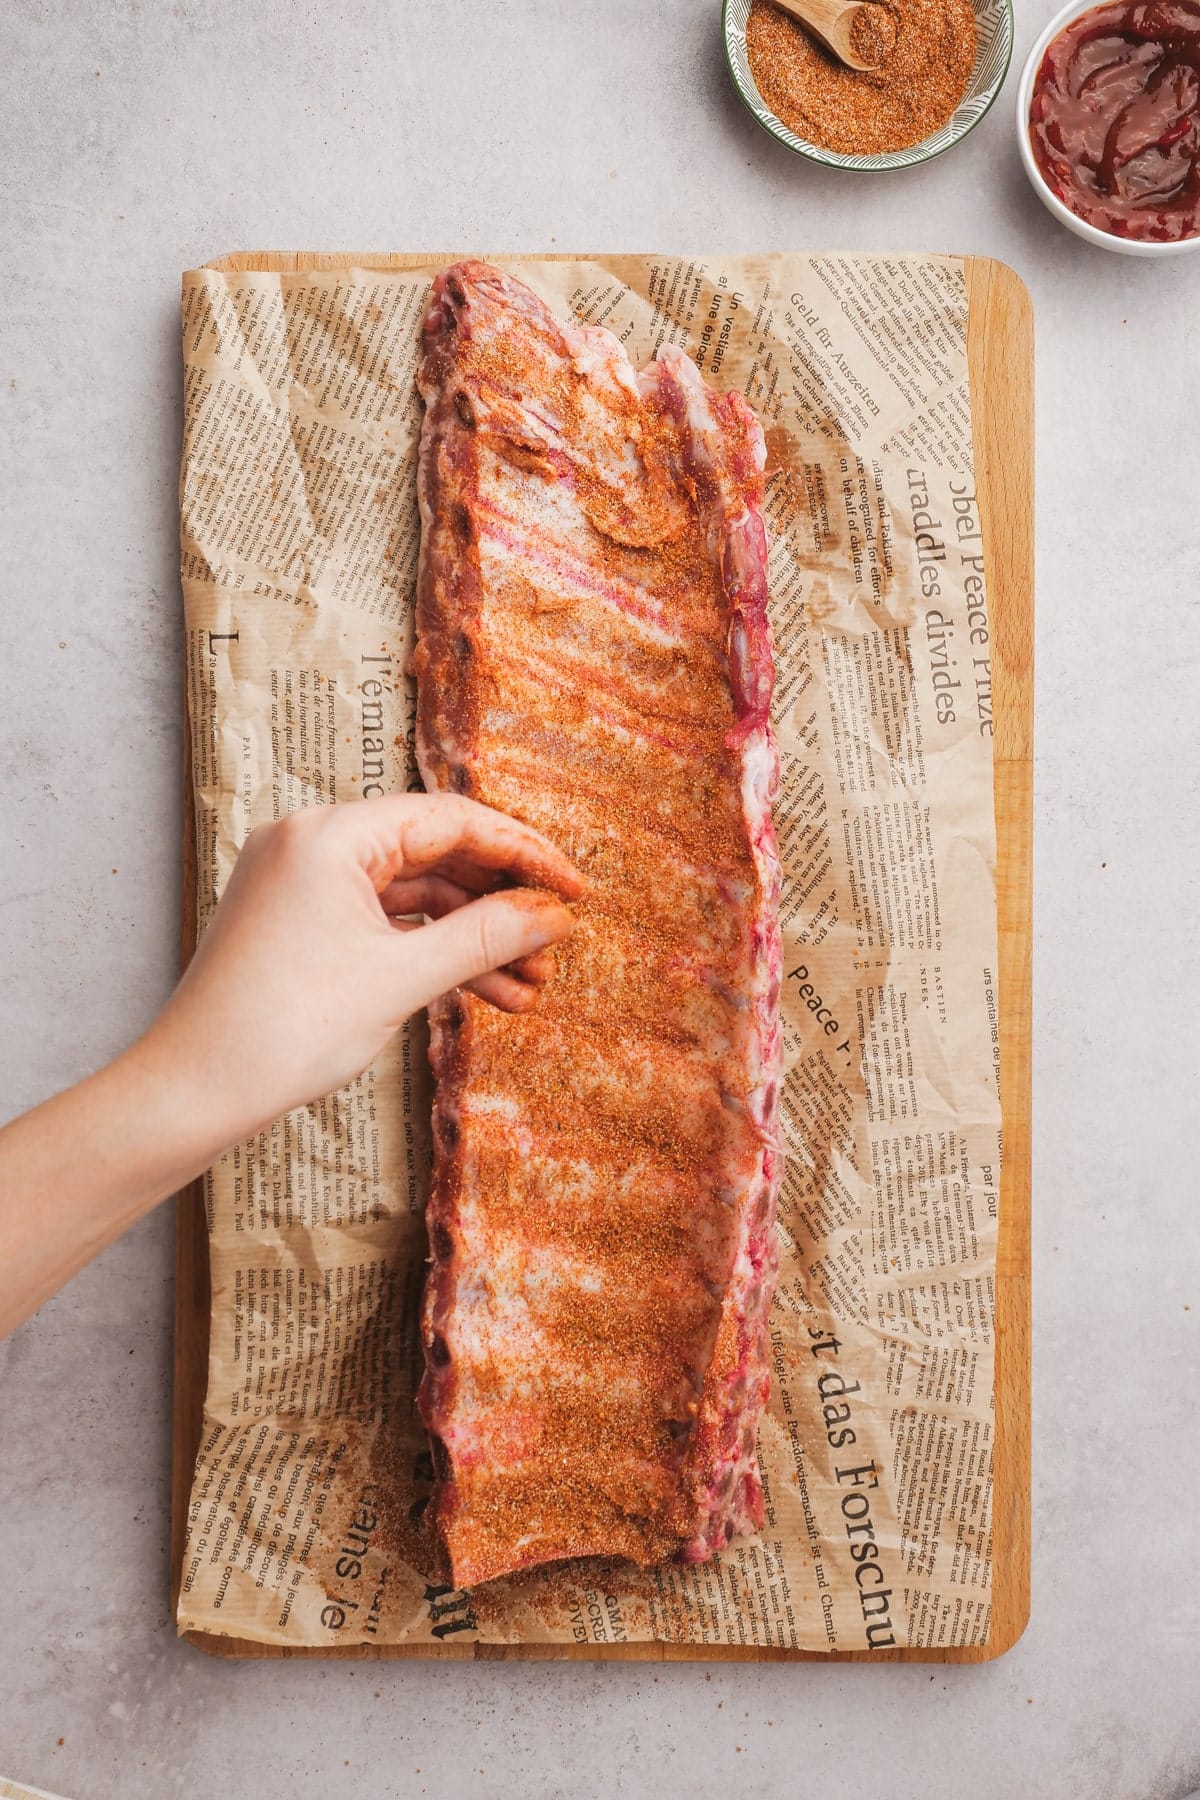
Step 3: Season the Ribs
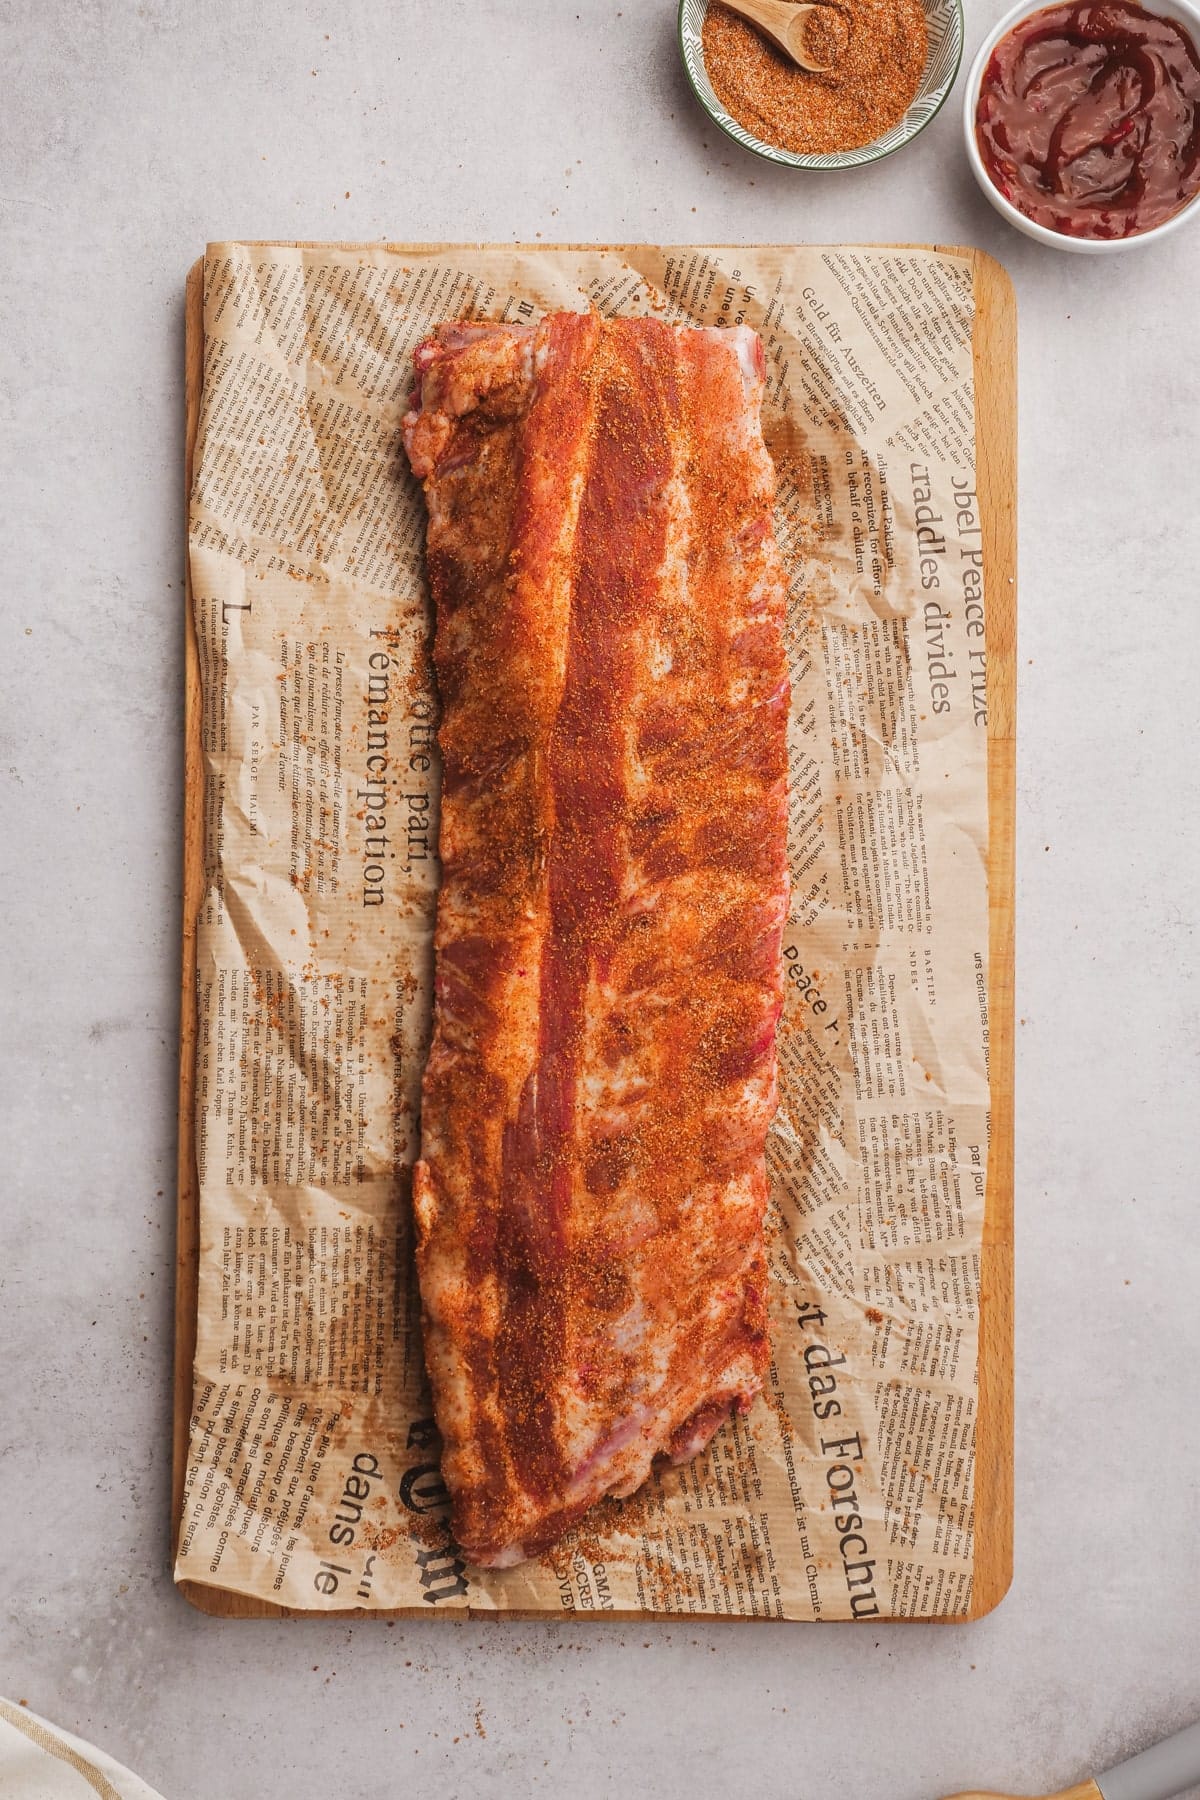
Lay the ribs on the pan and score the tough membrane on the bony side. Rub generously with your seasoning blend, making sure every inch is coated.
Step 4: Wrap + Bake
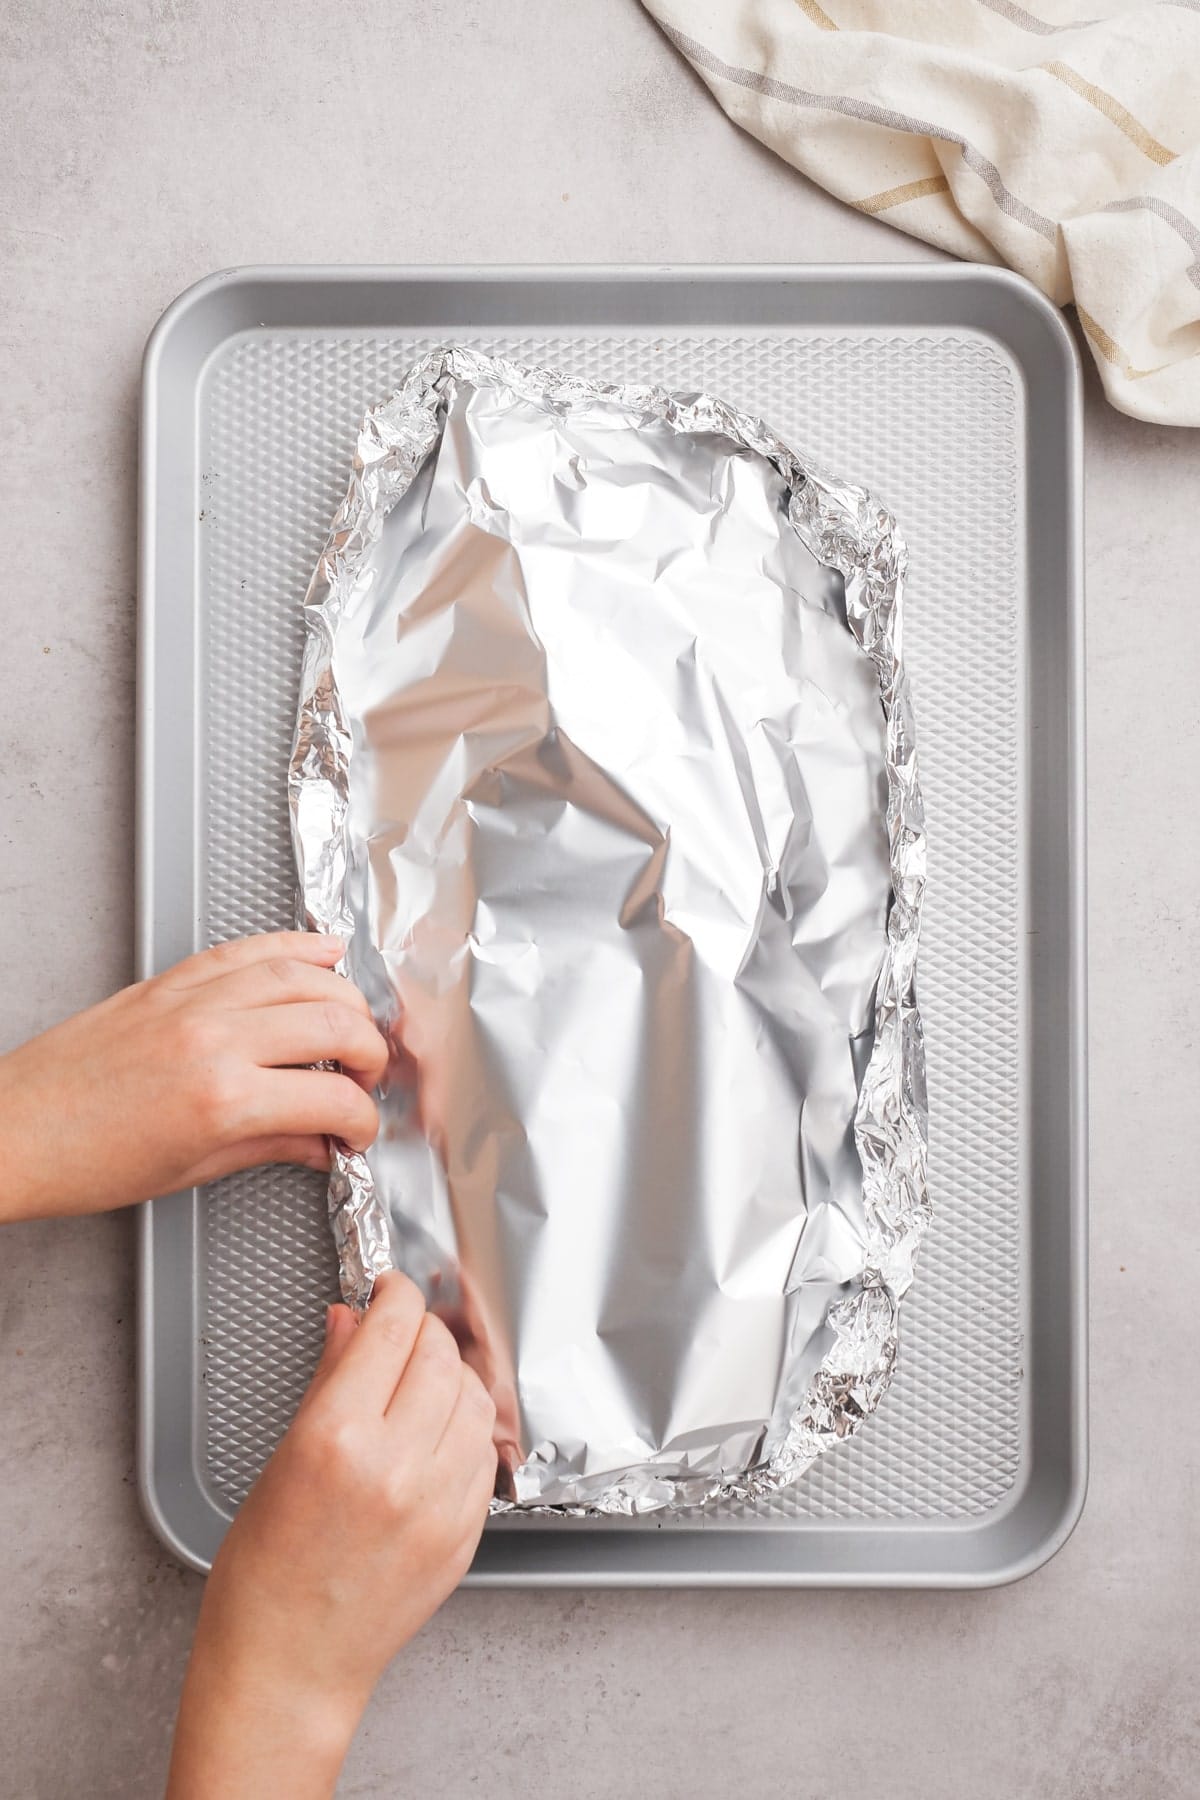
Cover the ribs tightly with foil and bake for about 2 to 2 ½ hours until they’re tender and cooked through. A little more time in the oven can’t really hurt these guys… they’ll just become extra tender.
Step 5: Broil with Sauce
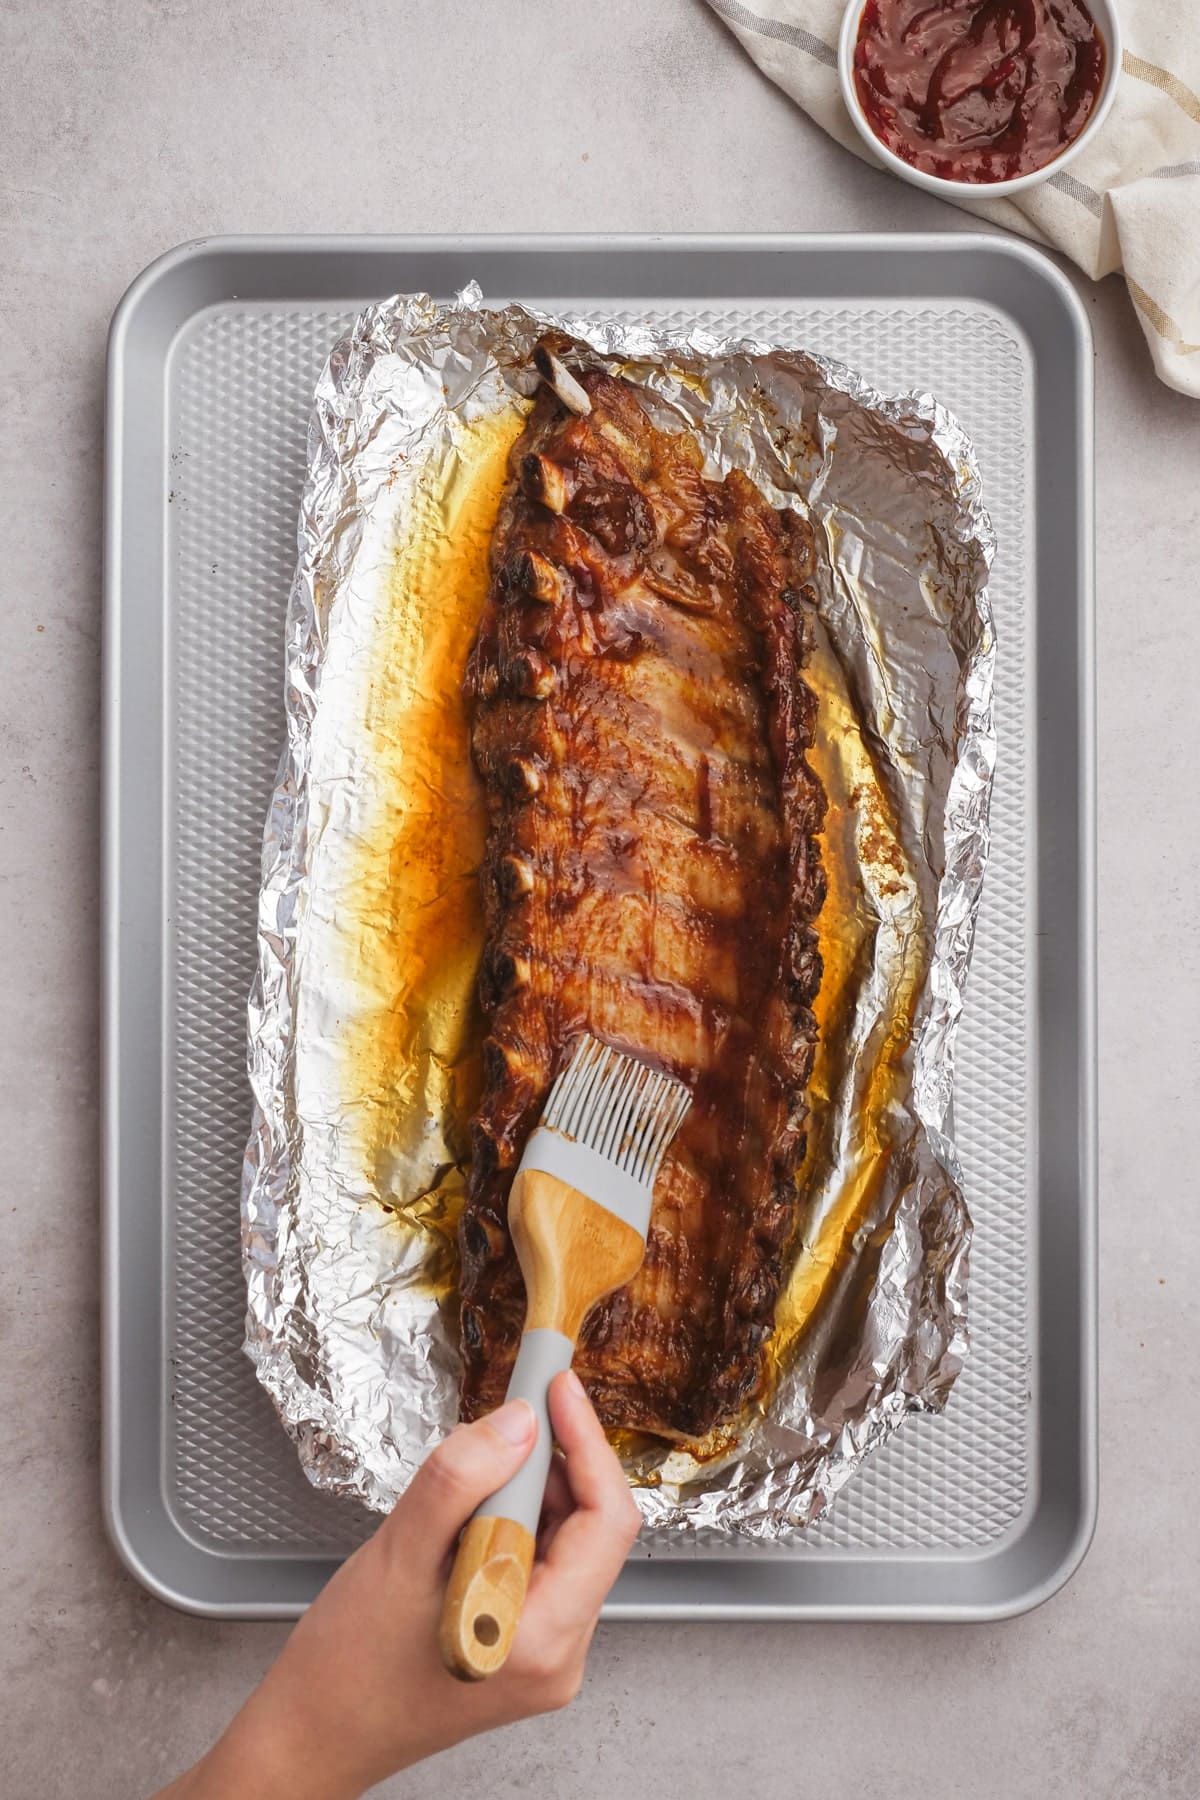
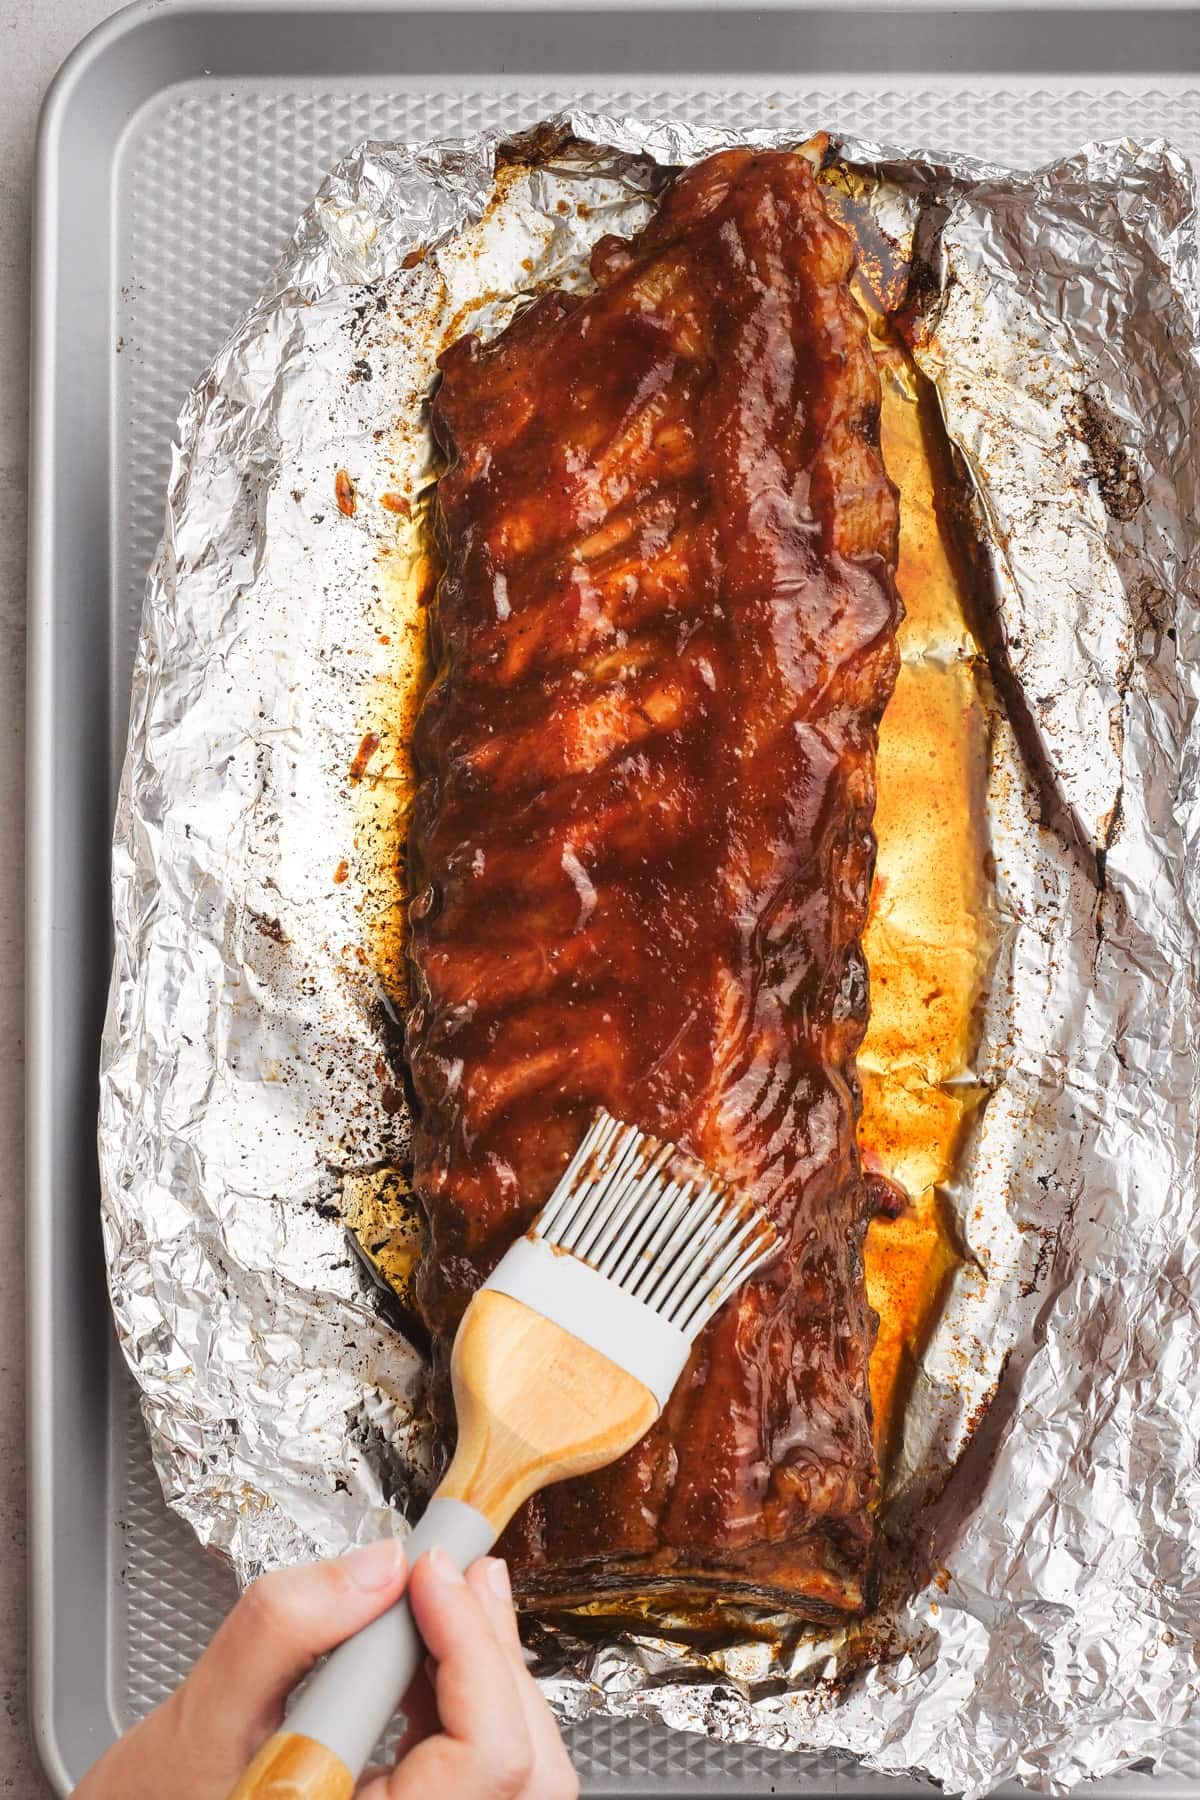
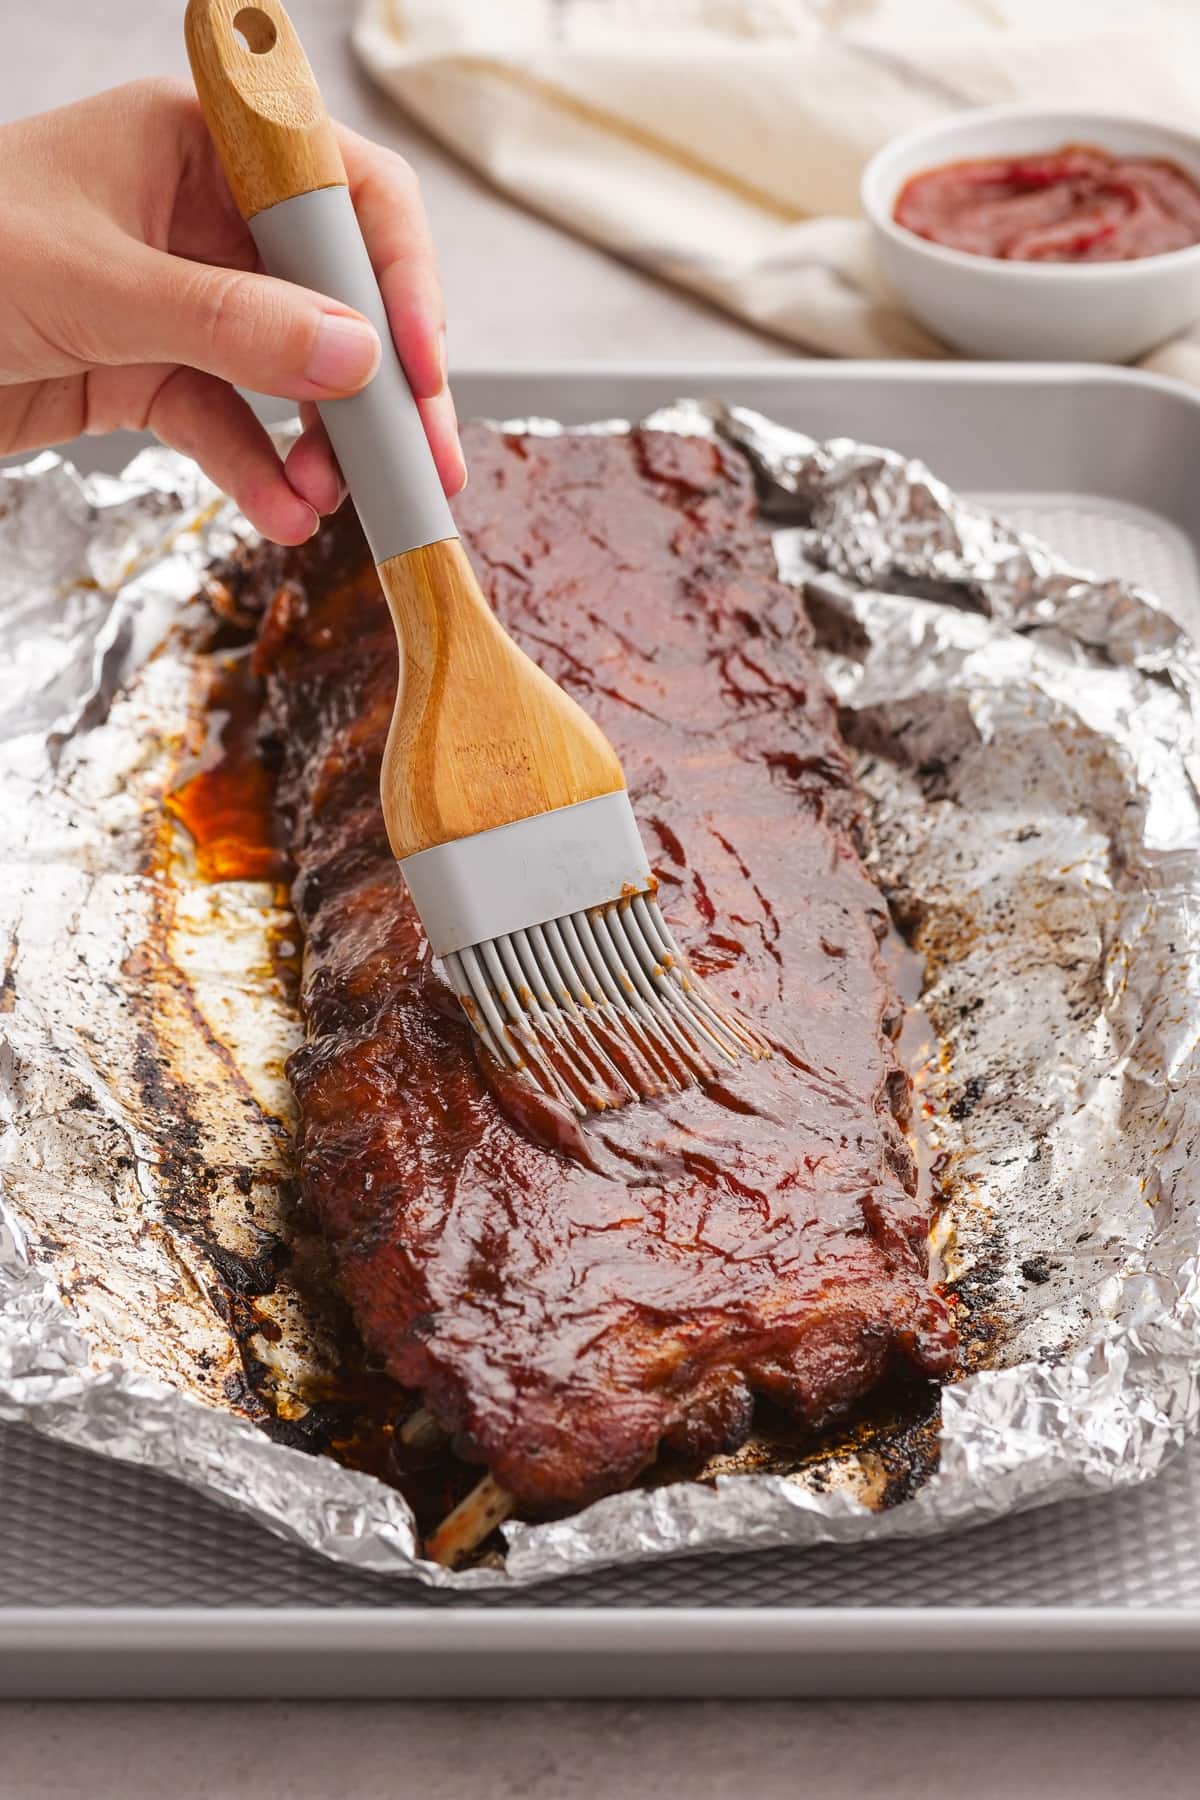
Remove the foil, brush one side with BBQ sauce, and broil for 2 to 3 minutes until it starts to brown. Flip, baste again, and broil the other side.
Step 6: Slice + Serve
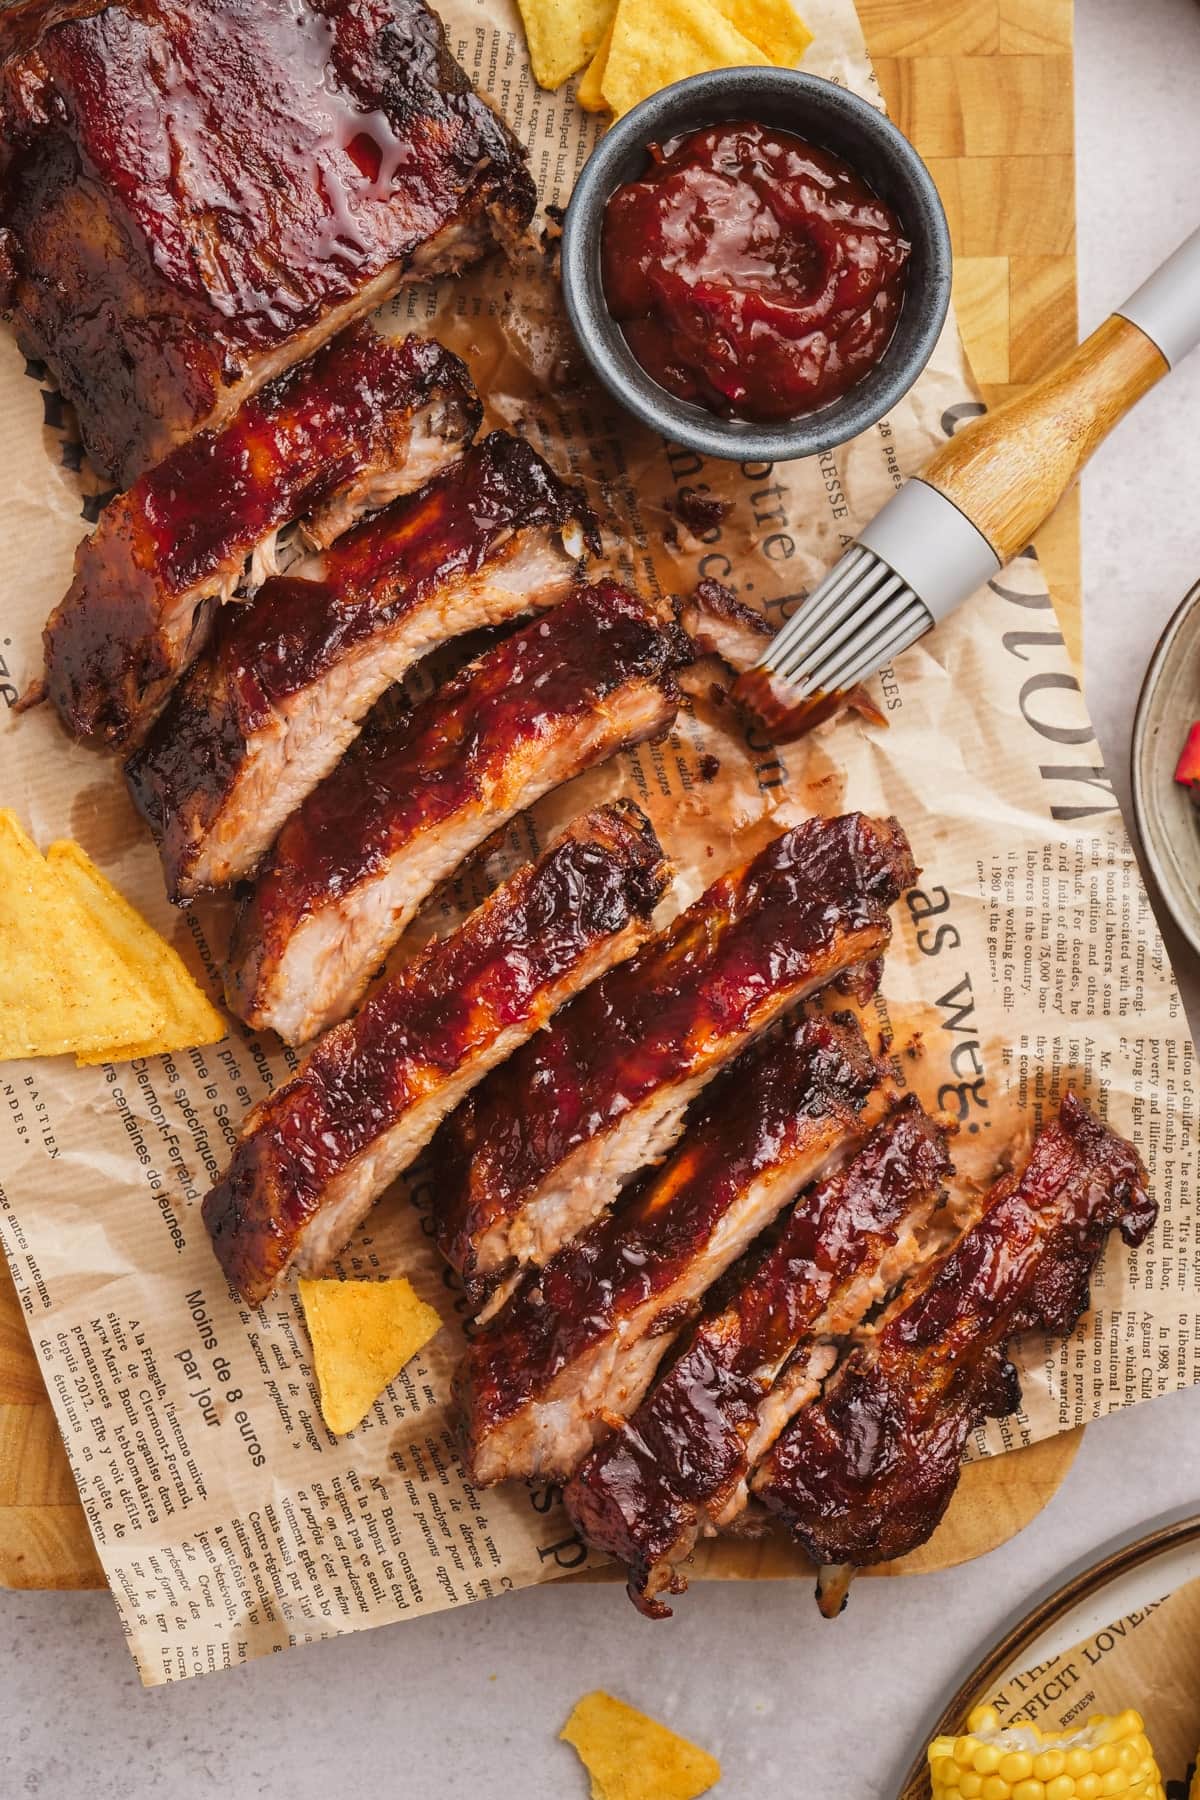
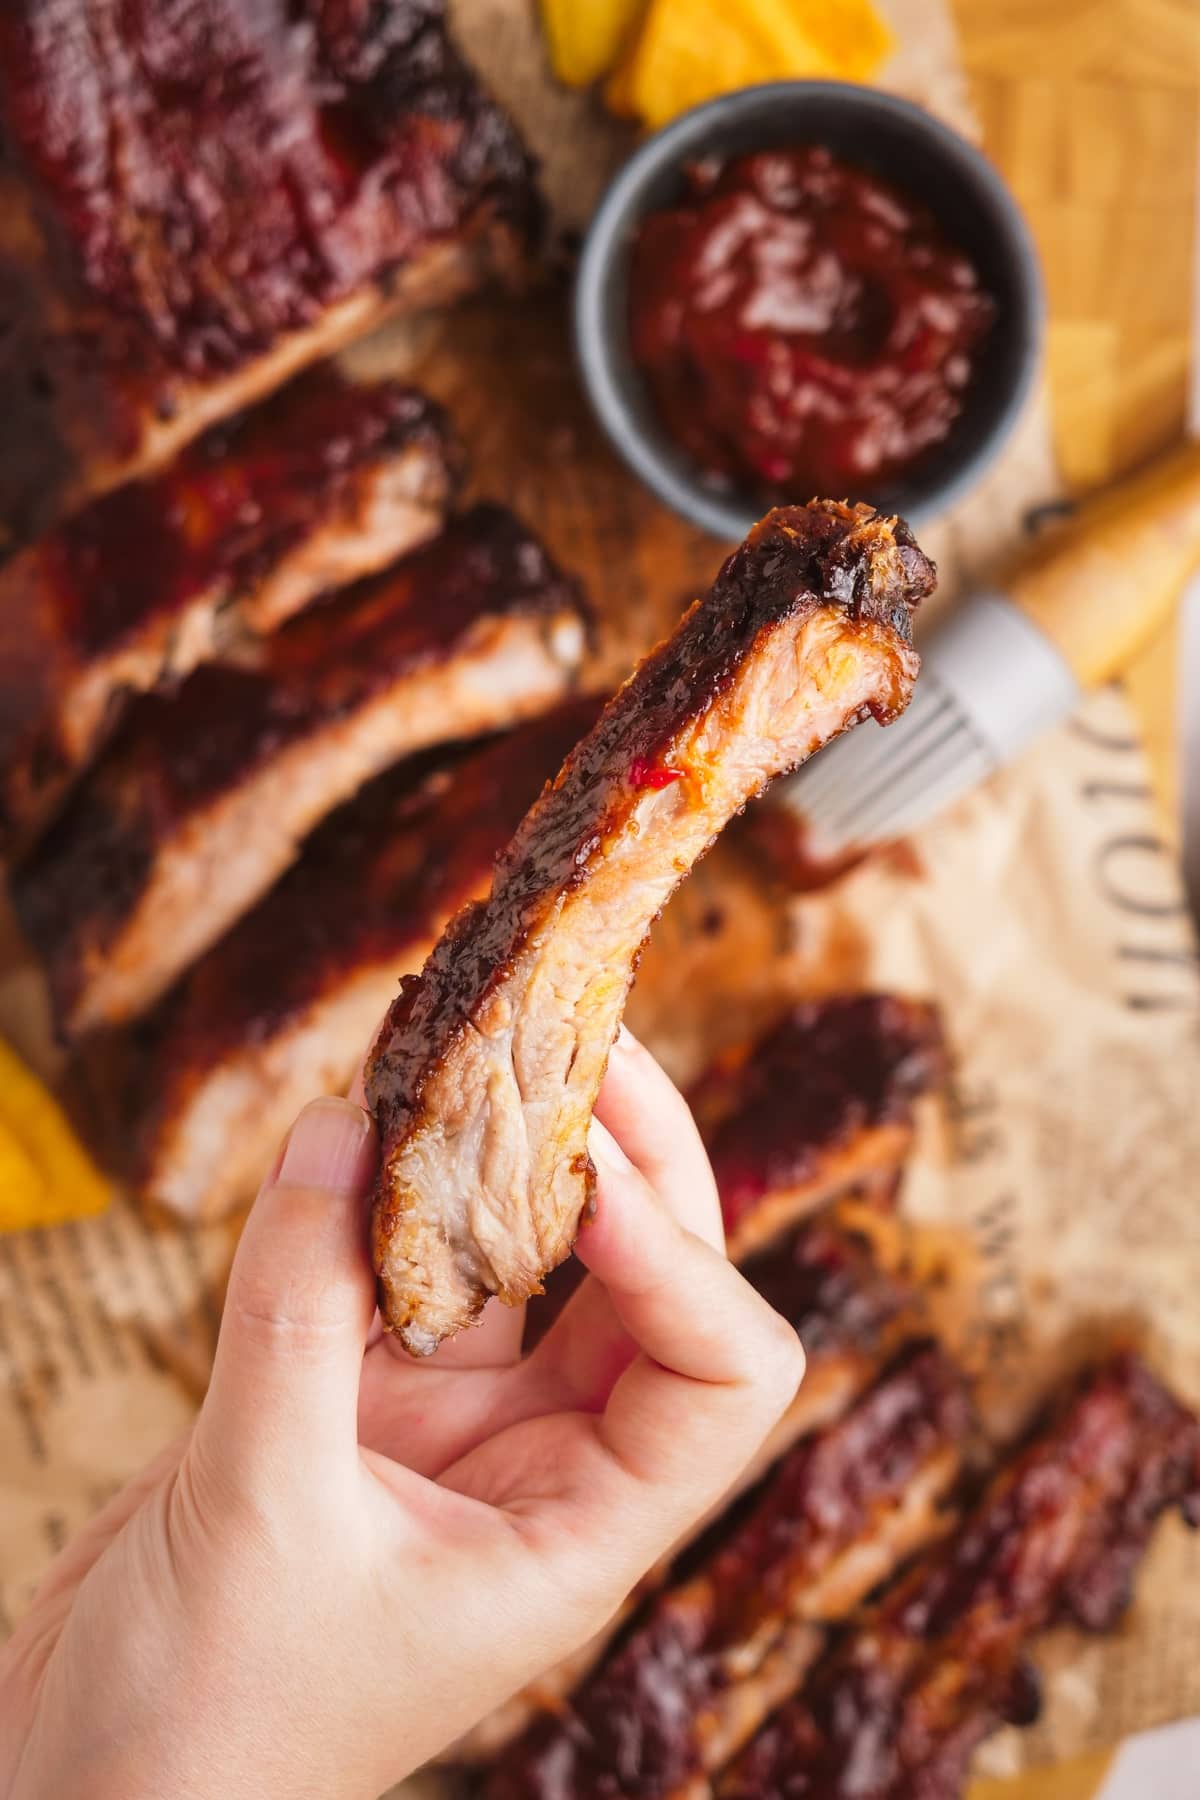
Brush on a little extra BBQ sauce, slice into pieces, and serve right away.
Tools You’ll Need
You only need a few basic kitchen tools to make these oven baked ribs. These picks make prep easier, help the ribs cook evenly, and keep cleanup simple.
- Baking sheet – gives the ribs plenty of room to cook evenly without overcrowding.
- Aluminum foil – helps seal in moisture while baking and makes cleanup much easier.
- Kitchen shears – make it easy to trim the ribs or cut them into smaller sections.
- Silicone brush – spreads barbecue sauce evenly over the ribs for a flavorful coating.
Tips for Success
A few simple tips can help you get tender, flavorful ribs with a sticky, caramelized finish. Keep these pointers in mind as you prep and bake for the best results.
- Use heavy-duty foil: Choose heavy-duty aluminum foil when wrapping the ribs, as it is less likely to tear or leak during baking. For extra protection, you can double-wrap the ribs to help keep the juices contained and prevent the cooking liquid from escaping.
- Bake low and slow: Cooking the ribs at a lower temperature for a longer time gives the connective tissue time to break down, resulting in ribs that are tender and easy to pull apart. Keep the ribs covered while they bake, so they stay moist throughout the cooking process.
- Let the ribs rest: Once the ribs come out of the oven, give them a few minutes to rest before slicing. This allows the juices to settle back into the meat and makes the ribs easier to cut and serve without losing as much moisture.
- Don’t skip the broiling step: After baking, brush the ribs with barbecue sauce and broil for 2 to 5 minutes until the sauce caramelizes. Watch closely to prevent burning.
- Line your pan well: Line your baking sheet with foil before adding the ribs to make cleanup much easier. The foil catches the cooking juices and sauce that can otherwise bake onto the pan, so you can simply remove the foil and give the baking sheet a quick wash.
What to Serve with Oven Baked Ribs
Now that you have meaty heaven waiting to be made, consider also making one of these tasty and refreshing side dishes!
- Corn Avocado Basil Salad – A fresh mix of sweet corn, creamy avocado, and fragrant basil tossed in a light, tangy dressing.
- Tangy Baked Beans – Slow-cooked and saucy with a bold, sweet-tangy flavor that pairs perfectly with any BBQ meal.
- Mexican Street Corn – Charred corn coated in creamy sauce, cotija cheese, and a squeeze of lime for that authentic street corn flavor.
- Classic Coleslaw with Homemade Coleslaw Dressing – Crisp cabbage and carrots tossed in a creamy, slightly sweet dressing that’s anything but boring.
- Cucumber Salad – Cool, crunchy cucumbers in a simple tangy-sweet vinaigrette that tastes like summer in a bowl.
- Oven Roasted Asparagus – Tender, lightly crisp asparagus spears roasted to perfection with olive oil and a sprinkle of salt.
Storing and Reheating Leftovers
Keep leftover ribs tender and flavorful with these simple storage and reheating tips.
To Store: Let the ribs cool, then place them in an airtight container or wrap them tightly in aluminum foil. Refrigerate for up to 3 to 4 days.
To Freeze: Wrap the ribs tightly in aluminum foil, then place them in a freezer-safe bag or container. Freeze for up to 2 to 3 months and thaw overnight in the refrigerator before reheating.
To Reheat: Wrap the ribs in foil and warm them in a 300°F oven until heated through, about 20 to 30 minutes. Brush with extra barbecue sauce before reheating to help keep them moist, and broil briefly at the end for a sticky finish.
FAQs
Do I have to remove the silverskin membrane on ribs?
The silverskin membrane is a tough layer on the bone side of your ribs. Removing it allows the flavors to better penetrate the meat and also makes the ribs more tender, so I definitely recommend taking the time to do this.
Do I have to wrap ribs in aluminum foil?
Wrapping ribs in aluminum foil helps trap the moisture in, resulting in a more tender final product. It also speeds up the cooking process a bit without affecting the tenderness and flavor. Bonus: it makes clean up a breeze!
What is the difference between baby back ribs and spare ribs?
Baby back ribs are from the top of the ribcage, near the backbone. They are smaller, leaner, and more tender with a delicate flavor. Spare Ribs come from the lower belly section of the ribcage, are larger, meatier, and have a stronger taste due to their higher fat content.
How do I reheat ribs without drying them out?
While you might be tempted to microwave your leftover ribs, if you can be patient, I highly recommend reheating them in the oven. Wrap your ribs in aluminum foil and bake at 300° F for about 20 minutes.
Variations
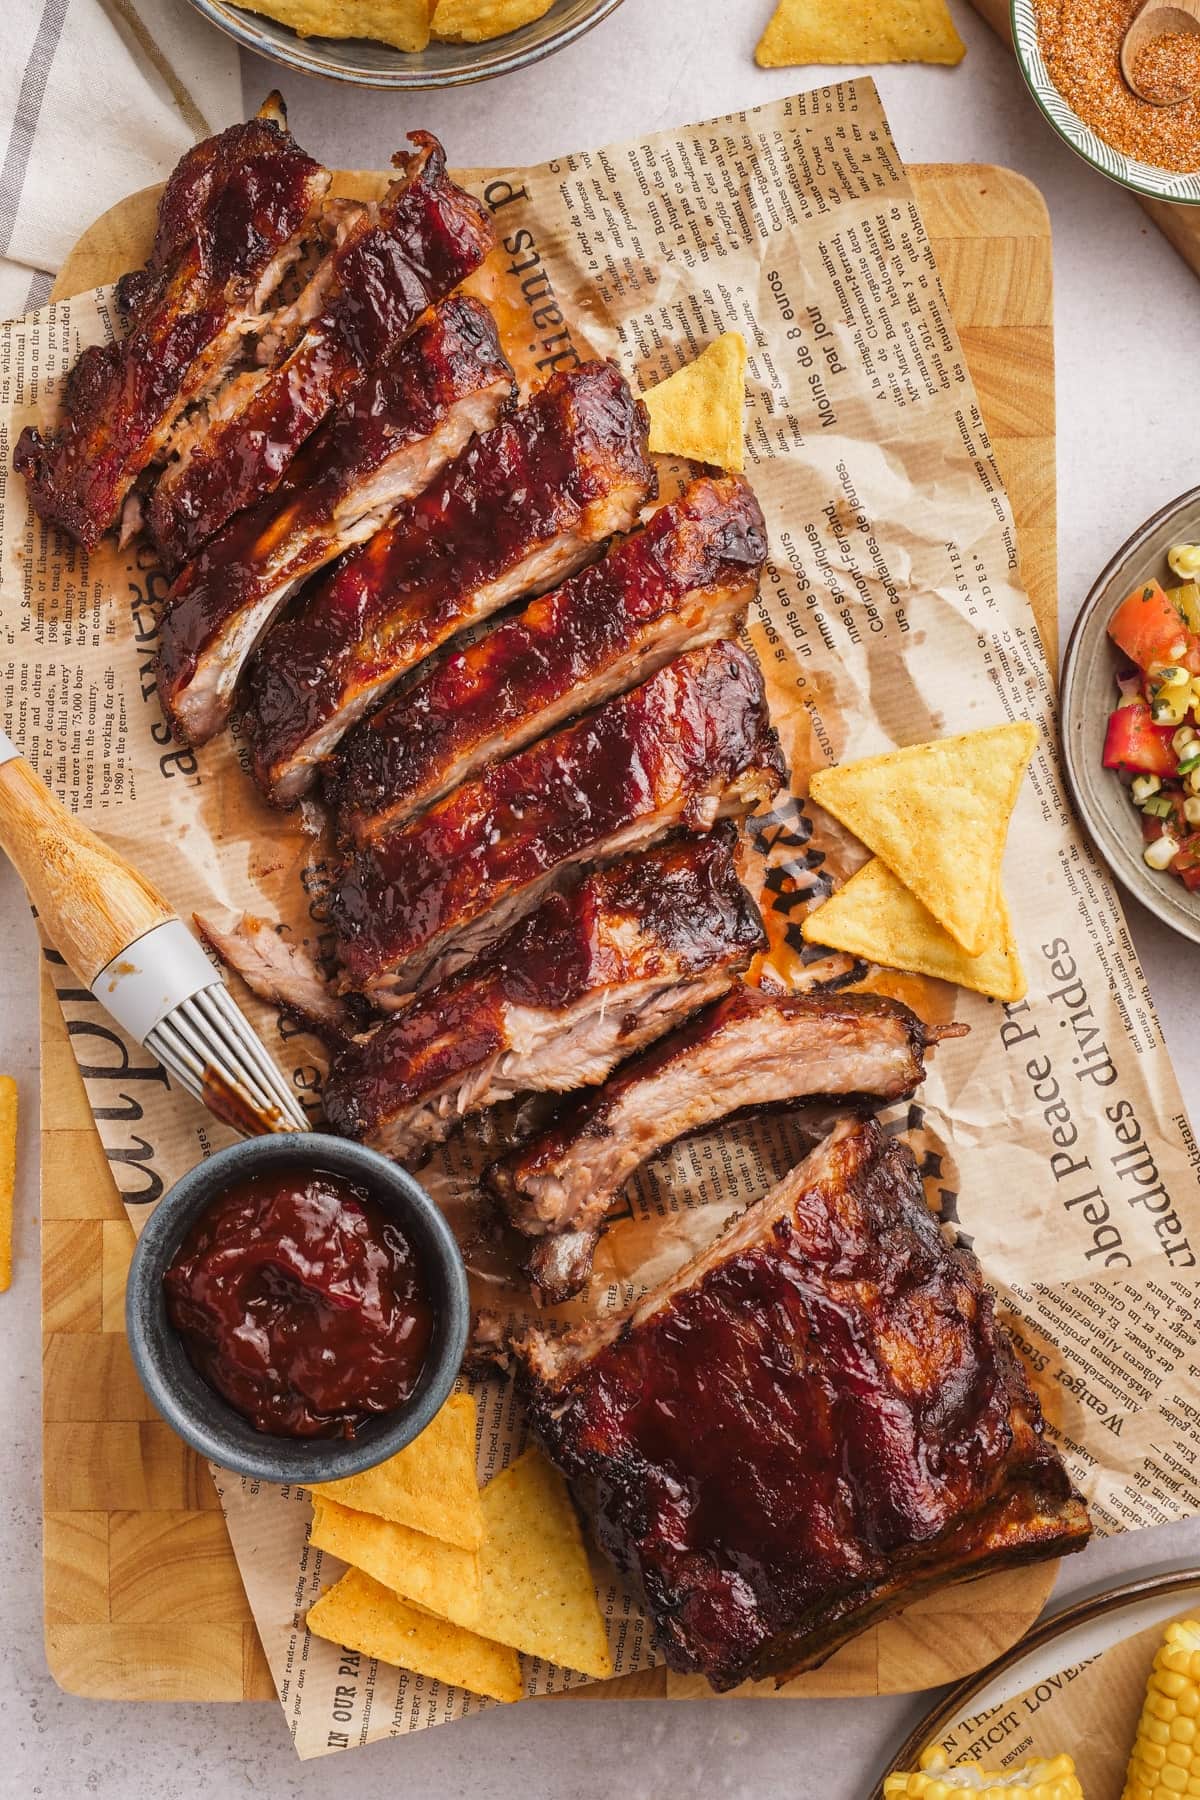
There are plenty of easy ways to switch up these oven baked ribs depending on the flavor you want. Try one of these simple ideas the next time you make them.
- Spicy Ribs: Add cayenne pepper, chili powder, or your favorite hot sauce to the seasoning or barbecue sauce for extra heat.
- Honey BBQ Ribs: Mix a little honey into the barbecue sauce before brushing it over the ribs for a sweeter, sticky finish.
- Garlic Herb Ribs: Add extra garlic powder, dried oregano, and Italian seasoning to the dry rub for a savory herb flavor.
- Smoky Ribs: Use a smoky barbecue sauce or add smoked paprika to the seasoning blend for deeper barbecue flavor.
- Brown Sugar Ribs: Add extra brown sugar to the dry rub for a sweeter crust that caramelizes nicely under the broiler.
More Recipes to Try
- Balsamic Grilled Chicken
- Slow Cooker Pulled Pork
- Homemade Dinner Rolls
- Kale Salad with White Balsamic Dressing
- Chicken Cordon Bleu Sandwich
Finger-lickin-good. If you need a fab recipe for baking baby back ribs in the oven that is full of flavor and happens to be ridiculously easy, I’ve gotcha covered. Here’s the printable recipe card. Enjoy, friends!

Easy Oven Baked Ribs
Oven Baked Ribs…the simplest recipe and method for baking pork baby back ribs in the oven. Only 3 ingredients needed! Finger licking good!
Ingredients
- 1 rack pork baby back ribs
- 3-4 tablespoons grill seasoning such as McCormick Smokehouse Maple Seasoning
- 1/2 cup BBQ sauce such as Stubbs Original
Instructions
- Preheat oven to 300° F. Line baking sheet with aluminum foil and lightly spray with nonstick cooking spray.
- Lay ribs onto the baking sheet. Score any tough membranes closest to the bony side of the ribs. Rub generously with grill seasoning. Cover with more foil and crimp edges of the bottom piece with the top piece.
- Bake 2-2 1/2 hours or until thoroughly cooked and tender.
- Remove from oven and baste one side of ribs with bbq sauce. Broil 2-3 minutes or until the sauce starts to brown. Flip over, baste the other side and broil again.
- Remove from oven, add more bbq sauce as needed, cut into pieces and serve.
Video
Notes
Storage Instructions
Let leftovers cool completely, then store them in an airtight container in the fridge for up to 4 days. Reheat in the oven at 300° F until warmed through. You can also freeze cooked ribs—wrap them tightly in foil and store for up to 2 months. Thaw in the fridge overnight before reheating.Nutrition
Calories: 305kcalCarbohydrates: 22gProtein: 18gFat: 16gSaturated Fat: 5gCholesterol: 65mgSodium: 572mgPotassium: 371mgSugar: 15gVitamin A: 235IUVitamin C: 0.7mgCalcium: 85mgIron: 2.4mg
Rate This RecipePlease consider Leaving a 5-Star Review!
If you make this recipe, I would really appreciate it if you would give it a star rating and leave your review in the comments! If you have a picture of your finished dish, post it on Instagram using the hashtag #laurenslatest and tag me @laurens_latest.


I am baking my ribs now and I have to say this was a very easy recipe to follow. I never knew to cut the membrane off before. It’s not very easy to do but I done it. They’re smelling pretty good so far and I’m excited to eat them. Thanks for sharing your recipe 5stars 🤩
Thank you so much for the 5 stars! Removing that membrane can definitely be a little tricky, but it’s worth the extra effort. I hope the ribs turned out just as delicious as they smelled. Thanks for trying the recipe!
I’ve made these ribs no less than 10 times and they always turn out fabulous. Thank you so much for this recipe – it’s my go-to recipe for baby back ribs now. I can’t believe that it’s so easy!
I looked at a bunch of St. Louis ribs recipes before selecting this one. It was as advertised…fall off the bone delicious!! The meat was tender but not overdone…not mushy, not stringy.
Each bite was delicious!
My family loved these ribs, and we shall be making them regularly.
Perfect timing my hubby loved it. Thank you so much
Best ever made. Yummy
That’s great to hear Linda! Thank you so much for your 5-star review! 🙂
Should have said cook meat side down
Came out so good. My hubby loved it. Mine was done at the 2hr and 15 min mark. Ribs are kinda expensive here in California but we just had to try it this way. Have to give it a try. You won’t regret it.
Does it have to be baby back ribs?
Making these this weekend for a special dinner. I have just 1 question. Can you prepare the Ribs the night before and put in fridge wraped in foil overnight. Then pull them out of fridge the next day and cook them.
I used my own spices and bbq sauce but the prep and cooking times were perfect for my first time cooking them! They turned out great
I always made ribs in the crockpot. I tried this for something different and haven’t looked back.