You have 0 items in your cart
St. Patrick’s Day Cake Pops
March 10, 2024
Leave a comment!
This post may contain affiliate links. View my privacy policy and disclosure policy for more details.
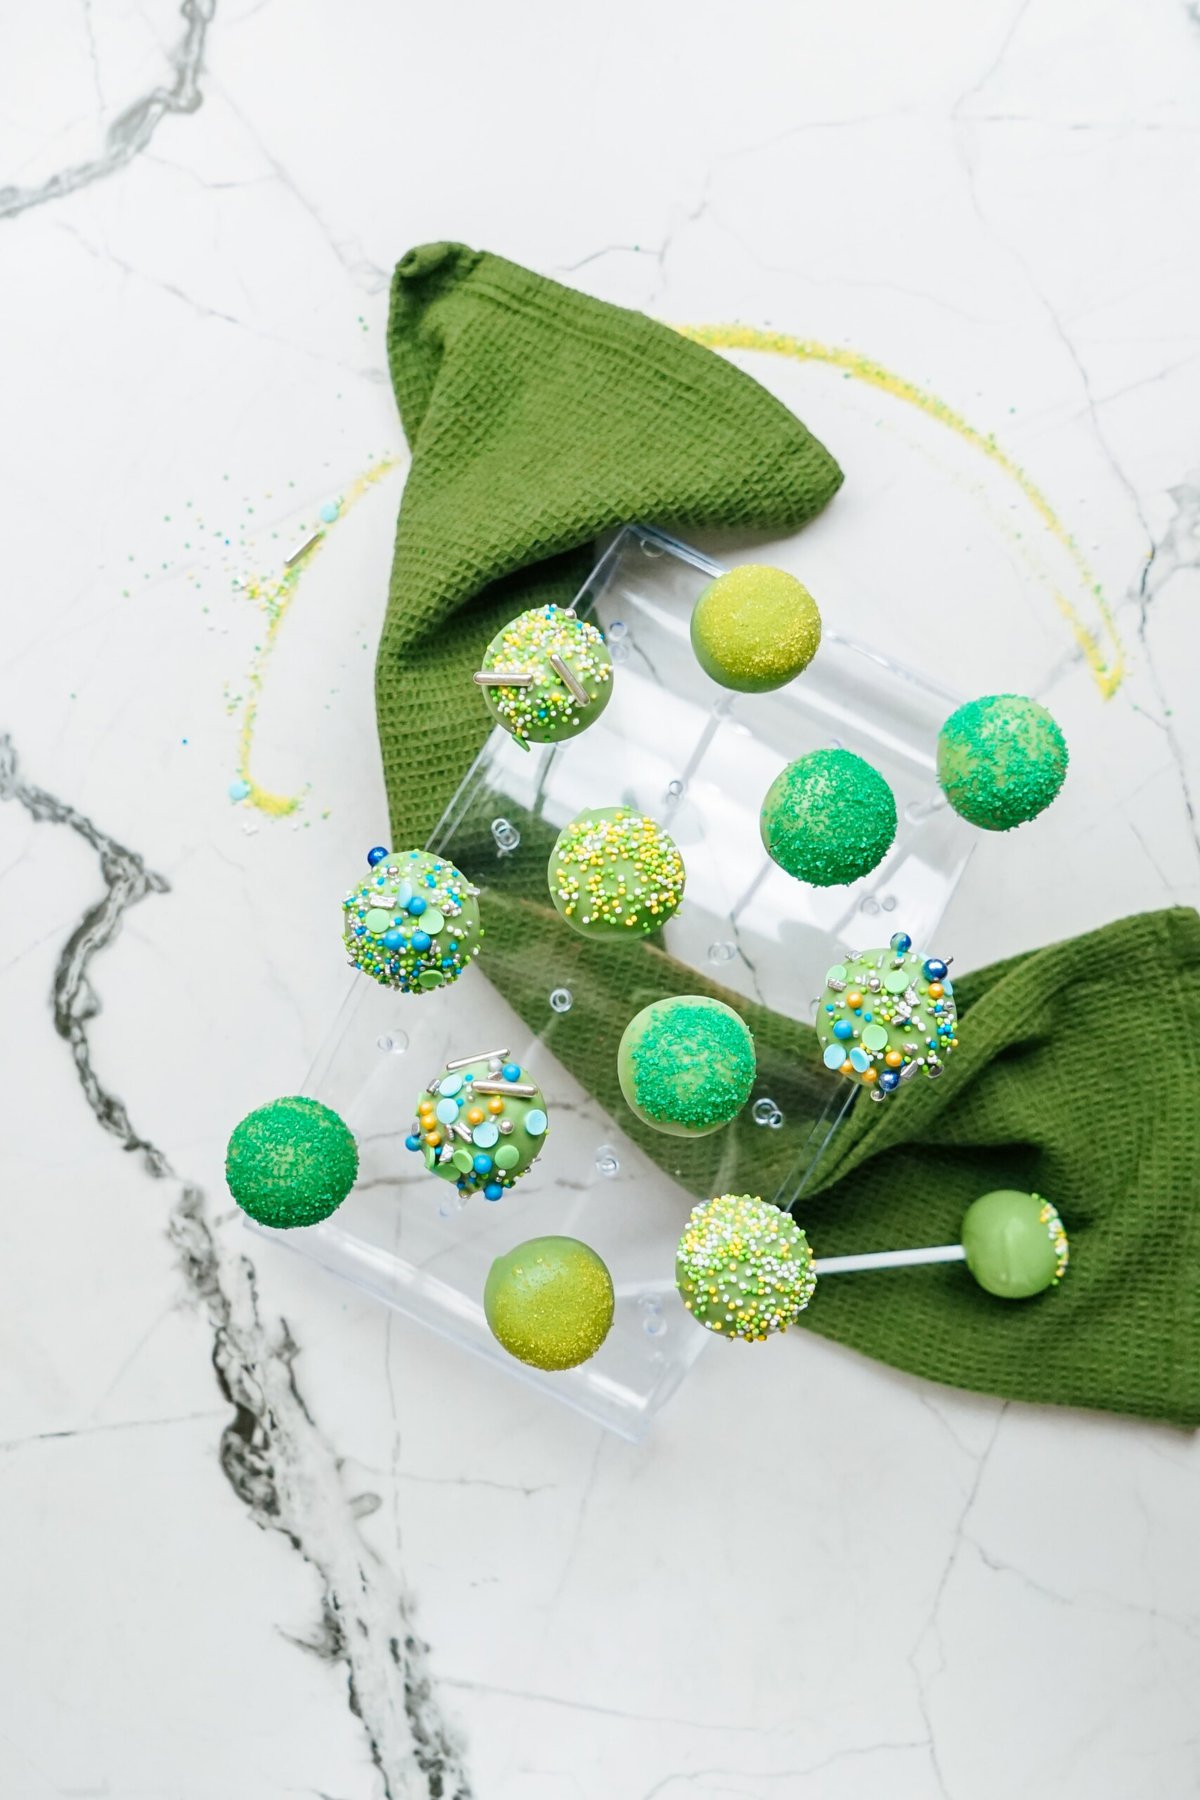
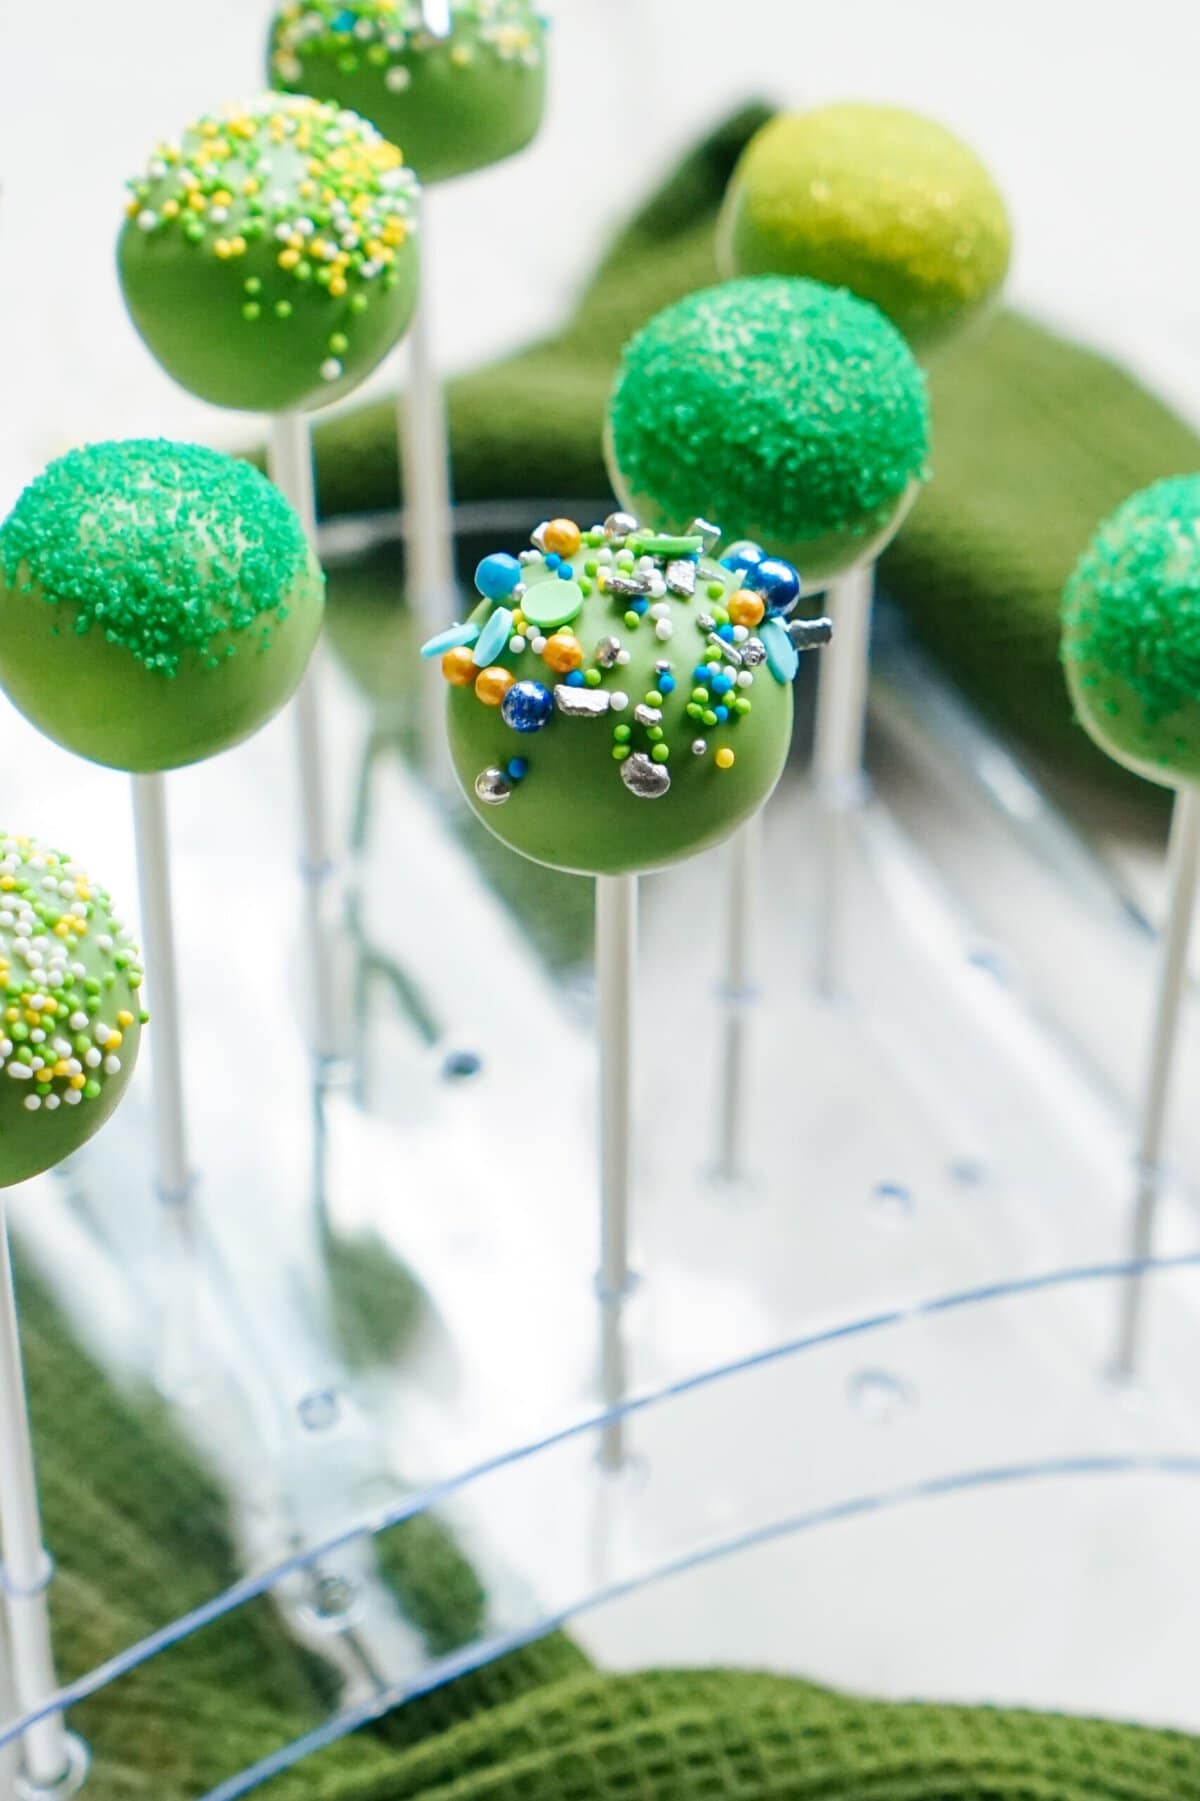
My St. Patrick’s Day Cake Pops bring a touch of Irish luck to your festivities! A decadent chocolate center coated in beautiful emerald green chocolate, then topped with your choice festive decorations. These will be the star of your St. Paddy’s dessert table!

Need another St. Patrick’s Day treat idea? Be sure to try Mint Nanaimo Bars.
Why You’ll Love This St. Patrick’s Day Cake Pops
Celebrate St. Patrick’s Day with these decadent chocolate cake pops! Easy to make with chocolate cake mix and green wafers, they’re the perfect treat for any celebration. These cake balls have an outer layer of hardened sweet chocolate coating with moist chocolate cake and chocolate frosting on the inside.
I make this as simple as possible by using a chocolate boxed cake mix and my homemade chocolate frosting recipe. You can even take more help from the store and use a can of premade frosting if you’d like. Get your kids involved for a fun activity and decorate with different fun green colors of sprinkles, jimmies or sanding sugar! These cute little cake pops take food on a stick to the next level!

Ingredients Needed to Make St. Patty’s Day Cake Pops
- chocolate cake mix– I used a chocolate Betty Crocker boxed cake mix. Feel free to use your favorite cake mix. If you want to make a homemade cake, use my Classic Chocolate Cake.
- large eggs– use room temperature eggs. See the directions on your cake mix for quantity
- frosting– I like to use my chocolate frosting recipe for these. Feel free to use Cream Cheese Frosting or another flavor you love, store-bought or homemade.
- pantry staples– vegetable oil, water
for the decorations
- green chocolate melting wafers– I used green wafers to make green cake pops. Almond bark and green food coloring would also work here.
- St. Patrick’s Day sprinkles and jimmies– green sugar (sanding sugar) is also a good option.
Equipment
- 40 cake pop sticks– these 6″ lollipop sticks are needed to insert into each cake ball.
- cake pop holder– optional, but super helpful while your cake pops are drying.
Variations:
- Swap out chocolate cake mix for white cake mix
- Use cream cheese frosting for a tangy twist
- Experiment with different colored melting wafers for fun variations

How to Make St. Patrick’s Day Cake Pops
Not only are these scrumptious (and slightly addicting) but they’re so pretty and so easy to make. For full recipe details, including ingredient measurements, see the printable recipe card down below. Here are step-by-step instructions for making and assembling cake pops for St. Patrick’s Day.
1. Preheat Oven + Prep Pan
Preheat oven to 350° F (or whatever your cake mix requires). You’ll need a cookie sheet to place all the cake balls on and transfer to the freezer. Line the baking sheet with a piece of parchment paper or waxed paper. Set aside.
2. Make + Bake Chocolate Cake
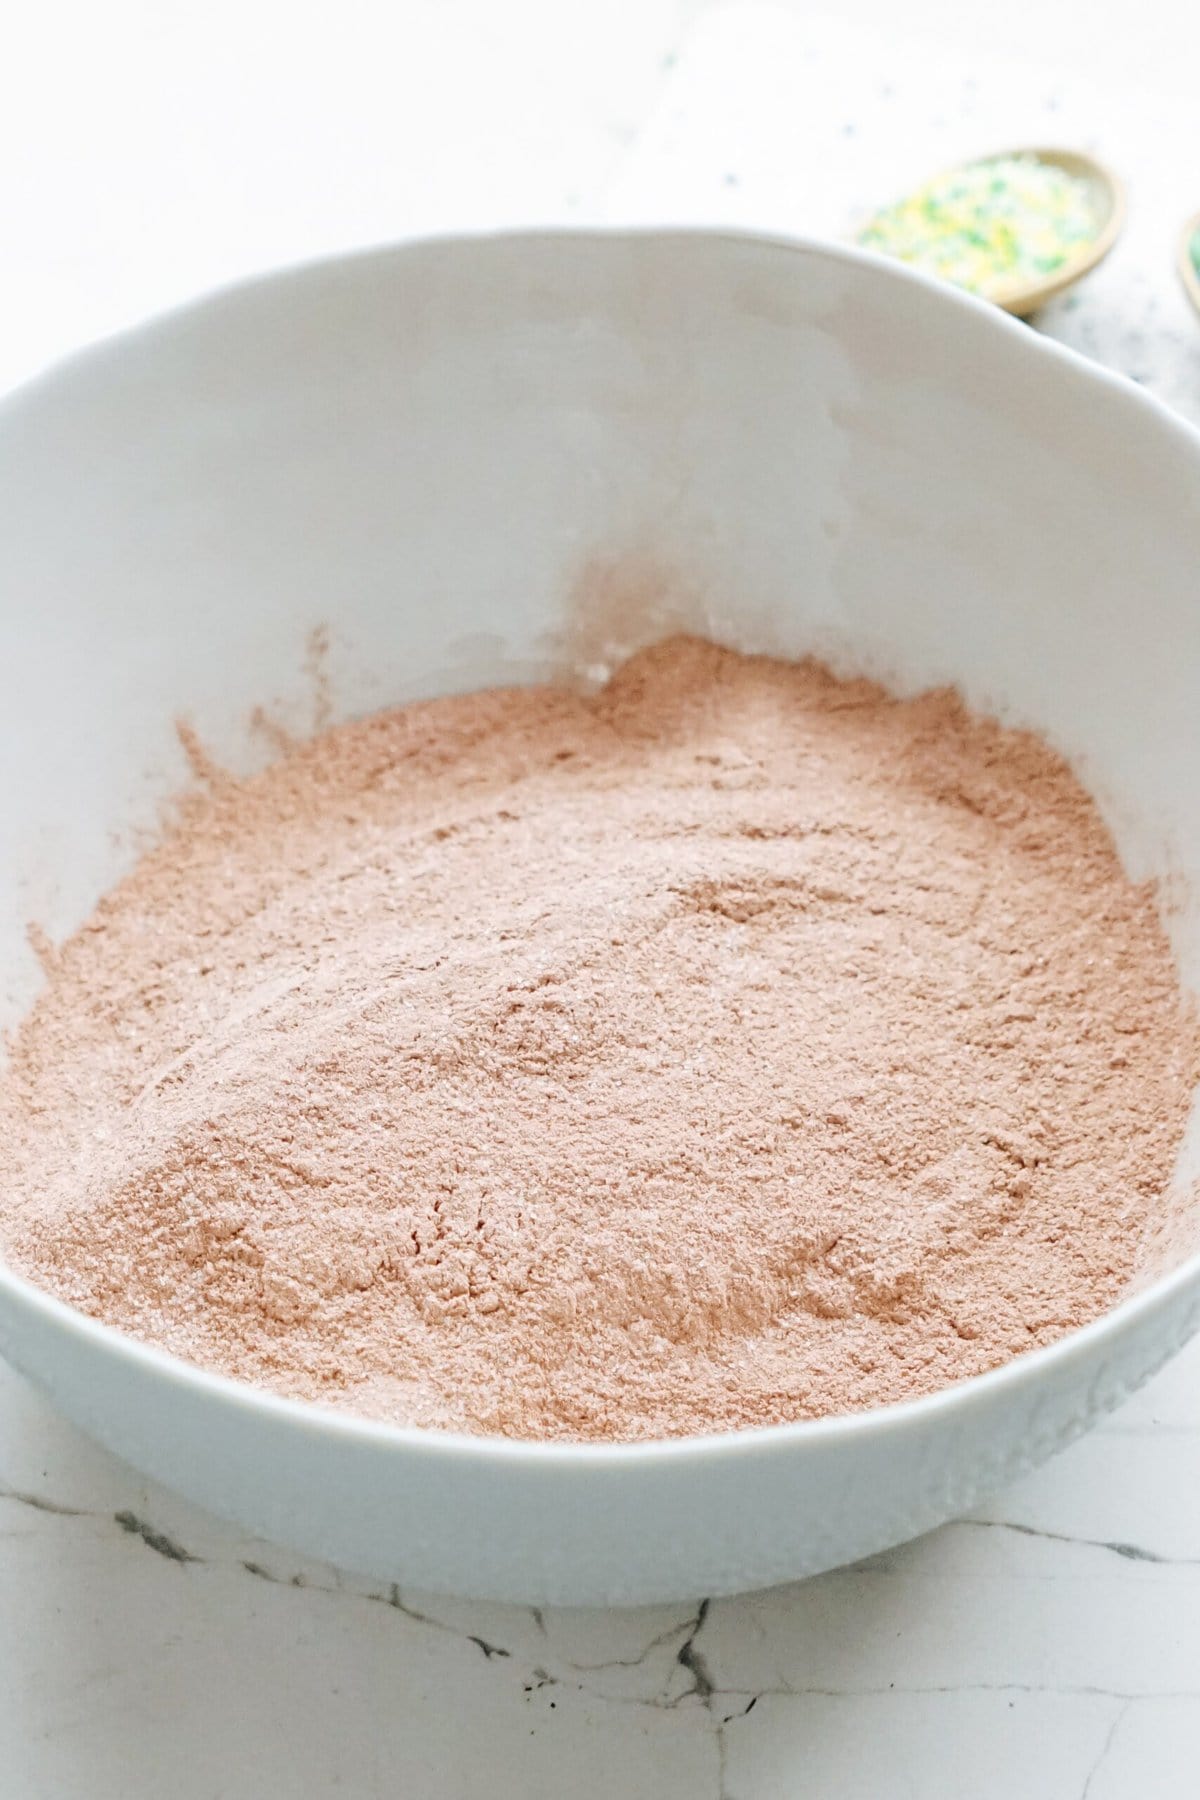
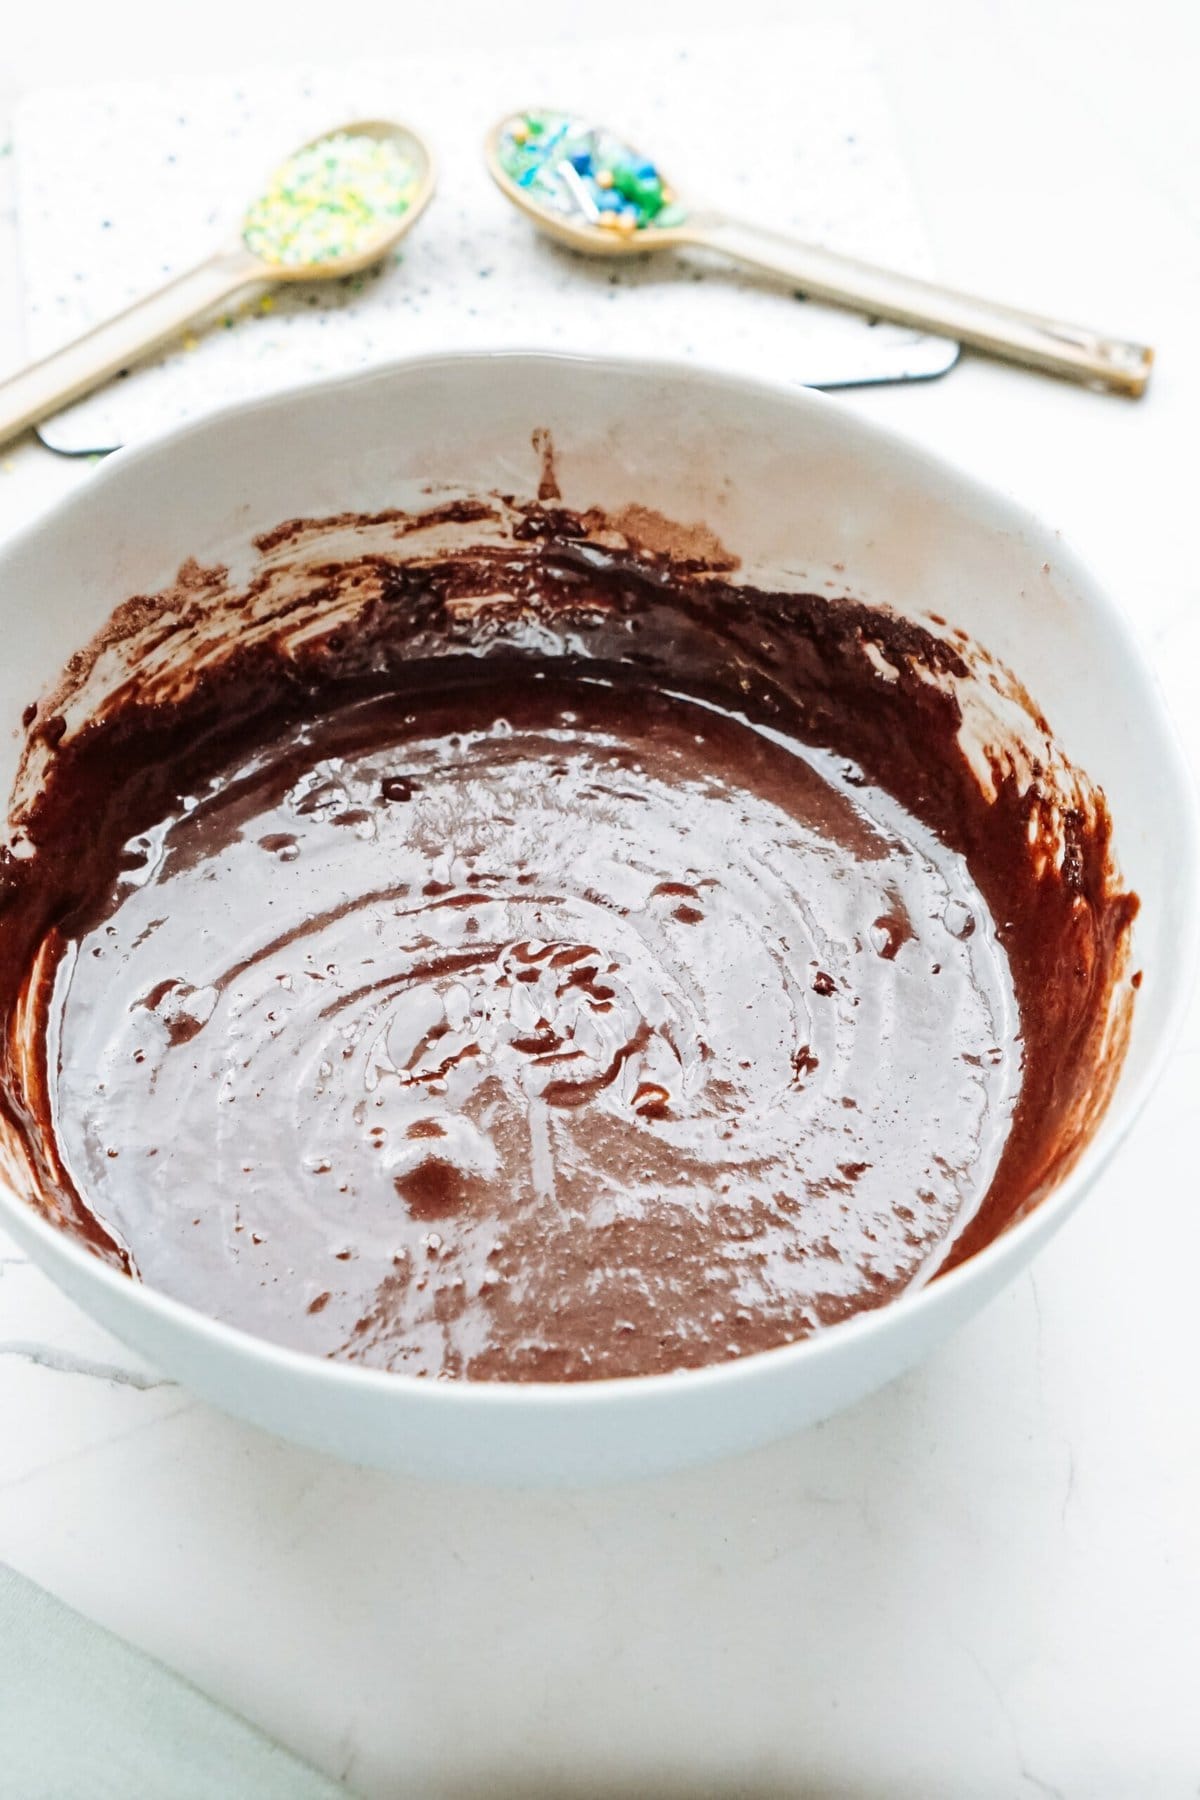
In a large bowl, mix cake mix and other ingredients indicated on the box together. Then bake cake according to package directions. Allow to cool completely. Depending on which brand of cake mix you use, you may need to change the measurements for eggs, oil, and water listed in the recipe card.

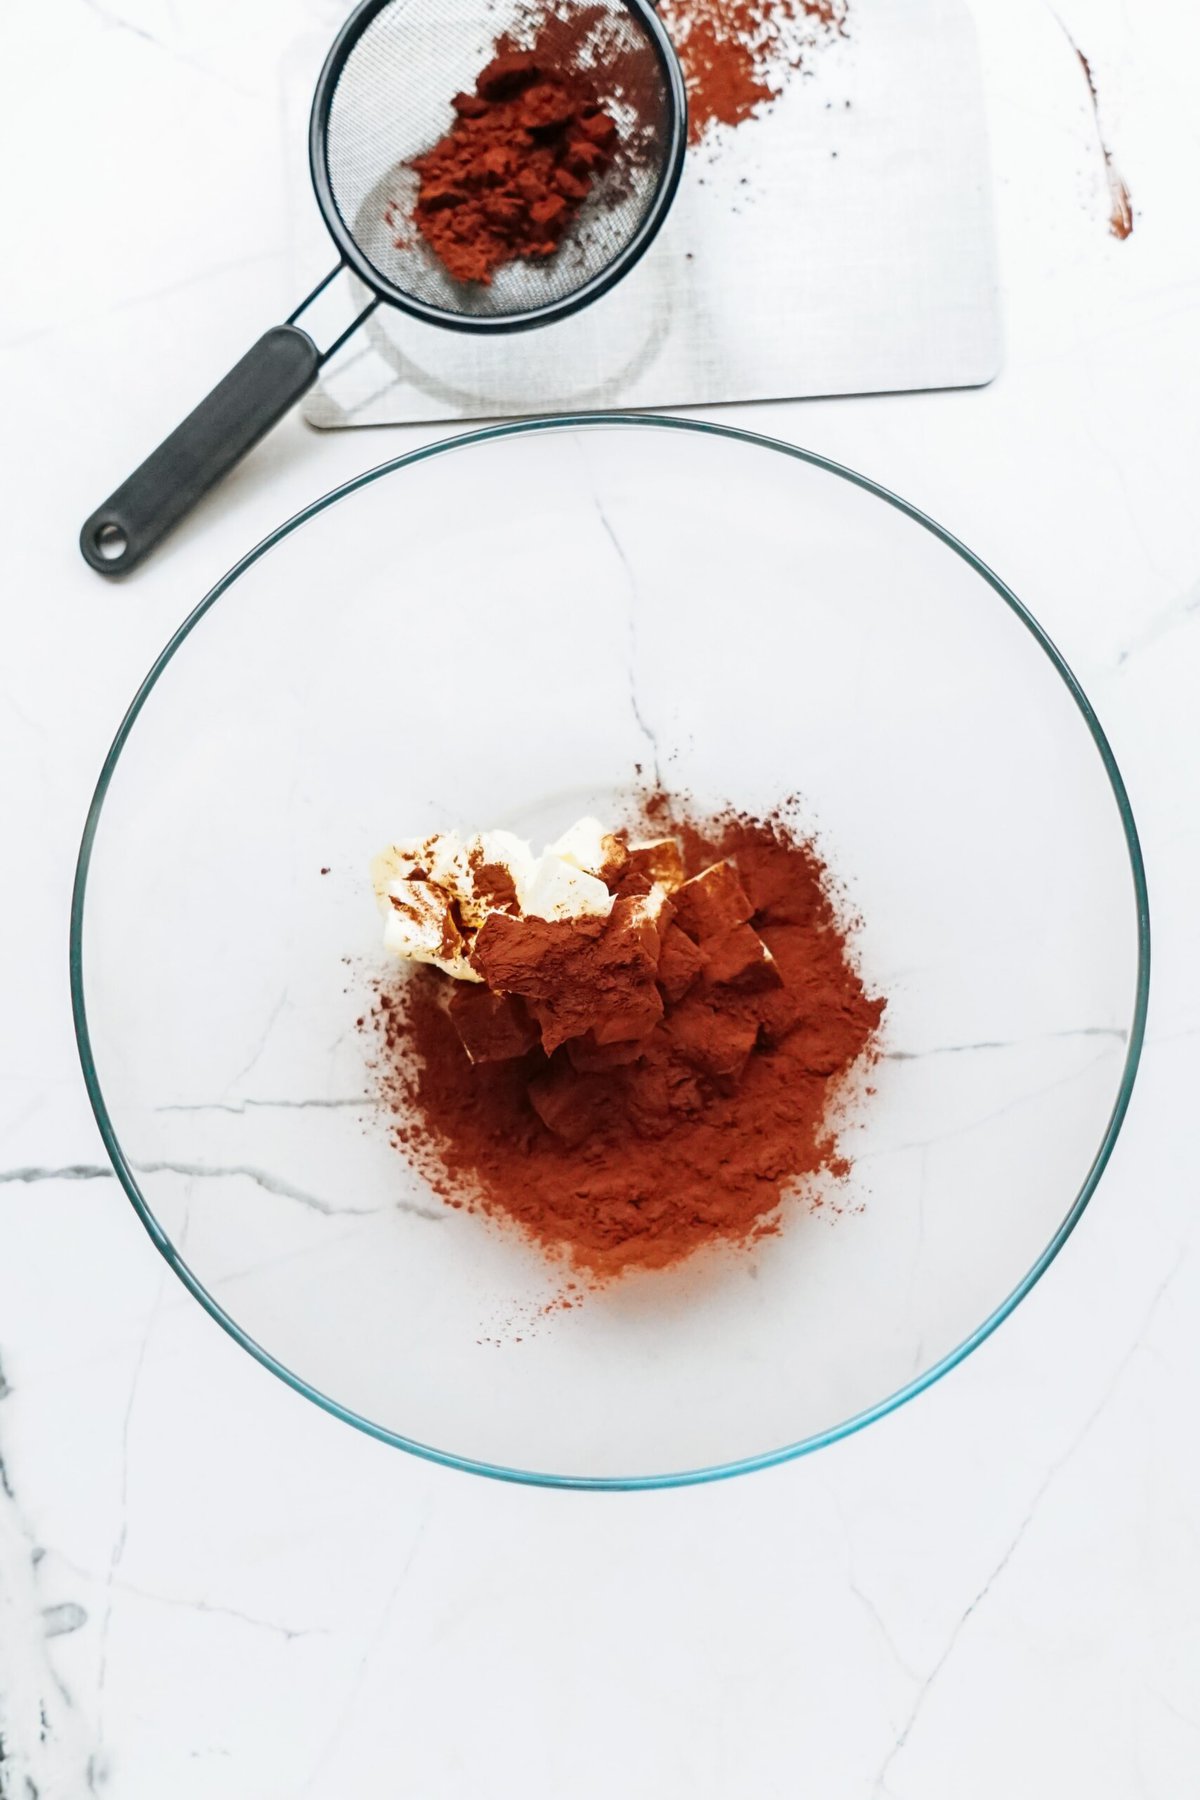
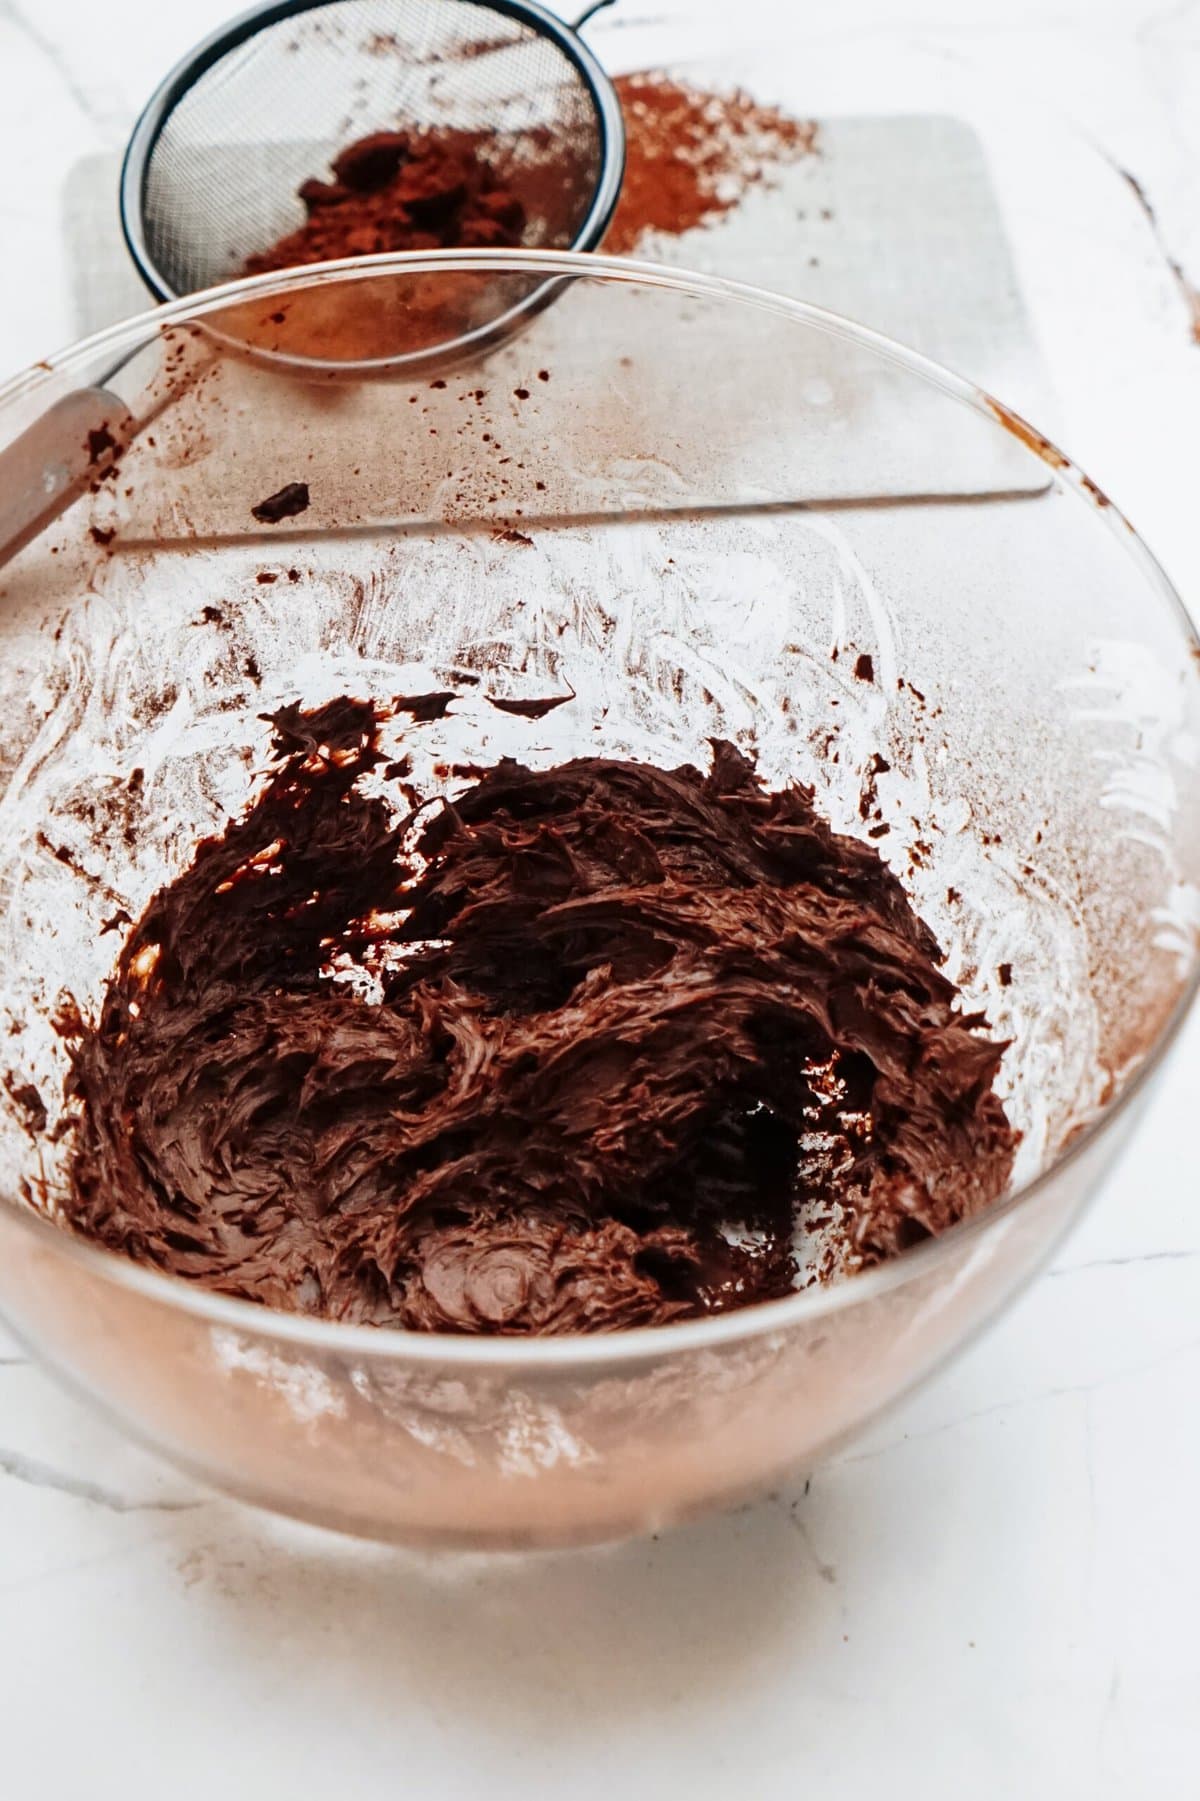
3. Make the Frosting (if using homemade)
While the cake is baking, make the frosting, if you’re making it from scratch. I used my chocolate frosting recipe, but feel free to use another frosting recipe or even store-bought is fine- no judgement here!
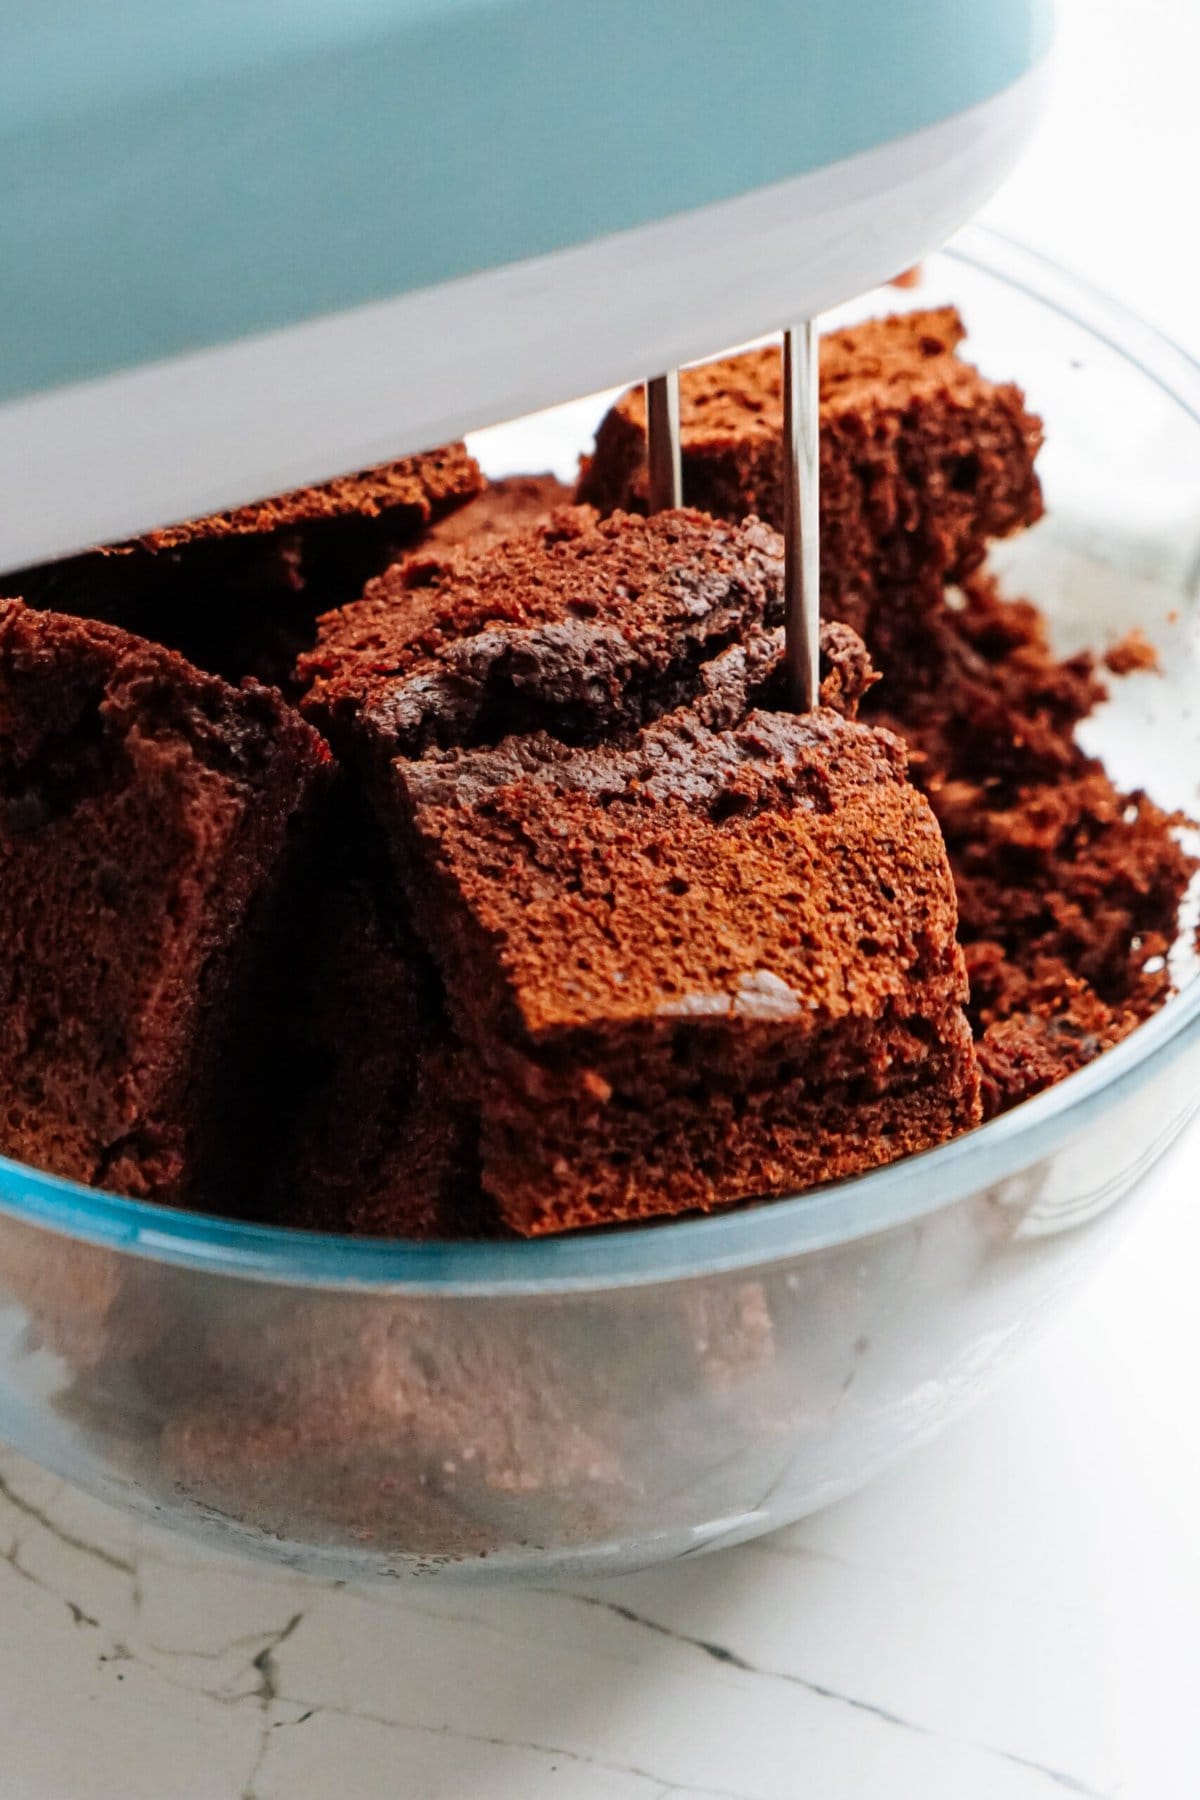
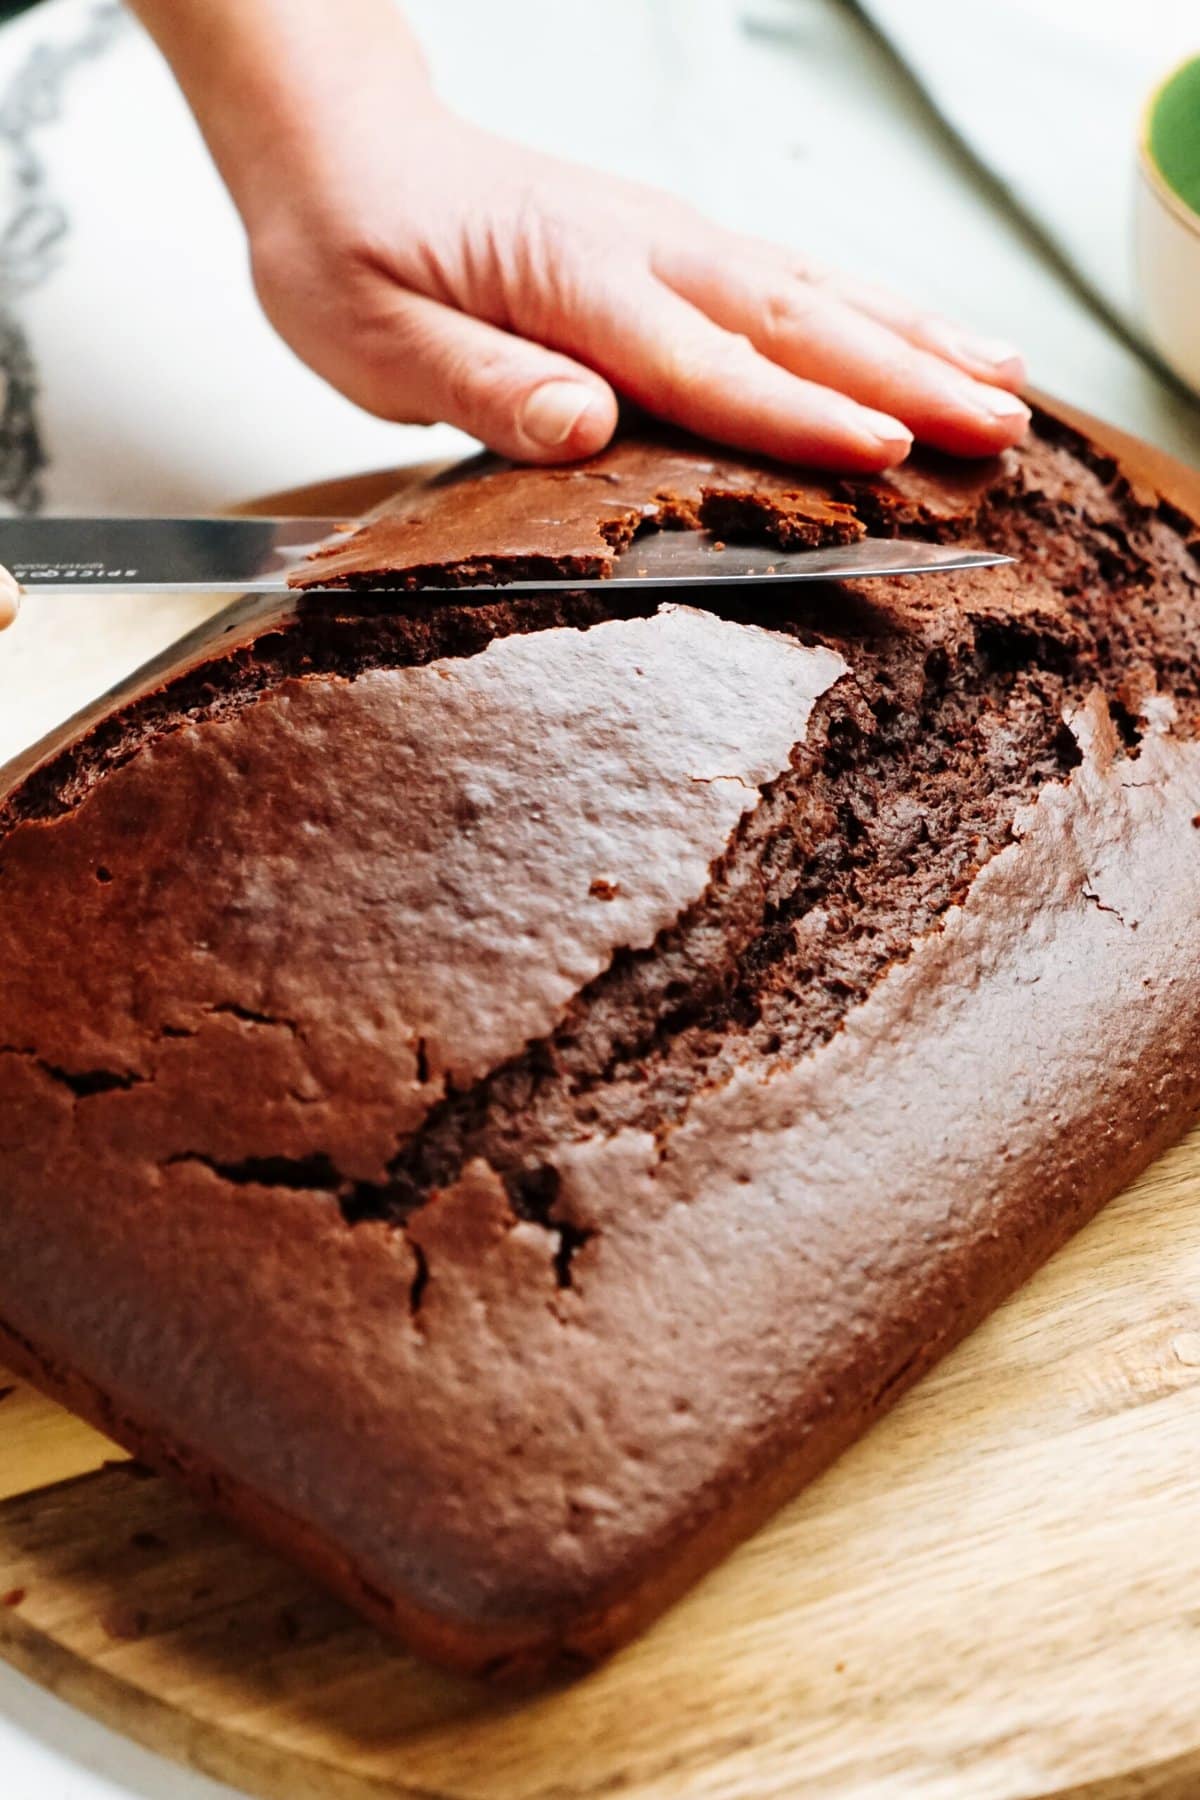
3. Remove Cooled Cake From Pan
Remove cooled cake from the pan and using a large sharp knife, remove the hardened outer layer of cake and discard.
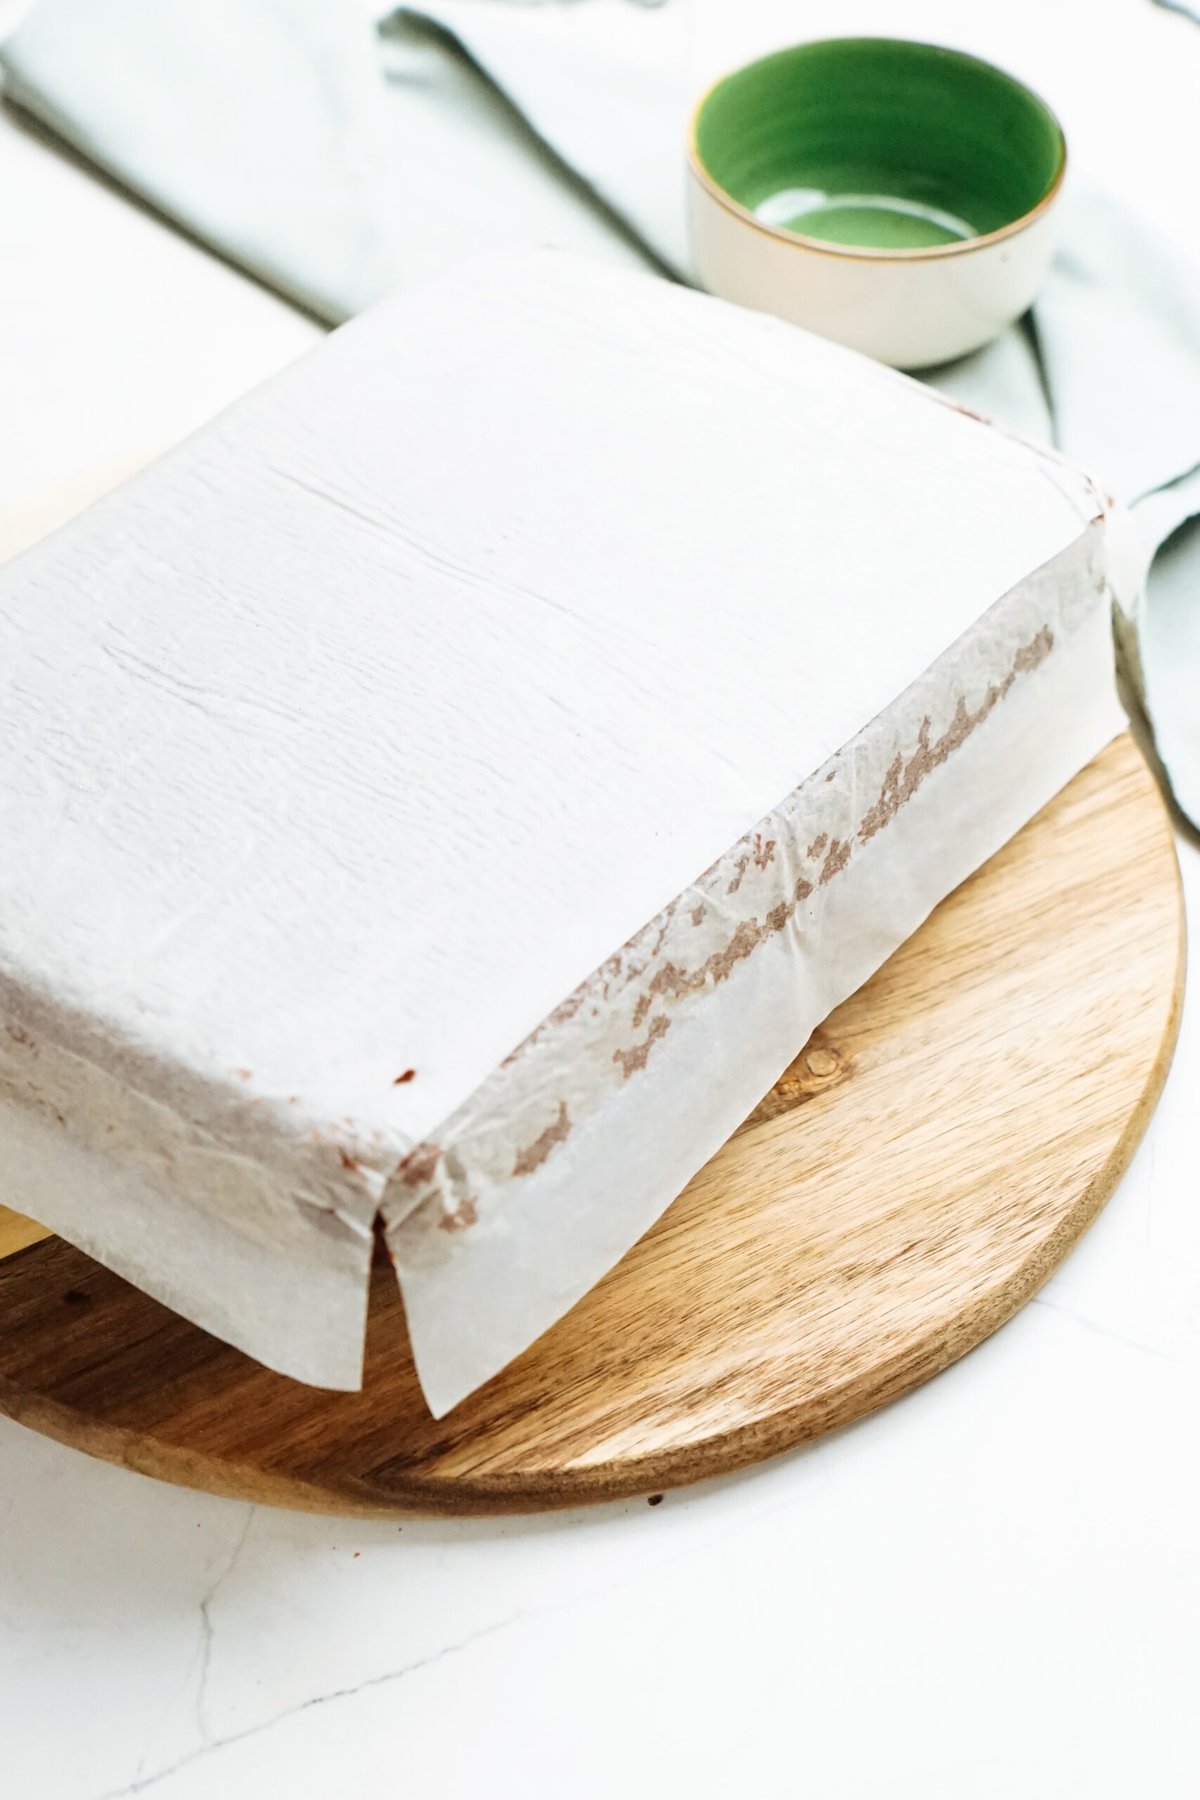
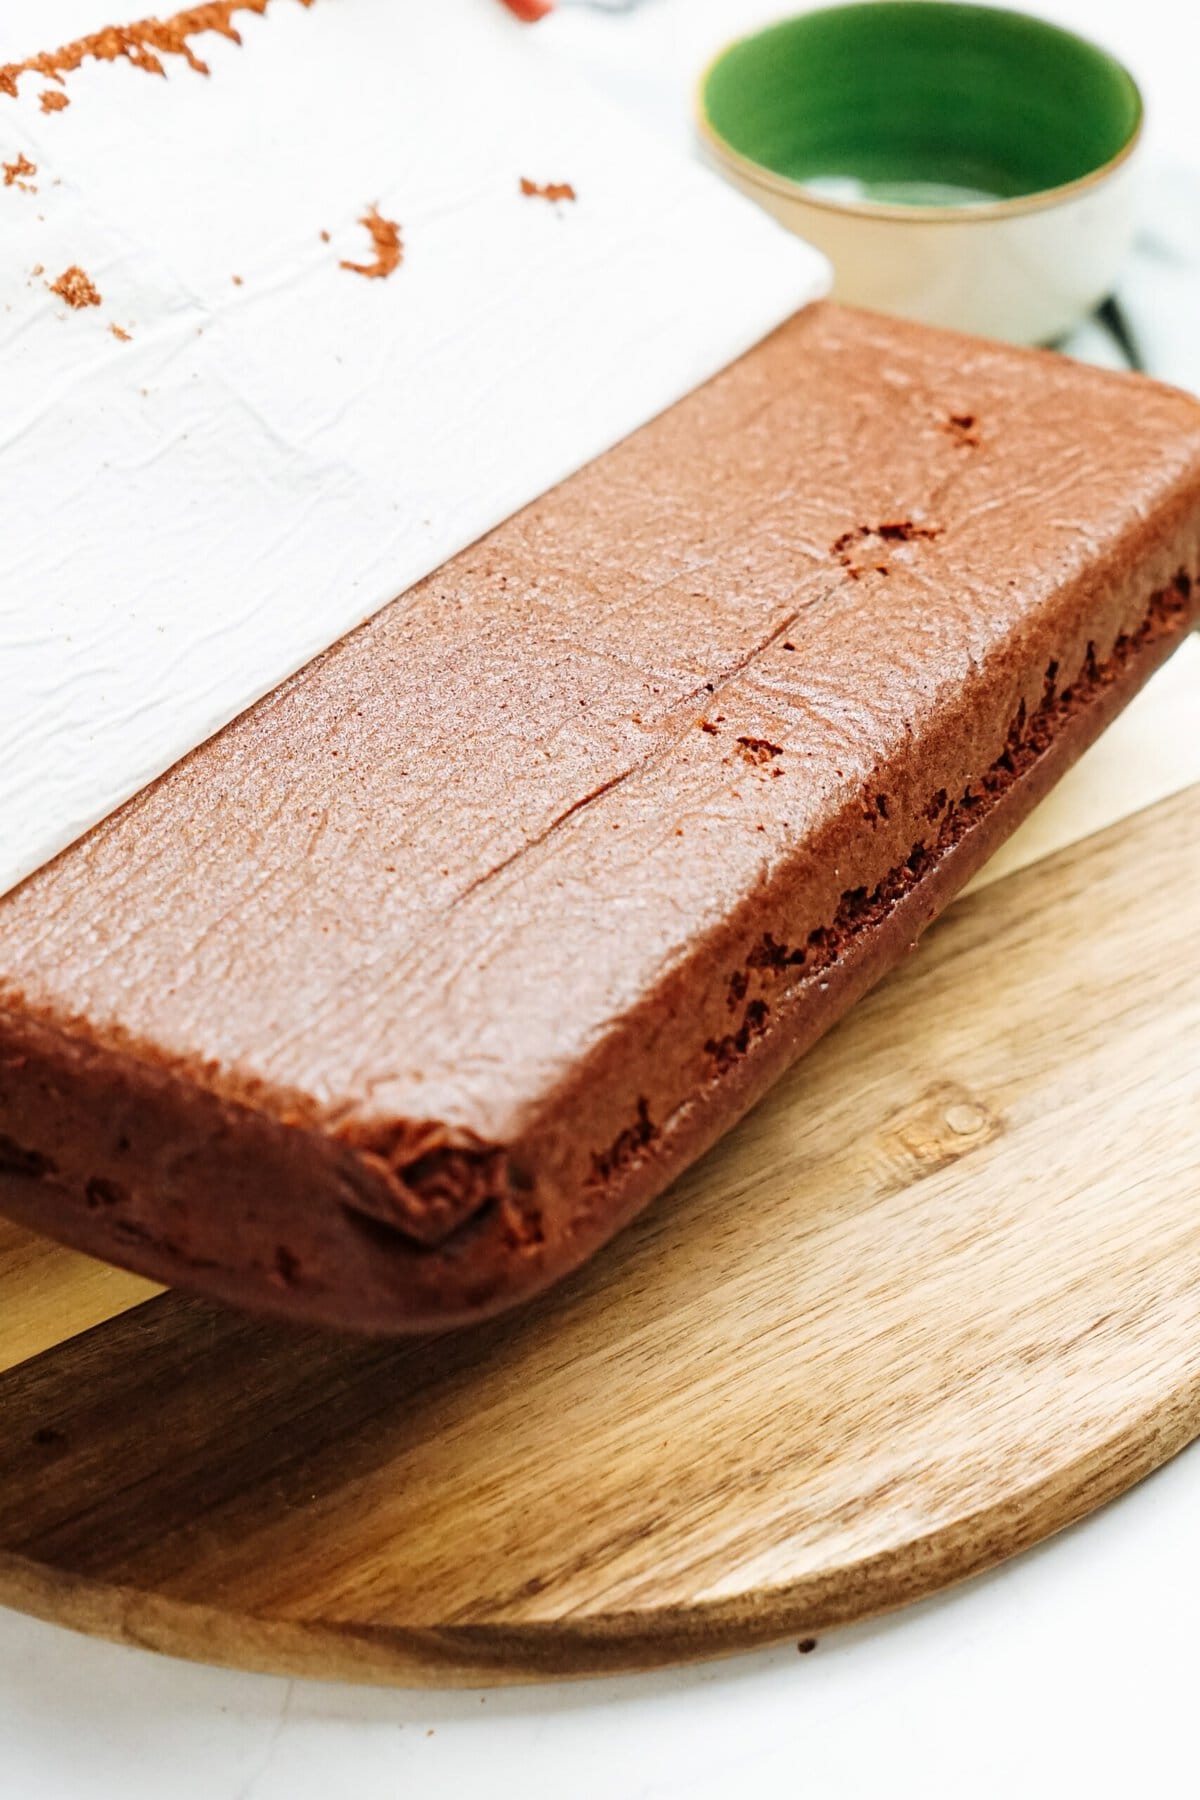
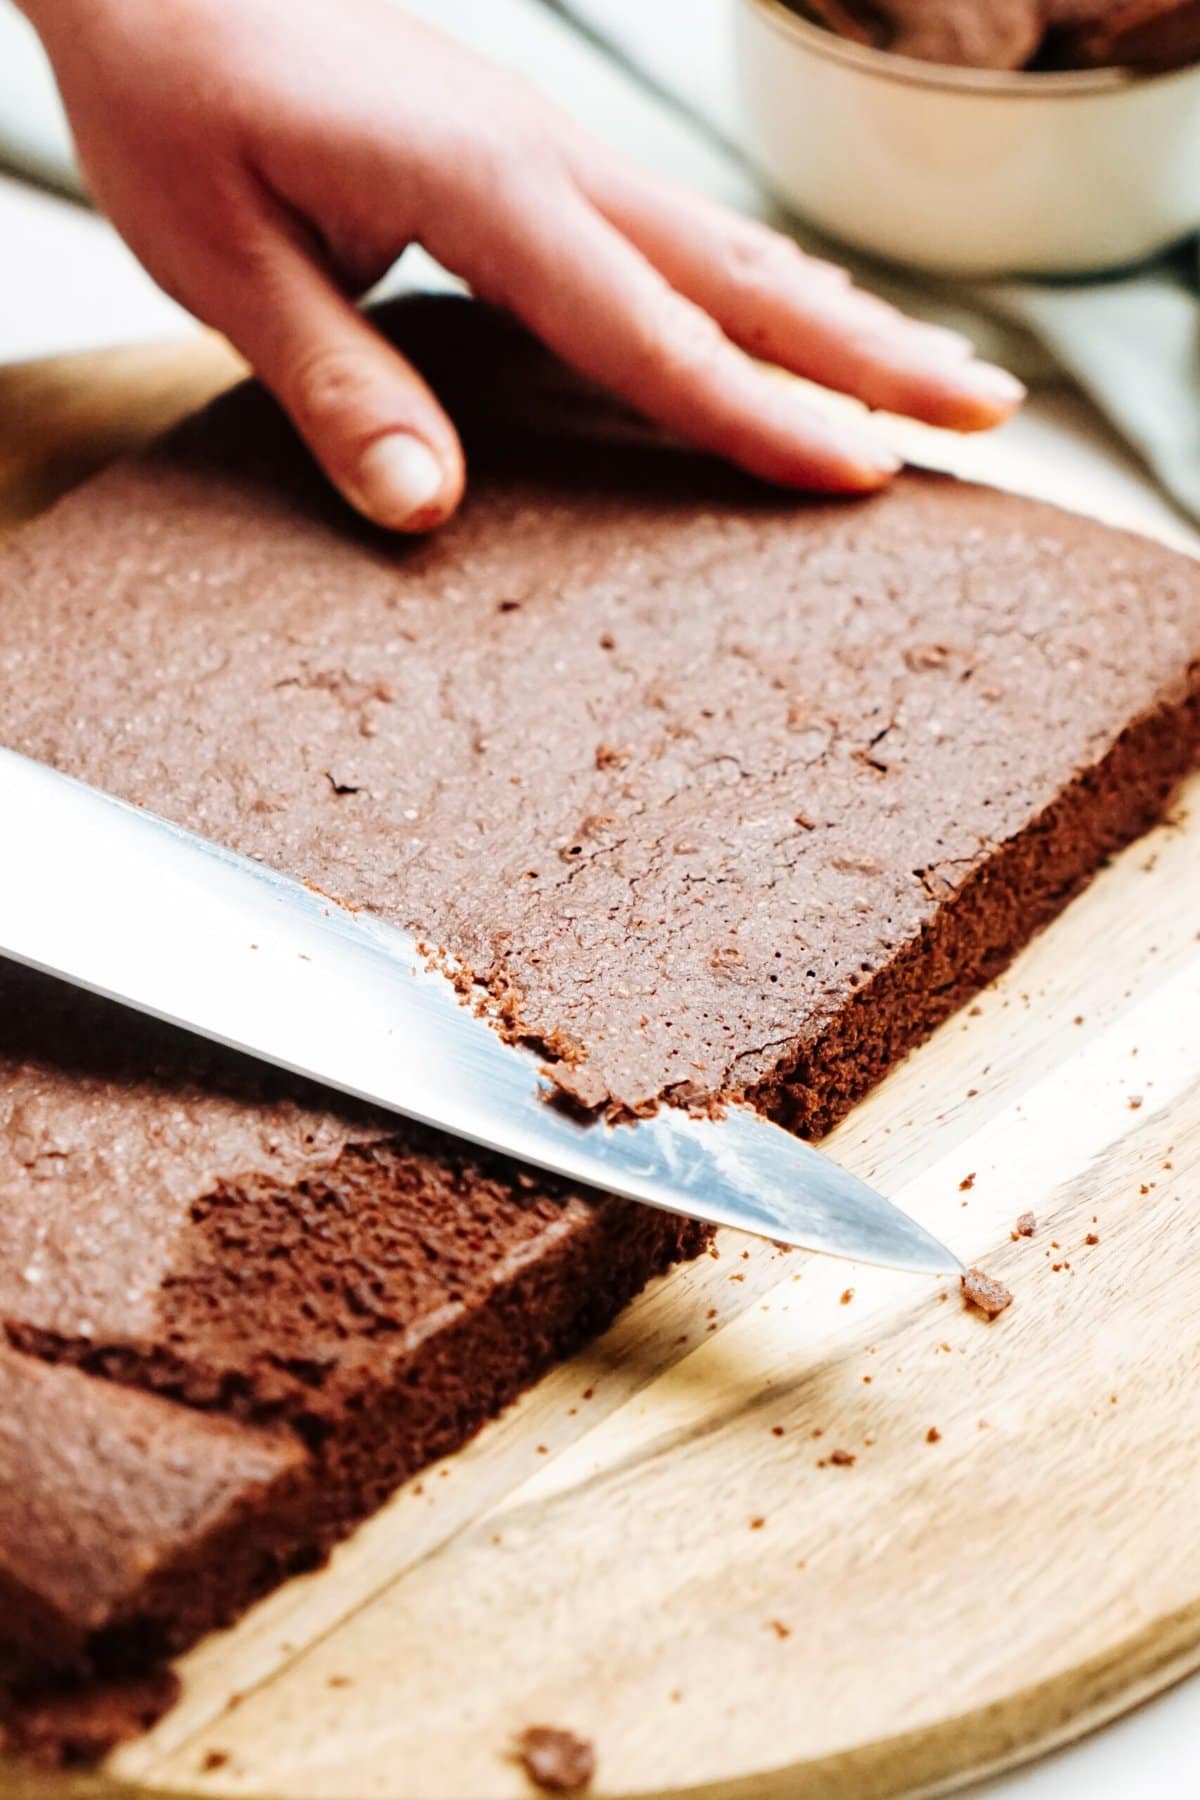
Pro Tip: I like to remove the dark outer hardened layer of the cake. Discard or save for snacking. This is an optional step but I think it makes for a better ball-rolling experience if the hard outer edges are removed.
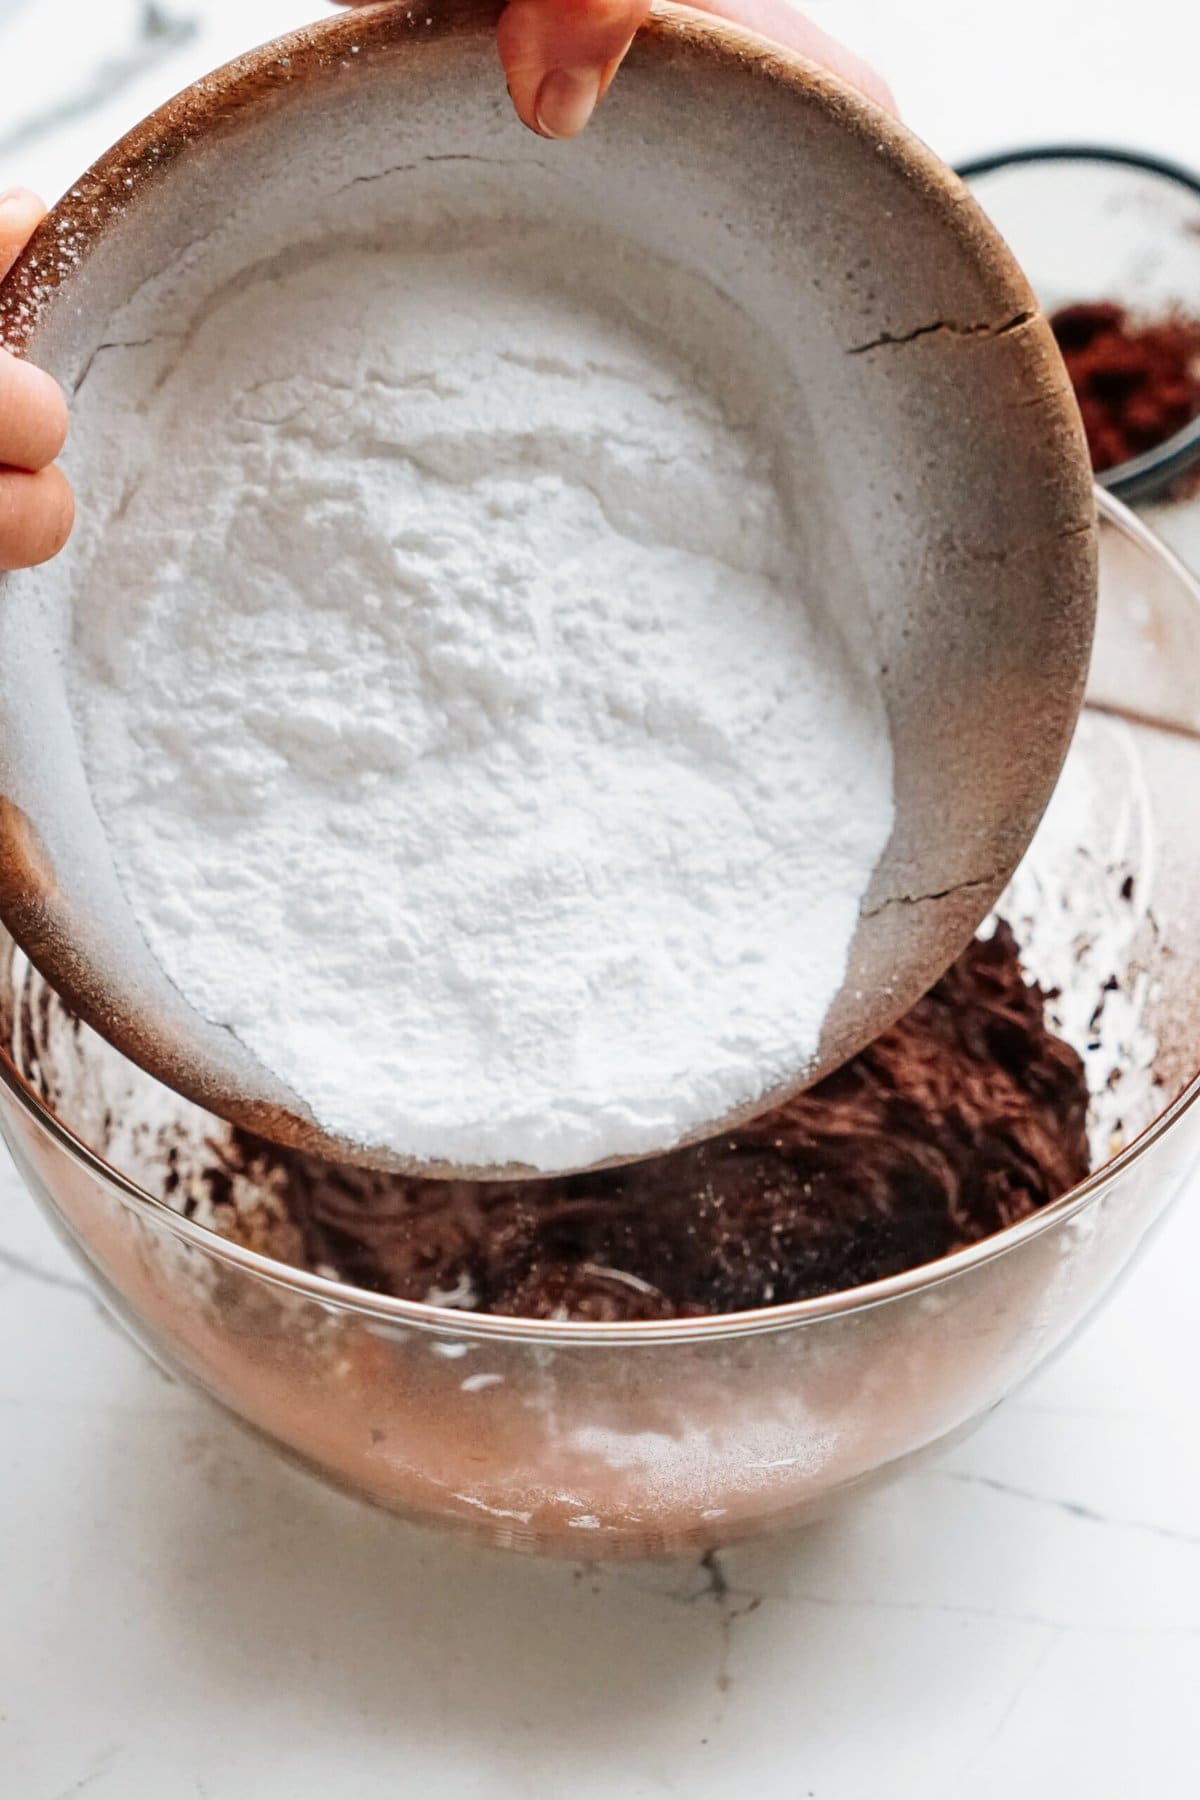
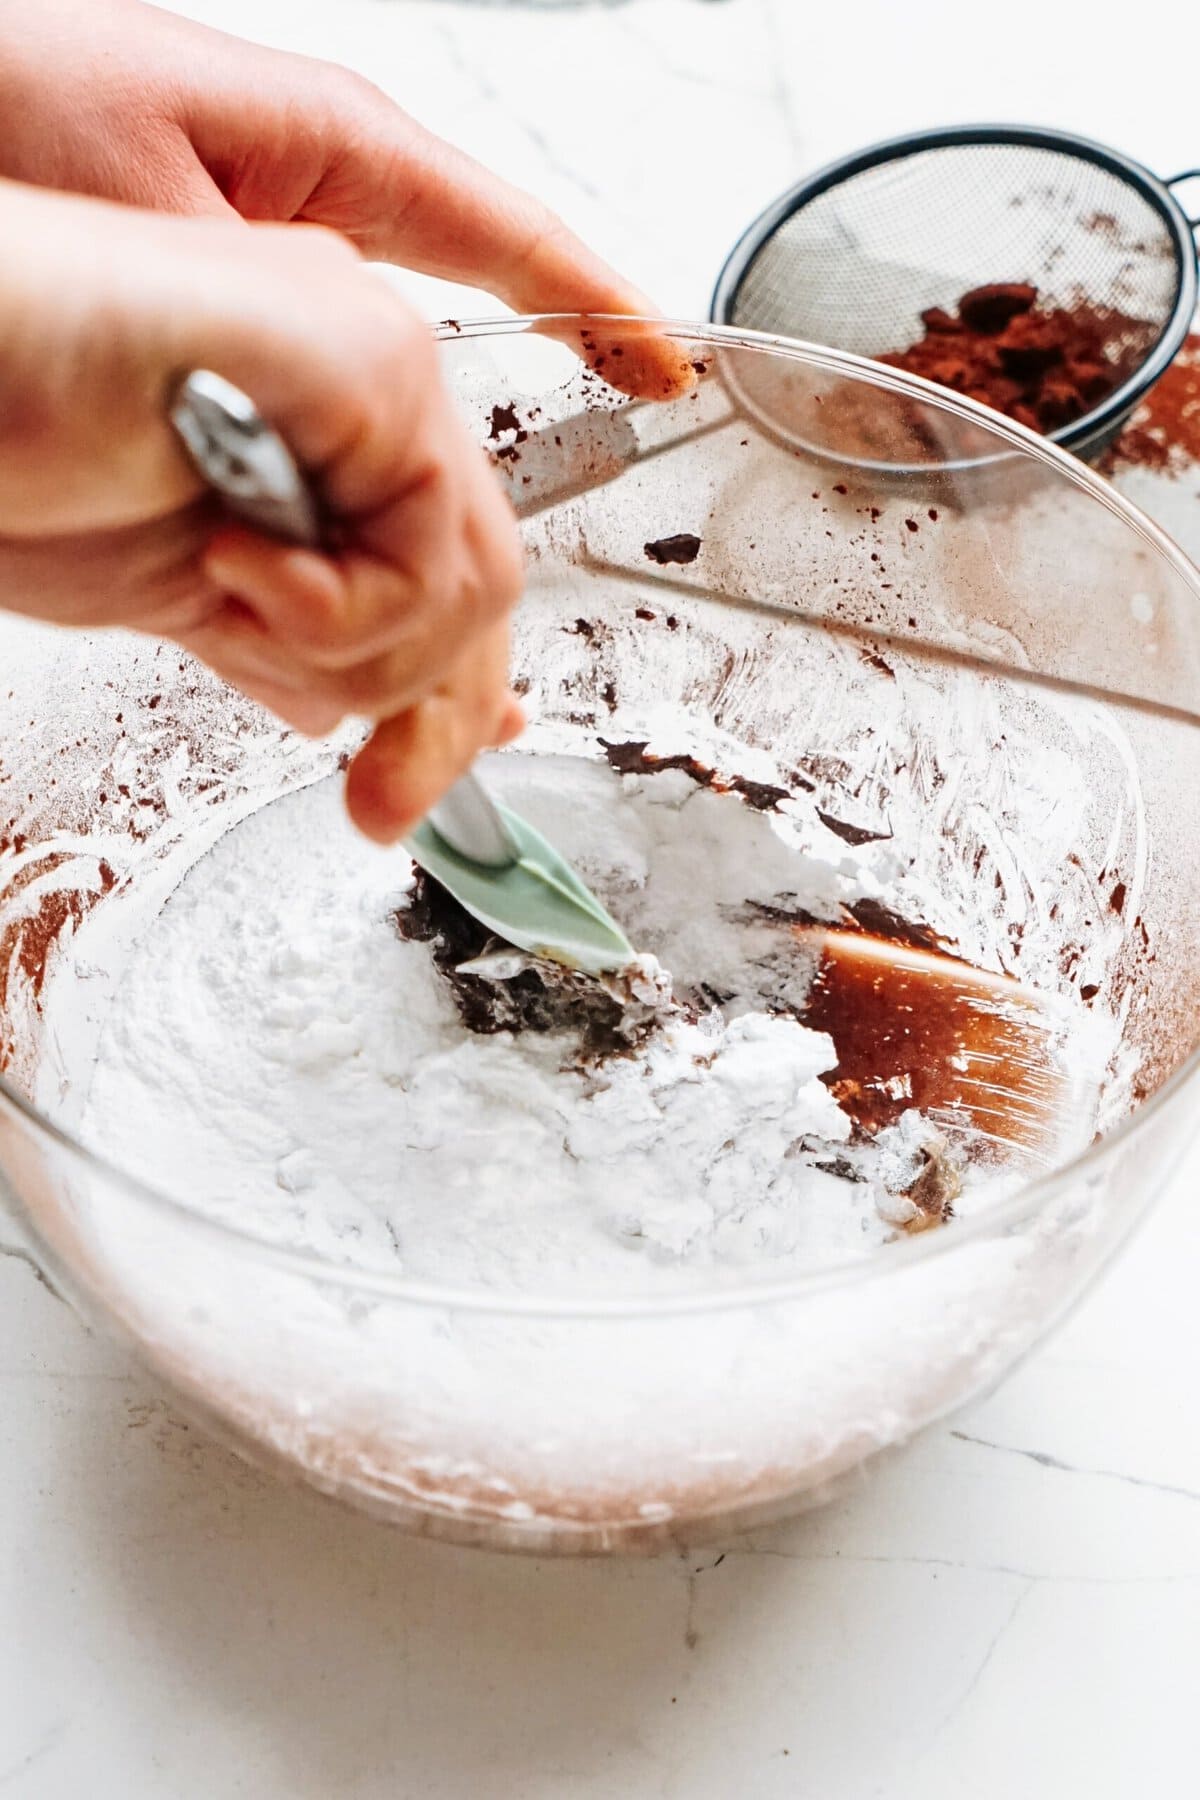
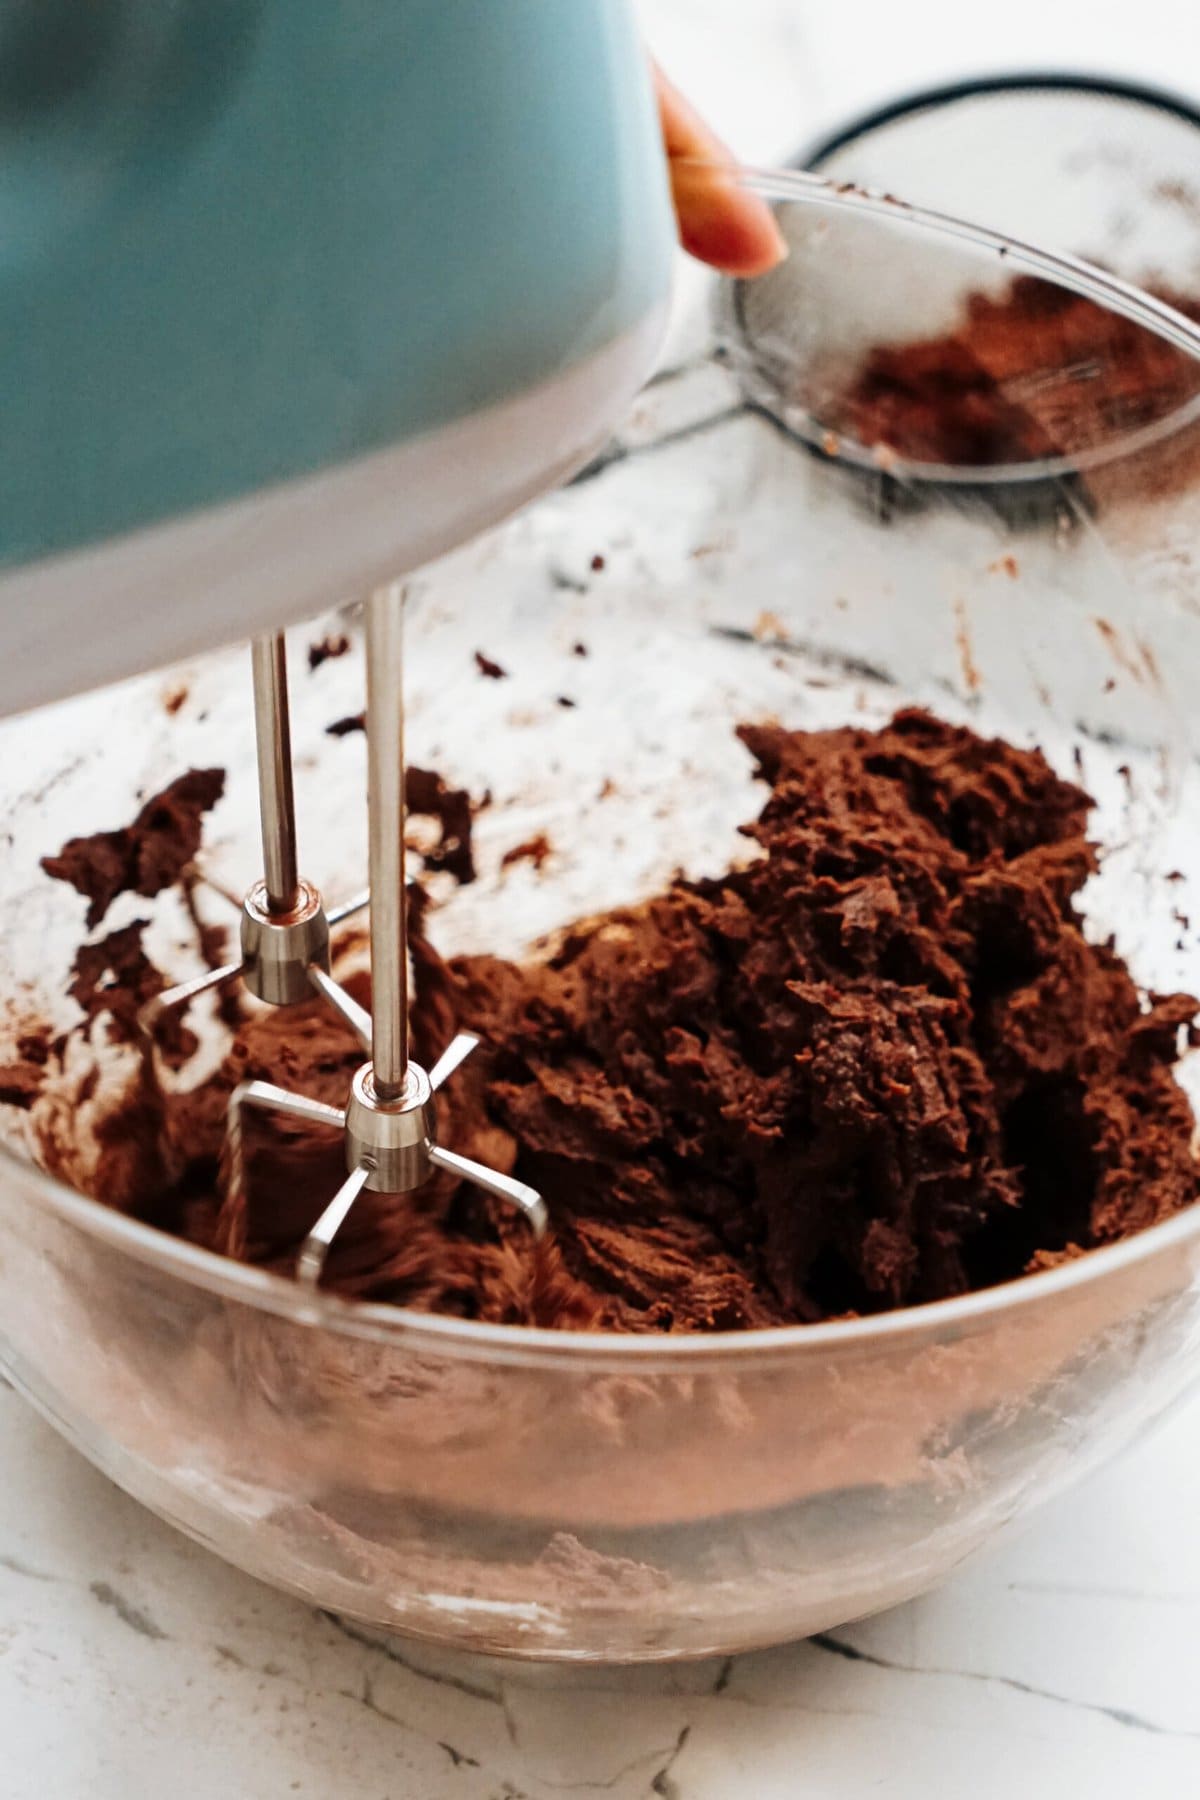
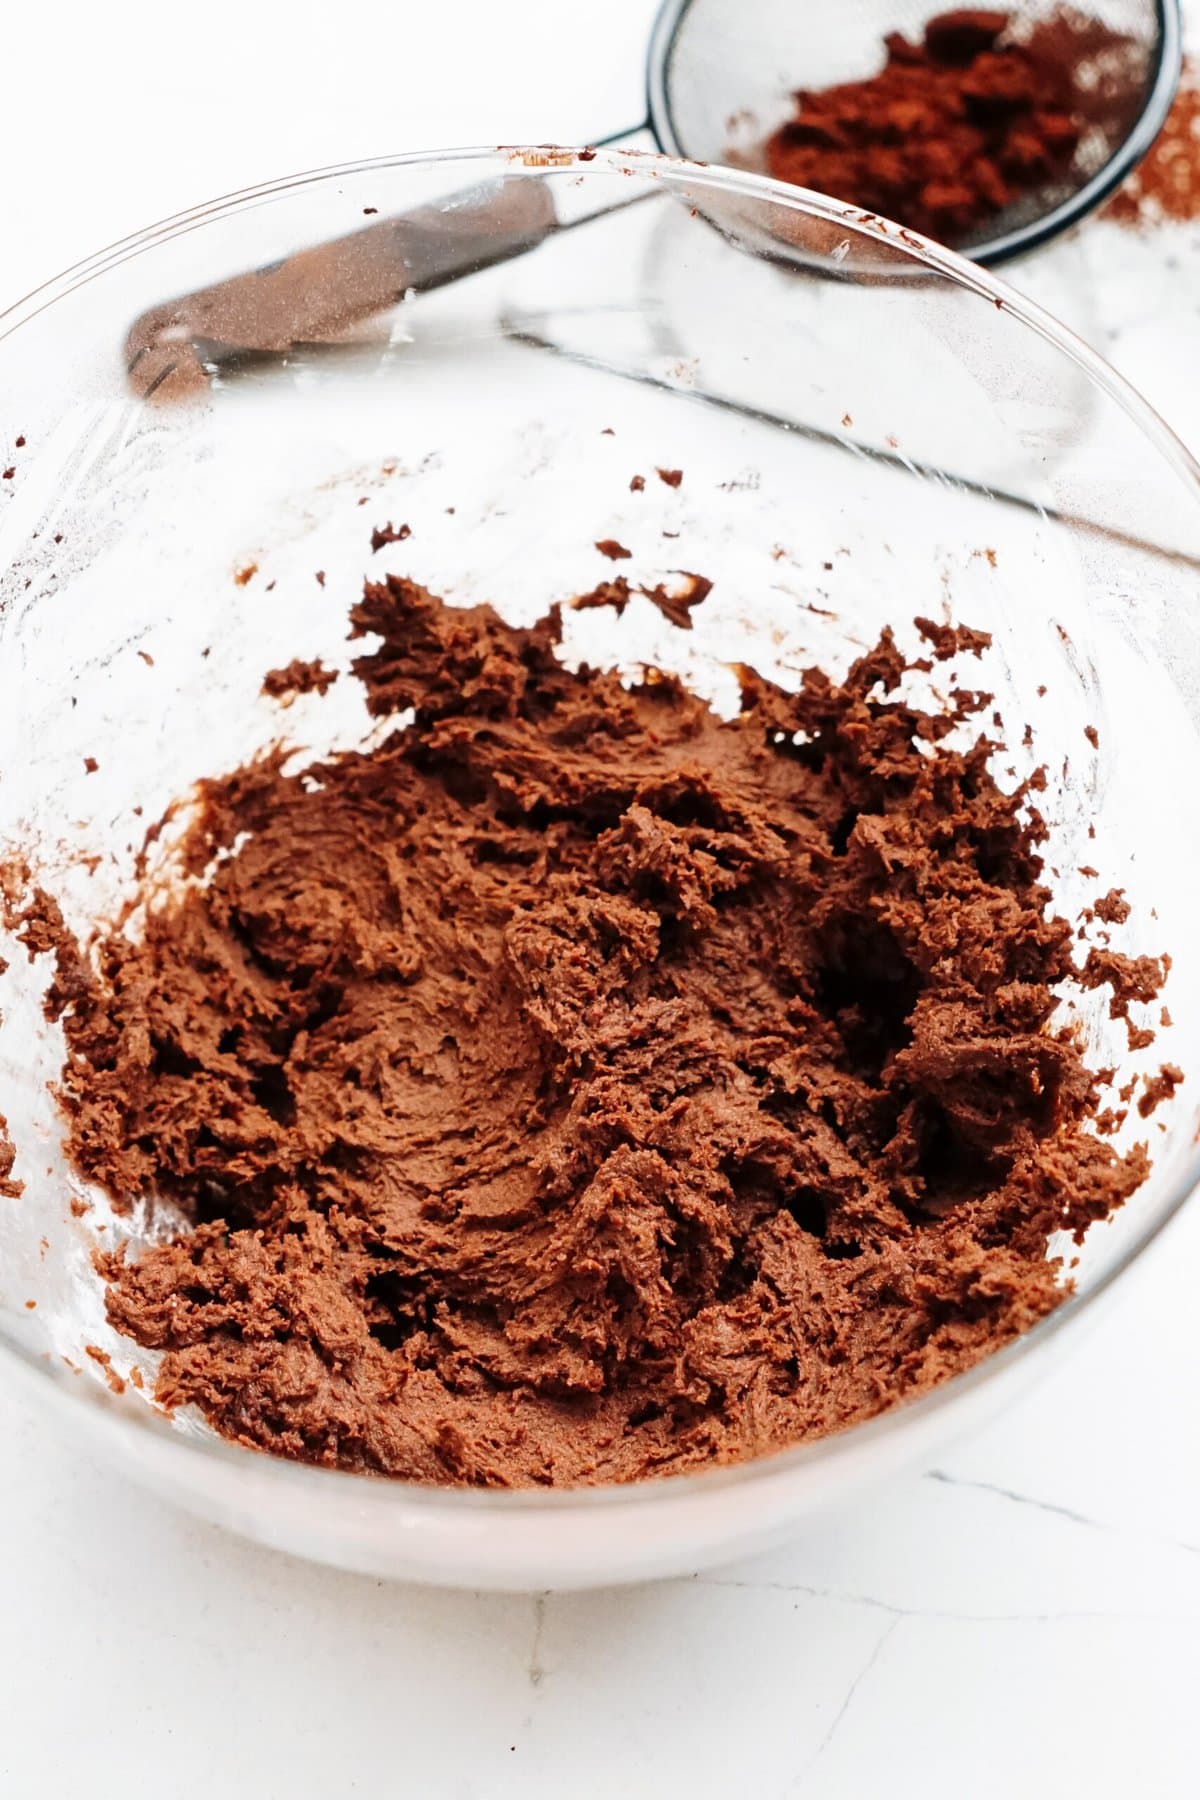
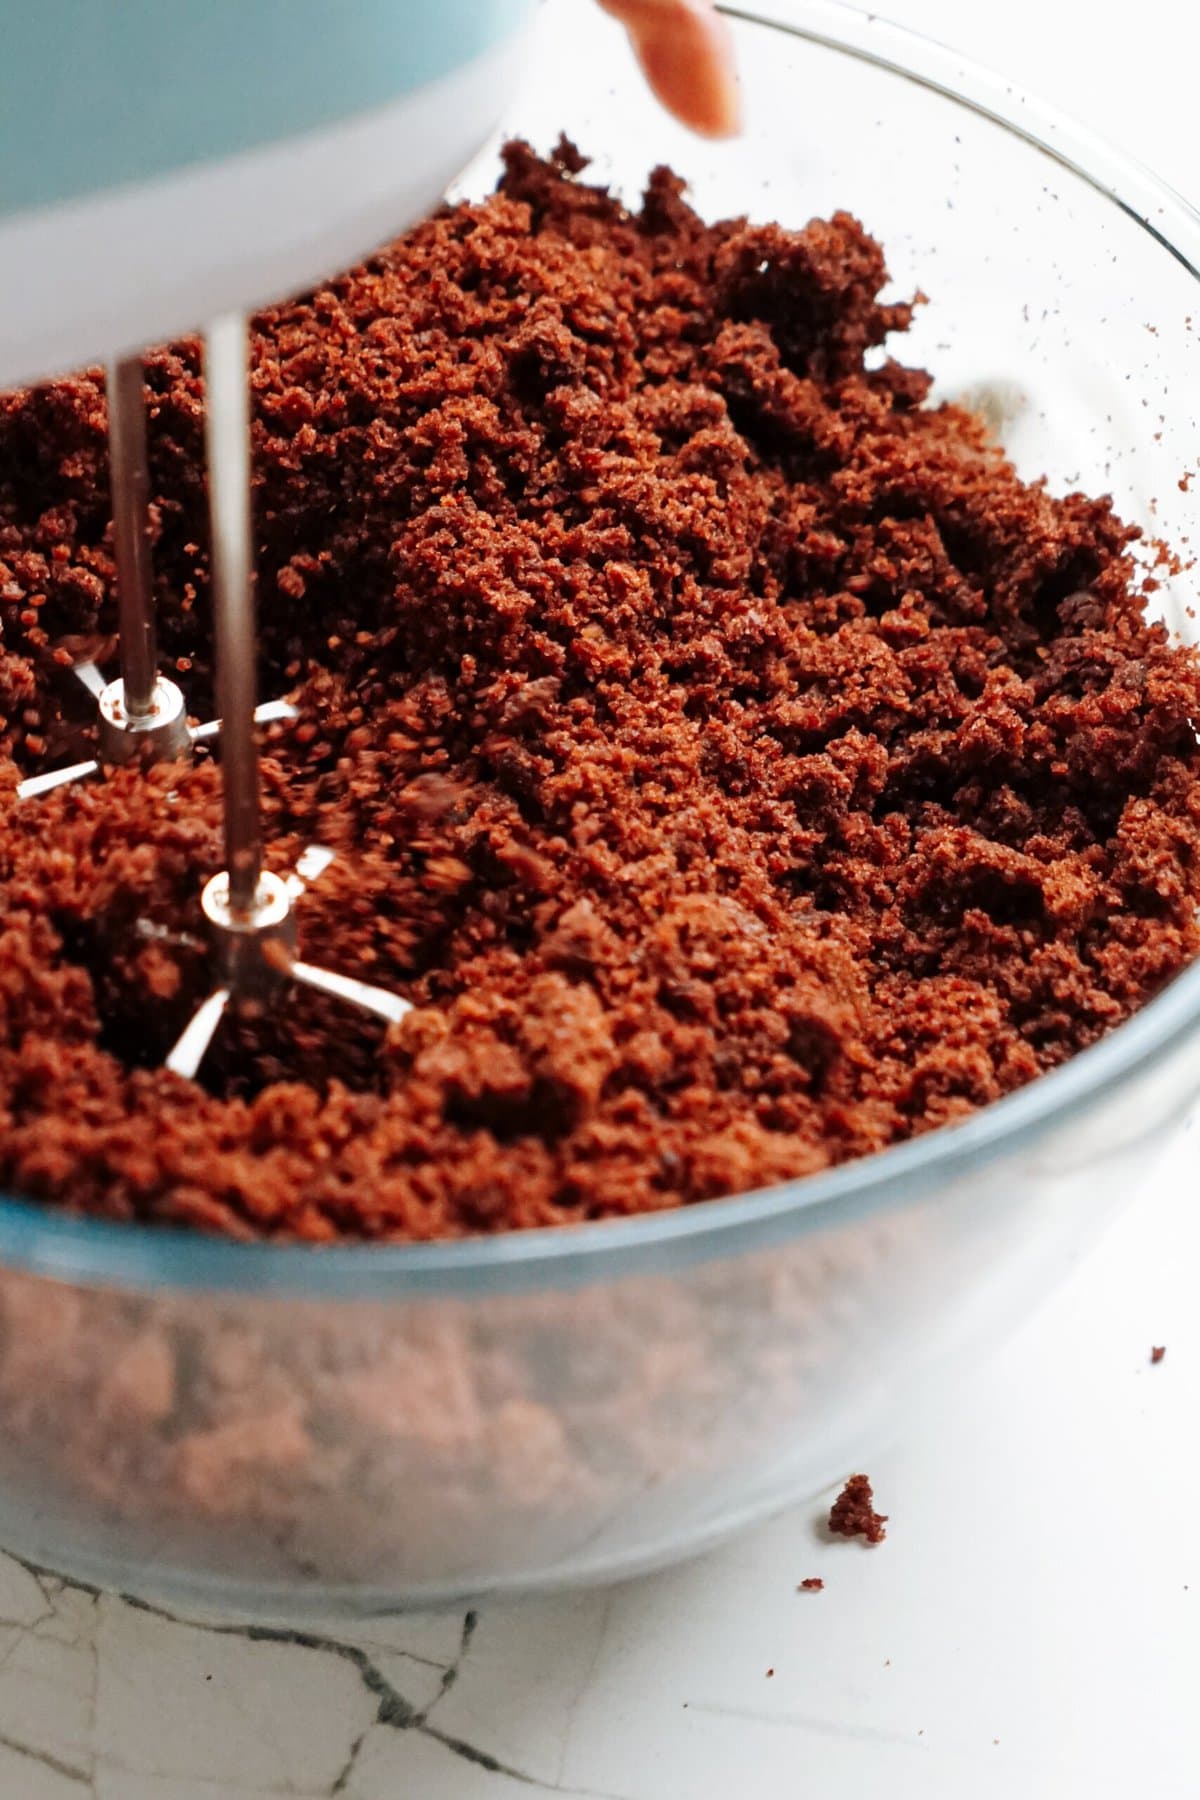
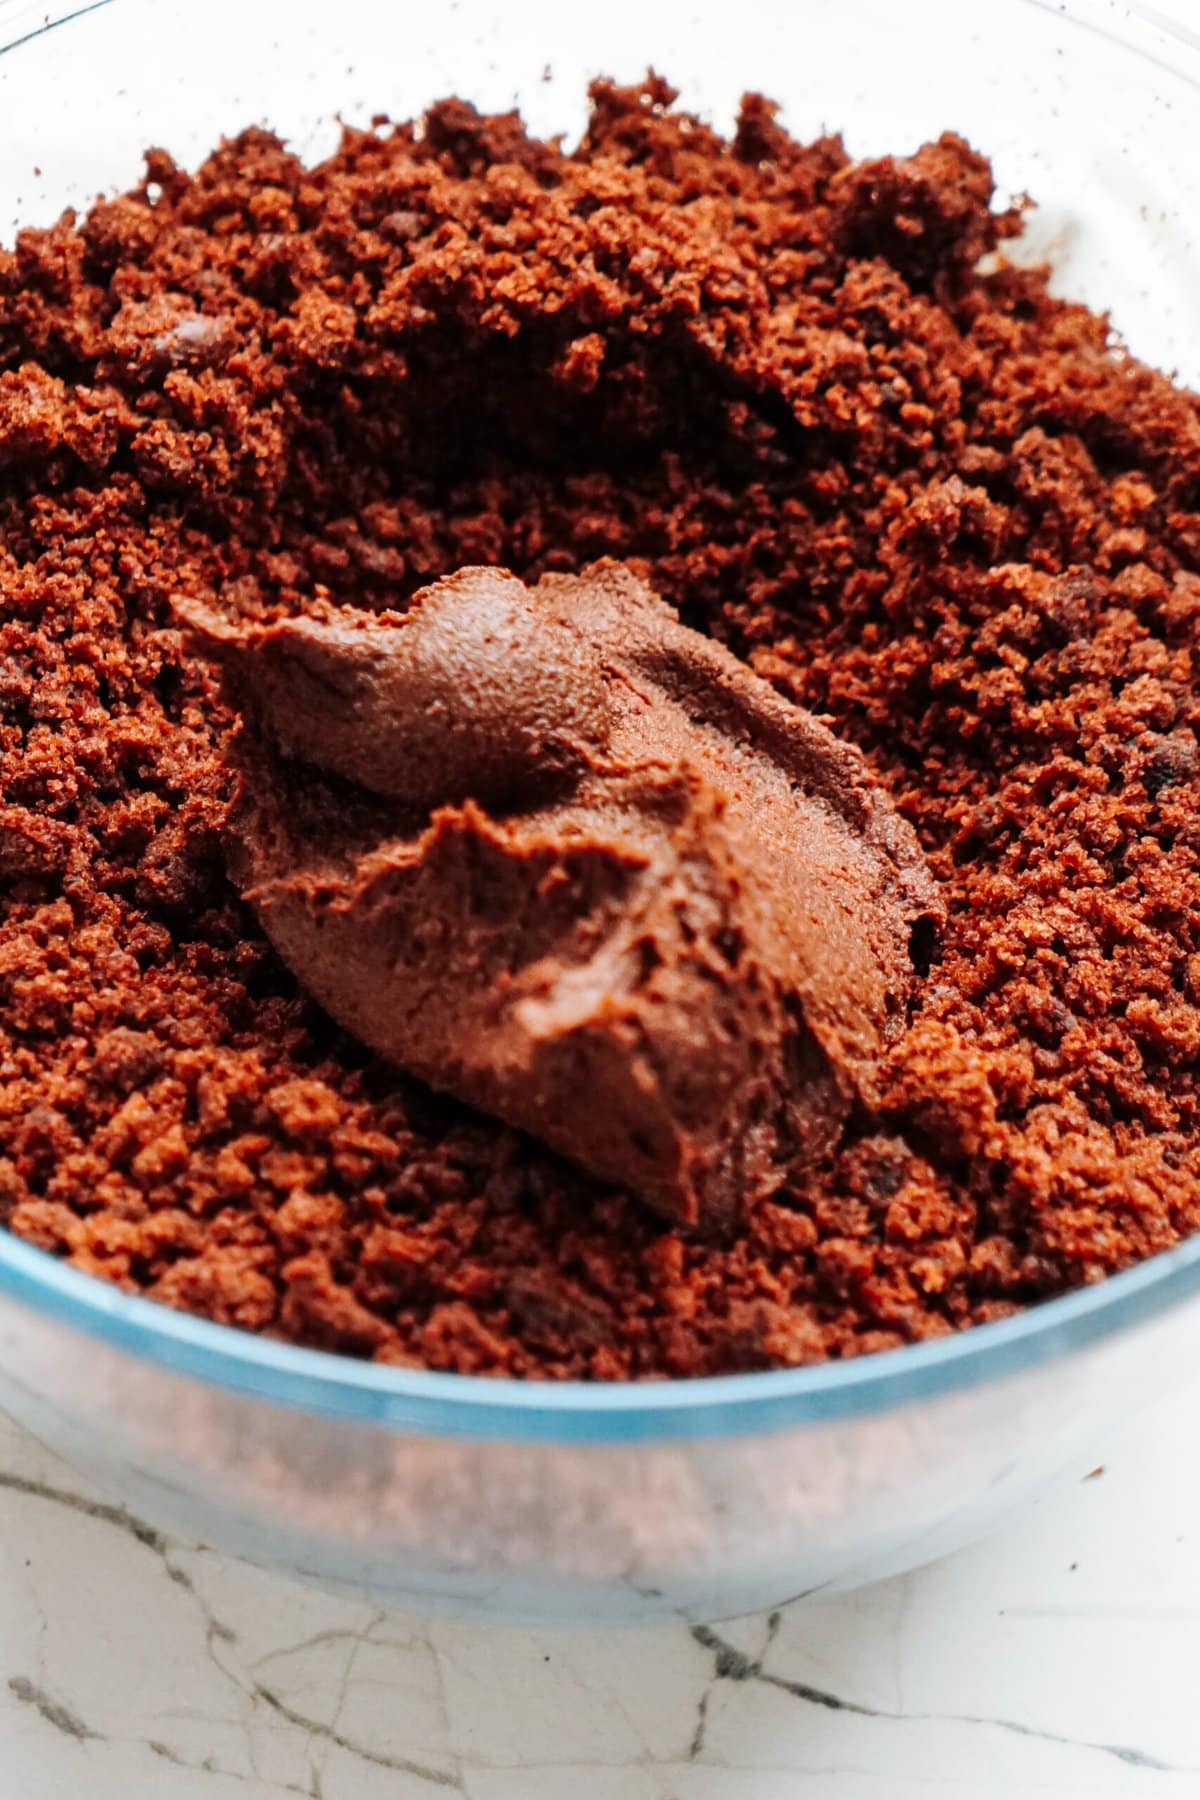
4. Combine Cake + Frosting
In the bowl of a stand mixer with the paddle attachment (or using a hand mixer), crumble cake. Mix in the 1 cup of frosting. At this point you can add in some sprinkles if desired. The mixture should be moist and stick together easily. If the dough is too dry, add in more frosting a tablespoon at a time.
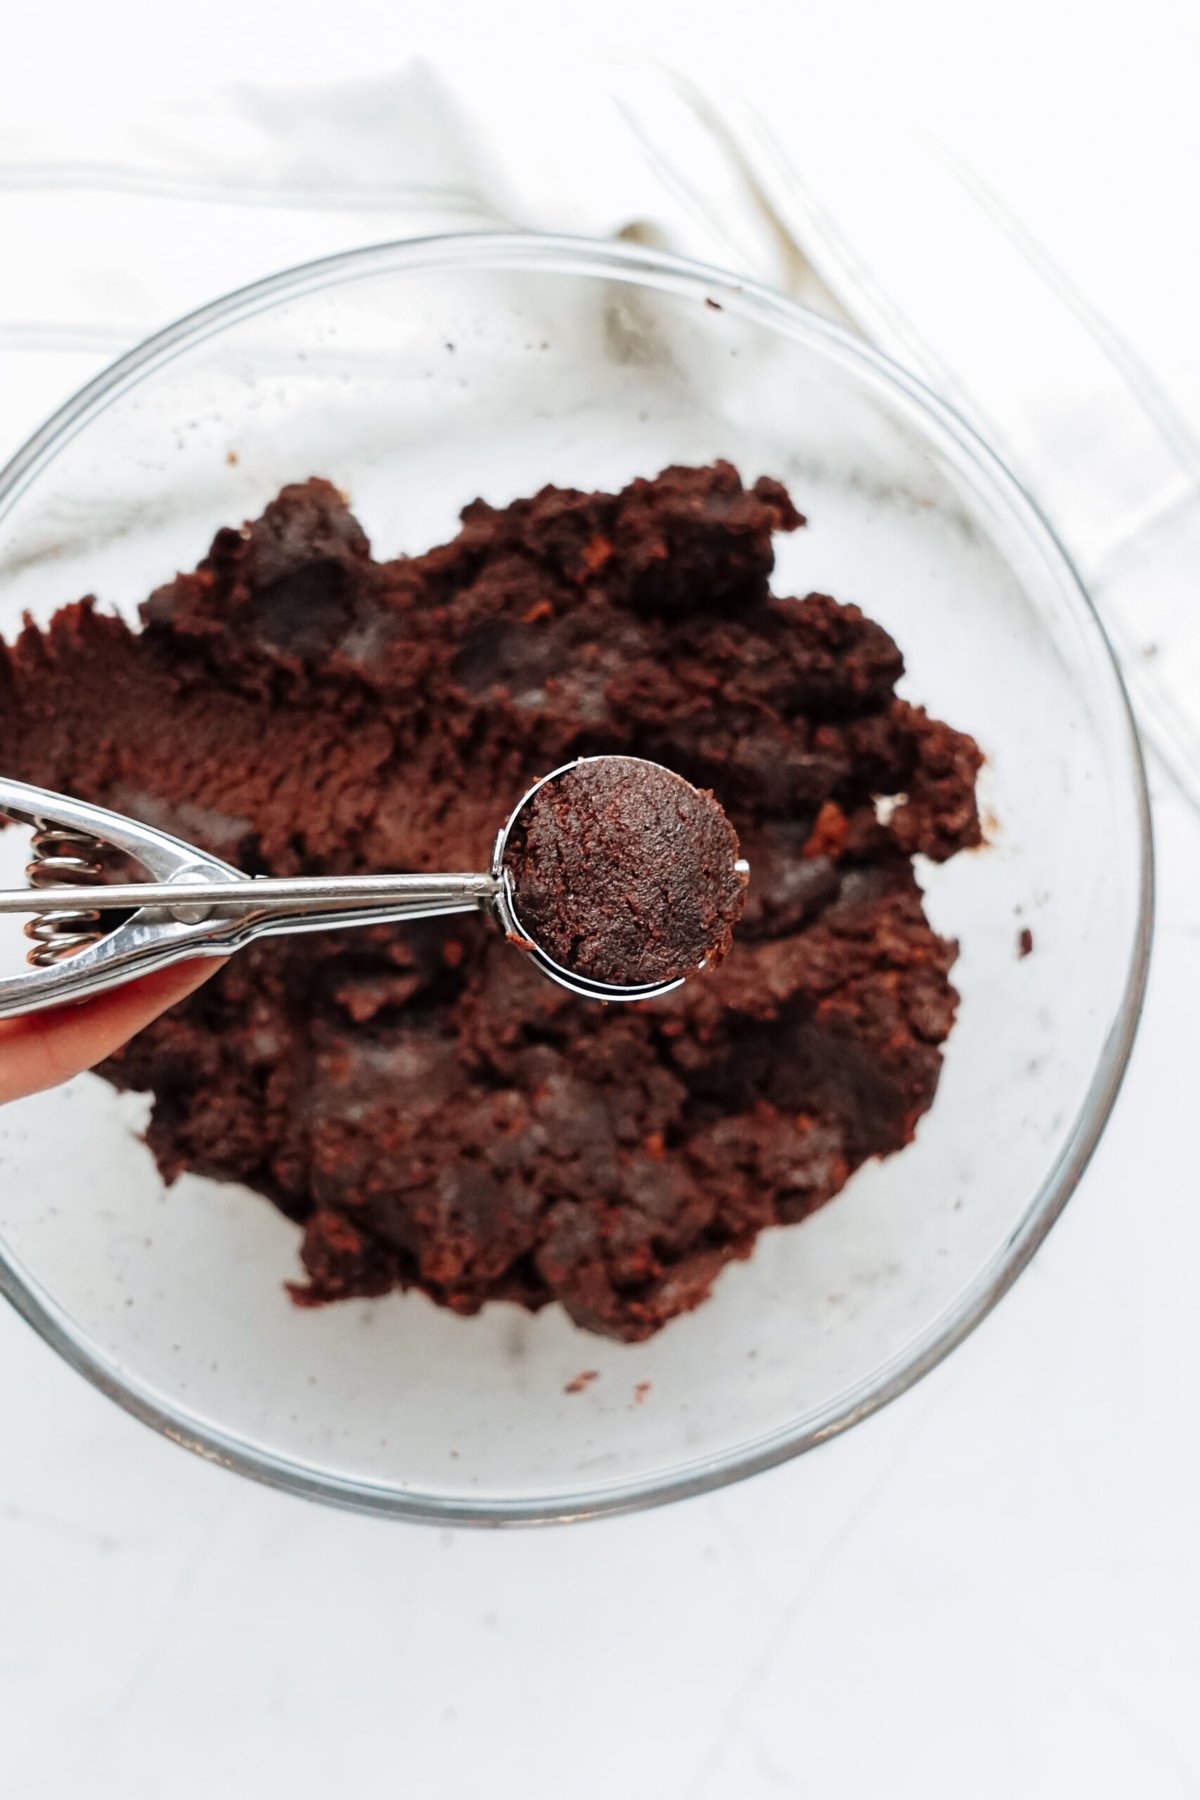
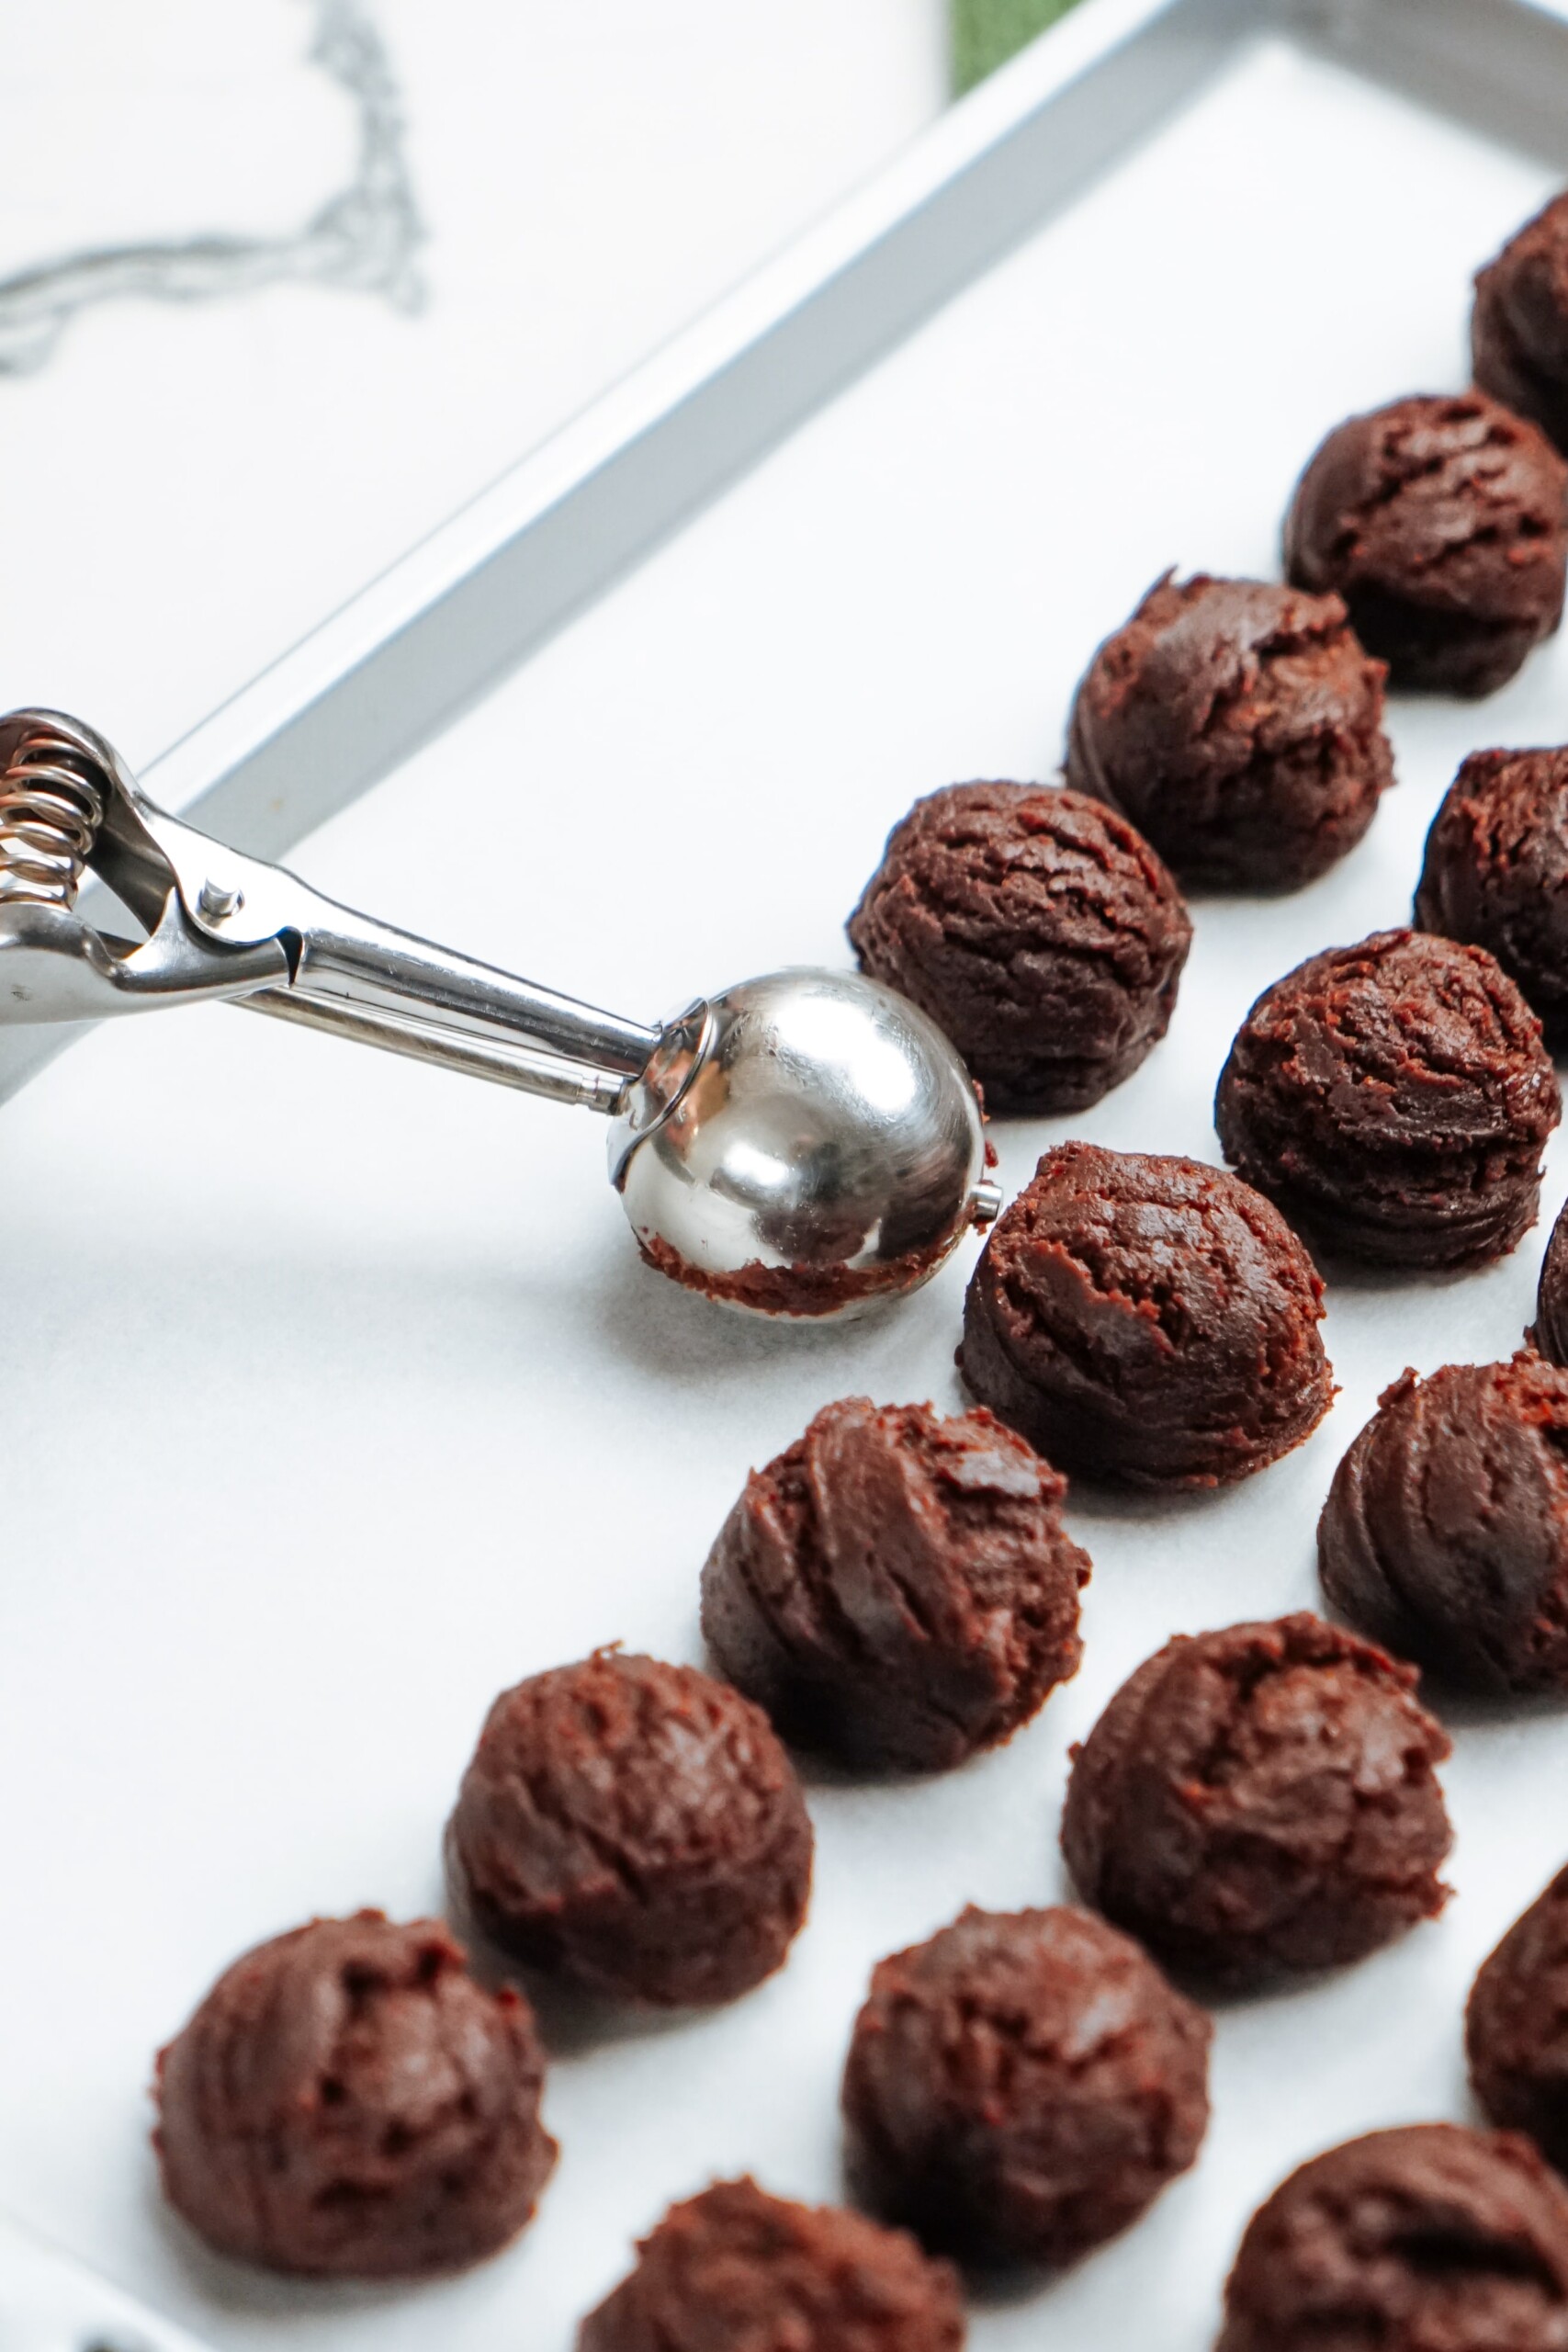
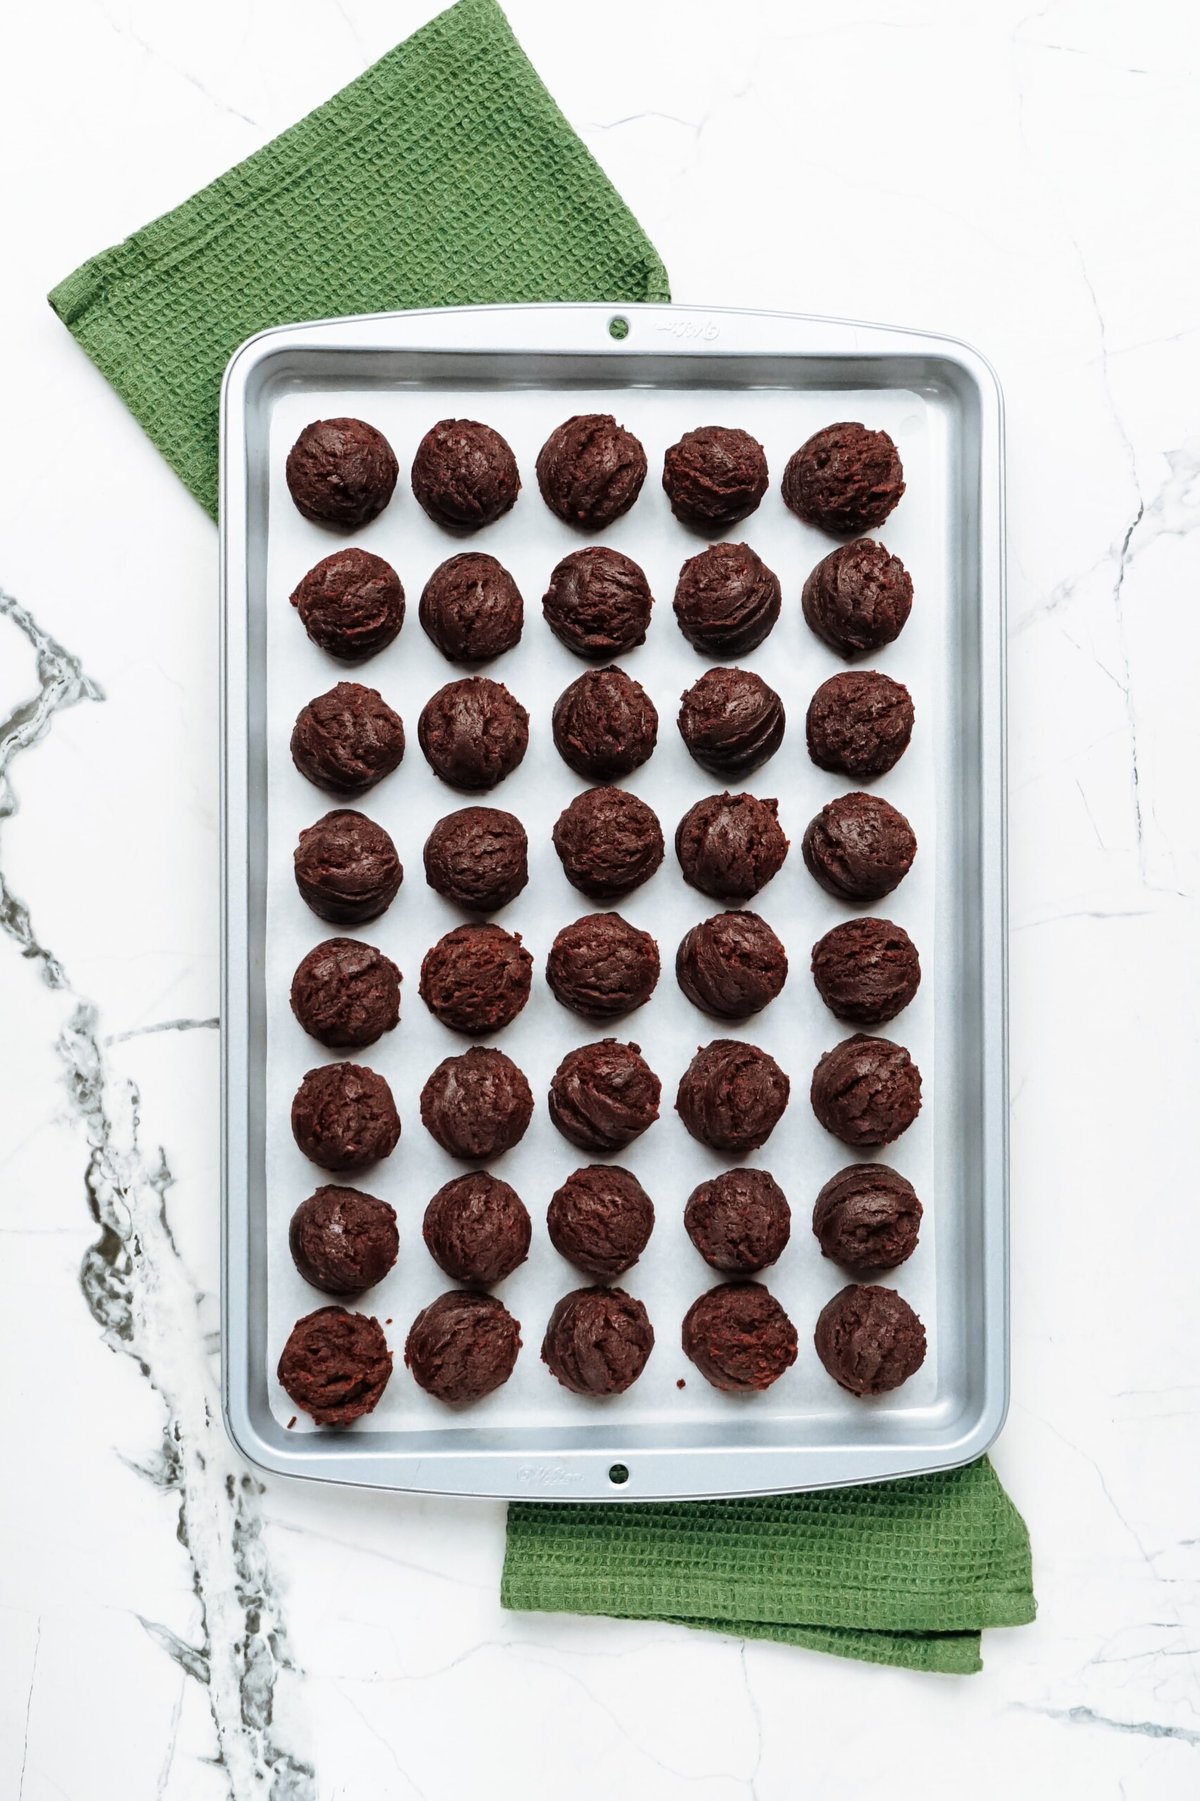
5. Form Cake Balls with Cookie Scoop
Scoop cake balls onto the baking sheet. Roll into a smooth ball shape with your hands. If the dough sticks to your hands, you’ll need to wash them occasionally.
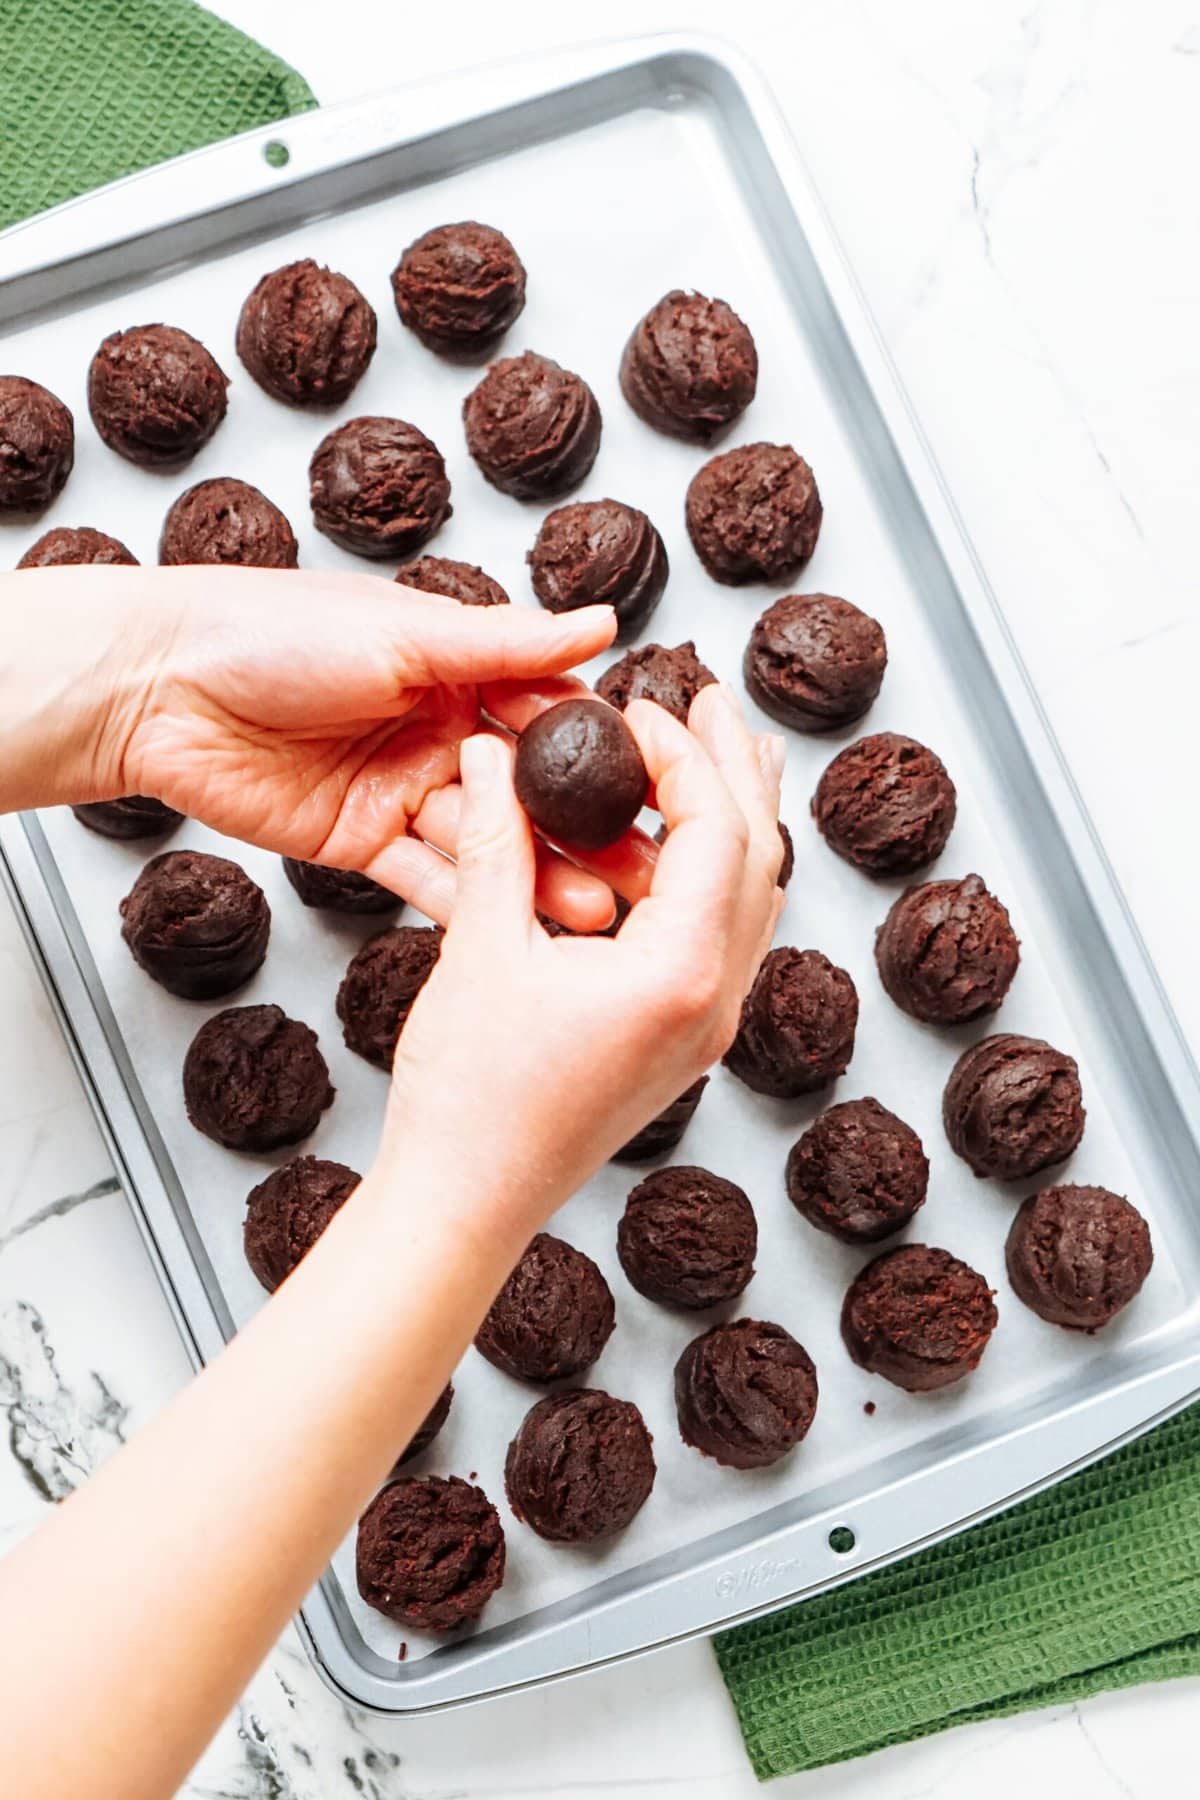
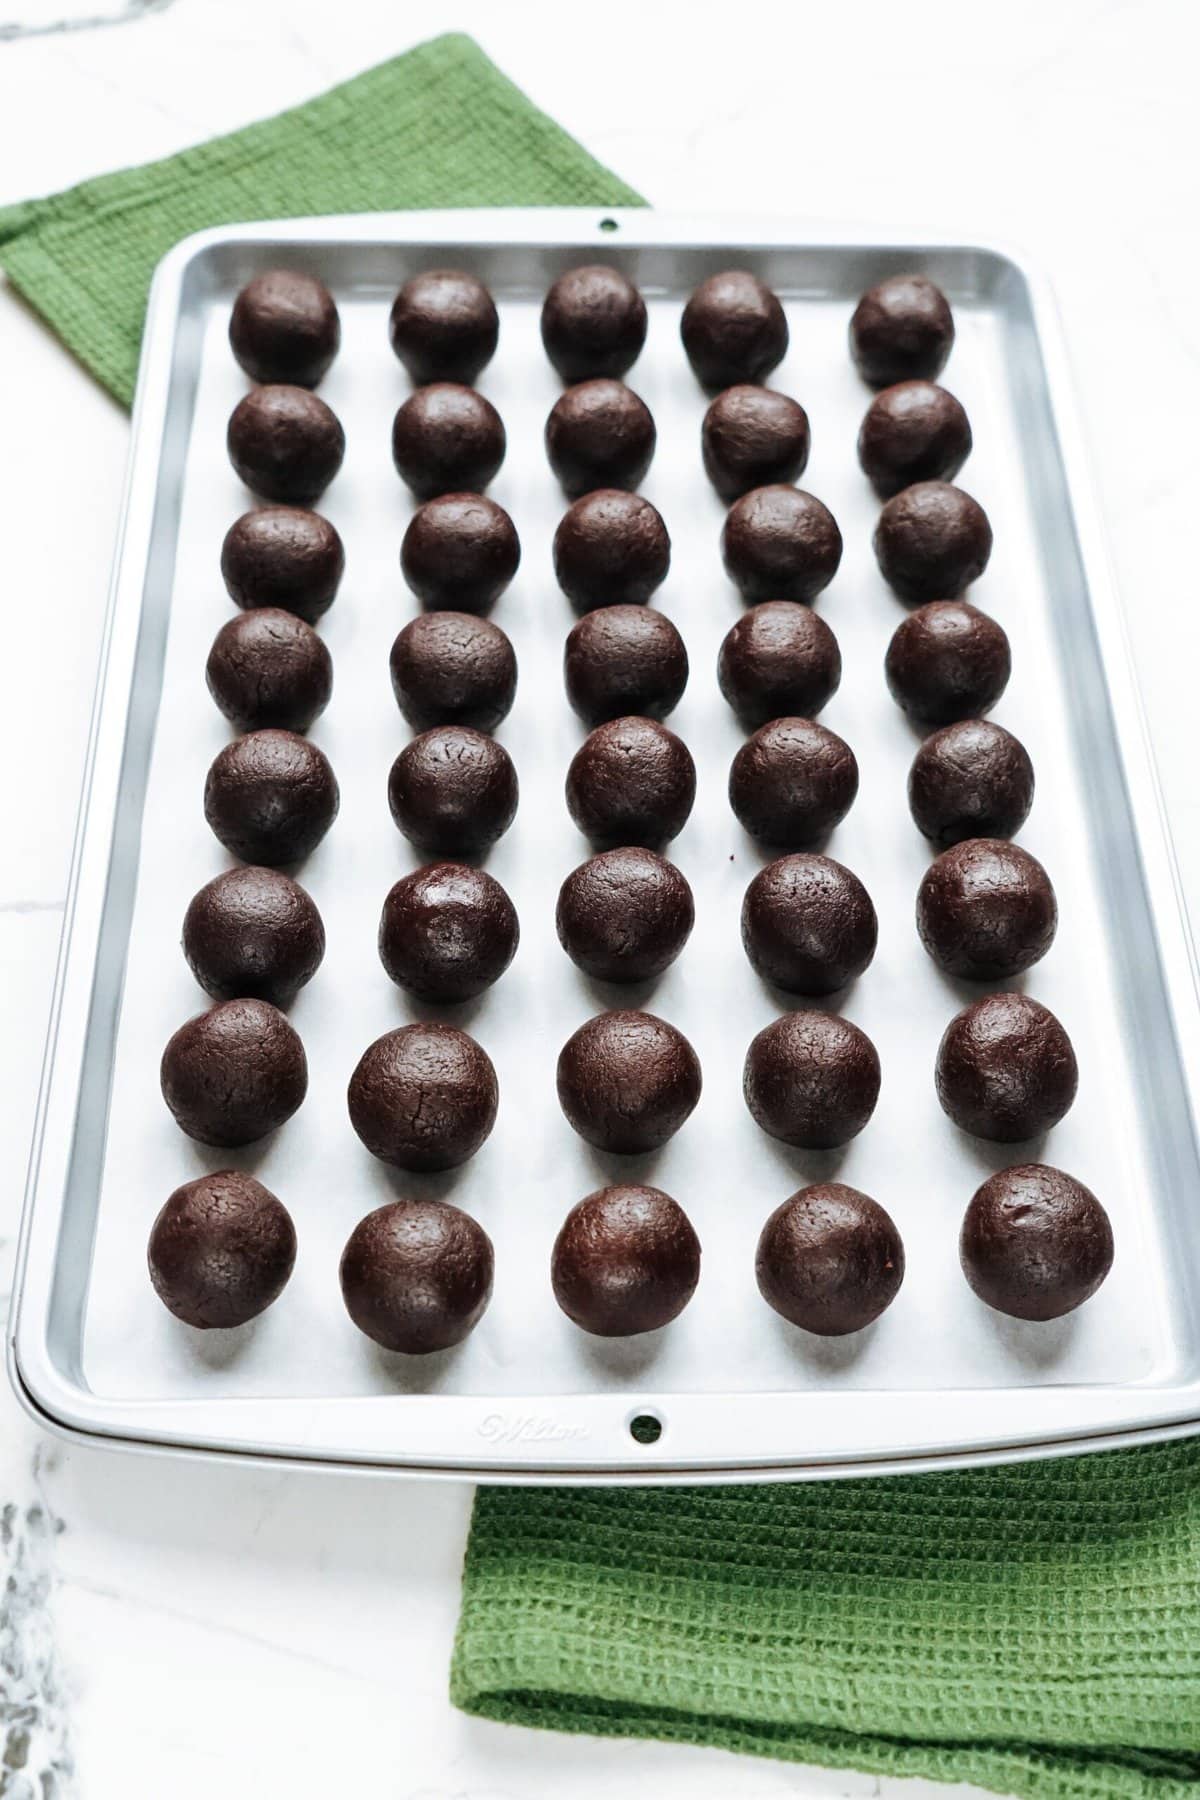
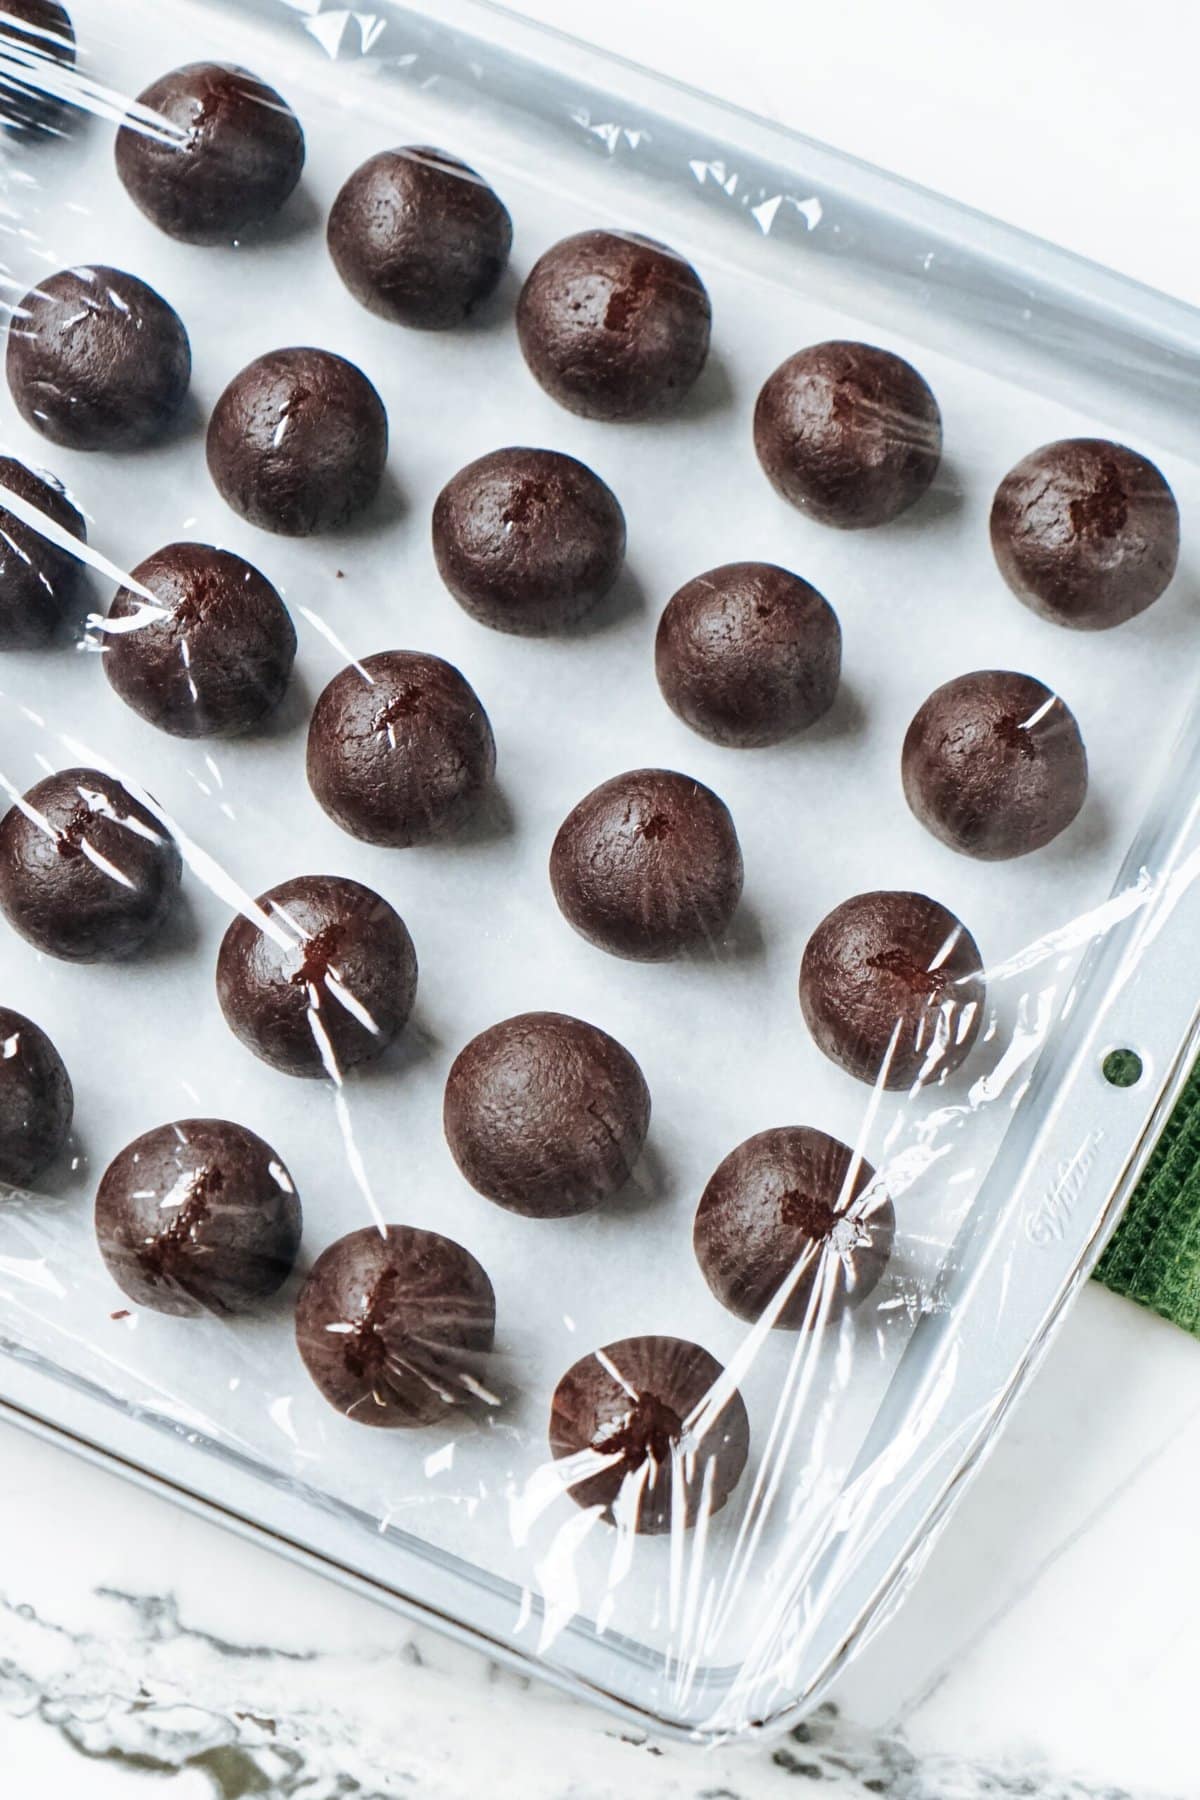
6. Cover + Freeze + Roll Again
Cover with plastic wrap and freeze cake balls for about 30 minutes. Remove from freezer and give each ball a second roll with the palm of your hand. This will ensure an evenly round ball. Recover and place back into freezer for 1 hour.
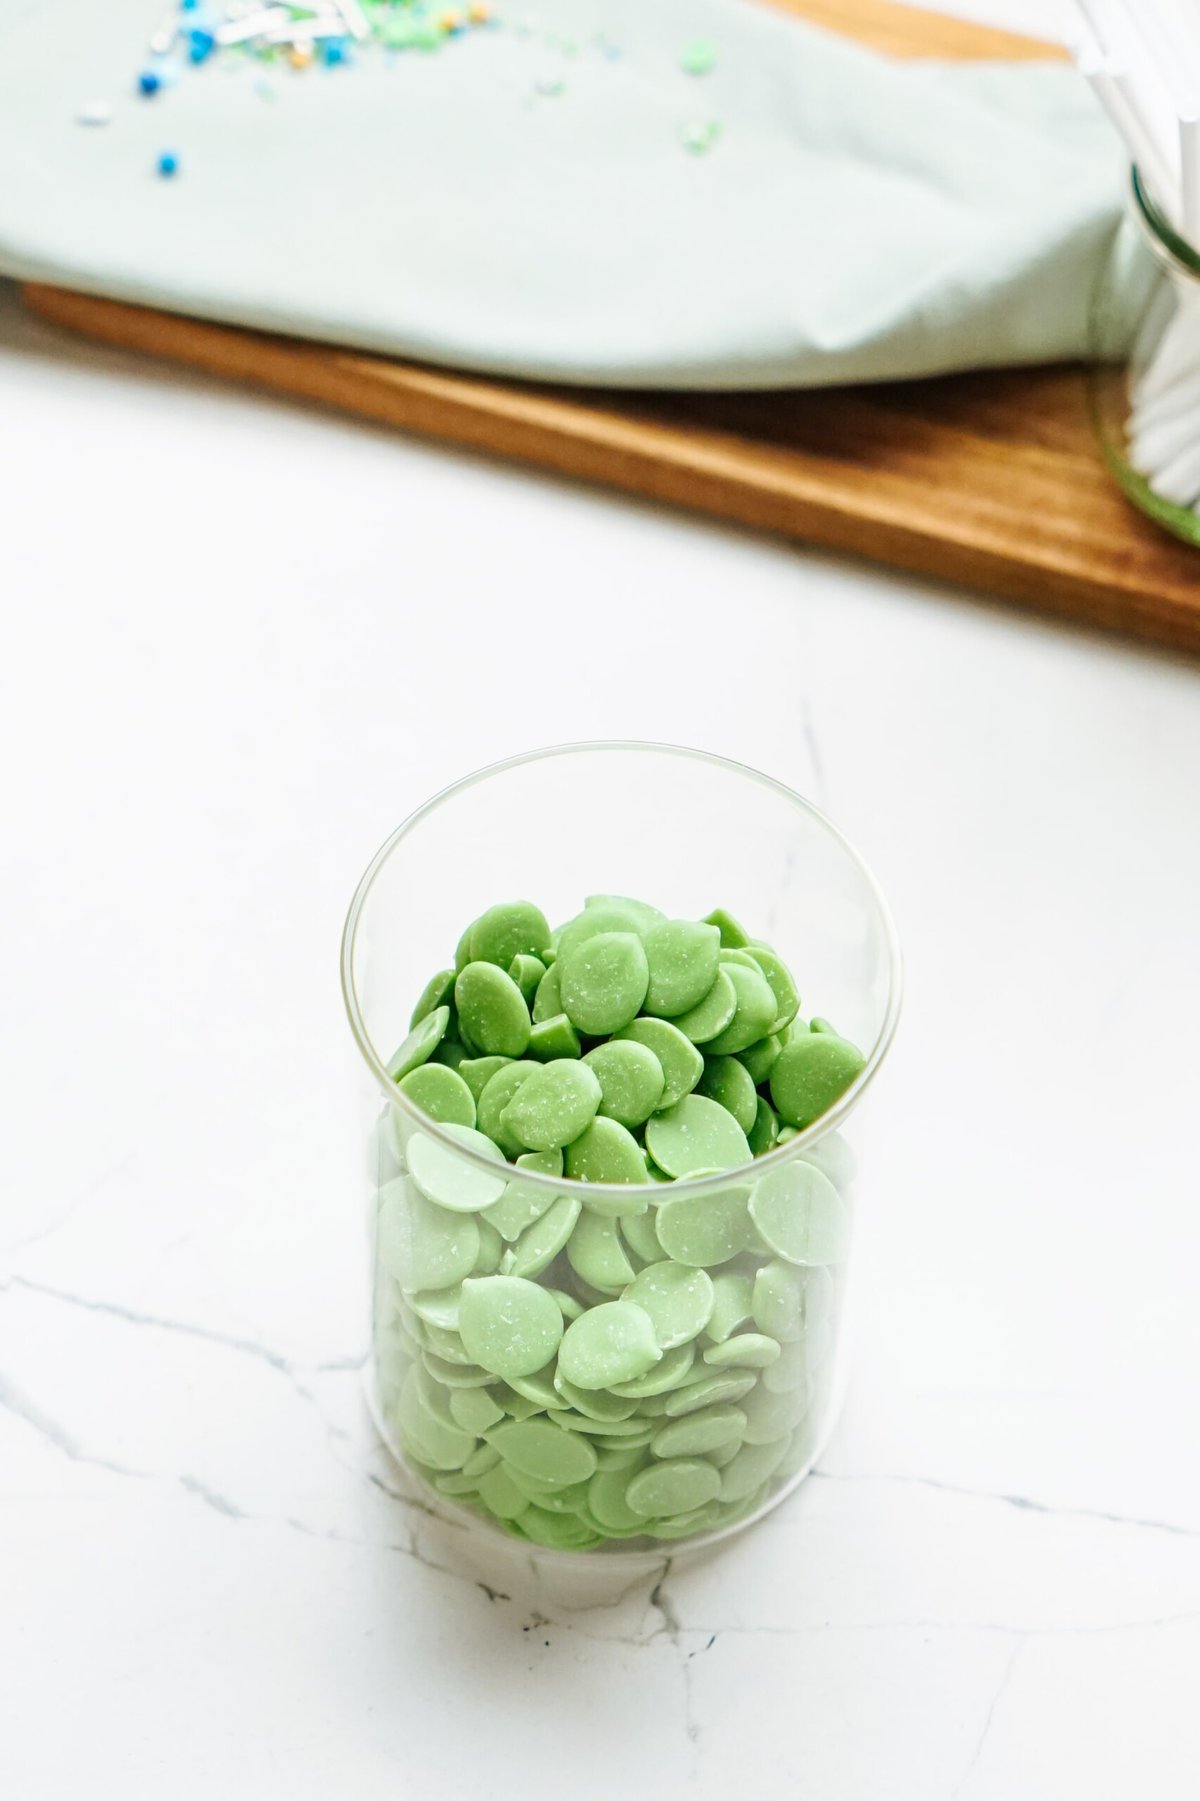
7. Melt Chocolate Wafers
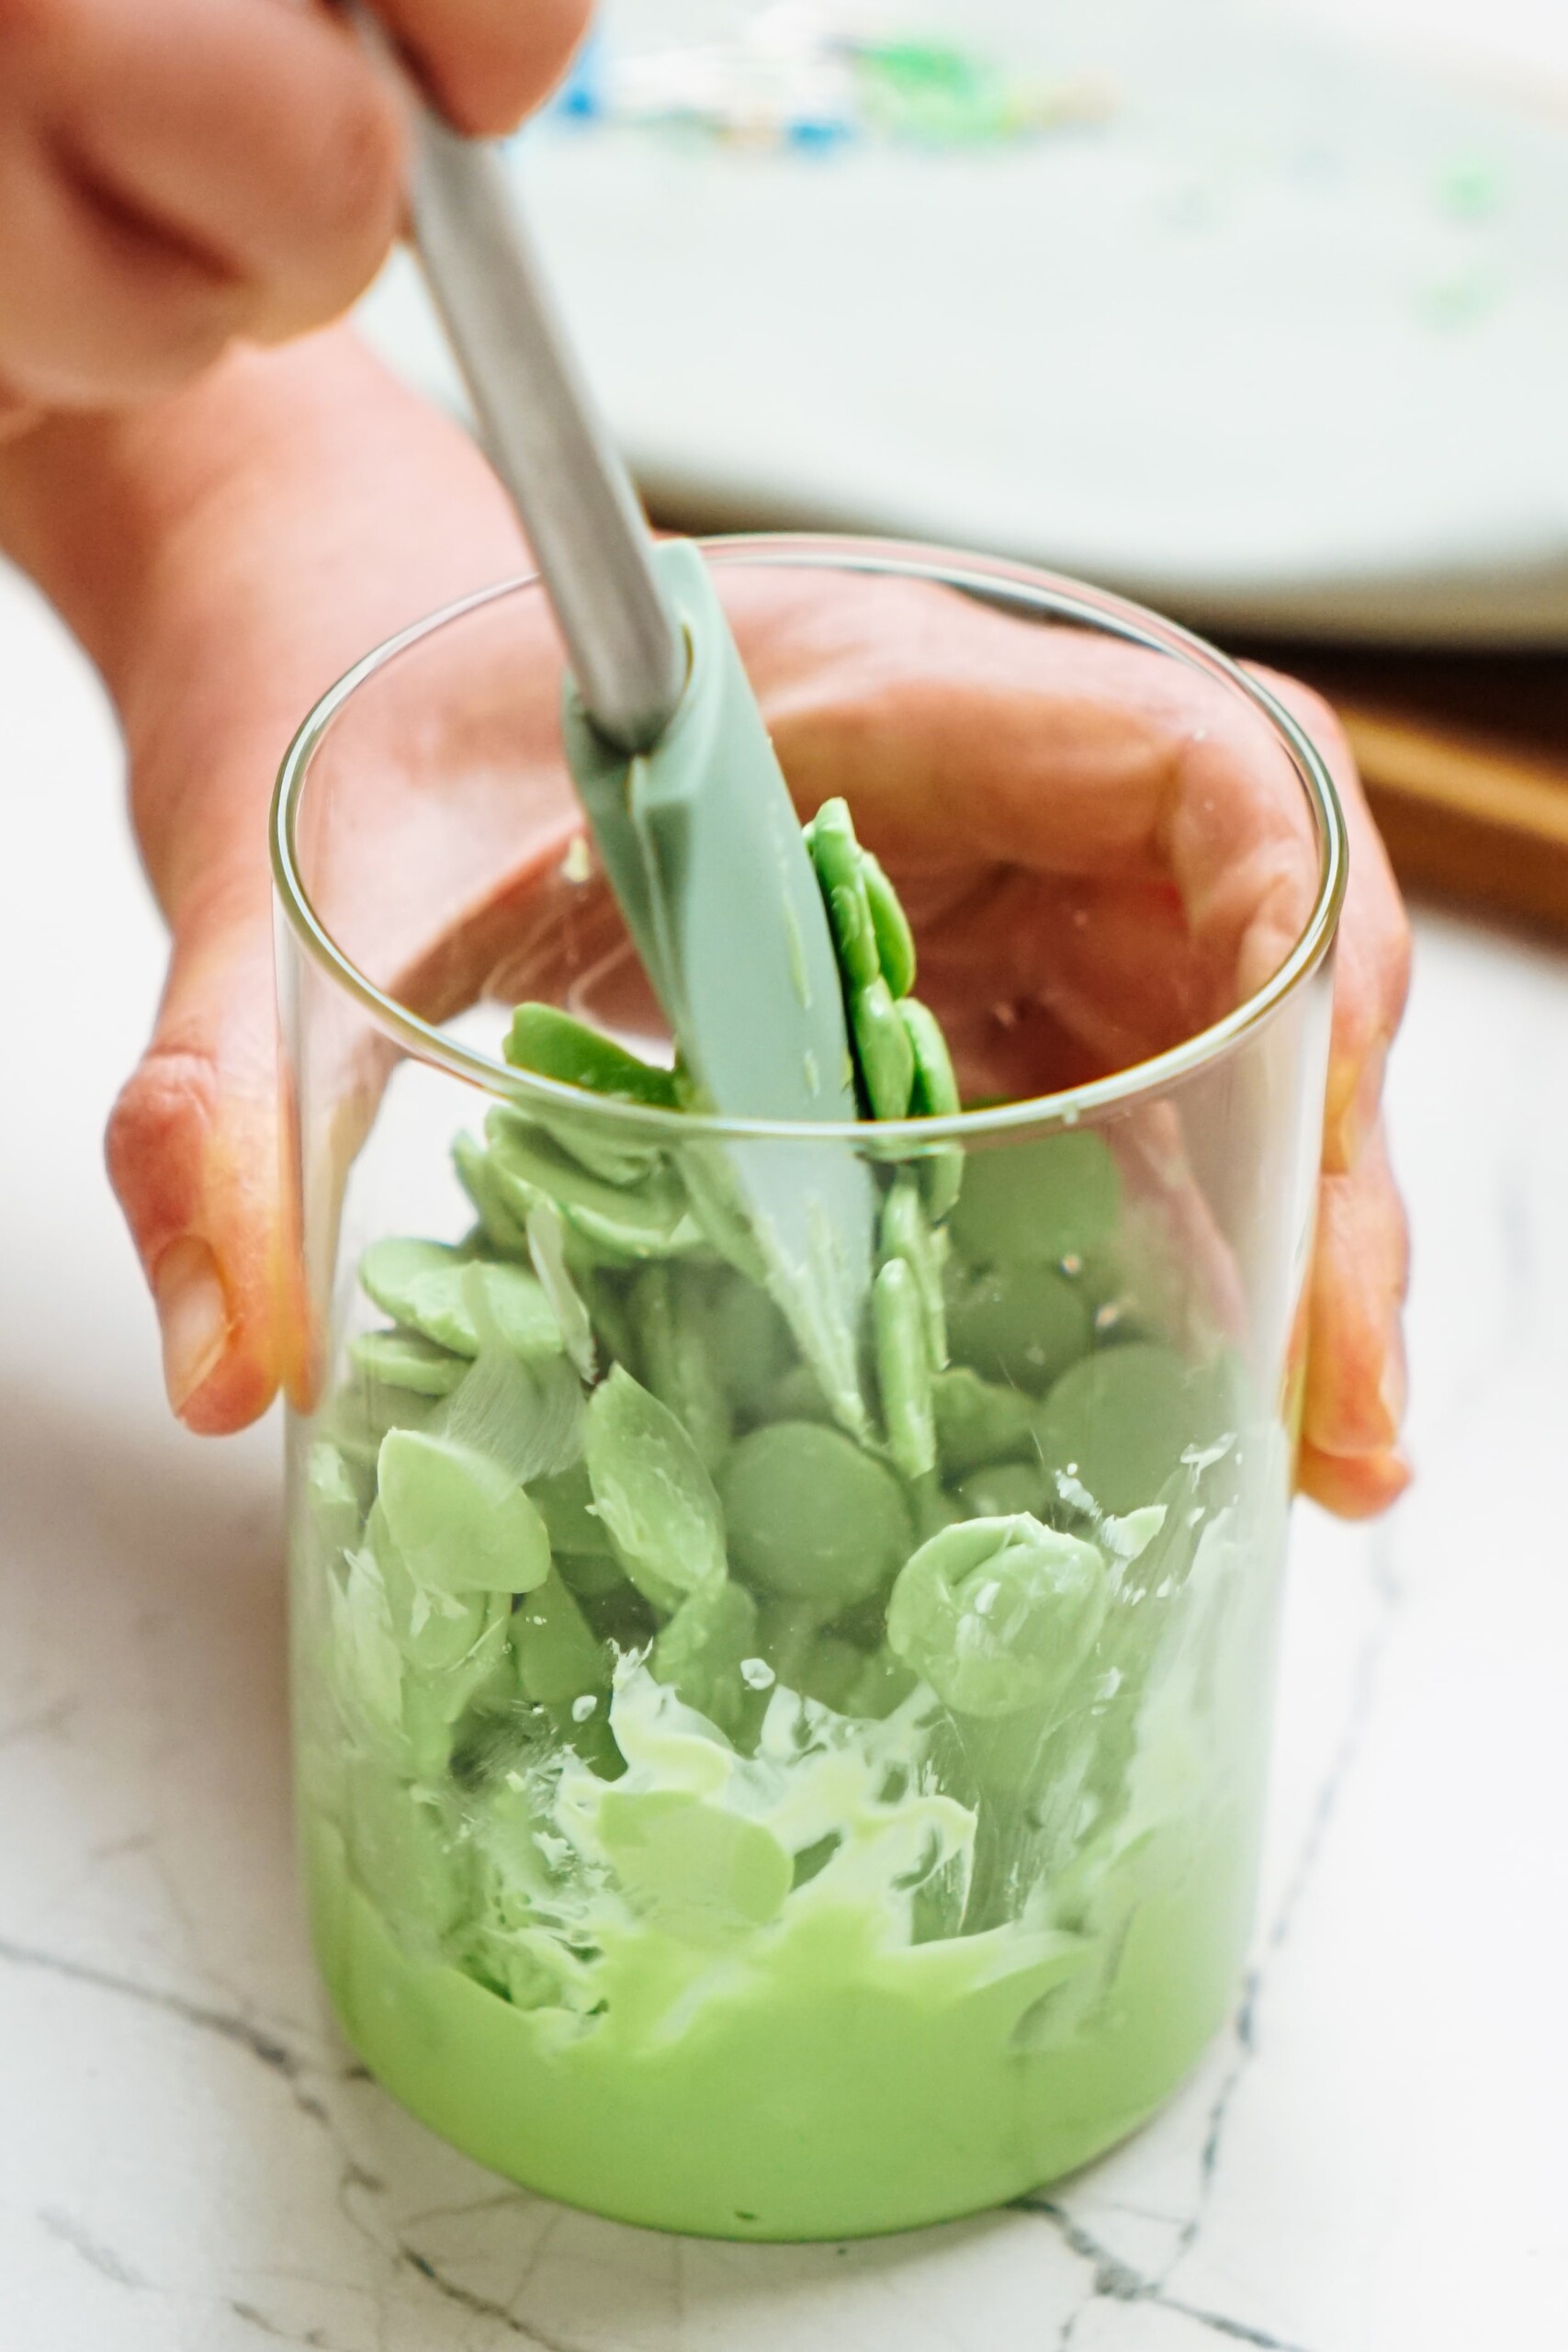
Right before you’re ready to pull out your chilled dough balls, melt the green candy melts. Microwave in a small microwaveable bowl or cup (preferably a tall one that you can easily dip the cake pop in). Start out with 30 seconds, stir, and then melt at 20-second increments until melted. Be careful not to overcook the chocolate candy melts or it’ll seize up!
Pro Tip: Work in small batches! Pour ⅓ of the bag of chocolate in the bowl and then once it’s used up, melt another ⅓ of the bag, and so on.
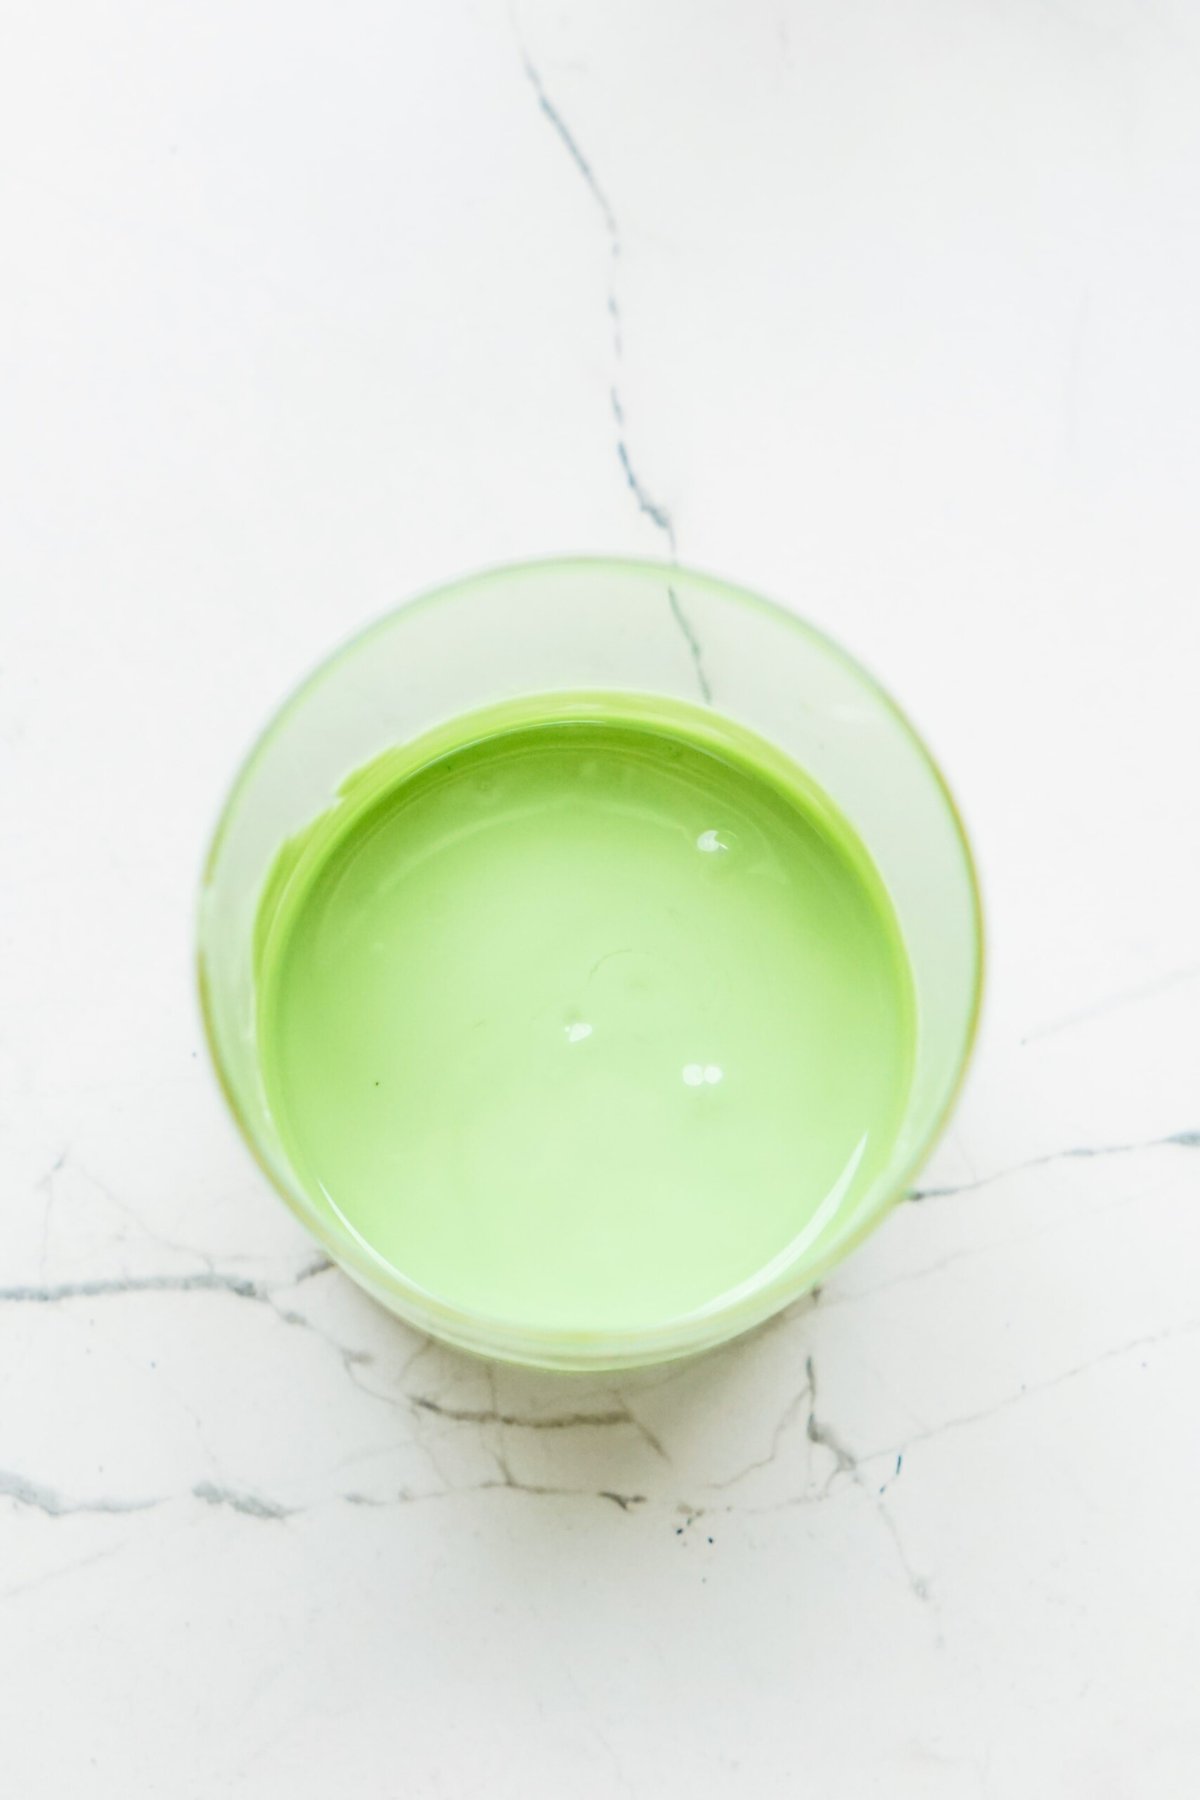
Pro Tip: If the chocolate is too thick, you can add a tiny amount of coconut oil to thin it out, just be careful not to add too much because the chocolate won’t set! You can also use Crisco shortening
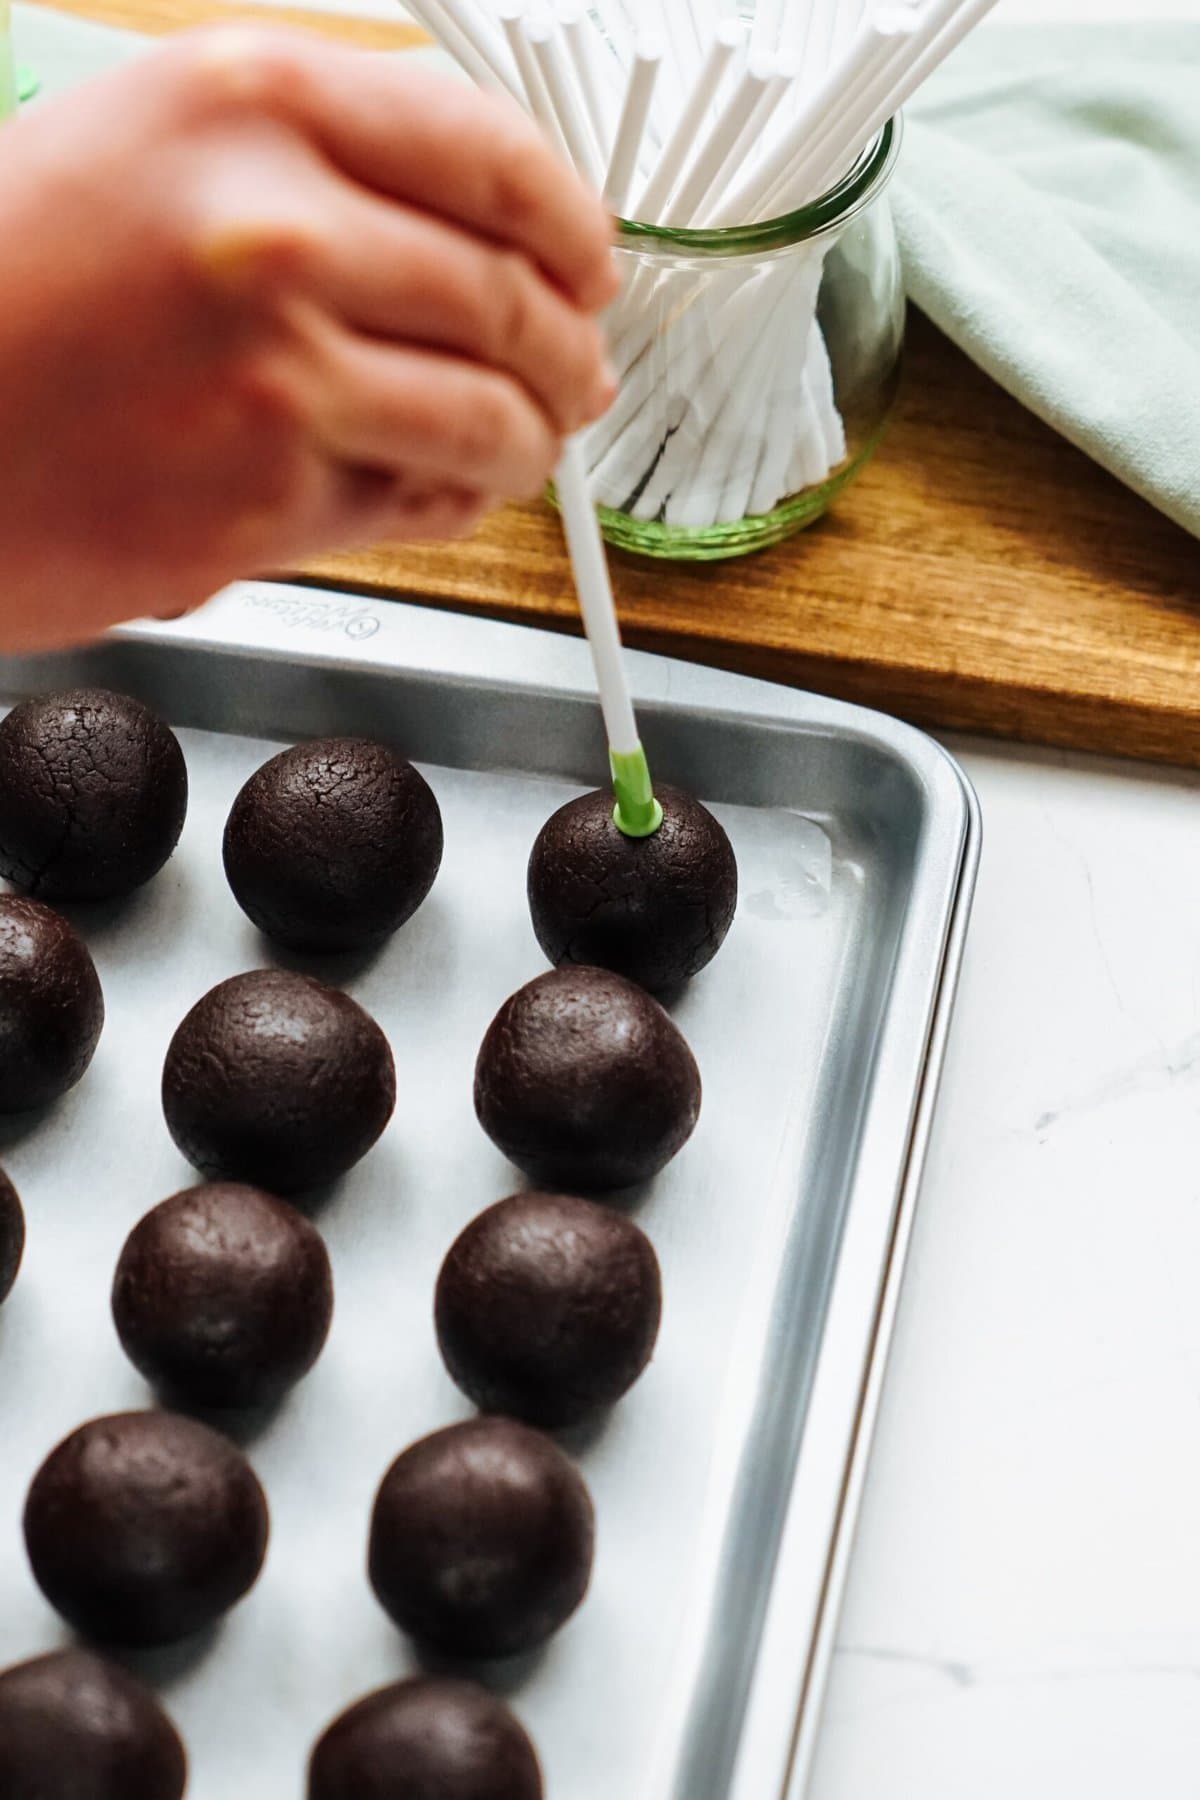
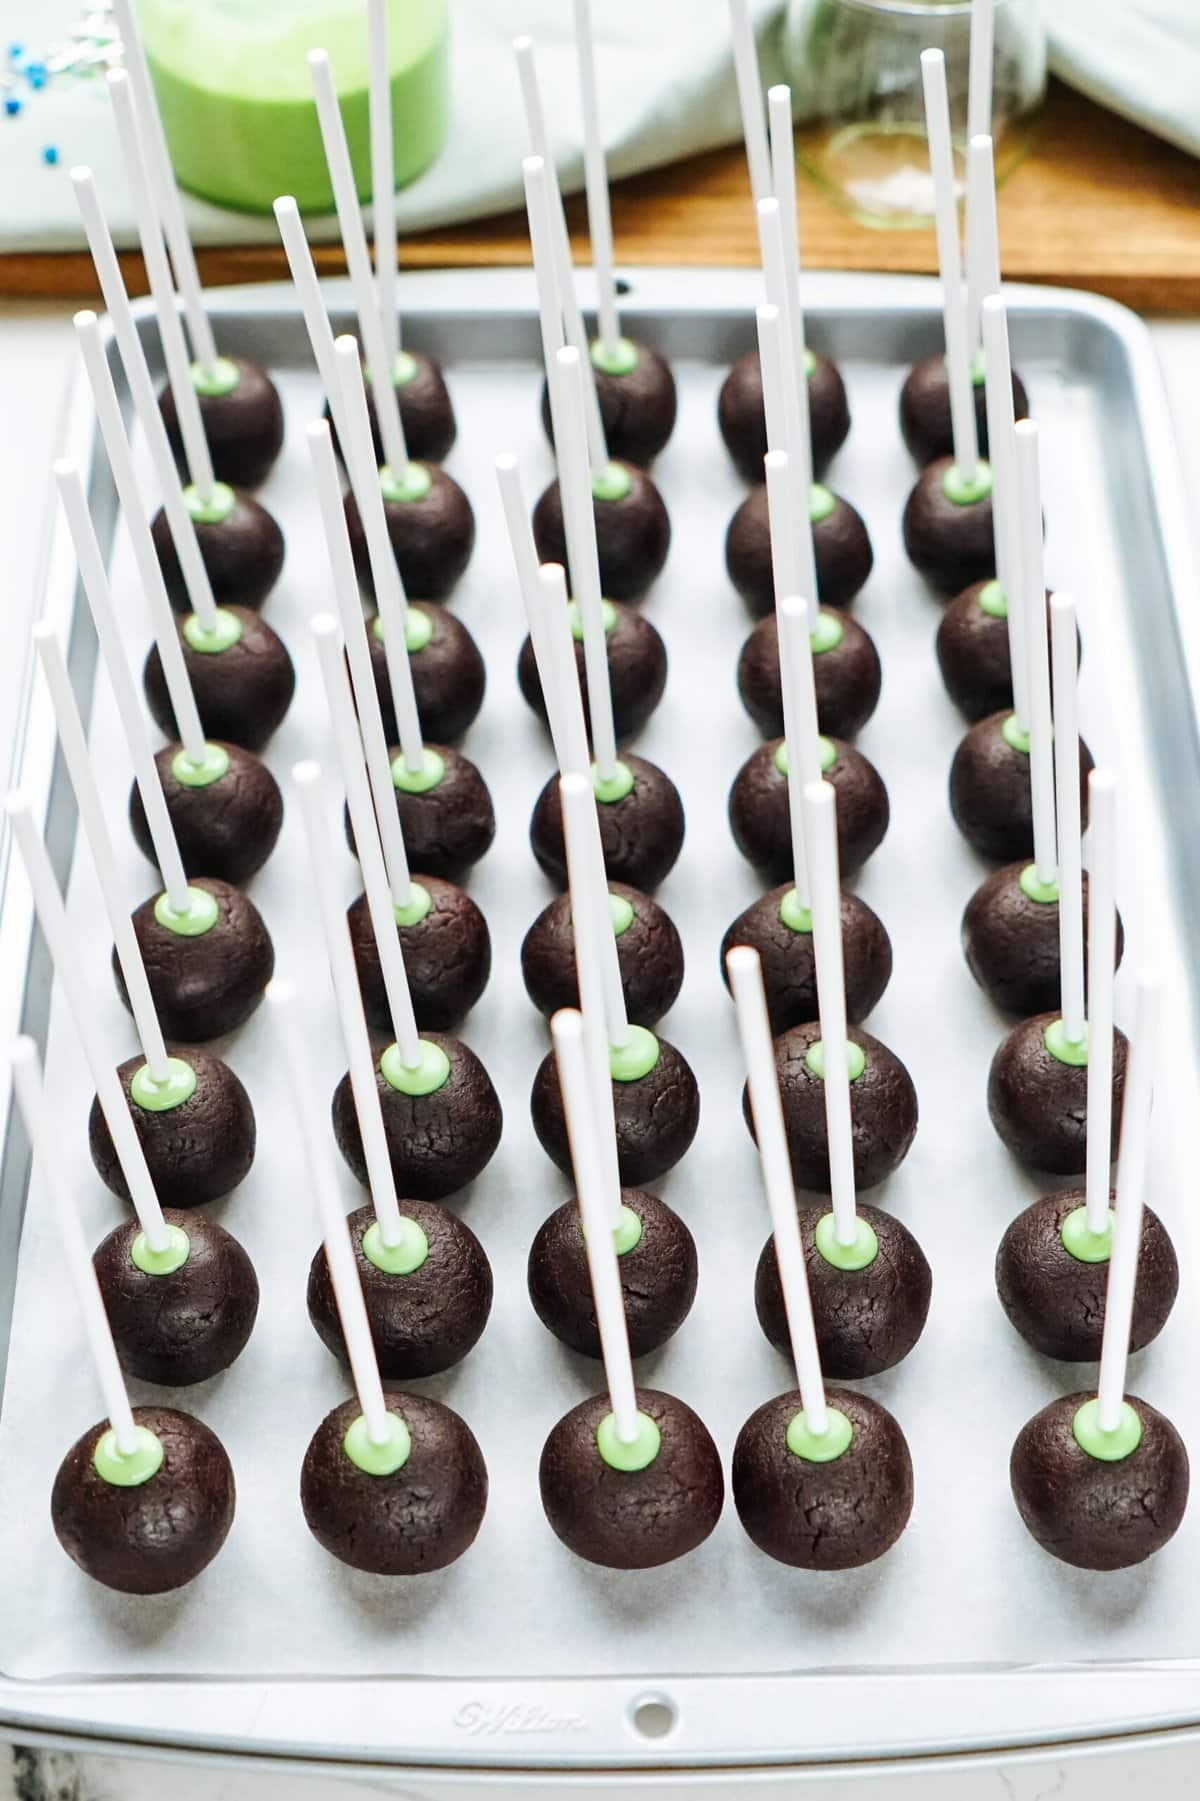
8. Insert Cake Pop Sticks into Cake Balls
Remove cake pops from the freezer. Dip the end of the stick into the melted candy melts and slide about two thirds the way through a cake pop ball. The chocolate will act as a glue for the stick. Do this with all 40 cake pop sticks, placing each one back on baking sheet as you go.
Pro Tip: If this step took you a long time to do, you may consider re-freezing your cake pops for 15 minutes or so and re-melting the chocolate. This is a general rule throughout this entire process.
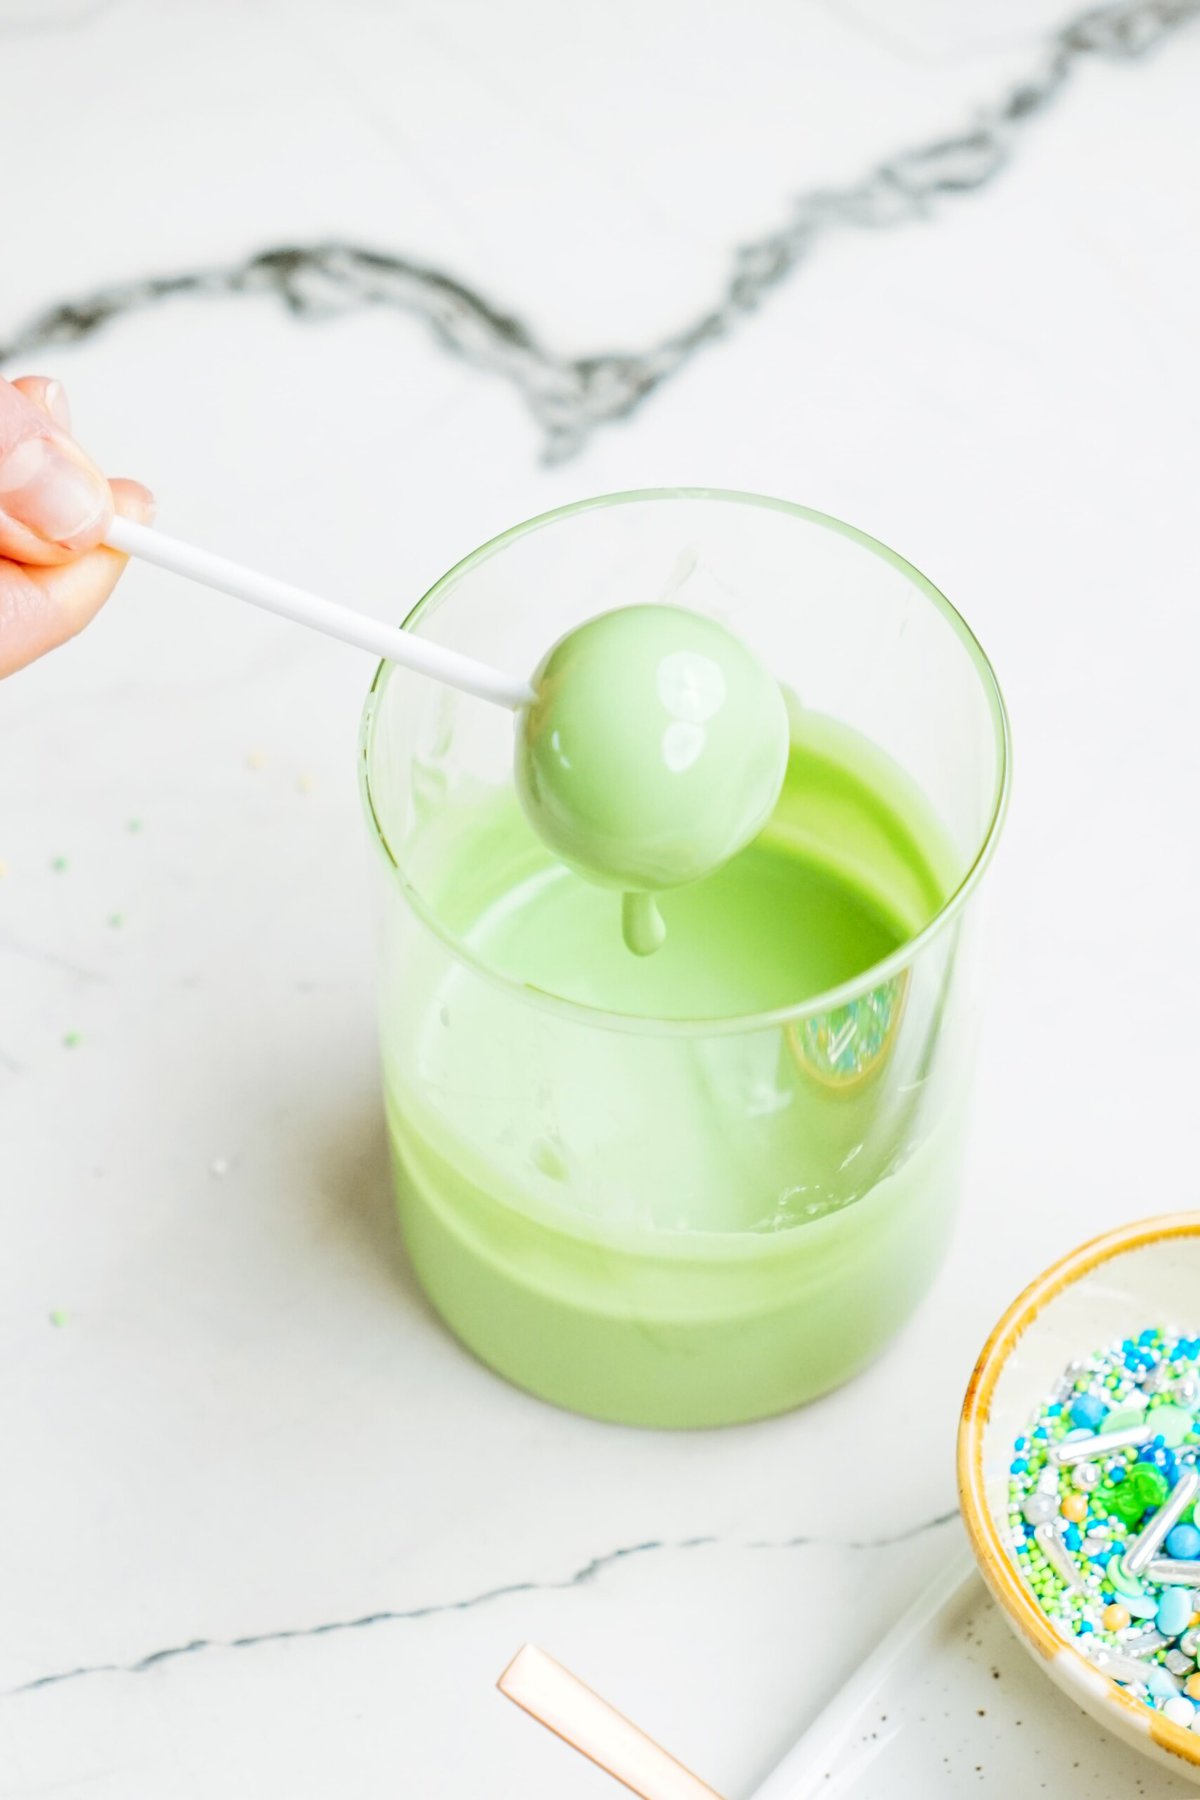
9. Time to Dip Cake Pops!
Now you’re ready to dip! Holding the cake pop by the bottom of the stick, place upside down into the cup of melted chocolate, turning a bit to get every piece of the cake ball covered. Let as much chocolate drip off as possible, gently tapping on the side of the cup to remove excess.
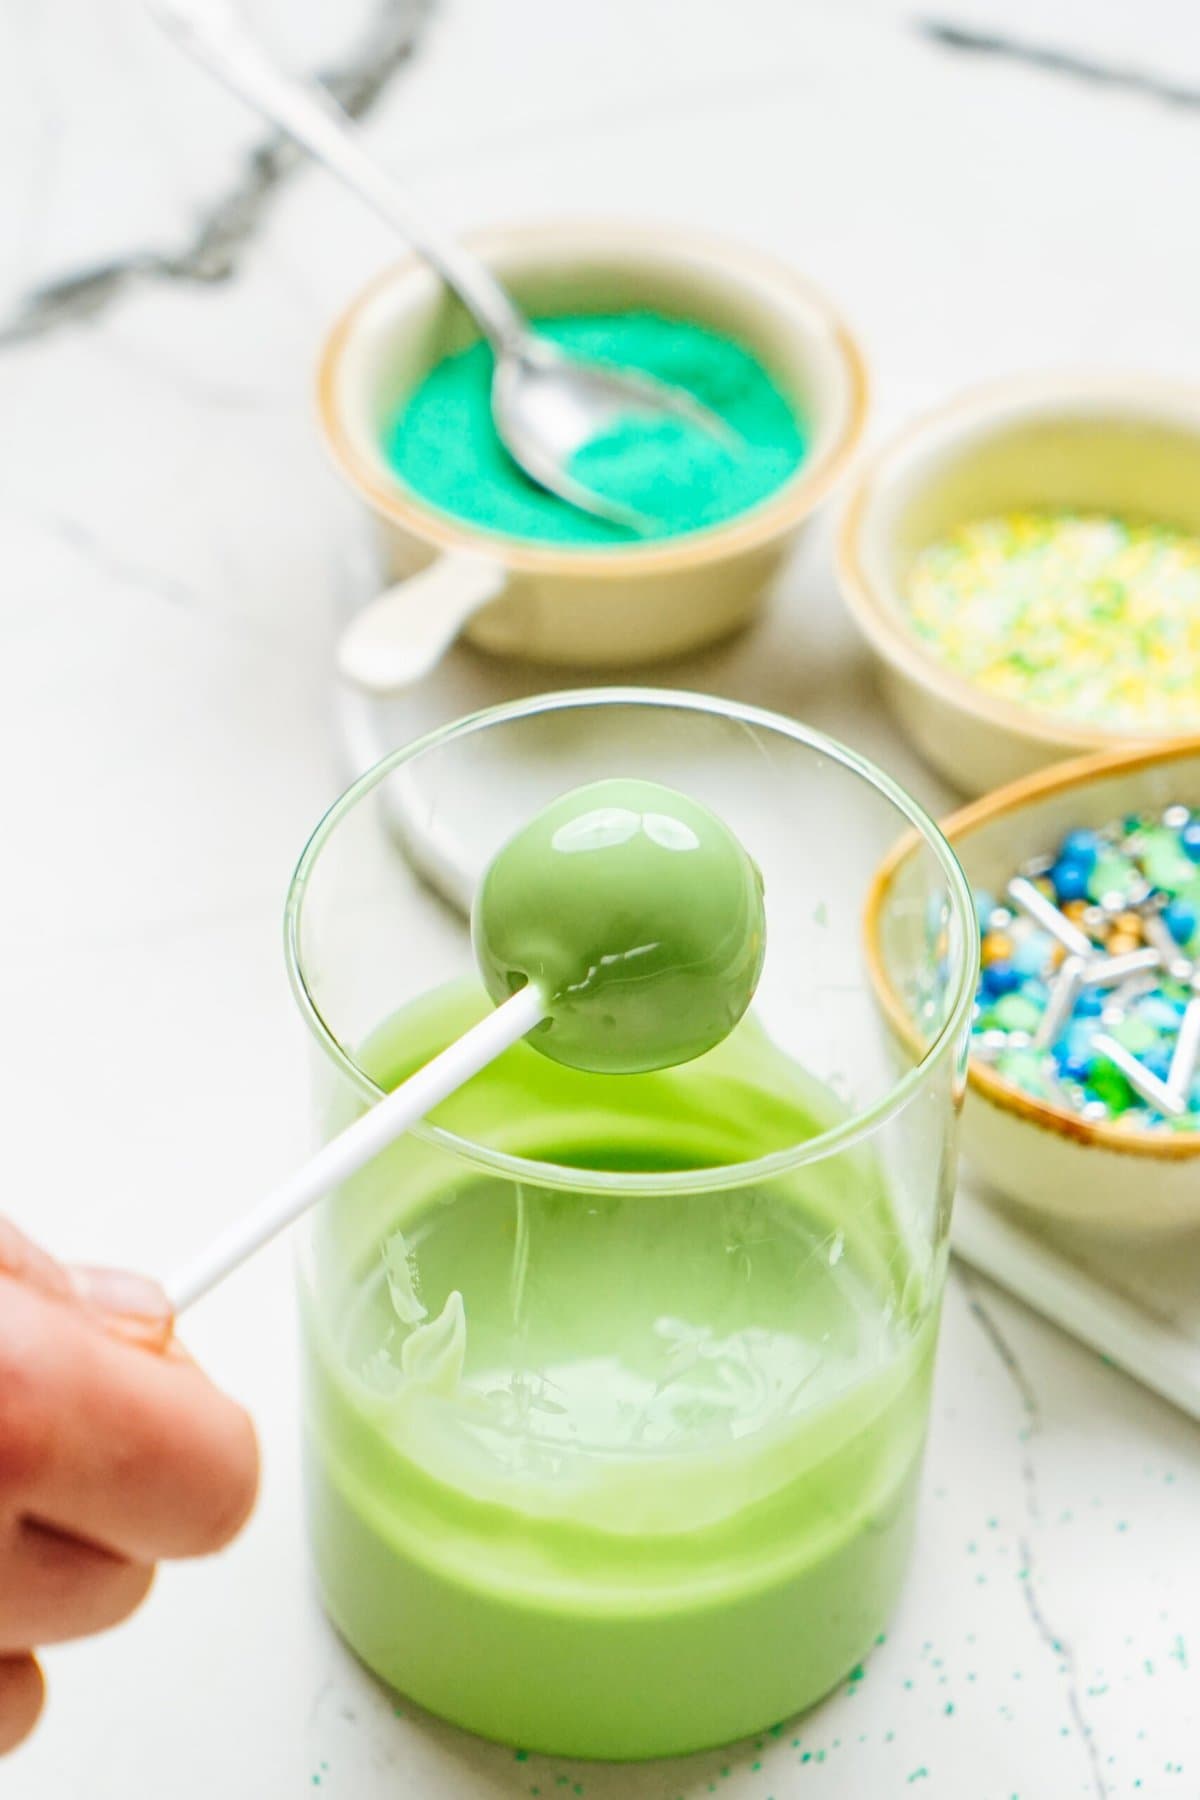
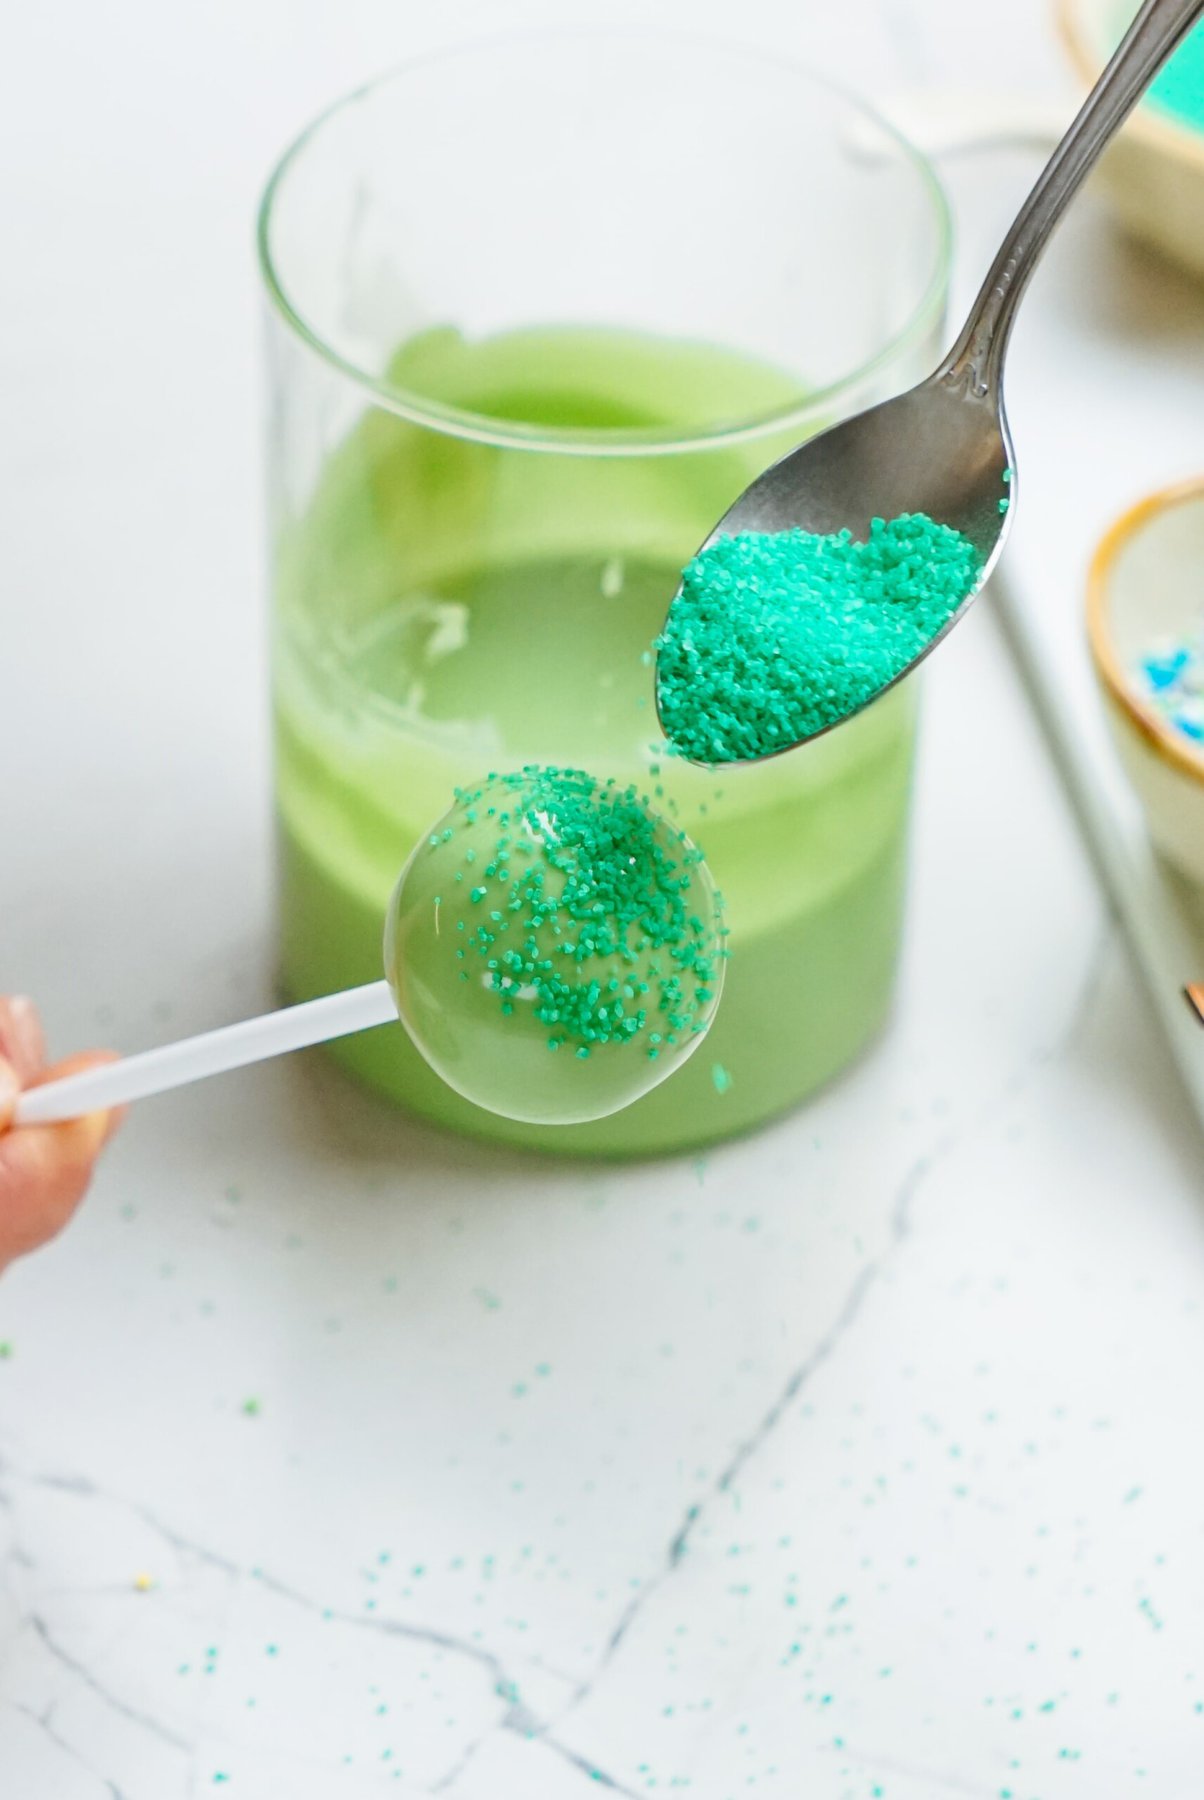
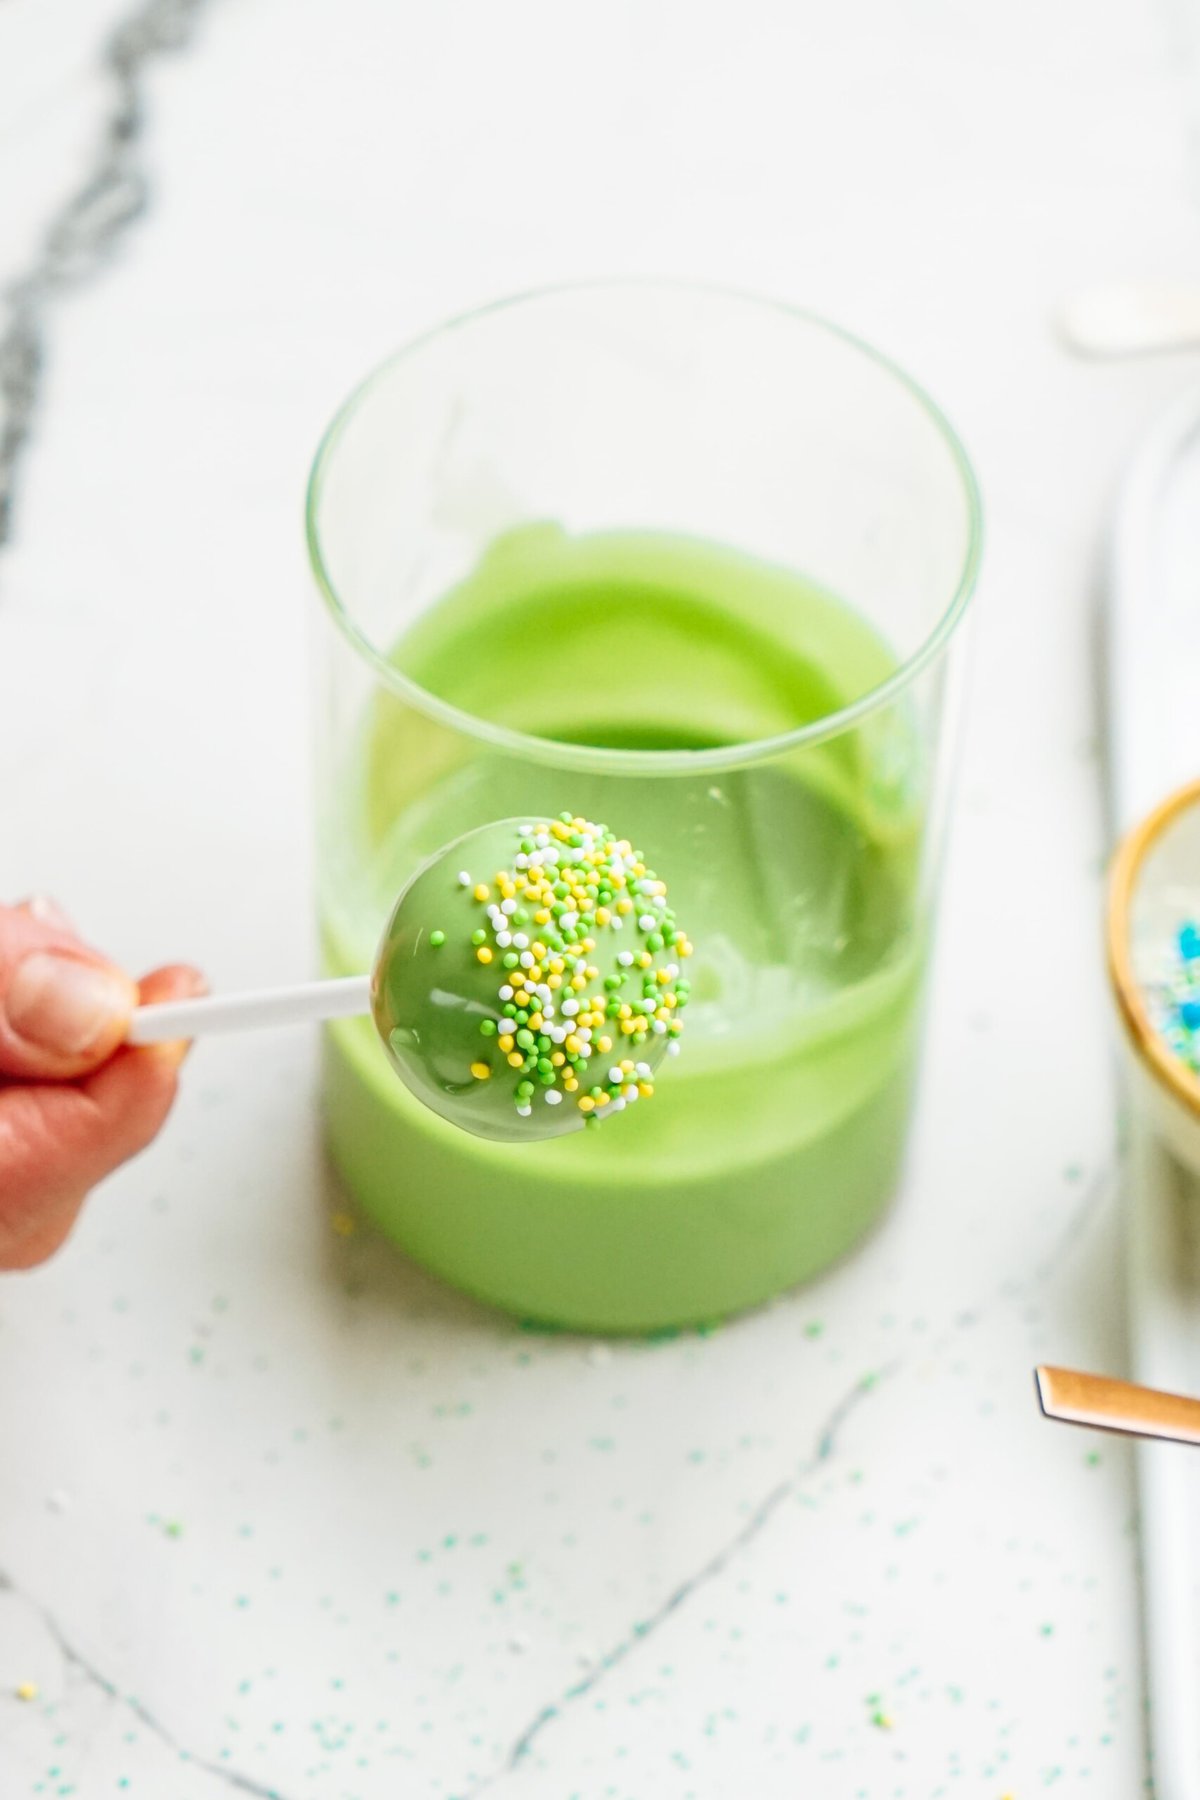
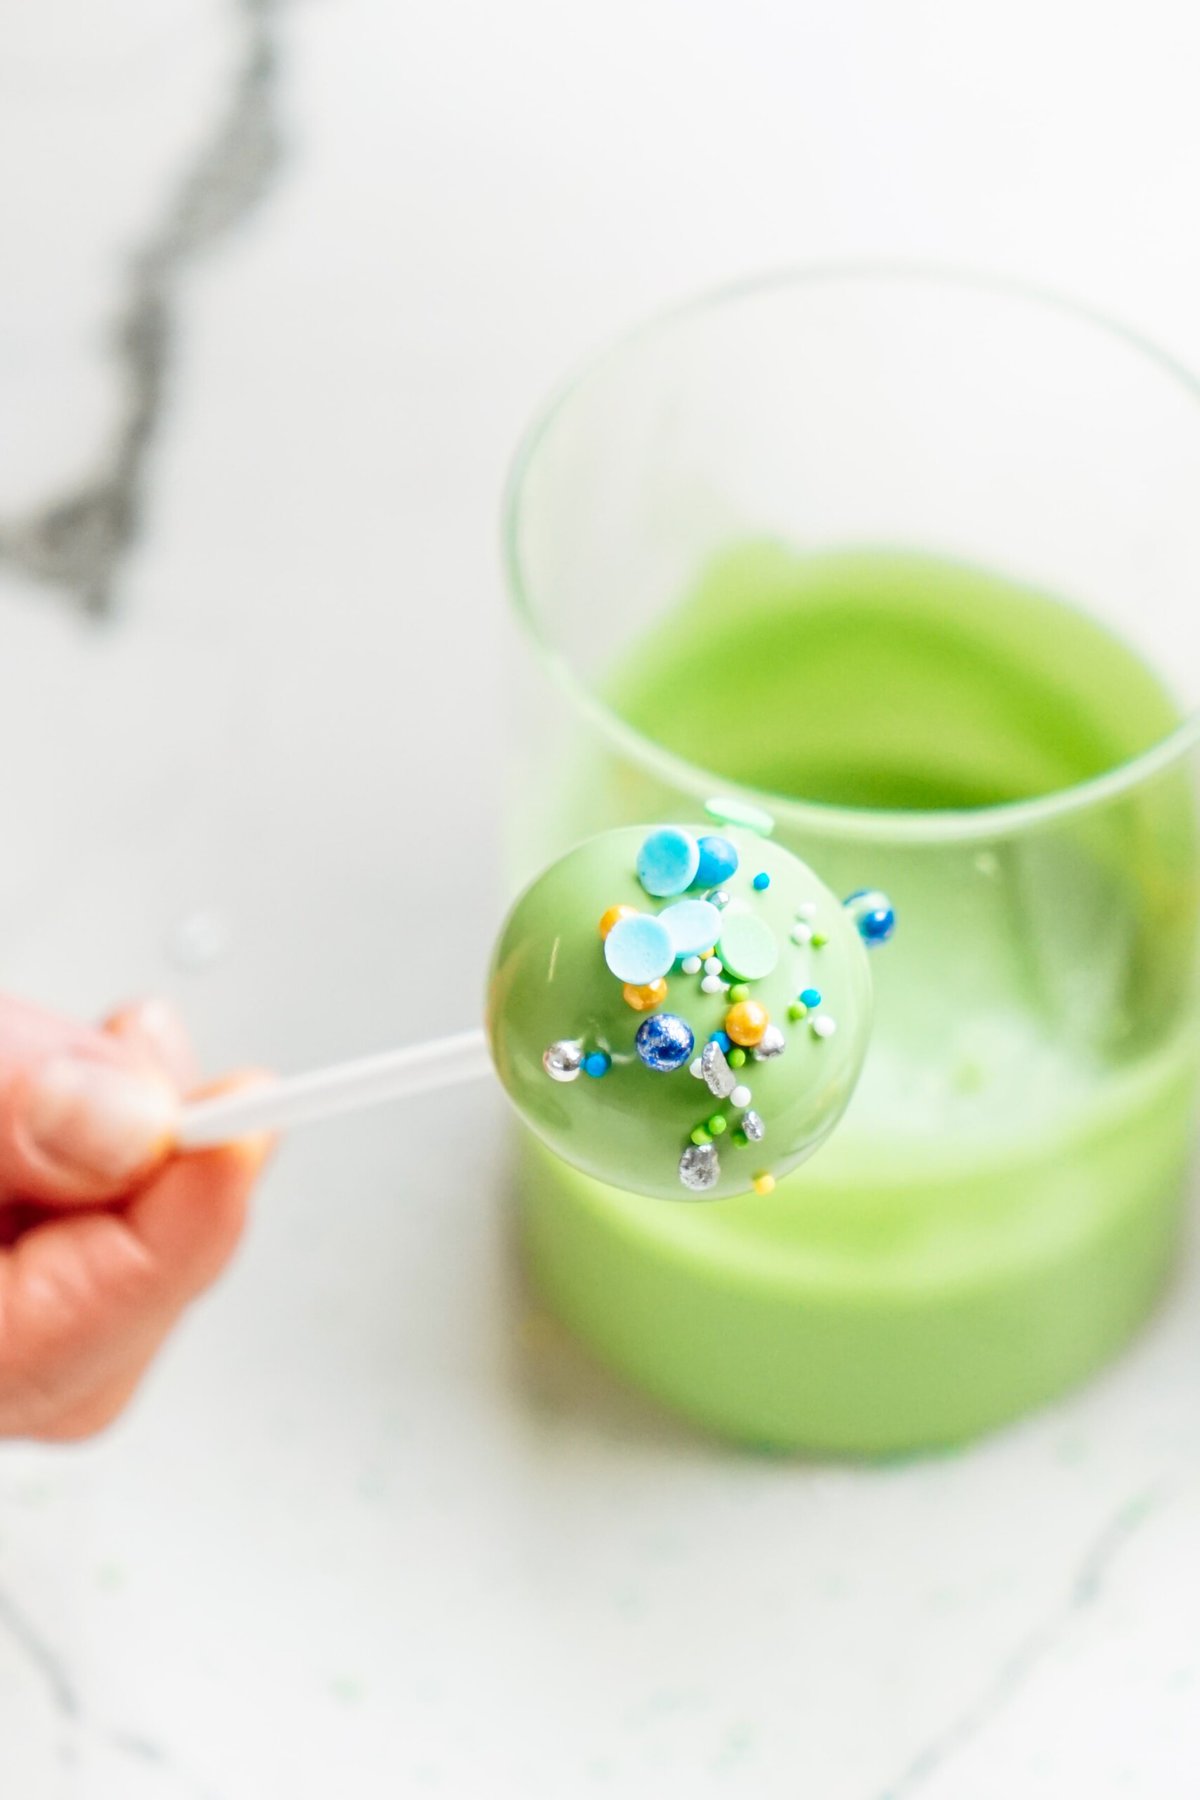
10. Decorate + Enjoy!
Moving quickly, decorate with St. Patrick’s sprinkle mix and/or jimmies before the chocolate sets. Place into a cake pop holder – cake pop up (a styrofoam block, a dish with rice to hold cake pops in place, or a box with holes, etc.). Allow to set completely (about 1 hour), serve and enjoy!
Storing Cake Pops
If you have leftover cake pops, store in an airtight plastic container in the fridge to keep them fresh and from drying out.
Make Ahead: These can be made 2-3 days in advance. Keep your St. Patrick’s Day cake pops in the refrigerator until ready to serve.
To Freeze: If you want to store and use them later, after they have dried, place in a freezer safe, airtight container or bag for up to 1-2 months! Allow to thaw in the fridge overnight.
Tips For Success Making Cake Pops
Making cake pops is so easy and with a few tips, you’ll have these made and decorated in no time!
Use a small cookie scoop:
To help you shape uniform cake truffles, use a small cookie scoop then roll with your hands. Or even a round tablespoon would work.
Use the correct amount of frosting:
Mixing too much frosting with the cake can cause the cake balls to have too much moisture and become greasy and soggy.
Melting chocolate:
You don’t need to use the double boiler method to melt your chocolate wafers. Instead, just pop the wafers in the microwave and melt in 30-second intervals. If you notice the chocolate is a little thick, add 1 teaspoon of coconut oil to help thin it out.
Dipping:
Use a deeper cup, about the size of a tall drinking glass for dipping. If you use a shallow dish, make sure you have a spoon handy to scoop up the melted chocolate and pour it over to coat evenly.
Use a cake pop stand:
Whether you buy one or make one at home, it’ll really help keep them upright so they can dry. You can make one by poking holes in a box, using a styrofoam block or put rice in a glass or smaller mason jar.
More Chocolate Treats to Try:
- Chocolate Covered Pretzels
- Chocolate Swiss Roll Cake
- Chocolate Mint Cookies
- Chocolate Cupcakes with Vanilla Frosting
More Cake Pop Recipes to Make!
This chocolate cake balls recipe is an easy St. Patrick’s Day dessert to surprise your friends and family with this year, plus they are so much fun to make! The printable recipe card is below. Enjoy, friends!
If you make this recipe, I would really appreciate it if you would give it a star rating and leave your review in the comments! If you have a picture of your finished dish, post it on Instagram using the hashtag #laurenslatest and tagging me @laurens_latest.

St. Patrick’s Day Cake Pops Recipe
My St. Patrick's Day Cake Pops Recipe brings a touch of Irish luck to your festivities, with a decadent chocolate center coated in beautiful emerald green chocolate, topped with your choice festive decorations.
Equipment
- 40 cake pop sticks
- cake pop holder optional
Ingredients
for the cake
- 15.25 oz Chocolate Cake Mix*
- 3 large eggs
- 1/2 cup vegetable oil
- 1 cup water
- 1 cup chocolate frosting or frosting of choice, store-bought or homemade
for the decorations
- 10 oz green chocolate melting wafers
- St. Patrick's Day sprinkles and jimmies
Instructions
- Preheat oven to 350° F (or whatever your cake mix requires).
- Mix and bake cake mix according to package directions. Depending on which brand of cake mix you use, you may need to change the measurements for eggs, oil, and water listed.

- While the cake is baking, make the frosting (if using homemade). Allow baked cake to cool completely.
- Remove cooled cake from the pans and using a large sharp knife, remove the dark outer hardened layer of the cake. Discard or save for snacking. This is an optional step but I think it makes for a better ball-rolling experience if the hard outer edges are removed.
- In a stand mixer with the paddle attachment (or using a hand mixer), crumble cooled cake. Mix in frosting. At this point you can add in some sprinkles if desired. The mixture should be moist and stick together easily. If the dough is too dry, add in more frosting a tablespoon at a time.
- Line baking sheet with parchment paper and using a cookie scoop, scoop cake balls onto the baking sheet. Roll each ball with your hands. If the dough sticks to your hands, you’ll need to wash them occasionally.
- Cover with plastic wrap and freeze cake balls for about 30 minutes. Remove from freezer and give each ball a second roll with the palm of your hands. This will ensure an evenly round ball. Cover and place back into freezer for 1 hour.
- Right before you're ready to pull out your cake pops, melt chocolate wafers. Microwave in a microwave-safe bowl or cup (preferably a tall one that you can easily dip the cake pop in). Start out with 30 seconds, stir, and then melt at 20-second increments until melted. Be careful not to overcook the chocolate or it’ll seize up!**
- If the chocolate is too thick, you can add a tiny amount of coconut oil to thin it out, just be careful not to add too much because the chocolate won’t set! You can also use Crisco shortening.
- Remove cake pops from the freezer. Dip the tip of a cake pop stick into the melted chocolate and slide about two thirds the way through a cake pop ball. The chocolate will act as a glue for the stick. Do this with all 40 cake pop sticks, placing each one back on baking sheet as you go.
- If this step took you a long time to do, you may consider re-freezing your cake pops for 15 minutes or so and re-melting the chocolate. This is a general rule throughout this entire process.
- Now you're ready to dip! Holding the cake pop by the bottom of the stick, place upside down into the cup of melted chocolate, turning a bit to get every piece of the cake ball covered.
- Let as much chocolate drip off as possible, gently tapping on the side of the cup to remove excess.
- Moving quickly, decorate with sprinkles and/or jimmies before the chocolate sets.

- Place into a cake pop holder – cake pop up (a styrofoam block, a dish with rice to hold cake pops in place, or a box with holes, etc.).
- Allow to set completely, serve and enjoy!
Video
Notes
*The eggs, water and oil ingredients listed after the cake mix are what the cake mix requires according to package directions. They are NOT in addition to those ingredients. Depending on which brand of cake mix you use, these ingredients may vary.
**Work in small batches! Pour ⅓ of the bag of chocolate in the bowl and then once it’s used up, melt another ⅓ of the bag, and so on.
Nutrition
Calories: 134kcalCarbohydrates: 16gProtein: 1gFat: 8gSaturated Fat: 2gPolyunsaturated Fat: 2gMonounsaturated Fat: 2gTrans Fat: 0.02gCholesterol: 14mgSodium: 105mgPotassium: 72mgFiber: 0.3gSugar: 11gVitamin A: 21IUCalcium: 24mgIron: 1mg
Rate This RecipePlease consider Leaving a 5-Star Review!