This post may contain affiliate sales links. Please read my disclosure policy.
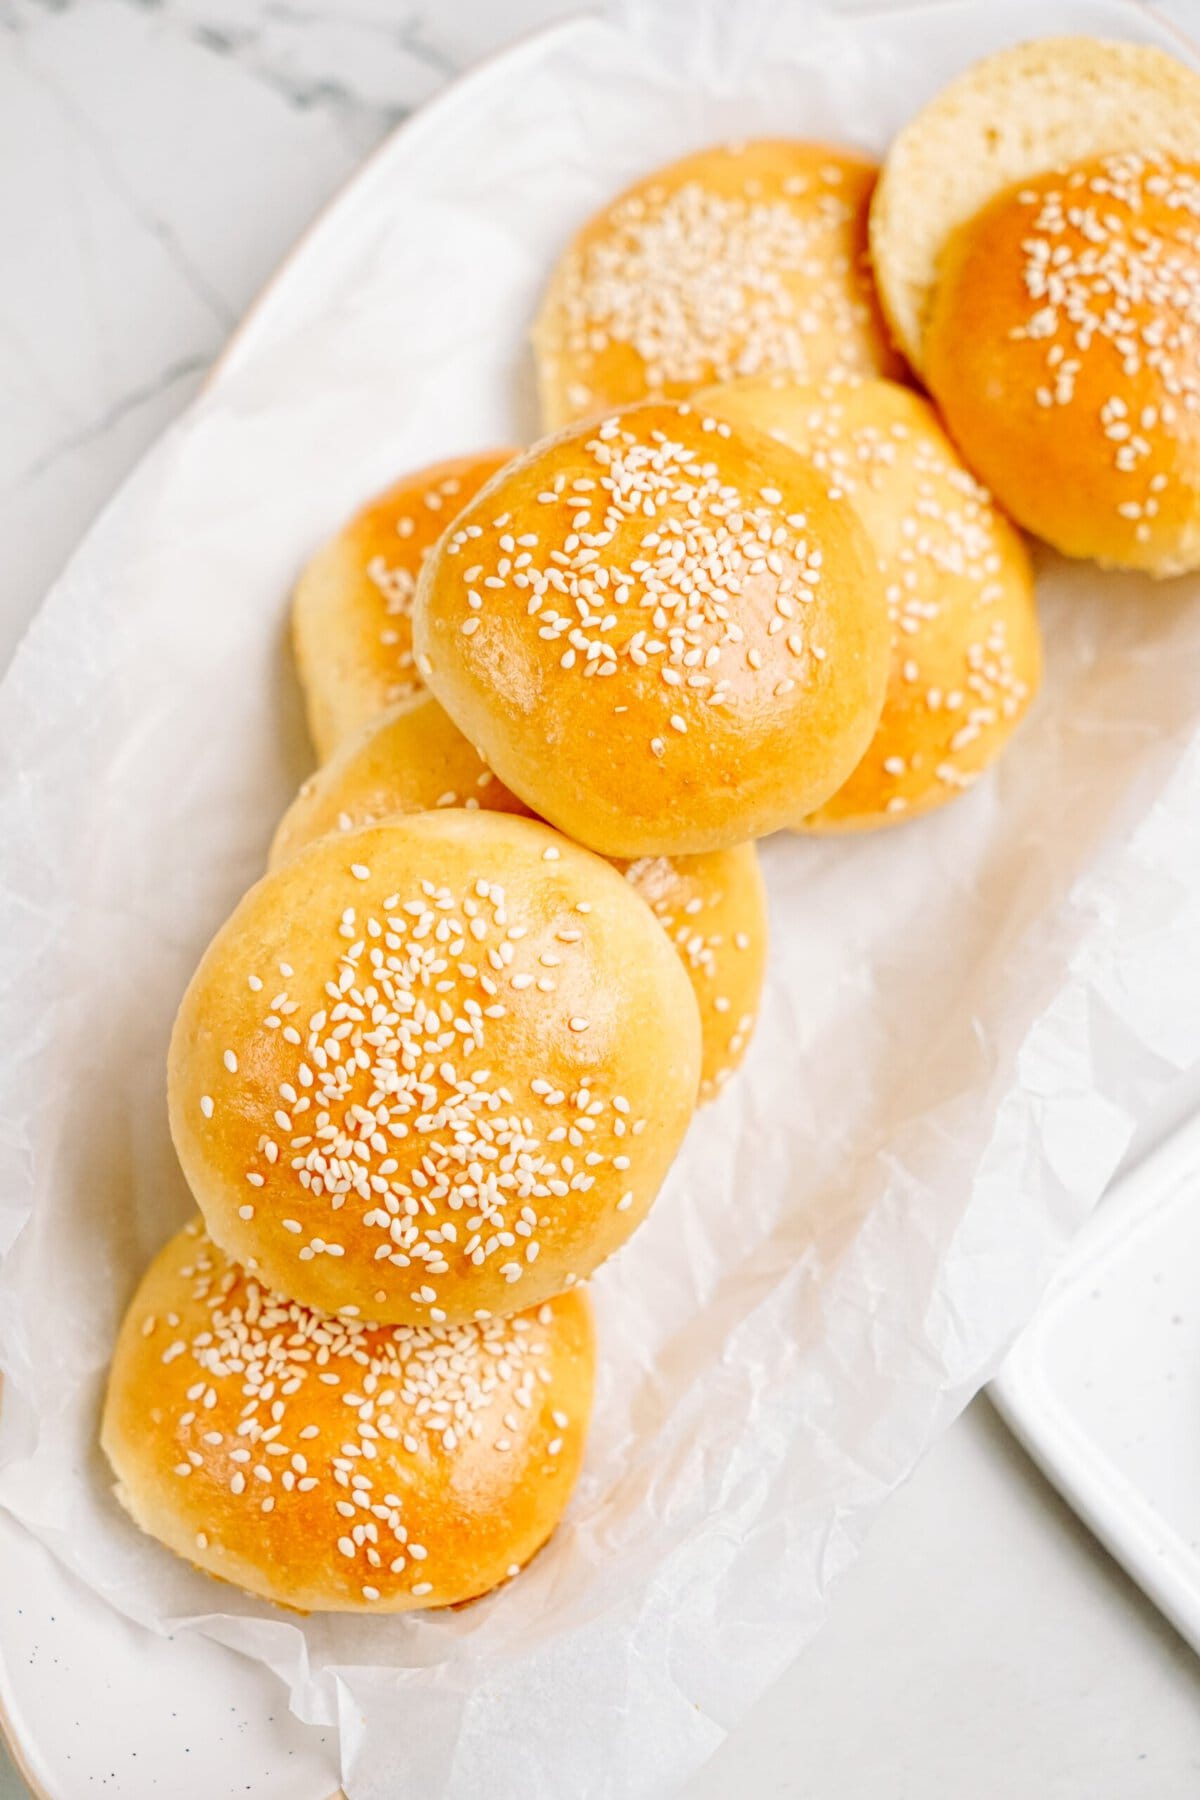
Whip up these fluffy, golden Slider Buns at home with simple ingredients and a straightforward process. Perfect for mini cheeseburger sliders, pork sliders and more! They’re sure to be a crowd-pleaser and oh so much better than store-bought!
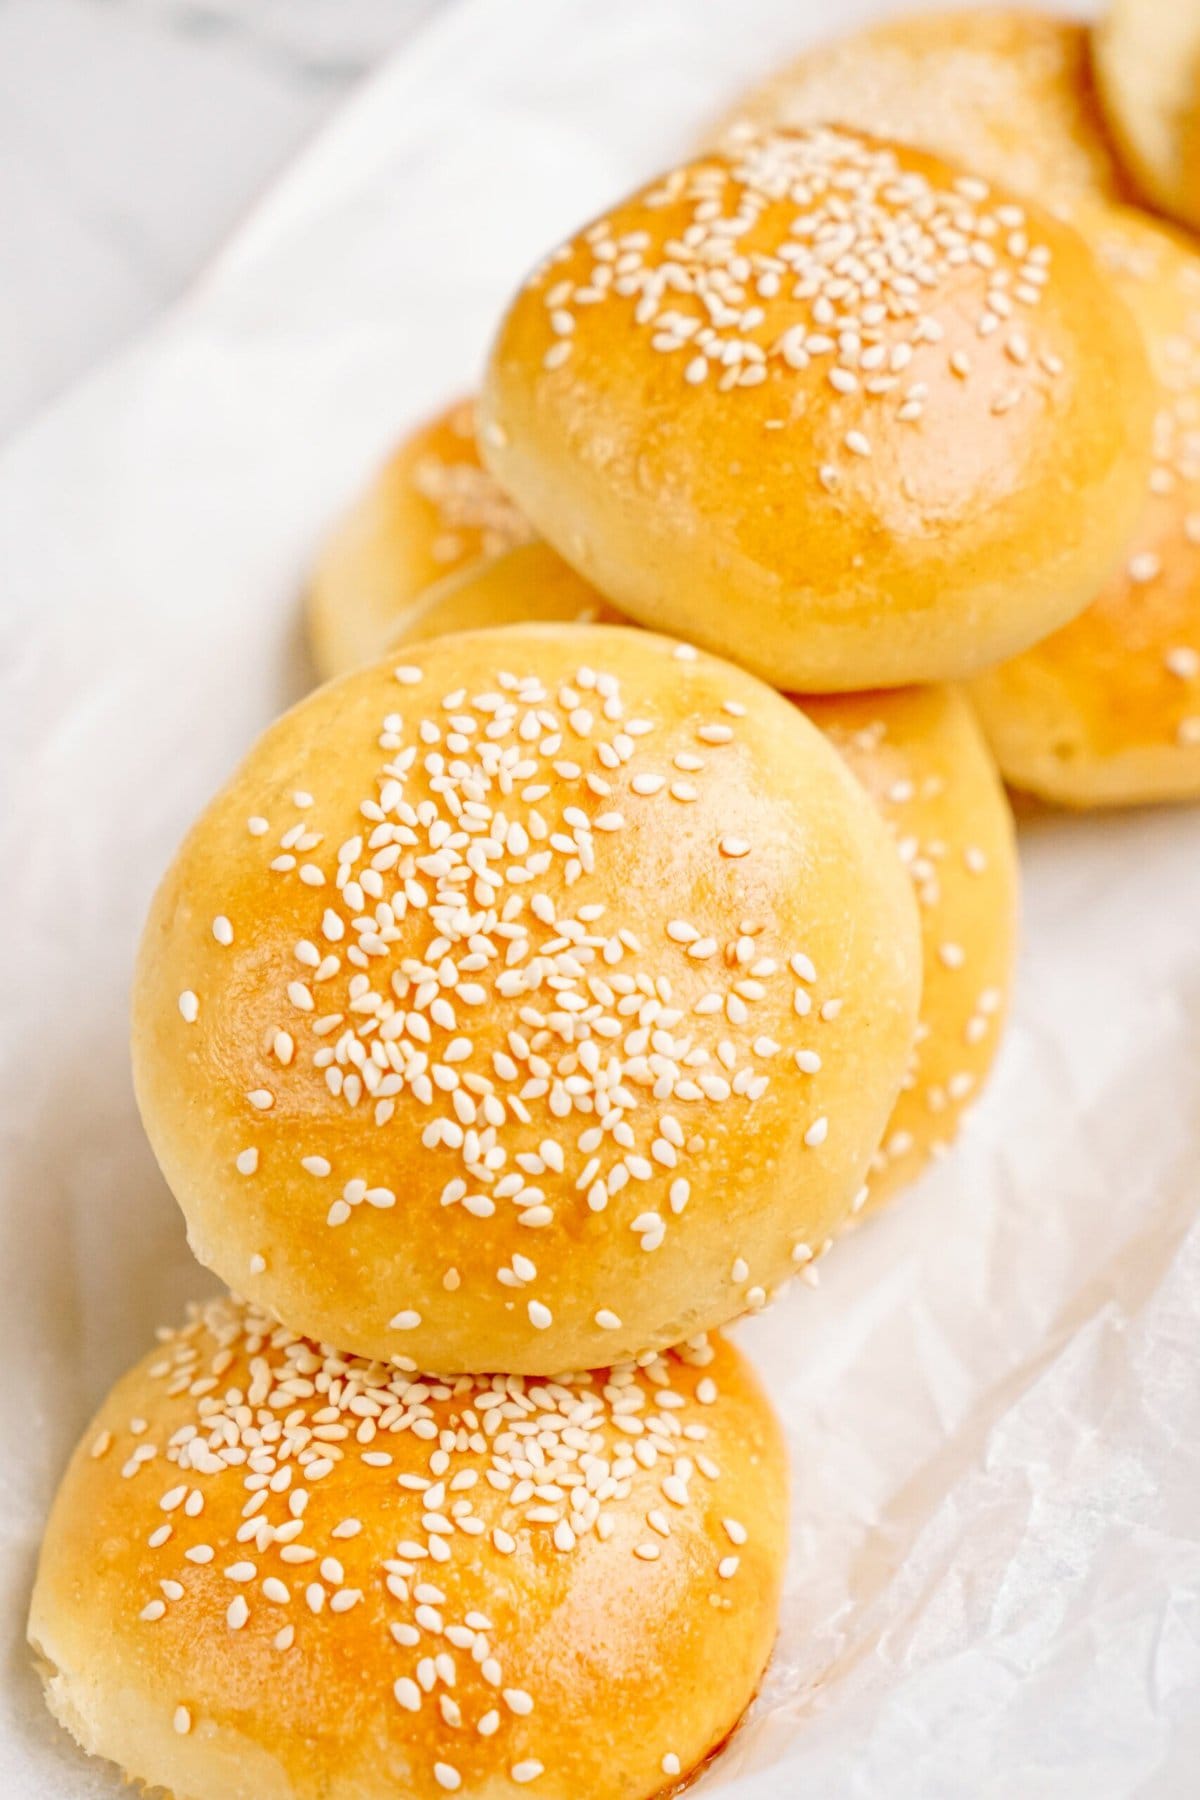
Why You’ll Love This Slider Buns Recipe
Making your own slider buns isn’t difficult in the least…it’s just a bit time consuming. Just like any other bread product, you knead it, let it rise, shape it, let it rise again, and bake. 2-ish hours. Easy work, but you do have to wait. Worth the wait though, because you’ll know every ingredient you put into these and they will be fresh, warm, delicious, fabulous and tasty little devils! These slider rolls are perfect for mini shredded chicken sandwiches, sloppy joes, hamburgers or pulled pork.
Ingredients Needed For Slider Buns
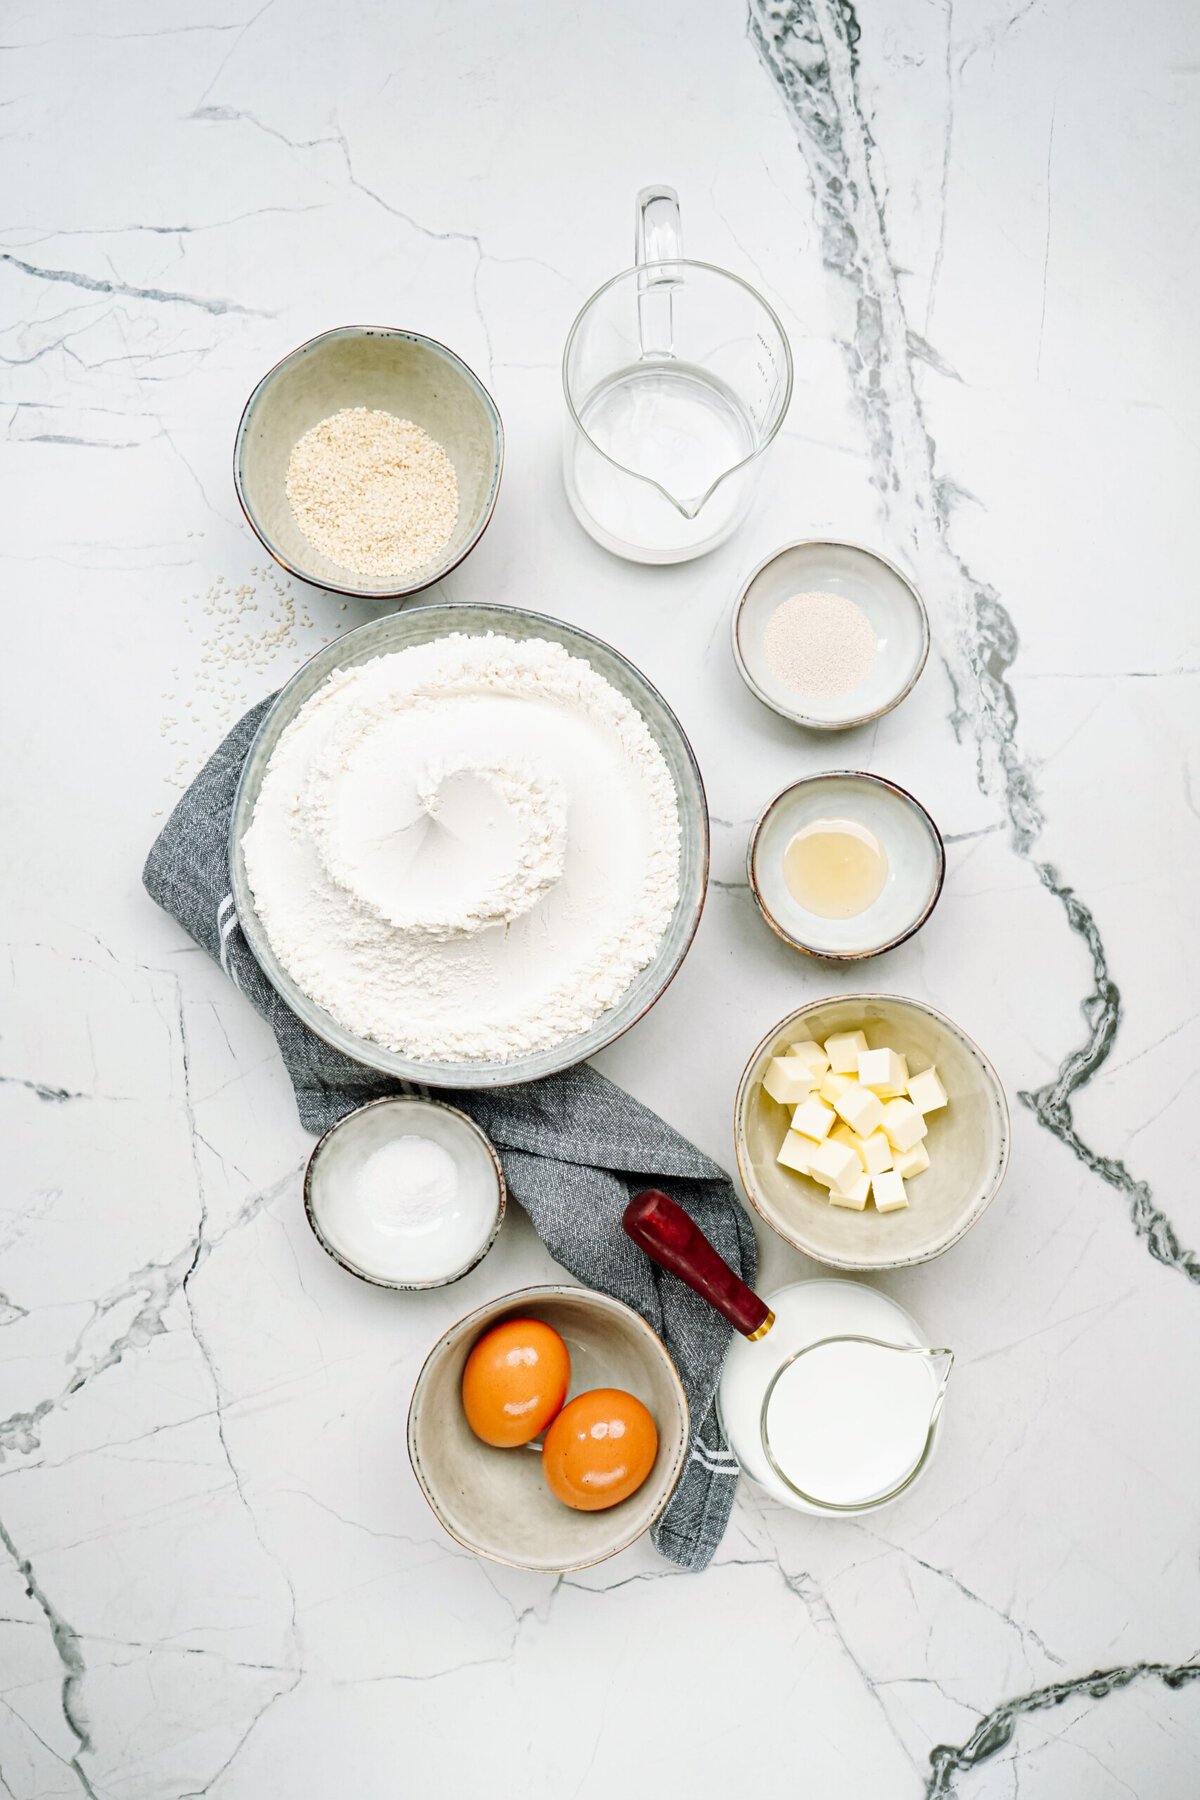
Just a few ingredients are needed for these homemade buns and most if not all are pantry items you probably already have on hand! Here is what you need:
- Warm water: Aim for 107-110° F to activate the yeast.
- Quick rise active dry yeast: Ensures a fast first rise.
- Honey or sugar: Feeds the yeast to allow it to rise.
- Butter: Melted and cooled, it adds richness.
- Milk: Use whole milk for a tender crumb.
- Eggs: Provides structure for the buns.
- Salt: Balances the flavors.
- All-purpose flour: The base of the bread dough. Bread flour works well here too!
- Sesame seeds: For that classic slider bun look.
Variations
- Whole Wheat Flour: Substitute half the all-purpose flour for a healthier option.
- Poppy Seeds: Swap out sesame seeds for a different topping.
How to Make Slider Buns
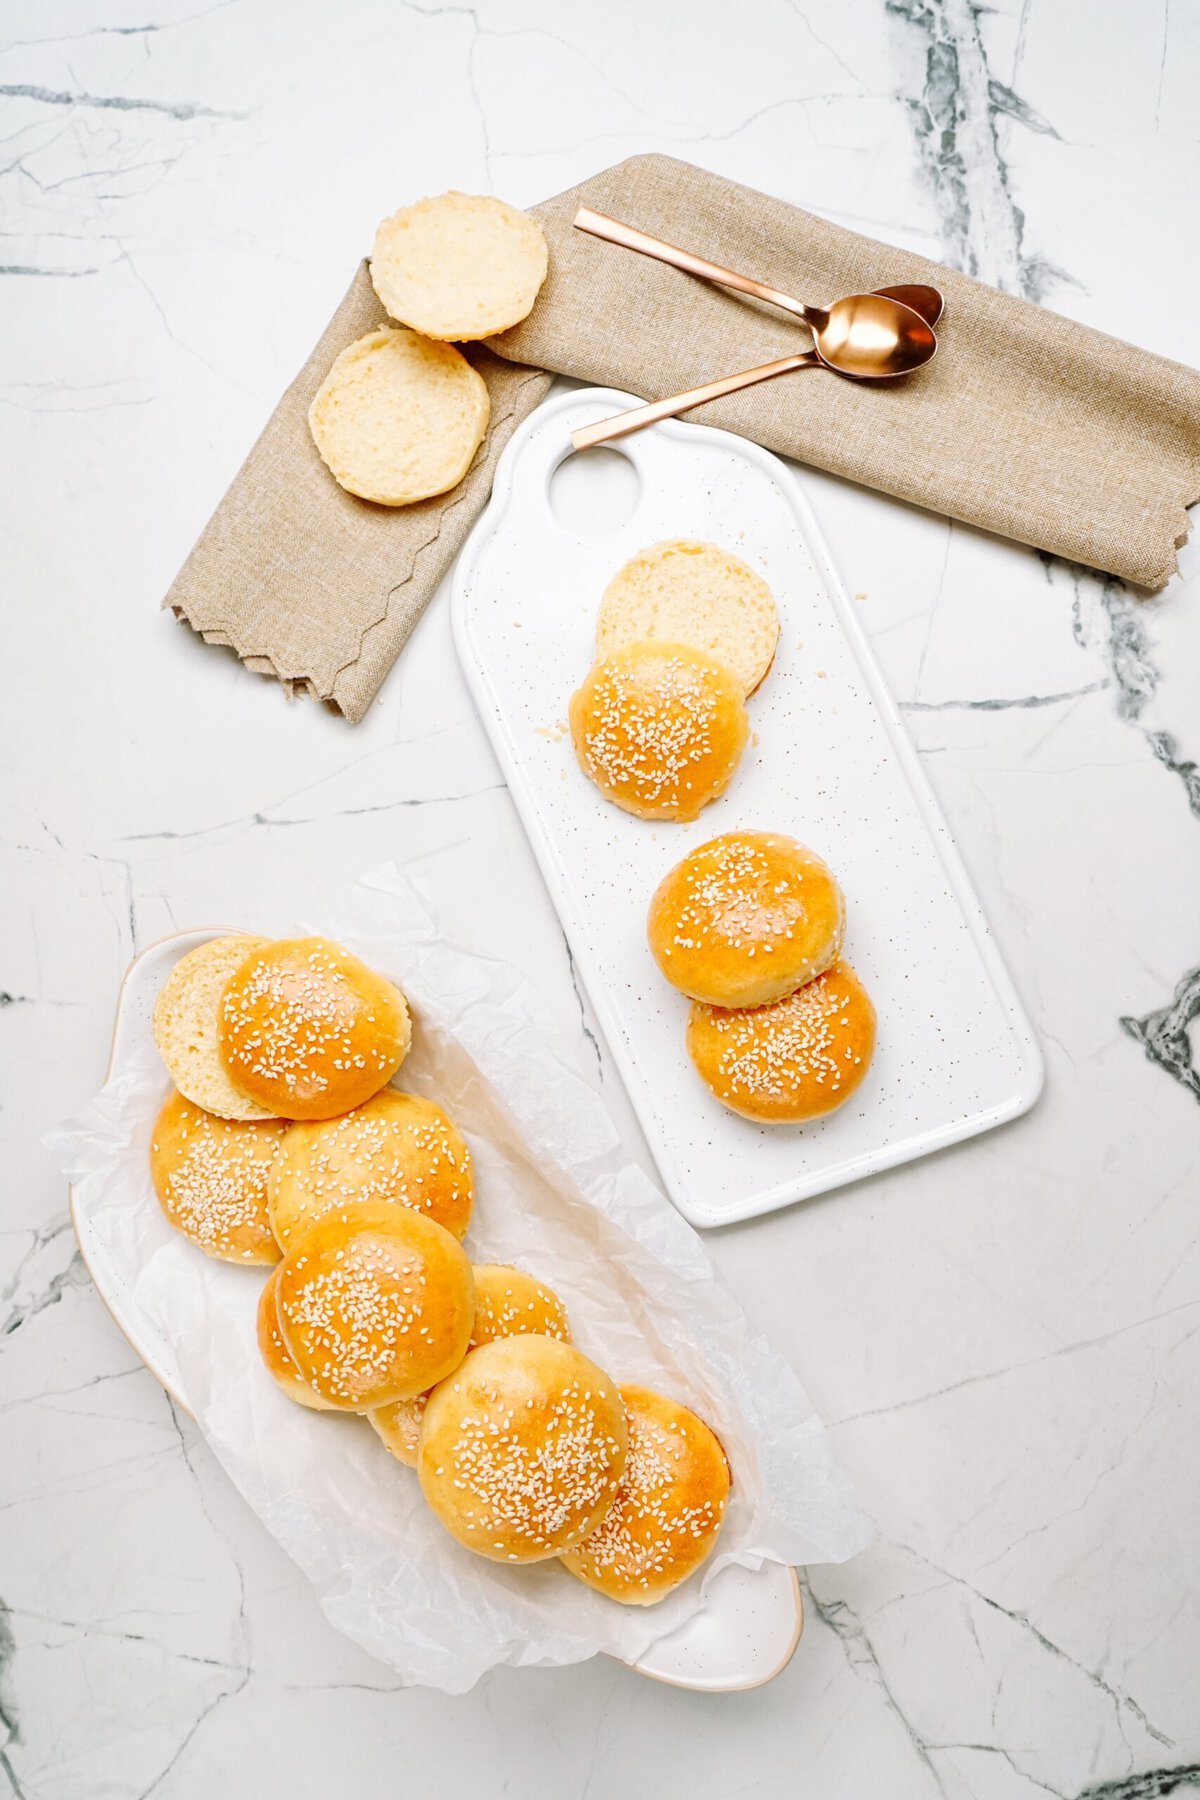
These homemade slider buns can also be used as mini hamburger buns! Fill them with your favorite fillings and enjoy! Perfect for parties! For full recipe details, including ingredient measurements, see the printable recipe card at the bottom of this post. Here are step by step instructions for making slider buns:
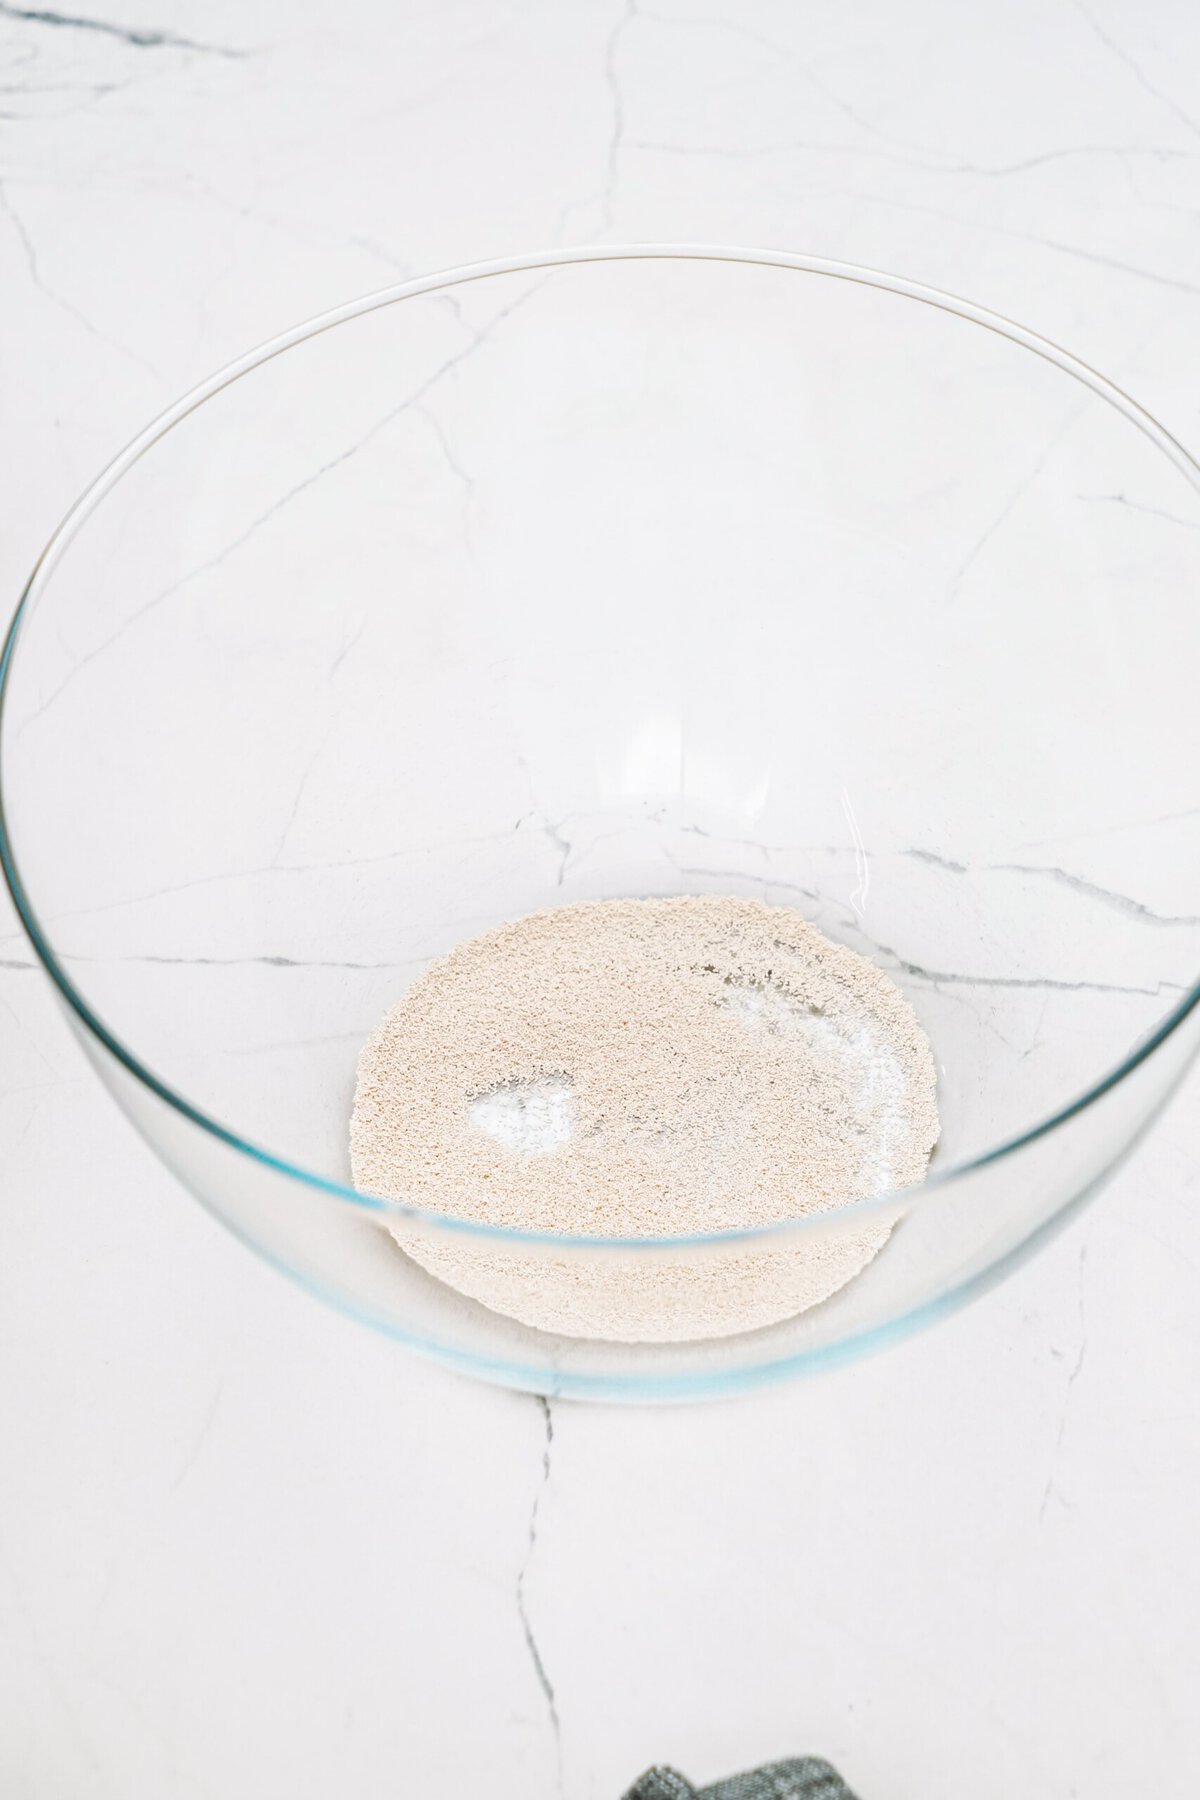
1. Activate Yeast
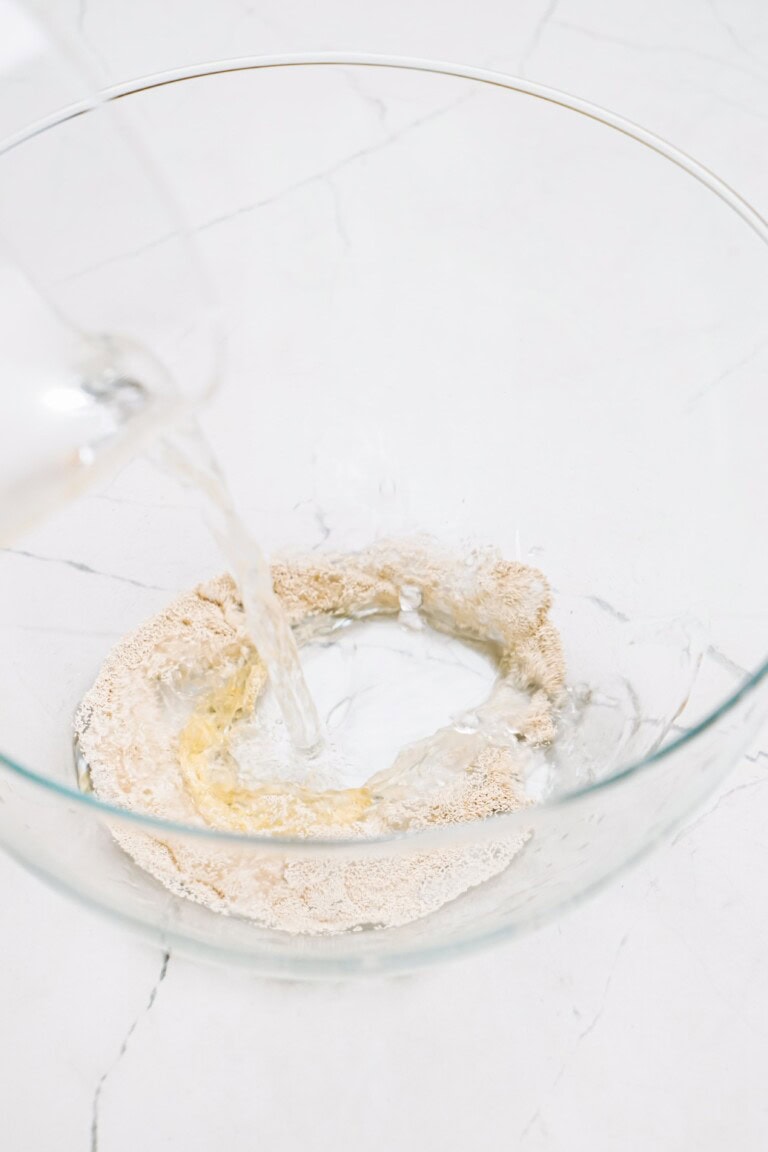
In a large mixing bowl, preferably the bowl of a stand mixer fitted with a dough hook attachment, stir yeast and honey into warm water. Let sit for 5-10 minutes or until bubbles form and mixture starts to foam. This tells you that the yeast is alive and kicking.
Pro Tip: Use an instant-read thermometer to ensure you have the right temperature range (107-110° F).
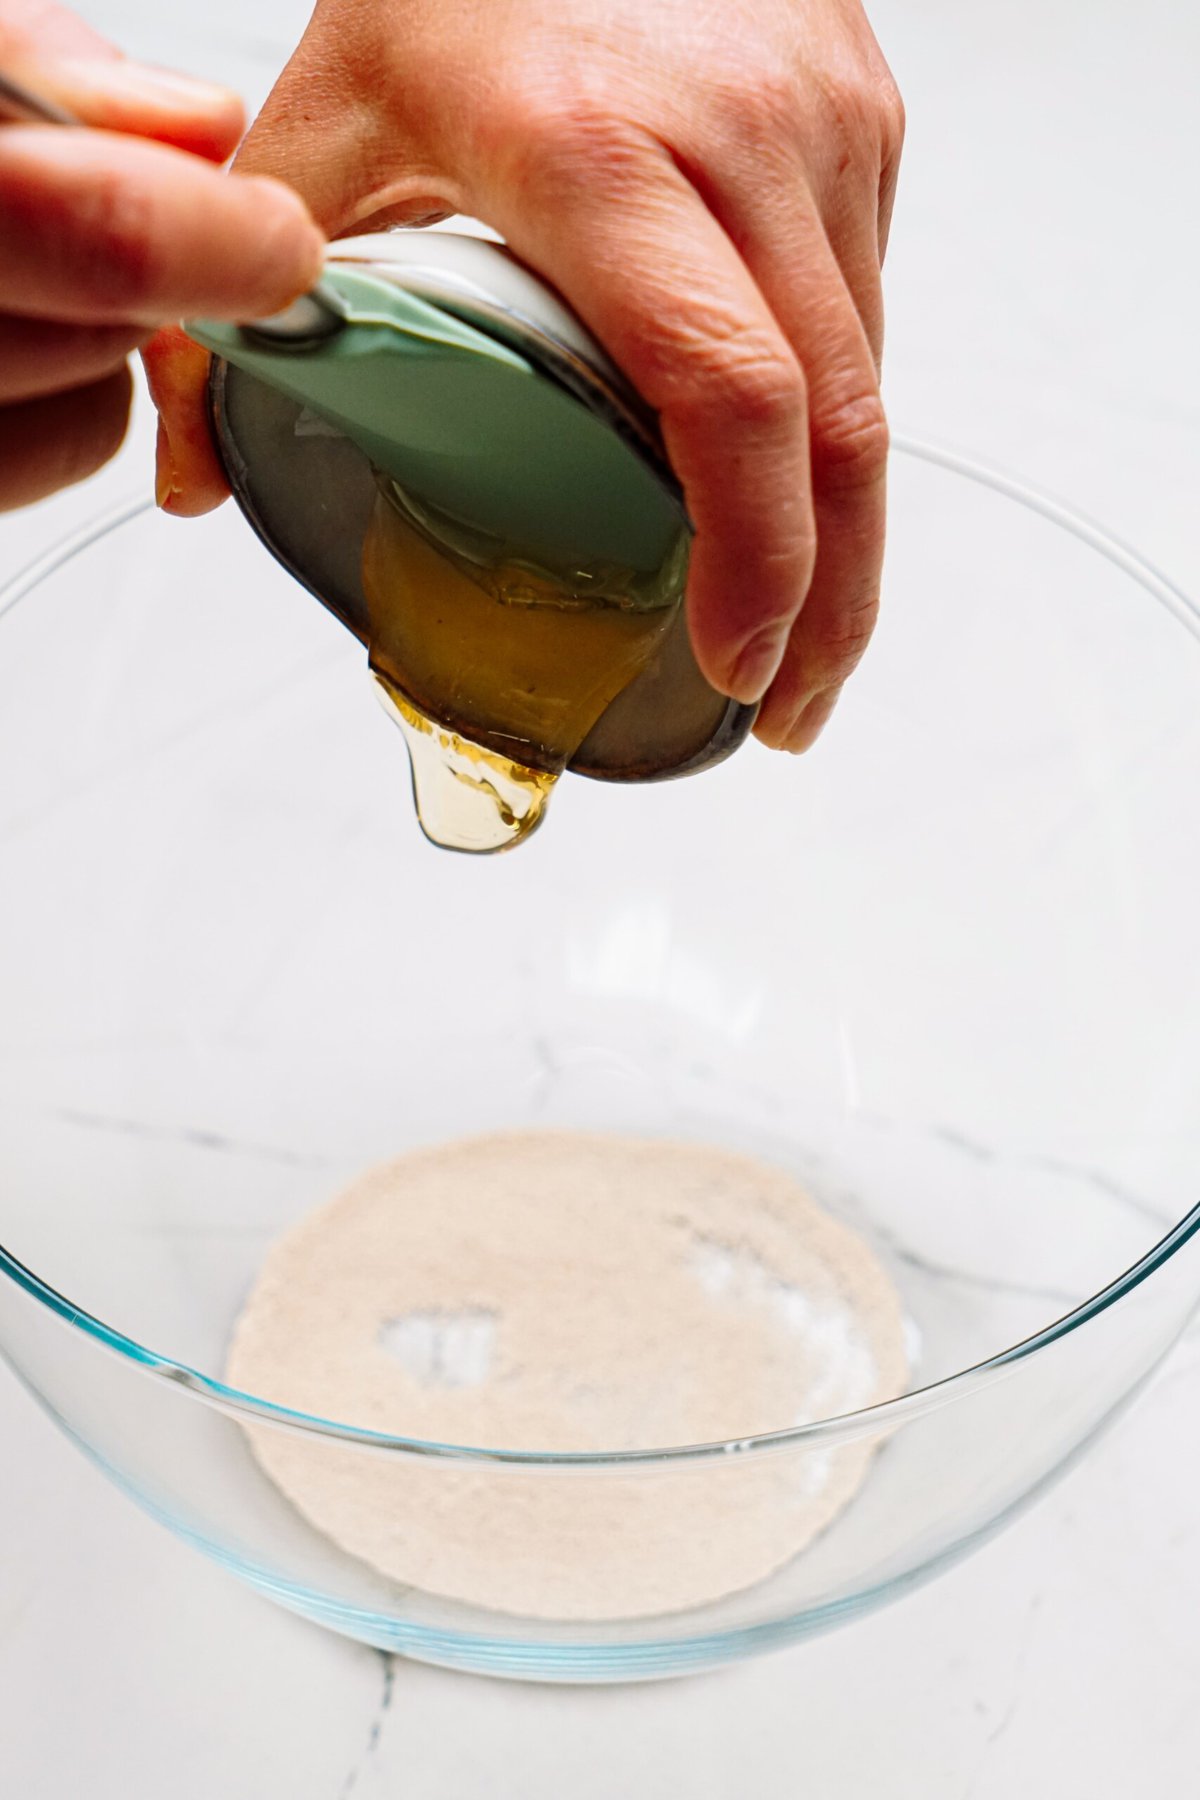
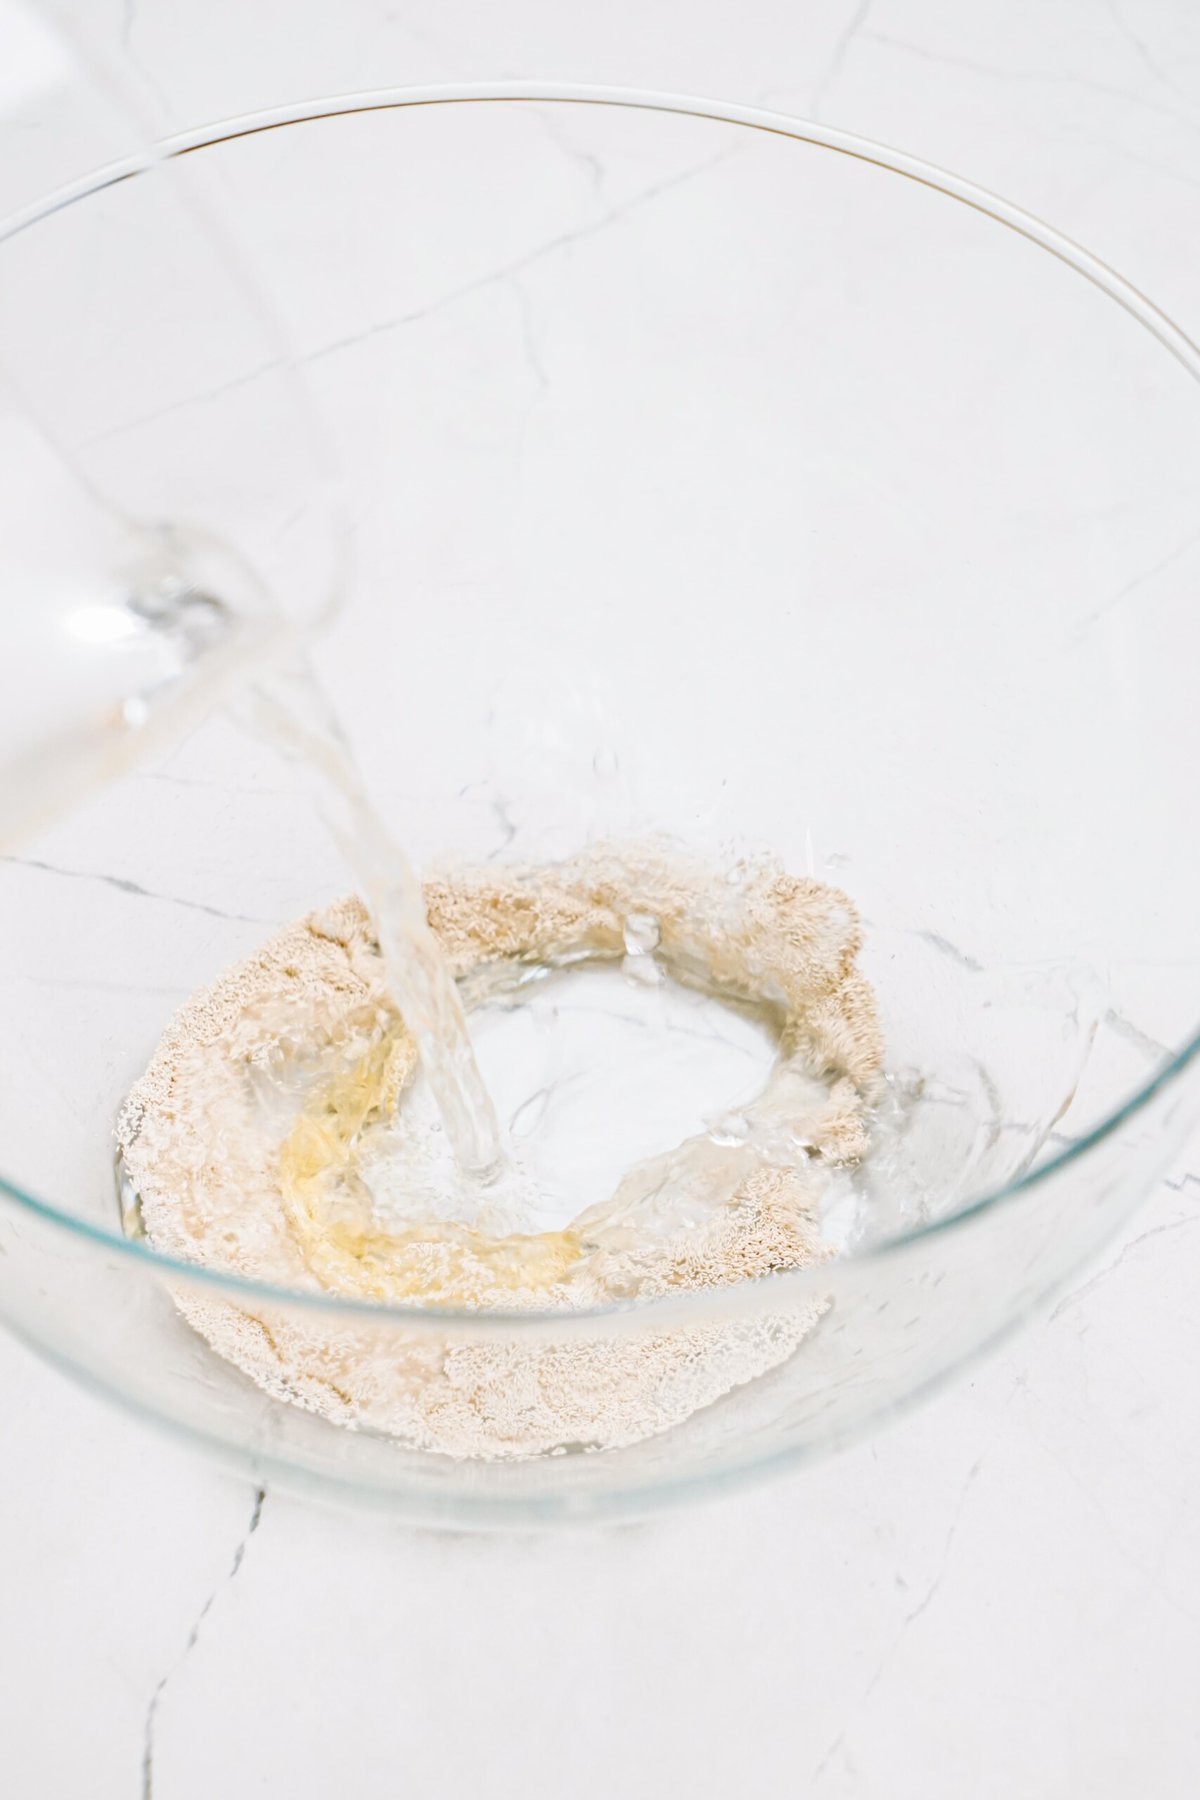
2. Melt Butter + Cool
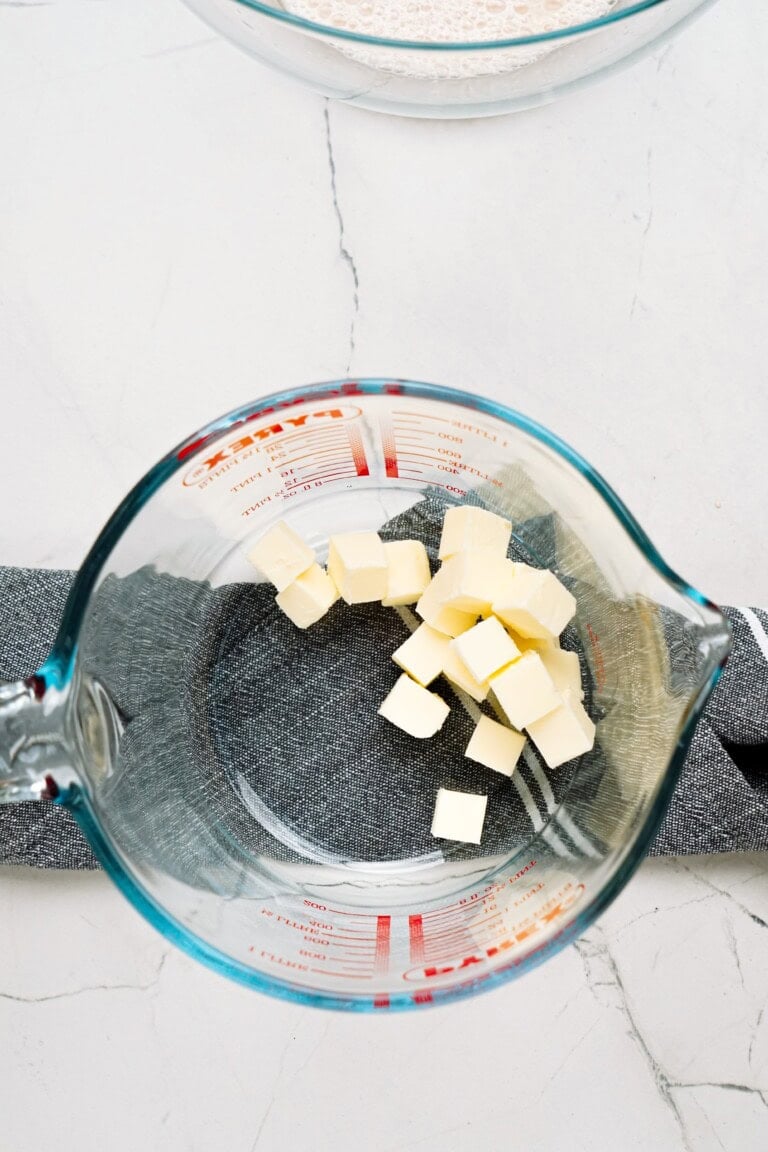
Place butter into microwave safe bowl and cook on high until completely melted. Remove and set aside to cool.
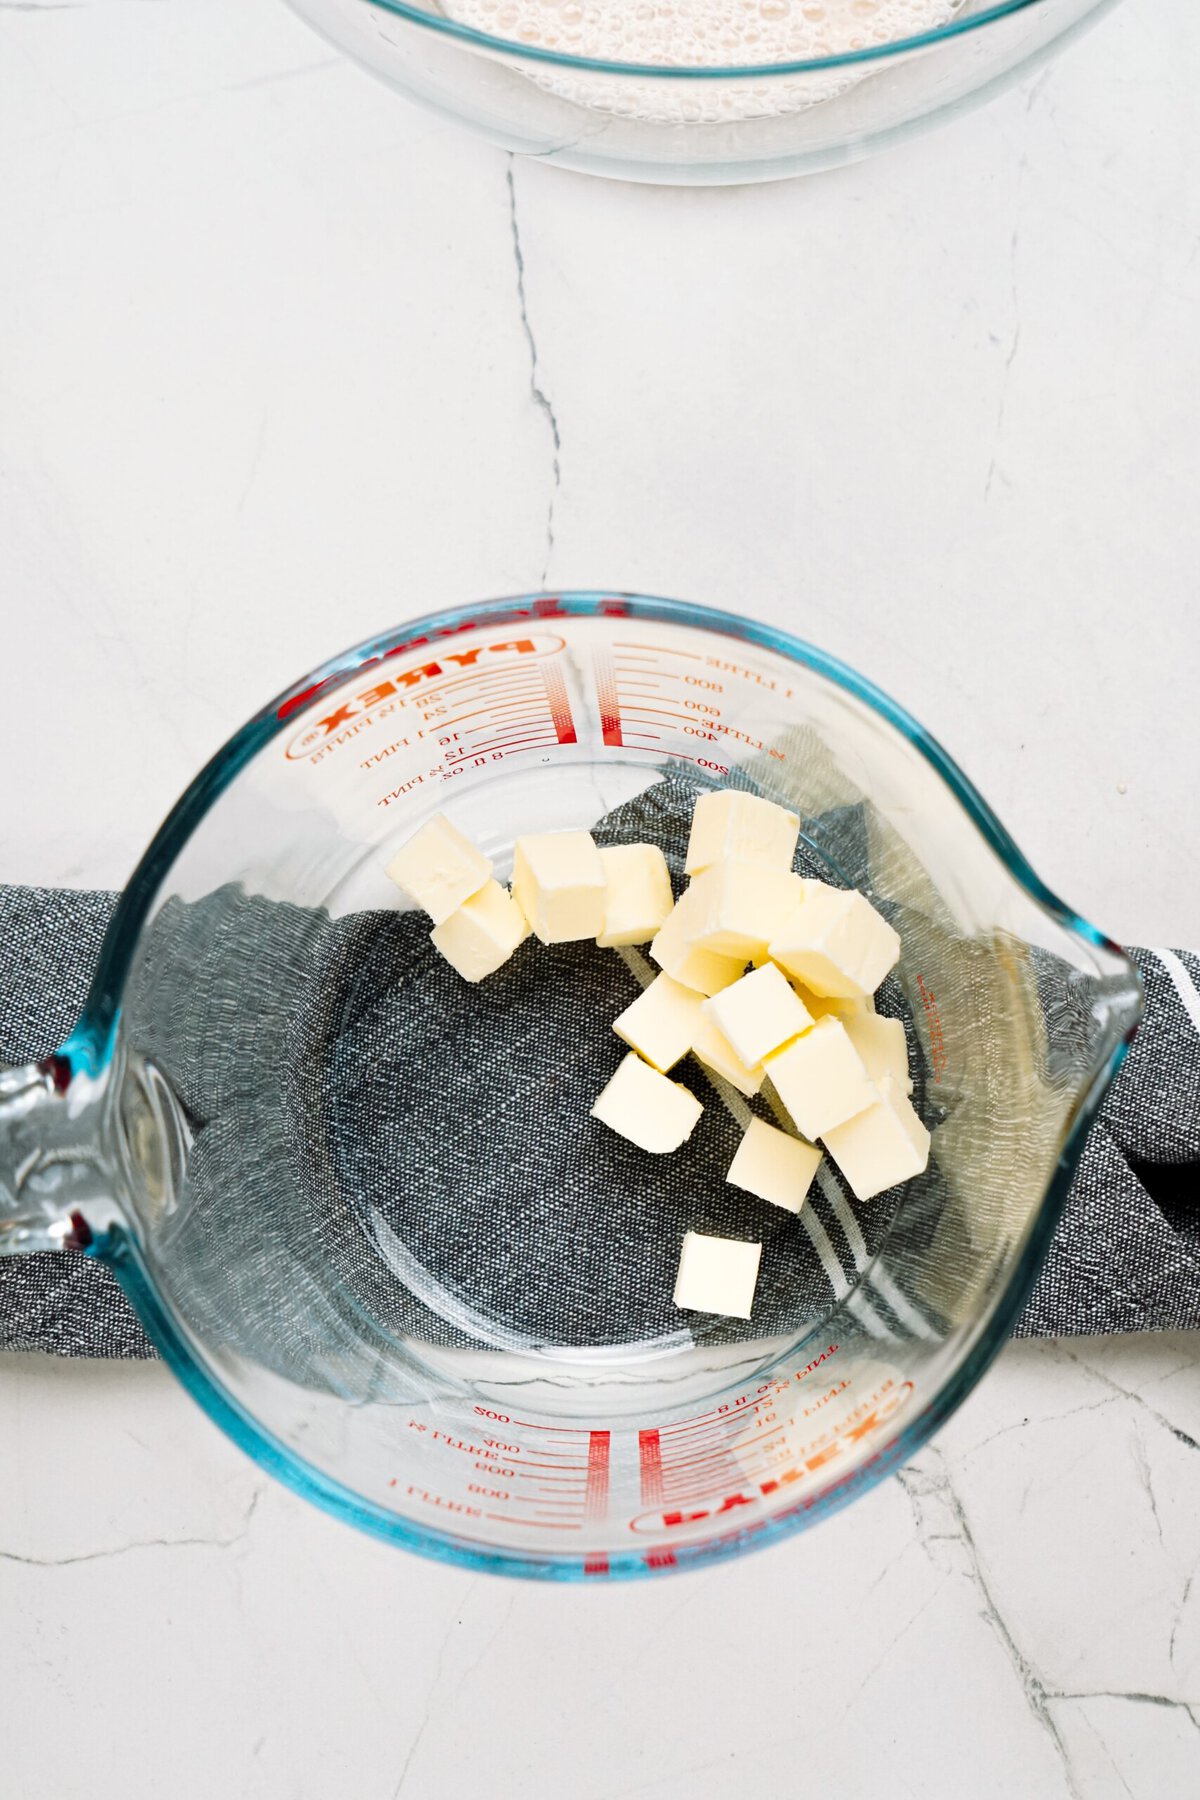
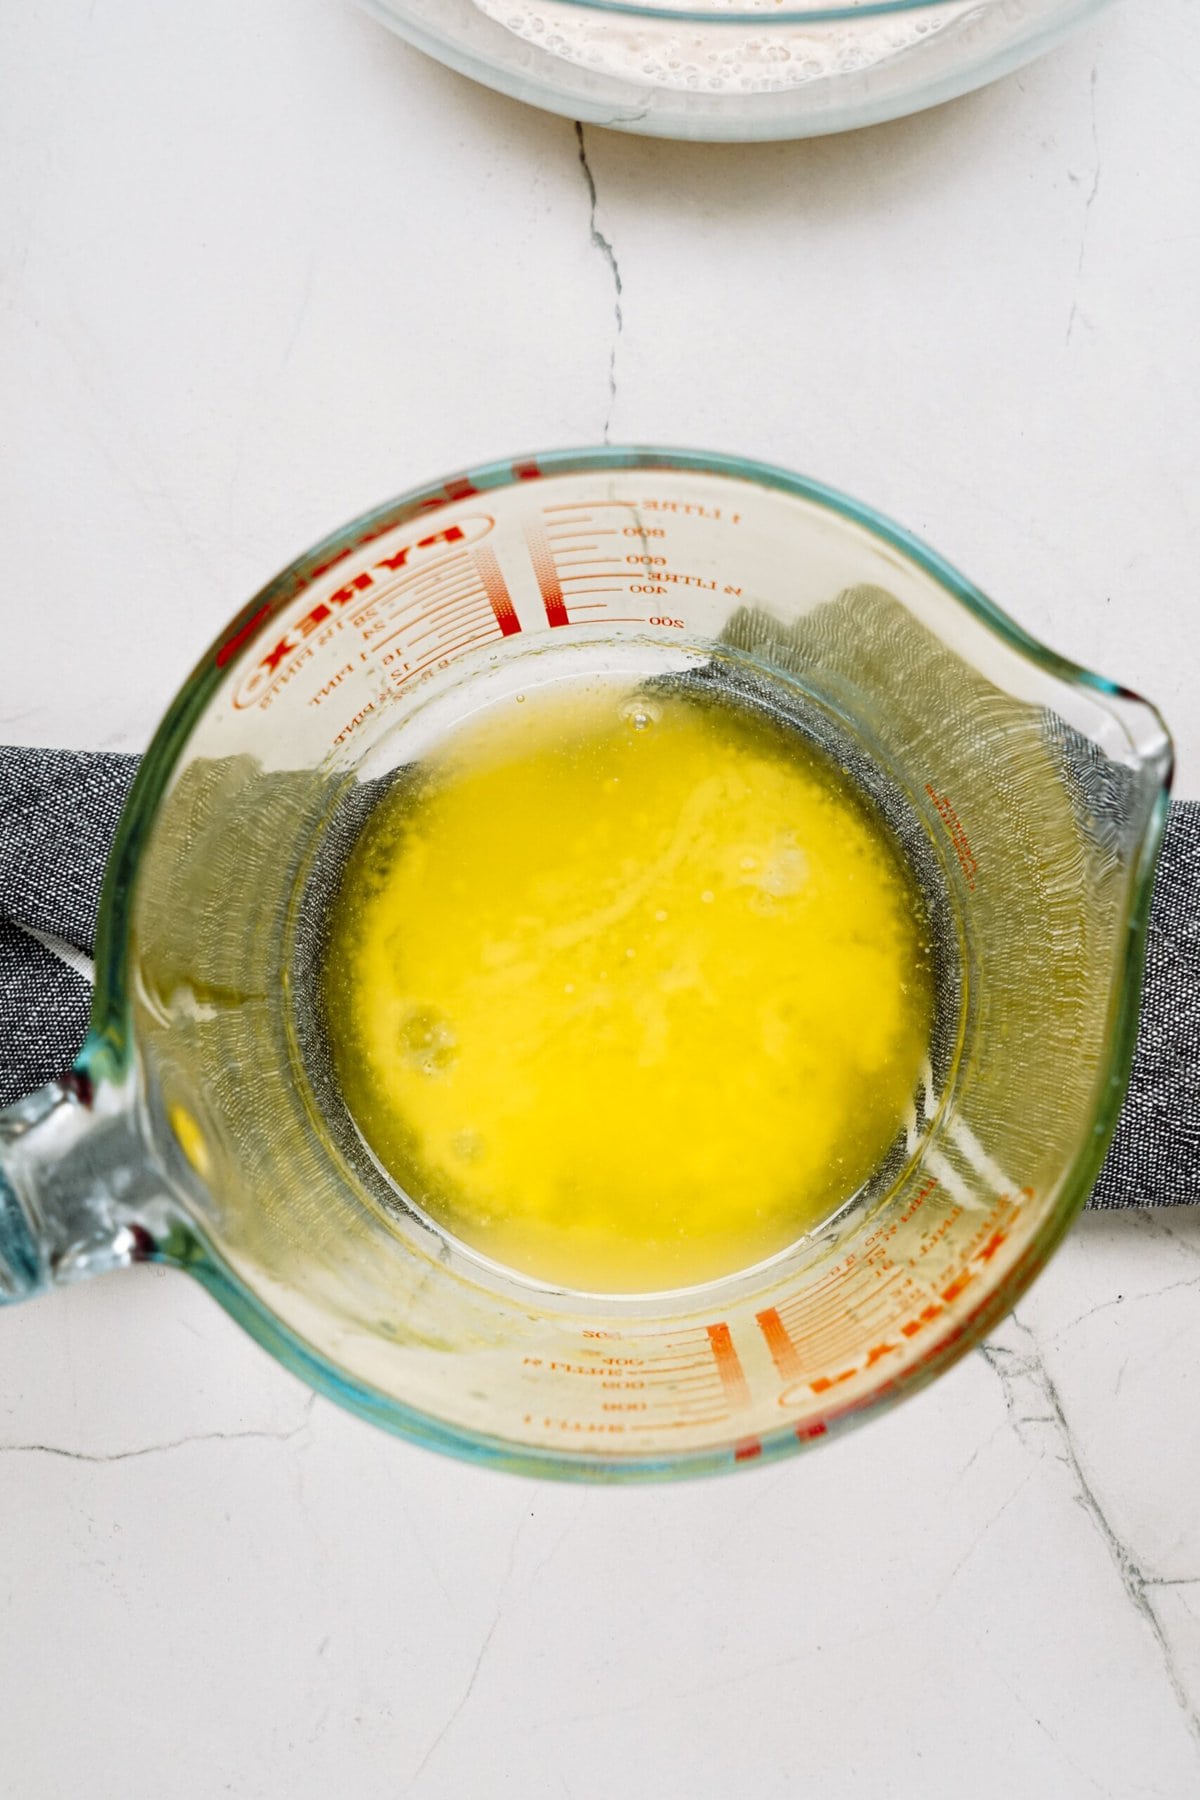
Pro Tip: Make sure to let the melted butter cool before adding to the yeast. Hot butter will kill your yeast and you’ll have to start over. Whomp, whomp.
3. Mix Ingredients
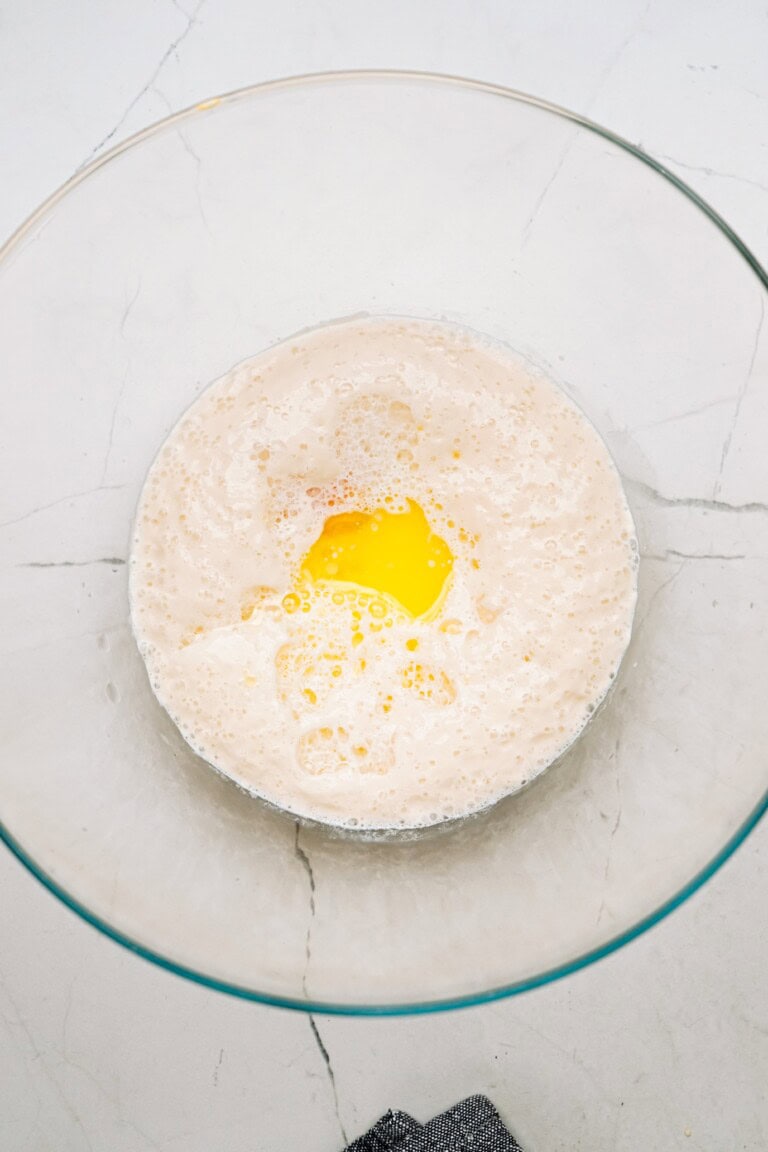
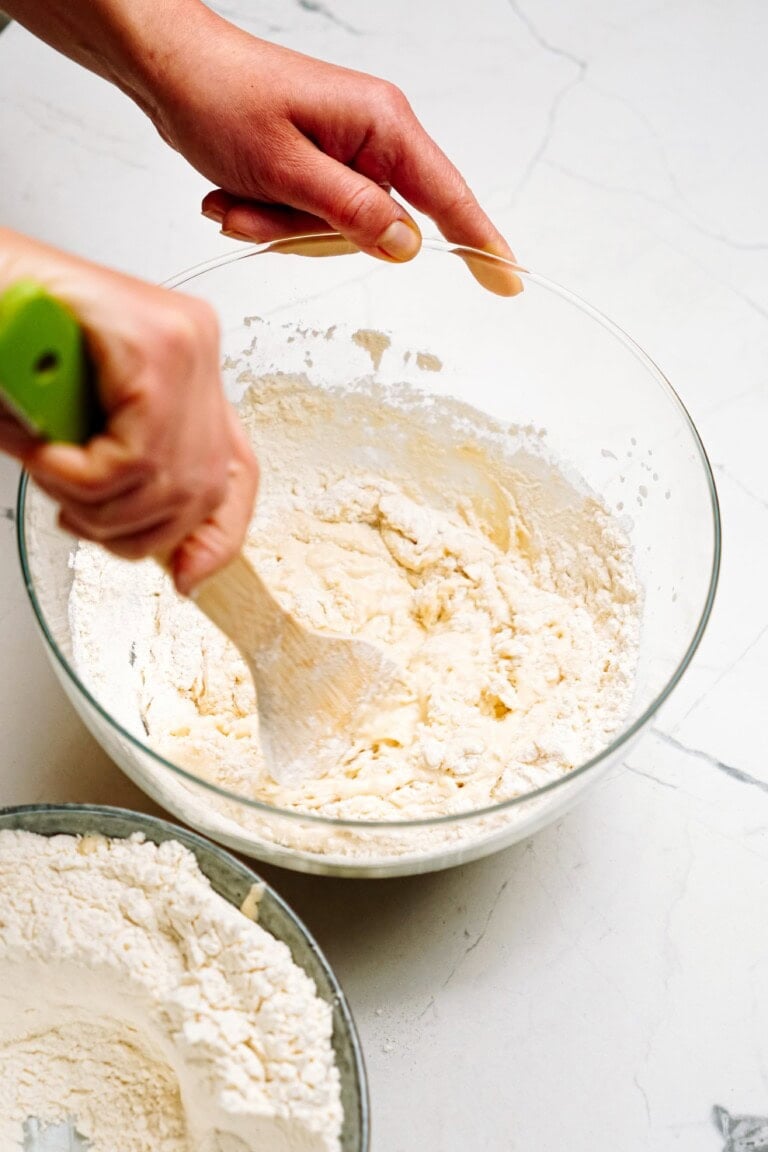
Pour milk, 1 egg and cooled melted butter into the stand mixer bowl with the yeast mixture and stir together to incorporate.
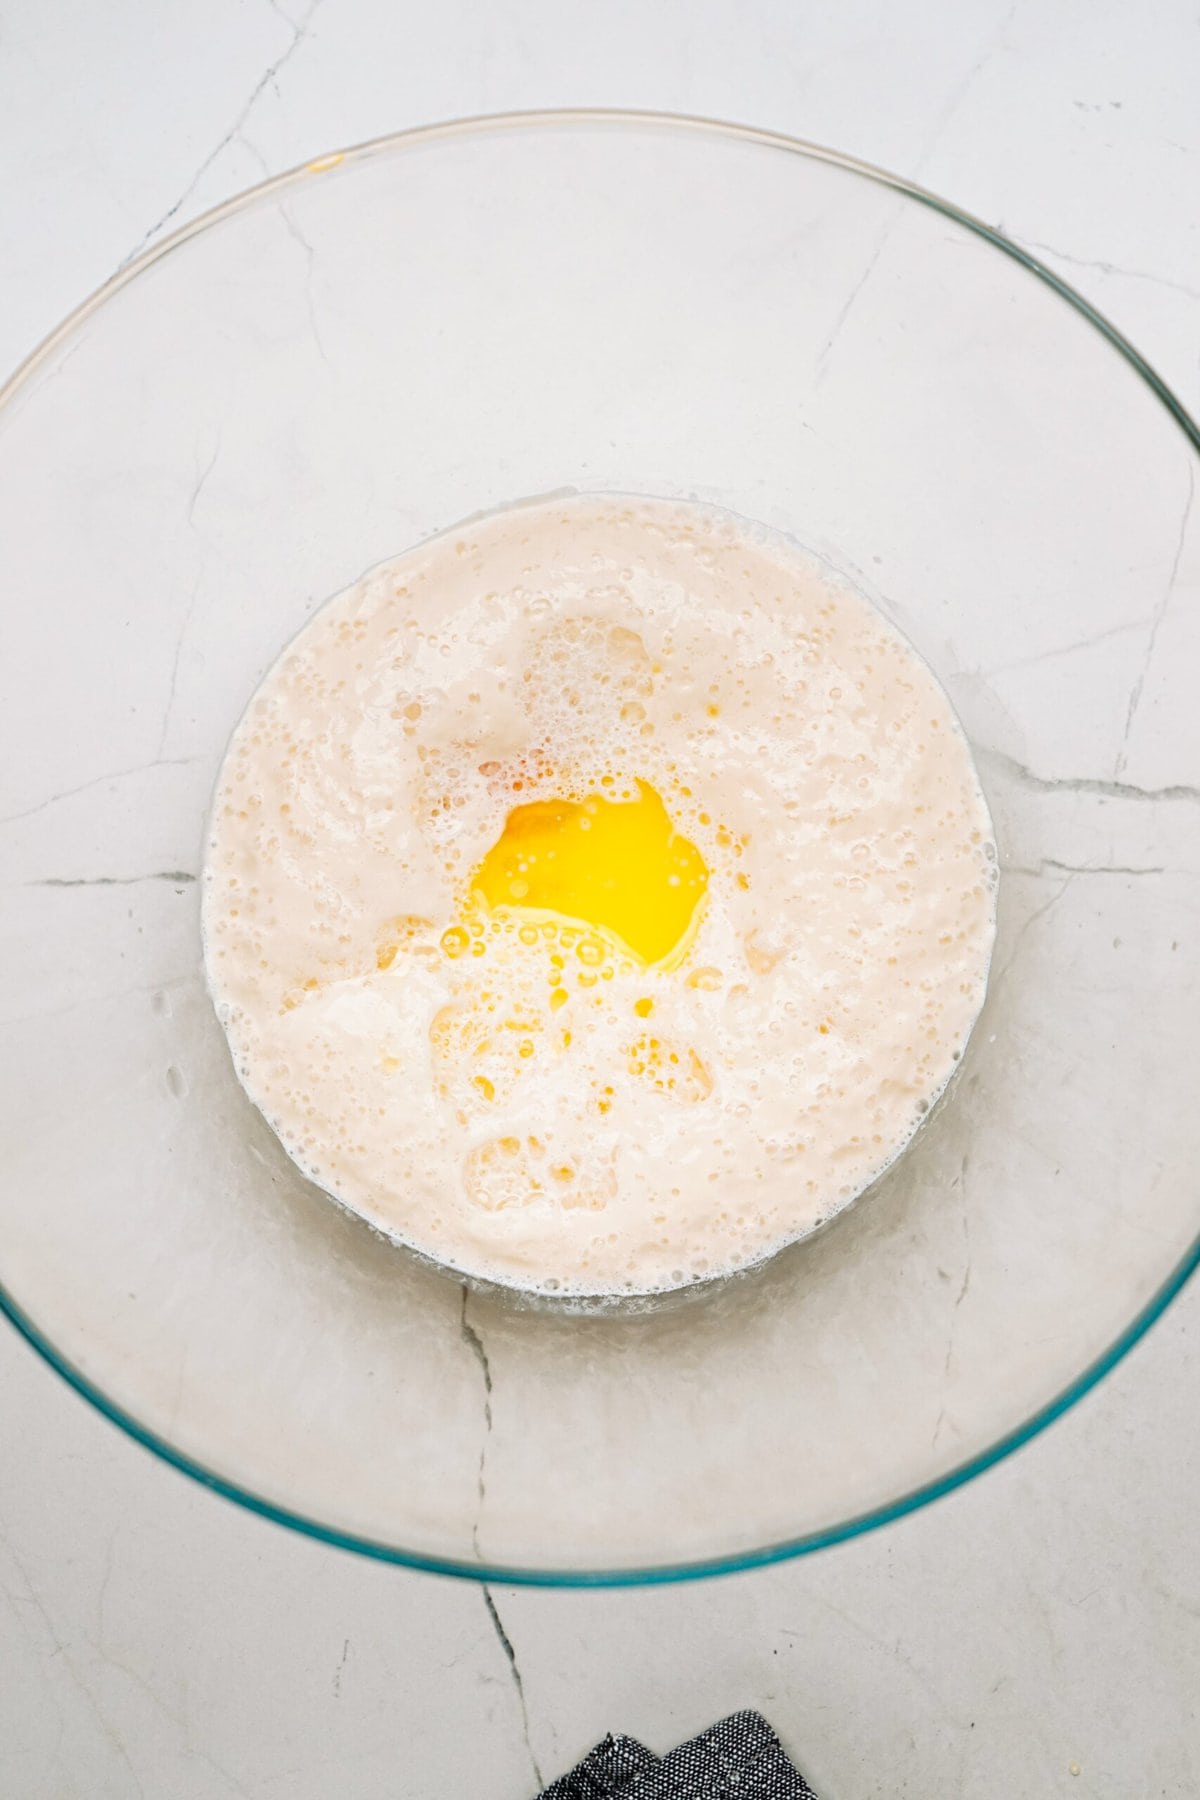
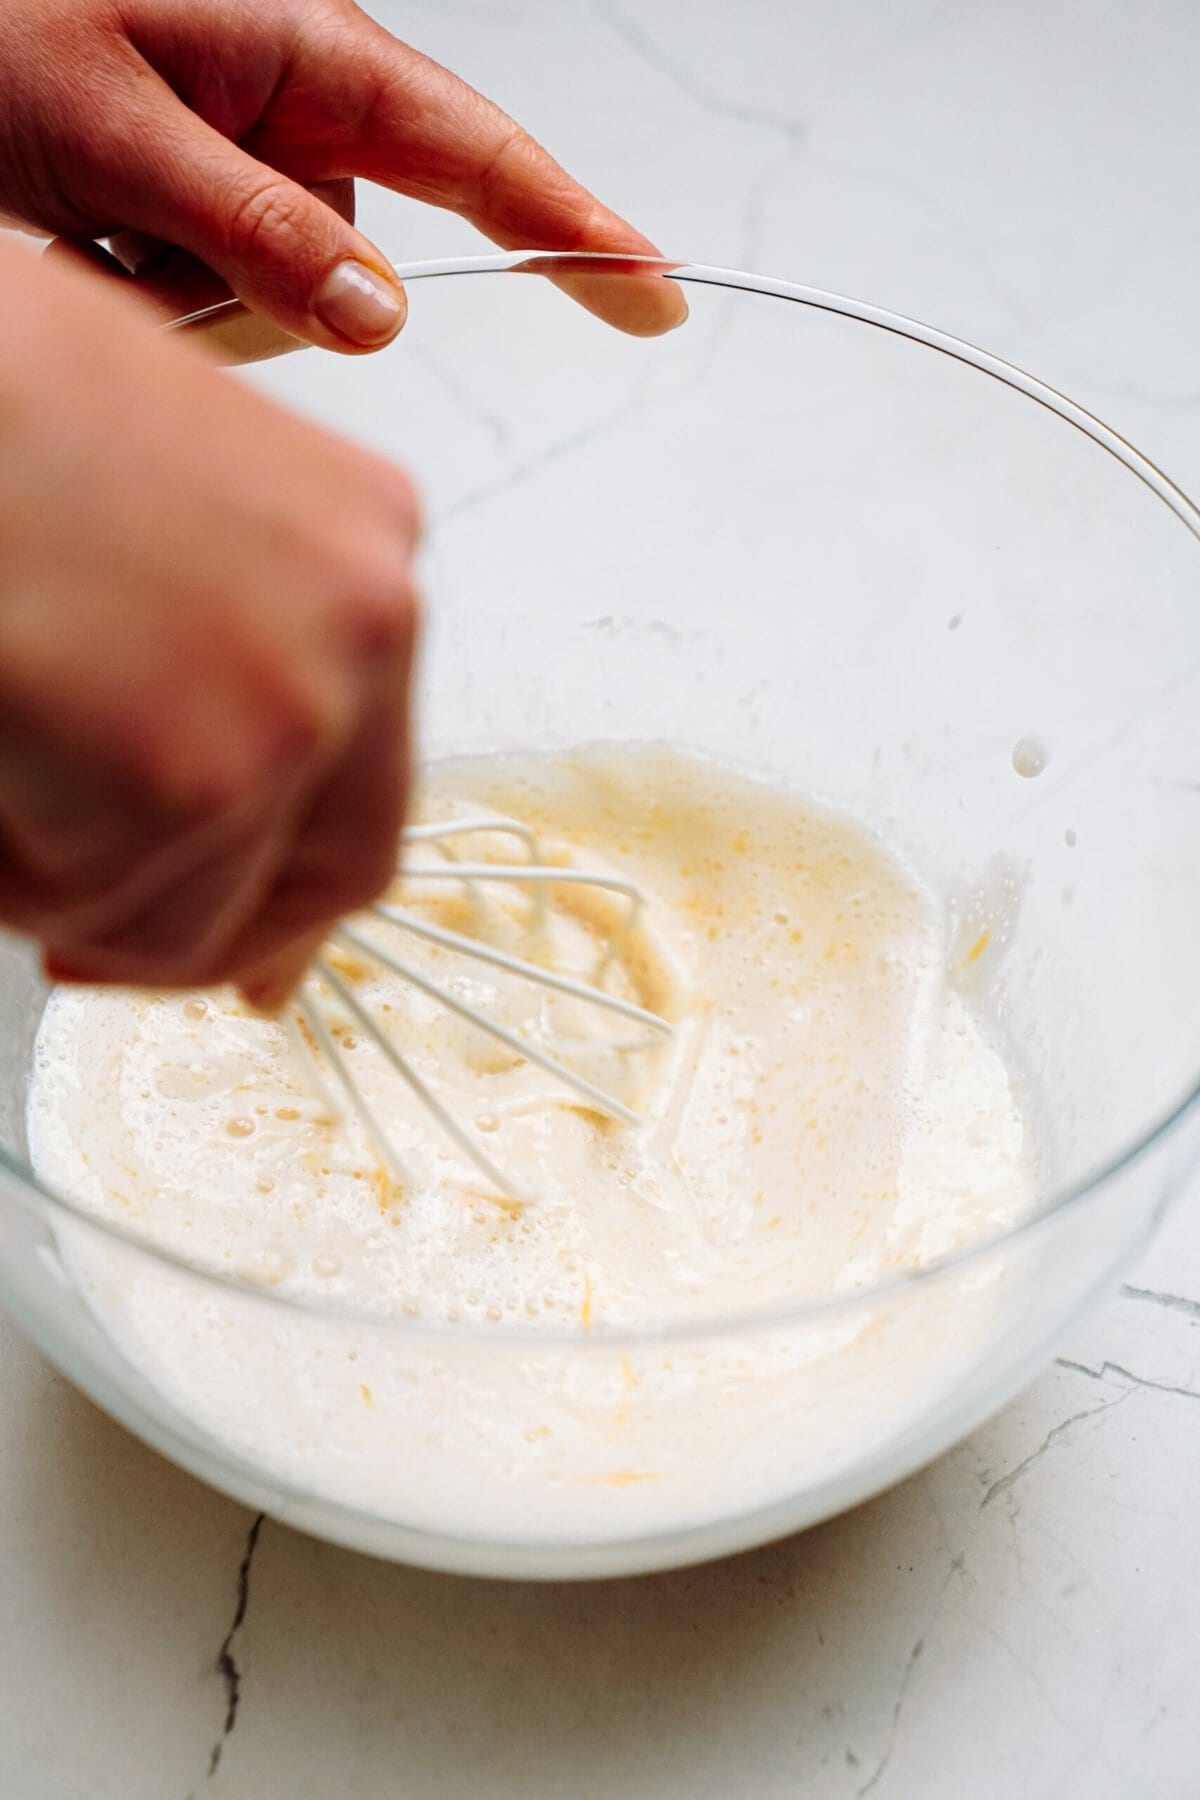
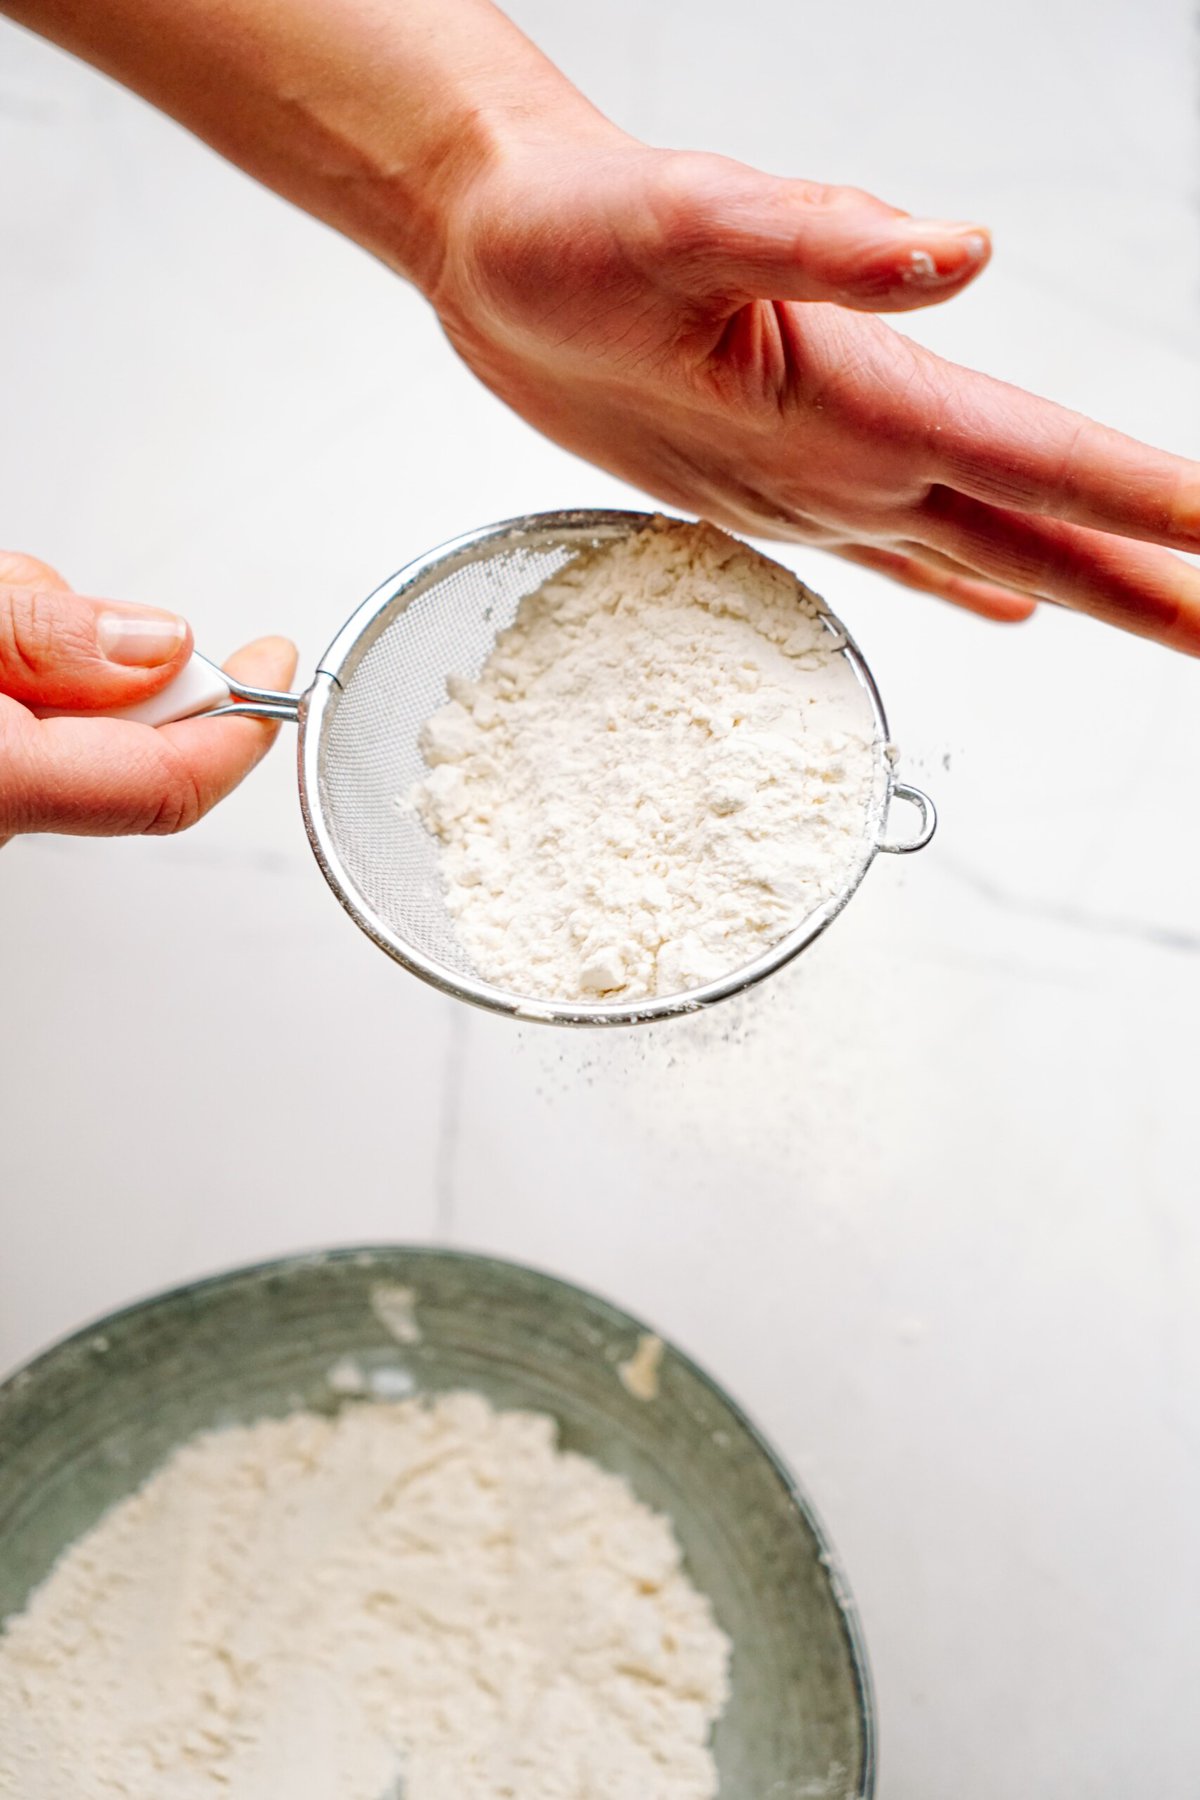
Next, add salt and 2 cups of flour and knead until flour has been incorporated. With mixer on low, add in remaining flour bit by bit to get the consistency you want: slightly tacky, but when you touch it, it doesn’t stick to your hands.
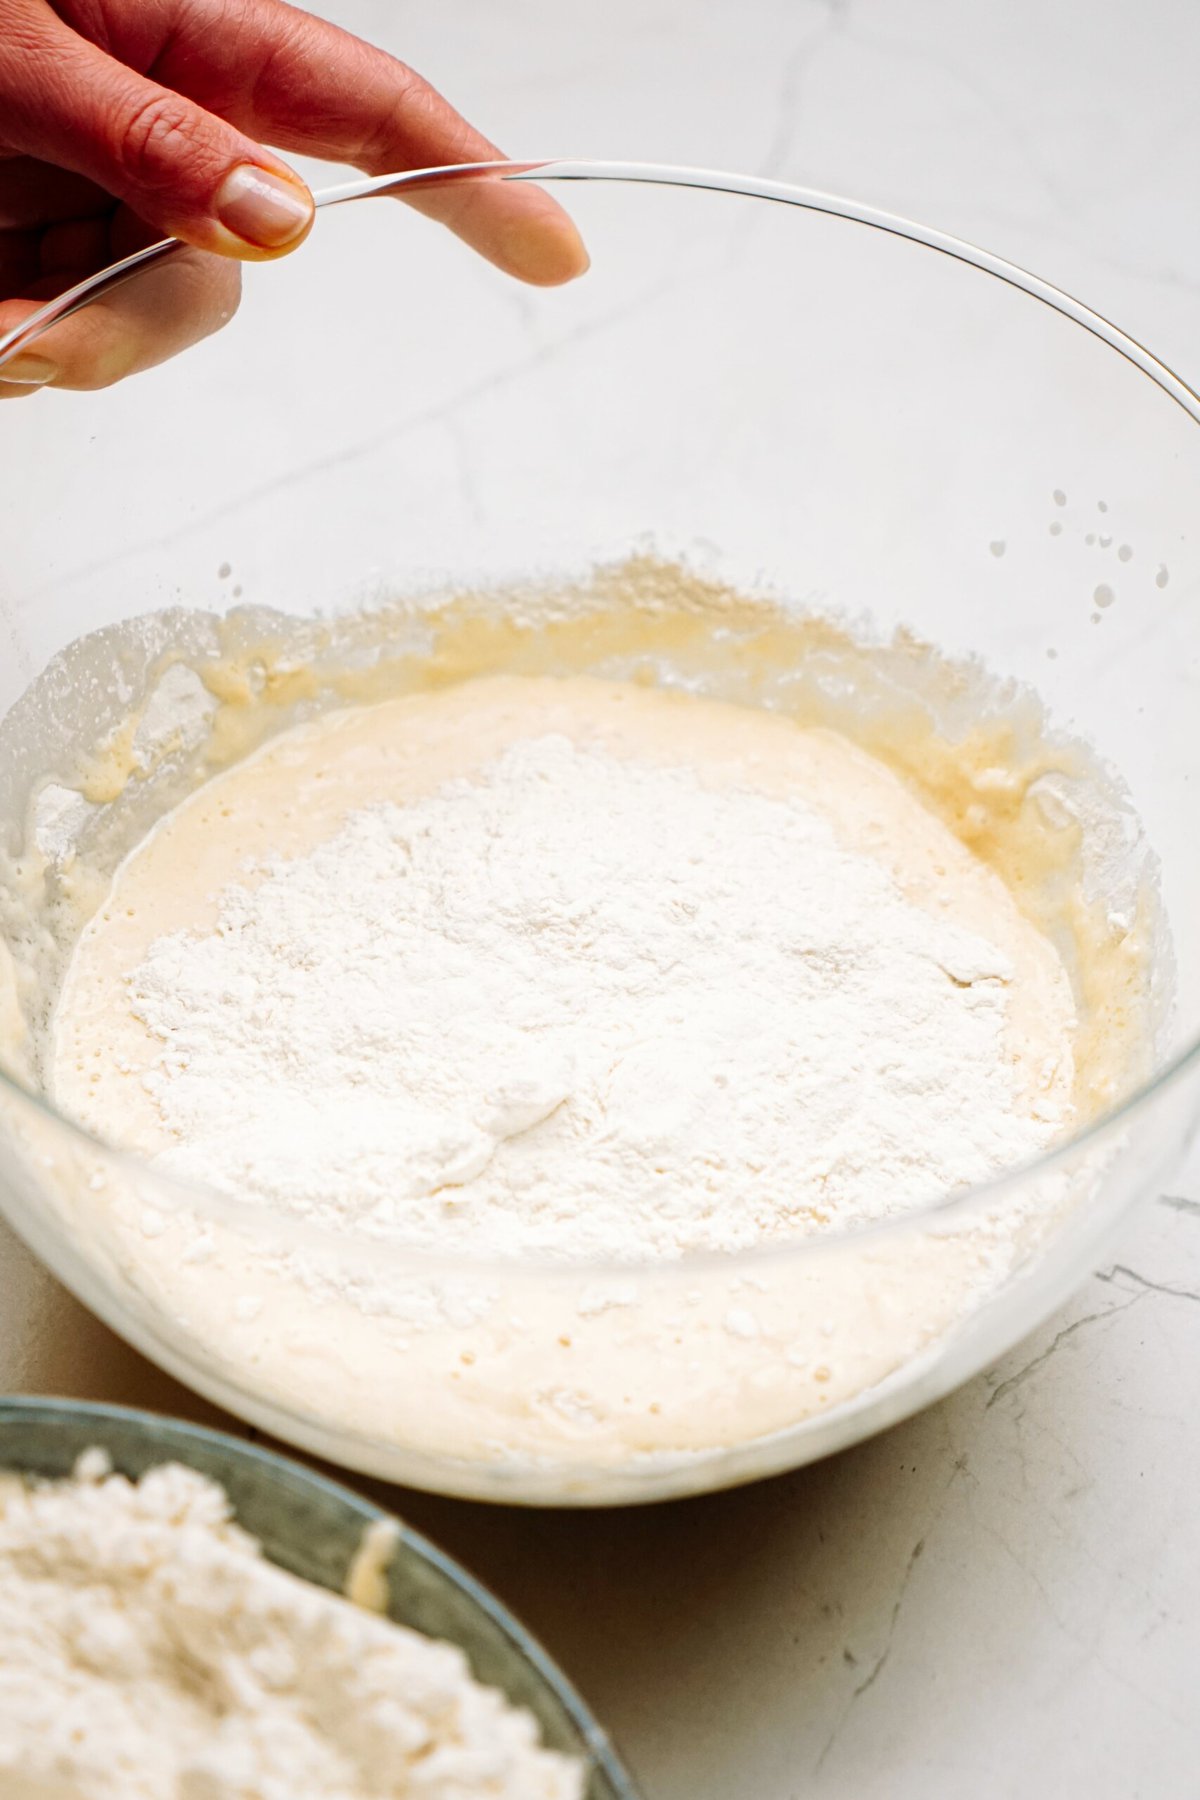
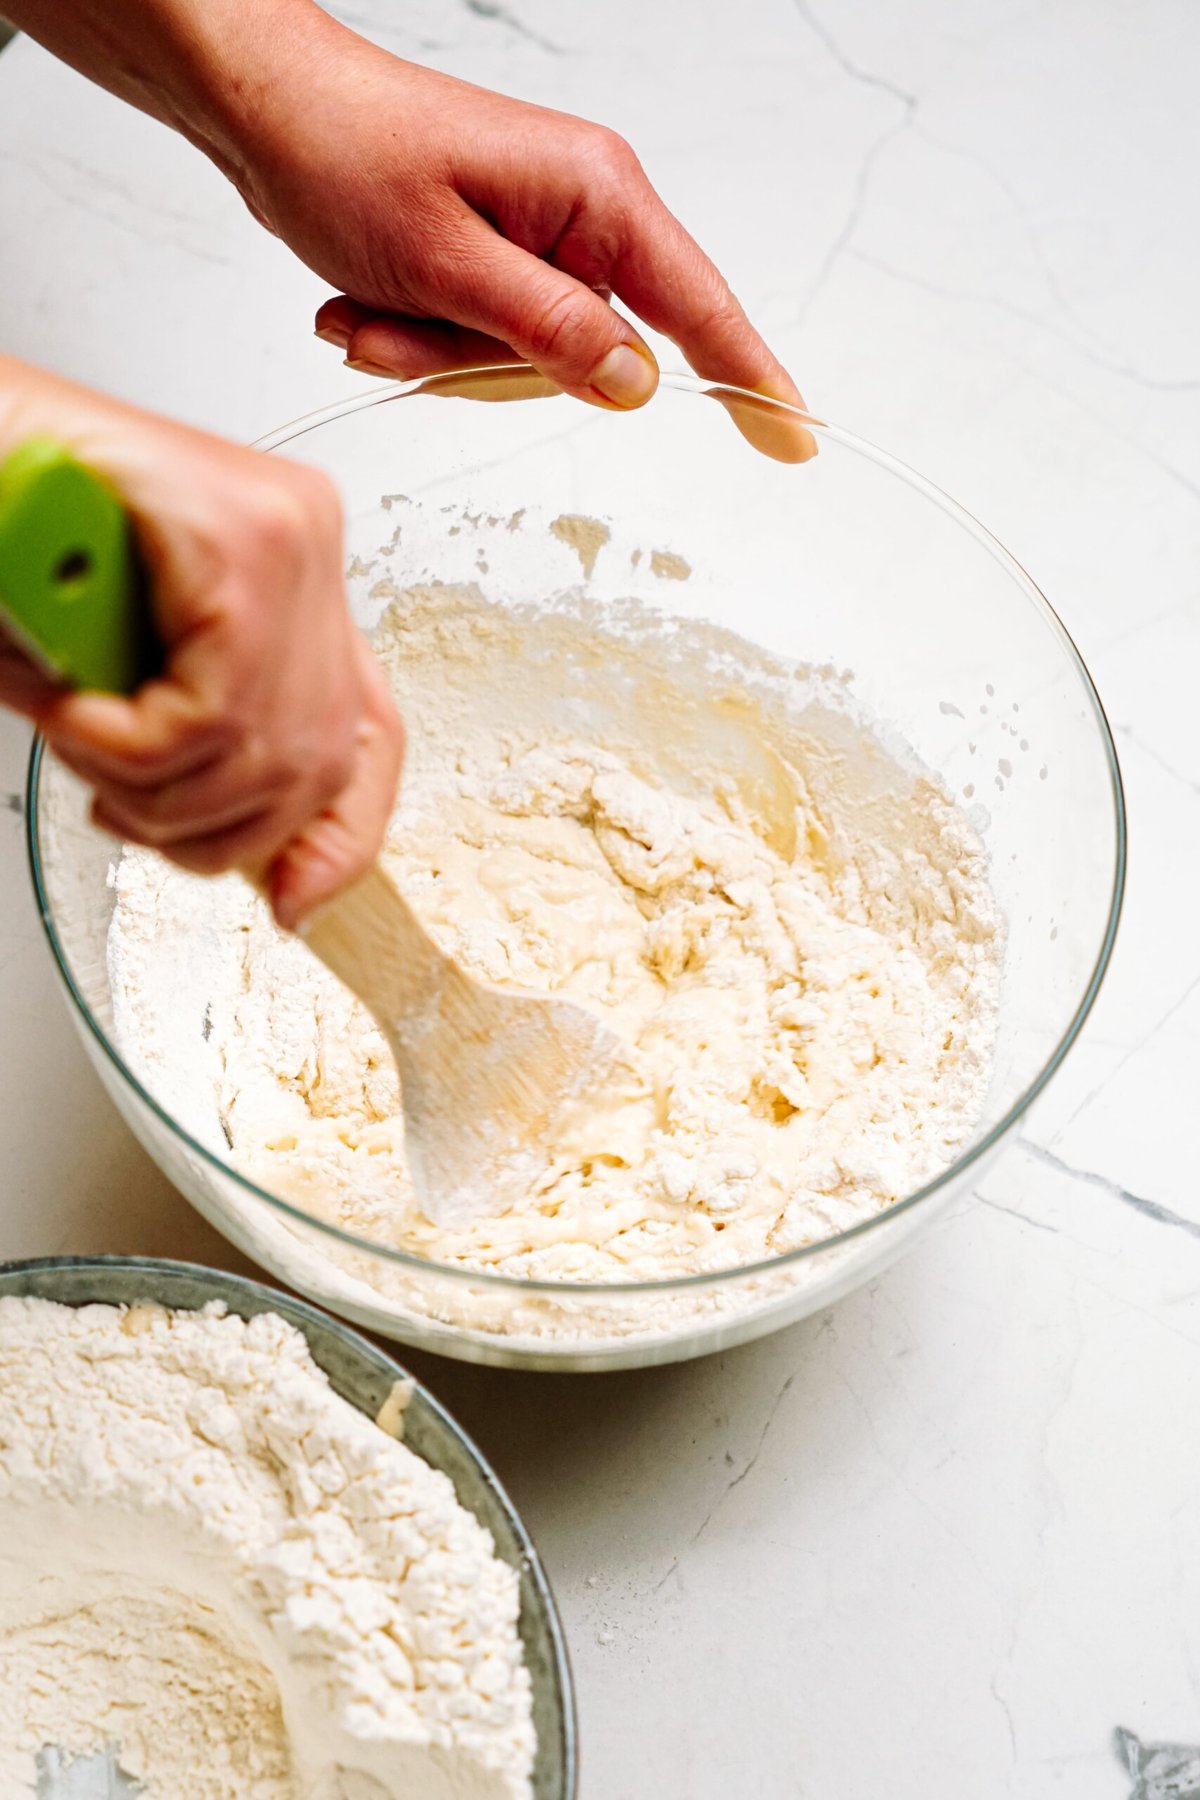
4. Knead Dough
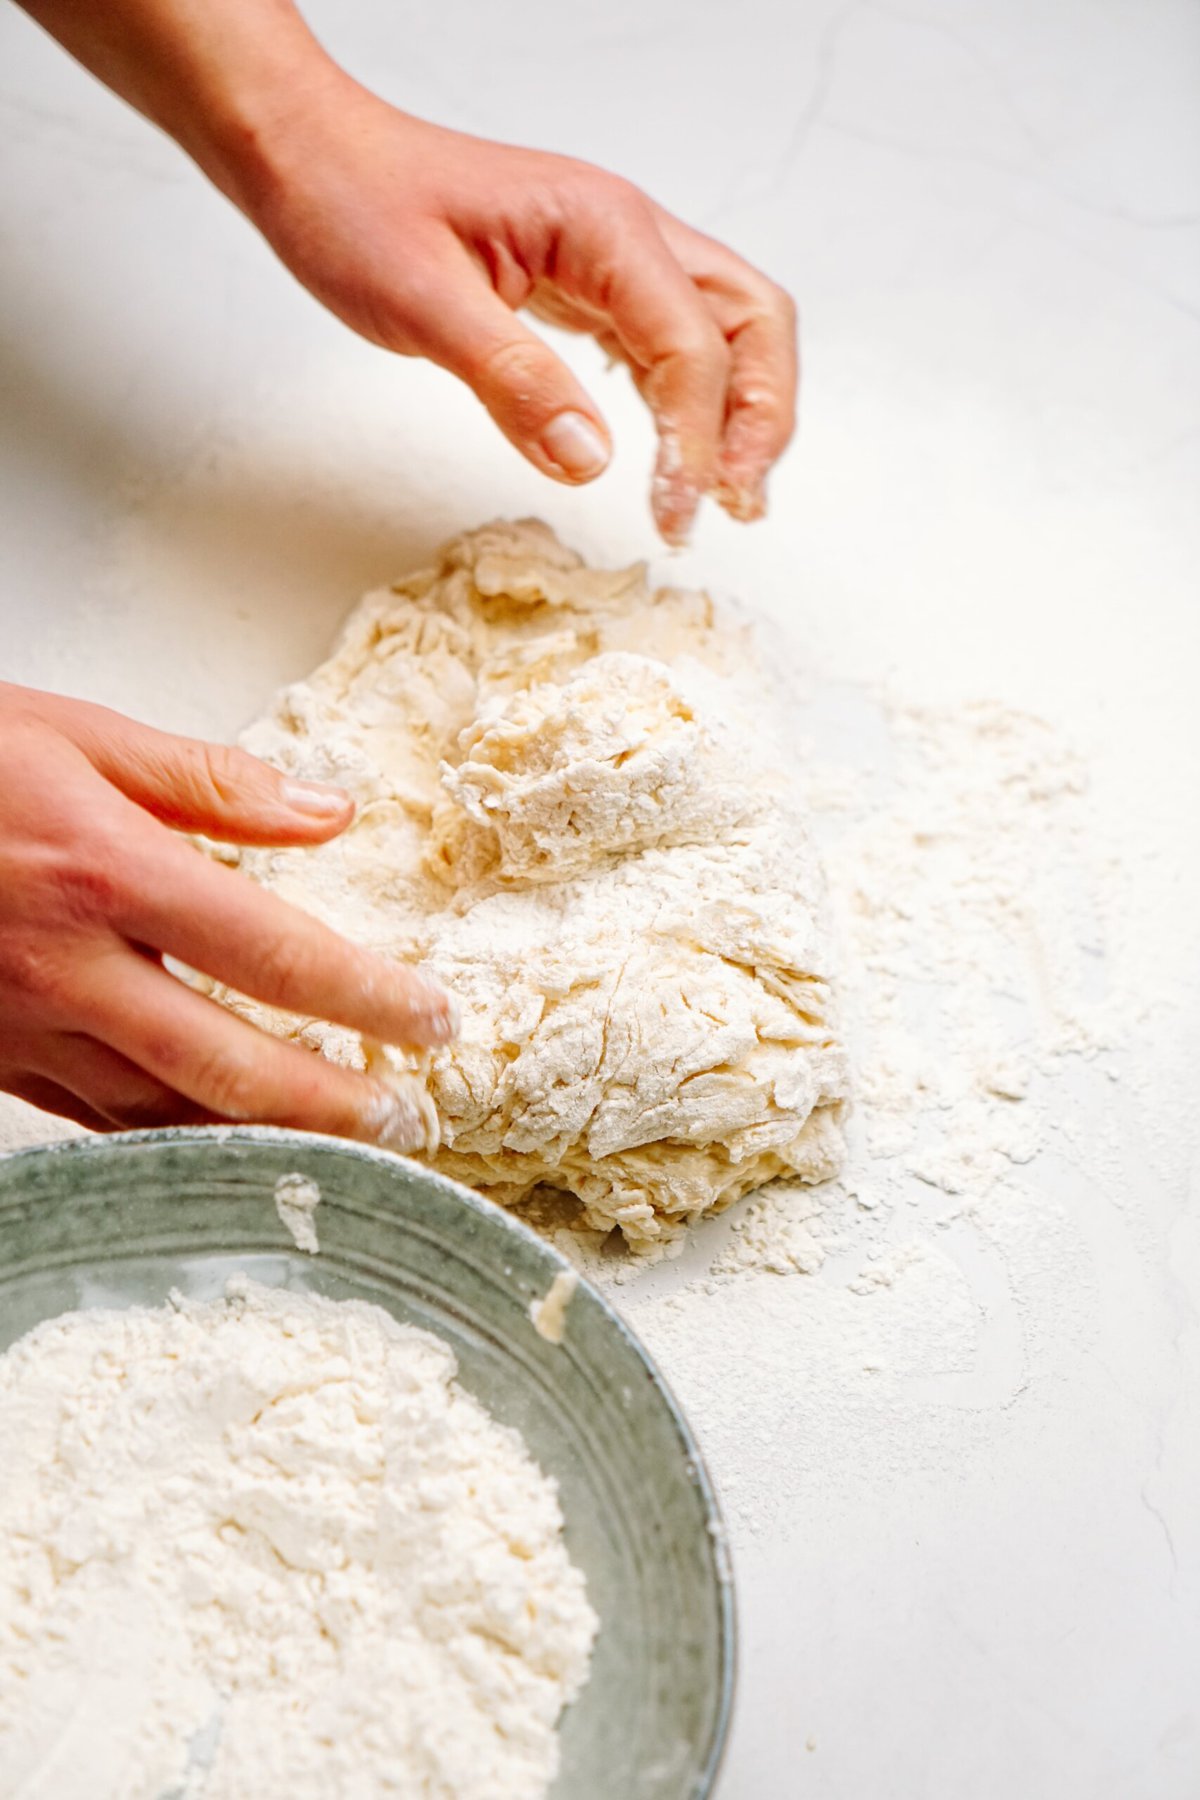
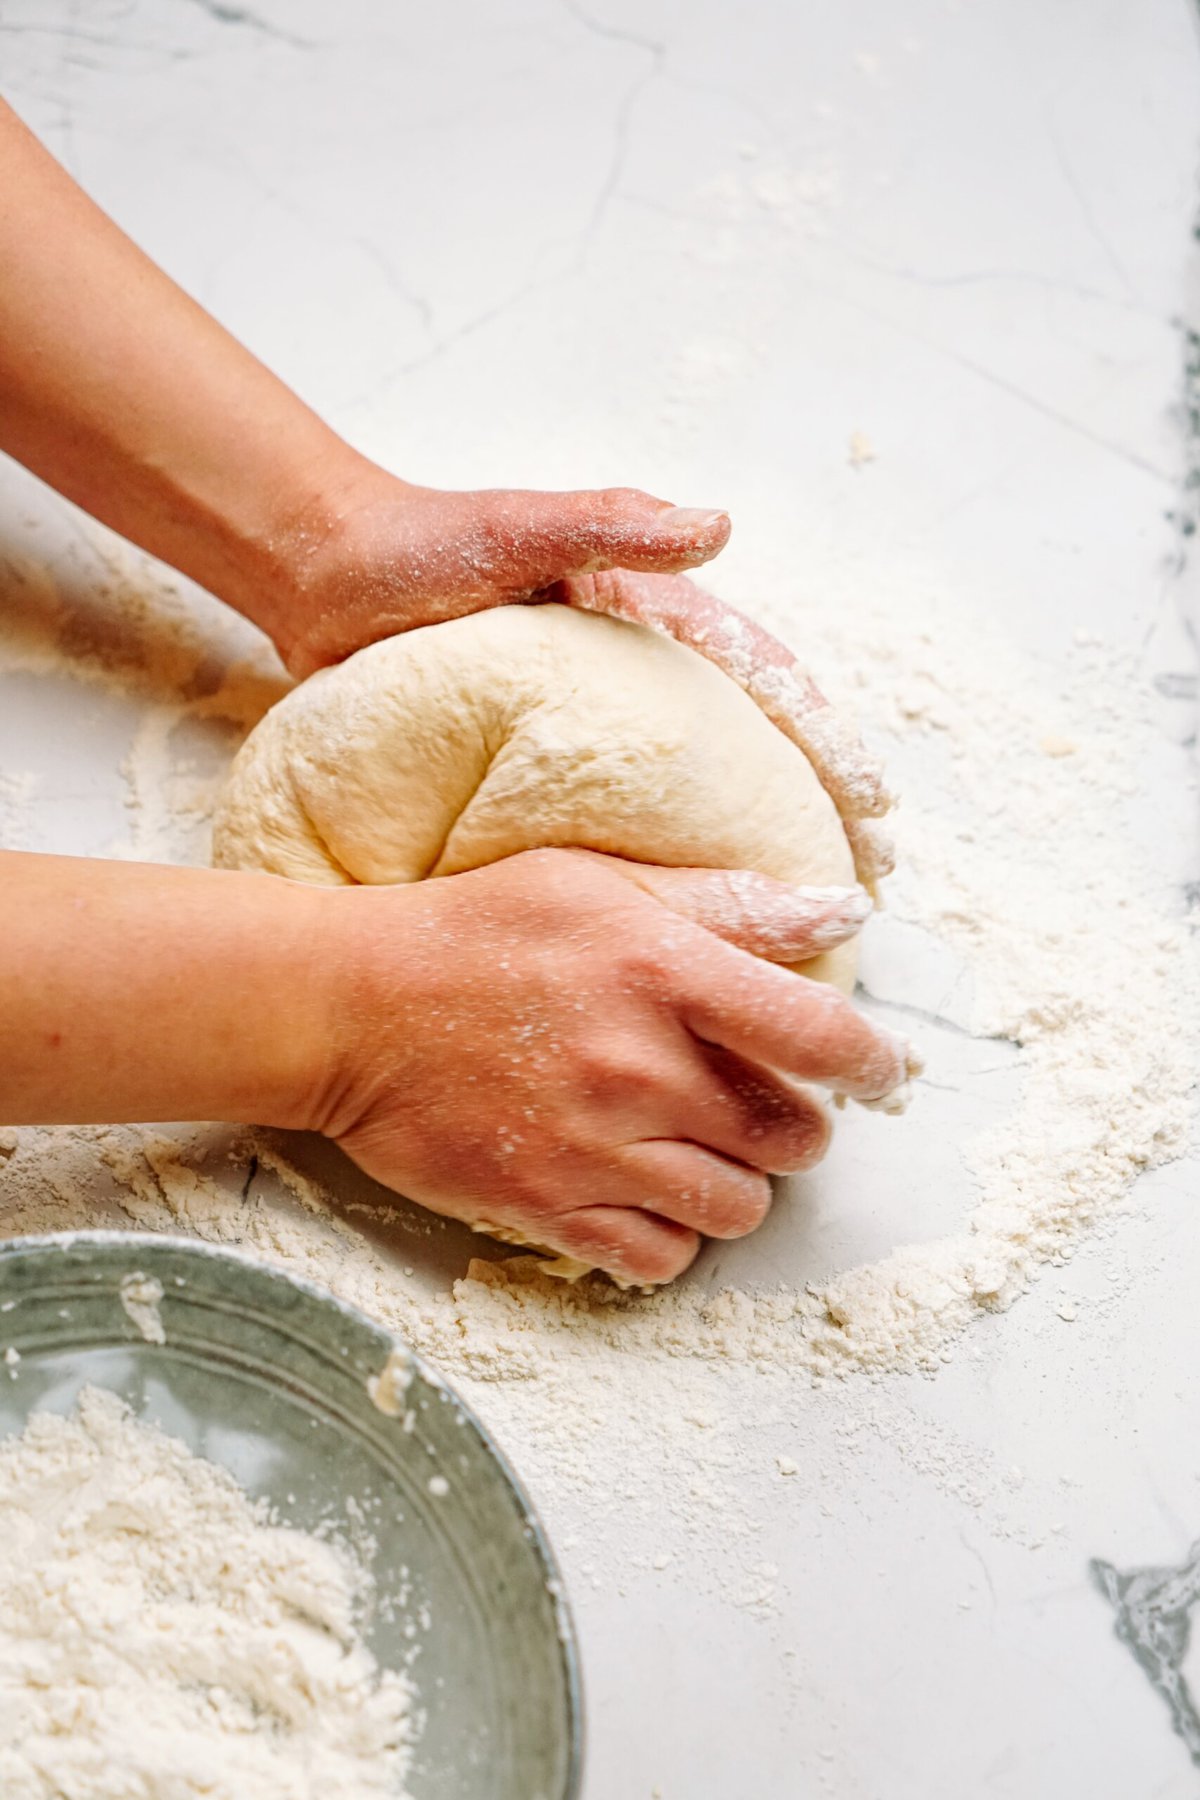
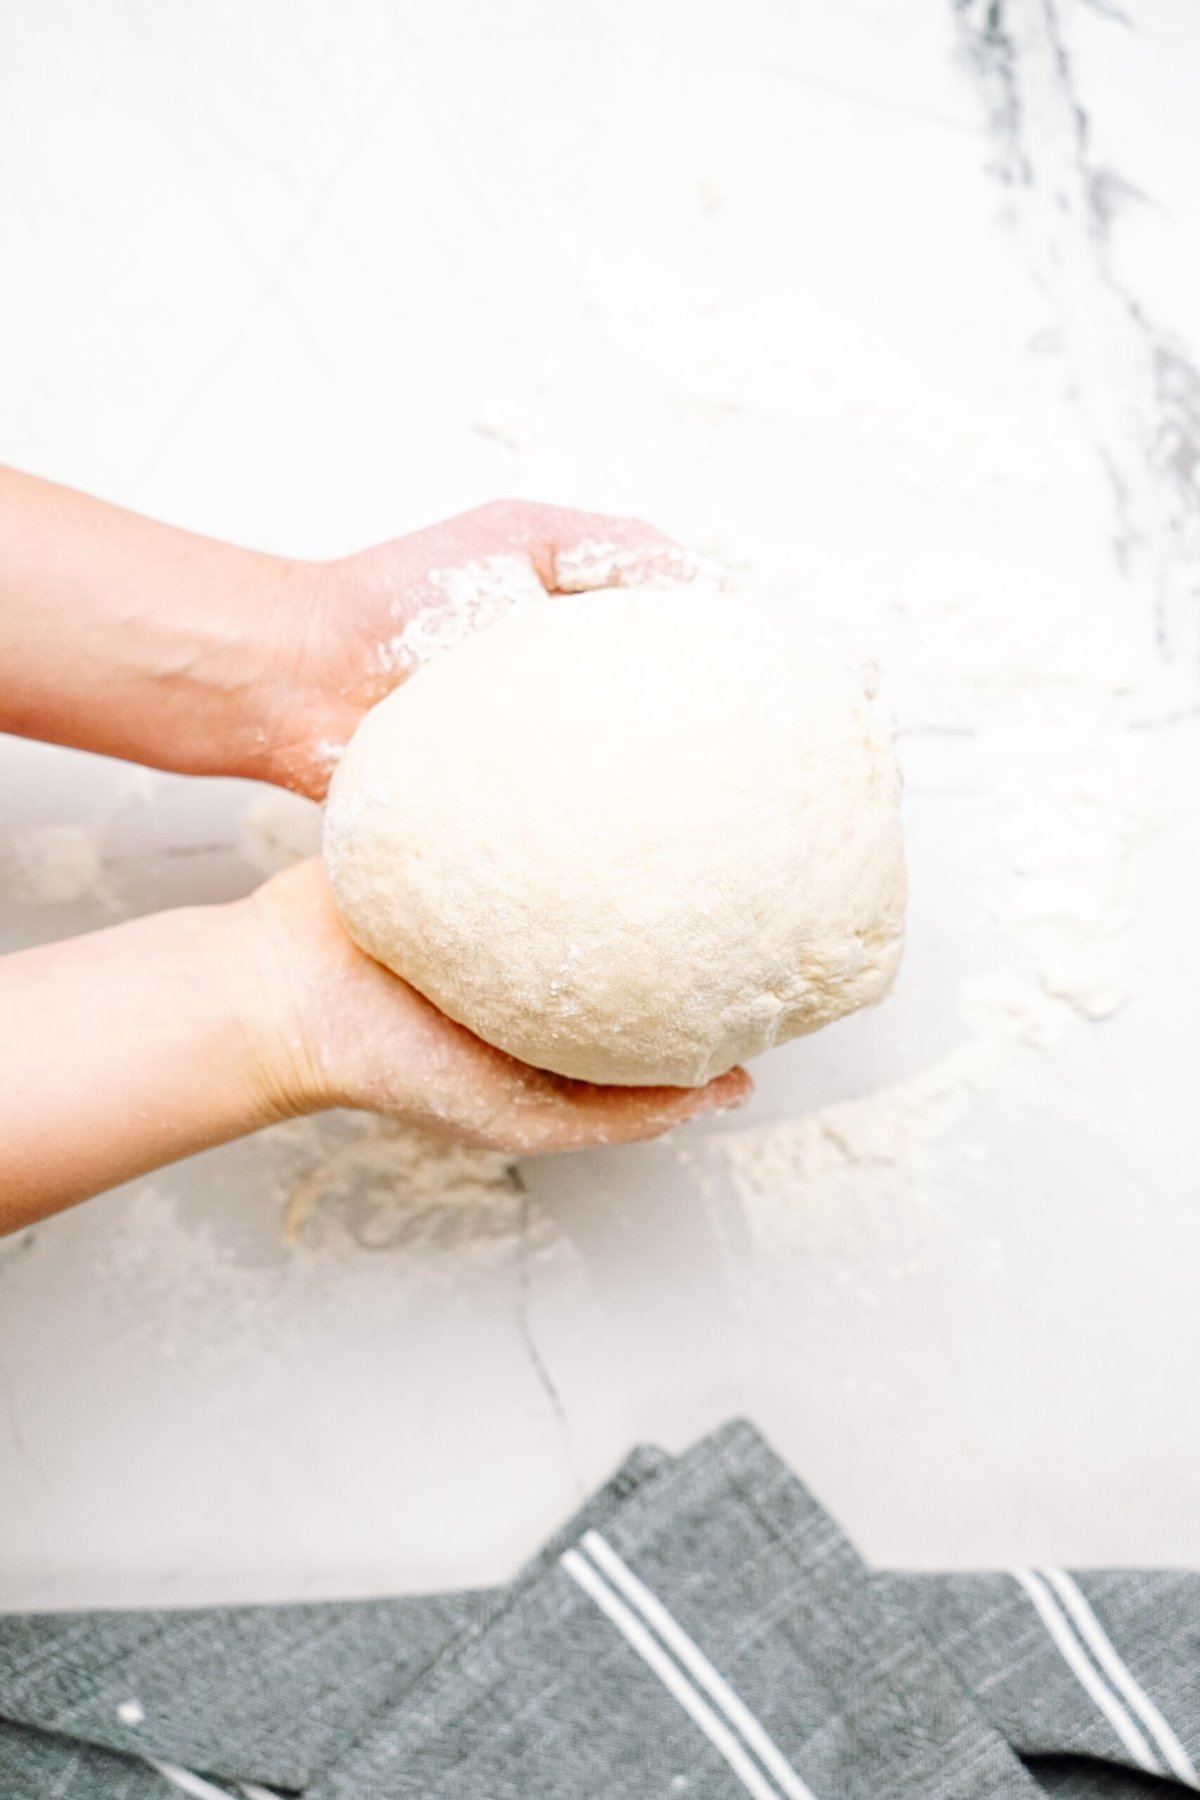
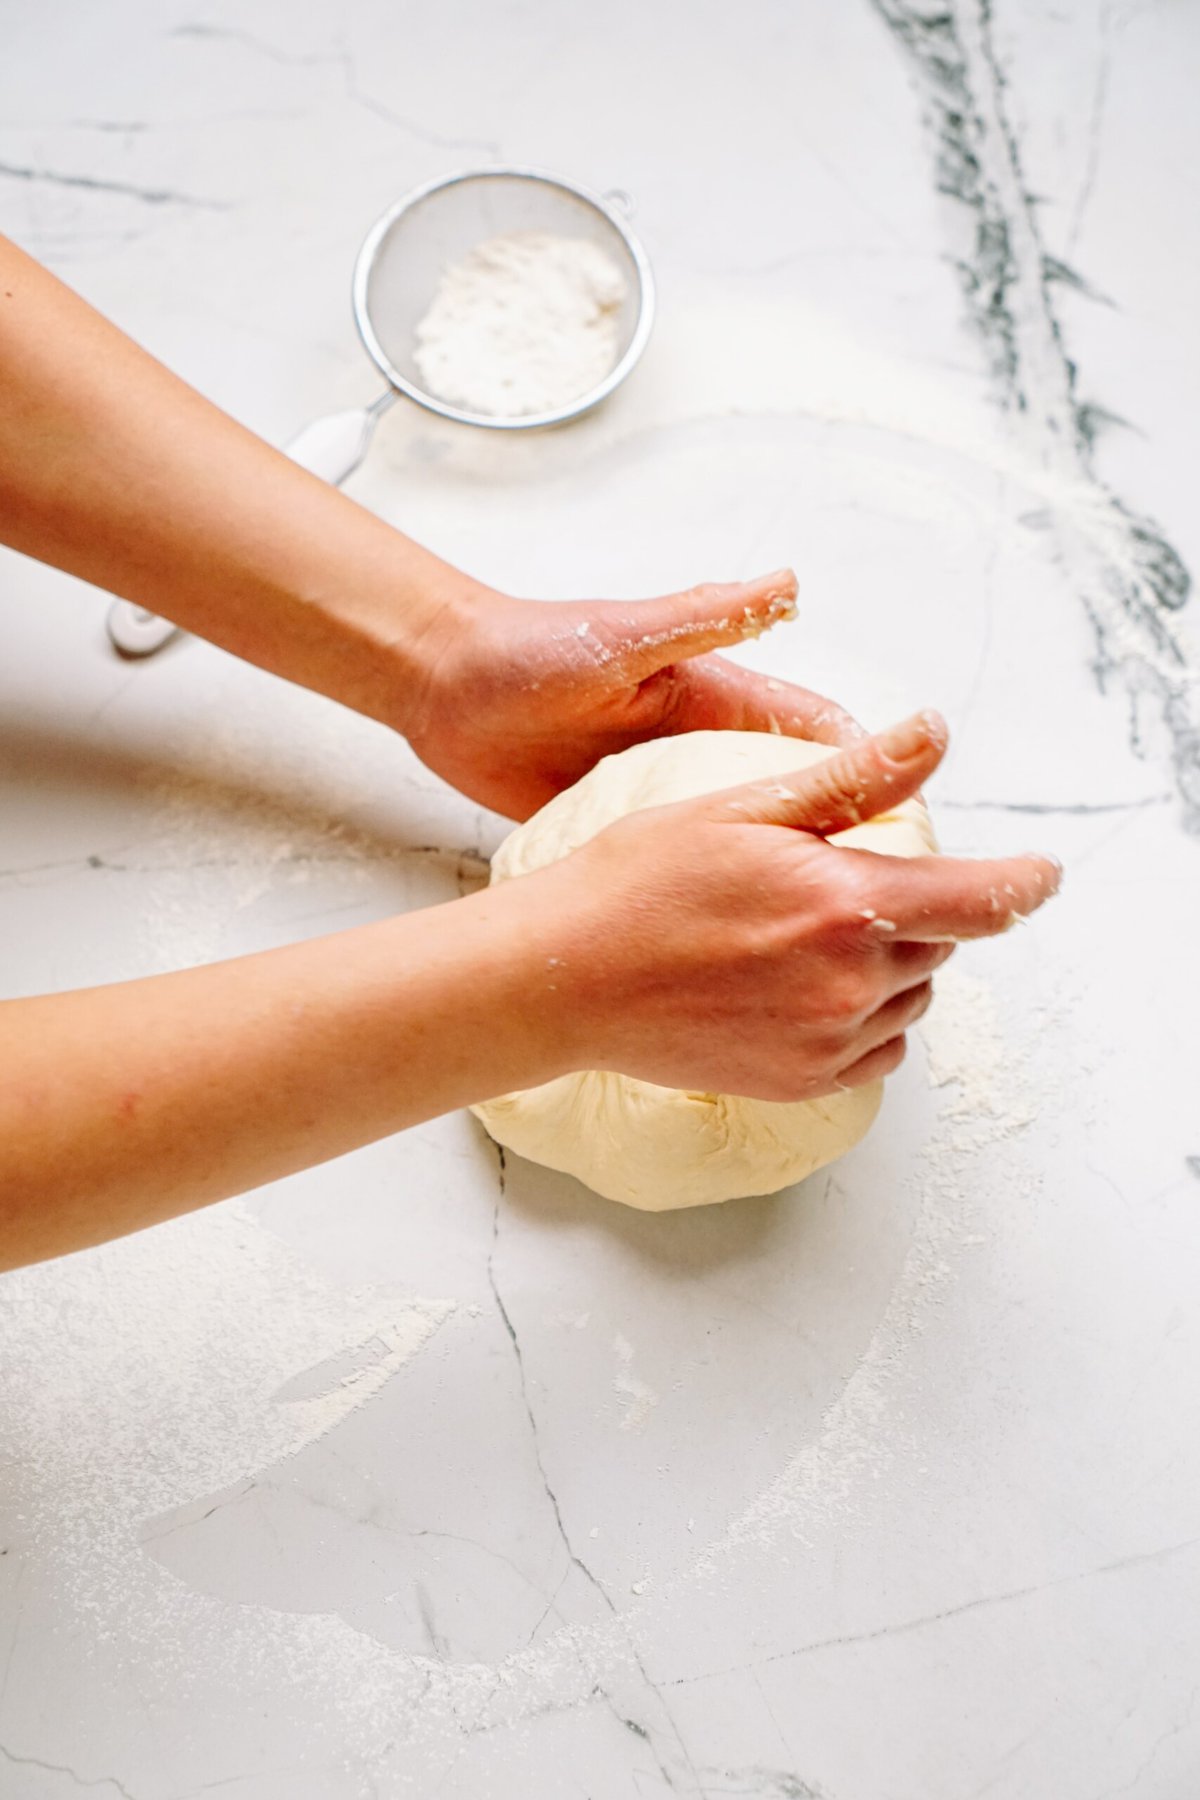
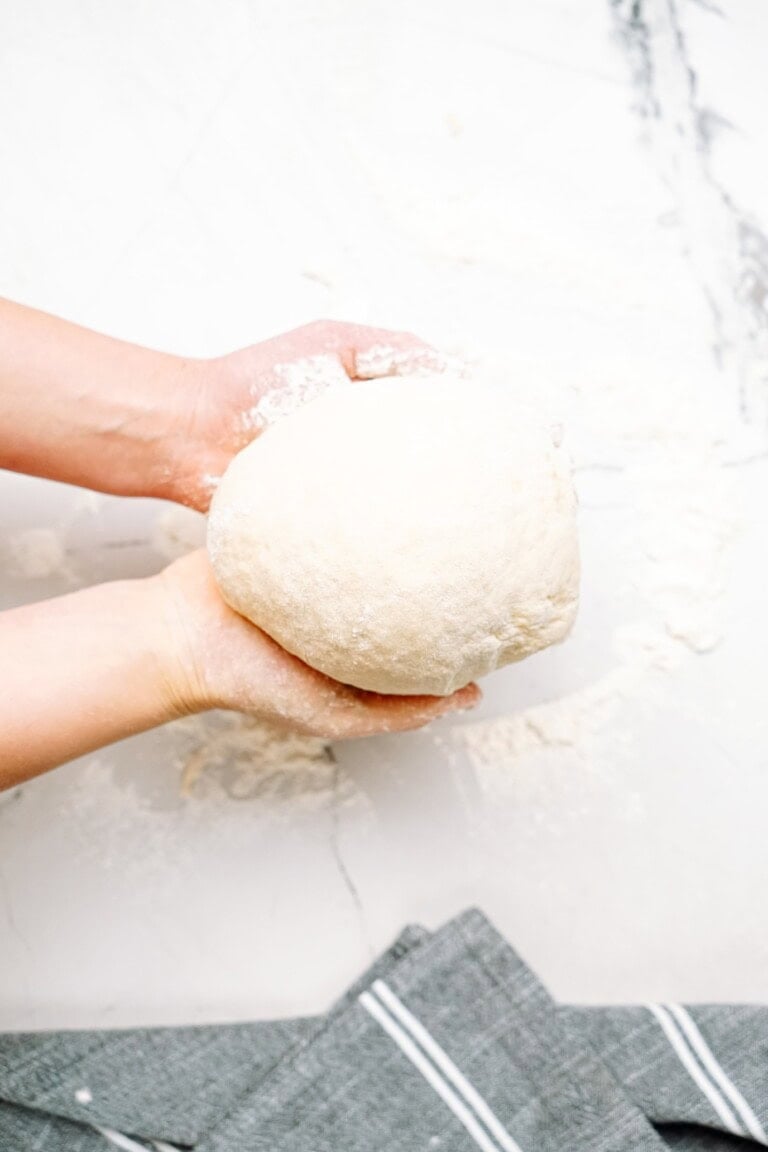
Once you reach this stage, knead on low (or by hand on a clean, lightly floured work surface) for 5-6 minutes. The dough should be smooth and easy to work with and the sides of the bowl should be mostly clean!
Pro Tip: If you have a bread machine you can use it to knead your dough instead of using a stand mixer or kneading by hand.
5. First Rise
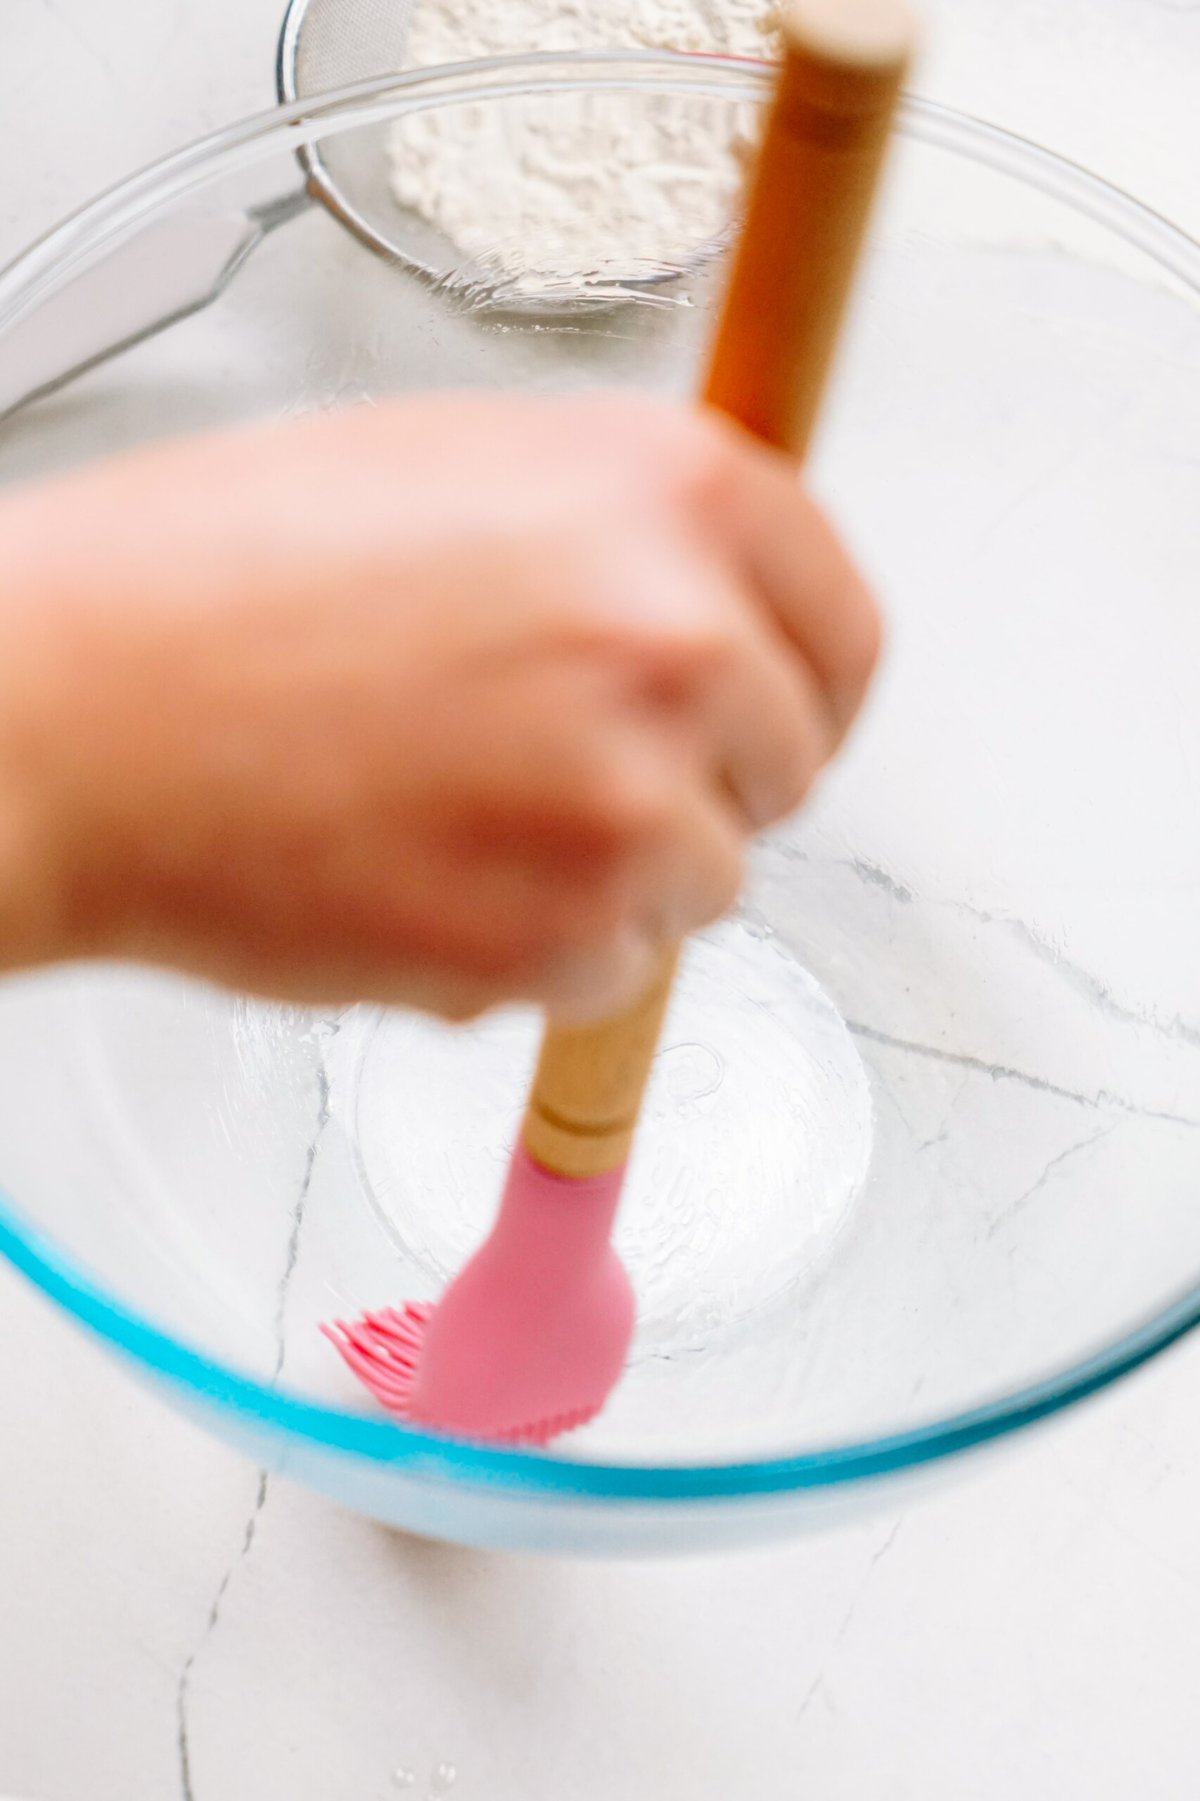
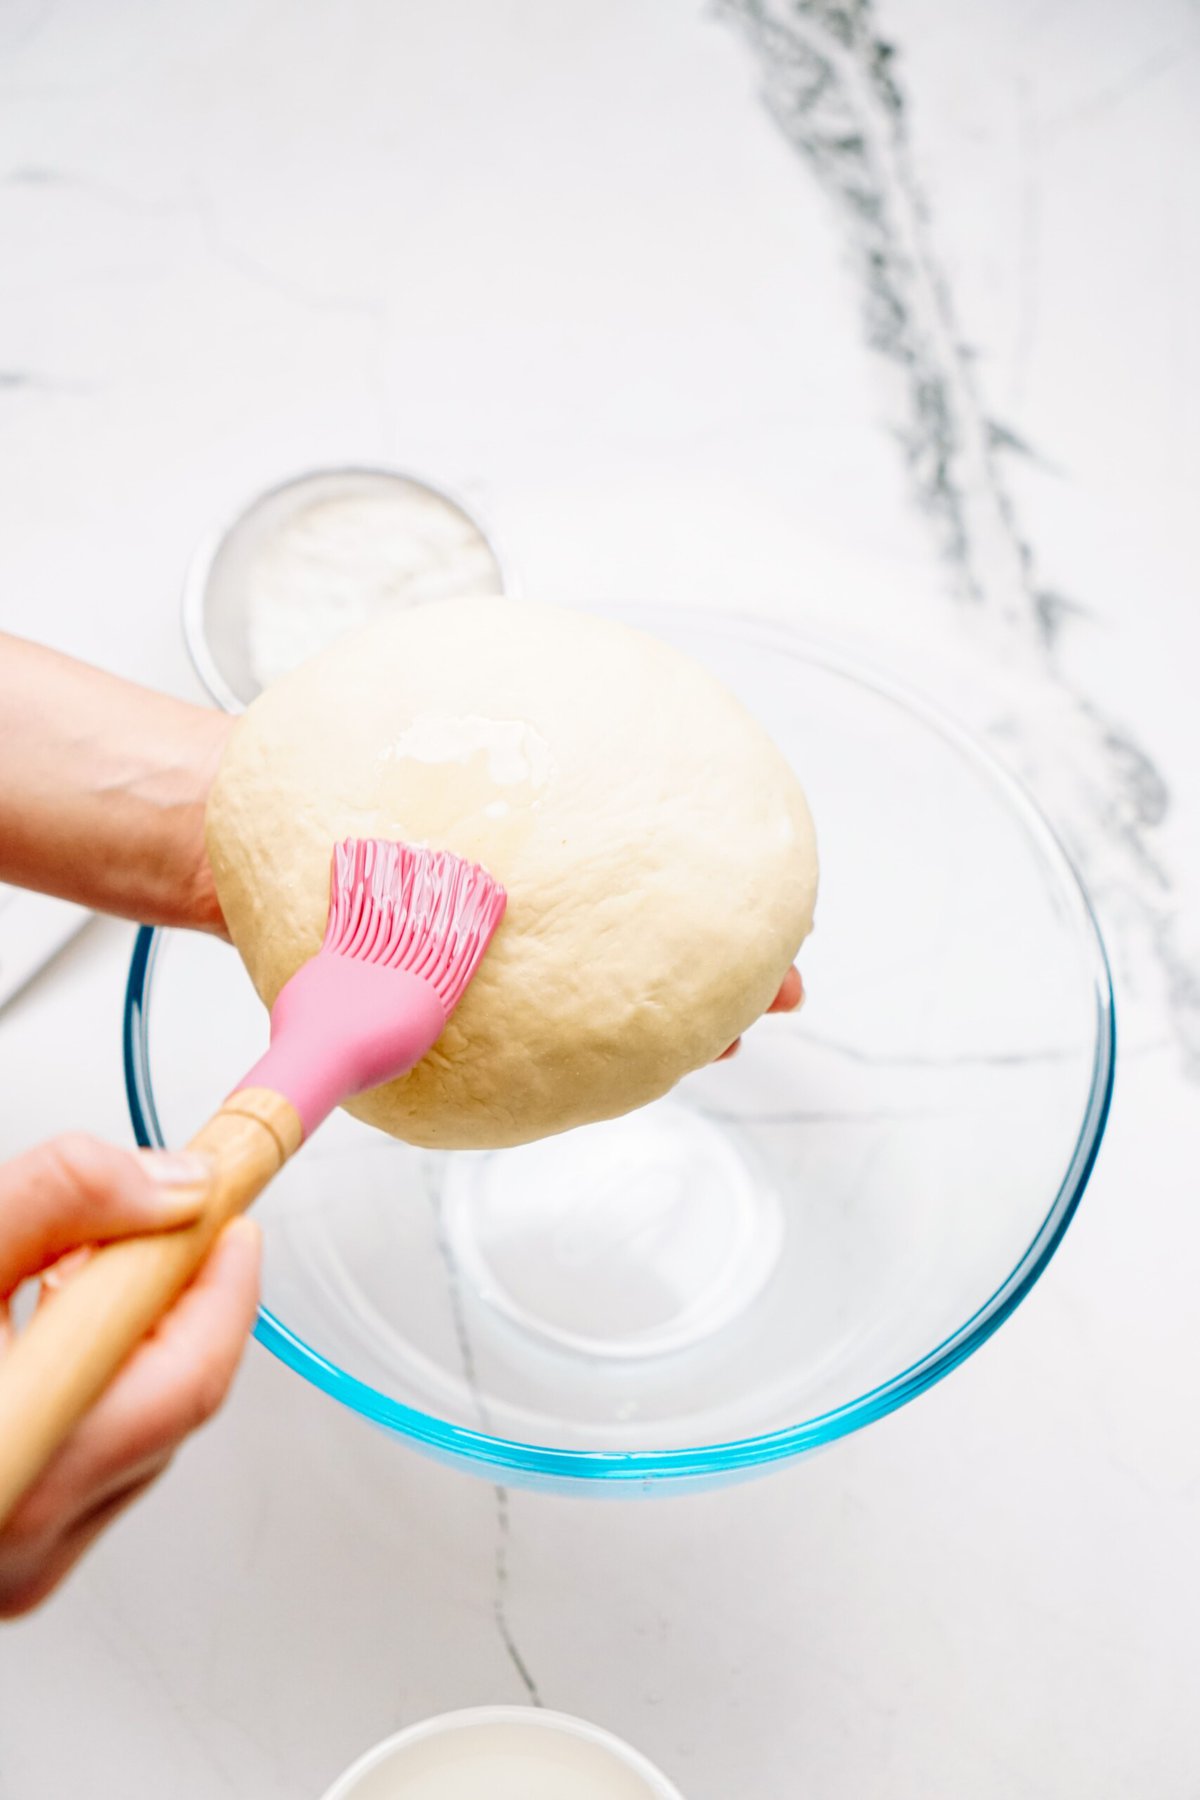
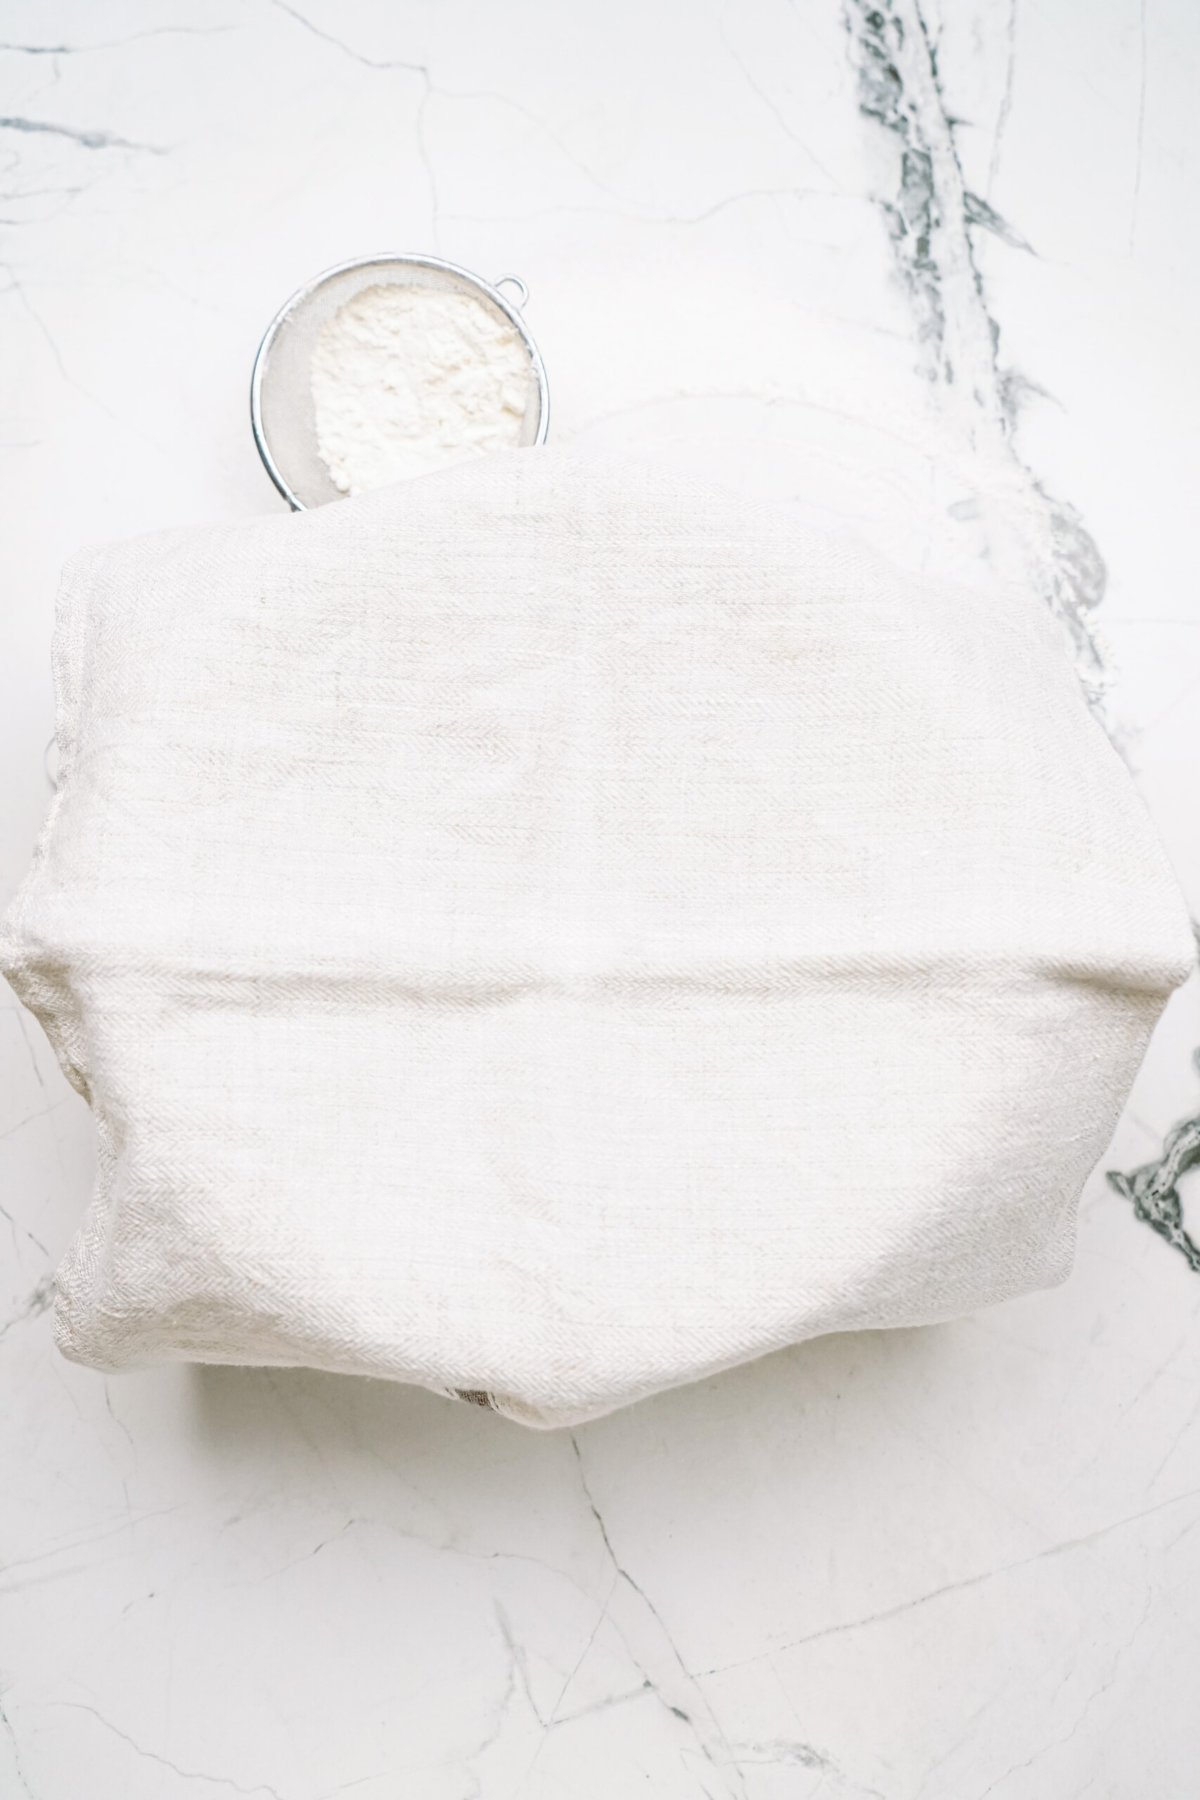
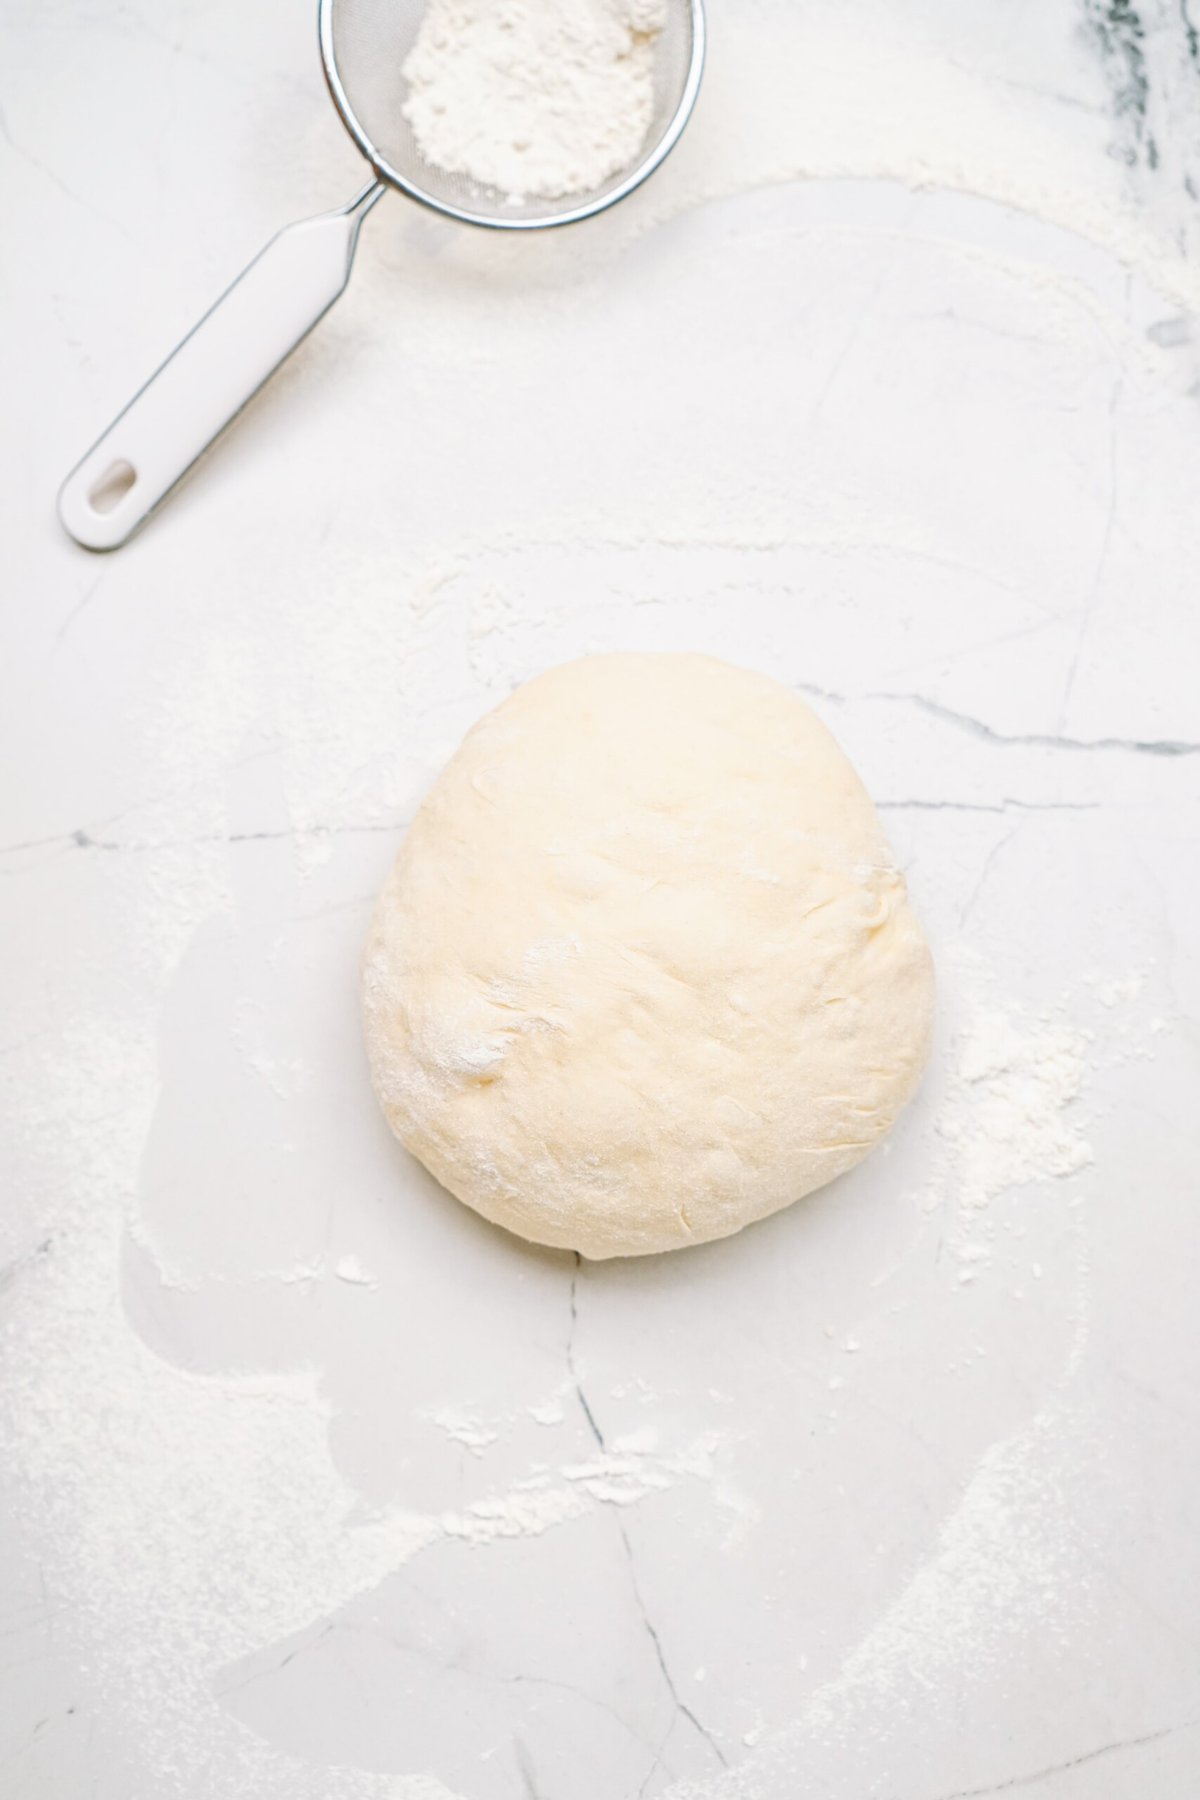
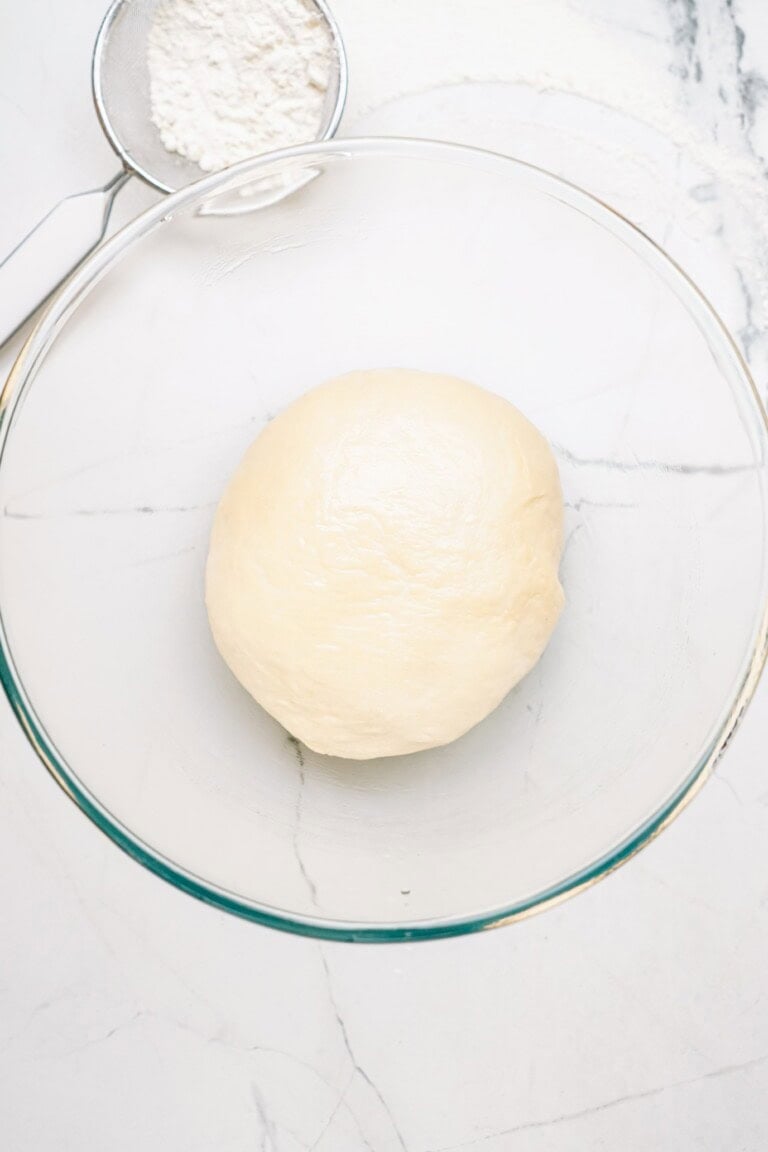
Grease the dough ball and bowl; cover with plastic wrap or clean kitchen towel and let rise in a warm place for 1-2 hours or until doubled in size.
6. Shape Buns
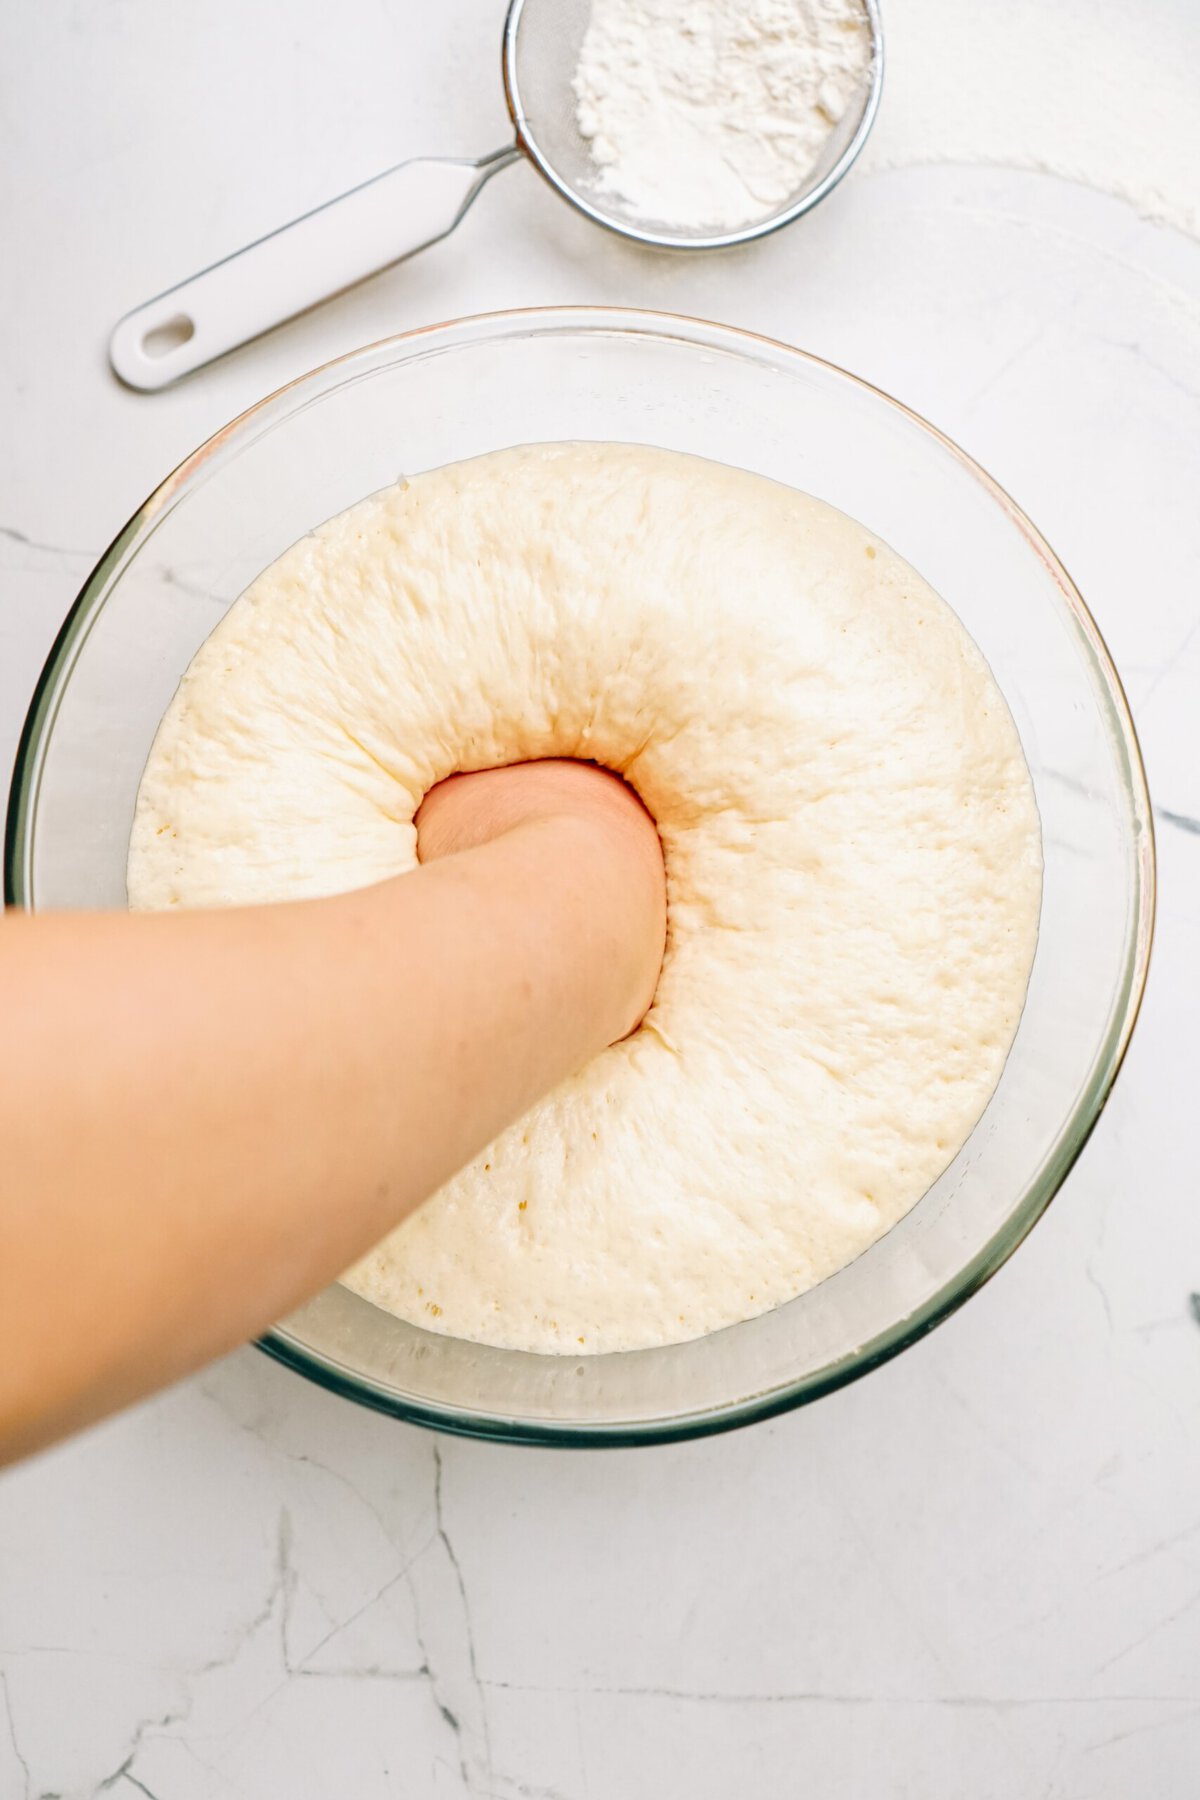
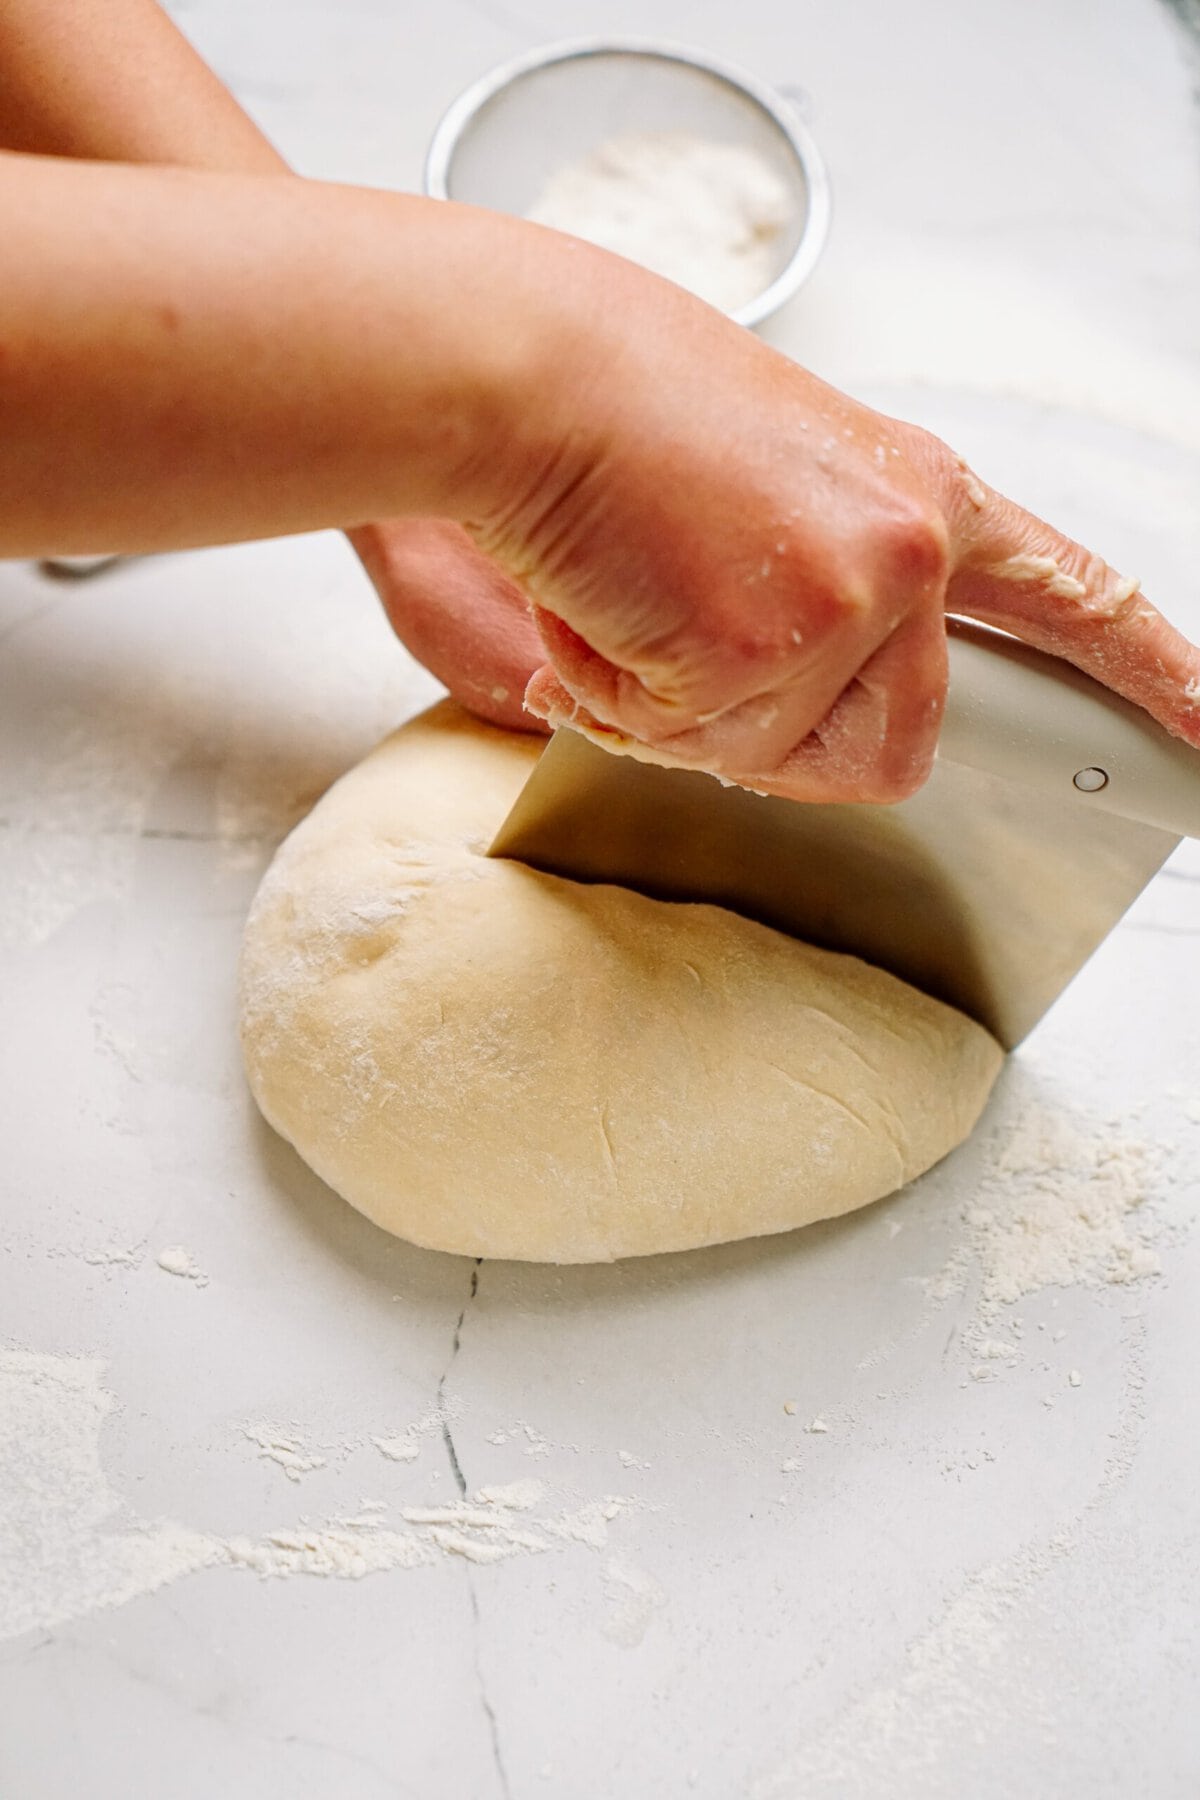
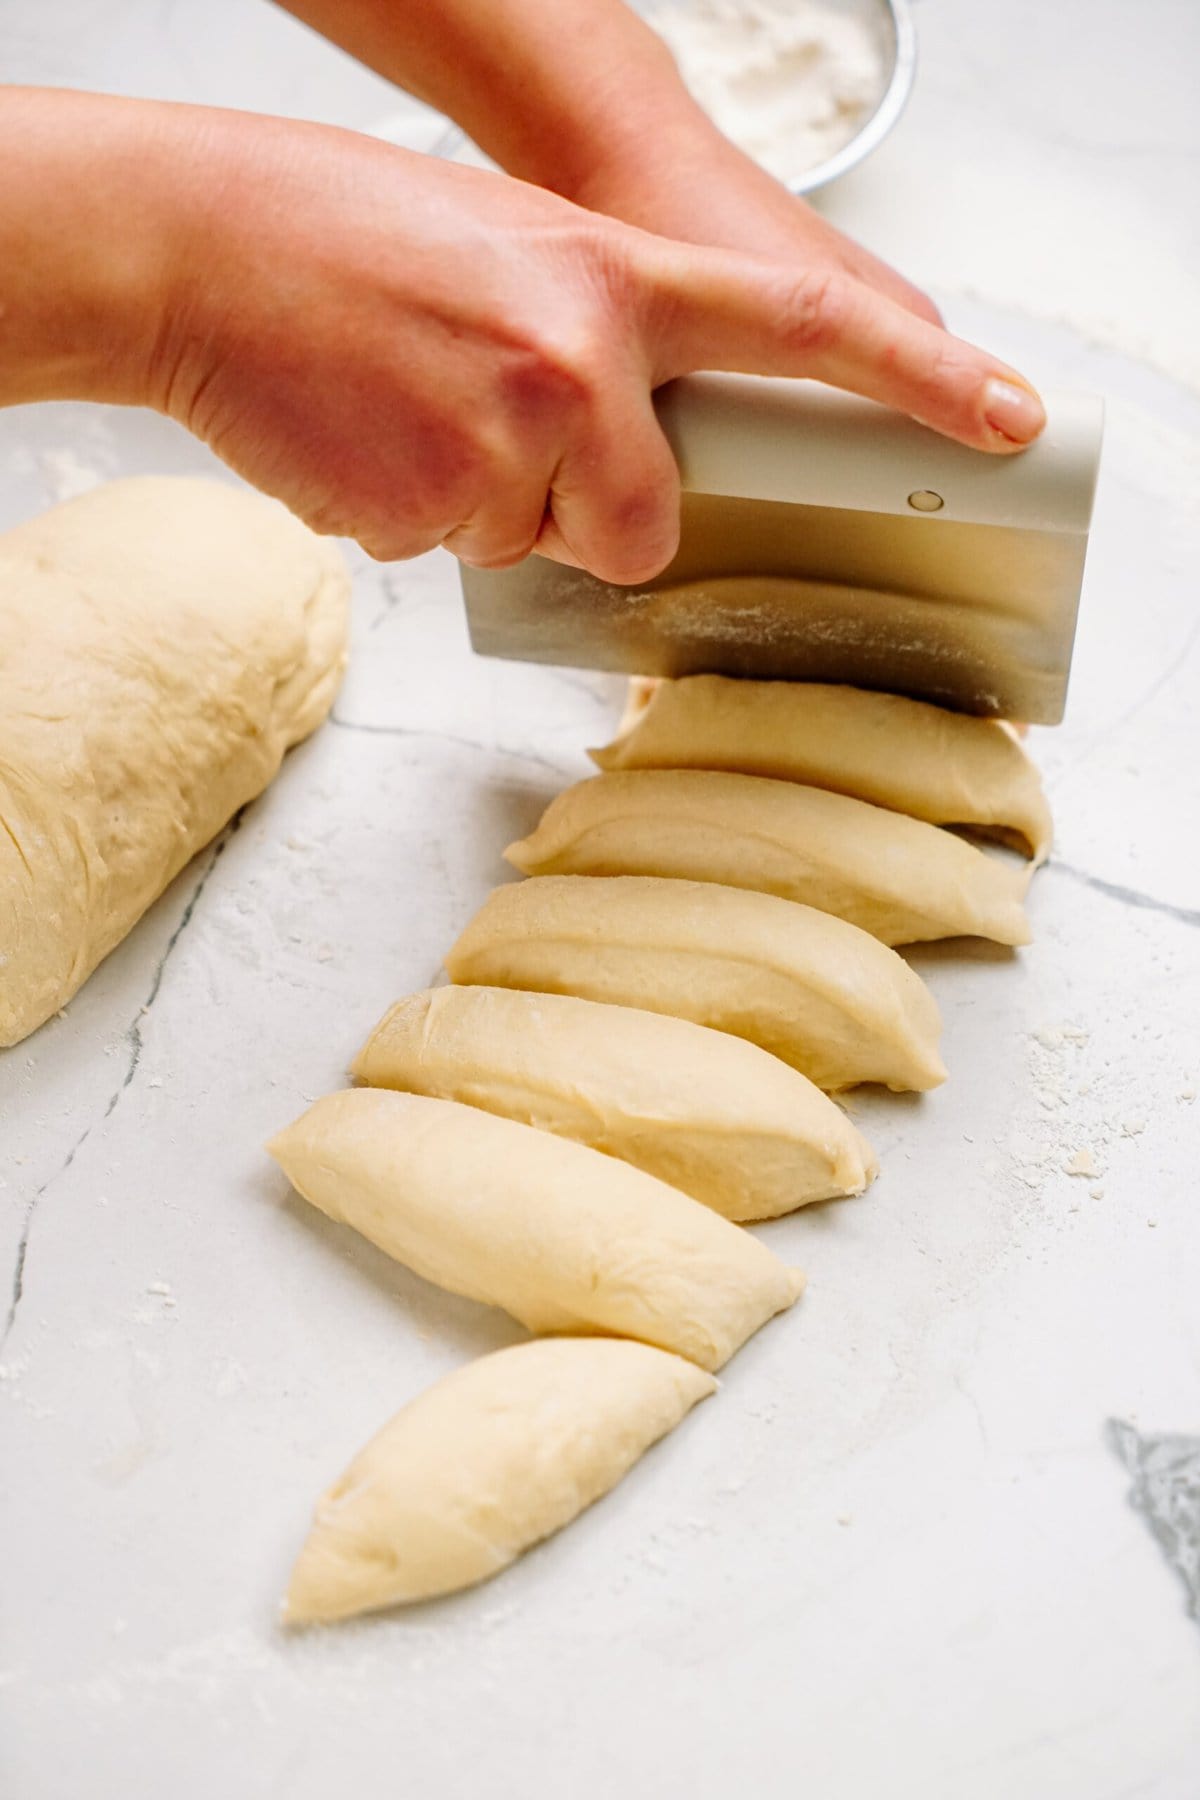
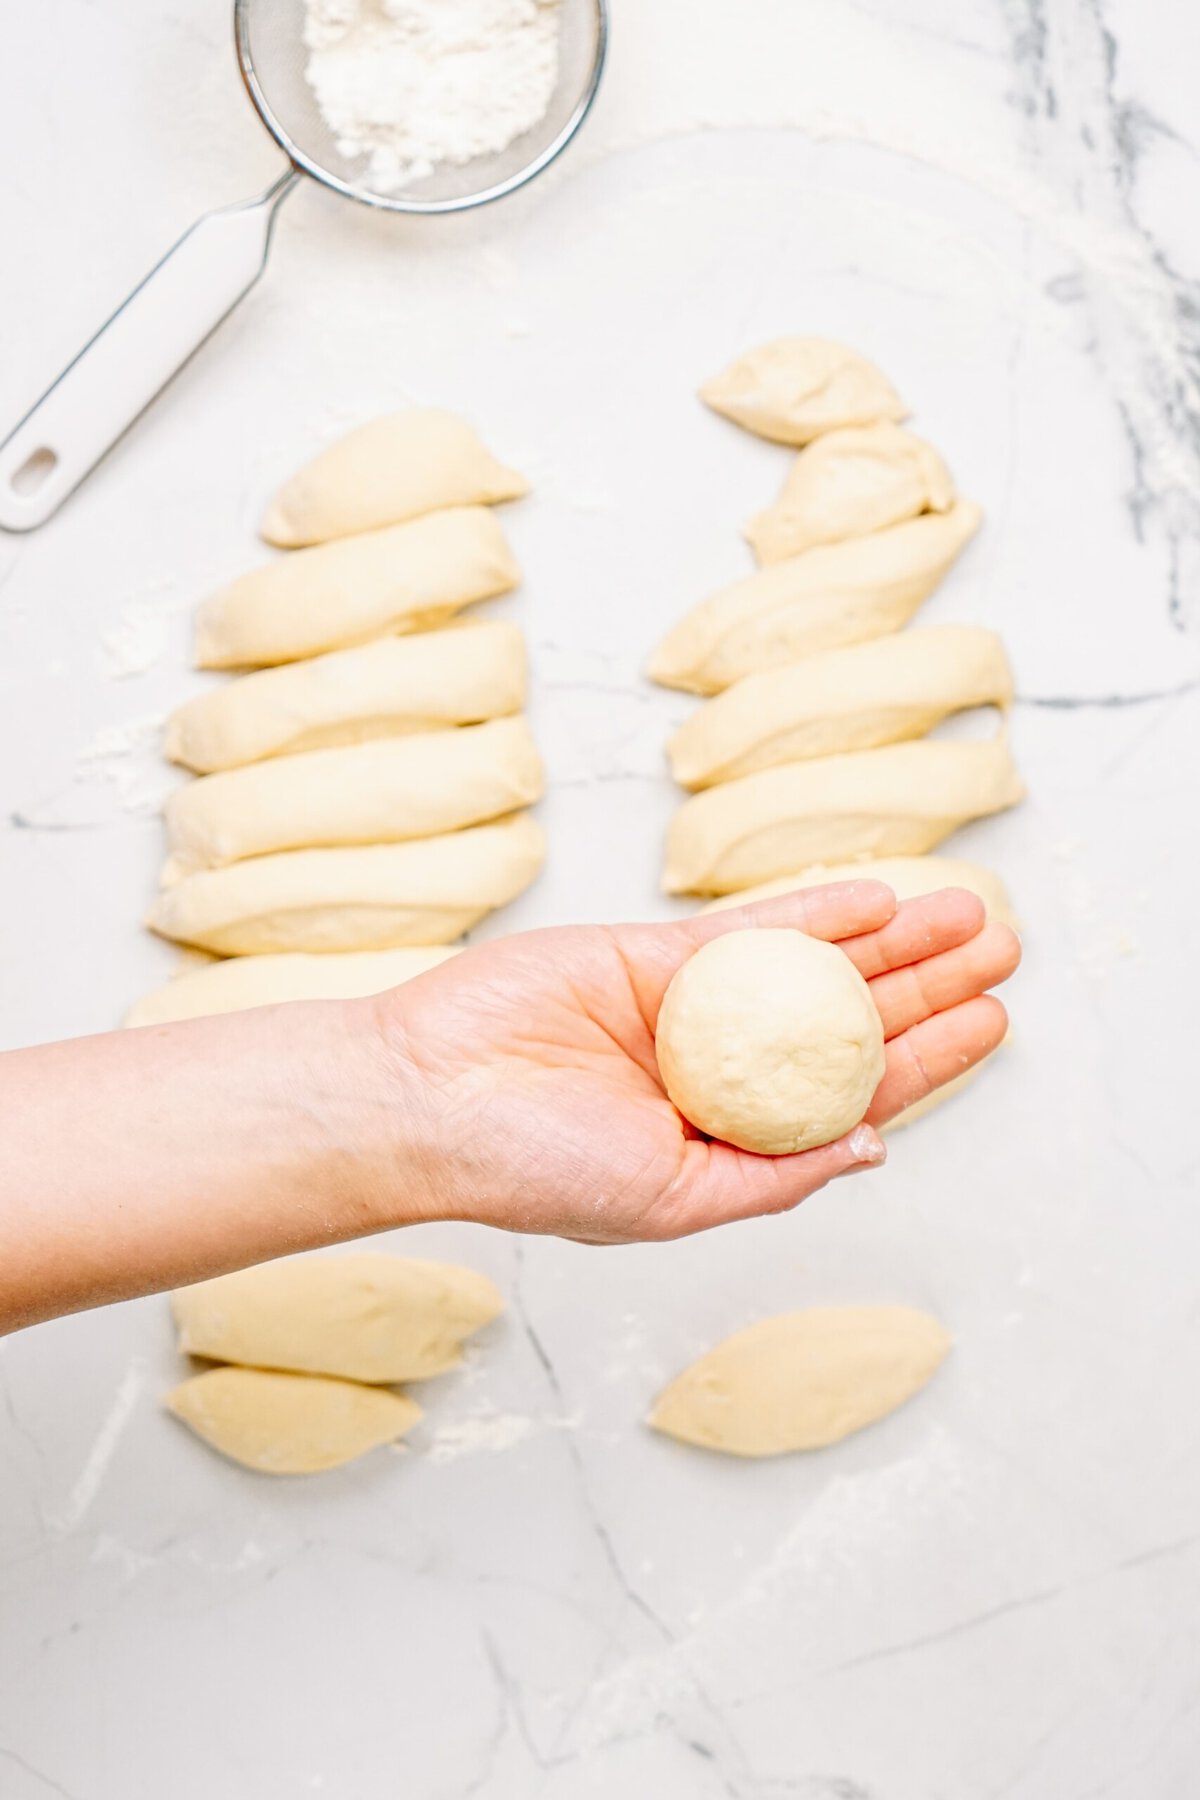
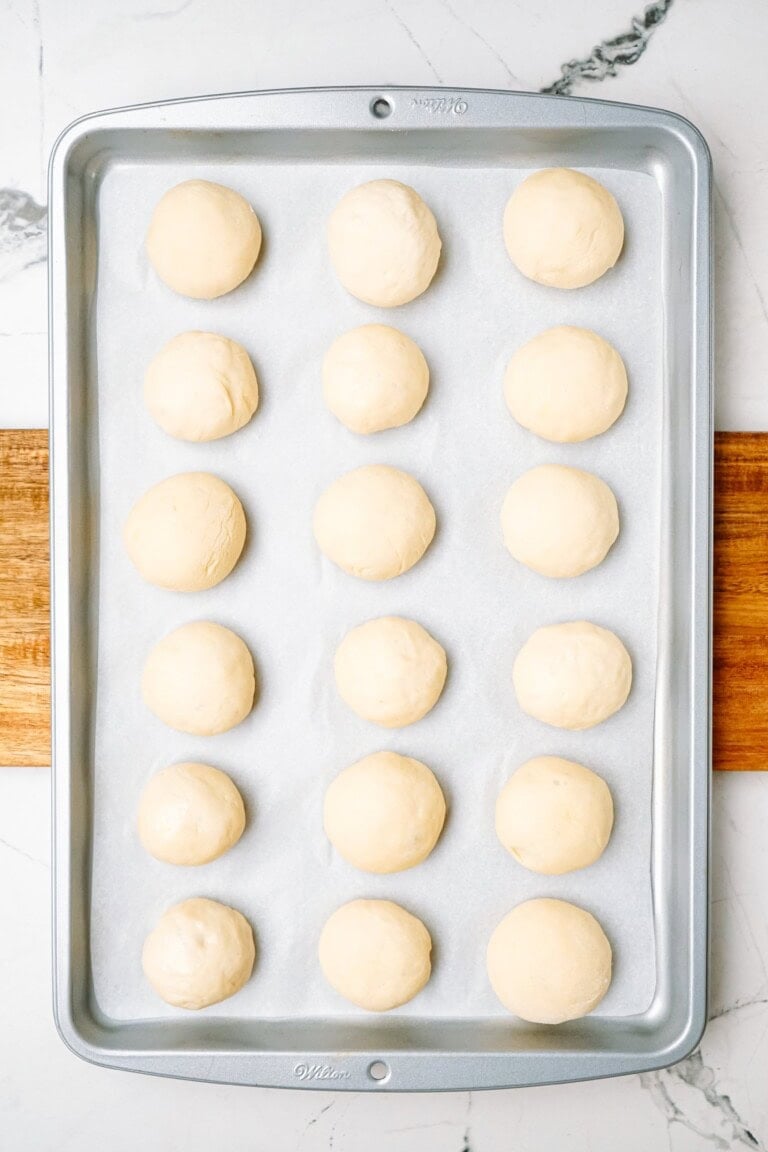
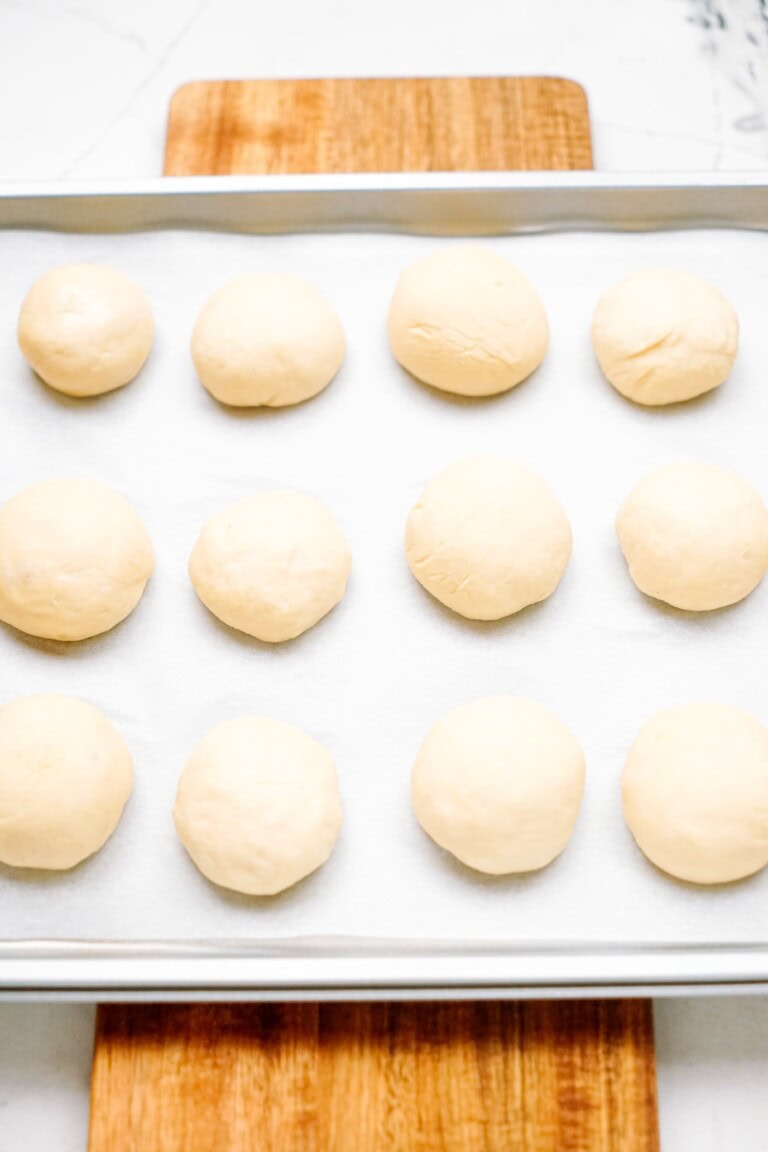
Punch down dough, pinch off and form into 18 small dough balls the size of golf balls.
Pro Tip: If you want equal pieces of dough, consider using a kitchen scale, or just eyeball it and get as close as you can.
7. Second Rise
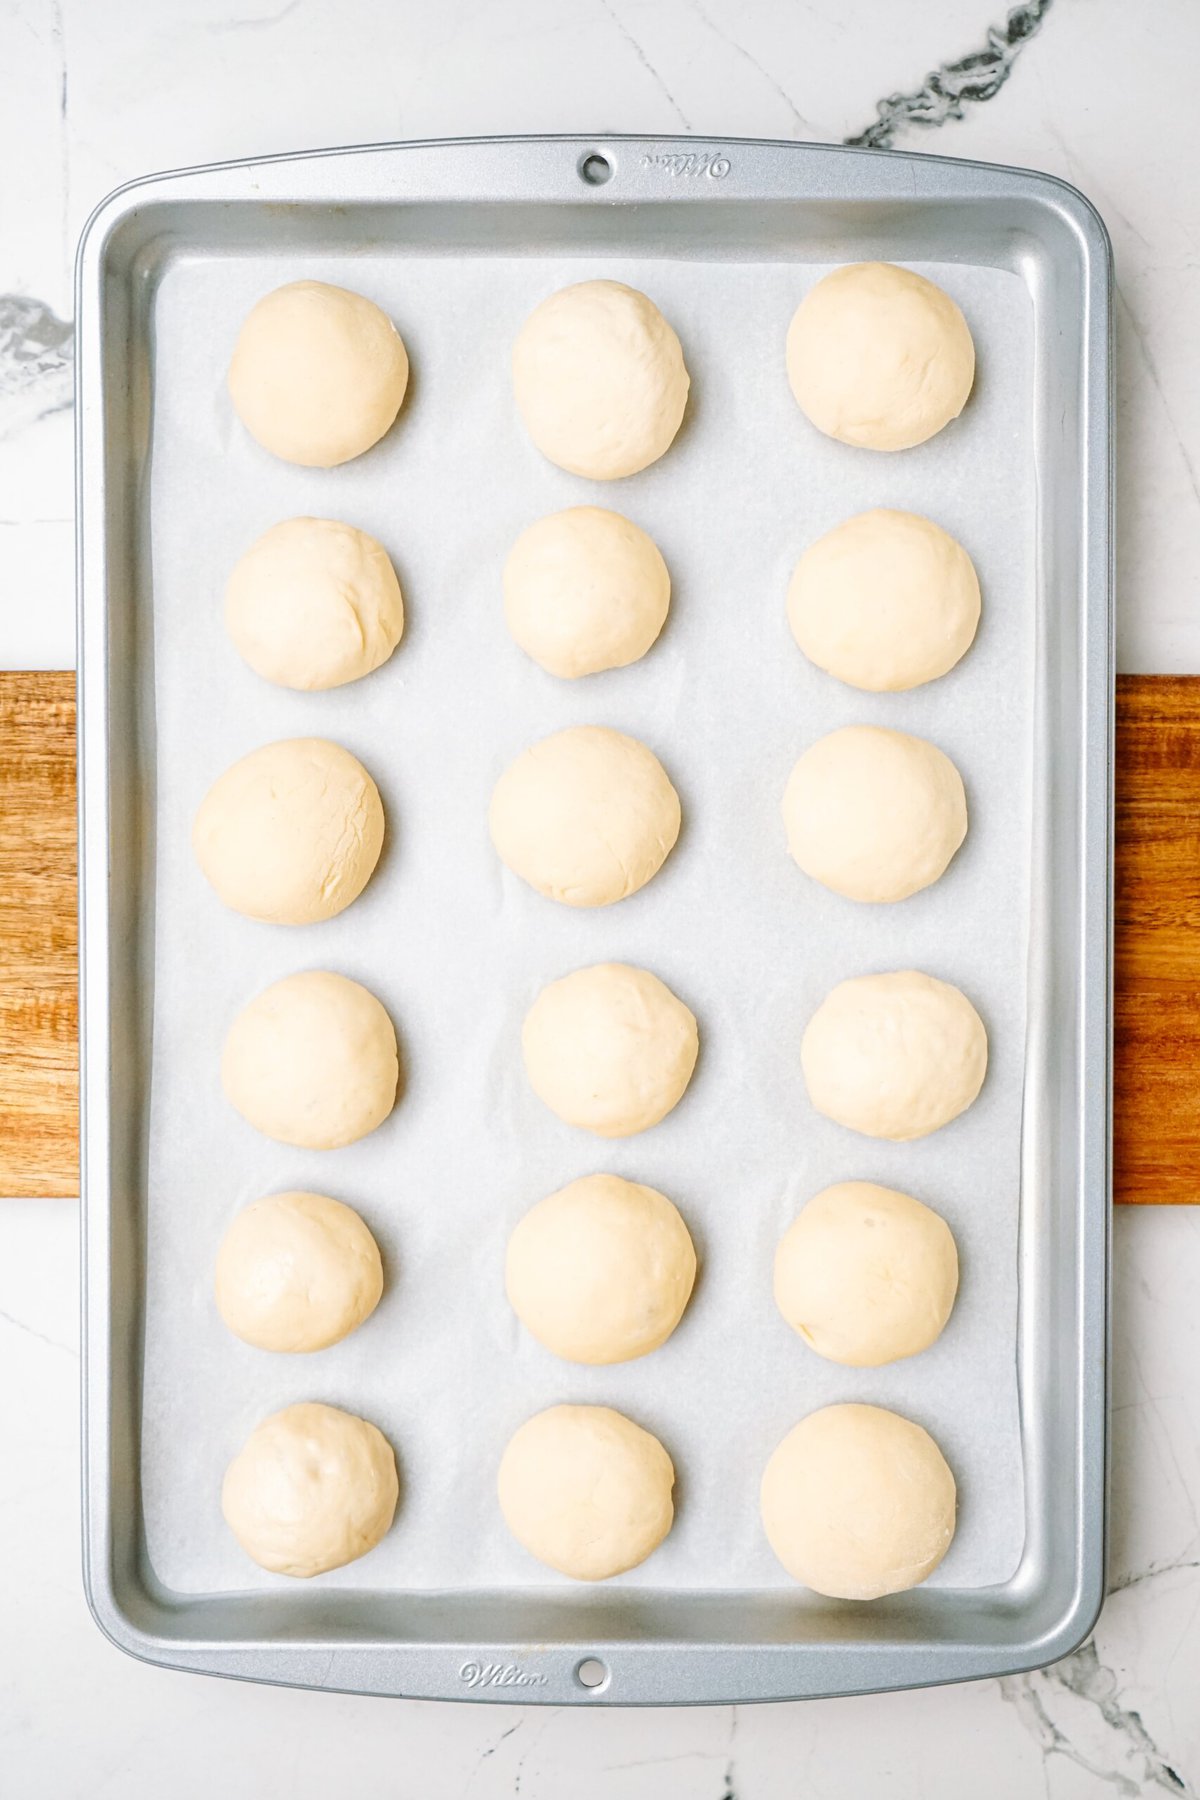
Place dough balls on a prepared baking sheet lined with parchment paper. Let dough rise another 30-60 minutes.
8. Brush Egg Wash over Buns + Bake
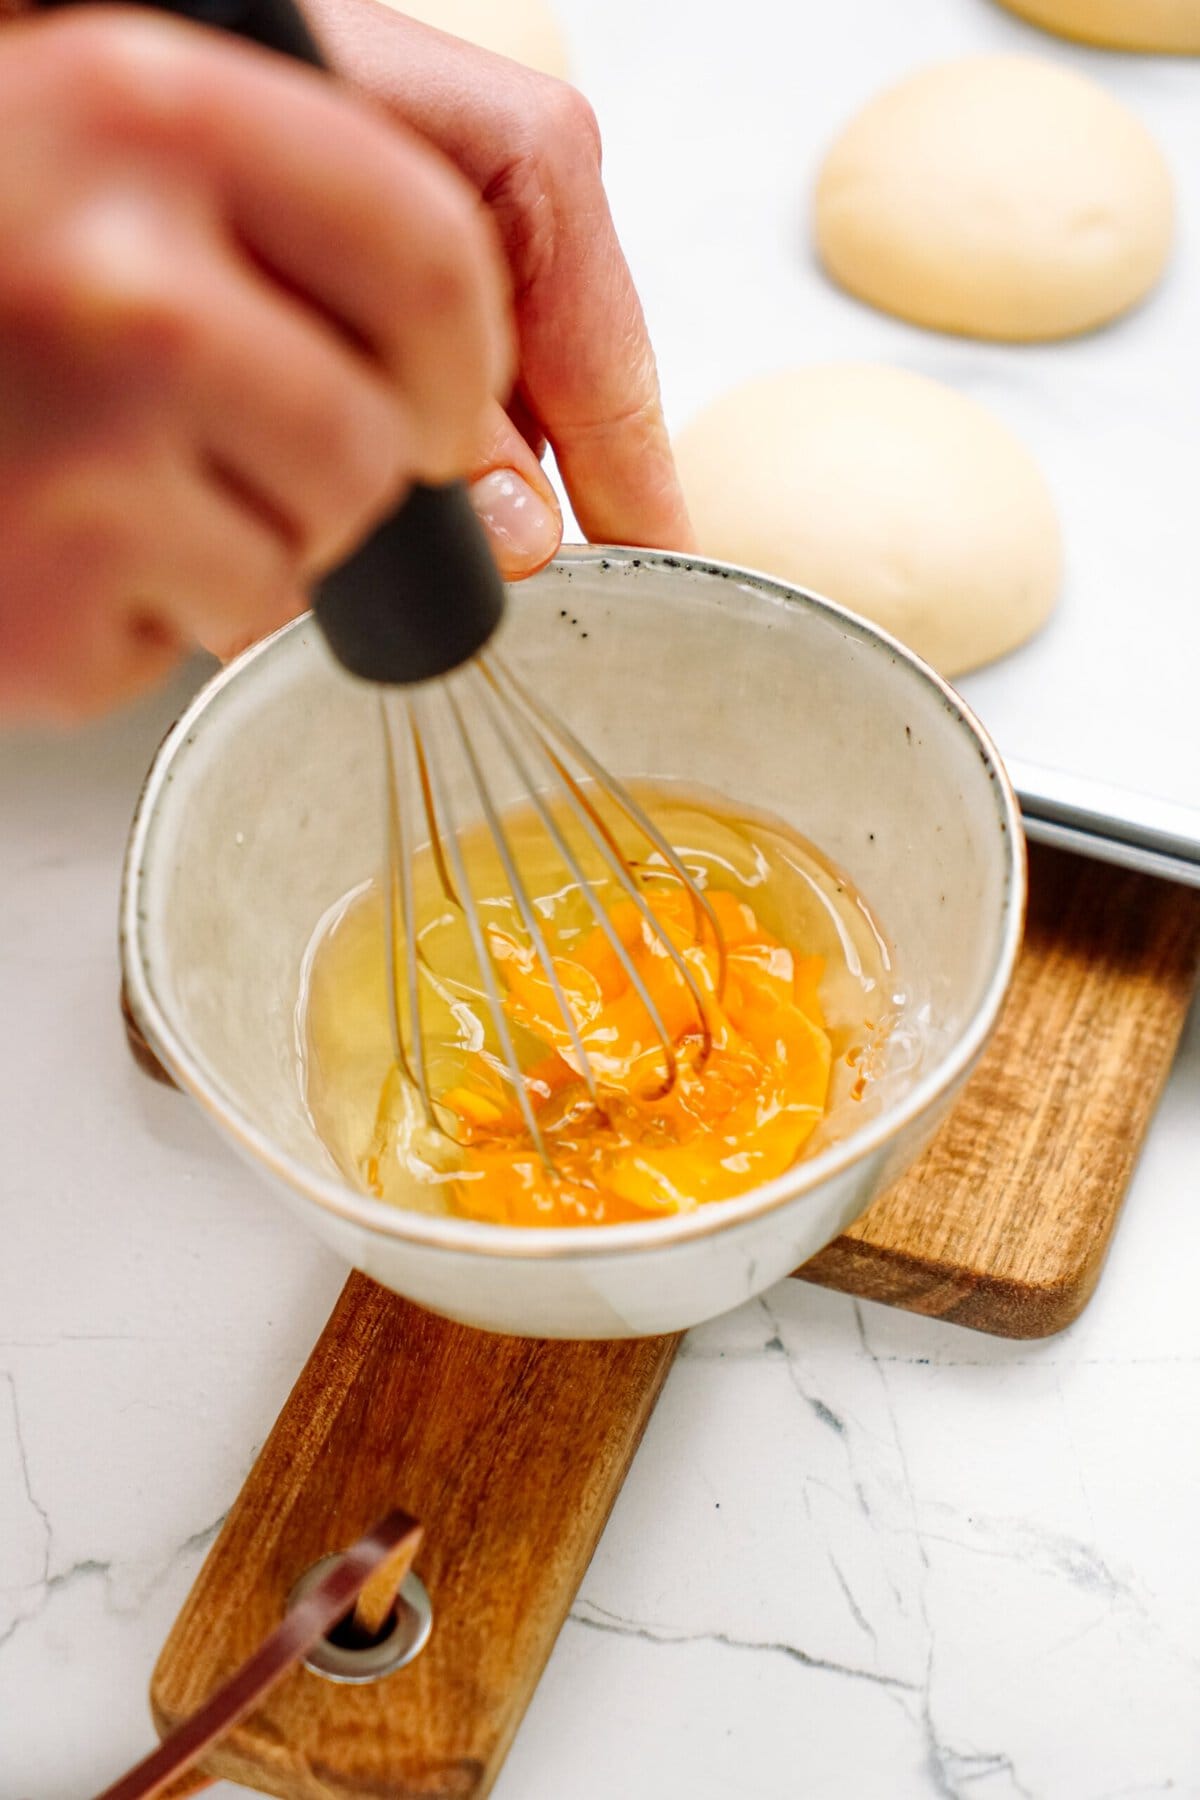
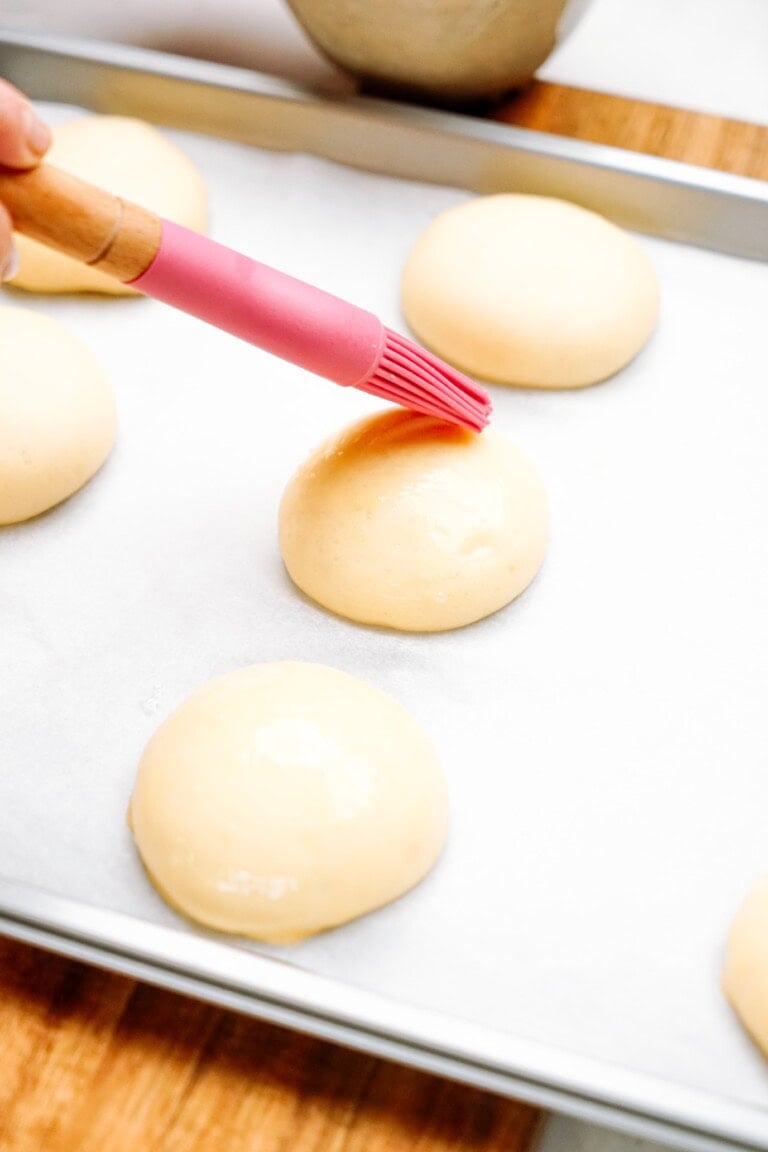
In a small bowl, beat remaining egg with 2 tablespoons of water. Brush tops of the buns and sprinkle with sesame seeds.
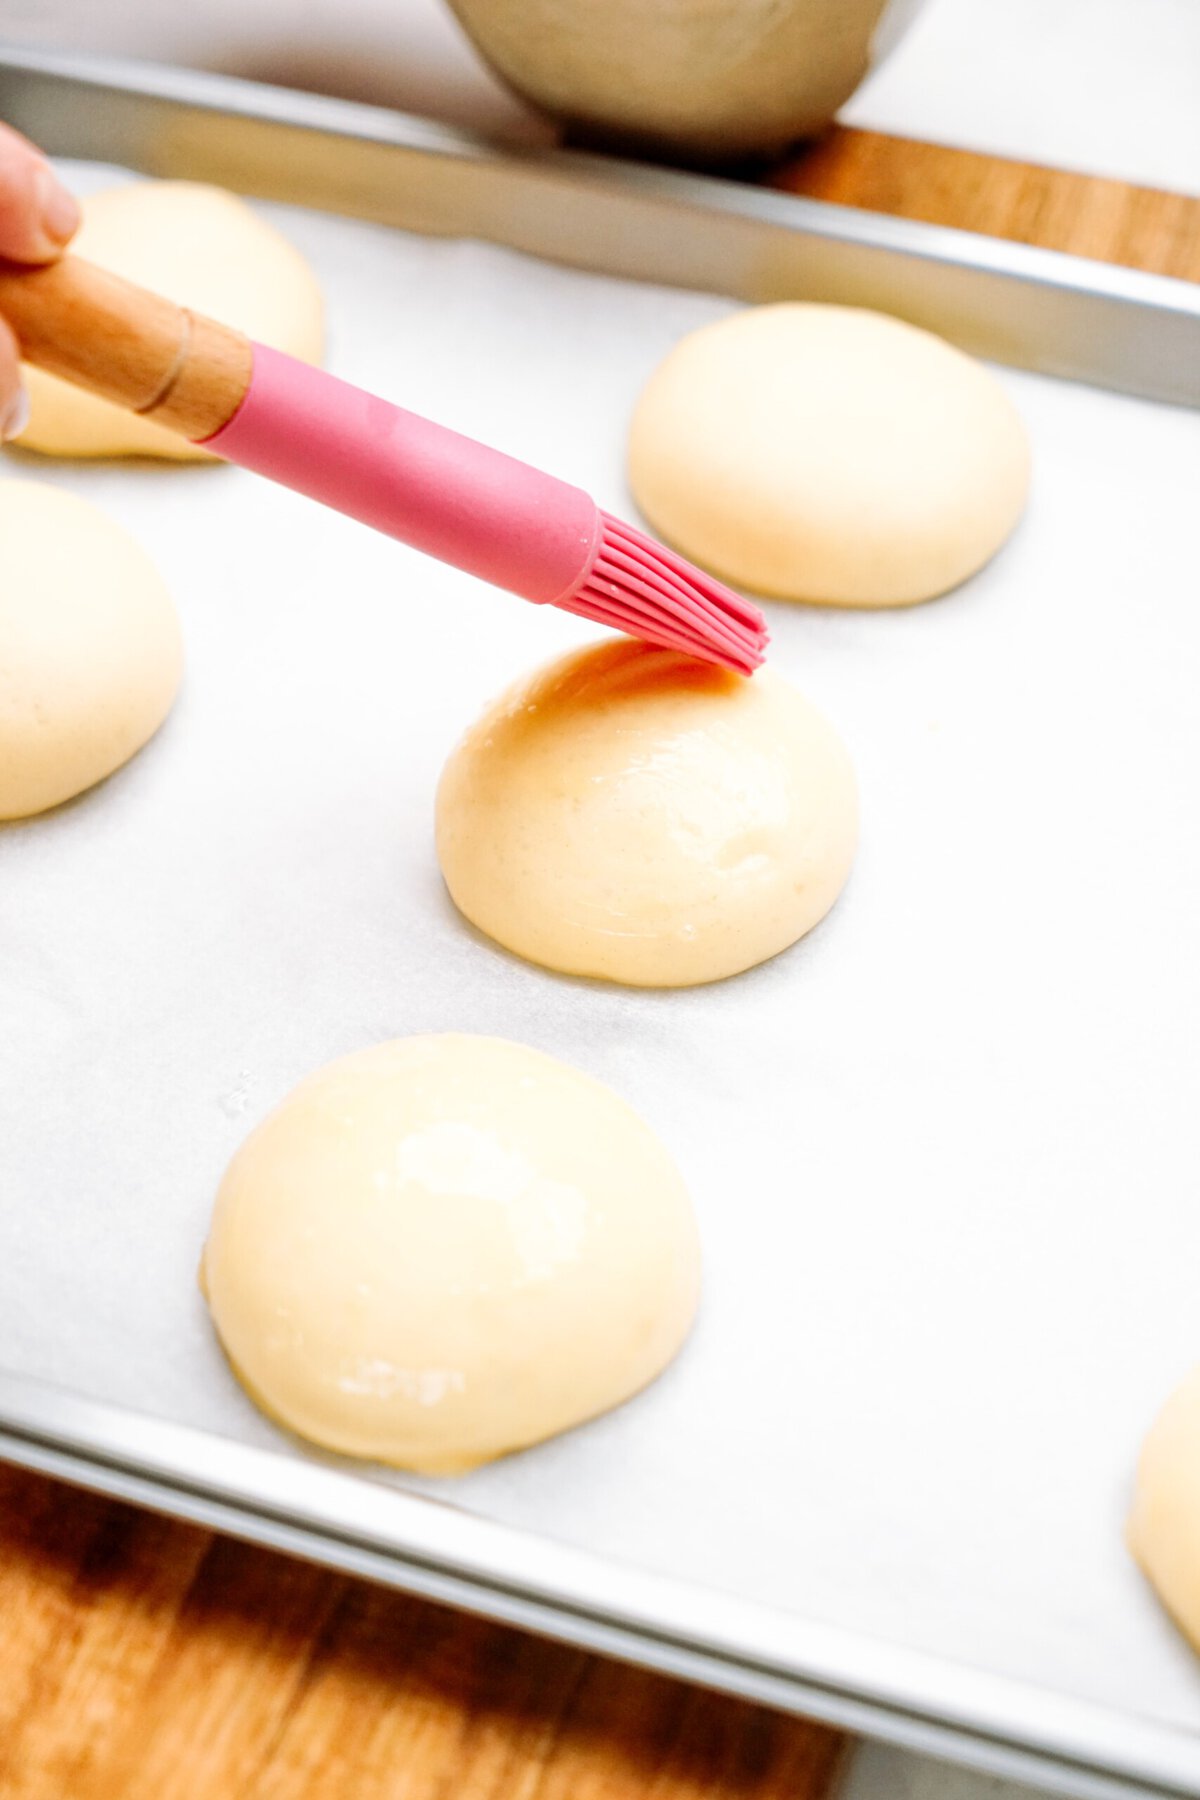
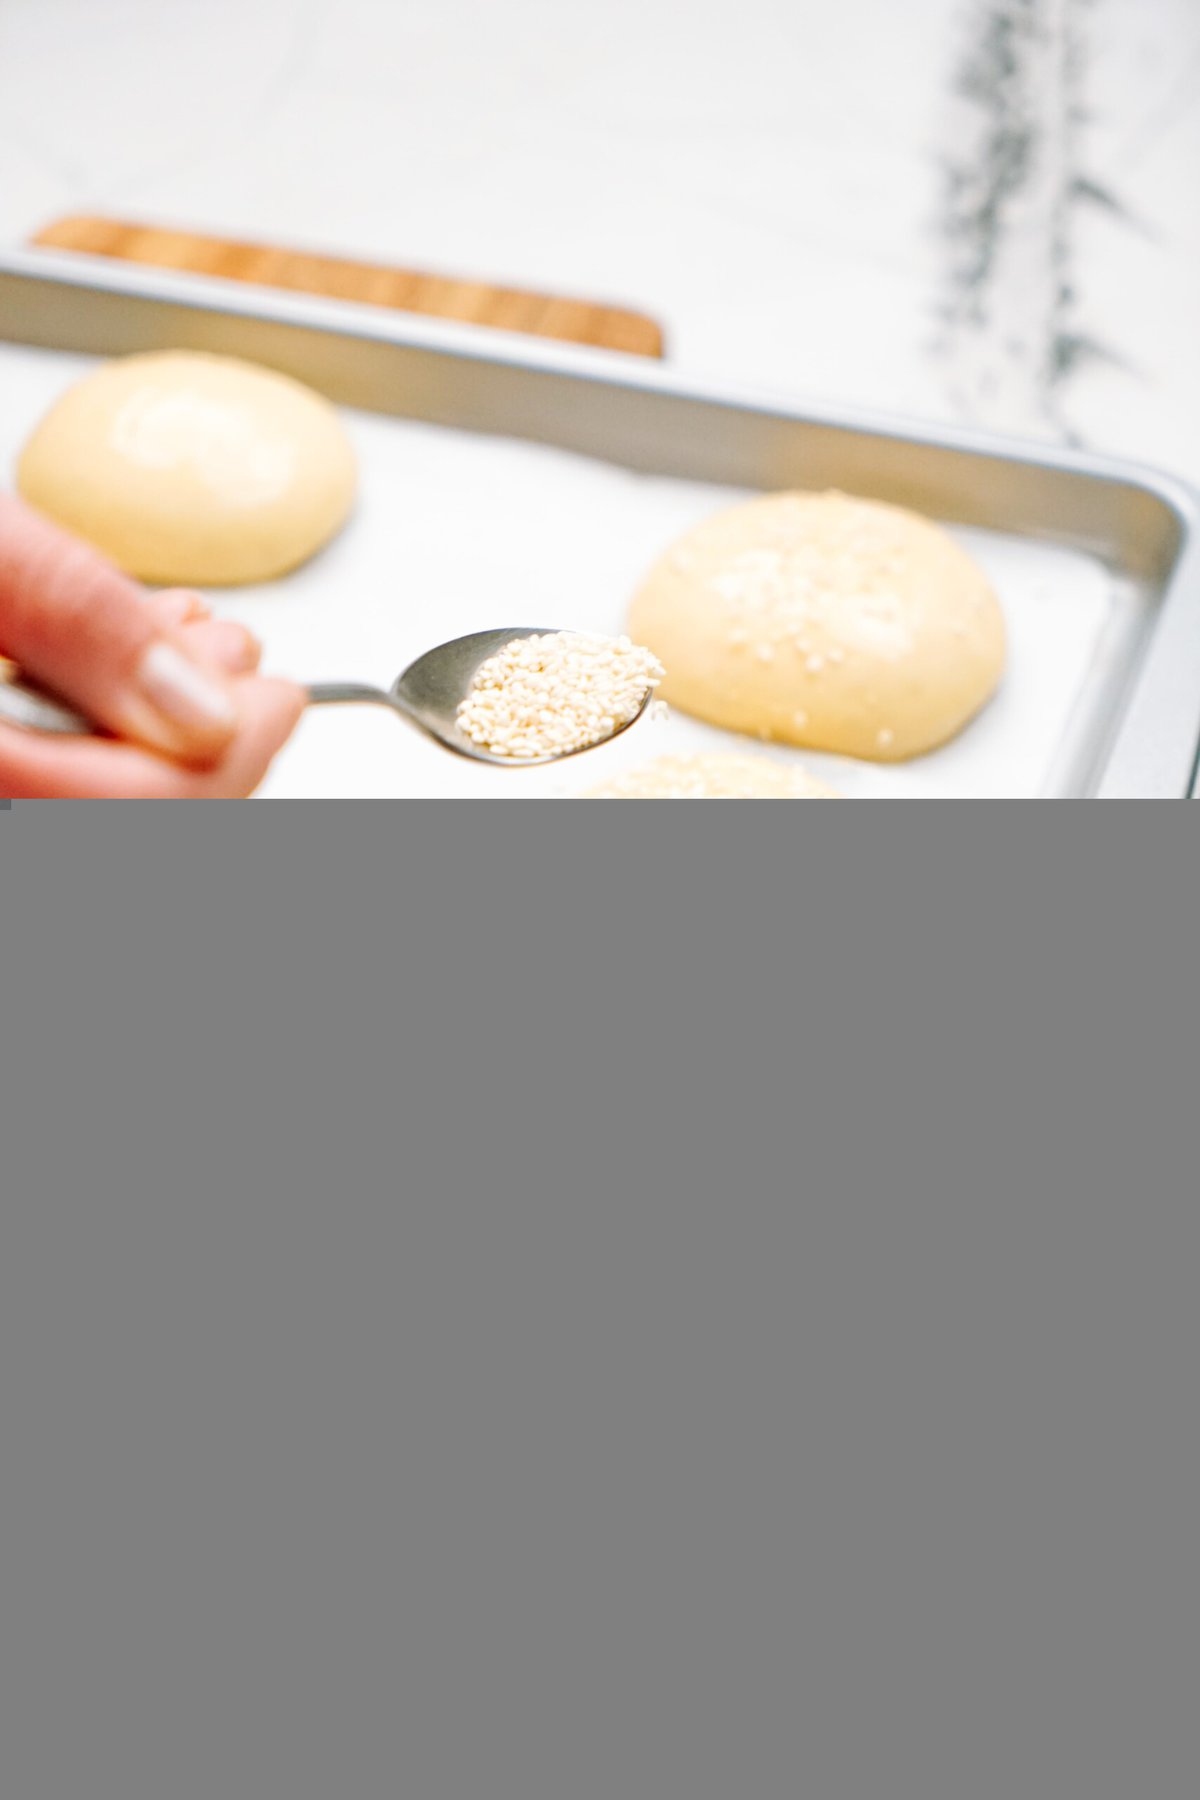
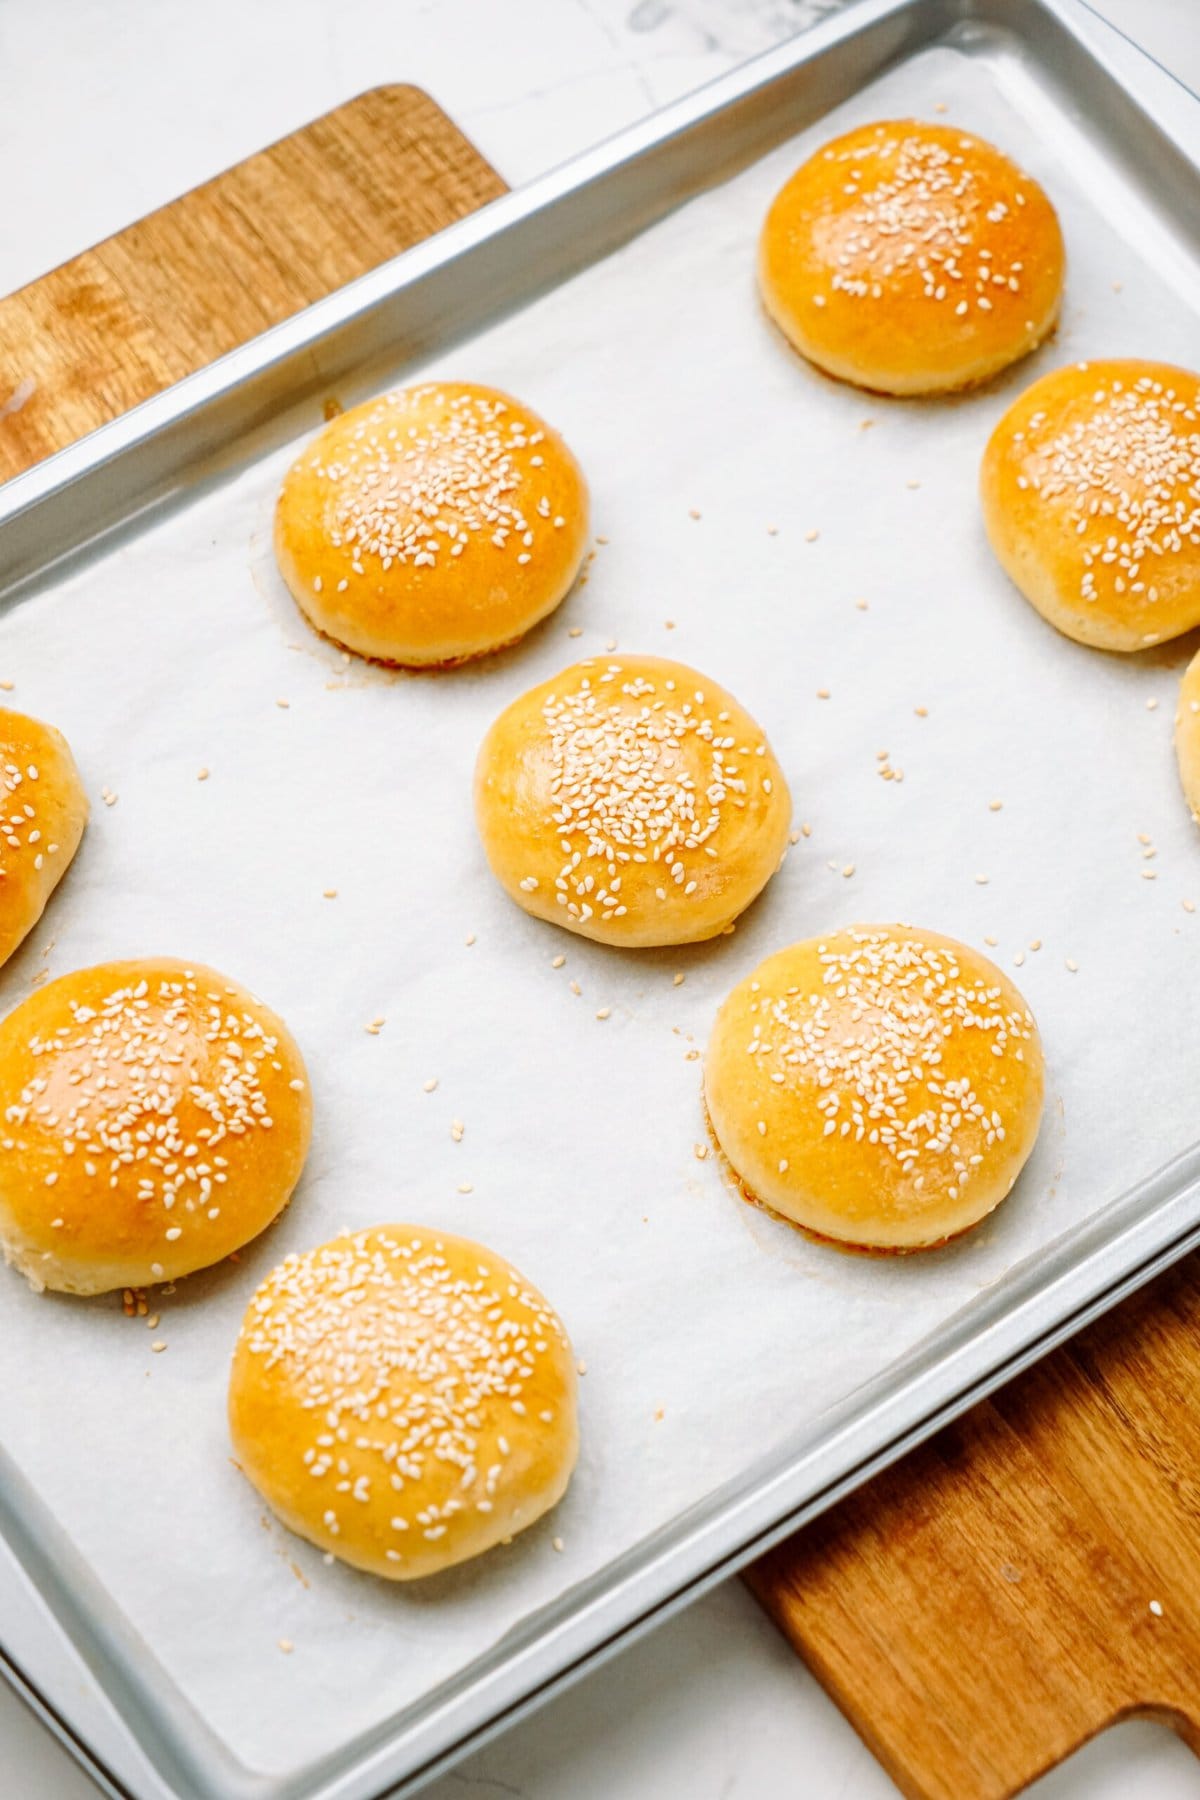
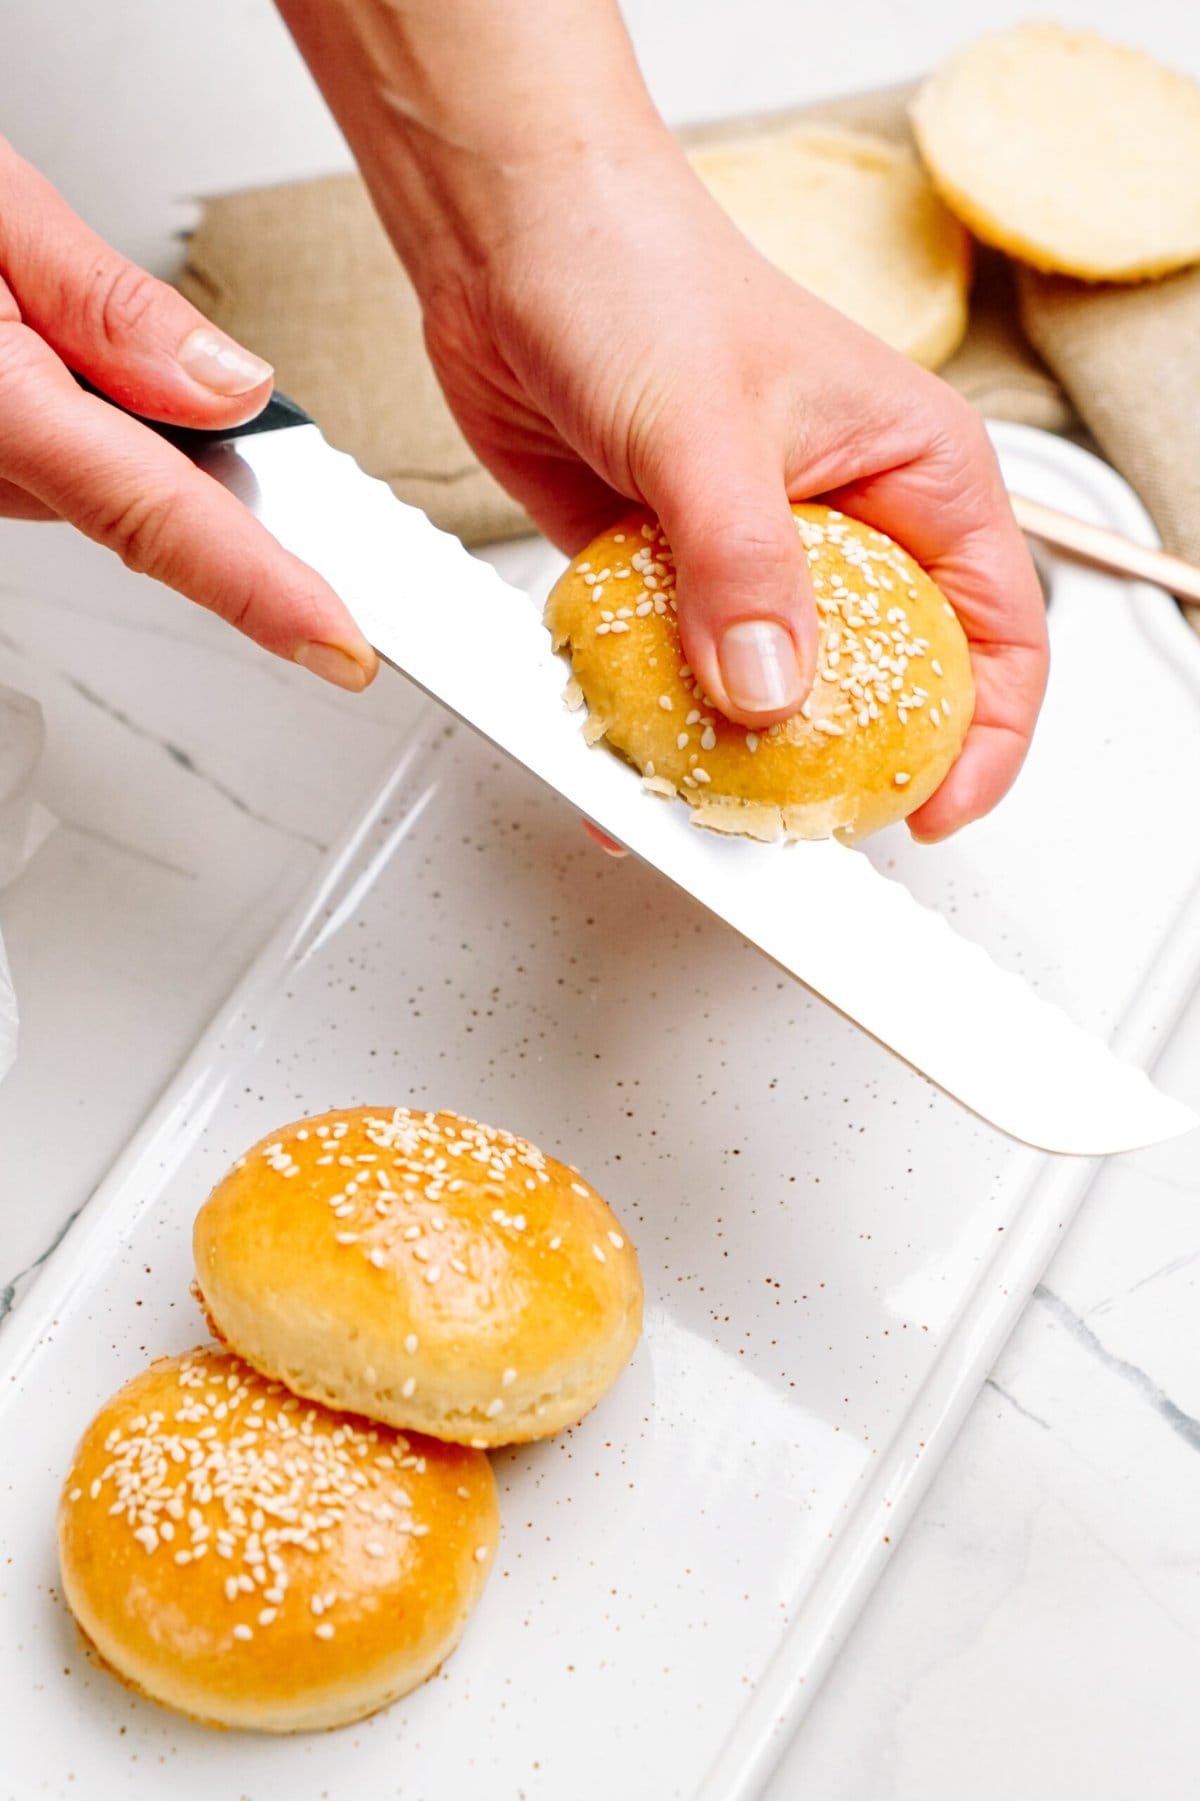
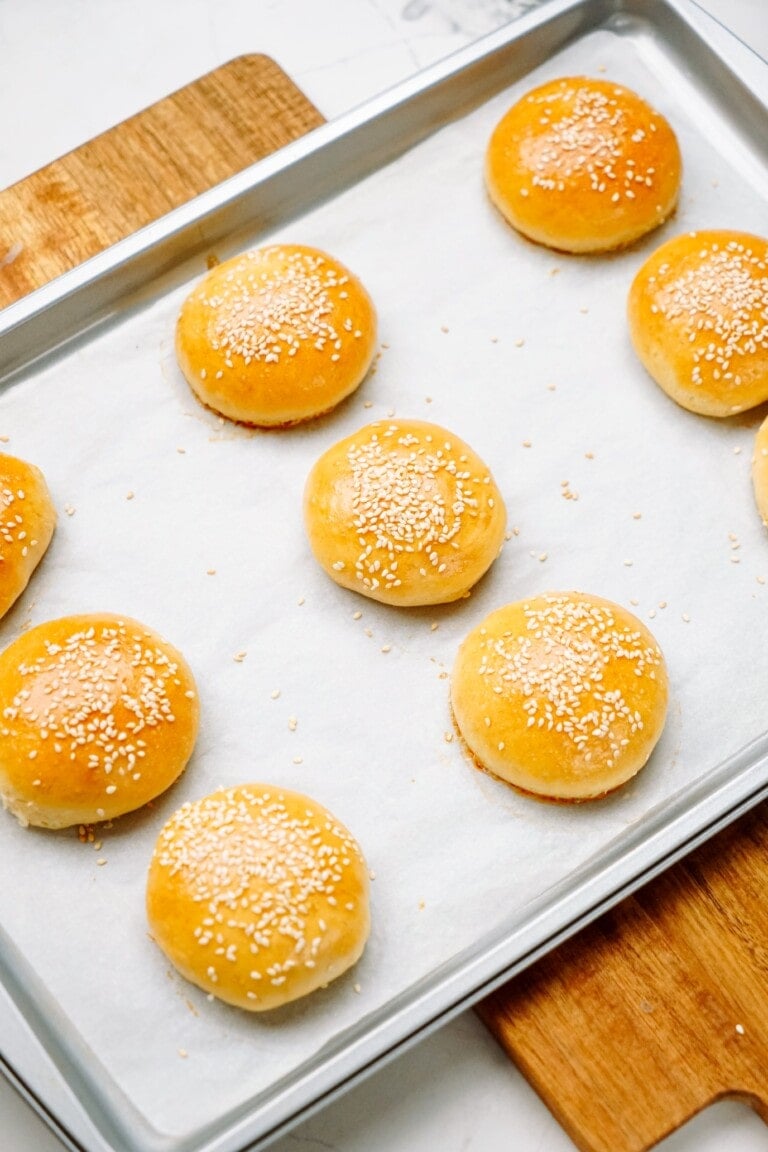
Bake at 350° F for 12-15 minutes or until golden brown. Use and serve as desired.
Serving Ideas For Slider Buns
- Root Beer Pulled Pork Sliders
- Bacon Cheeseburger Sliders (these are the BEST!)
- Sweet & Spicy White Cheddar Sloppy Joes
- Tuna Lemon Pepper Sliders
- Smoked Pulled Pork Sliders
- Shredded Mexican Pork Sliders
- Crockpot BBQ Chicken Sliders
- Crockpot Honey Mustard Chicken Sliders
- Bleu Cheese Burger Sliders
Storage + Make Ahead Directions for Slider Buns
Store buns in an airtight container at room temperature for up to 3 days.
To Freeze Baked Slider Buns– Wrap them in aluminum foil and store in a freezer bag for up to 2 months.
To Make Ahead– Prepare the dough and let it rise overnight in the fridge. Bring to room temperature before baking.
Love Making Bread? Try These Bread Recipes!
- Homemade Dinner Rolls Recipe
- Homemade Bagel Recipe
- English Muffin Recipe
- Easy Homemade Bread Recipe
- Whole Wheat Bread Recipe
These slider buns are a great way to bring a homemade touch to your meals. From mini burgers to pork sandwiches, these buns are versatile and delicious. The printable recipe card is below. Happy baking, friends!
If you make this recipe, I would really appreciate it if you would give it a star rating and leave your review in the comments! If you have a picture of your finished dish, post it on Instagram using the hashtag #laurenslatest and tagging me @laurens_latest.

Sliders Buns Recipe
Ingredients
- ½ cup warm water aim for 107-110° F
- 2 ¼ teaspoons quick rise active dry yeast
- 1 teaspoon honey or sugar
- ¼ cup butter
- ½ cup milk
- 2 eggs divided
- 1 teaspoon salt
- 3 ⅓ cups all purpose flour
- 3 tablespoons sesame seeds white
Instructions
- In a large mixing bowl, preferably that of a stand mixer fitted with a dough hook, stir yeast and honey into warm water. Let sit for 5-10 minutes or until bubbles form and mixture starts to foam. This tells you that the yeast is alive and kicking.
- Place butter into microwave safe bowl and cook on high until completely melted. Remove and set aside to cool.
- Pour milk, 1 egg and cooled but still melted butter into stand mixer bowl with yeast and stir together to incorporate.
- Next, add salt and 2 cups of the flour and knead until flour has been incorporated. With mixer on low, add in remaining flour bit by bit to get the consistency you want: slightly tacky, but when you touch it, it doesn't stick to your hands.
- Once you reach this stage, knead on low for 5-6 minutes. The dough should be smooth and easy to work with and the bowl should be mostly clean!
- Grease dough and bowl; cover and let rise 1 hour or until doubled in size.
- Punch down dough, pinch off and form into 18 small dough balls the size of golf balls.
- Place on parchment paper lined baking sheet. Let dough rise another 30-60 minutes.
- In a small bowl, beat remaining egg with 2 tablespoons of water. Brush tops of the buns and sprinkle with sesame seeds.
- Bake at 350° for 12-15 minutes or until golden brown. Use as desired.



Great recipe. I couldn’t get them as smooth on top.
Hi Lauren, these looked great and I tried them .While mine tasted fine, I’m wondering what I did wrong because mine were slightly tough.
Well I’m not sure if the metric measurements are right because this is a very wet dough, it’s been in my stand mixer for over 10 mins and it’s still not forming a ball
can i make these a day before they’re needed and how can i store them?
these look amazing and can’t wait to try them.
Just store them on the counter in an airtight container or ziploc bag.
Delicious. Super easy to follow directions. I subbed a cup of whole wheat/spelt to feel better about myself and they turned out great… I just made sure to give it a good knead and a slow rise. I’ll def make again (maybe even try half n half on my flours.. live dangerously)! Thanks..
[…] Make sure you buy some or make some of these cuties!! My recipe is here. […]
[…] are definitely cookies and breads. Recently, I made some Sea Salt & Caramel Brownie Cookies, Homemade Slider Rolls and Snickers Stuffed Loaded Peanut Butter Oatmeal Cookies all on my Silpat. My Hasselback Garlic […]
It is really cute!!! My kids are gonna love this mini burger buns.
[…] is an excellent substitute for having your French onion soup with more bread, the hamburger buns by Laurens Latest is well illustrated with all the pictures and the steps you should follow to come off with […]
I love this!!!! I live in Sweden and none of the North American stuff I love is easily available! Do you think the dough could be frozen before baking? 🙂
Hi i am wondering how and when to store these? Thanks! Im crossing my fingers they taste as good as they look! (They are in the oven!)
I made these for Thai turkey sliders today (Father’s Day) and they were PERFECT. Love that I can make with my kitchen aid mixer. Thank you!
Thanks for a great recipe! Worked perfectly on the first try, didn’t need to make any adjustments, and the buns were yummy.
I hand mixed these (I am without a mixer or bread maker)and these still came out great! Also just used cheap generic flour…I am sure using proper bread flour will make these even better!
[…] are definitely cookies and breads. Recently, I made some Sea Salt & Caramel Brownie Cookies, Homemade Slider Rolls and Snickers Stuffed Loaded Peanut Butter Oatmeal Cookies all on my Silpat. My Hasselback Garlic […]
[…] are perfect for sliders. For a less sweet version, we’ll try to find the smallest and softest mini-burger rolls we can find. For added fun, top the sliders off with some shredded cheese or pickles. What ever you […]
wow these were SO good! I made them for our Superbowl party tonight with pulled pork sandwiches and they were absolutely PERFECT!!!! Thanks so much for the recipe!
[…] Make sure you buy some or make some of these cuties!! My recipe is here. […]
thanks u so much Lauren! I had to help my mom find
out were u get the sliders hamburger buns and then I
found this website, thank u, they taste so good!
Hi…loving the mini-buns. Have you tried freezing them with the hambuger? My boys love a paricular brand of store bought mini-hambugers but I am intersted in making them at home myself.
Nope never tried it….if you end up doing this, report back and let us know how it went!
[…] Lauren’s Latest Share this:TwitterFacebookPrintLike this:LikeBe the first to like this post. […]
Just made these…they’re great. I had to add about a 1/4 c additional flour because the humidity level in my house was pretty high making the dough stickier than normal. I made a few regular size buns and some slider buns. Enjoying myself a boca burger on a bun as I type. Thanks for a great recipe!!
Oh yay!! So glad I saw these. I’m planning my daughter’s 3rd birthday party and I think these would be perfect!
These are way too adorable!! I’m trying to think of a reason to have a party so I can make these…
Those are so cute!!!
I always wondered about the “happy clams” statement too. I mean, where did that even come from?
As for the TJ incident, I can’t believe they didn’t have hamburger bun! That place is amazing but sometimes they run out of their most important stuff and it’s the most frustrating thing ever! Like they’re always running out of my favorite flavor of Fage. And then one time, they were out of butter. BUTTER! Some person bought a couple of cases earlier in the day. Weird, right?
Anyway, these burger buns look adorable! I’m sure they tasted great without anything in them. Freshly baked bread is the absolute best.
My husband loved these rolls. I used extra large eggs and it didn’t hurt the recipe. I like a sweeter roll. So I’ll add honey ontop next time. Thank you.
You are one talented baker, lady! The dough looks perfect and the rolls are adorable! I like the added touch of the sesame seeds. I love Bob’s Red Mill flours and have some of their whole wheat pastry flour at home…I may try your recipe using that!
I pinned these on Pinterest and they got pinned a lot of times and quickly too! They look amazing. I think I would eat some hot out of the oven just plain too! Can’t wait to see what you stuff the little bun babies with on Monday. 😀
These look perfect – totally worth the wait! And interesting piece of trivia I recently learned…the full expression is “happy as a clam at high tide”, because at high tide they AREN’T getting eaten! Pull that one out at your next party 😉
So cute!
Love these! So cute! 🙂
These little sliders are adorable and look waaaay better than store bought ones.
These look luverly. I can’t wait to see what you are going to put in them!
Probably the cutest buns I’ve ever seen! 😉
These are a really neat idea! I love sliders, and I’ve never seen slider buns in the stores where I live.
Here in Toronto there are few grocery stores that sell slider buns. Frustrating to say the least! I love your idea – just make your own! These look awesome!
You are the queen of mini-everything!
Luuu-uuu-uuuve these!
TGIF indeed!
Sounds delicious! I can completely understand long weeks!! drill weekends=a 12 day “week”= a LONG week!
Could you make these as regular size hamburger buns? Would the baking time be any different?
The honey in these. Oh, my, I love them already!